Sneak Peek: Helper Vehicles + Utility Vehicles
Hello crafty friends, Arsenia here to share some Sneak Peeks! I’m super excited to be sharing these sneak peeks using Helper Vehicles stamps with coordinating Dies and Utility Vehicles stamps with coordinating Dies. My sneak peeks are just a small glimpse into these fabulous sets because I did specific themes for each of my cards. These sets are adorable and have you covered to make lots of celebration goodness!
New release will be available June 10th
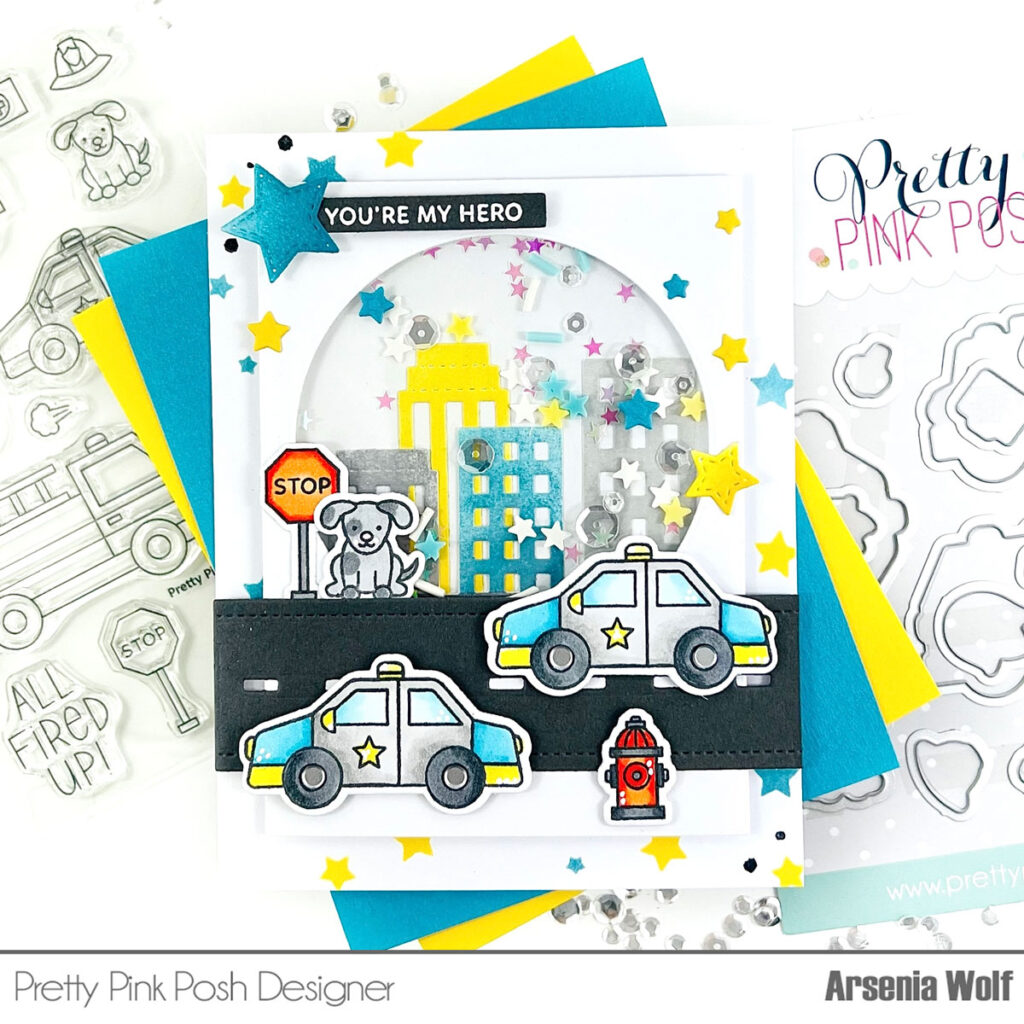
For my first card I’m using the super cute Helper Vehicles stamps with coordinating dies. I stamped the images and colored them with an array of Olo markers. For my background I did some partial stenciling with the new Layered Shooting Stars Stencils. I decided to make a shaker, so I cut a smaller panel to fit onto the A2 panel and die cut a circle from the smaller panel. For the backdrop in the shaker, I used a fun new die set called City Buildings. I inked up the buildings with colors that matched the colored images from Helper Vehicles Stamps with coordinating dies. I did a mixture for the shaker bits, I used Sparkling Clear Mix, Iridescent Mini Star Confetti, and the new Stargazing Mix!
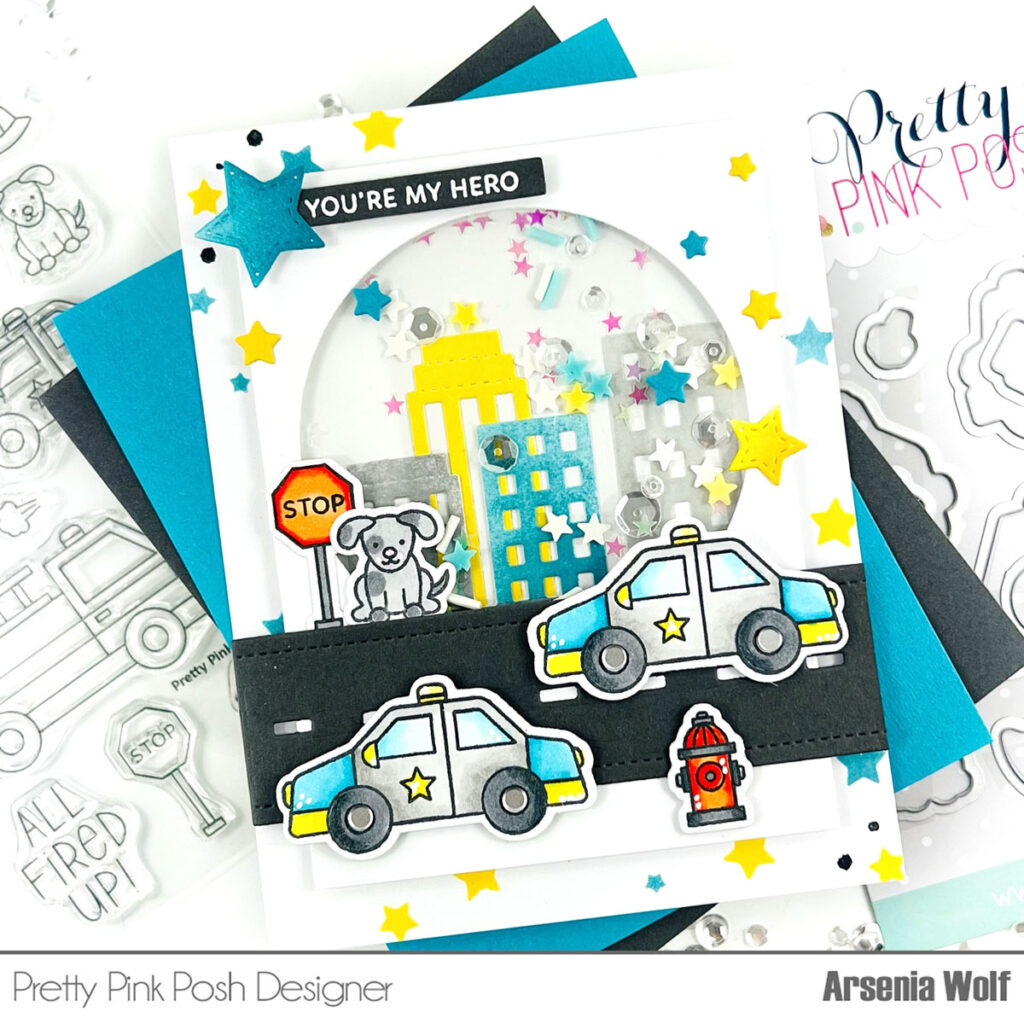
I arranged and adhered all the images to the card panel, but I needed a resting place for the adorable police cars and decided to use the road from the new City Buildings Dies. I added lots of stars from the Big Celebration Cupcake Die set and the cute sentiment is from the Helper Vehicles stamp set, viola card done! I think it turned out super cute.
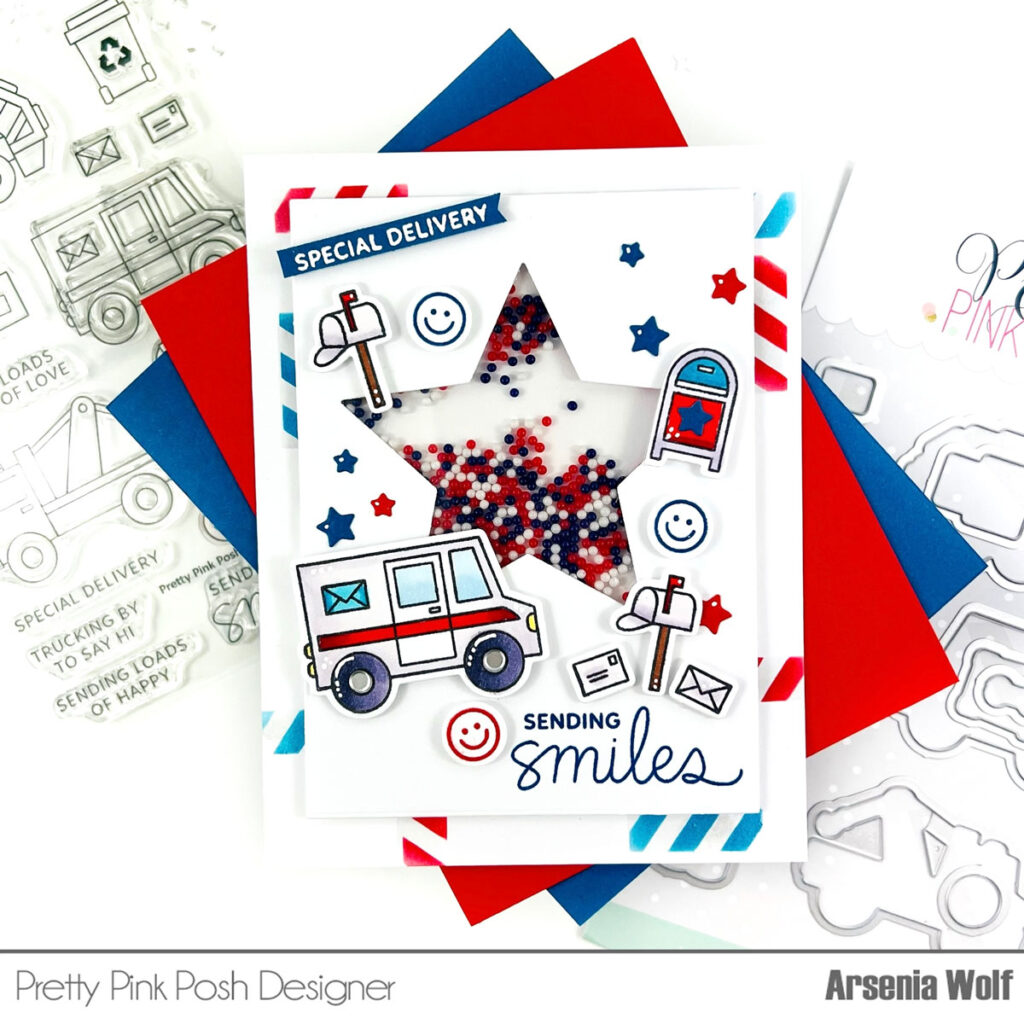
For my second card I’m using the Utility Vehicles Stamps with coordination dies and I decided to focus on the adorable Postal vehicle. I stamped and colored the images with an array of Olo markers. For my background on the card base I used the new Layered Street Signs stencils. My idea for the background is to resemble postal tape. And yes, friends it’s shaker time, I decided to make another shaker using the new Stitched Stars Dies! I added the cutest new shaker beads called Patriotic Shaker Beads!
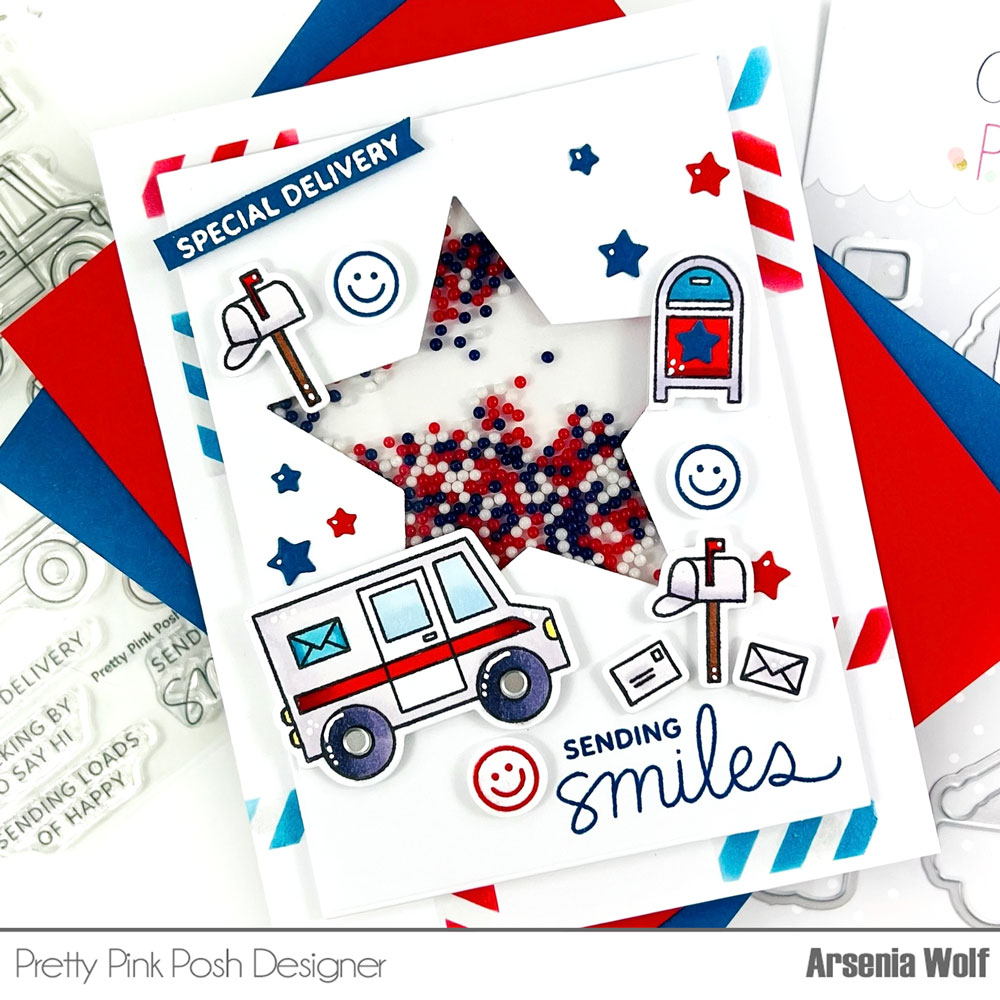
I arranged the cute images from the Utility Vehicles Stamps regarding postal service onto my card and added lots of stars from the Big Celebration Cupcake Dies. The adorable sentiments are from the Utility Vehicles stamp set and so are the cute smiley faces!
Thank you for stopping by friends! Come back tomorrow for more sneak peeks! This release is chock full of CUTENESS for lots of occasions and super FUN!

