
Construction Vehicles Card Duo
Hi everyone! Christina here from My Crafty Trails to share some super fun shaker cards with you. I have two cards that feature the new, awesomely large Big Excavator and Big Dump Truck die sets from the June release. One card is a full-panel shaker and the other has a small shaker element. Both are easy to create, so let’s get started!
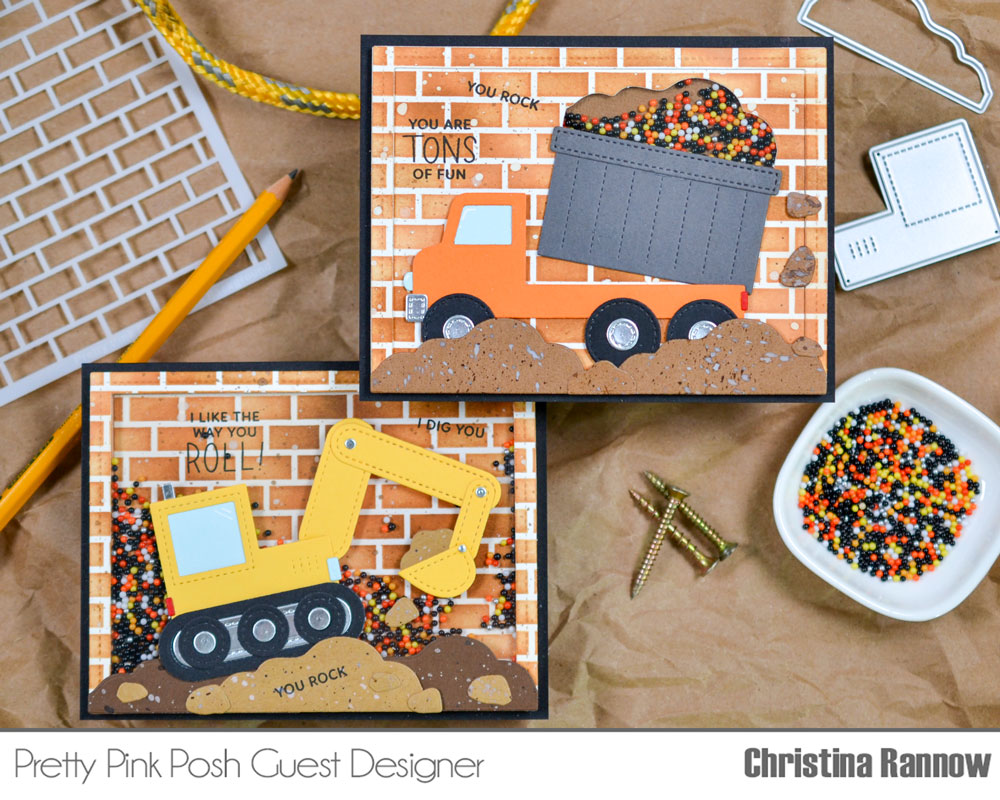
To start, I used the new Brick Background Stencil and Tea Dye and Gathered Twigs Distress Inks to stencil both background panels and two stitched frames from the Nature Essentials set. For a little distressing, I splattered all the pieces with thinned white paint, Gathered Twigs, and Walnut Stain Distress Inks.
Next, I die cut and assembled all the elements for the Big Excavator and the Big Dump Truck using colored cardstock. I pulled my colors right from the new Construction Zone Shaker Beads I used to fill my shakers, including the matte silver cardstock. I love these shaker beads, and I think they will be perfect for Halloween projects too!
I added splatter detail to the dirt mounds, rocks, and the little scoop of dirt for the excavator bucket with Walnut Stain Distress Ink and Oxide Inks in Tea Dye and Pumice Stone.
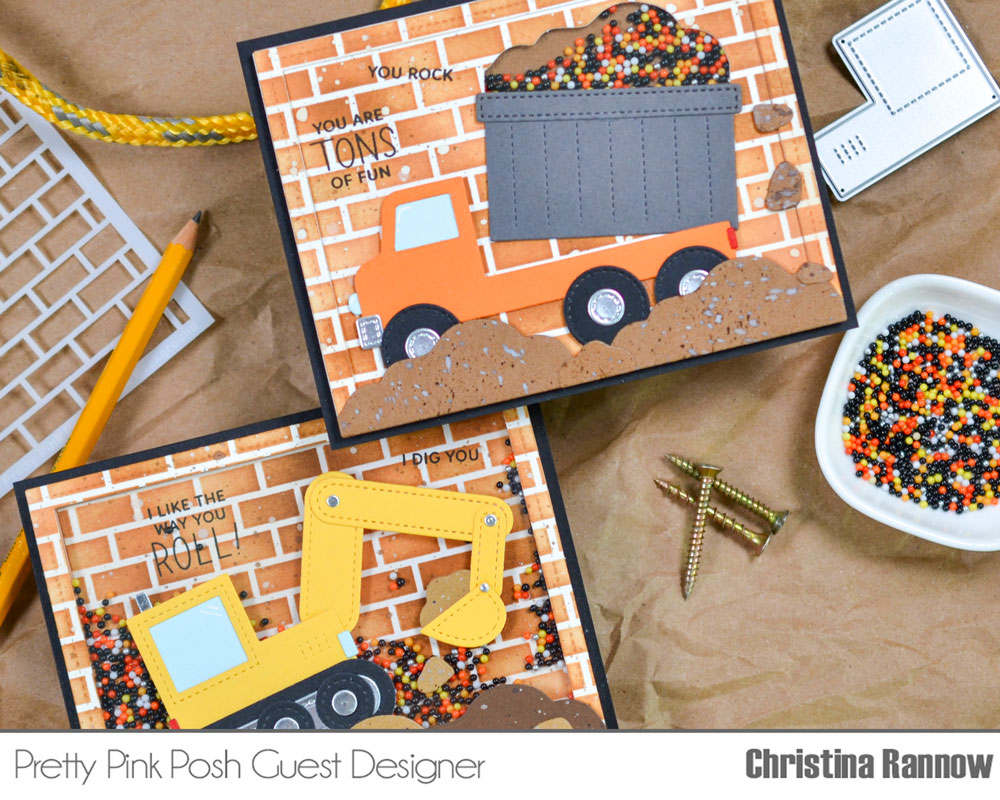
To create the full panel shaker, I die cut another stitched frame and sandwiched a piece of acetate between this and the stenciled frame, securing everything with double-sided tape. This creates the shaker window. Before adding foam strips around the perimeter of the stenciled brick background, I stamped a couple of the cheeky sentiments from the new Construction Additions stamp set. I added the Construction Zone Shaker Beads to the well created with the foam strips before removing the release paper and then placing the window frame on top. Next, I attached the dirt mounds with thin foam squares and the Big Excavator with double-sided tape. Lastly, I glued a few rocks in place and added one more sentiment to one of the dirt mounds under the excavator.

Creating the Dump Truck card with the smaller shaker element is very similar. I started by die cutting the dirt mound from the stenciled brick background where I wanted the dump truck bed to be. On the reverse side of the background, I attached a small piece of acetate over this space with double-sided tape and then attached foam tape to the rest of the panel, creating a well for the shaker beads. I added the shaker beads, removed the release paper from the foam tape, and placed a brown cardstock panel cut to size on the foam tape. On the front, I stamped more of those cheeky sentiments from the Construction Additions stamp set before attaching the stenciled stitched frame that I had doubled up with another frame like the first card. Lastly, I attached the dirt mounds and rocks with thin foam squares and the dump truck with liquid adhesive.
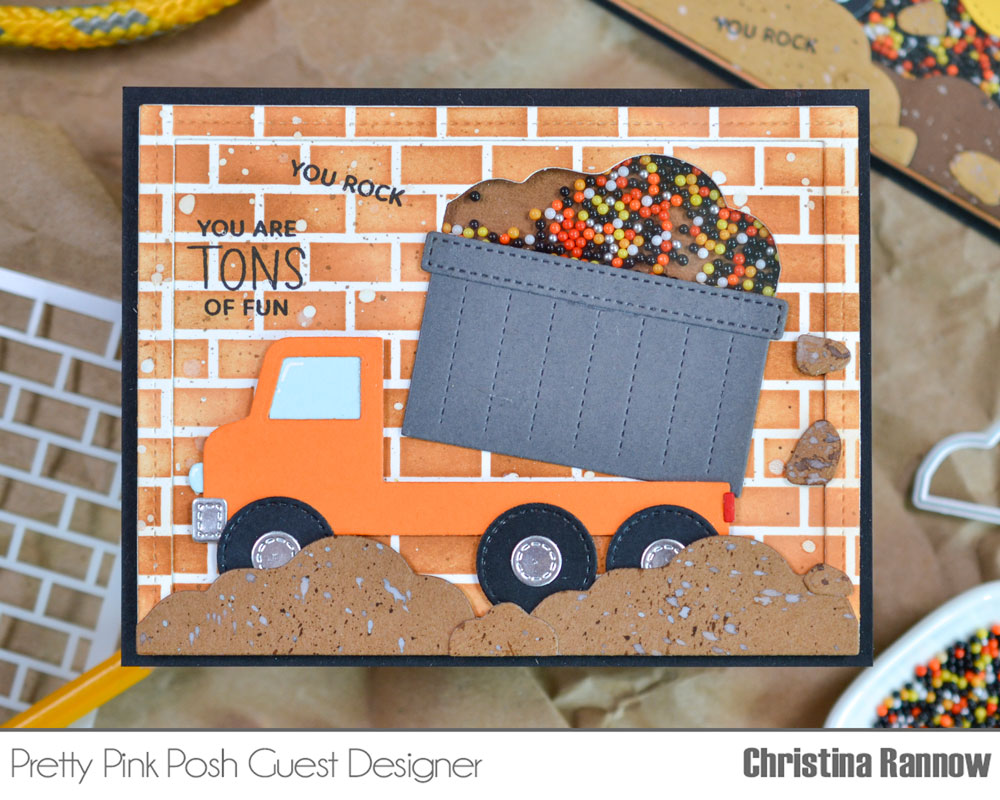
To finish both cards, I attached them to A2 black cardstock panels and added just a couple of white gel pen highlights. That’s all there is to creating these fun shaker cards using the awesome boy-themed products from the new June release.
Thanks for reading all about my card designs; I hope you like them as much as I do!
These are adorable, I want all of these to make some cute cards for my nephews.
OMG! What a creative way to create the shaker on the back of the dump truck! love both your cards!