Throwback Thursday

|

Throwback Thursday: Storybook 2

Pretty Pink PoshHello friends!  Amy K. here for another Throwback Thursday where I feature an older Pretty Pink Posh Die.  This month I am sharing a cute “baby” Congrats shaker card using Storybook 2.

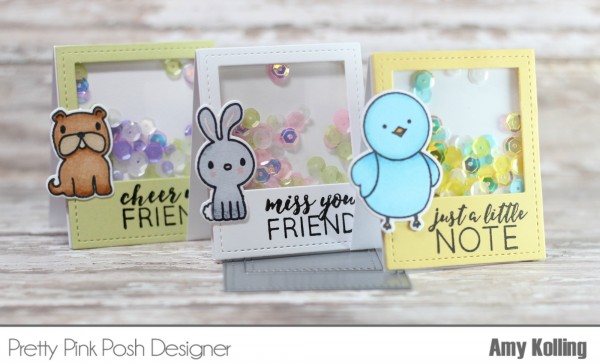
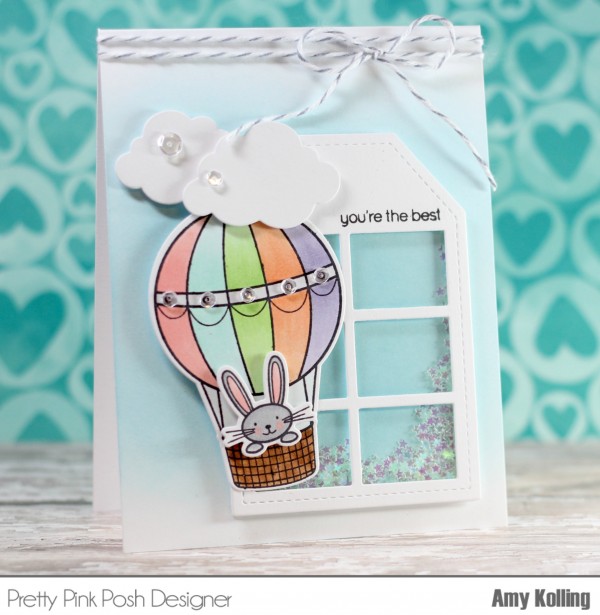
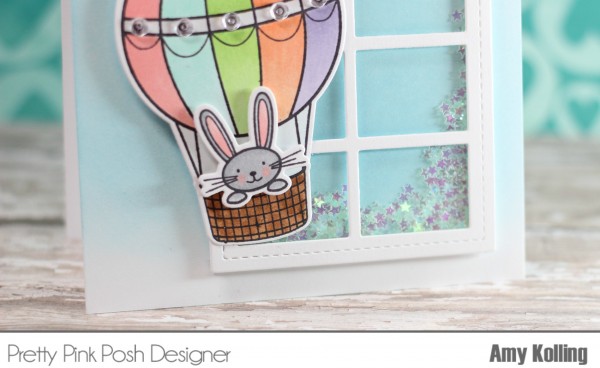
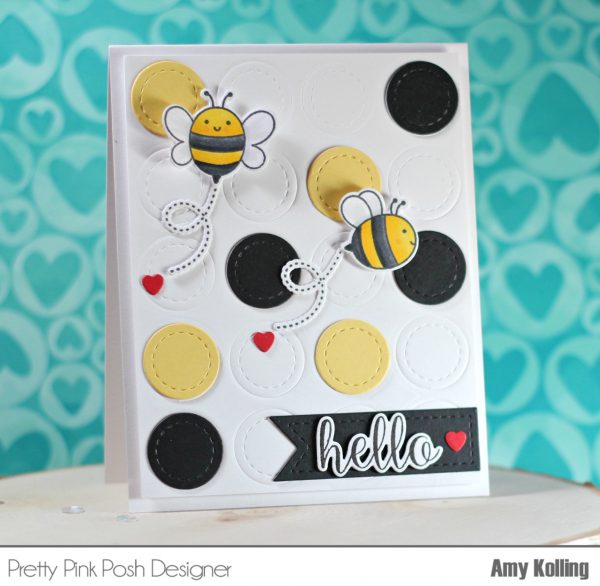
I used the Storybook 2 Die as a traditional “frame” out of white cardstock to make a shaker card.  I adhered a panel of clear acetate to the back of the panel.  My sentiment, from Everyday Greetings, was stamped directly onto the long panel of acetate with StazOn black ink.  I set this panel aside to finish the rest of my card.

To create the rest of the shaker, I adhered a piece of shimmer polka dot paper to a white notecard as my shaker “background”.  I combined several things for my shaker contents…….die cut stars (using Stitched Star Dies), Hydrangea Seed Beads, and Iridescent Mini Star Confetti.  I love the combination and even though there are bigger shaker contents, it still shakes perfectly!

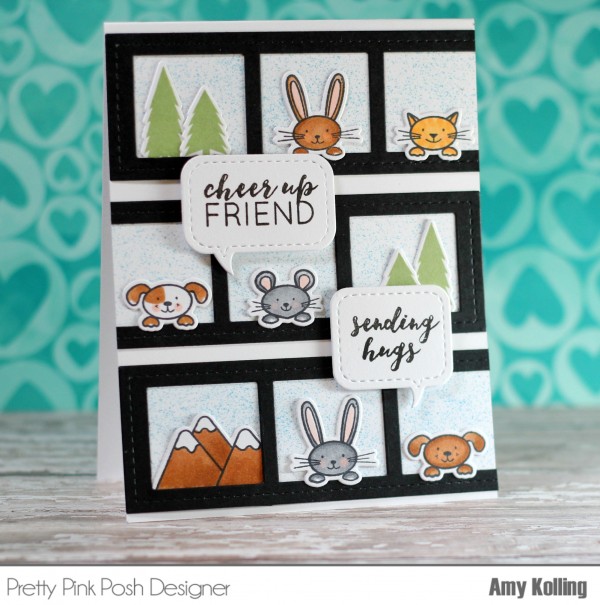
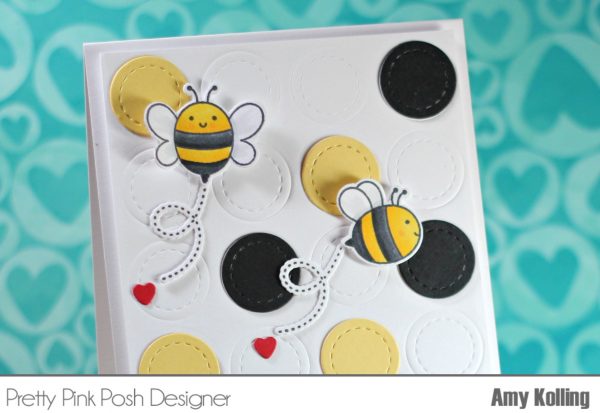
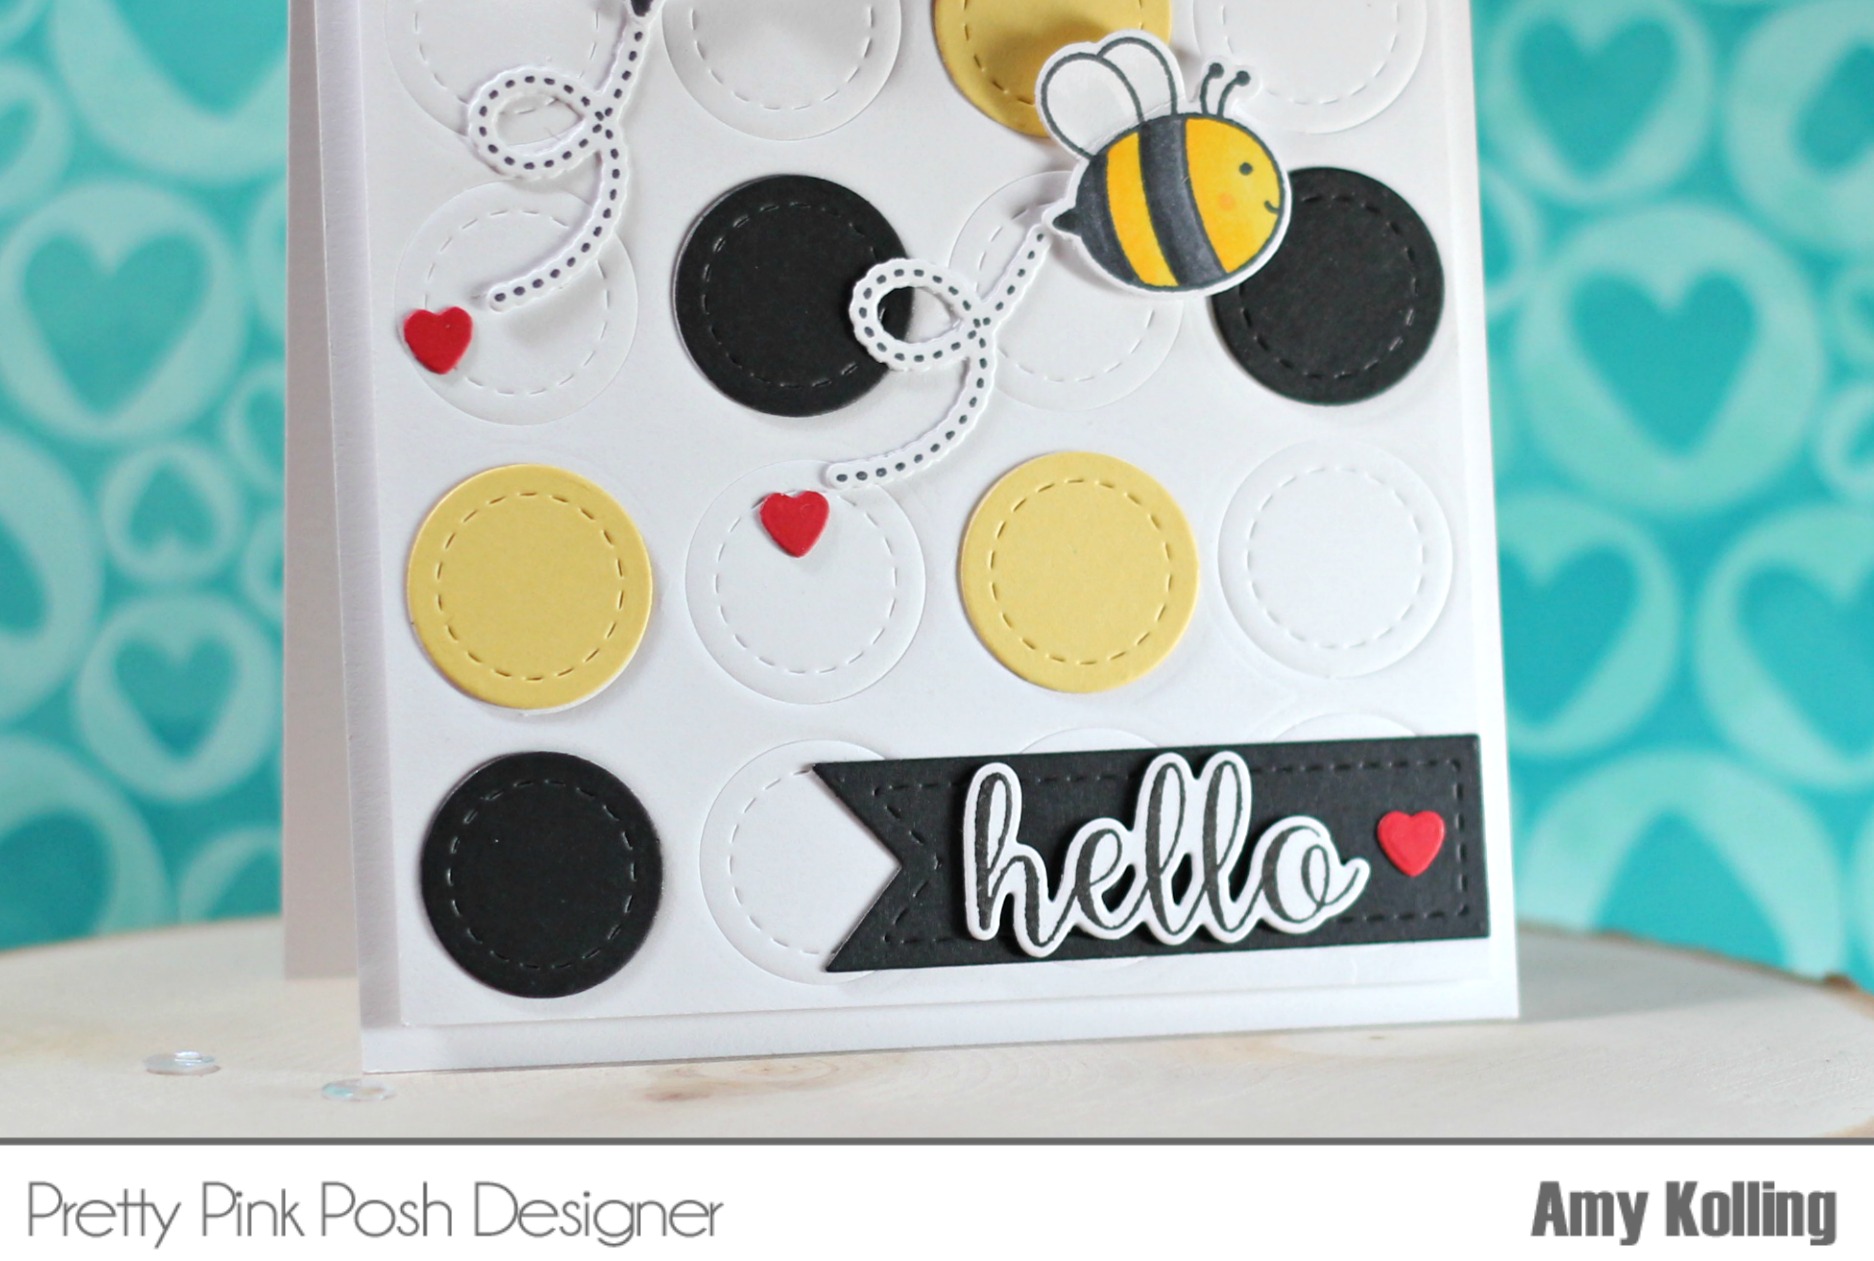
My focal point is the adorable bird and chick from Birdie Friends.  I’ve Copic colored them with B21, B93, B95, and B97.  After diecutting the images with the coordinating Birdie Friends Dies, they were added with foam adhesive over a larger Stitched Star Die on the Storybook 2 panel. My finished panel was then foam adhered to my prepared notecard and shaker contents. As a last touch, I added a blue twine bow.border

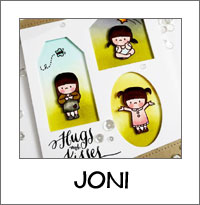
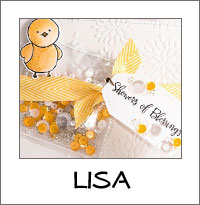
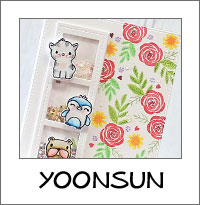
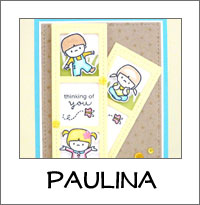
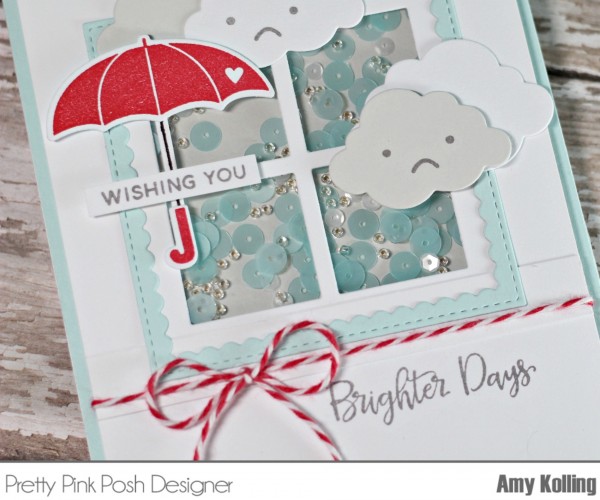
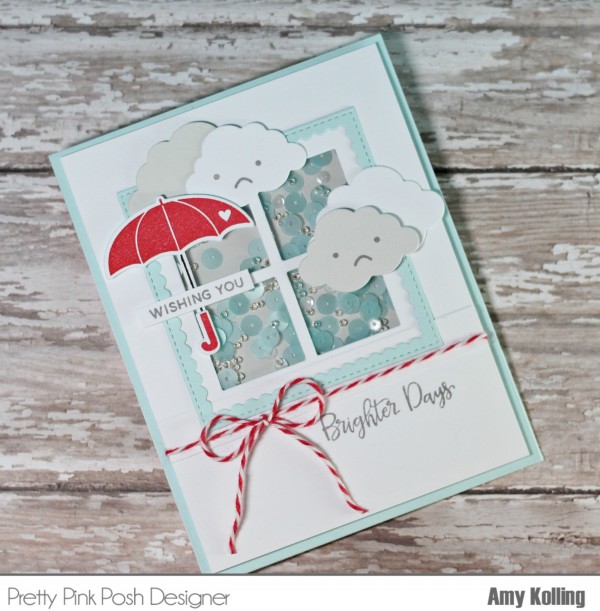
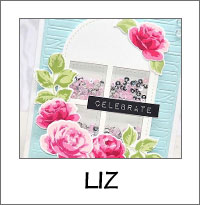
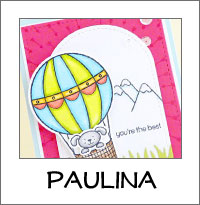
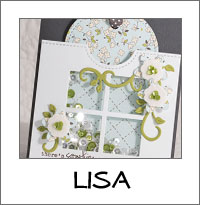
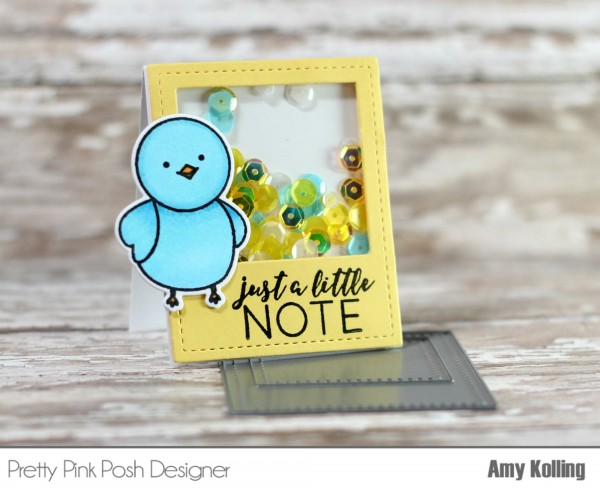
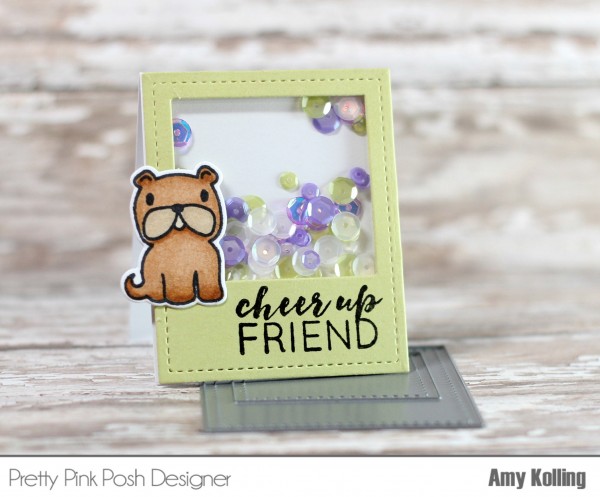
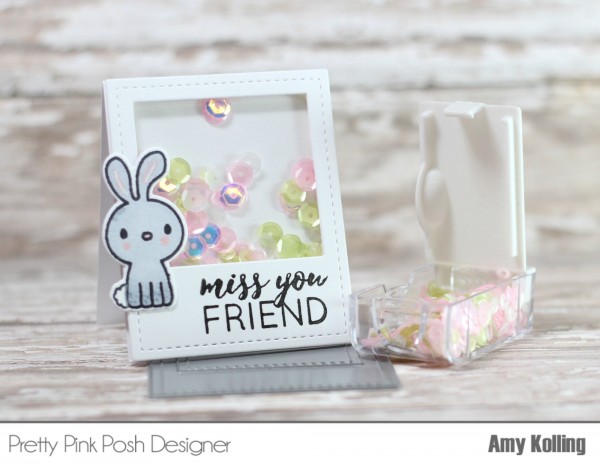
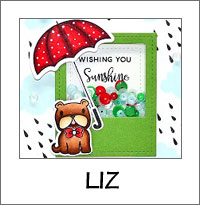
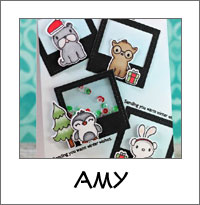
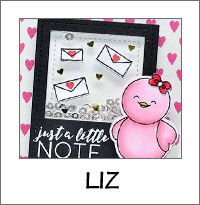
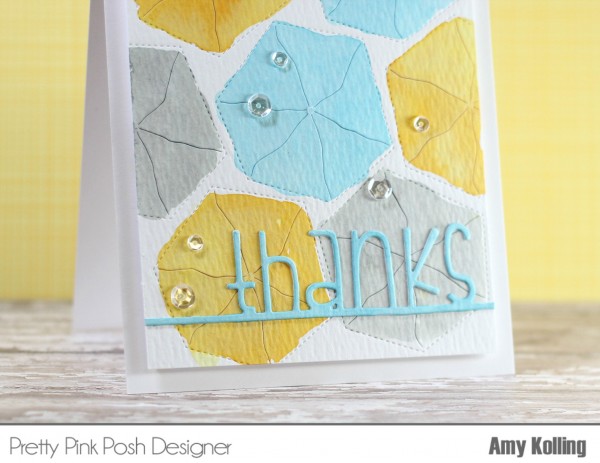
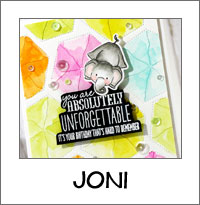
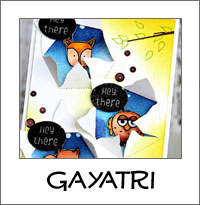
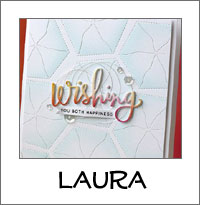
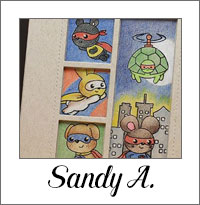
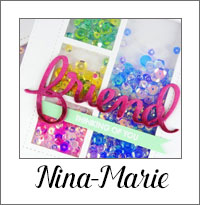
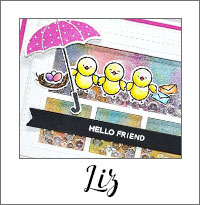
Along with this shaker card by Amy, I have a few cards that have used the Storybook 2 in the past. Click on the photos below to see the original post from the designers


I hope you are inspired to create new cards using this older die set!

| |

Throwback Thursday: Stitched Duo 2

Pretty Pink Posh: Throwback Thursday

Hi everyone!  Amy K here for Throwback Thursday where I feature an older but much loved Pretty Pink Posh Die.  This month I’ve used the Stitched Duo 2 die and created my own background using the circle die in the set.  

I’ve “impressed” the circles die from Stitched Duo 2 several times on a panel of white cardstock.  I love impression plates but this way you can use existing dies to create the same look!  When my panel is complete, it added some die cut colored circles randomly.  This background was added to a white top folding notecard with foam adhesive.
 

My scene was created using the new not-yet-released Bee Friends stamp set and coordinating dies.  Remember, you can get your own set with a qualifying order (details below)!  My bees were Copic colored, die cut, and added with foam adhesive.  I added a die cut “trail” as well as a tiny die cut heart.

For my sentiment, I stamped the “hello” sentiment from the Blissful Butterflies stamp set and die cut several times for dimension.  I added my sentiment to a die cut Stitched Labels 1 dies to the lower right corner.  To finish it off, I added another tiny red die cut heart.

The Bee Friends stamp set will be automatically sent with orders over $80 this month. In addition, if your order totals over $125, you’ll get the coordinating dies too! This stamp set will be available for purchase in May 2017, but for those who qualify, you’ll get these items two months before anyone else! These are while supplies last (I did order quite a bit, but cannot guarantee they will last through the end of the month).

border

Along with this darling card that Amy has shared with us, I have a few cards that have used the Stitched Duo 2 in the past. Click on the photos below to see the original post from the designers.

I hope you are inspired to create new cards using this older die set!

| |

Throwback Thursday: Storybook 1

Pretty Pink Posh: Throwback Thursday

Hi everyone!  Amy K. here for this month’s Throwback Thursday with creative uses for some of the previously released dies.

Throwback Thursday: Storybook 1

I decided to focus on the Storybook 1 die (one of the original dies).  I works fabulous as a back drop for a fun spooky scene using some of the new Pretty Pink Posh release including Halloween Friends.  I created an inked blended background as Yana did HERE.  This technique is quick and easy……I encourage you to go watch!  I used the same Distress Inks for a similar look and added a few flicks of white acrylic paint!  

Throwback Thursday: Storybook 1
I die cut my Storybook 1 die out of white cardstock and then carefully cut to create a border so that I would have a “frame” to start my scene.  All my images were Copic colored, die cut, and adhered with foam adhesive to create my scene.  My sentiment was white heat embossed in one of the panels of the Storybook 1 die.  These dies provide a super place for sentiment placement!
 Throwback Thursday: Storybook 1
border

Along with this Halloween card that Amy has shared with us, I have a few cards that have used the Storybook 1 in the past. Click on the photos below to see the original post from the designers.

storybook1b storybook1c

 Thanks for visiting the blog today! I hope you are inspired to create new cards using this older, versatile die!

| |

Throwback Thursday: Stitched Tags

Pretty Pink Posh: Throwback ThursdayHi everyone!  Amy K. here for this month’s Throwback Thursday with creative uses for some of the previously released Pretty Pink Posh dies.

Throwback Thursday: Stitched Tags
I decided to focus on the Stitched Tags Die and use them as a “background/scene builder”.  I started with blending Shabby Shutters and Tumbled Glass Distress Inks onto a white cardstock panel. I arranged one of the Stitched Tags Dies and die cut out.  I did this 3 times and saved my “template” as this came in handy when spacing my tags for my background.  Next, I spaced my tags and used the Scallop Borders Dies to make my “grass”.  To start assembling my card, I used my template to place my tags with foam adhesive and the grass with 2 layers of foam adhesive for dimension.  I wanted my scene to really pop away from my card front since it is white.
 Throwback Thursday: Stitched Tags
The adorable Fox Friends set was a perfect fit for my 3 tags and the scene I was building.  All 3 foxes were colored with Copic markers, die cut with the coordinating dies, and added with foam adhesive.  To continue with my scene, I added a few die cut clouds from the Rainy Days die set that were embellished with the Iridescent Mini Circle Confetti.  To finish, I added a smiling sun, from the Camping Friends set, and a little sign saying “Thanks a Bunch” being held by the fox.
 Throwback Thursday: Stitched Tags
border

Along with this sweet fox card that Amy has shared with us, I have a few cards that have used the Stitched Tags in the past. Click on the photos below to see the original post from the designers.

tags_2 tags_0 tags_3
Thanks for visiting the blog today! I hope you are inspired to create new cards using this older, versatile die set!

| |

Throwback Thursday: Stitched Film Strip

Pretty Pink Posh: Throwback ThursdayHi everyone!  Amy K. here with this month’s Throwback Thursday.  The idea behind today’s post is to show off some of the “older” Pretty Pink Posh dies.  This month I worked with the Stitched Film Strip Die, Stitched Speech Bubble Dies, and the first stamp set…..Darling Friends (exclusively at Simon Says Stamp).  I thought it would be fun to create a “comic strip” look with these dies and adorable images.

Darling Friends Set & DiesDarling Friends Dies

Throwback Thursday: Stitched Film Strip

I started by diecutting 3 Stitched Film Strip Dies out of black cardstock.  I spaced these across my top folding notecard as I would want them.  I used them to mark where I would want to add a light blue sky for my comic strip.  Using a Tumbled Glass Distress Ink Marker and my Distress Marker Spritzer, I applied the color over a post it note mask.  When I was done all my color, I was able to add my Filmstrip Dies and trim off the excess.  Love how there are tiny dots to my sky!

Throwback Thursday: Stitched Film Strip

After stamping the tiny critter images from Darling Friends, each image was Copic colored and die cut with coordinating dies.  A few trees and a mountain scape were also colored and cut out.  To complete the scenes, I added each element to the “comic strip”.  The sentiments, from Birdie Friends stamp set, were stamped onto the Stitched Speech Bubble Dies and adhered with foam adhesive!

Throwback Thursday: Stitched Film Strip
border
Along with this darling card that Amy has shared with us, I have a few cards that have used the Stitched Film Strip in the past. Click on the photos below to see the original post from the designers.

filmstrip4 filmstrip3 filmstrip2 
 Thanks for visiting the blog today! I hope you are inspired to create new cards using this older die set!

|

Throwback Thursday: Stitched Duo 3

Pretty Pink Posh: Throwback Thursday

Hello!  Welcome back to the Throwback Thursday post with Amy here on the Pretty Pink Posh blog. This is a time where I highlight an older but wonderful die in the Pretty Pink Posh collection.

Throwback Thursday: Stitched Duo 3

I chose to work with the Stitched Duo 3 and use just that inside die as the base for my “window” pane. I’ve die cut my window out of a trimmed white panel and added clear cardstock behind to begin my rain shaker card. To create my shaker, I’ve added some flat Aquamarine sequins, 4mm Marshmallow sequins, and Sparkling Clear Sead Beads.  To finish my shaker, I added a piece of grey cardstock behind as the dark sky. This also helps to be able to “move” your shaker where ever on your card.

Throwback Thursday: Stitched Duo 3

I die cut several clouds from Rainy Days and stamped the frown face onto them. To brighten up the card, I added a red stamped umbrella which was die cut using the matching dies. The smallest Scallop Squares Dies fit over my window panes perfectly to give it some character. My sentiment was stamped below the window sill and a red bakers twine bow was added. This card would certainly cheer up a friend!
Throwback Thursday: Stitched Duo 3

border

Along with this darling card that Amy has shared with us, I have a few cards that have used the Stitched Duo 3 in the past. Click on the photos below to see the original post from the designers.

duo1 duo2 duo3
Thanks for visiting the blog today! I hope you are inspired to create new cards using this older die set!

| |

Throwback Thursday: Stitched Photo Frames

Pretty Pink Posh: Throwback ThursdayHello!  Amy K. here and it’s Throwback Thursday with a look back at some of your favorite Pretty Pink Posh dies.  This is a great time to pull out some of the older dies and create something new!

Pretty Pink Posh: Throwback Thursday

One of my favorite die sets from Pretty Pink Posh is the Stitched Photo Frame Dies.  These dies are PERFECT for creating some mini cards and make them into tiny shakers!  I’ve used the largest of the Stitched Photo Frame Dies for this trio of shaker cards.  The photo frame has the perfect place to stamp sentiments that are just fun little “pick me up” phrases from Birdie Friends and Birdie Notes. For each mini shaker, I’ve added some of my favorite Pretty Pink Posh sequin mixes!  Here’s a little about each mini shaker:

I stamped and Copic colored the largest birdie from Birdie Friends and die cut with the coordinating die.  The sentiment, from Birdie Notes, was stamped onto my Stitched Photo Frame.  The sequin mix called Sunny Days (which was limited edition) was used for this shaker.

Pretty Pink Posh: Throwback Thursday

I stamped and Copic colored the puppy from Holiday Pals and die cut with the coordinating die.  The sentiment, from Birdie Friends, was stamped onto my Stitched Photo Frame.  The sequin mix called Wisteria Blossoms was used for this shaker.

Pretty Pink Posh: Throwback Thursday

I stamped and Copic colored the bunny from Holiday Pals and die cut with the coordinating die.  The sentiment, from Birdie Friends, was stamped onto my Stitched Photo Frame.  The sequin mix called Sweet Pea was used for this shaker.

Pretty Pink Posh: Throwback Thursday

I can’t wait to give these out with a short handwritten note inside!  Who doesn’t love a shaker card?

border

Along with the great mini cards that Amy has shared with us, I have a few cards that have used the Stitched Photo Frames in the past. Click on the photos below to see the original post from the designers.

Pretty Pink Posh: Throwback Thursday Pretty Pink Posh: Throwback Thursday Pretty Pink Posh: Throwback Thursday
Thanks for visiting the blog today! I hope you’ll join us tomorrow… I have info on a sale I’ll be having in the shop!

|

Throwback Thursday: Stitched Duo 1

Pretty Pink Posh

Hello!  Welcome back to another Throwback Thursday!  This feature gives me a chance to revisit some of the first dies Pretty Pink Posh released.  This month, I’m sharing a card using the first Pretty Pink Posh die that was released……Stitched Duo 1.  This die led the way for other very popular dies including Stitched Duo 2 and Stitched Duo 3.

Pretty Pink Posh

I tried really hard to come up with a “new” use for this die but I kept coming back to a traditional shaker card.  Stitched Duo 1 is the PERFECT die set for a cute “window” shaker.  Let’s see……..

Pretty Pink Posh

I started with blending Tumbled Glass Distress Ink with a sponge applicator onto a top folding notecard.  I blended ink until I had the look and darkness I wanted.  Because I wanted a finished edge, I then trimmed my notecard just a bit on either side to get rid of the dark blending on the edges.  My balloon is from Darling Friends, the exclusive set PPP designed for Simon Says Stamp, was colored with Copics and the tiny bunny was added with foam adhesive.  Oh…..can’t forget to embellish with Sparkling Clear 4mm Sequins!

Pretty Pink Posh Pretty Pink Posh

Now, for the shaker!  I started with 2 die cut tags……1 left as a tag and the other diecut with the “windows”.  To the tag, I blended more Tumbled Glass Distress Ink until it matched my notecard. This becomes the “backer” for my shaker as I adhered foam adhesive to encase my Iridescent Star Confetti.  After stamping my sentiment to the “window” tag, I added it to my shaker by simply lining it up with the backer.  Now my shaker can be added anywhere to my card!  I love creating shaker cards using this technique as I can play around with my layout more.

My card was assembled and for some finishing last touches, I added the clouds from the Rainy Days coordinating dies with 4mm and 6mm Sparkling Clear Sequins.

Pretty Pink Posh

border

Be sure to join us tomorrow as we’ll have a special video and post showing how to organize your sequins, plus, a giveaway!

Pretty Pink Posh

Thanks for visiting the blog today! I hope that Amy’s adorable card inspired you to play with your old(er) die sets!

| |

Throwback Thursday: Peek-A-Boo

Pretty Pink PoshHello!

I’m excited to be on the PPP blog showcasing some of the fabulous Pretty Pink Posh dies.  I love to use my dies in unusual or unique ways and I’ll be stopping in once a month for a new feature called Throwback Thursday.  Today I’m using the Peek-a-Boo die that was released last year.

Pretty Pink Posh

When I was coming up with a design using this die, I could not get the image of Morning Glories out of my mind.  (That’s ok if you don’t see it…..just go with it for me!)  So, I die cut the Peek-a-Boo die multiple times in a random pattern onto Tim Holtz watercolor cardstock.  Using the die image as a guide, I watercolored Wild Honey, Hickory Smoke, and Broken China Distress Inks over the top.  I used lots of water to blend out the color so they weren’t so vibrant.  Once this panel was completely dry, I adhered it with foam adhesive to a top folding notecard.

Pretty Pink Posh

For my sentiment, I used a “thanks” die from my stash diecutting it out of Broken China Distress Inked watercolor paper as well.  I love that the sentiment extends across my watercolor background!  As for those sequins?  I had to use my favorite Sparkling Clear sequins in 4mm and 6mm to finish this off!

Pretty Pink Posh
border

I’m so excited to have Amy bringing this new feature to the blog once a month. This is a great opportunity for us to showcase an older product, but one that still has so much creative uses!

Along with the great card that Amy has shared with us, I’ll be sharing some of my favorite cards from the design team and guests using the specific product we highlight. Click on the photos below to see the original post from the designers.

peekaboo4 peekaboo2 peekaboo1
That’s a wrap for this post. In my next post, I’ll announce the winners from the birthday celebration blog hop and the bonus giveaway winners.

Thanks for visiting the blog today!