Summer Theme Week: Day 2
Save 15% on all products in the summer section
Hello Crafty Friends! It is Hanh here with you today. Happy Summer Theme Week! There are so many fun summer products to choose from over at the Pretty Pink Posh Shop.
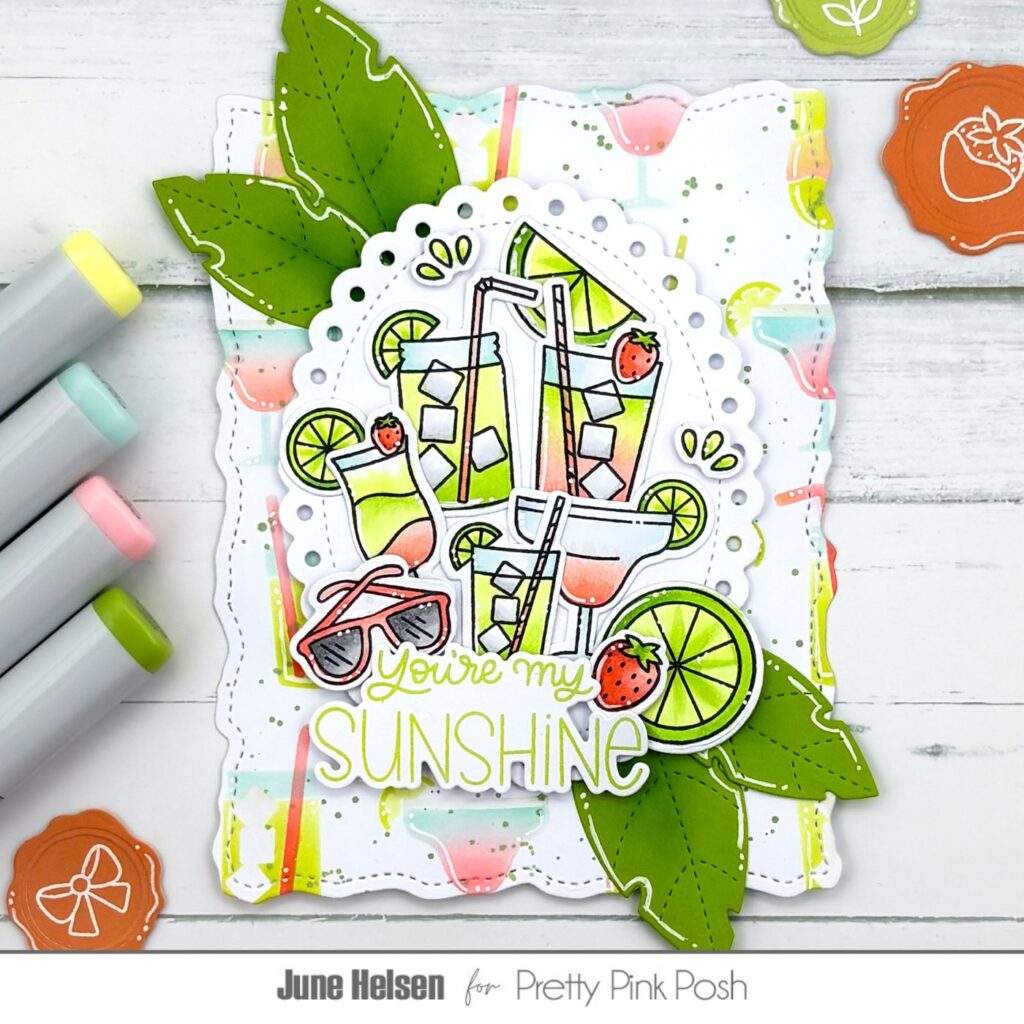
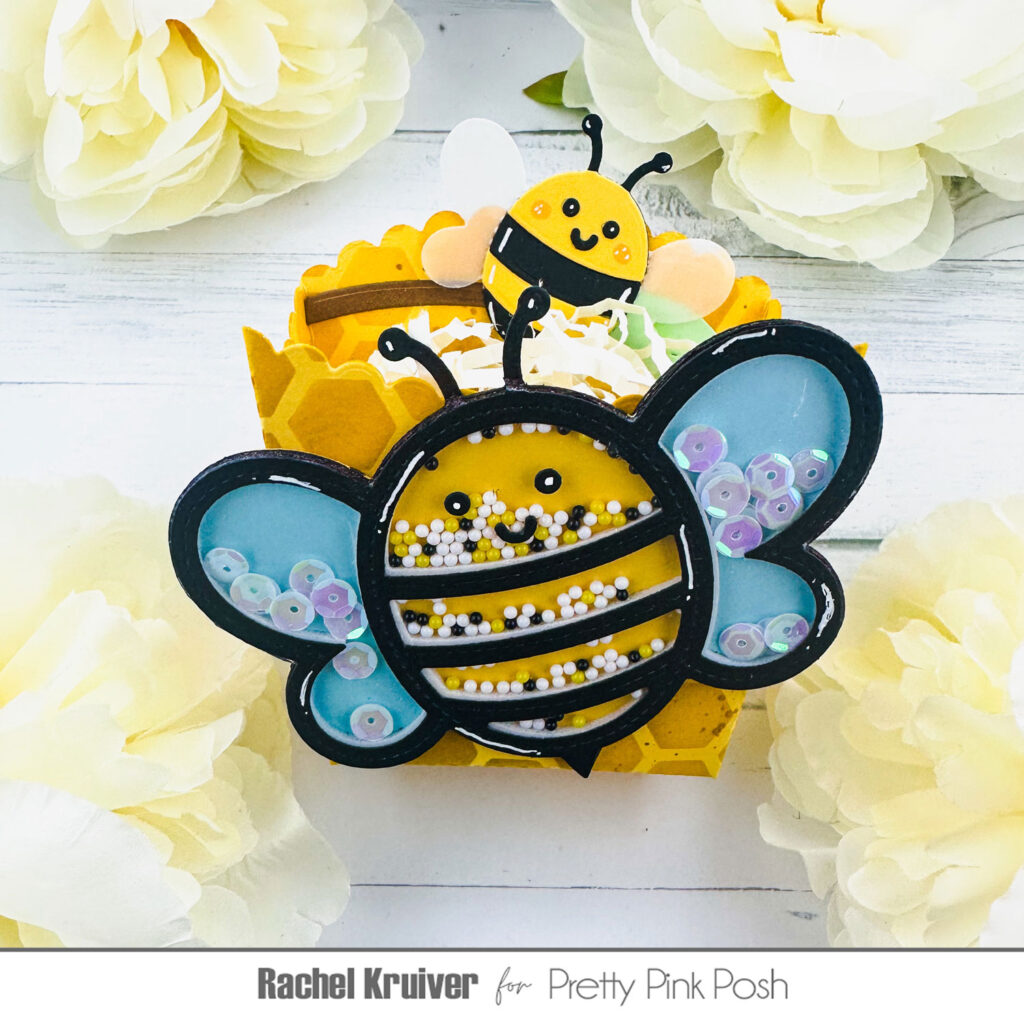
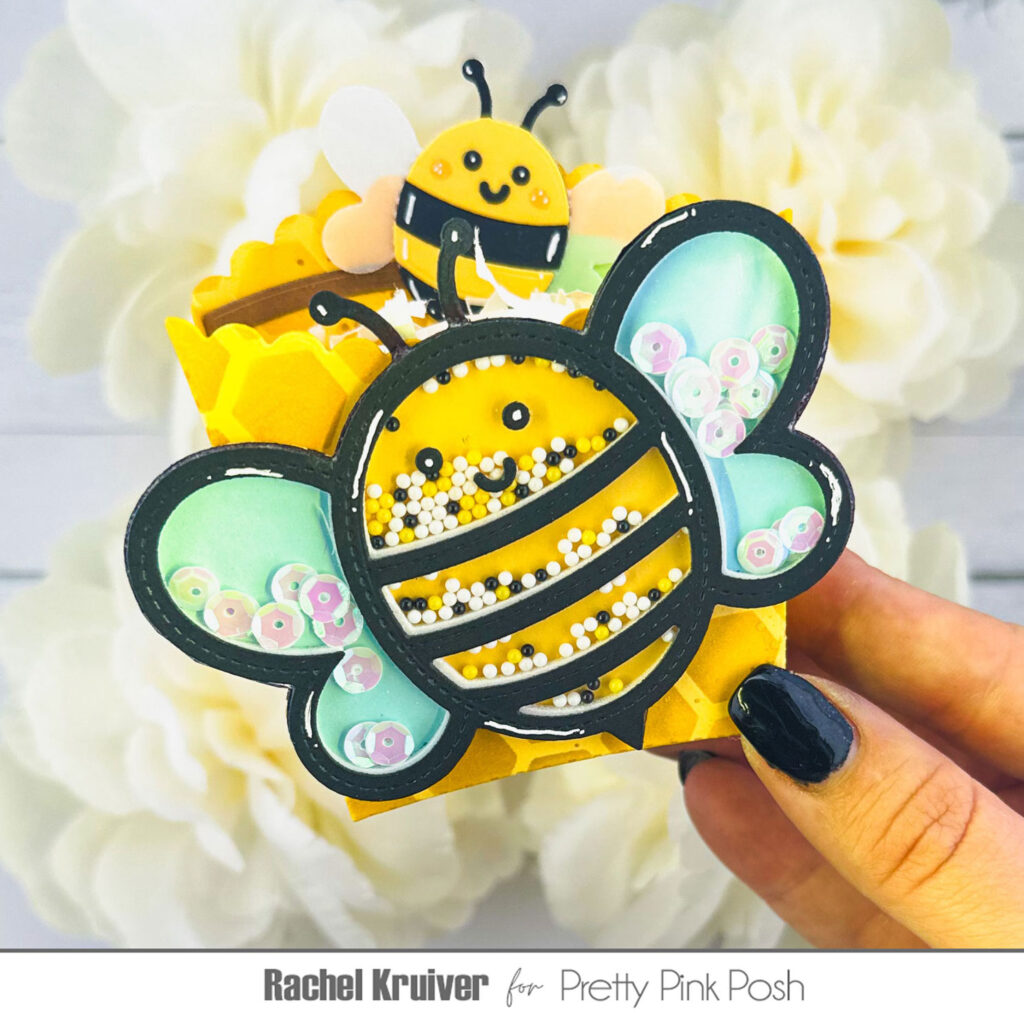
Today I am excited to showcase the Summer Holder Additions Dies. This has got to be one of my favorite products from the latest Pretty Pink Posh release. It is so versatile when it comes to making summer themed cards. I had so much fun playing with it that I created two cards to share with you today. So let’s get started.
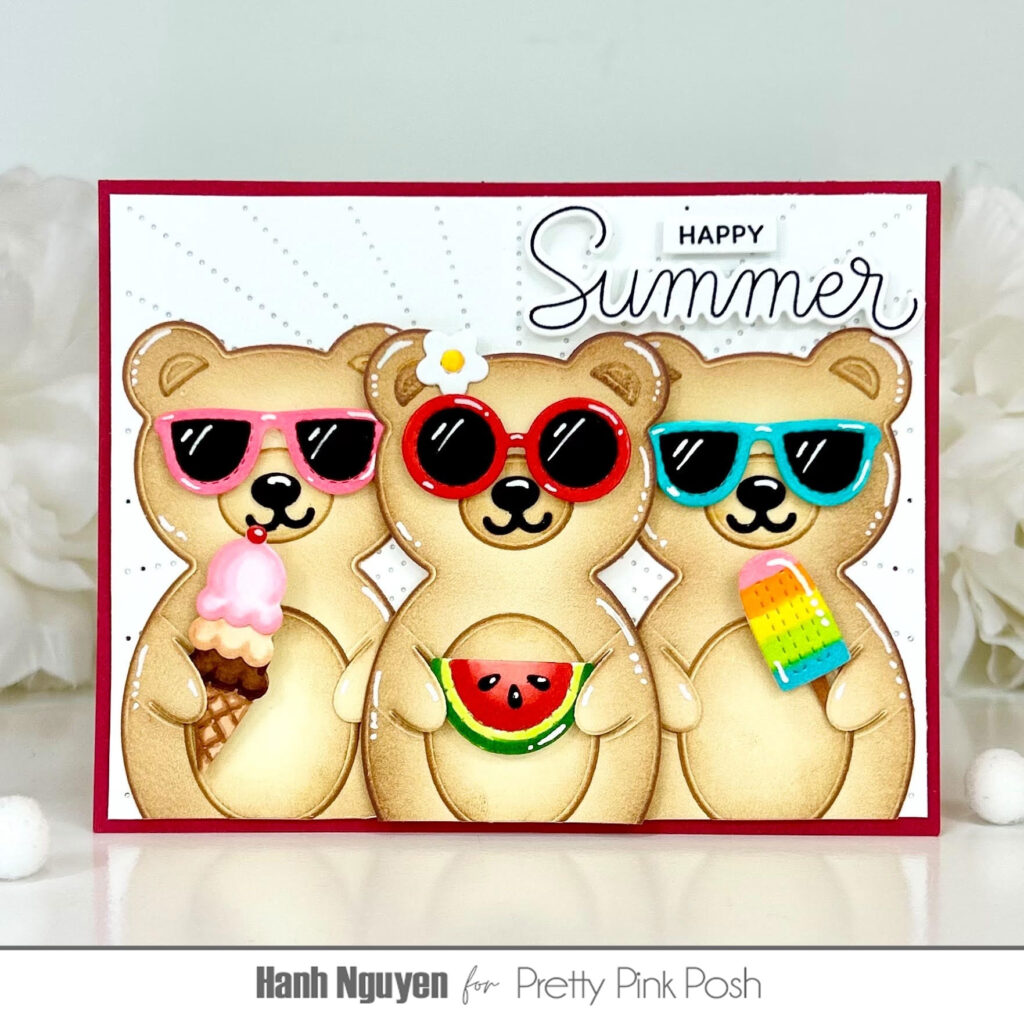
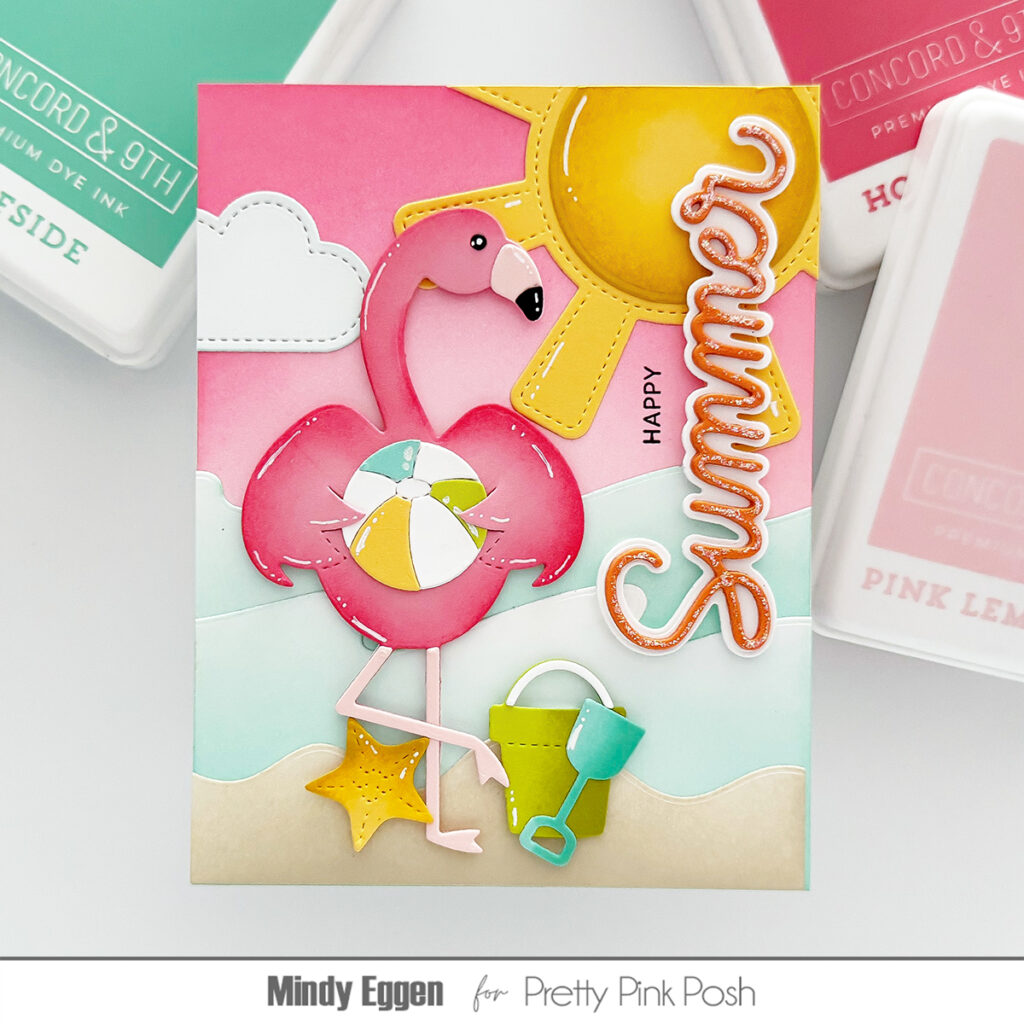
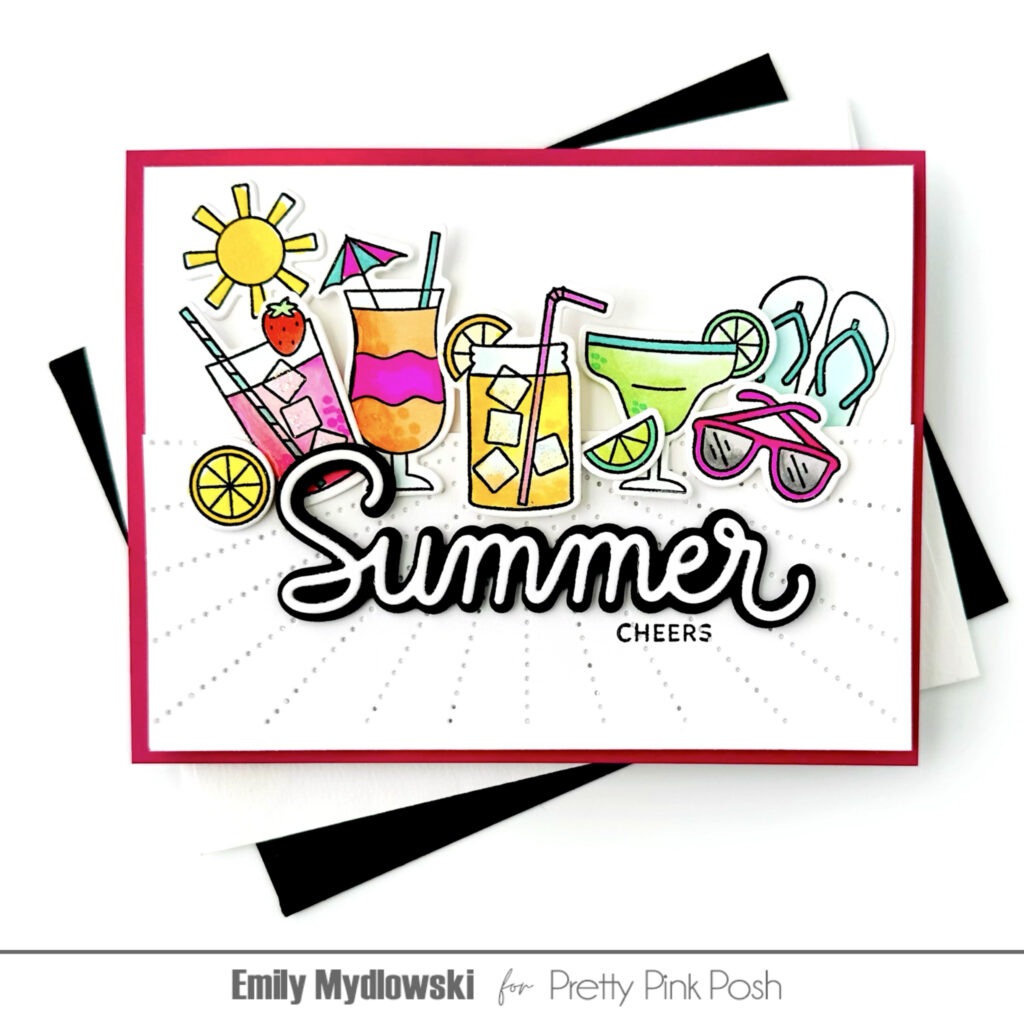
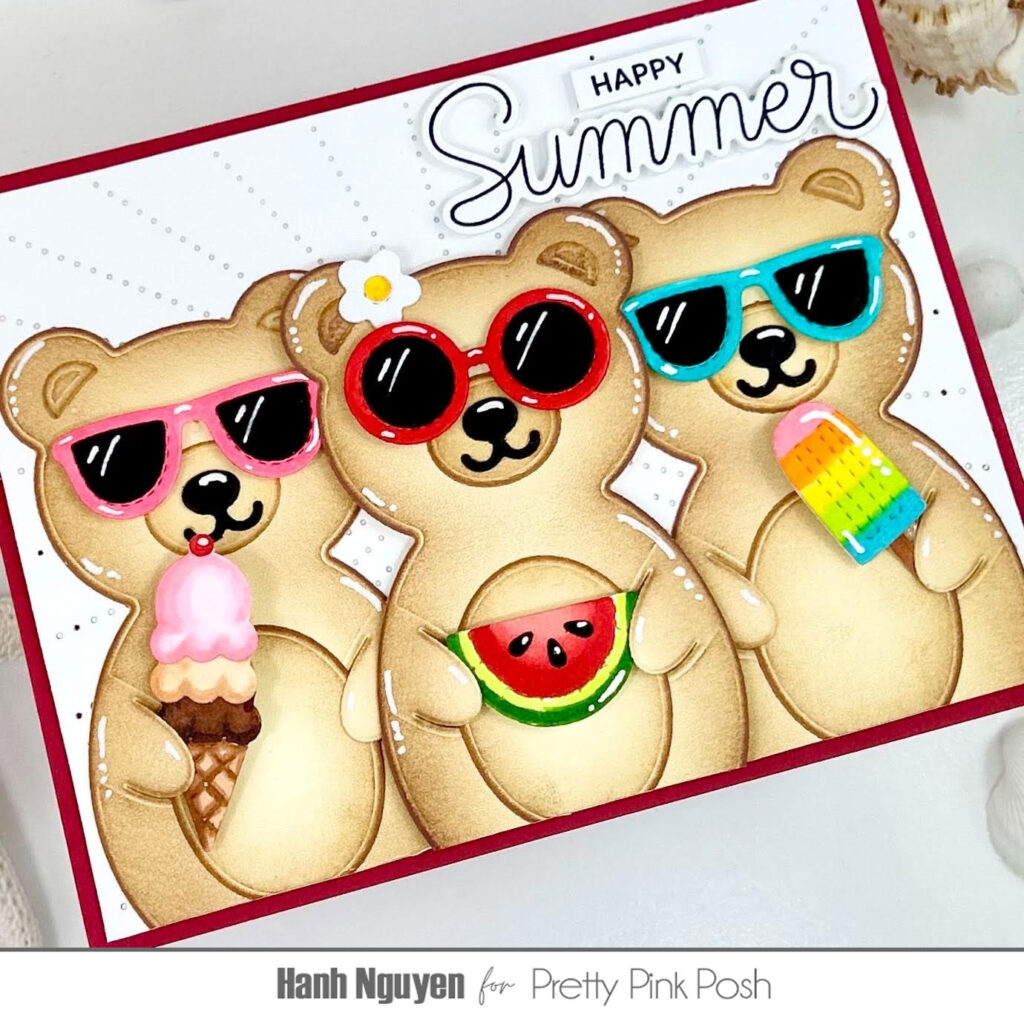
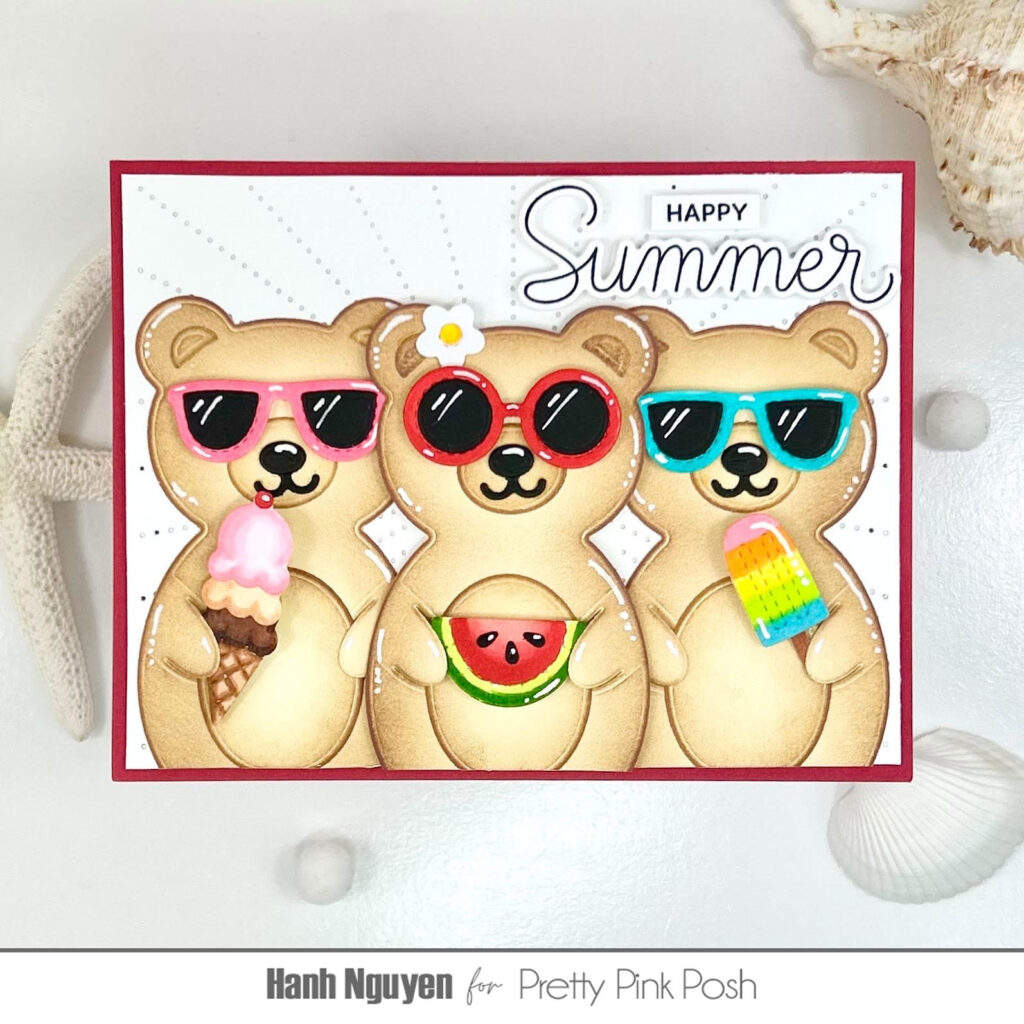
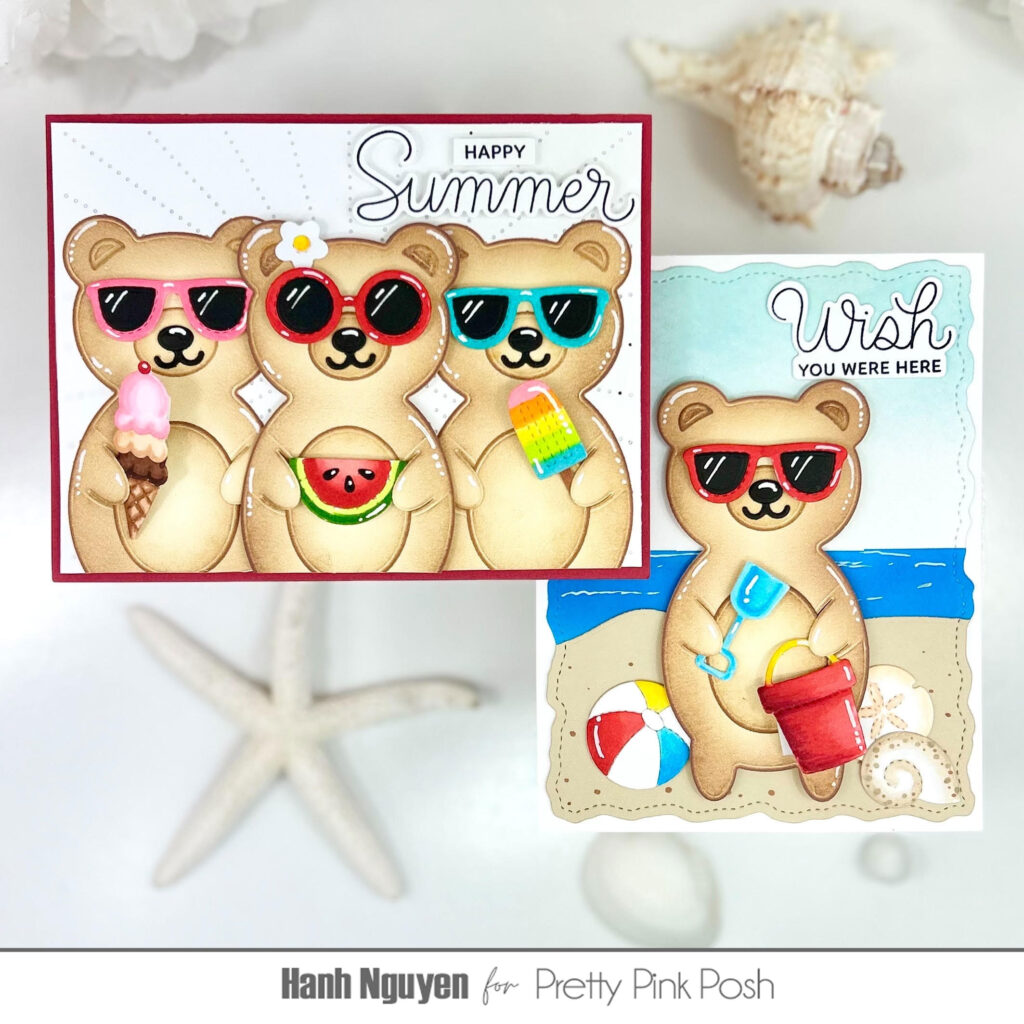
For my first card, I focused on the first thing that comes to mind when I think about summers … all of the yummy food that’s associated with it! For both cards, I used the adorable Bear Holder Dies to diecut the bear out of cream and black cardstock. I lightly ink blended the edges of all of the cream colored pieces and assembled the bears with liquid glue.
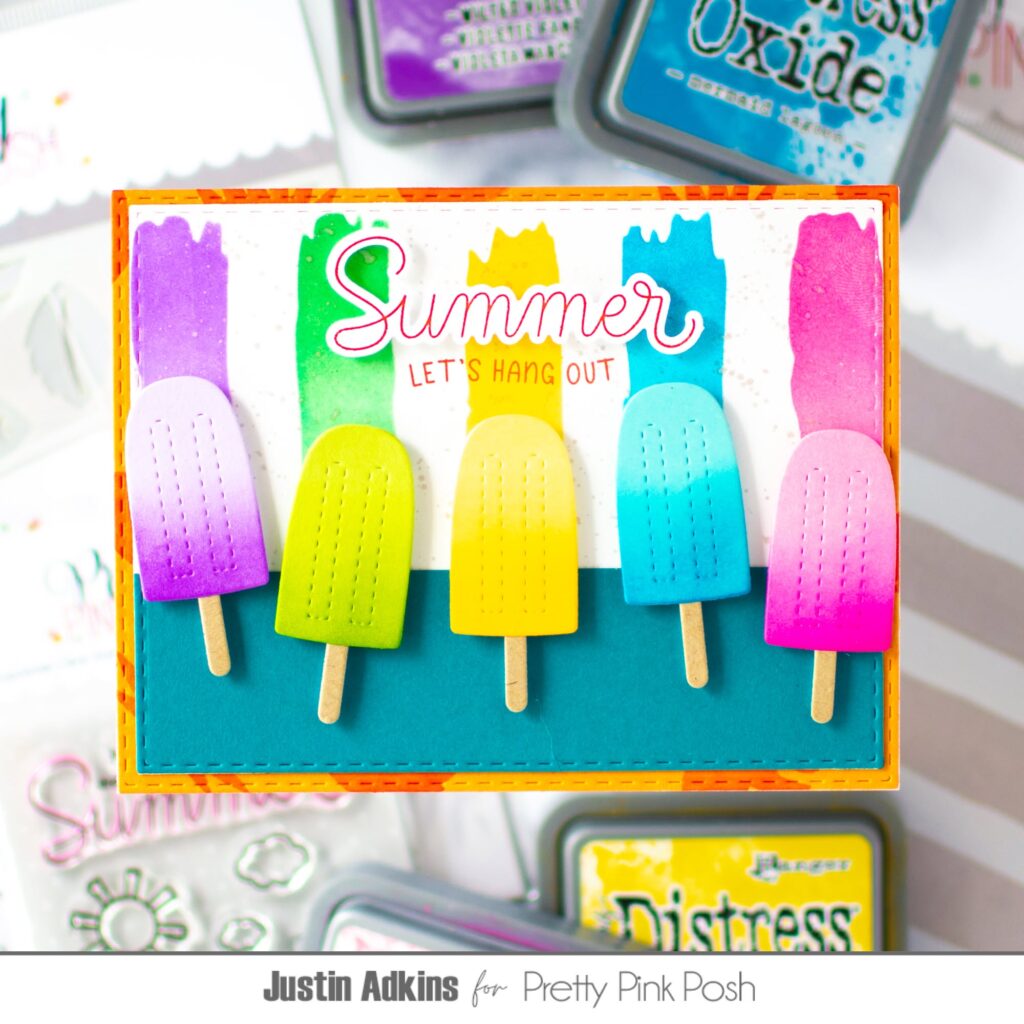
Next, I used the Summer Holder Additions Dies to diecut the sunglasses, ice cream, watermelon, popsicle and flower out of Neenah Solar White 110 lb and black cardstock. I colored with Copic markers, assembled with liquid glue and highlighted with a white gel pen.
COPIC COLORS: Sunglasses: RV13, R24, BG45 Flower: Y13/08 Ice cream: R24, RV000/10/21, E50/21/53, E23/25/29, E53/33/35 Watermelon: R20/22/24, YG01/17 Popsicle: RV21, Y38, Y13, YGo1, BG53, E33
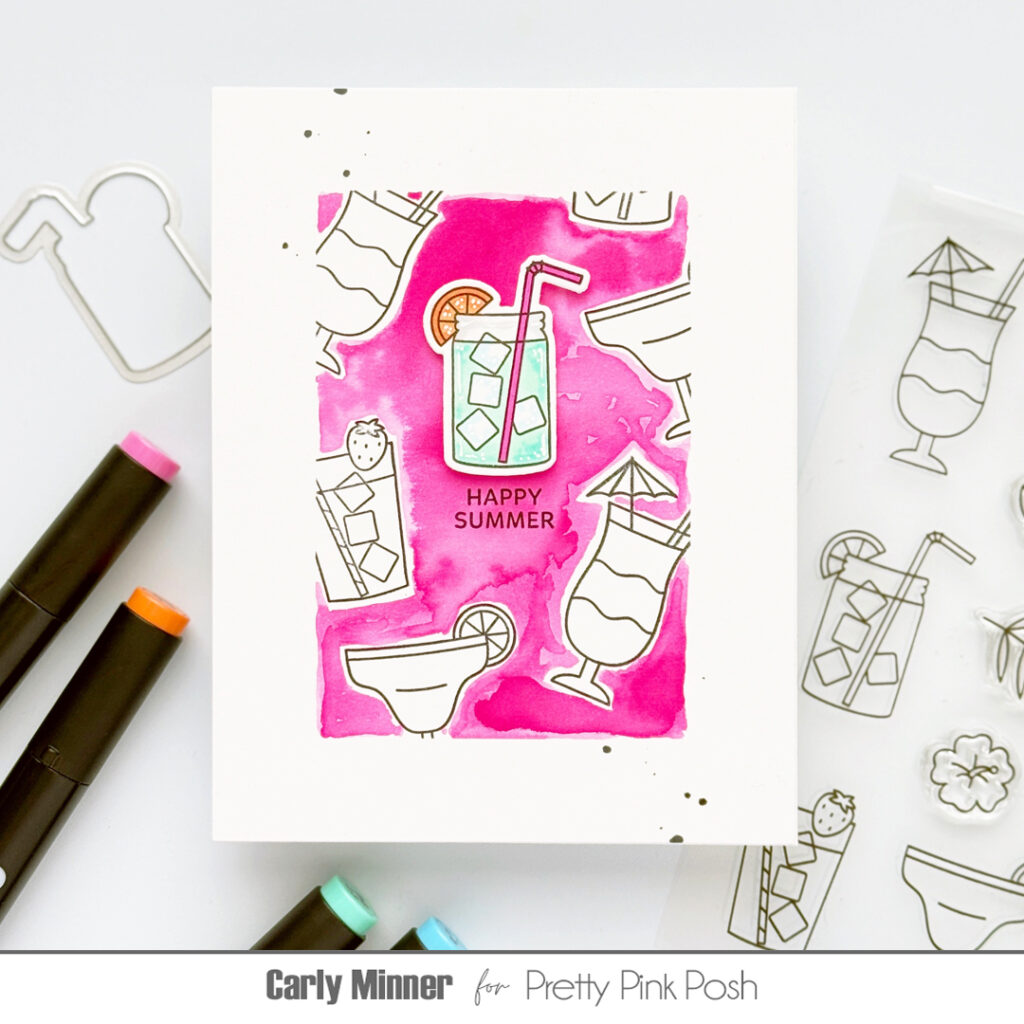
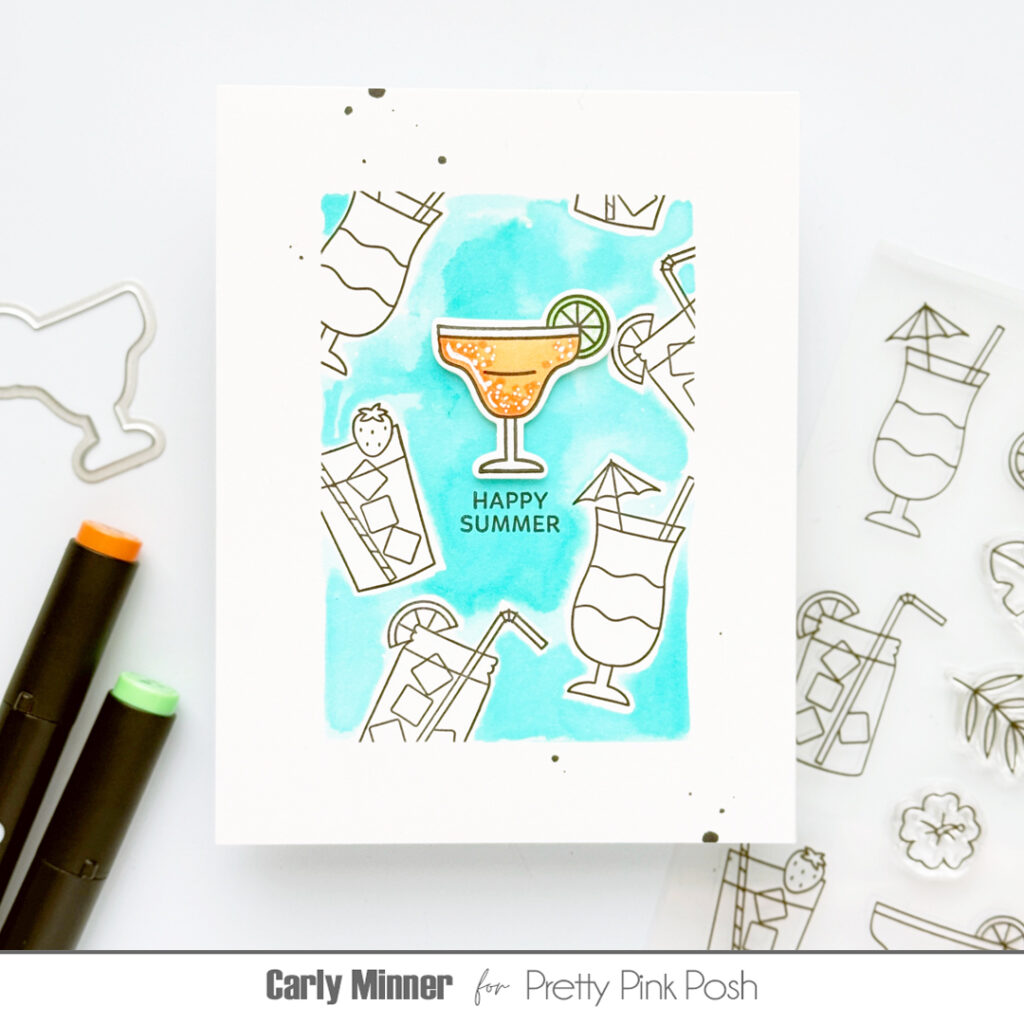
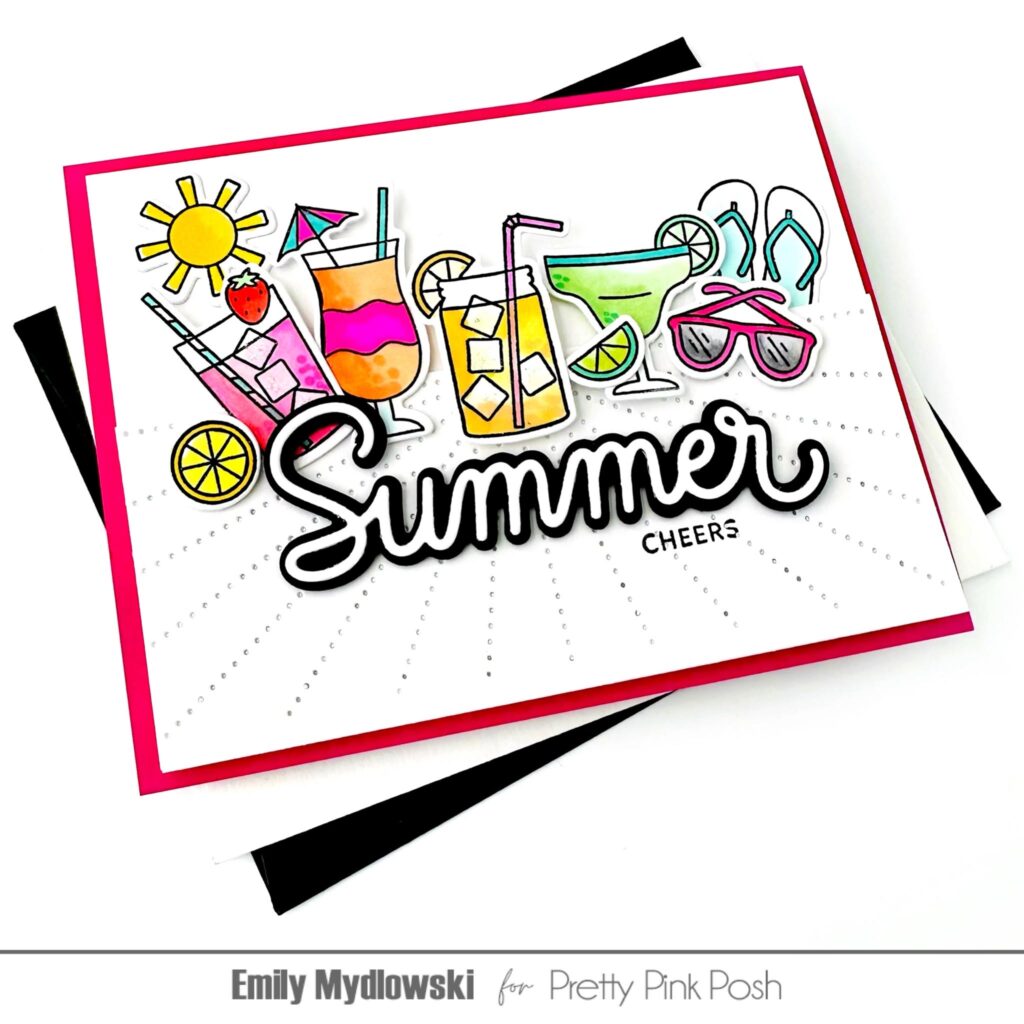
For the background, the Sunburst Pierced Plate Die was used to diecut a white panel. A thin edge was trimmed off of the panel before it was matted with a piece of red cardstock.
I stamped the “Happy Summer” sentiment from the Happy Summer stamp set with Memento Tuxedo Black ink onto a piece of white cardstock and diecut them out with the coordinating Happy Summer Dies and Sentiment Strip Dies.
The bears, accessories and sentiment strips were adhered to the panel with a combination of liquid glue and foam tape for a bit of dimension and interest. Finally, the panel was adhered to a white A2 cardbase (5.5” x 4.25”).
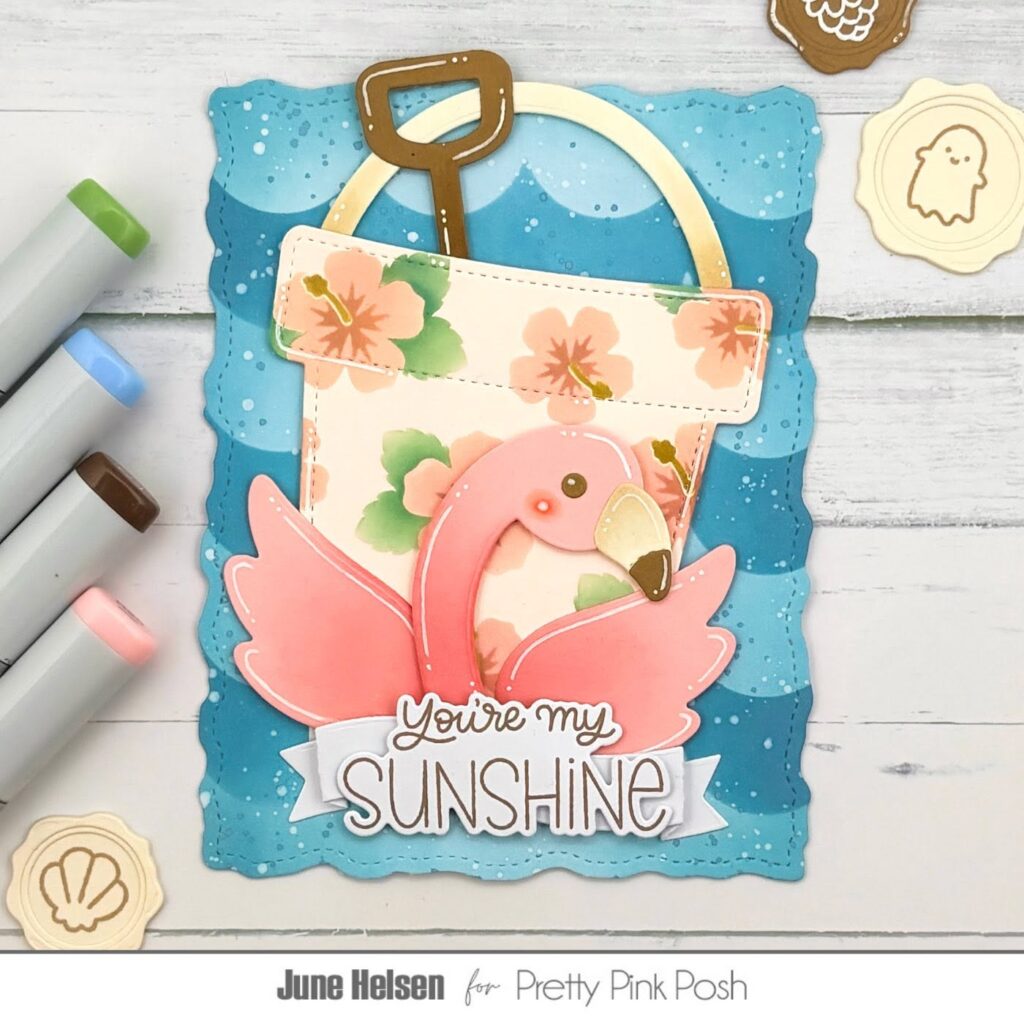
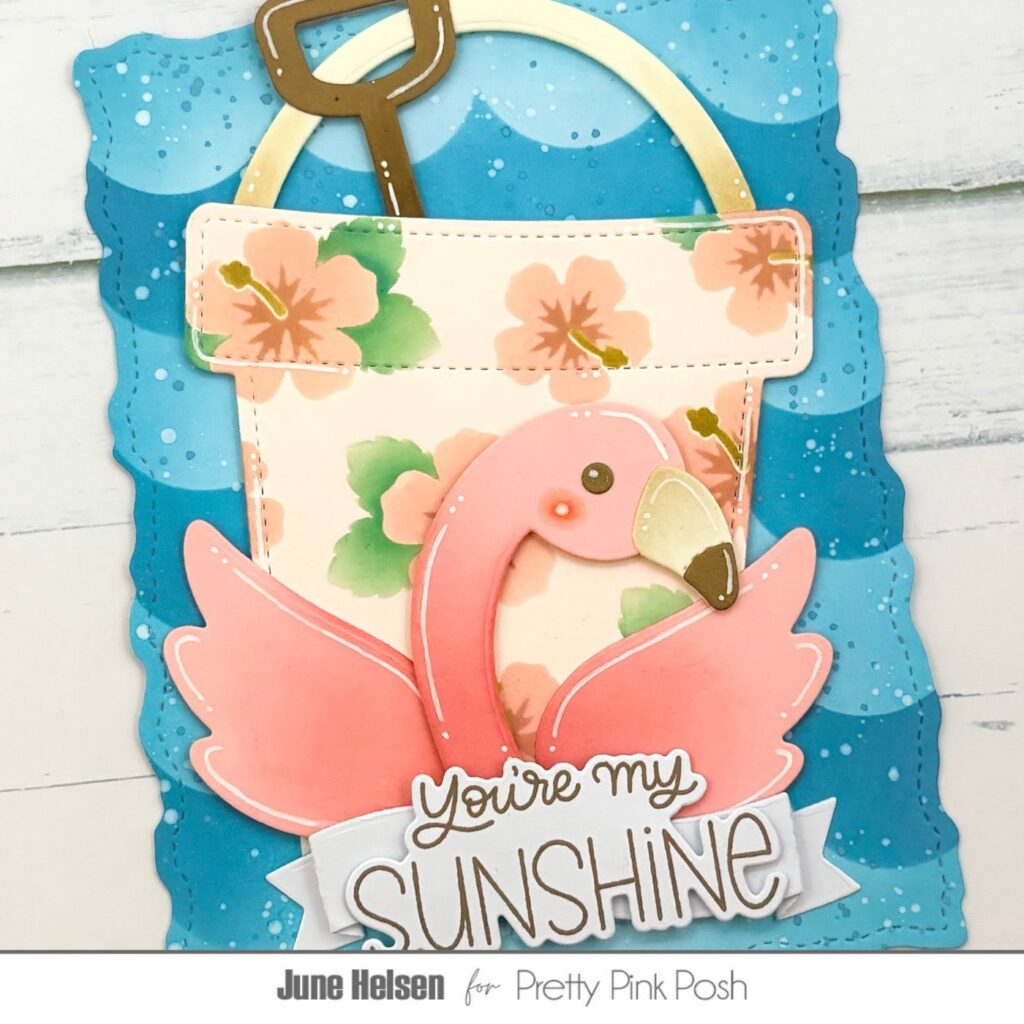
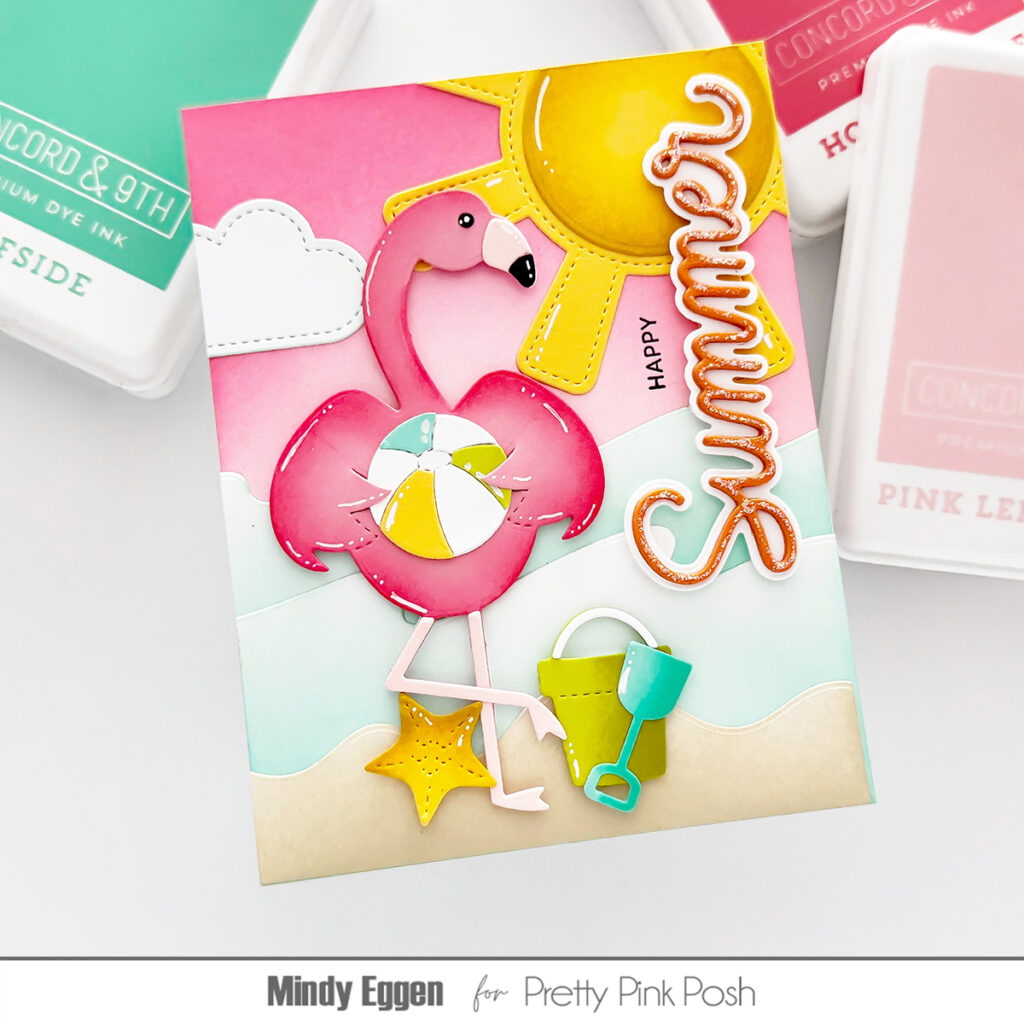
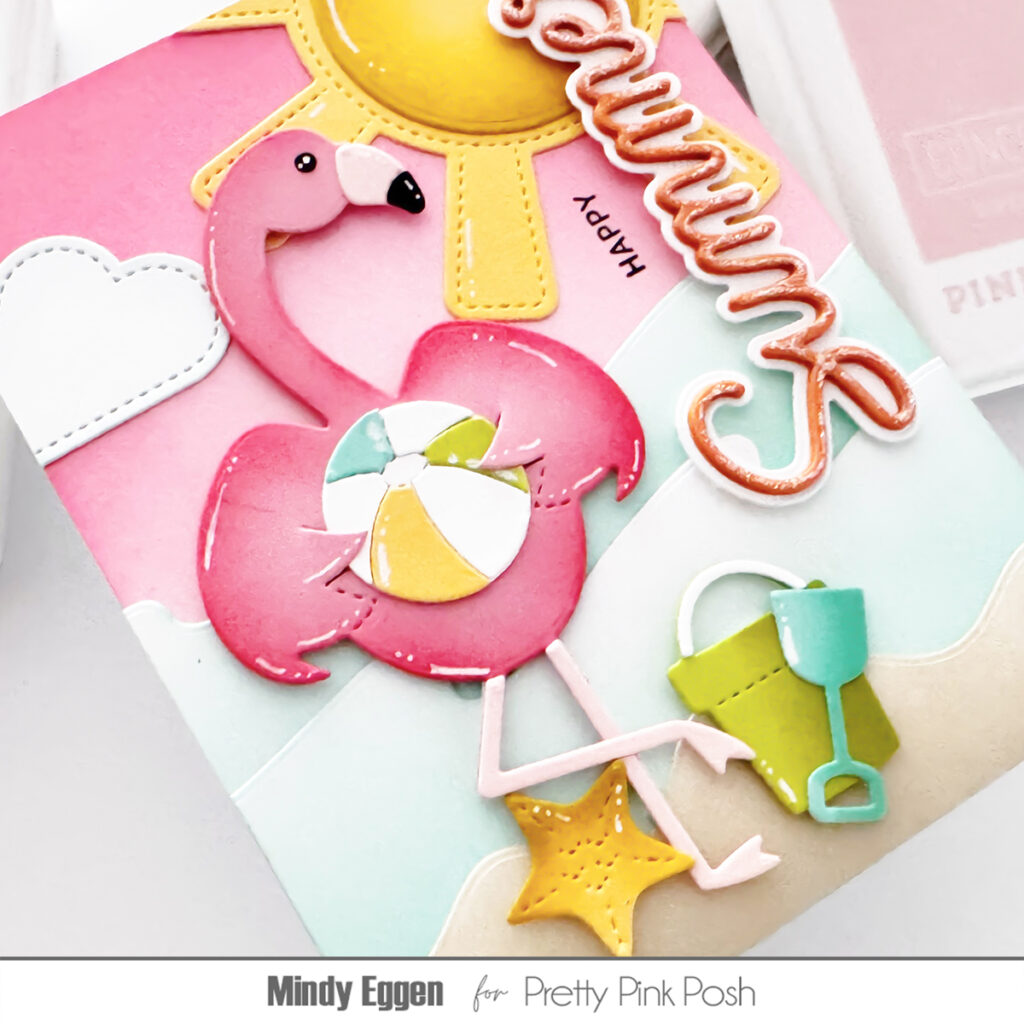
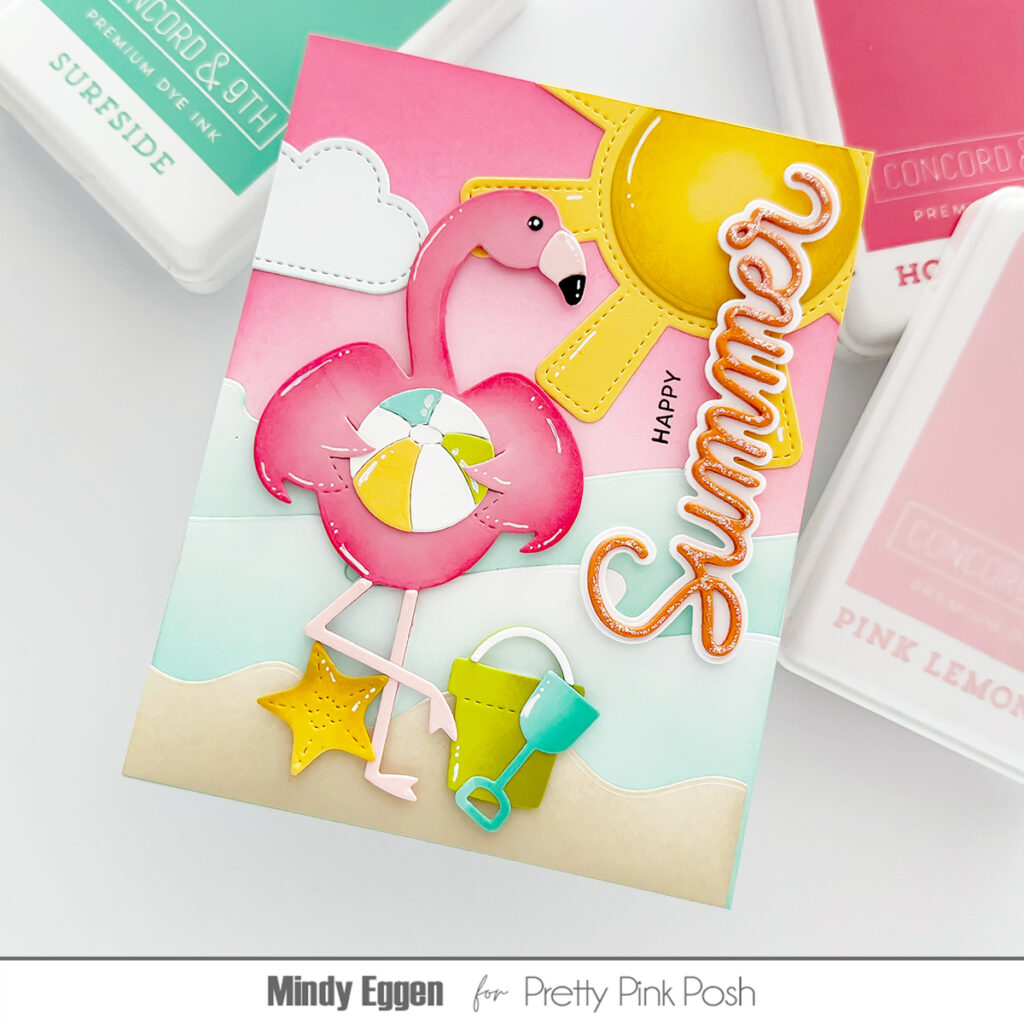
For my second card, I created a simple beach scene to pair up with all of the fun beach accessories and seashells from the Summer Holder Additions Dies. Once again, I diecut all of the elements out of white and black cardstock. I olored with Copic markers, assembled with liquid glue and highlighted with a white gel pen.
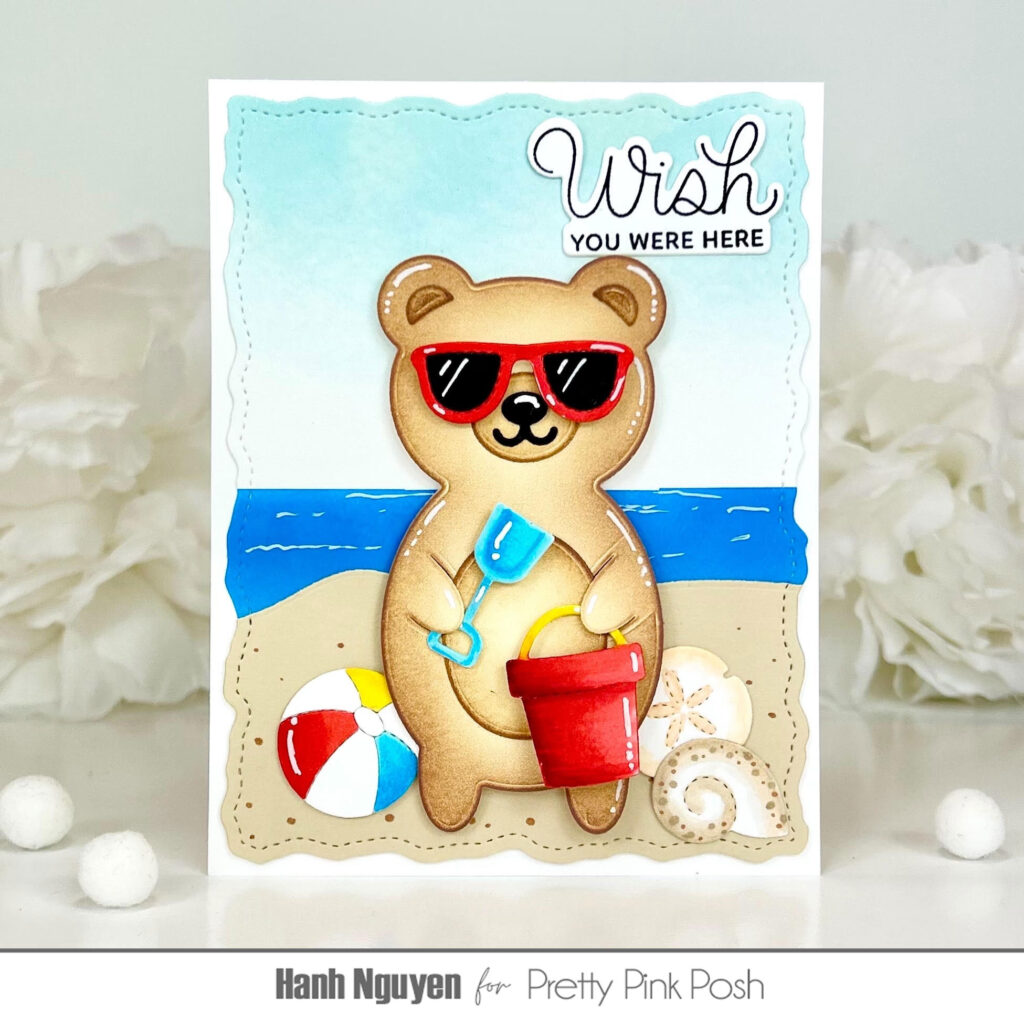
COPIC COLORS:Sunglasses: R24 Ball: R14/24, Y13/08, B00/02 Shovel: B00/02 Bucket: Y13/08, R14/24/29 Seashells: E50/51/53, E41/42/43/33
For the background, I lightly ink blended with Tumbled Glass and Salty Ocean Distress Oxide to create the sky and ocean. The Snowy Hills Border Dies was used to trim a piece of tan cardstock for the sand. The Stitched Torn Rectangles Dies was used to trim out the panel.

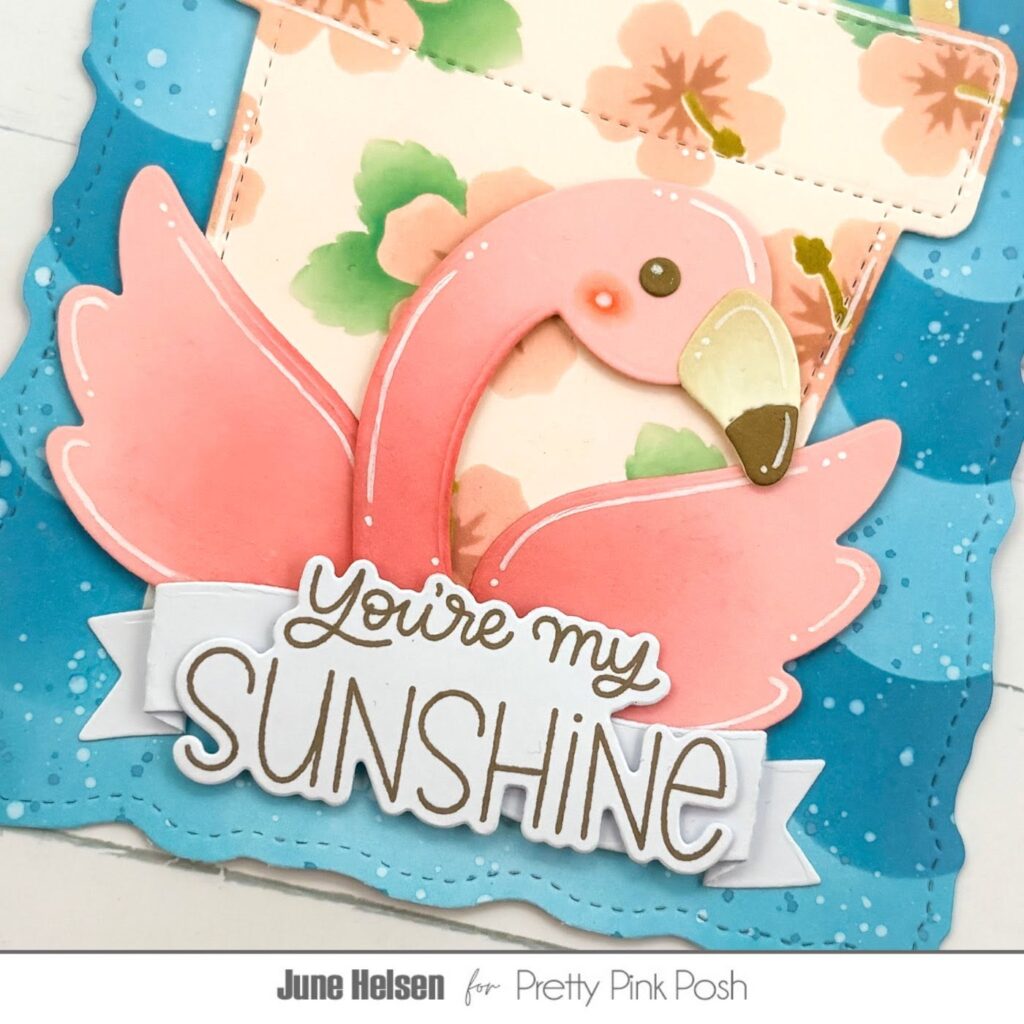
For the sentiment, I stamped the “Wish You Were Here” sentiment from the Beach Fun stamp set with Memento Tuxedo Black ink onto a piece of white cardstock and diecut it out with the Beach Fun coordinating dies.The bear, accessories and sentiment were adhered to the panel with a combination of liquid glue and foam tape for a bit of dimension and interest. Finally, the panel was adhered to a white A2 cardbase (4.25” x 5.5”).
I appreciate you taking the time to stop by and visit today. I hope you liked my cards and are inspired to try out this fun Summer Holder Additions Dies set. Be sure to head on over to the Pretty Pink Posh Shop check out all of the different products available and take advantage of the 15% discount on all items in the Summer Section during this theme week!
Have a wonderful and crafty day!