
Sending Bunny Kisses
Hi crafty friends, Marine here, I’m back with this cute and pretty card showcasing a beautiful floral wreath and a cheeky bunny ready to properly celebrate the arrival of Spring. Obviously, here I put flowers in my wreath to create a Spring themed card, but you definitely could replace them with Easter eggs for a cute and fun Easter themed card. The Pretty Pink Posh die collection is so diverse that the possibilities are endless!
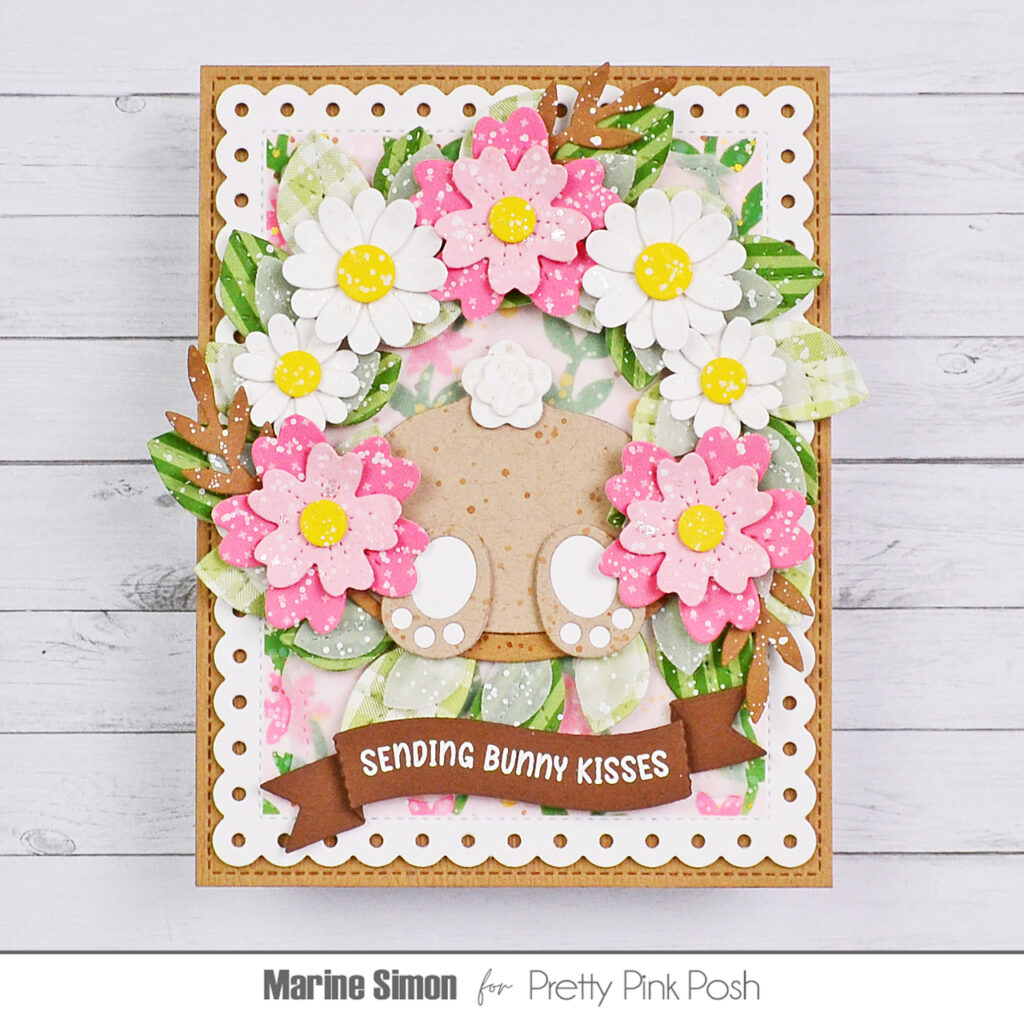
I started off by cutting a large Eyelet Rectangle panel out of Strathmore bristol smooth cardstock, I covered the stitched edges with washi tape and then applied spun sugar oxide ink all over the panel. To match with the Spring theme, I used the Layered Blooming Vines stencil set to create a beautiful floral pattern on my light pink panel. For the greenery I applied rustic wilderness oxide ink, for the flowers I applied worn lipstick oxide ink and for the small dots I applied fossilized amber oxide ink. Next I splattered water on my panel and dried it with a piece of paper towel, I mixed vintage photo distress ink with water and added brown splatters to my panel with a slim brush, and I did the same with copic opaque white ink. When my panel was dry, I attached it to a 5,5 x 4,25 inches light brown woodgrain panel using 1mm foam tape, and then to a white card base using double sided sticky tape.
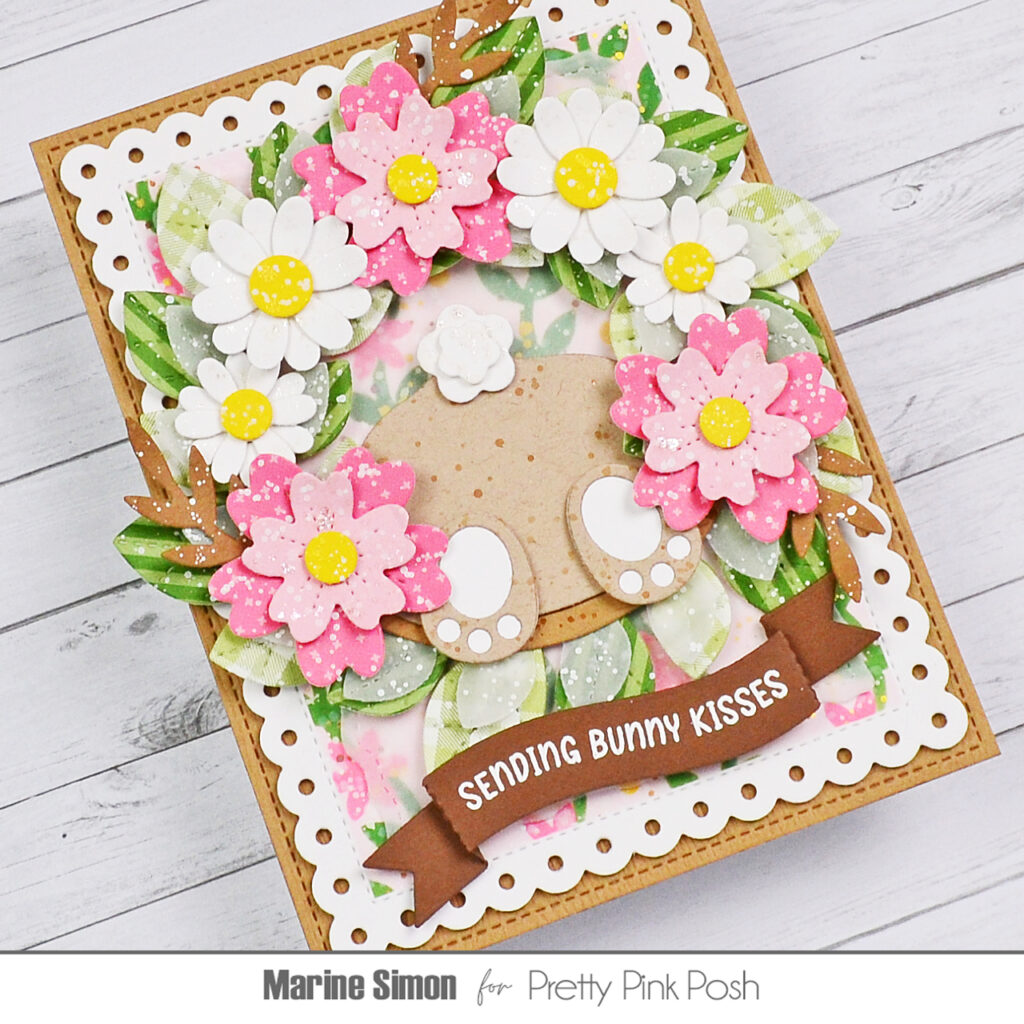
I cut the wreath out of green cardstock using the Floral Wreath Builder die set. In the end we can see it, and that was the point, I just needed it as a base to glue all the leaves. Speaking of which, I cut them all out of two different pattern papers: a green stripes pattern paper and a green plaid pattern paper. I added white splatters to each of them and when they were dry, I attached them to my wreath base using liquid glue. To add more interest to my wreath, I used the same die as the one I used to cut the base to cut another wreath out of vellum, I added white splatters to it, and then stuck it to my leafy wreath using liquid glue. Next I used the ring die from the Floral Wreath Builder die set to cut a ring out of the same light brown woodgrain cardstock as the card base, added vintage photo distress ink splatters to the ring, and then attached it on top of the vellum wreath using liquid glue. This ring is mostly covered by the flowers but we still can see it between the bunny’s paws.
Still using the Floral Wreath Builder die set, I cut the flowers and started with the pink ones: I cut the large petals out of a pink cross pattern paper, the small petals out of light pink cardstock and the pistils out of yellow cardstock. I added white splatters to the petals and pistils, liquid stardust splatters only to the light pink petals, and fossilized amber distress spritz splatters only to the pistils. I let them dry and assembled them using 1mm foam squares. For the daisies, I cut the petals out of white cardstock and the pistils out of yellow cardstock. I added liquid stardust splatters only to the white petals, and white splatters and fossilized amber distress spritz splatters to the pistils. Again I let them dry and assembled them with 1mm foam squares. I also cut three branches out of dark kraft cardstock and added white splatters to each of them.
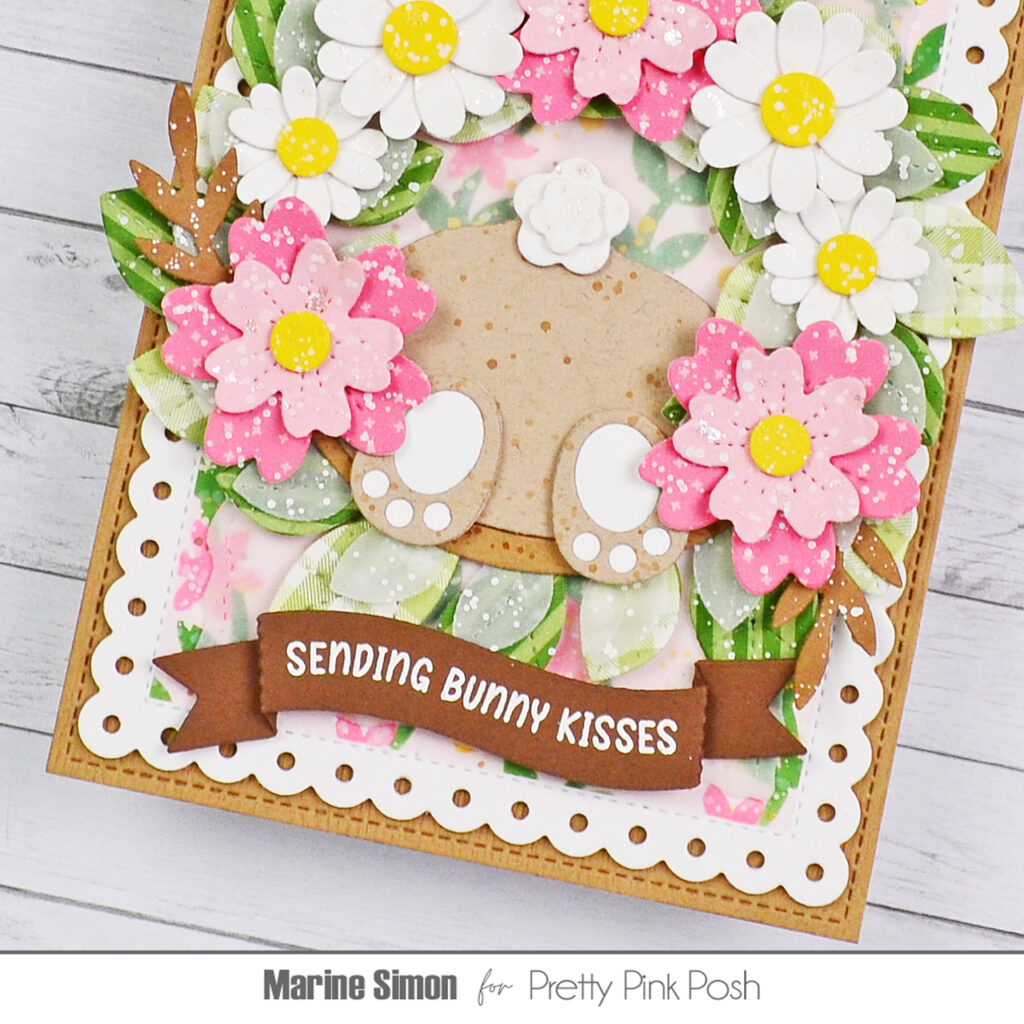
Next I cut the bunny pieces using dies from the Big Easter Cupcake die set. I cut the bunny’s behind and paws out of light kraft cardstock, and cut the tail and paw pads out of white cardstock. I added vintage photo distress ink splatters to the light kraft pieces, liquid stardust splatters to the tail pieces, and then assembled the paws using liquid glue and the fluffy tail using a 1mm foam square.
I cut a Stitched Torn Rectangle panel out of vellum using the second largest die from that set, attached my leafy wreath on the upper section using 1mm foam squares, stuck the bunny pieces at the bottom of the wreath, and then all the flowers and branches using foam squares and liquid glue. Next I worked on my greeting and cut a banner out of dark brown cardstock using a Banner Greeting 2 die, on that banner I white heat embossed “Sending bunny kisses” from Easter Banner Greetings, I folded the banner on each end, and then attached it below the wreath using 2mm foam squares.
And that’s it! Thanks so much for stopping by, and see you next time!
OMG Marine this is adorable!!! I love how you added the spatter. Such a sweet card.