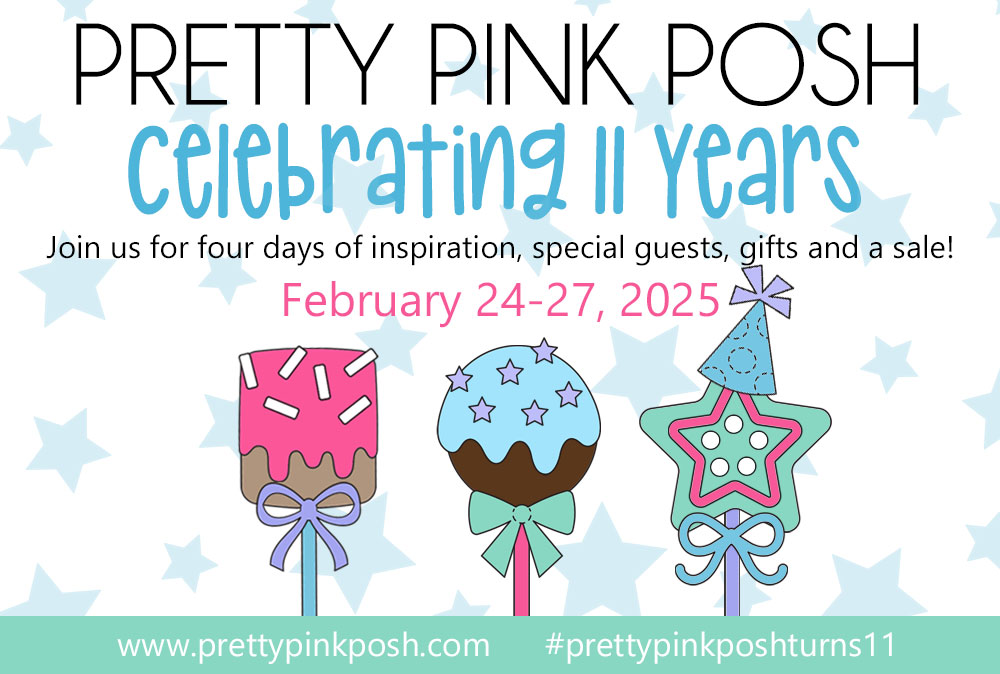
Day 4: Birthday Blog Hop + Gift Offer
Day 1 CLICK HERE // Day 2 CLICK HERE // Day 3 CLICK HERE
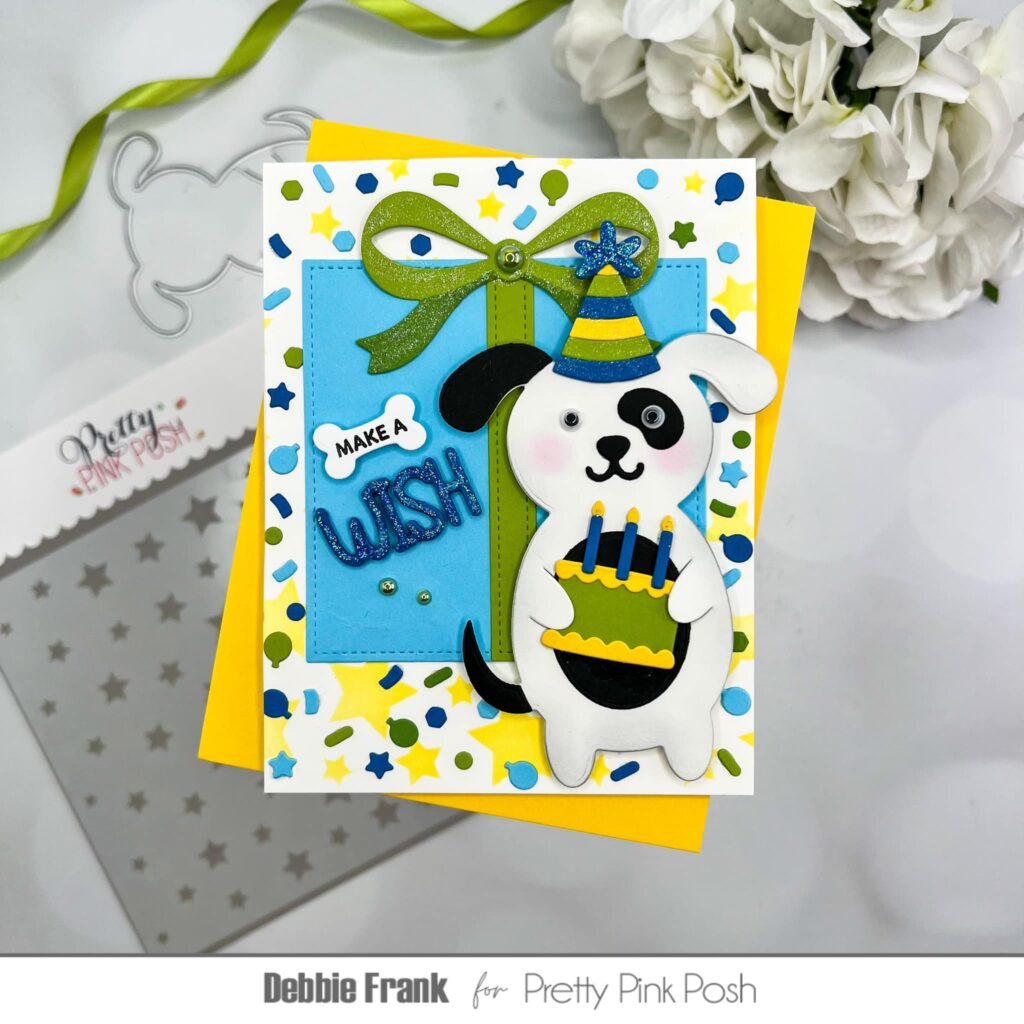
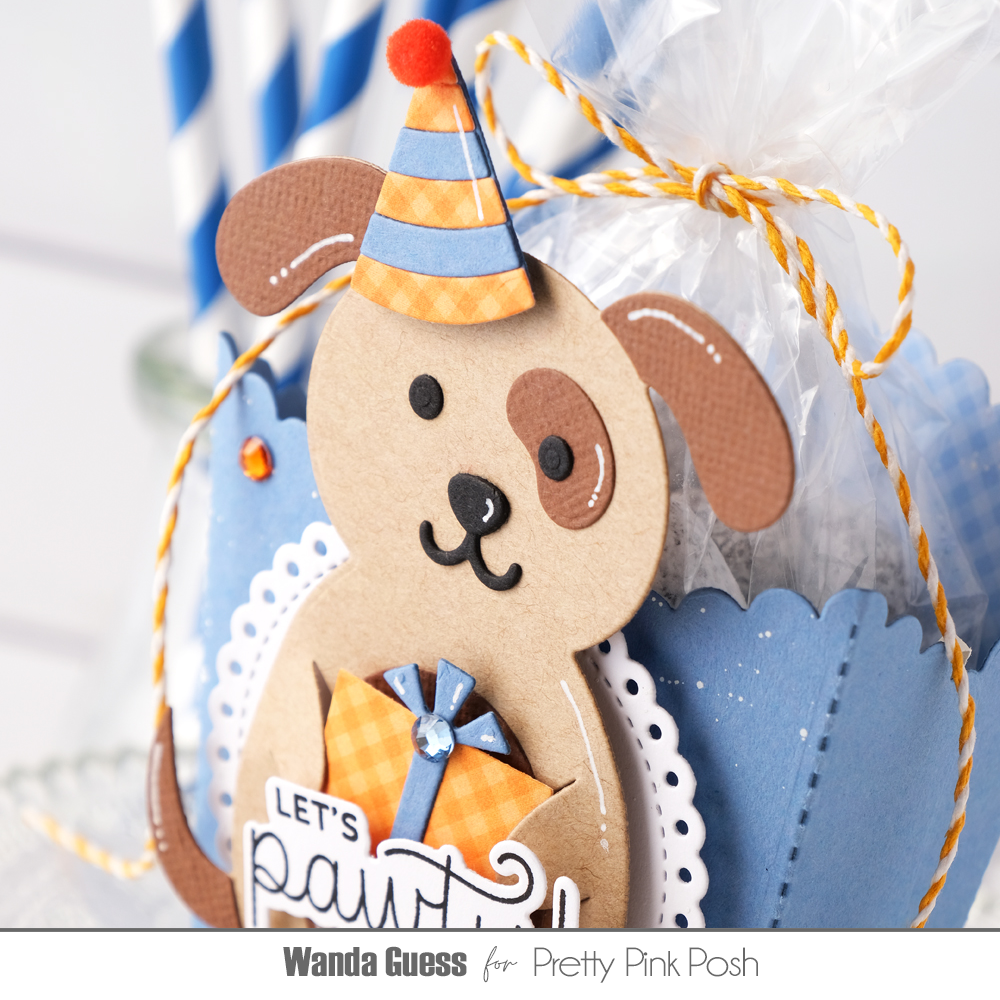
Hi crafty friends! I’m Michelle Woerner and I am super excited to be a guest designer with Pretty Pink Posh and help celebrate the 11th birthday anniversary! Today I’m sharing a fun birthday shaker card using the new Party Hat Shaker die set and sentiments from Upright Greetings: Birthday stamp set.
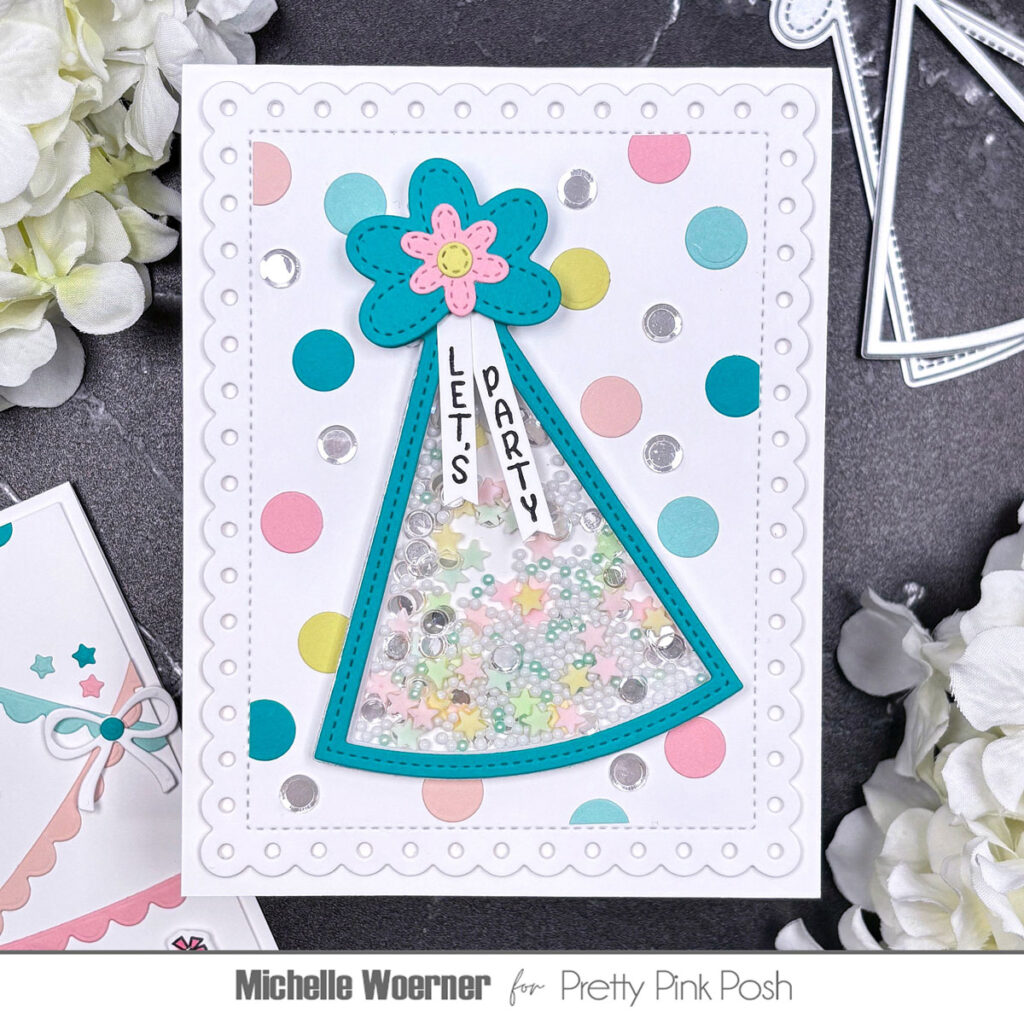
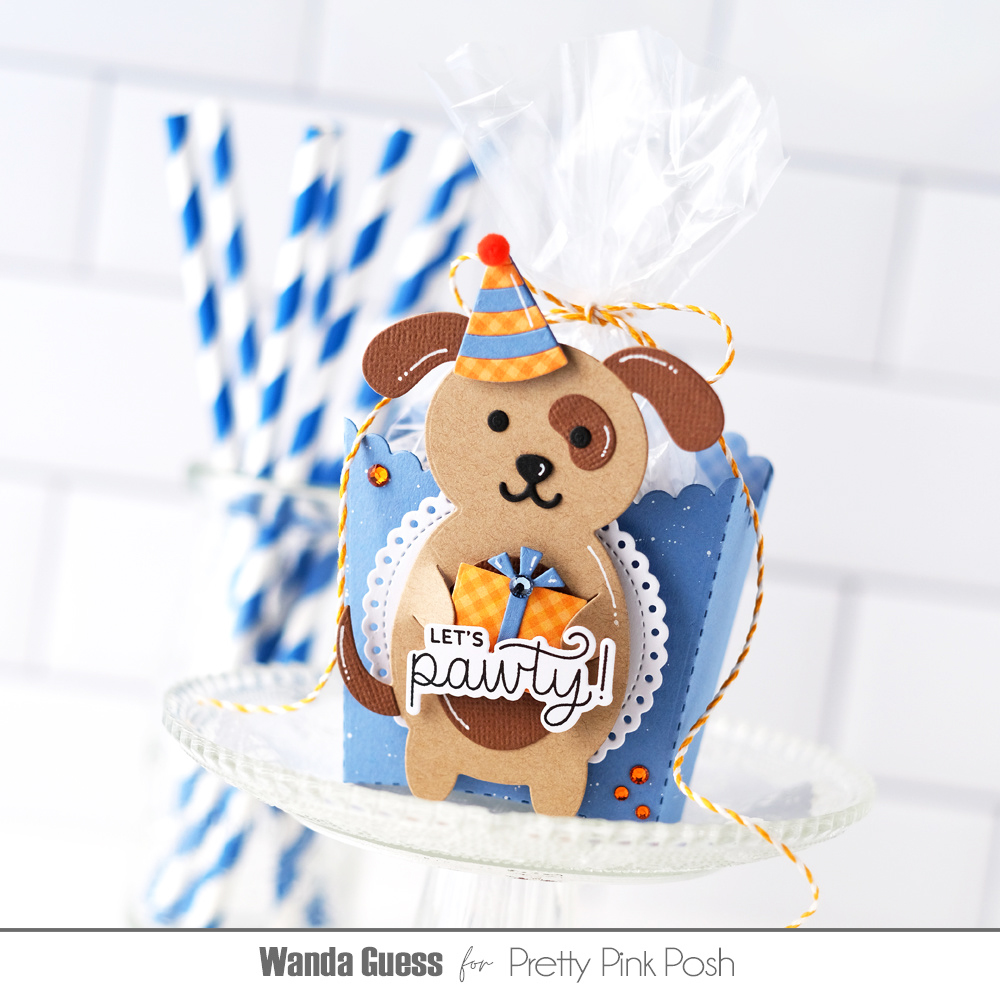
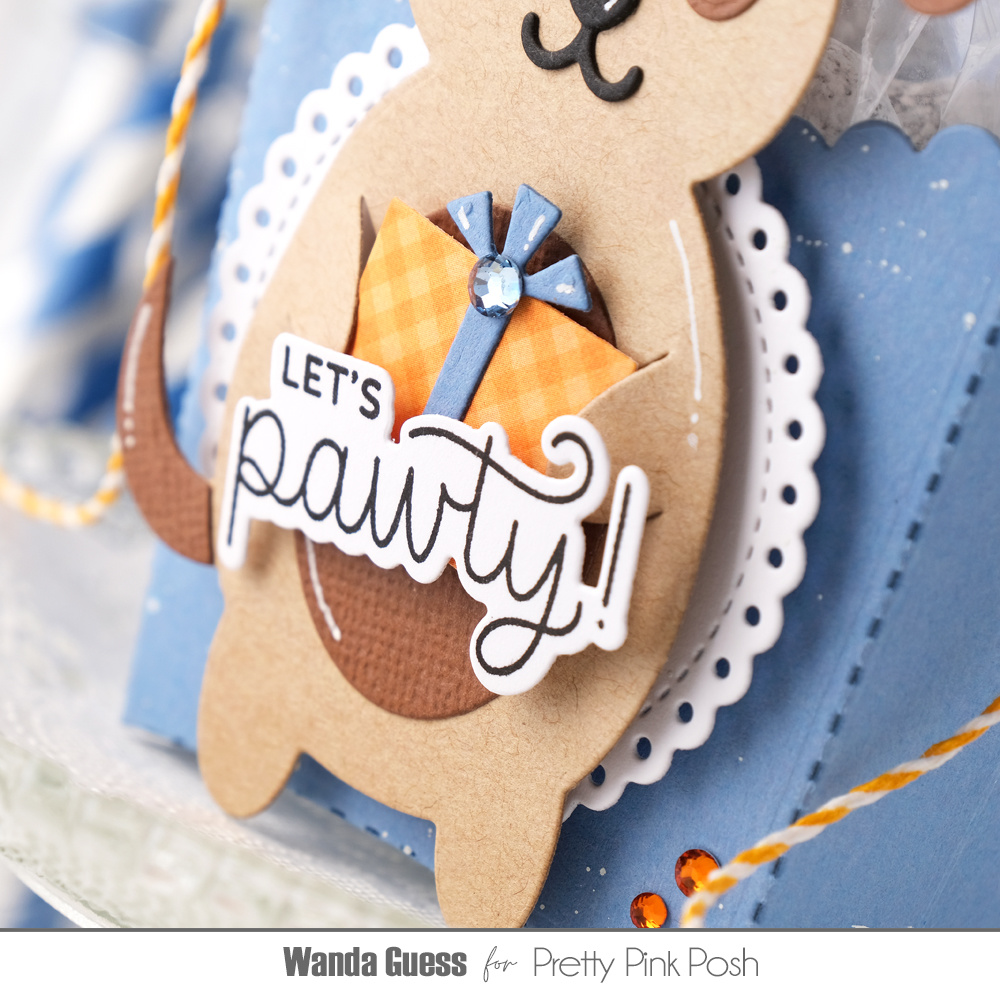
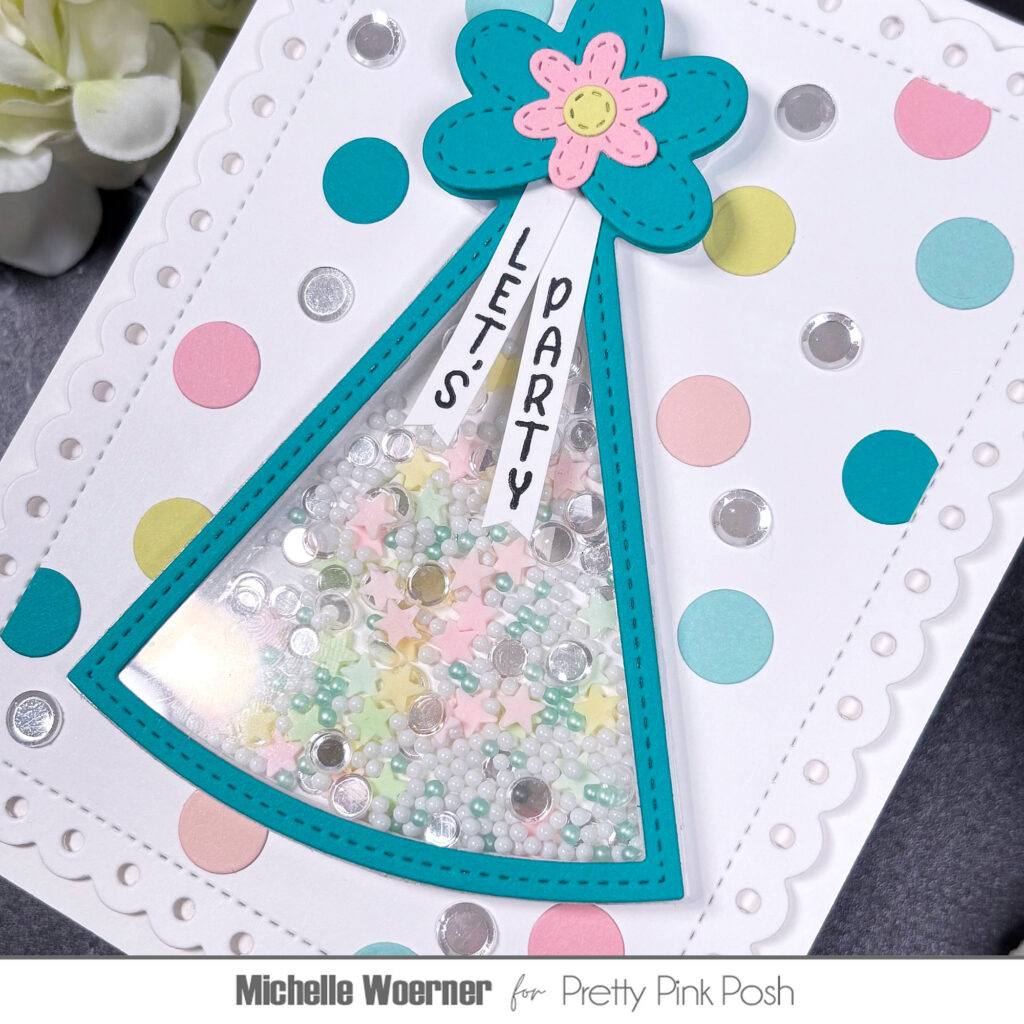
Before I start any project, I always choose my color palette (my color cubes are my best friends) and I die cut all the elements in the die set with all my colors. What can I say? I love options! I play around with all the pieces until I find my favorite combination. For the Party Hat Shaker, I chose the fun teal color and filled it with a variety of shaker bits and sequins from my stash. I chose the same teal color for the hat “top” piece, and I popped it up on foam squares. I accented it with a cute pink flower and yellow center from the adorable Spring Foliage die set. I chose the “Let’s Party” sentiment from the Upright Greetings: Birthday stamp set, trimmed it into banners and tucked the tops of each under the shaker hat topper.
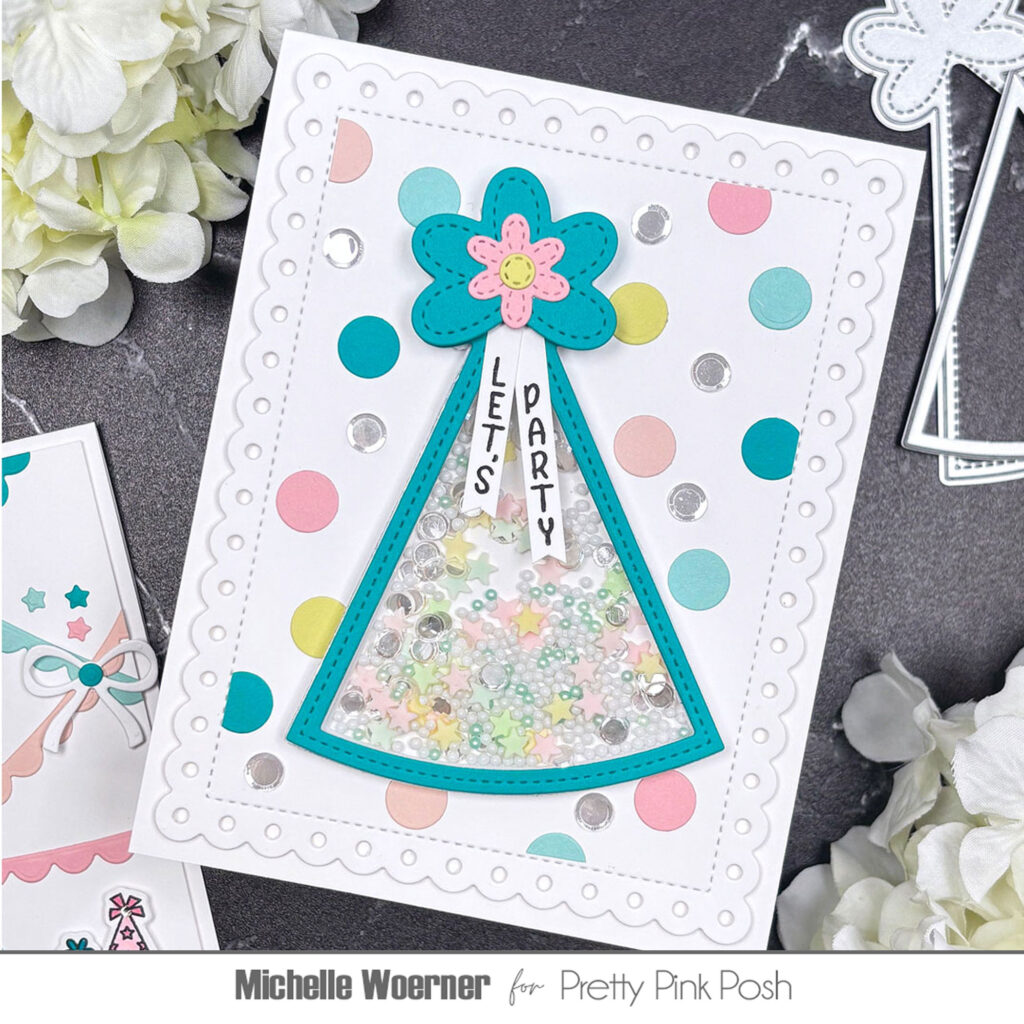
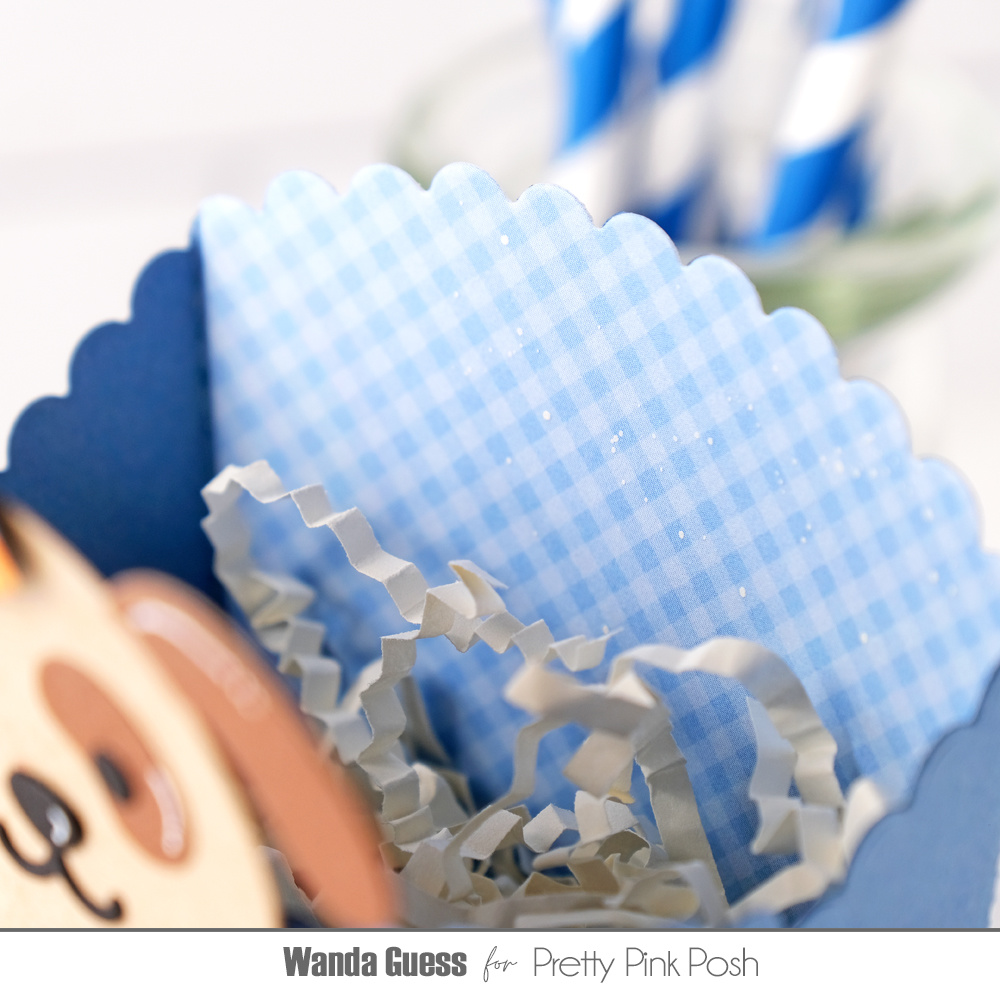
For the background, I used the largest die in the Eyelet Rectangles die set die cut with white cardstock and adhered it to the card base with thin foam squares. Next, I adhered the shaker hat element down. I wanted to make a custom fun background to complement it, so I pulled out all the die cut circles from the small circle die in the Party Hat Shaker die set and played around until I liked how they were arranged. I LOVE that this one die has 10 circles, so with one pass you can get 10 of each color! Lastly, I added a few large sequins to fill in some gaps with a bit of sparkle.
Designer Tip: I followed the Rule of 3s and used 3 circles of each color which brings a visual balance to the card.
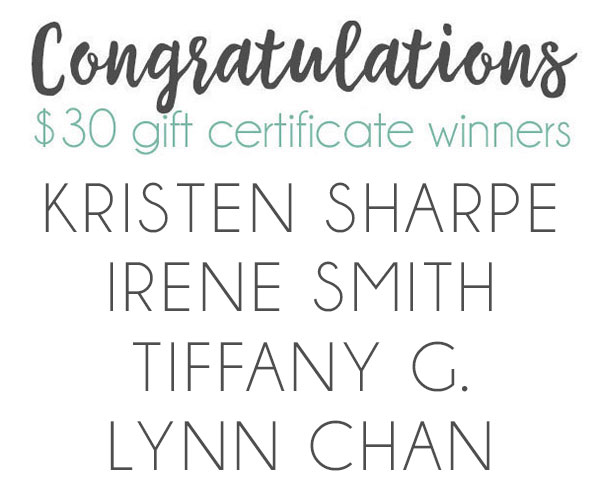
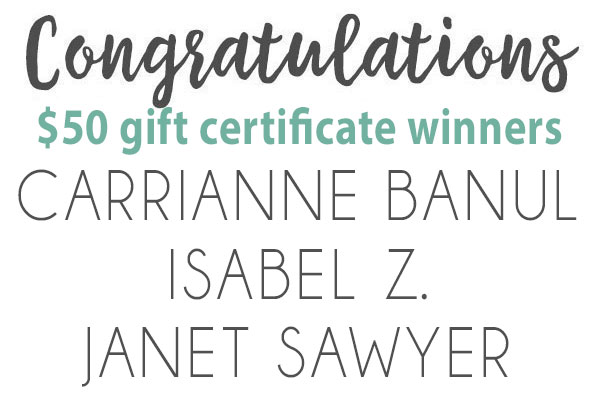
PRIZES: be sure to leave comments on each stop. We are giving away 4 $30 gift certificates to random comments (1 winner each day) left before March 3, 2025 at 11:59 PM PST. We’ll be announcing the winners on the PPP blog, so be sure to return and see if you are one of the winners and/ or sign up for our blog posts to your email!
Pretty Pink Posh blog << you are here
Joy Baldwin
Allison Frazier
Carly Minner
Dana Kirby
Melody Rupple
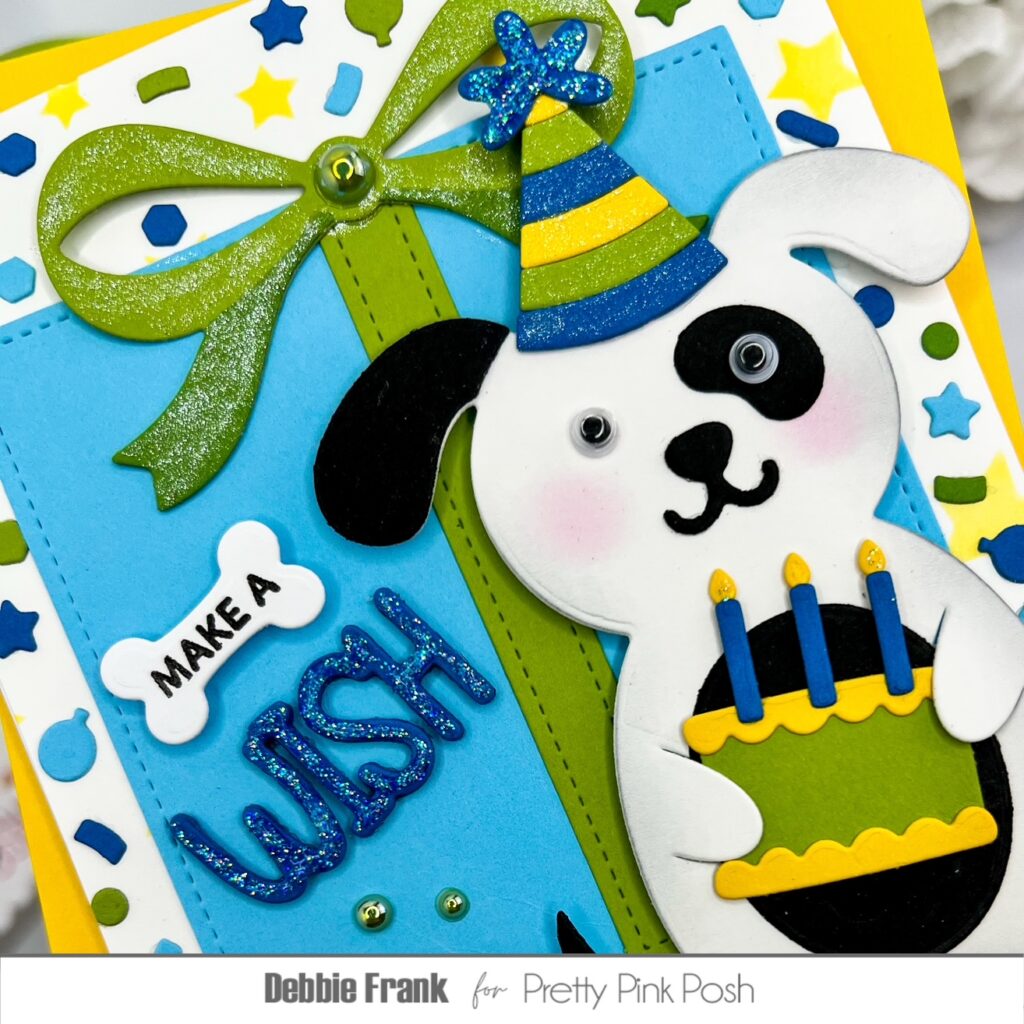
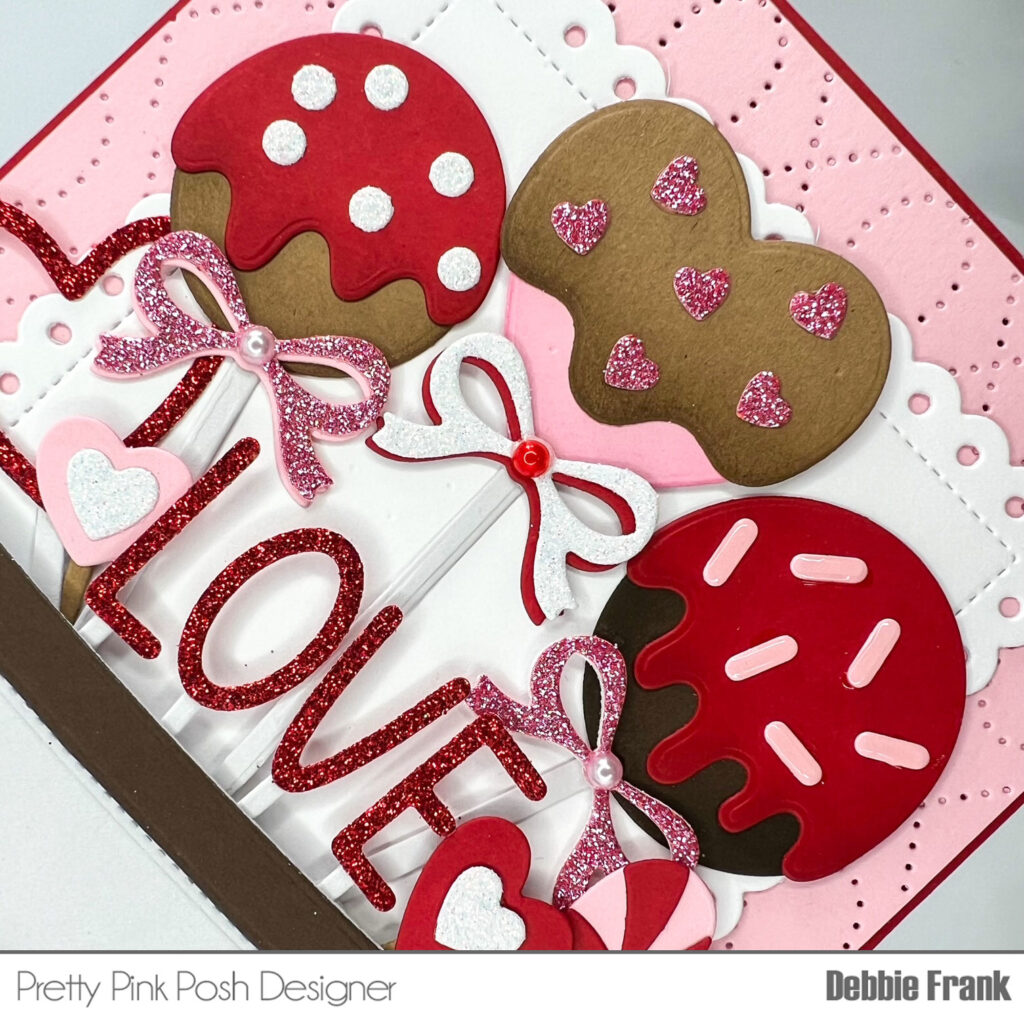
Debbie Frank
Thank you all so much for your order, comments, and excitement about this release. We are so thankful! Stay tuned for more inspiration on the blog and we’ll have a separate Instagram hop starting on Monday!