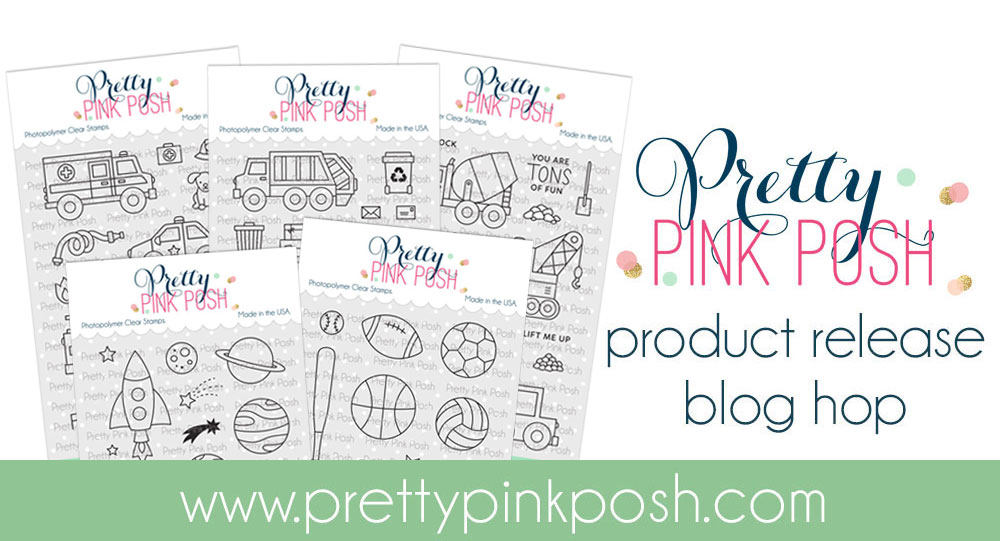
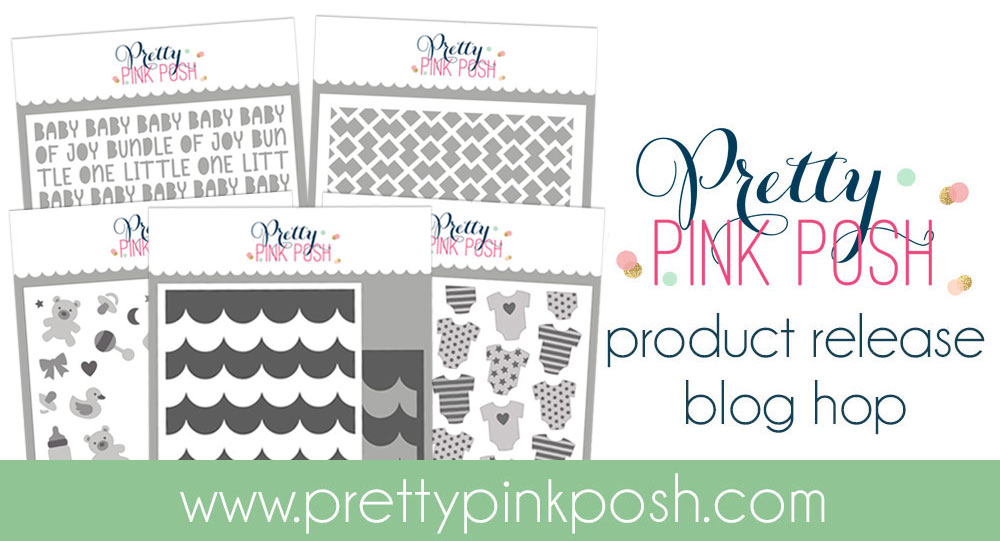
Day 1: August Blog Hop + New Release Now Available
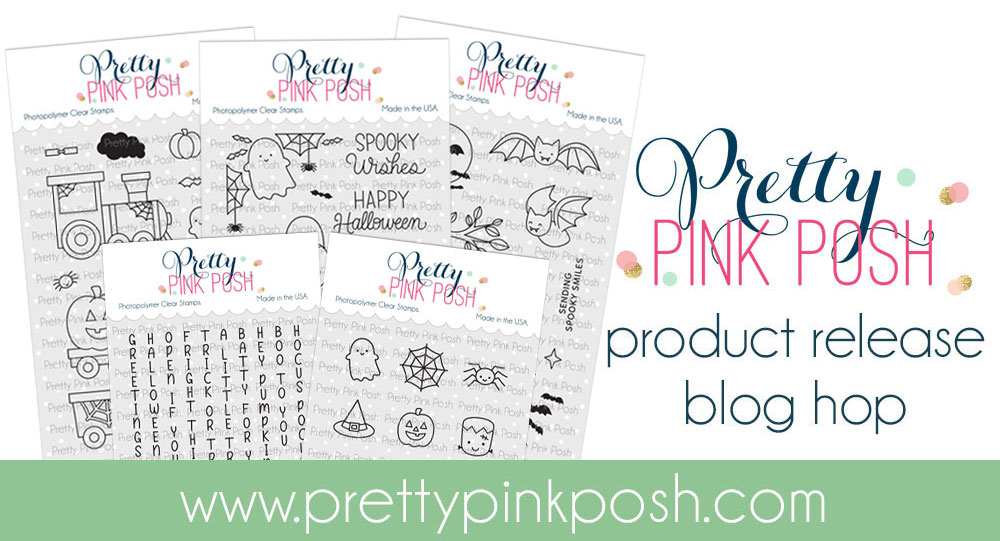
The August 2024 Release is now available in the Pretty Pink Posh Shop and select retailers that carry our products. If you missed our post yesterday, we revealed all of the products in picture form, but if you would like to see them in a video, Mindy has that for you today!
Watch the video above I Watch the video in HD on YouTube
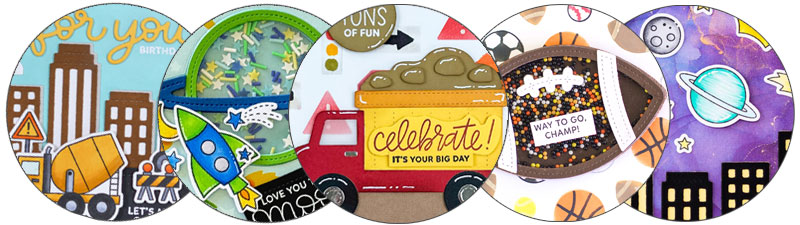
Hi friends, Debbie here! The New Halloween Release is here! It is Spooktacular! I’ll just tell you now, I love this Candy Bucket die set. Who am I kidding? I’m like a kid in a candy store, I can’t get enough because I love it all!
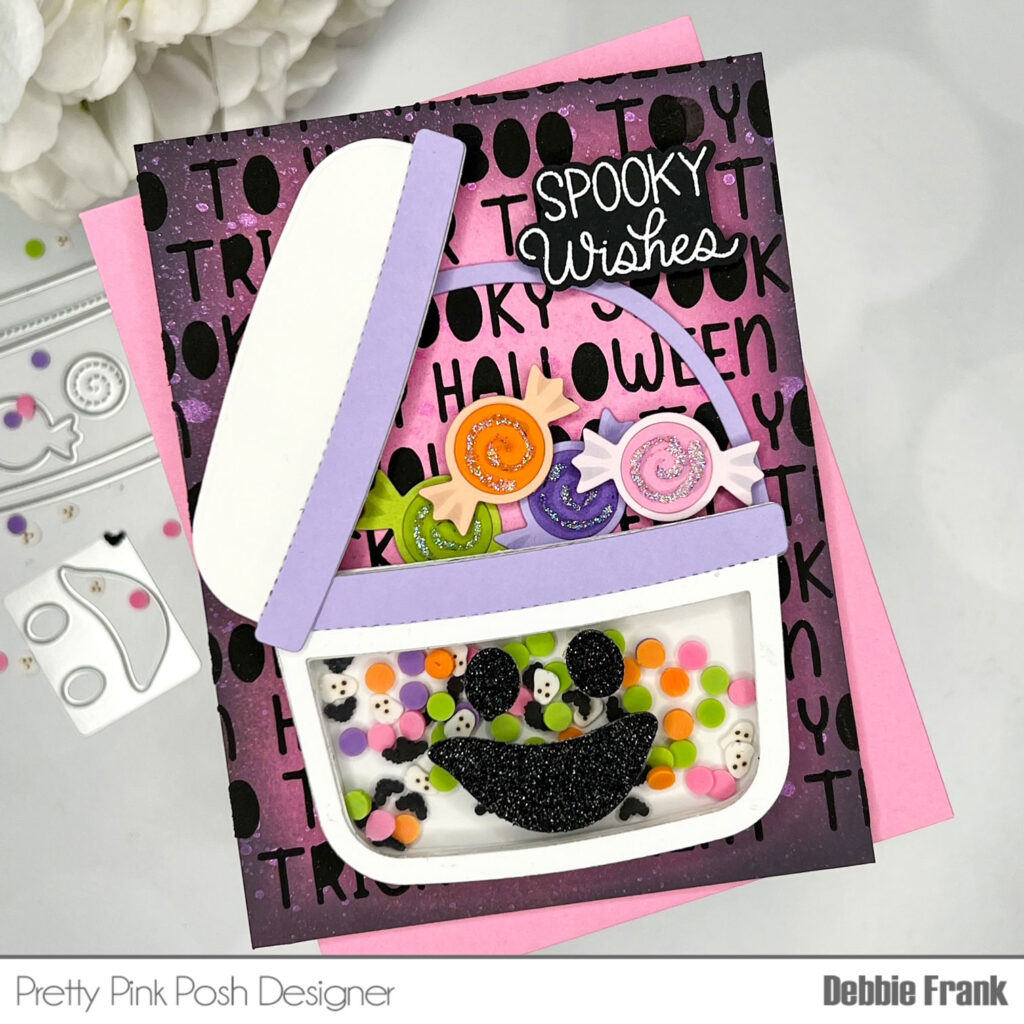
I started off with the background using the new Halloween Words Stencil. Knowing I wanted to use the Distress Texture Black Opaque Paste. I found it easiest to grab a panel of pink card stock. Lightly ink blend black on the edges with remaining ink on your brush. Then add Mica spray Picked Raspberry and let dry. I then did the Black Opaque paste with the Halloween Words Stencil on the panel using a grip mat.
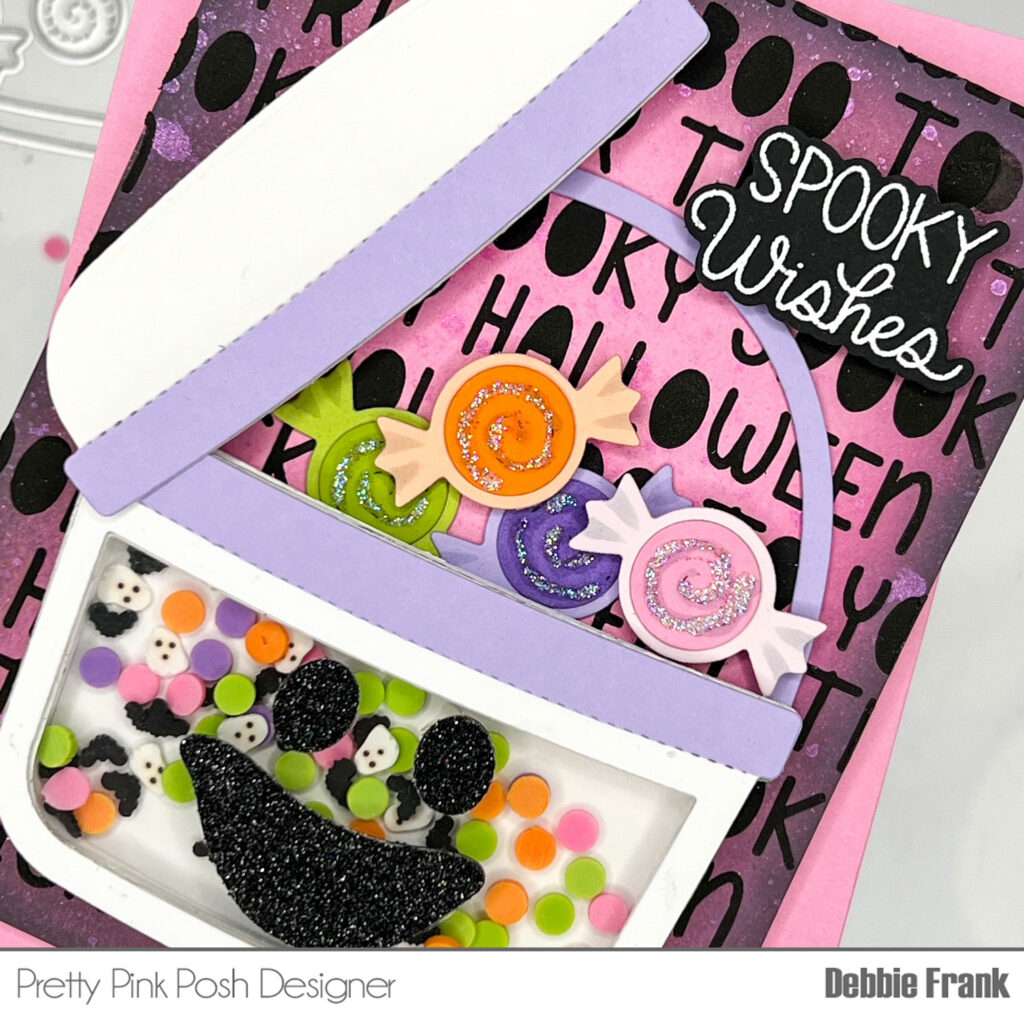
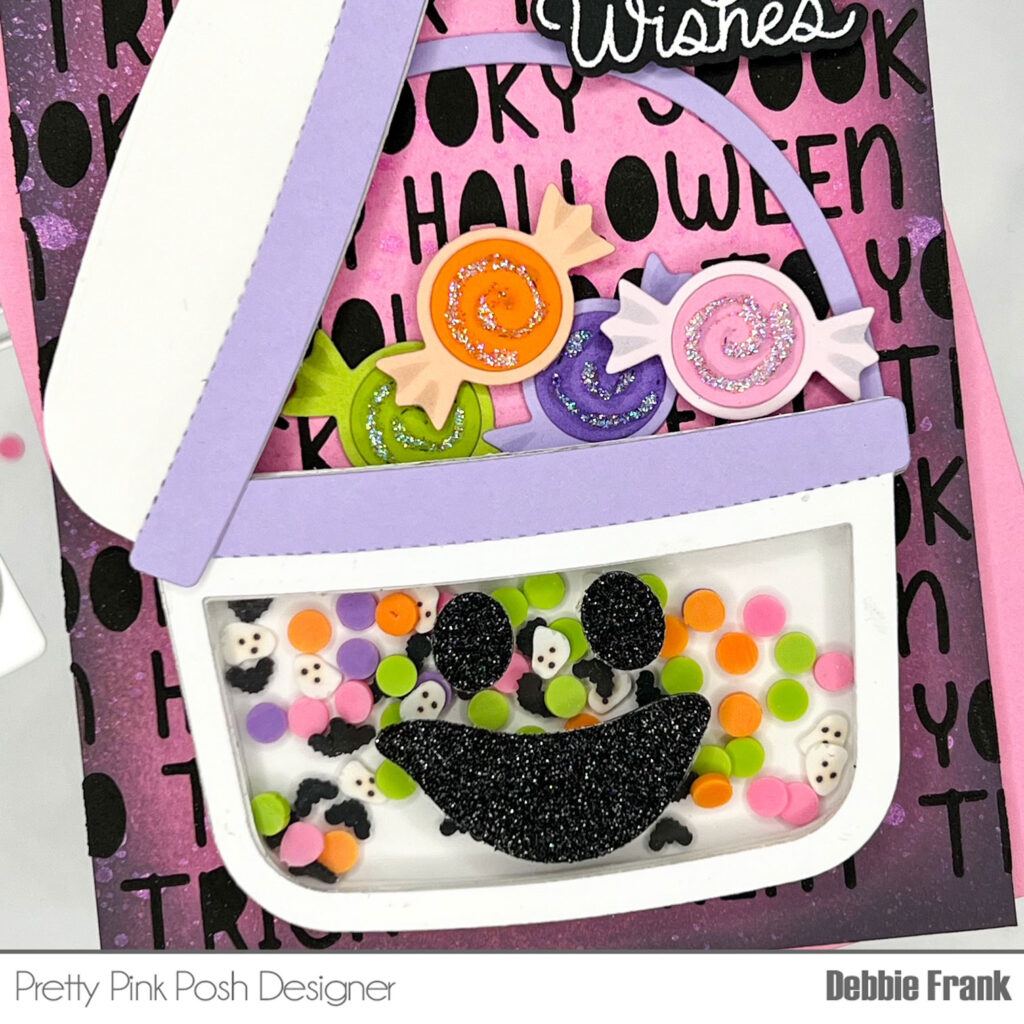
Then die cut out the Candy Bucket with the window die from White card stock and White Foam. With the Candy bucket die cut a piece of acetate for the shaker window and one more white card stock for the back. Attach the layers, foam and acetate together then add the new Spooktacular Mix in the well and then attach the back. The lid has a lot of foam squares under it to make it flush. The handle is attached directly to the panel with liquid glue.
The ghost face is cut out of Black Glitter card stock. The candies are from the Ghost Holder die set. Using matching colored card stock and adding Star Dust Stickles to the candies.
Sentiment is from the Halloween Corners stamp set. Stamp and heat embossed with white embossing powder and die cut out with the Halloween Corners coordinating dies.
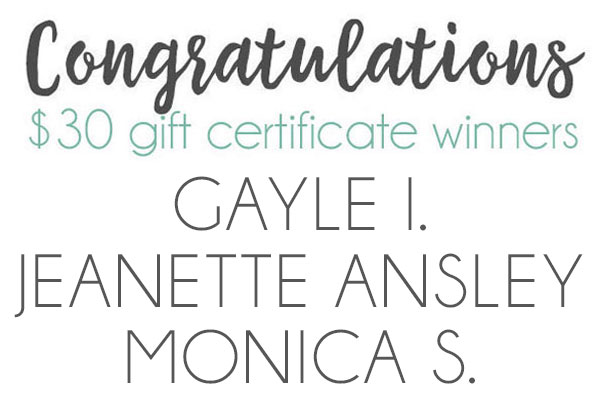
PRIZES: be sure to leave comments on each stop. We are giving away 3 $30 gift certificates to three random comments (1 winner each day) left before August 19, 2024 at 11:59 PM PST.
Pretty Pink Posh blog << you are here
Nichol Spohr
Carissa Wiley
Barbara Tarayao
Emily Mydlowski
Lauren Taylor
Dana Kirby
Carly Minner
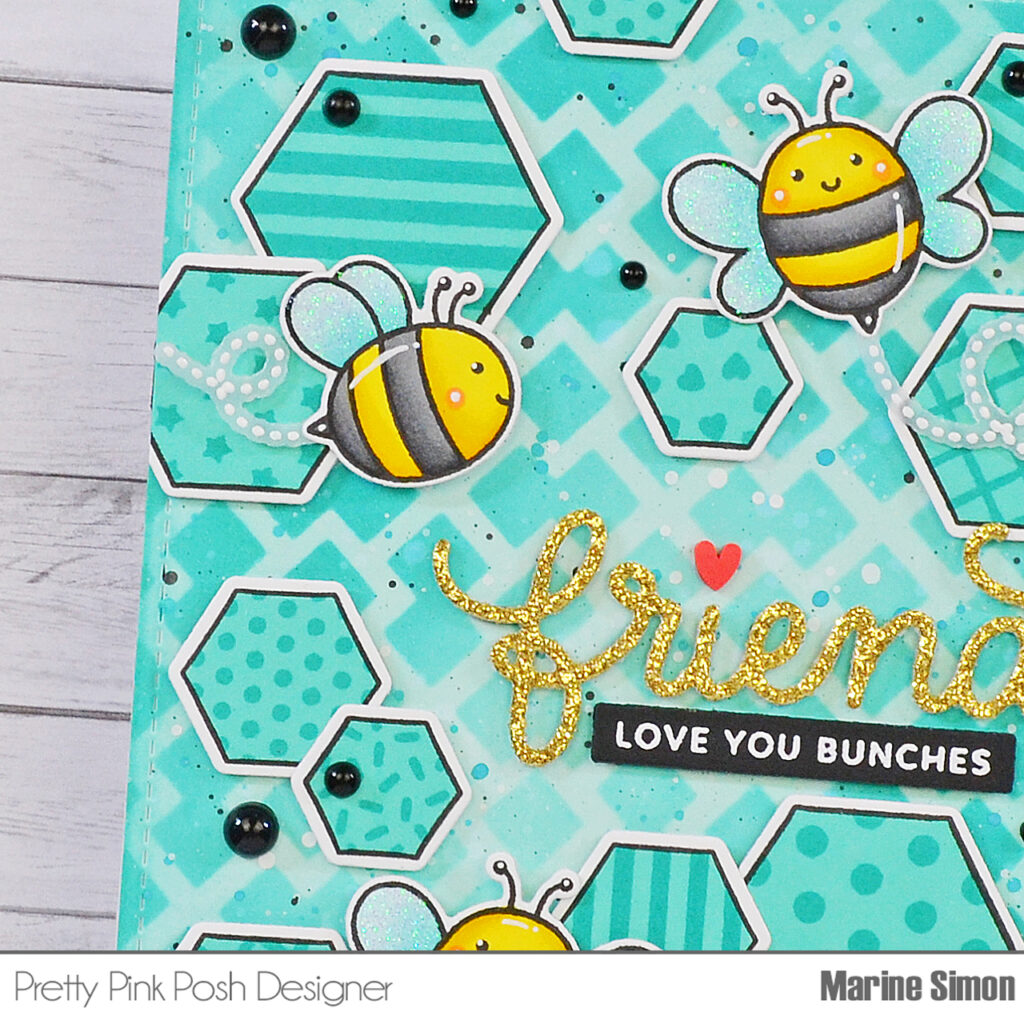
Marine Simon
Be sure to leave comments on all the stops- we’ll be randomly picking comments to win gift certificates. We hope you are inspired by the blog hop and are excited for this new release!