Day 3: October Blog Hop

If you missed Day 1 CLICK HERE // If you missed Day 2 CLICK HERE
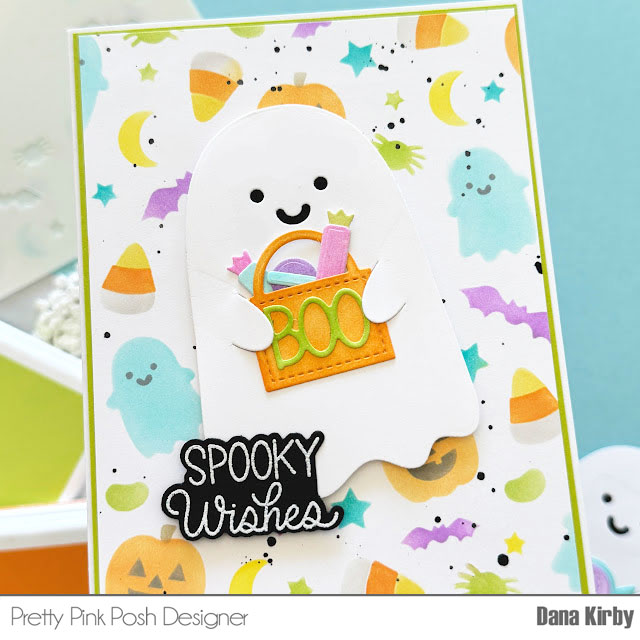
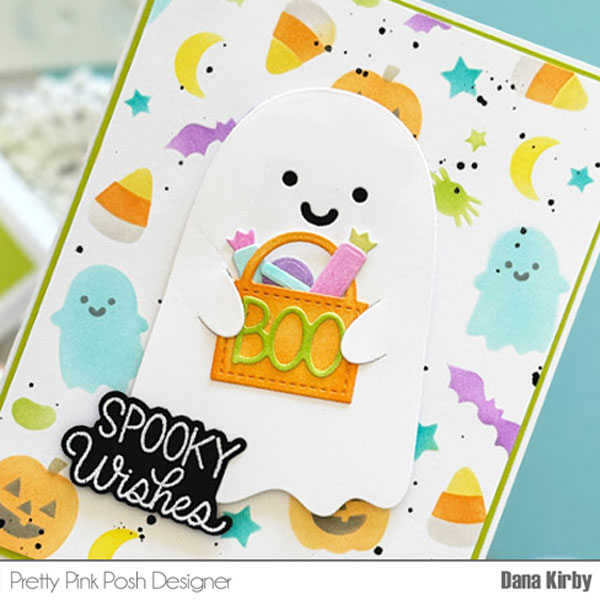
Hi friends, Debbie here! Today, I’m sharing a 5X7 traditional Christmas card with the new Holiday Wreath Builder Dies. Let me just say, this is an awesome die set! It is so big, and the way the dies have the three sizes of leaves together with the one die! Brilliant!

I started off die cutting out two times all of the dies from the new Stitched Snowflakes Dies. Arranging them evenly on the 5×7 card base, and attaching with liquid glue. I did add a little shimmer with Sparkle Silk and set to the side.
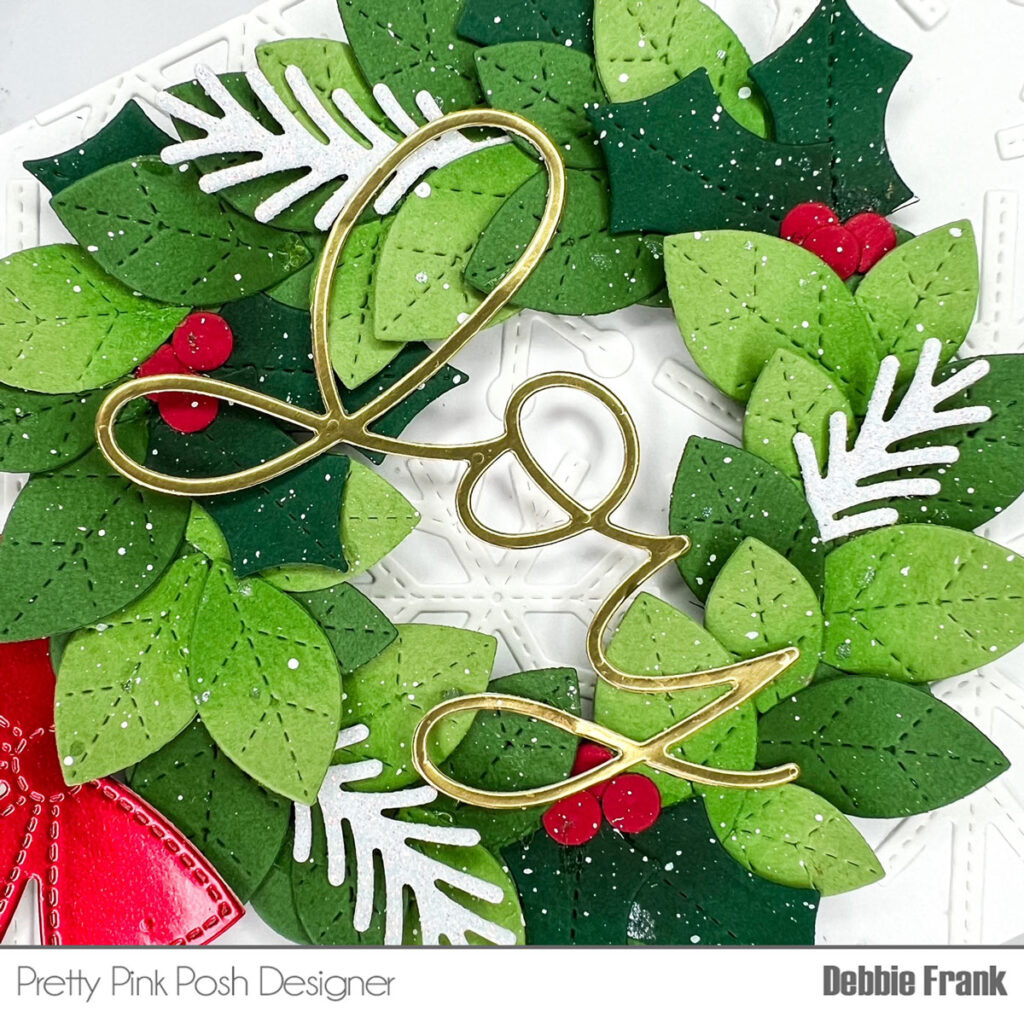
Next, I die cut out all the sizes of leaves from the Holiday Wreath Builder from three shades of green card stock four times each to make sure to have a full wreath. I did do some ink blending on one side to give some depth to the leaves. Also I add white splatter to all the leaves and berries for a snow effect. The branch die is cut from White glitter card stock.
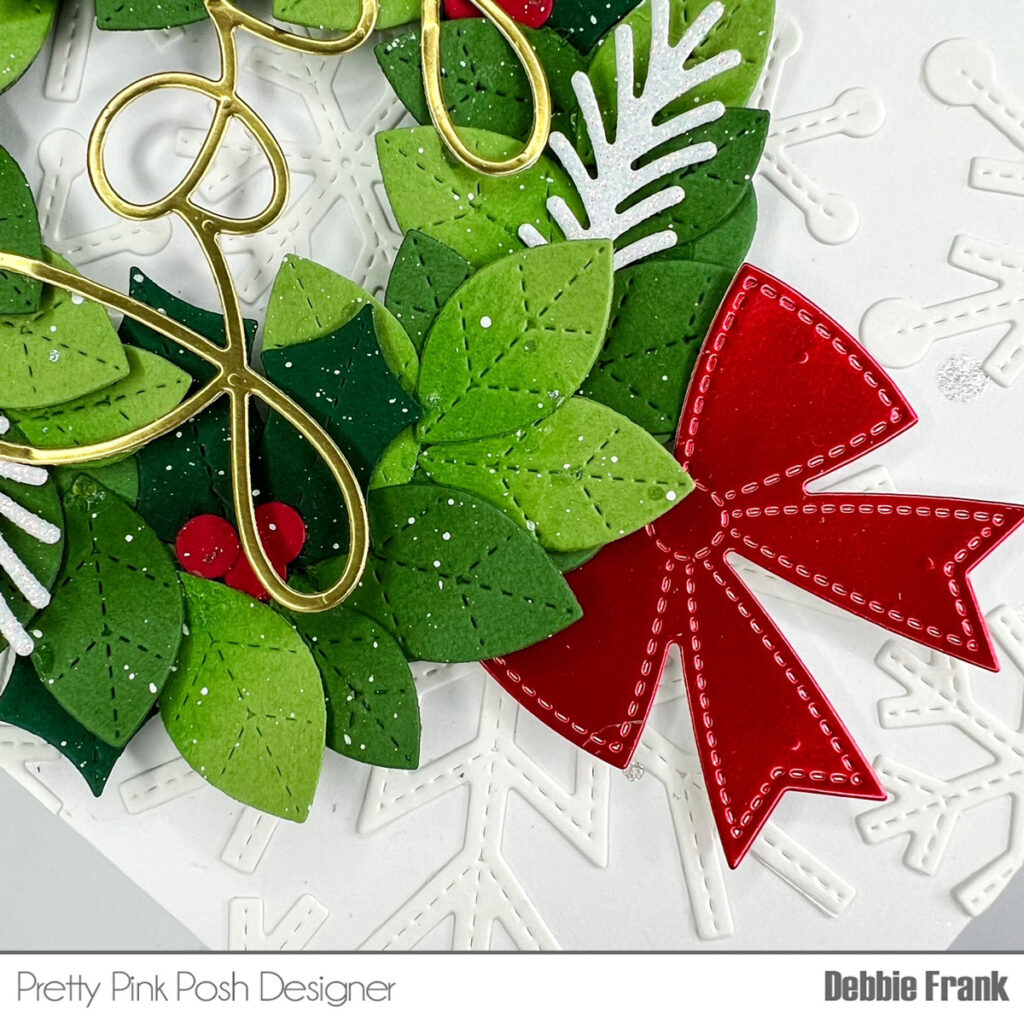
Also wanting a red metallic bow I die cut out one from the Beautiful Bow Dies that was previously released. The bow was popped up with a foam square. The sentiment is from the new Large Joy Shadow Die, I did the Joy die not the shadow from a metallic gold card stock. Adhered with liquid glue to the center of the wreath and attach to the center of the Snowflake card base.
PRIZES: be sure to leave comments on each stop. We are giving away 3 $50 gift certificates to three random comments (1 winner each day) left before October 22, 2024 at 11:59 PM PST.
Pretty Pink Posh blog << you are here
Rachel Alvarado
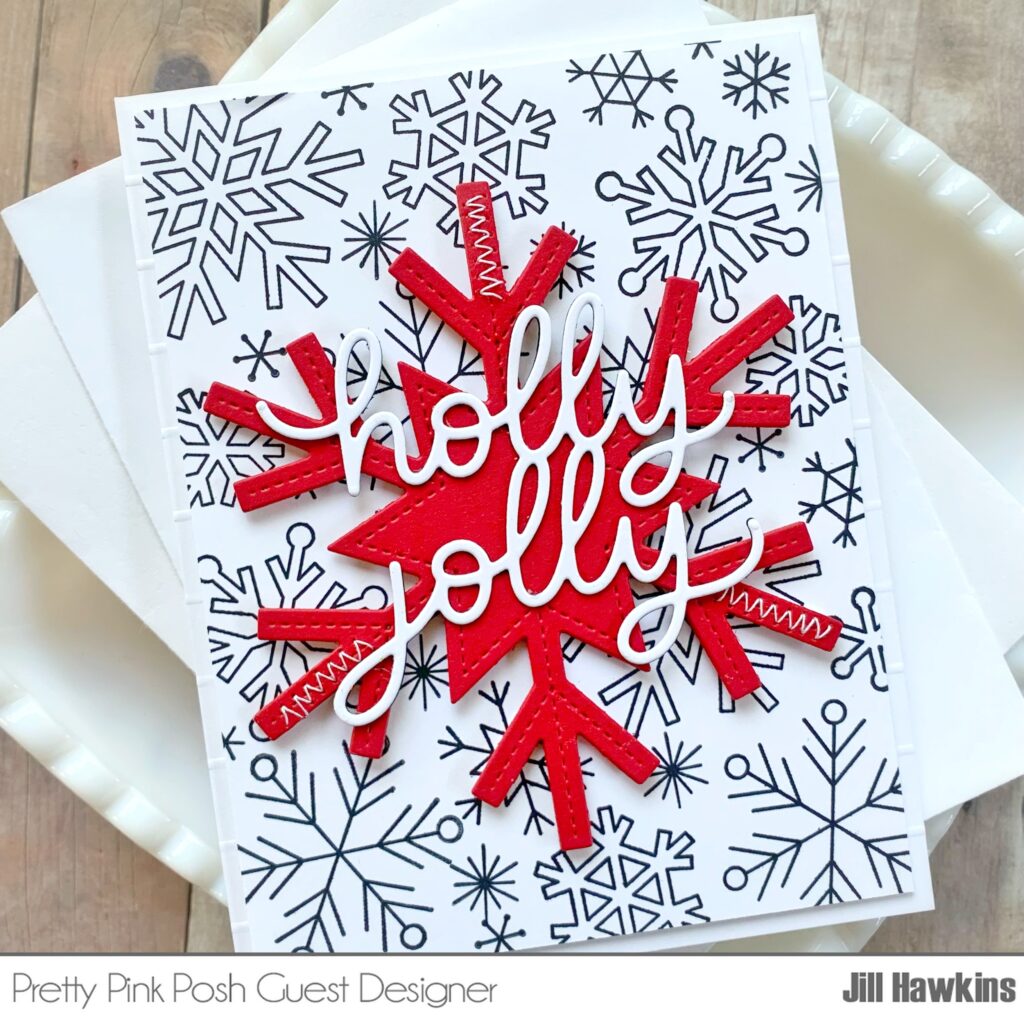
Jill Hawkins
Lauren Taylor
Jeanne Jachna
Emily Mydlowski
Rebecca Keppel
Kristie Marcotte
Laura Evangeline
We hope you were inspired by the three days of blog hop! Join us next week for more inspiration and we’ll be having FIVE days of Instagram hops!