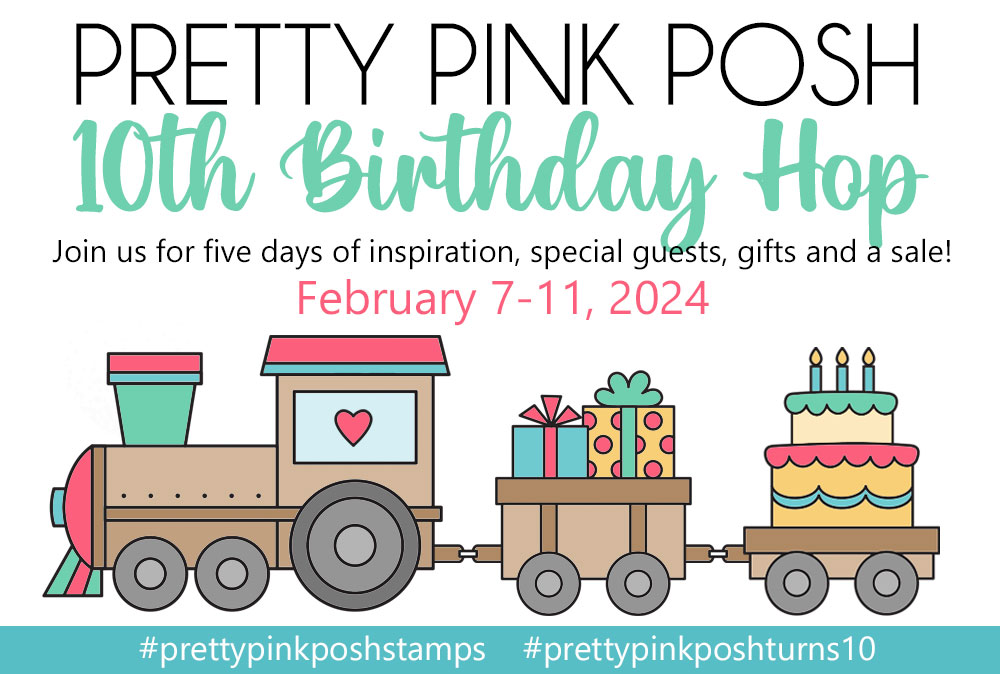
Day 3: May Blog Hop + New Release Now Available
If you missed Day 1 CLICK HERE // If you missed Day 2 CLICK HERE
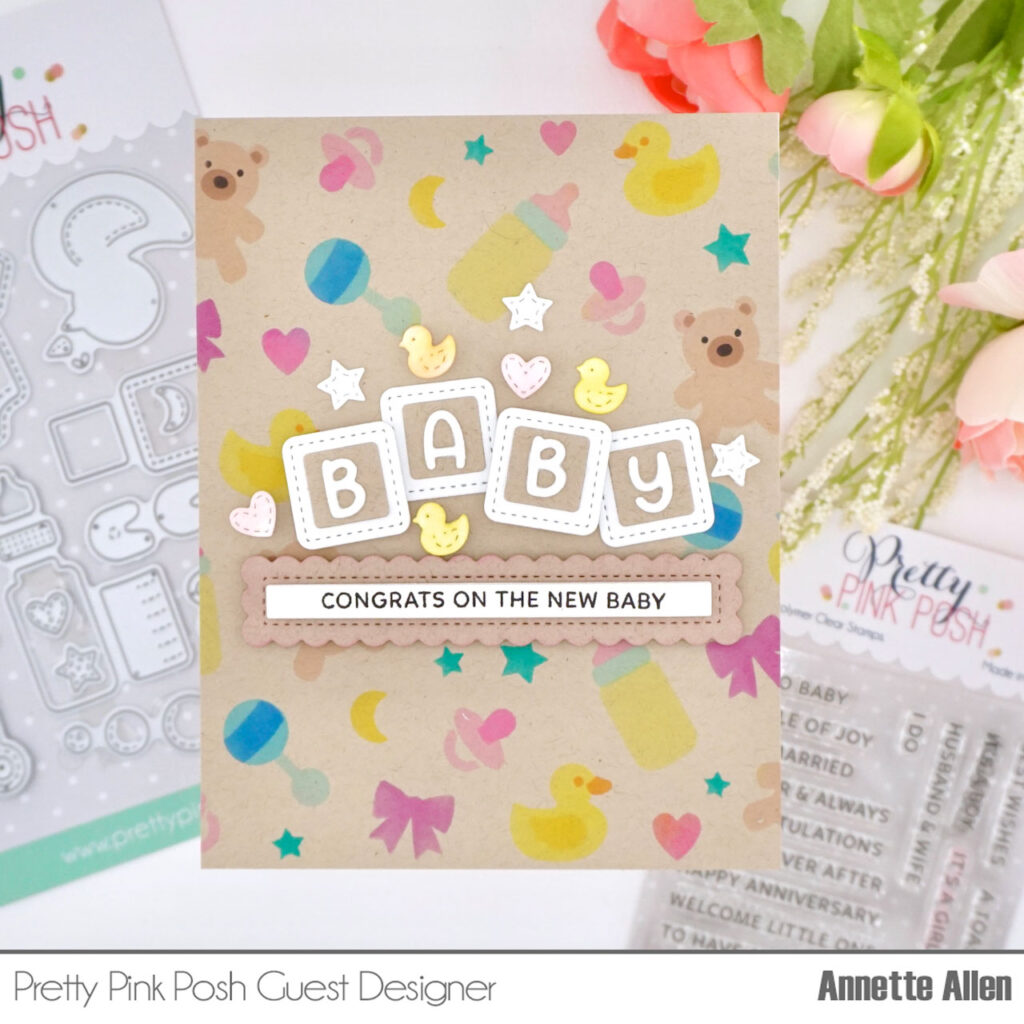
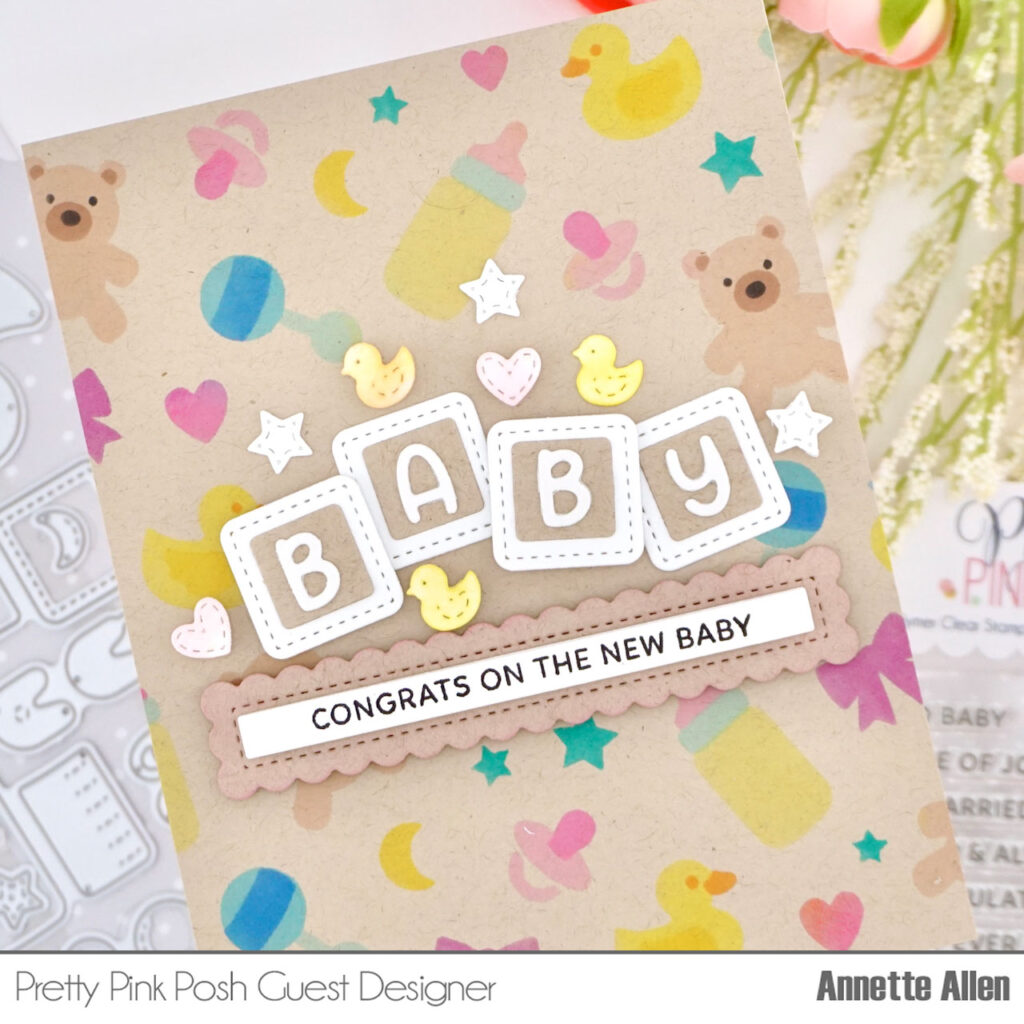
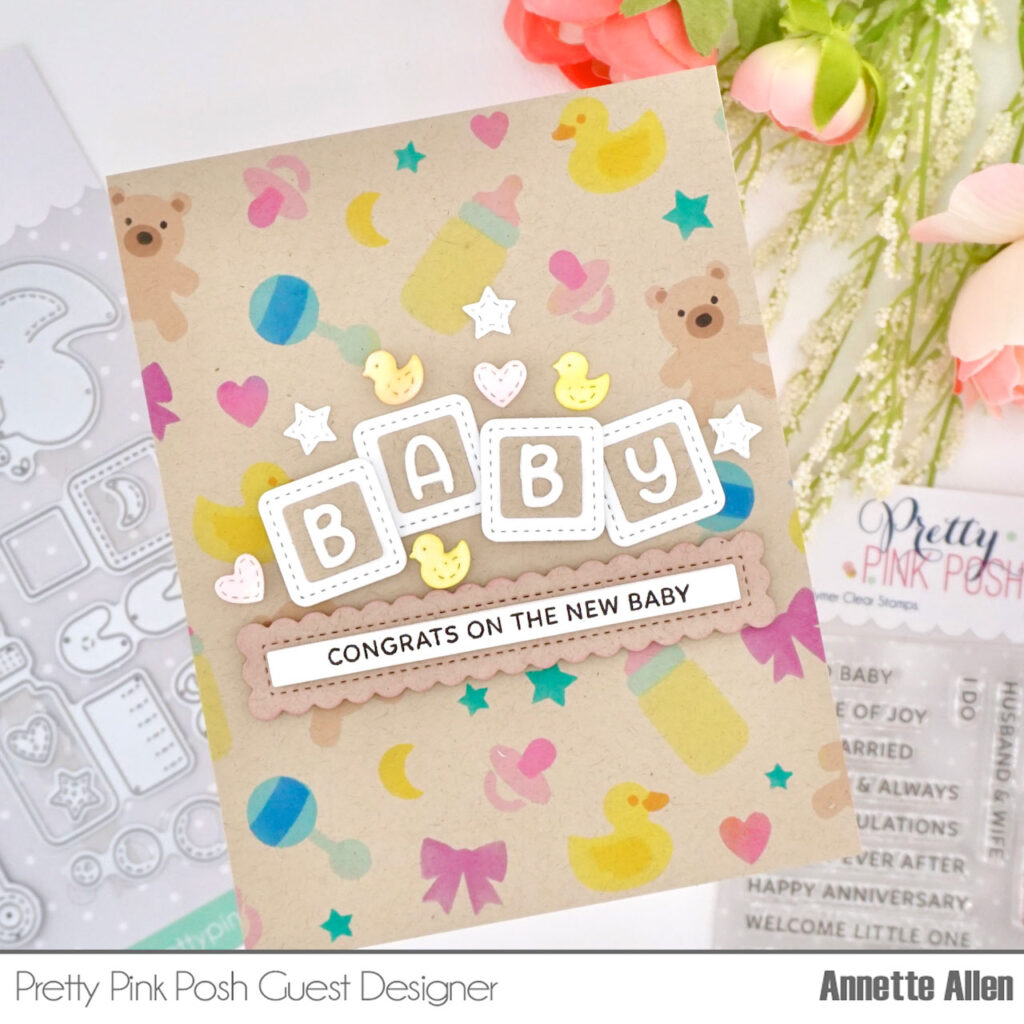
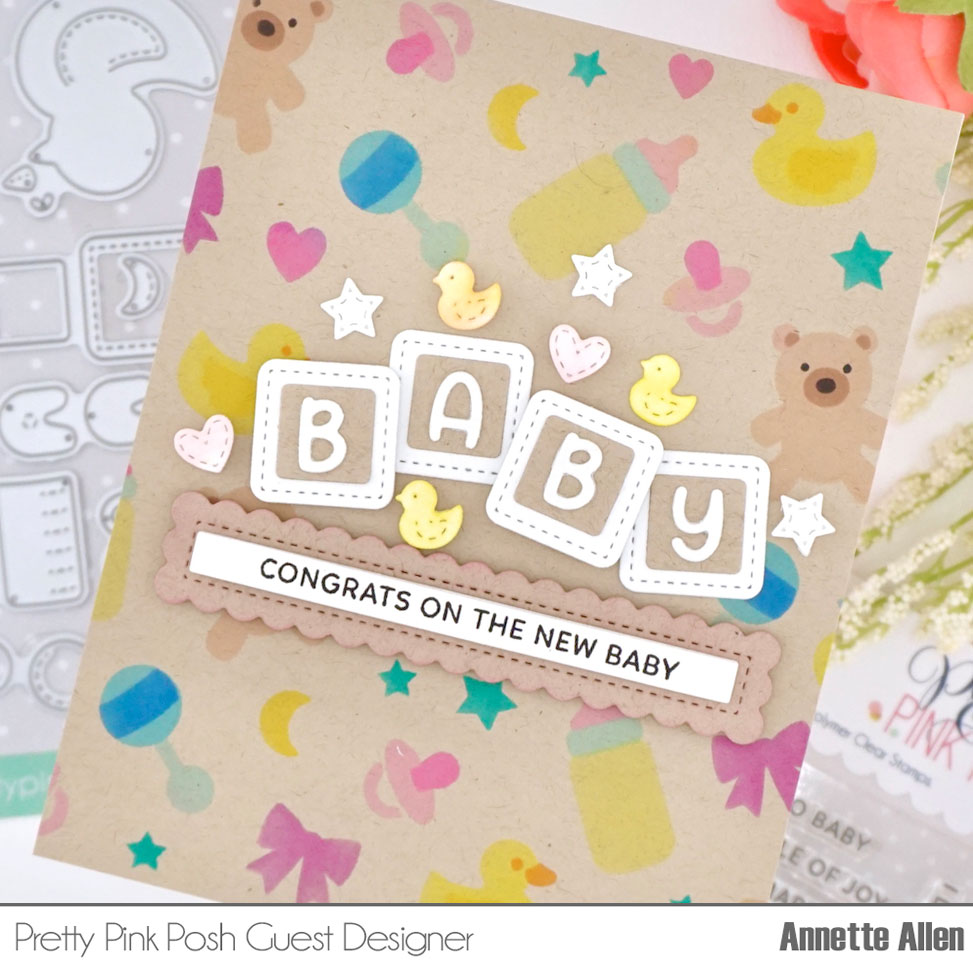
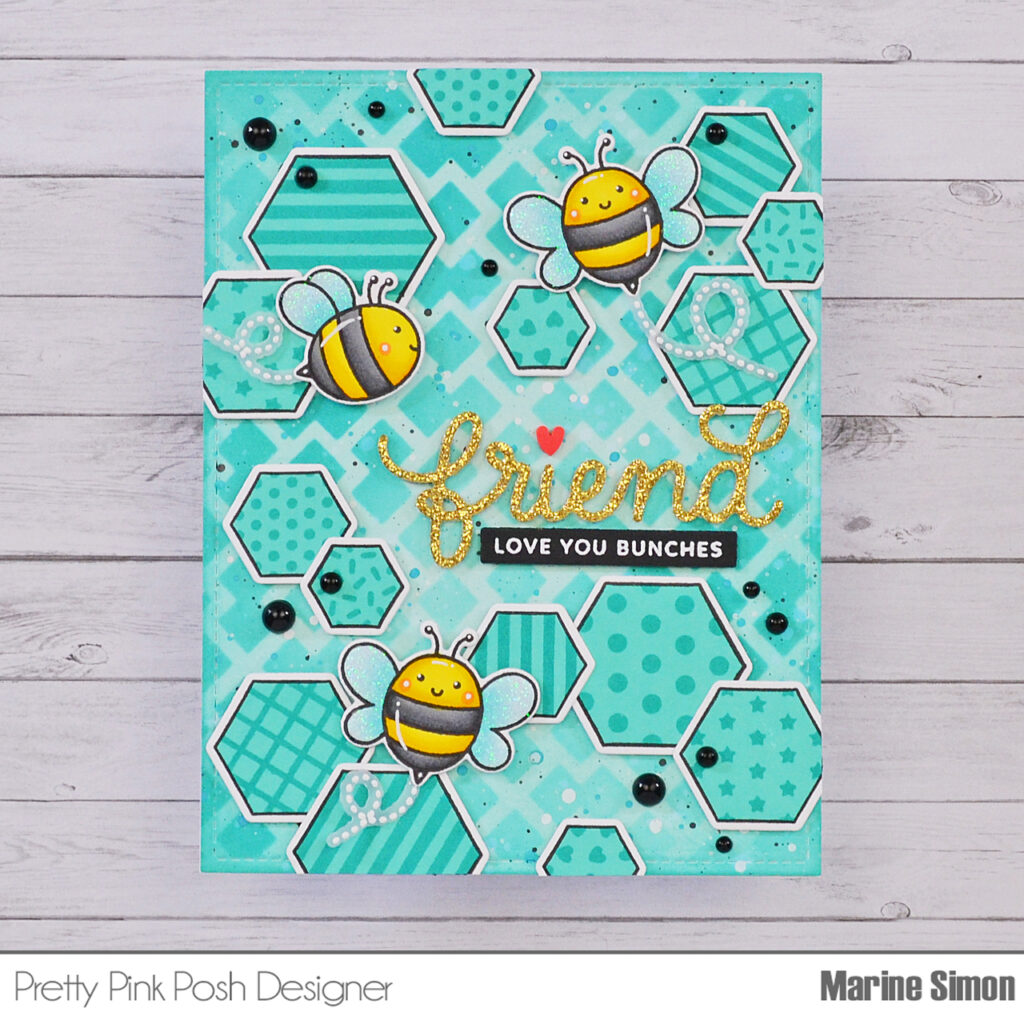
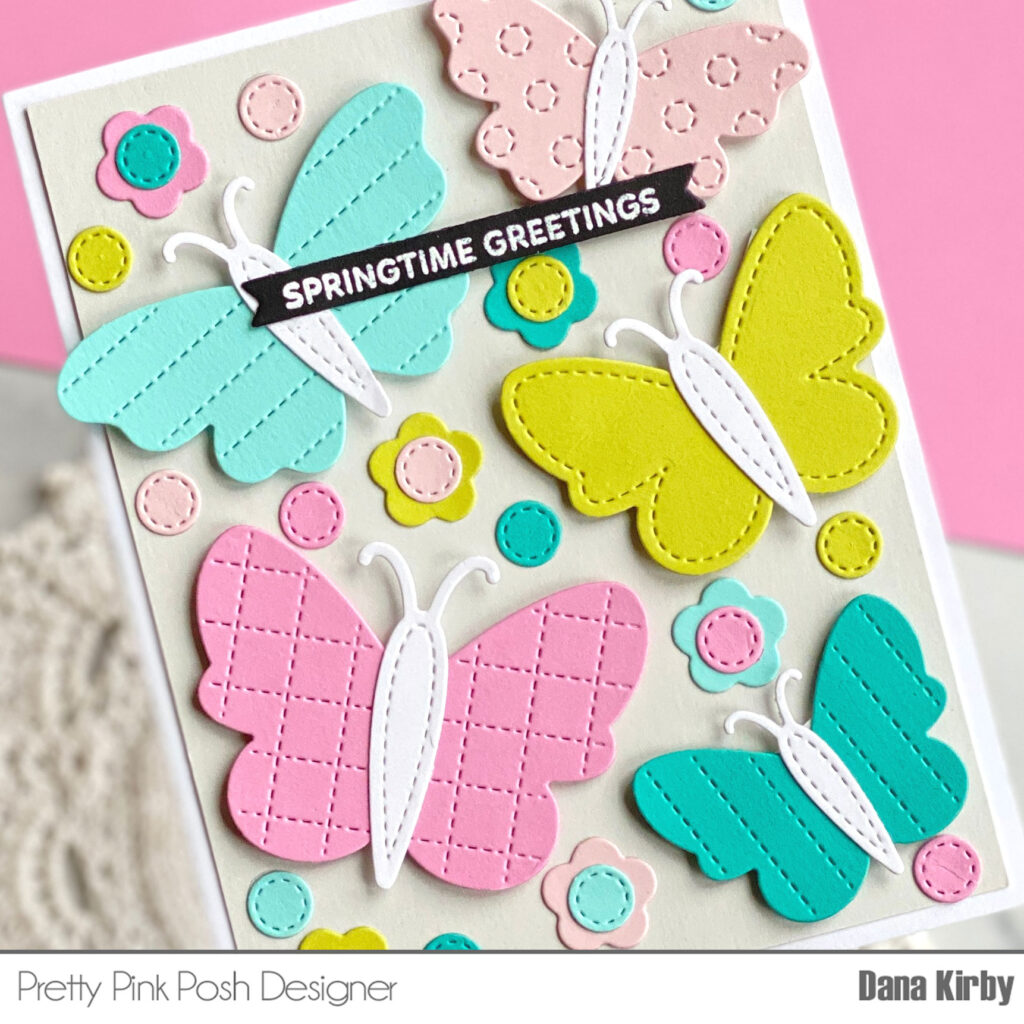
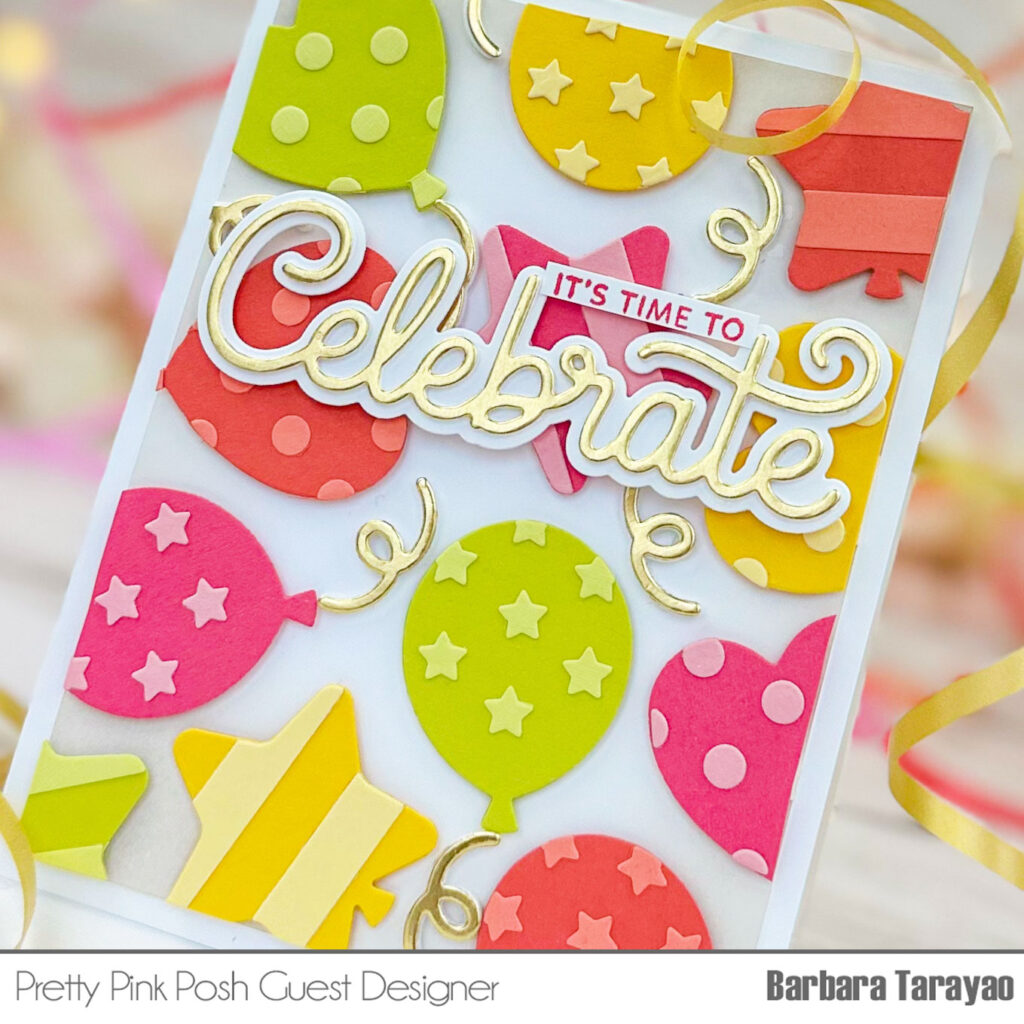
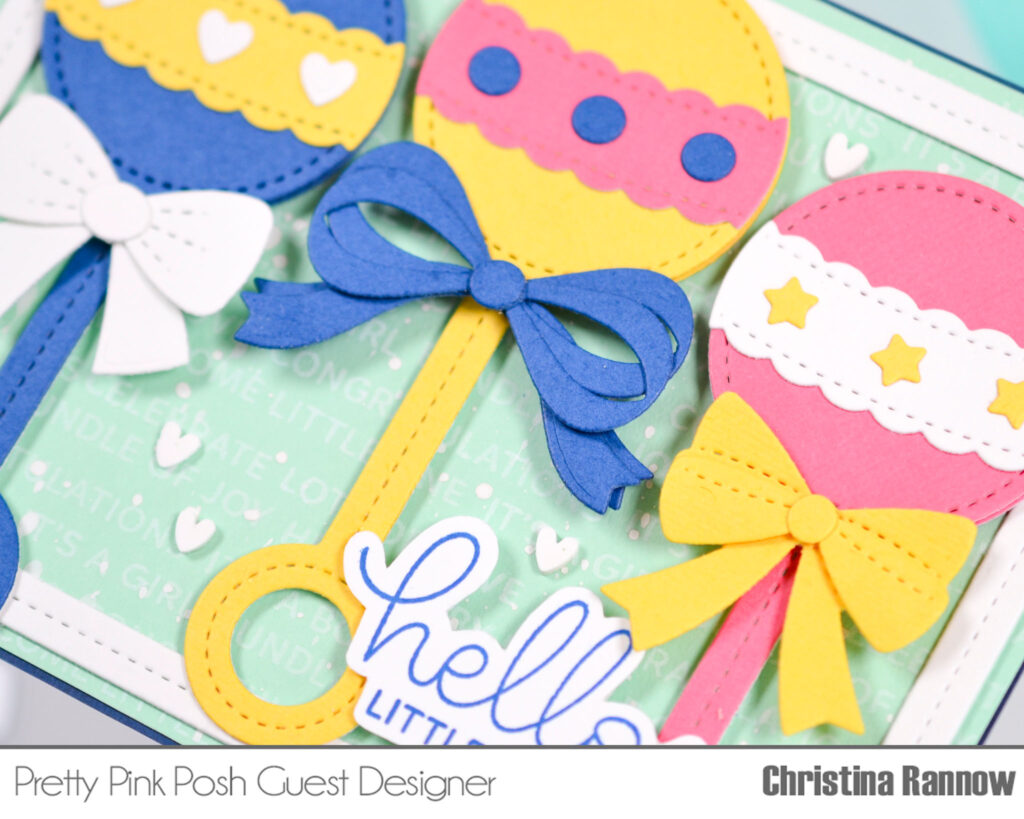
Hi friends! Christina here from My Crafty Trails, and I’m so excited to be sharing my project showcasing some of the cutest products from the newest Pretty Pink Posh release, the Baby Rattle Shaker and Beautiful Bows die sets.
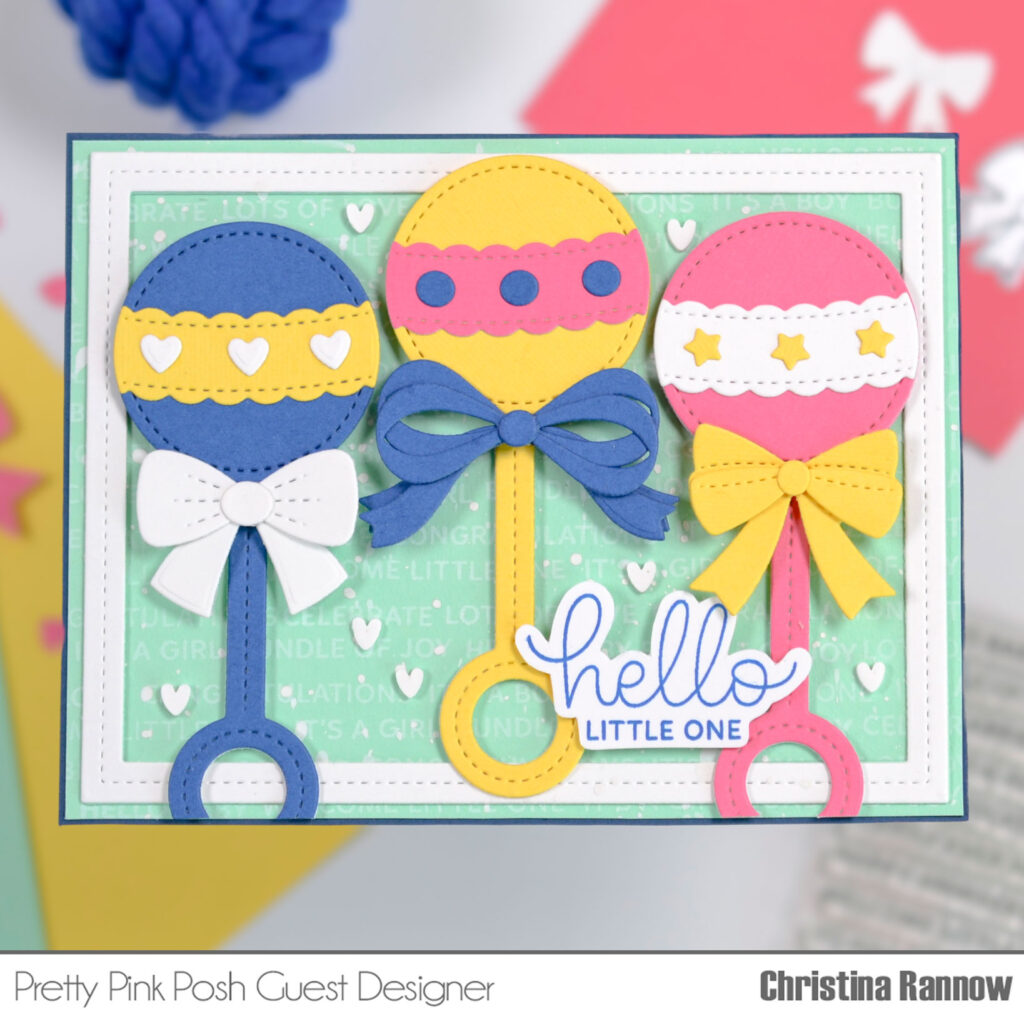
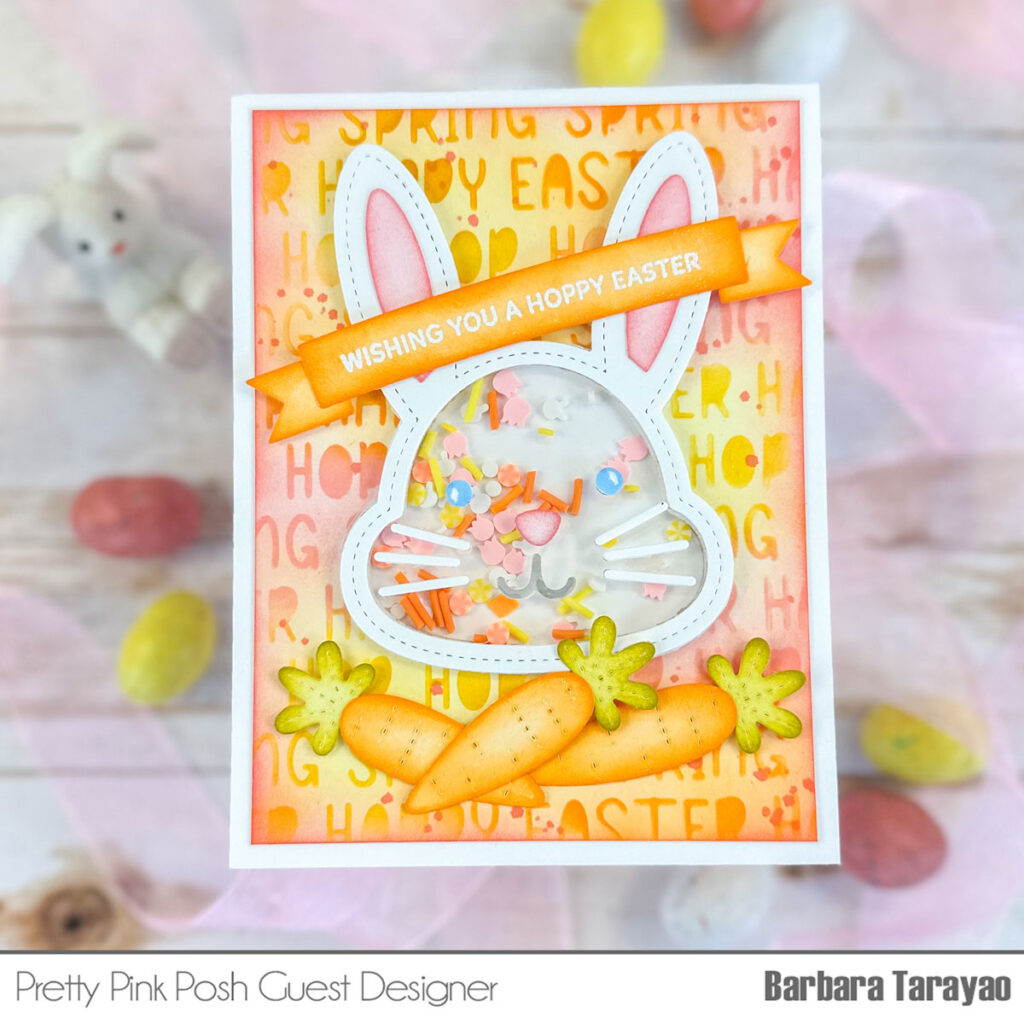
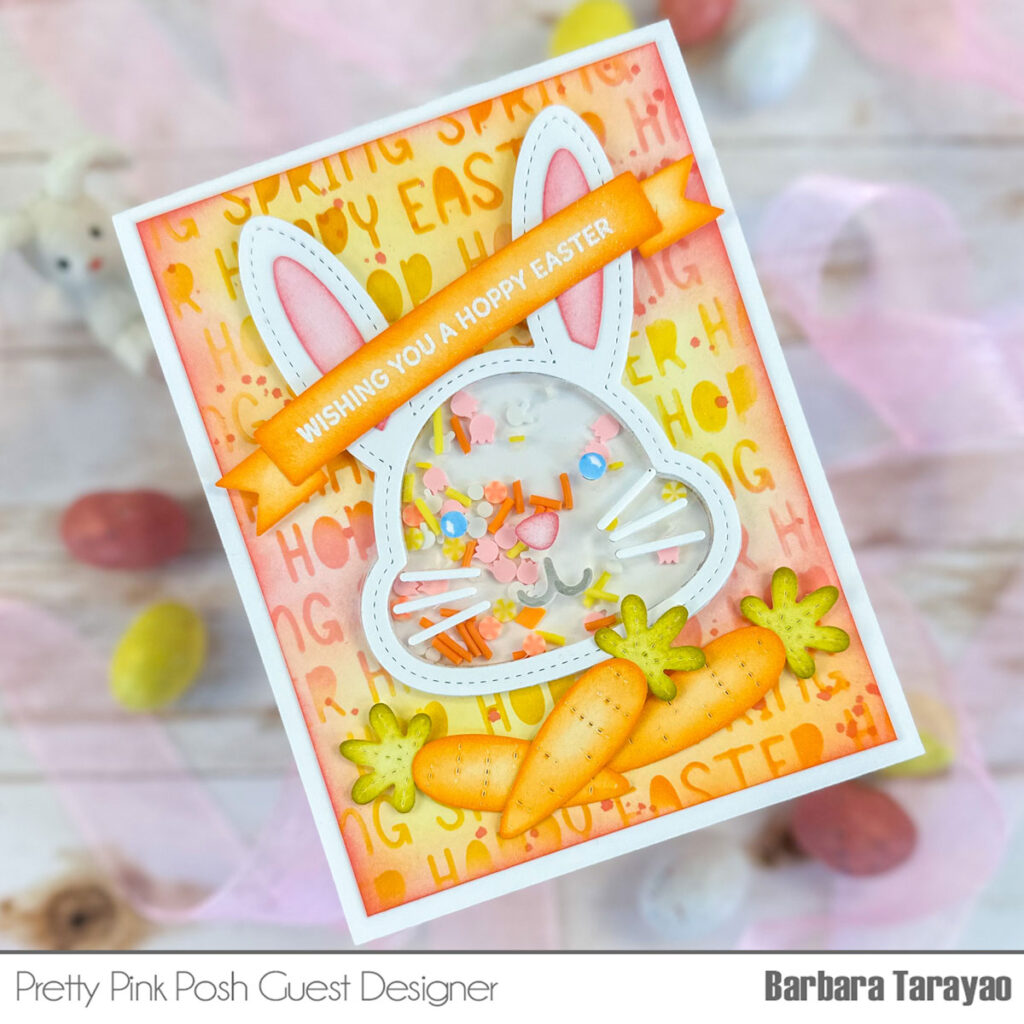
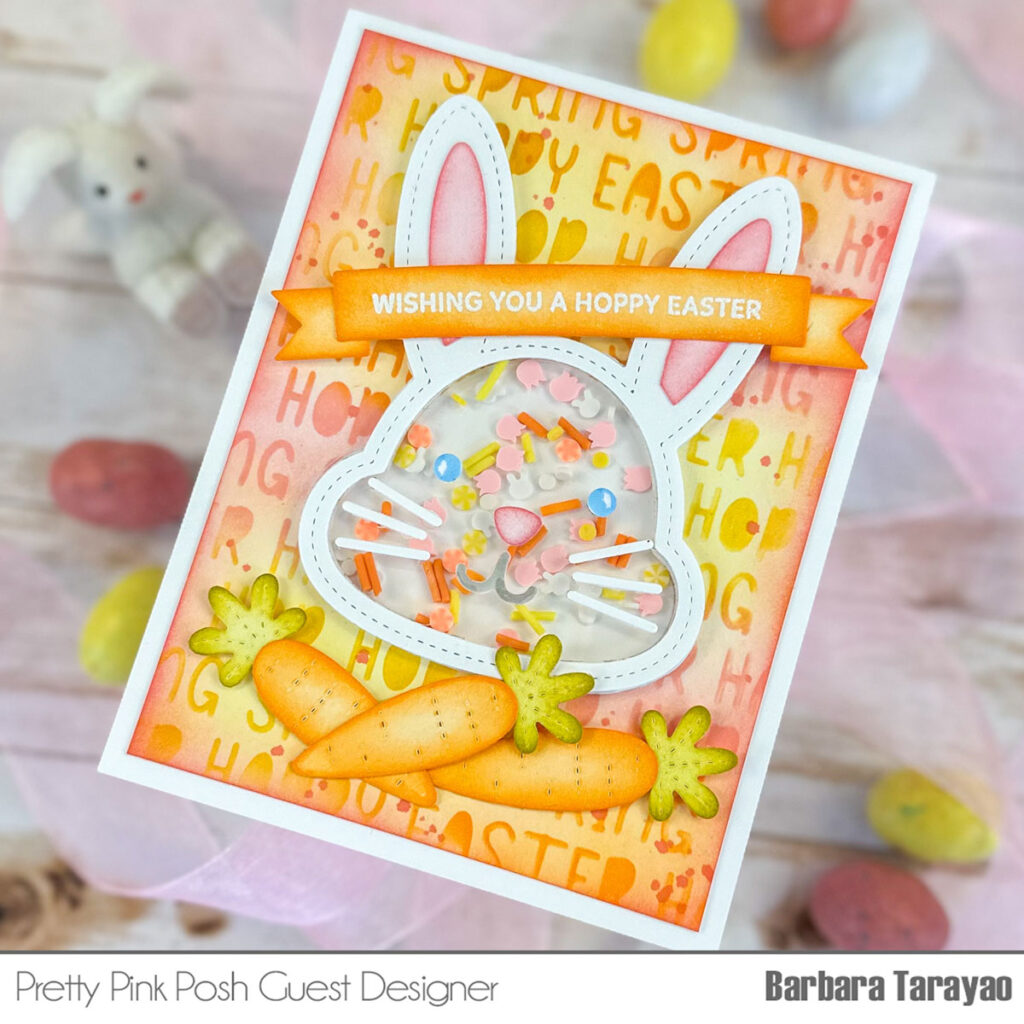
To start my project, I created my own text background by repeatedly stamping small sentiments with white pigment ink on minty green cardstock. Most of the sentiments I used are from the new Sentiment Strips: Occasions Stamp Set, but I pulled a few from the recent Birthday and Valentine stamp sets too. Before adding a stitched white frame from the Nature Essentials Dies to my text background, I splattered it with some white gouache paint.

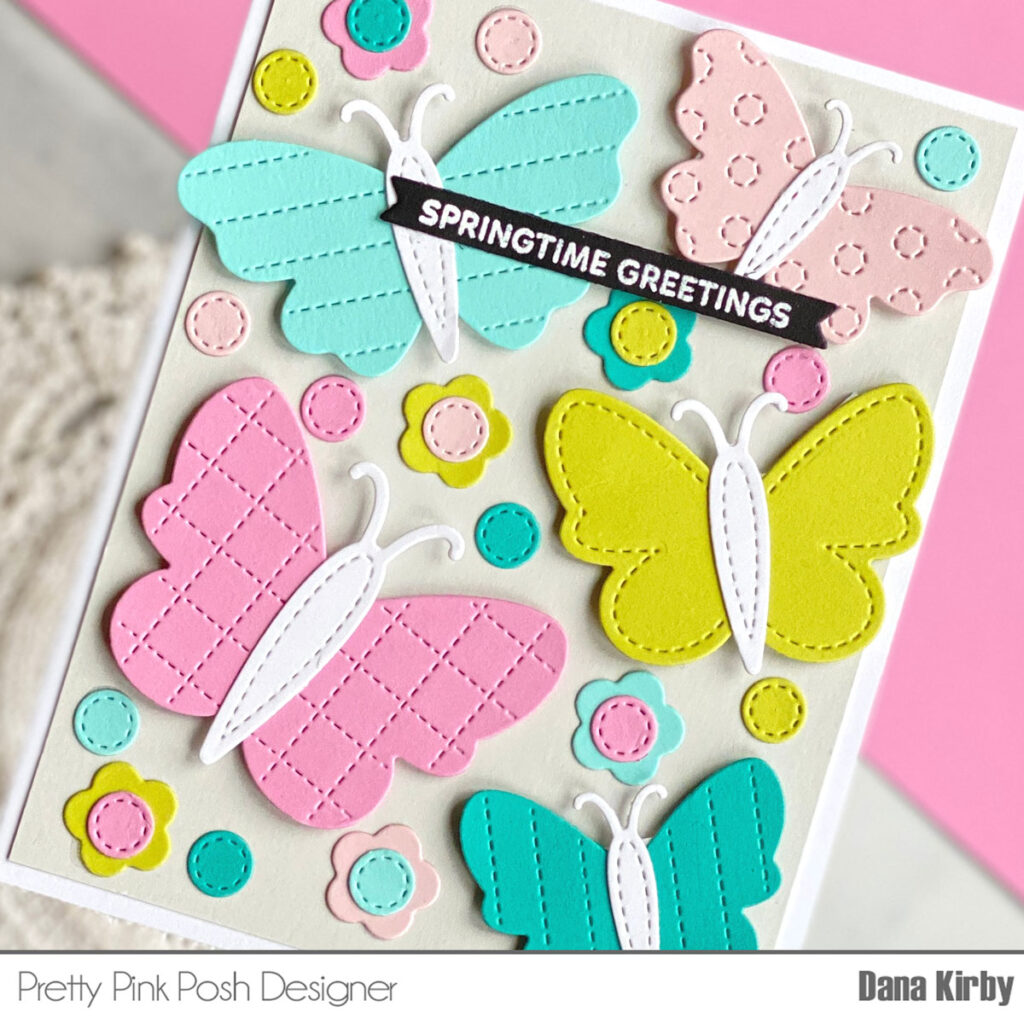
Next, I die cut all the elements to make three baby rattles from navy, white, yellow, and pink cardstock. I chose not to make my rattles into shakers for this project and just assembled them with the decorative pieces included in the set. I decided to add some of the gorgeous and super-versatile bows from the new Beautiful Bows Die Set. And the dot detail on the yellow rattle is actually a component of one of the bows!
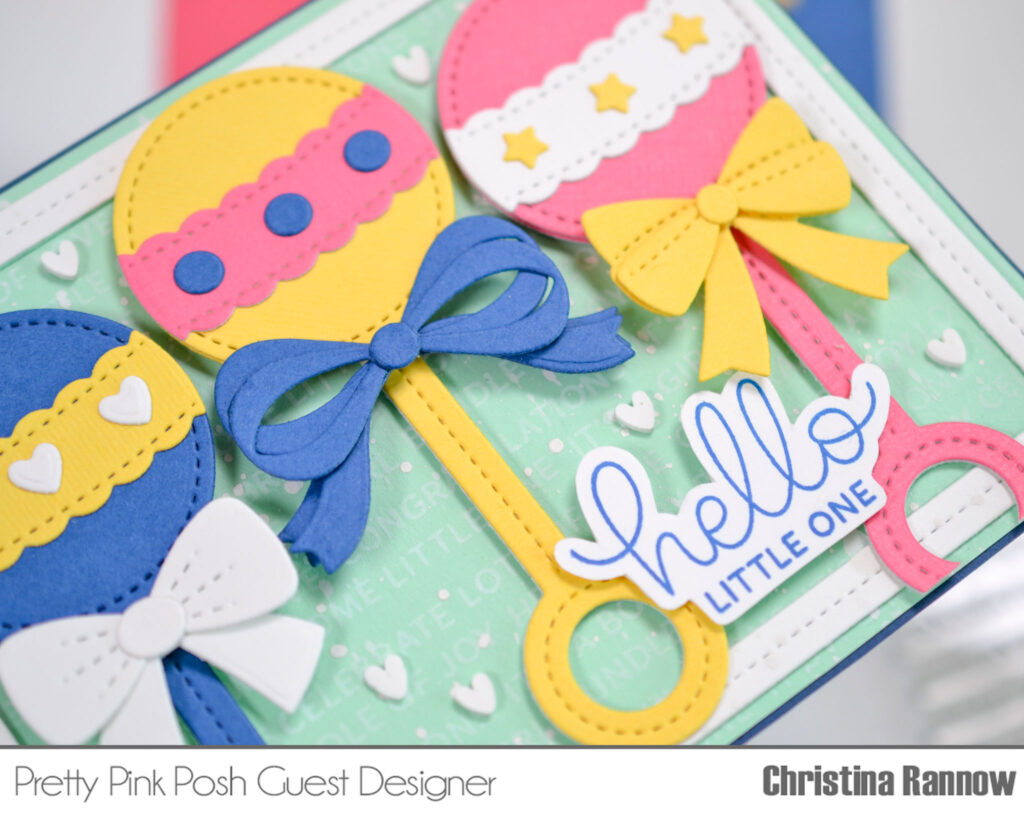
To finish up my card, I attached the assembled rattles to my background and trimmed the handles that overhung the panel. Then, I stamped a sentiment from the new Baby Basics Stamp Set in blue ink and fussy cut around the text before attaching it to my card. Lastly, I added a few white clay hearts and then attached everything to a navy cardstock panel.
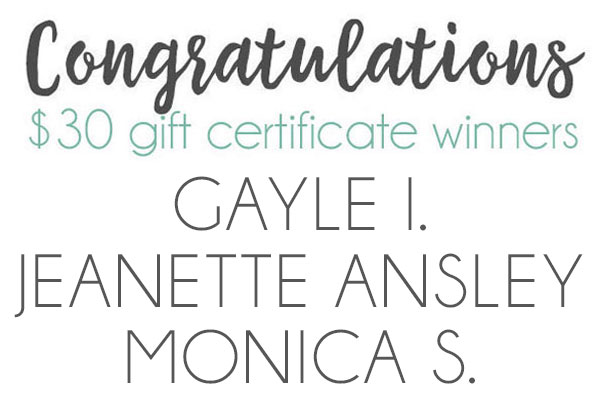
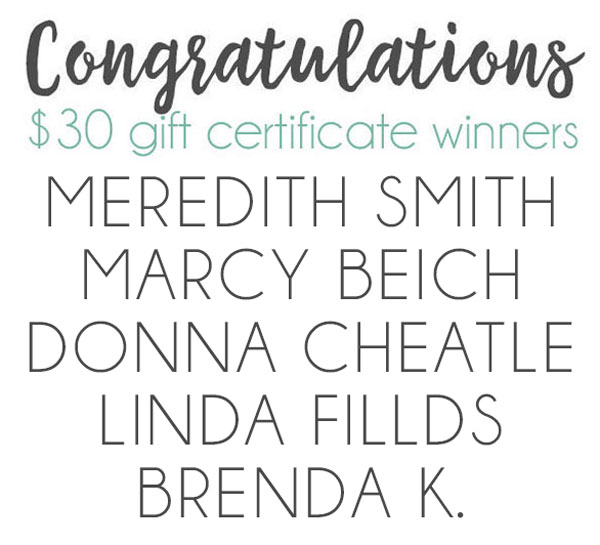
PRIZES: be sure to leave comments on each stop. We are giving away 3 $30 gift certificates to three random comments (1 winner each day) left before May 15, 2024 at 11:59 PM PST. I’ll be announcing the winners next week, so be sure to return and see if you are one of the winners.
Pretty Pink Posh blog << you are here
Carly Minner
Debbie Frank
Gemma Campbell
Zsofia Molnar
Lindsey Larsen
Rachel Kleinman
Jeanne Jachna
Lauren Taylor
We hope you were inspired by the three days of blog hop! Join us next week for more inspiration and we’ll be having FOUR days of Instagram hops!