You’re A Winner
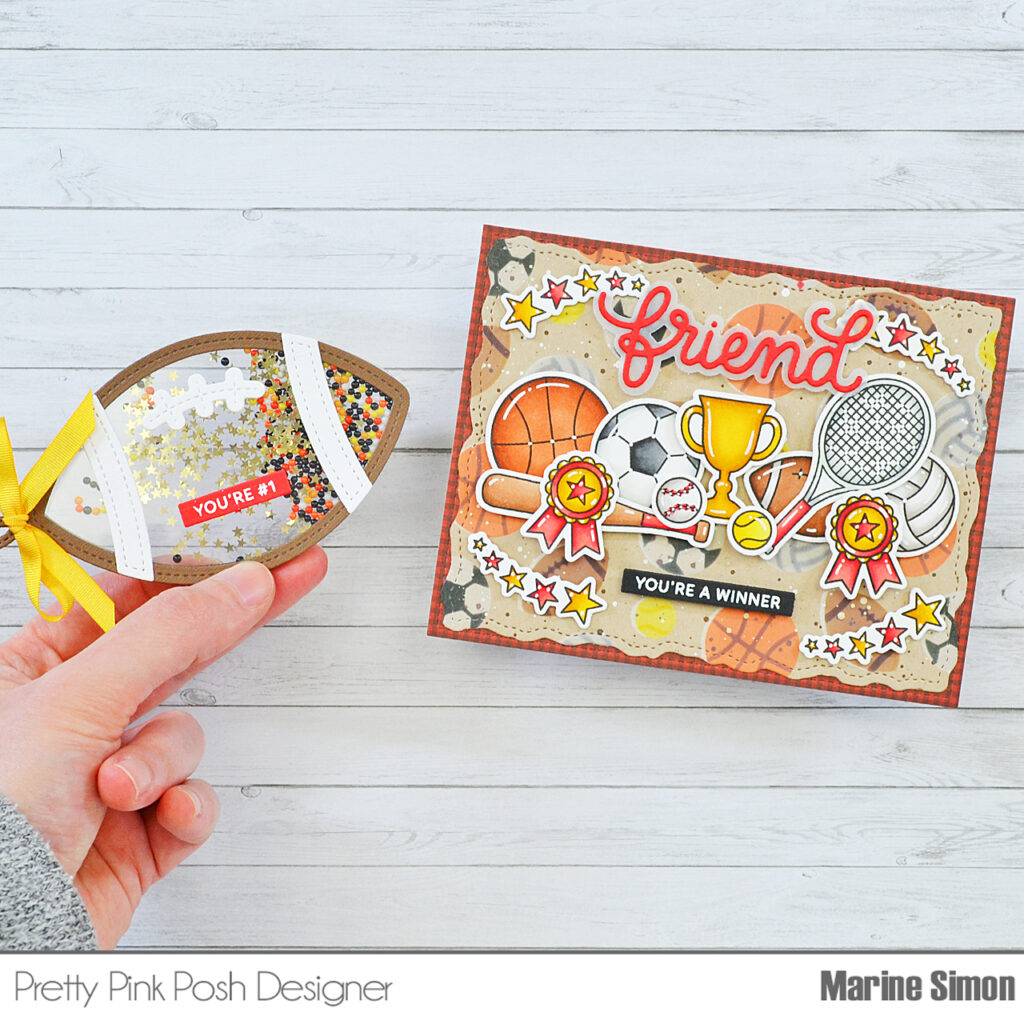
Hello crafty friends, Marine here, I’m thrilled to be back on the blog with this card + tag duo showcasing three brand new products from the Pretty Pink Posh June 2024 release, which are the Sports stamp set, the Layered Sports Balls stencils and the Football Shaker die set. These are absolutely amazing, and I’m so happy with how my projects turned out.
I started off by cutting a Stitched Torn Rectangle kraft panel that I stenciled using the Layered Sports Balls stencils. When I stencil on kraft cardstock, I like to create a white base first, so that the colors I apply next pop on the paper. So I taped the stencil A on my panel, and used white pigment to make this white base. I kept the stencil A in place, but shifted it a little bit to the right, and used oxide inks to make the first layer of my sports balls. Next I taped the stencil B on top of my panel, and used more oxide inks to add details to my sports balls.
Here are the oxide ink combinations I used:• Basketball – rusty hinge + vintage photo• Football – vintage photo + ground espresso• Soccer ball – lost shadow + black soot• Tennis ball – squeezed lemonade + mustard seed• Volleyball – pumice stone + hickory smoke
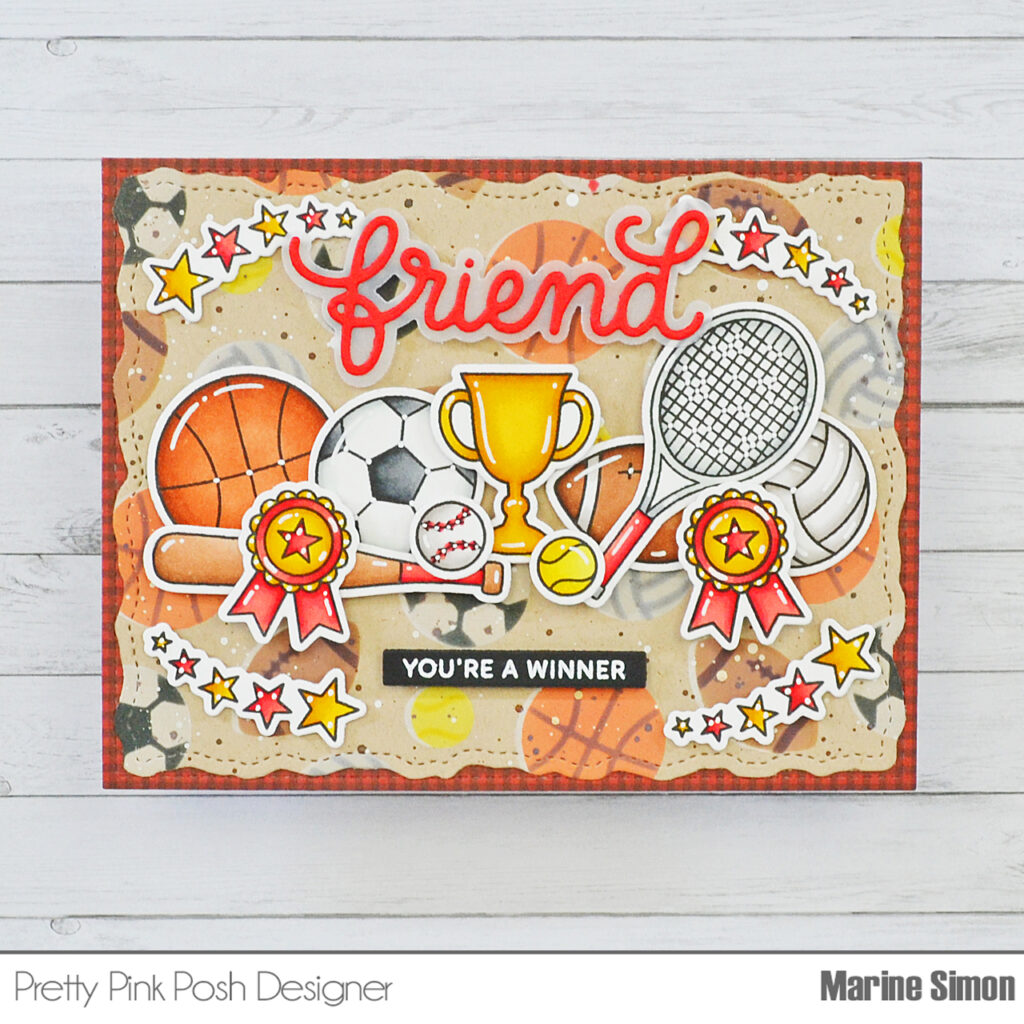
As always, I added texture to my panel: I mixed some ground espresso oxide ink with water, and used a small brush to add splatters to my background, and then did the same with copic opaque white ink.
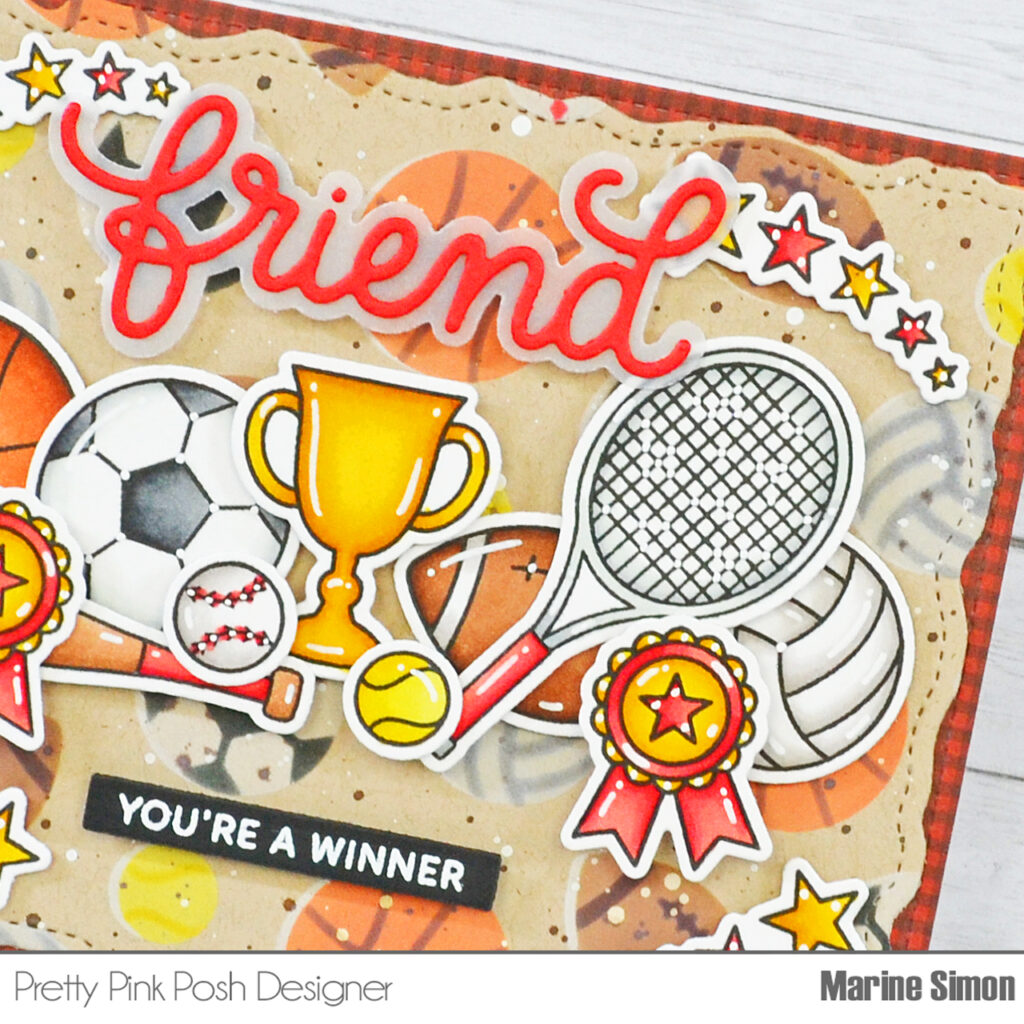
I set my panel aside to dry, and stamped all the Sports images on 80lb Neenah solar white cardstock using an alcohol marker friendly black ink. I cut them all using the matching dies, and colored everything using my Spectrum Noir Illustrator markers and my Graph’it brush markers.
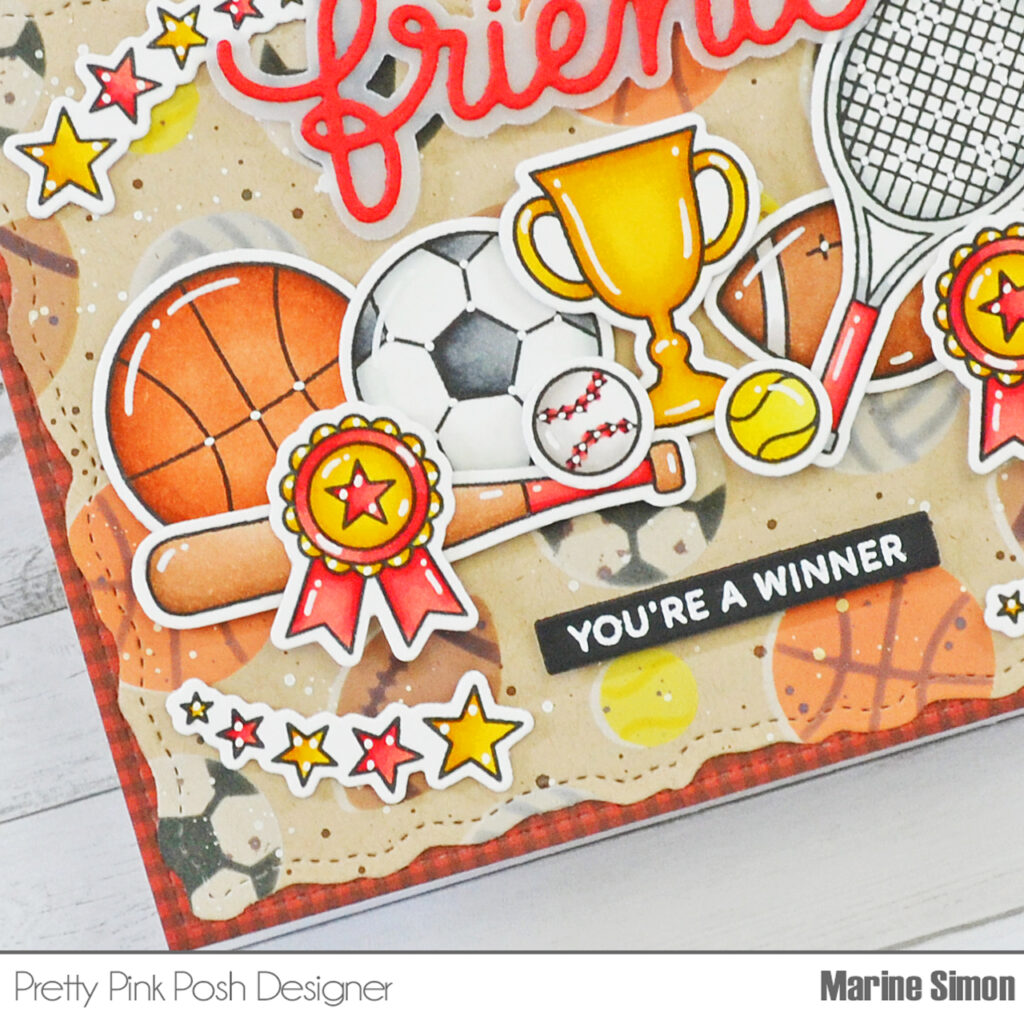
I attached the images on my Layered Sports Balls panel using 1mm and 2mm foam squares, and then added highlights and details using a white gel pen. I stamped “You’re a winner” from Sports on black cardstock, and trimmed it into a slim banner using a Sentiment Strips die that I attached below the images. I also cut “Friend” out of red cardstock, as well as its shadow out of vellum, using the Friend Shadow die set. I stuck “Friend” on its shadow using liquid glue, and then attached the whole piece above the images using 2mm foam squares. To finish my card, I cut a 5,5 x 4,25 inches black and red gingham panel, attached it to a kraft card base, and then stuck my panel on top using double sided tape.
Next I created my Football Shaker see-through tag, and here are the different steps to build and assemble it:
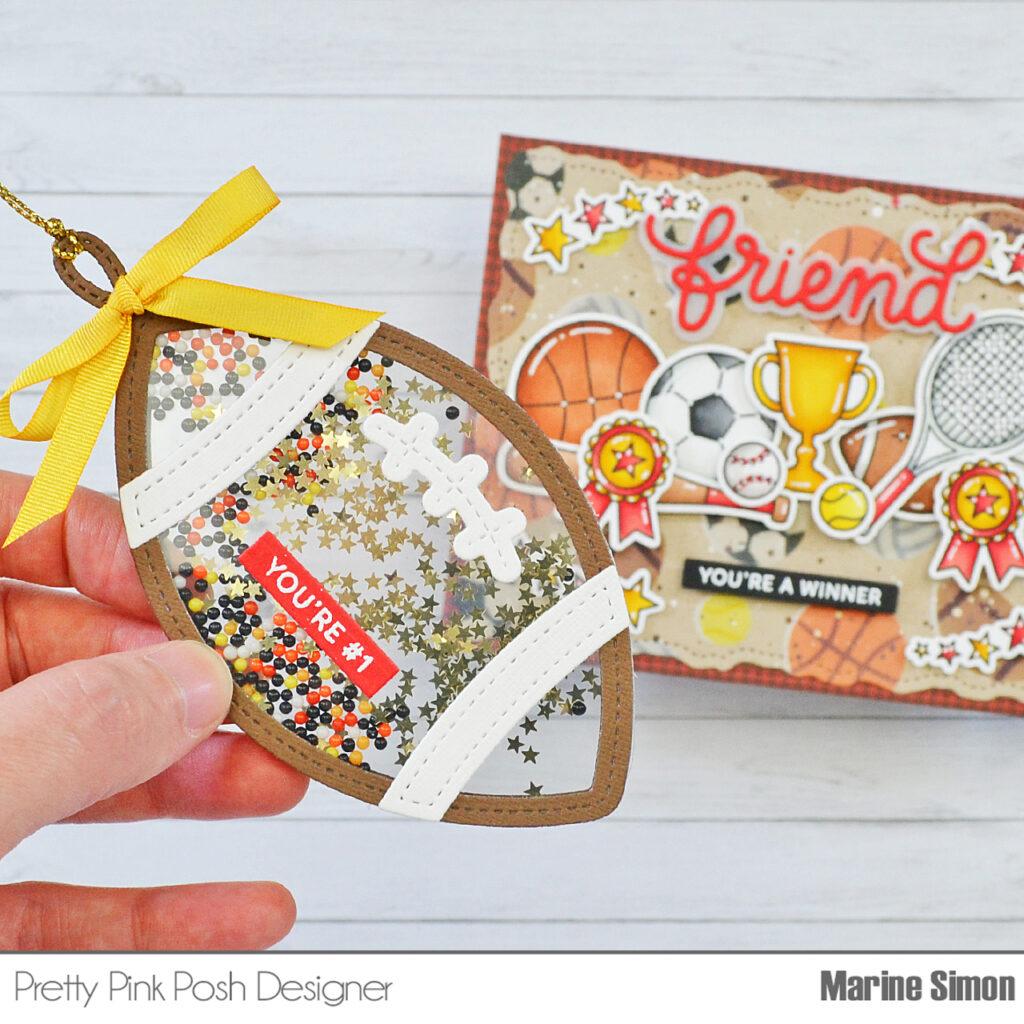
1. Cut a football frame out of brown cardstock, cut a whole football out of acetate, and attach the football frame on the acetate football using liquid glue
2. Flip the piece over, cut the tag handle using a Build A Stocking die, and attach it on one end of the football using liquid glue
3. Add foam strips behind the frame, directly on the acetate, following the shape of the football
4. Pour Gold Mini Star confetti, as well as Construction Zone shaker beads on the acetate
5. Cut another football out of acetate, and attach it to the foam strips to close the shaker
6. Cut another brown football frame, and stick it to the acetate to finish the back of the tag nicely
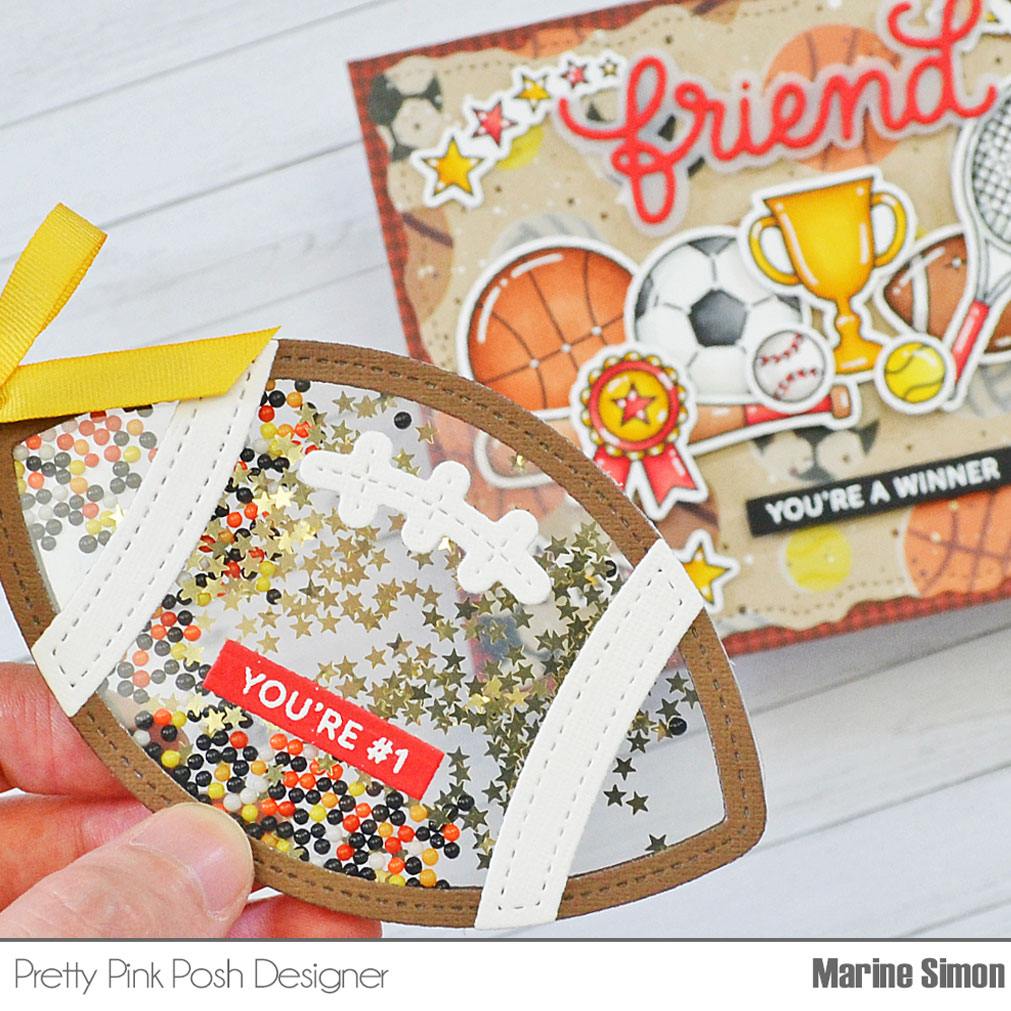
Once the Football Shaker base was done, I glued the white decorative pieces, added gold thread on the handle, and attached a yellow bow right below it. I also white heat embossed “You’re #1” from Sports on red cardstock, trimmed it into a slim banner using a Sentiment Strips die, and stuck it to the acetate using liquid glue.
Thanks for stopping by!

I ADORE this! Love the layers of sports balls and stenciled background!!!!!!