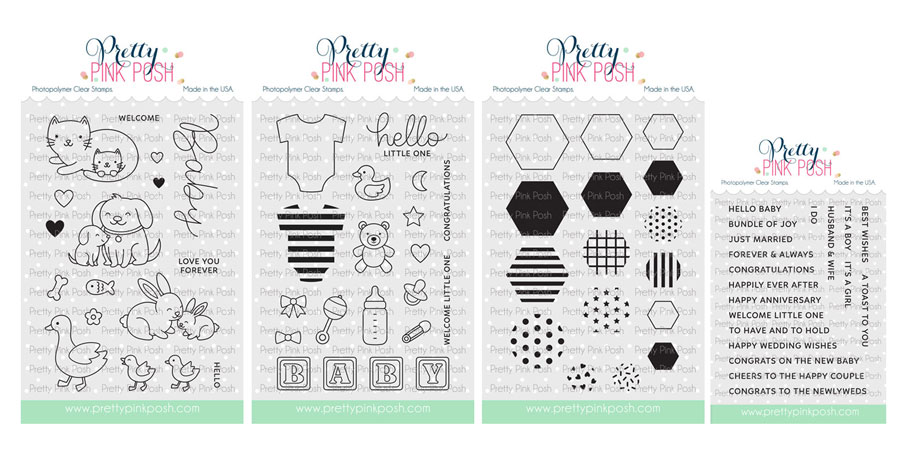
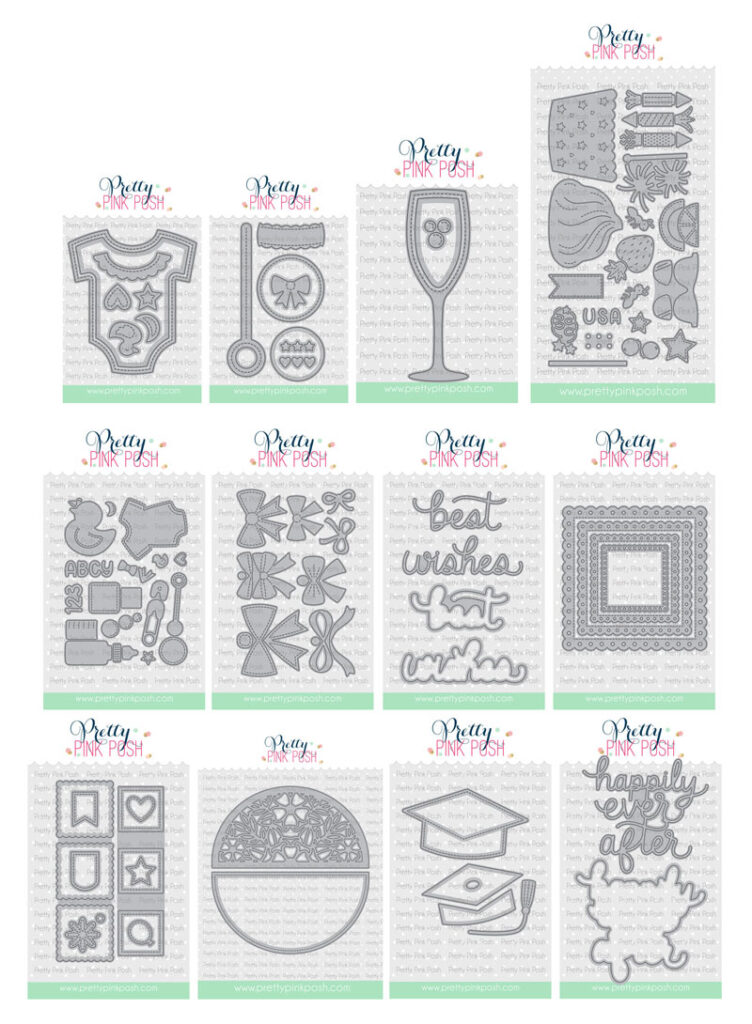
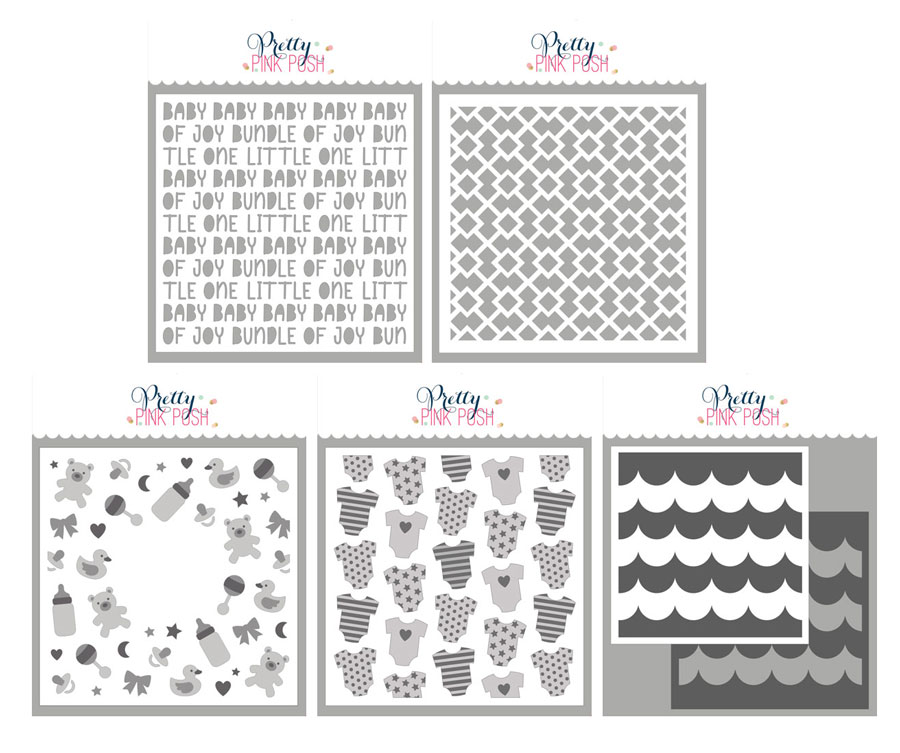
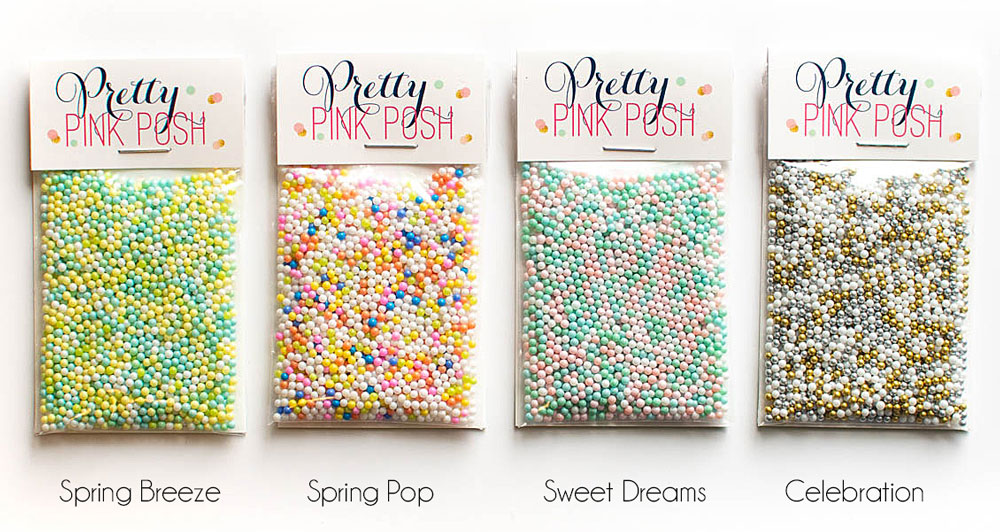
Day 1: May Blog Hop + New Release Now Available
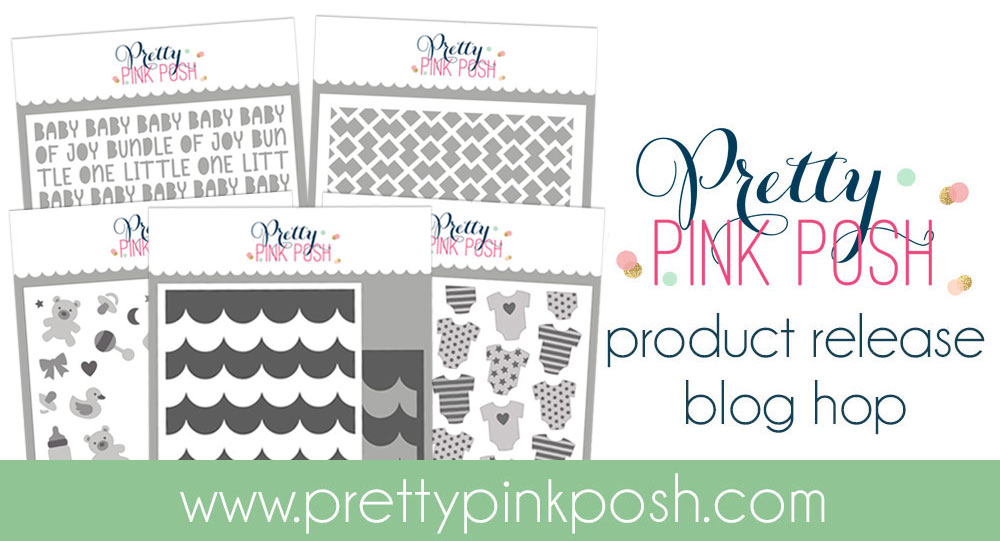
The May 2024 Release is now available in the Pretty Pink Posh Shop and select retailers that carry our products. If you missed our post yesterday, we revealed all of the products in picture form, but if you would like to see them in a video, Mindy has that for you today!
Watch the video above I Watch the video in HD on YouTube
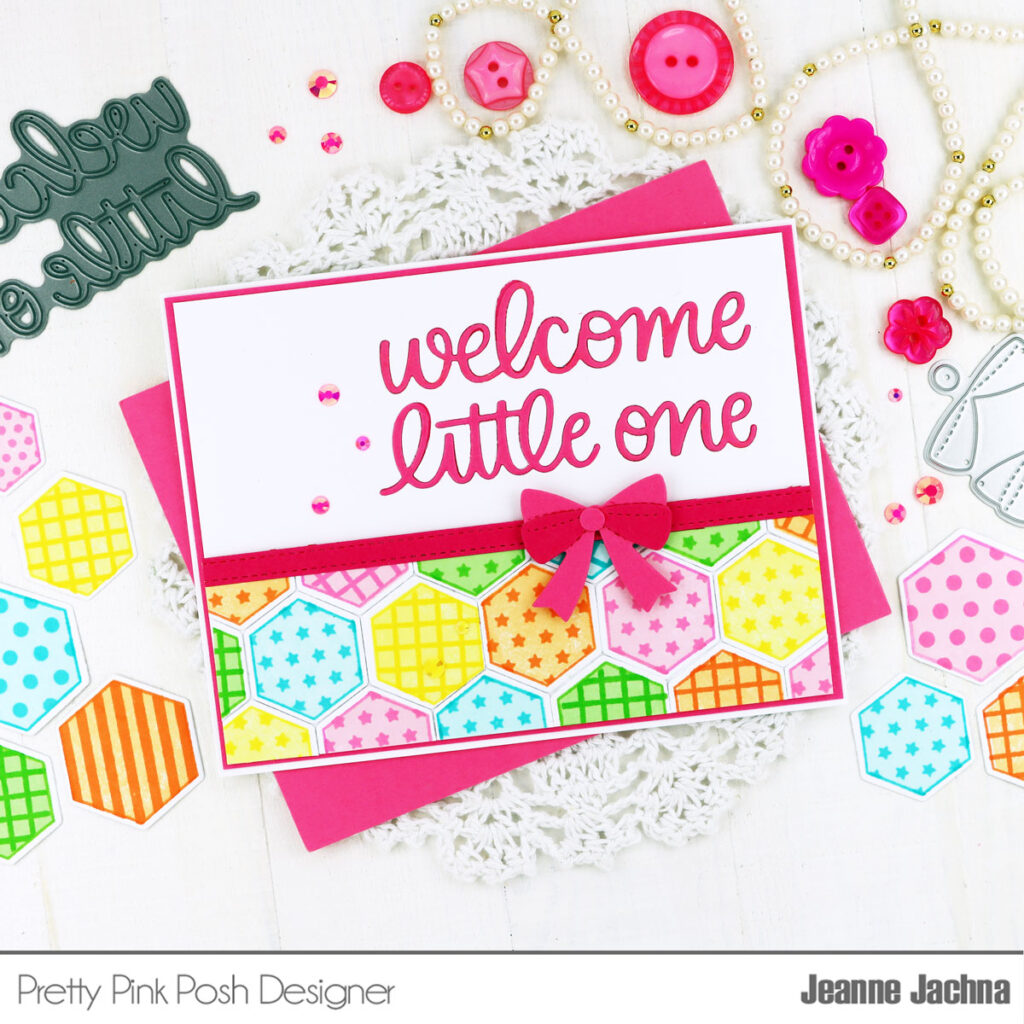
Hello crafty friends, Marine here. I’m here for the first day of the blog hop with fun and bright friendship card showcasing two new products from the Pretty Pink Posh May 2024 Release: the Decorative Hexagons stamp set and the Fancy Lattice stencil. And those beautiful hexagons definitely reminded me of bees, so I brought the Bee Friends back!
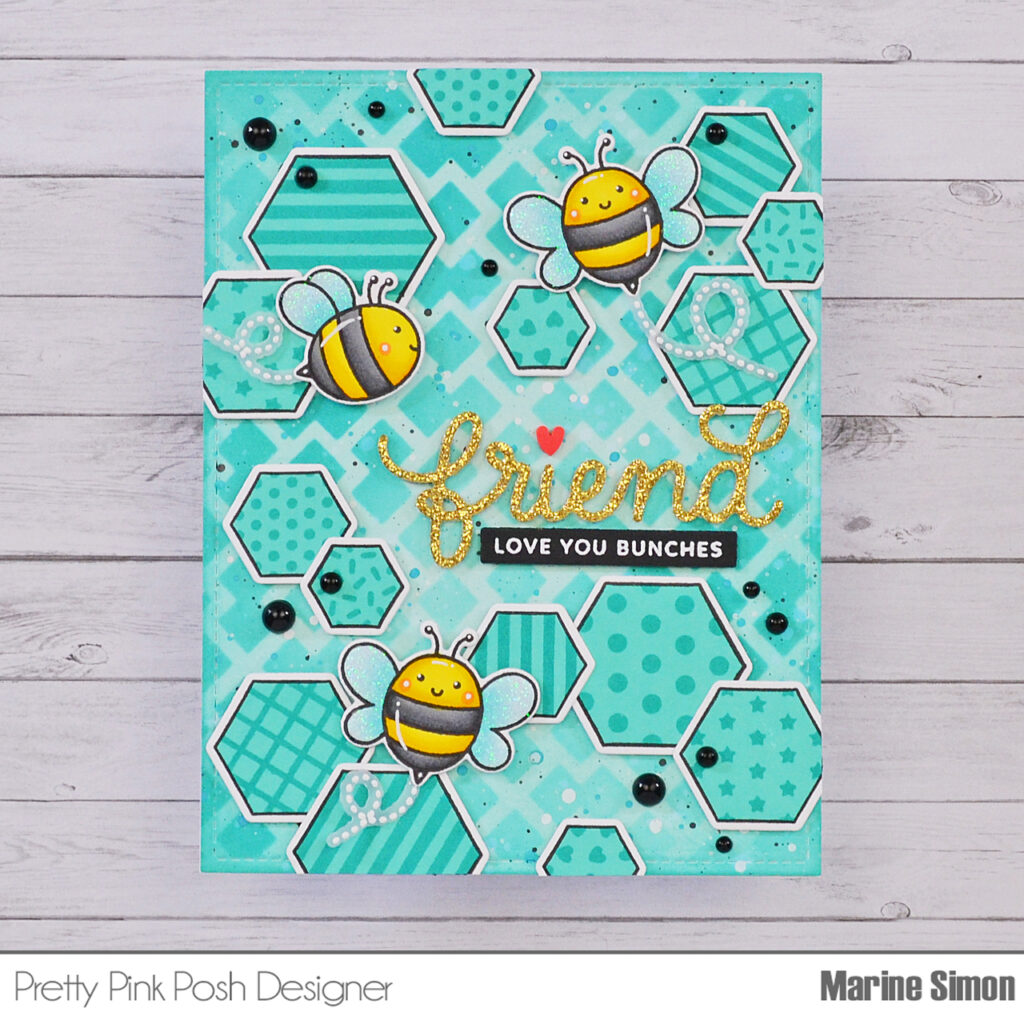
I started off by creating my background on a 5,5 x 4,25 inches Strathmore bristol smooth panel. I first covered the entire panel with salvaged patina oxide ink to get a nice aqua base, and then I used the Fancy Lattice stencil along with peacock feathers oxide ink to create a beautiful pattern on my piece of paper. I also added a little bit of peacock feathers oxide ink on the four edges of my panel, and then added texture. I first splattered water that I dried using a paper towel, next I mixed some peacock feathers oxide with water and used a small brush to add more splatters, and I did the same with black soot oxide ink and with copic opaque white ink.
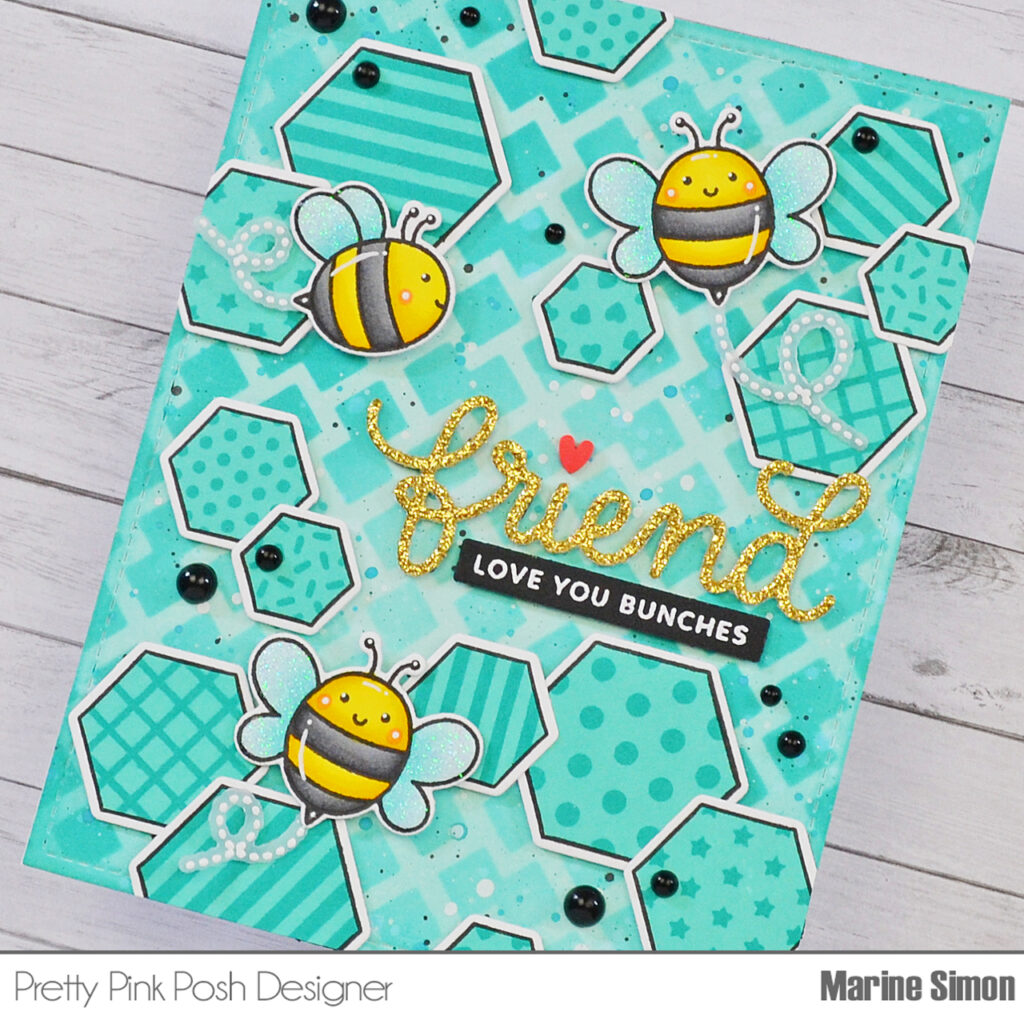
I set my panel aside to dry, and stamped three Bee Friends on 80lb Neenah solar white cardstock using an alcohol marker friendly black ink. I cut them using the matching dies, and colored them using my alcohol markers. I used a white gel pen to add highlights and details to my three little bees, and applied white blizzard nuvo drops on their wings to make them sparkle. And I also white heat embossed three trails on vellum, cut them using the matching dies, and set those pieces aside for later.
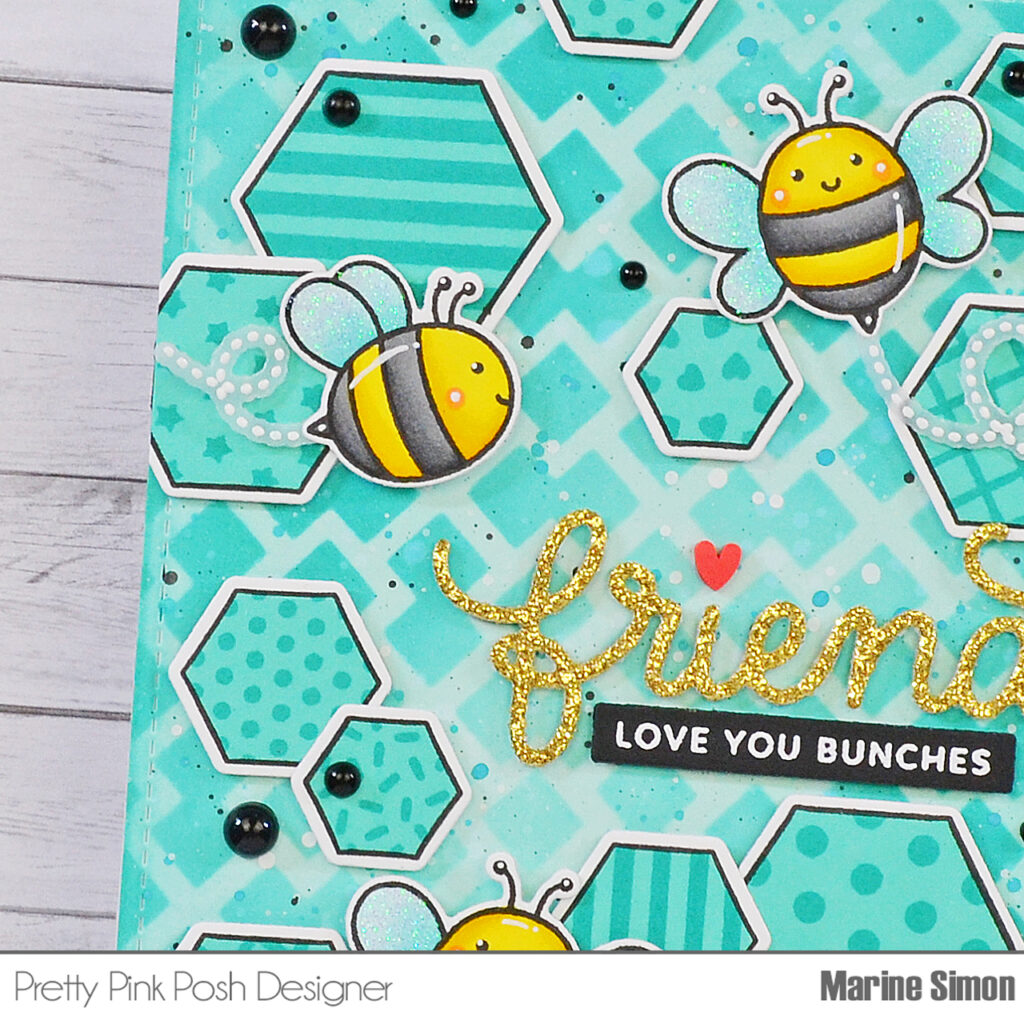
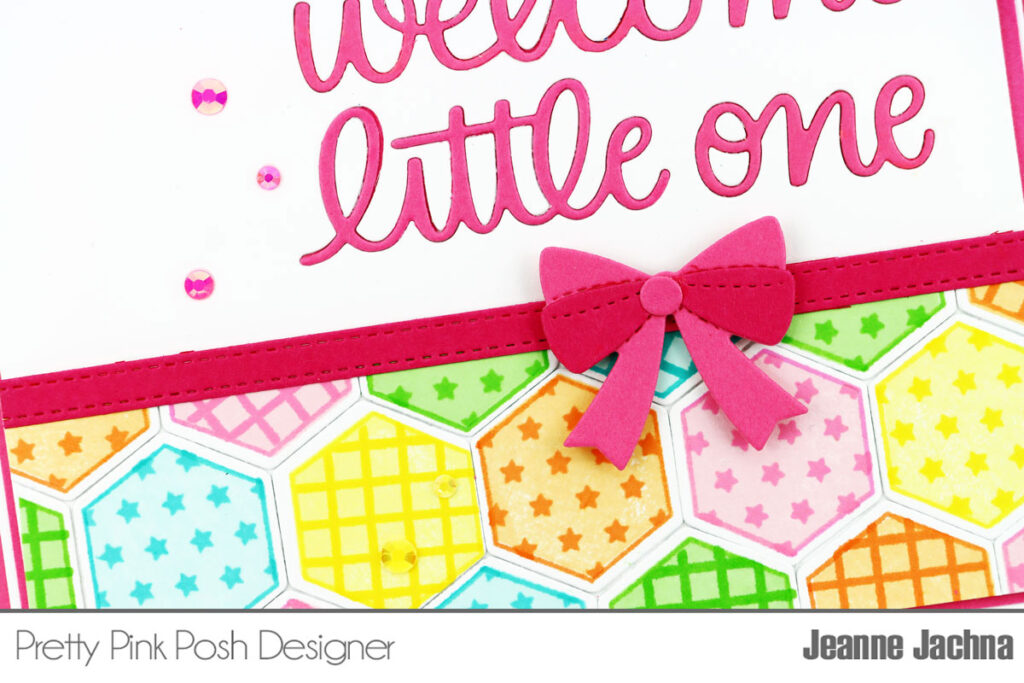
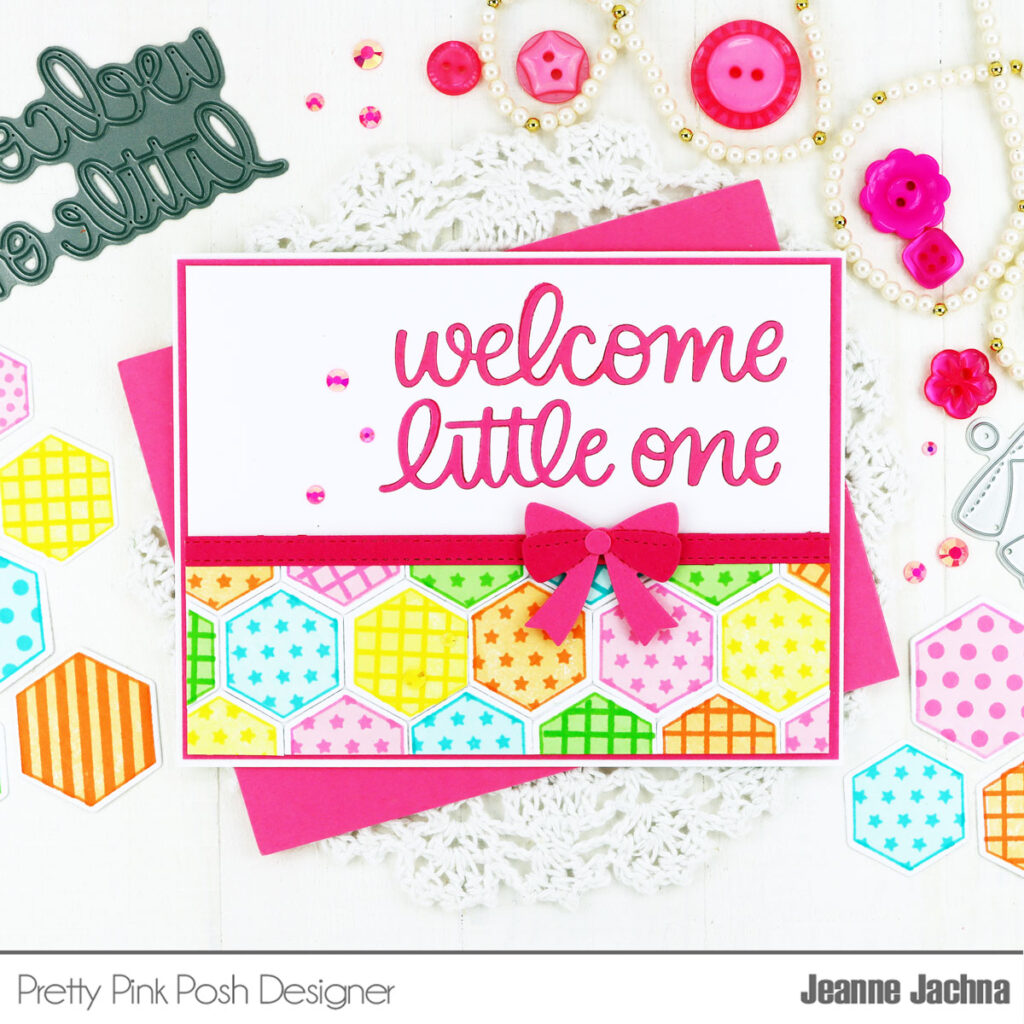
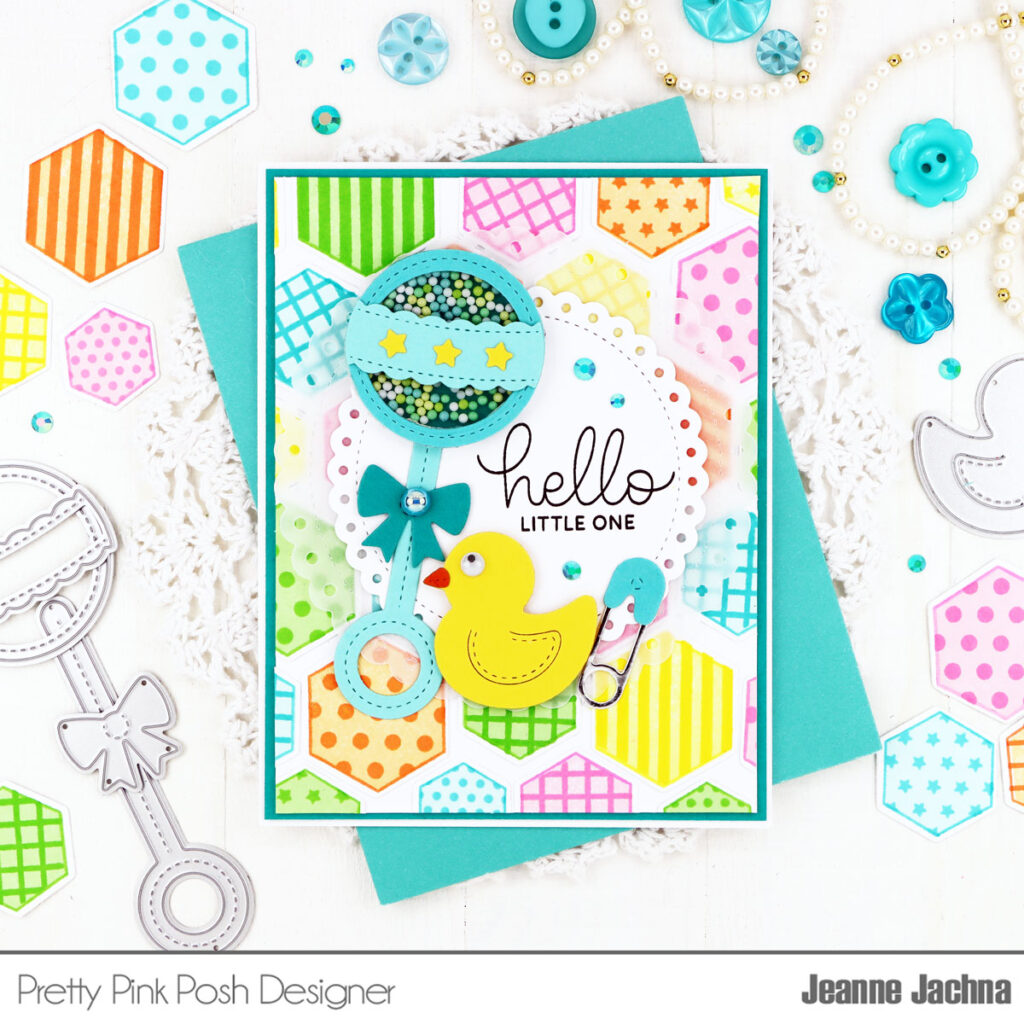
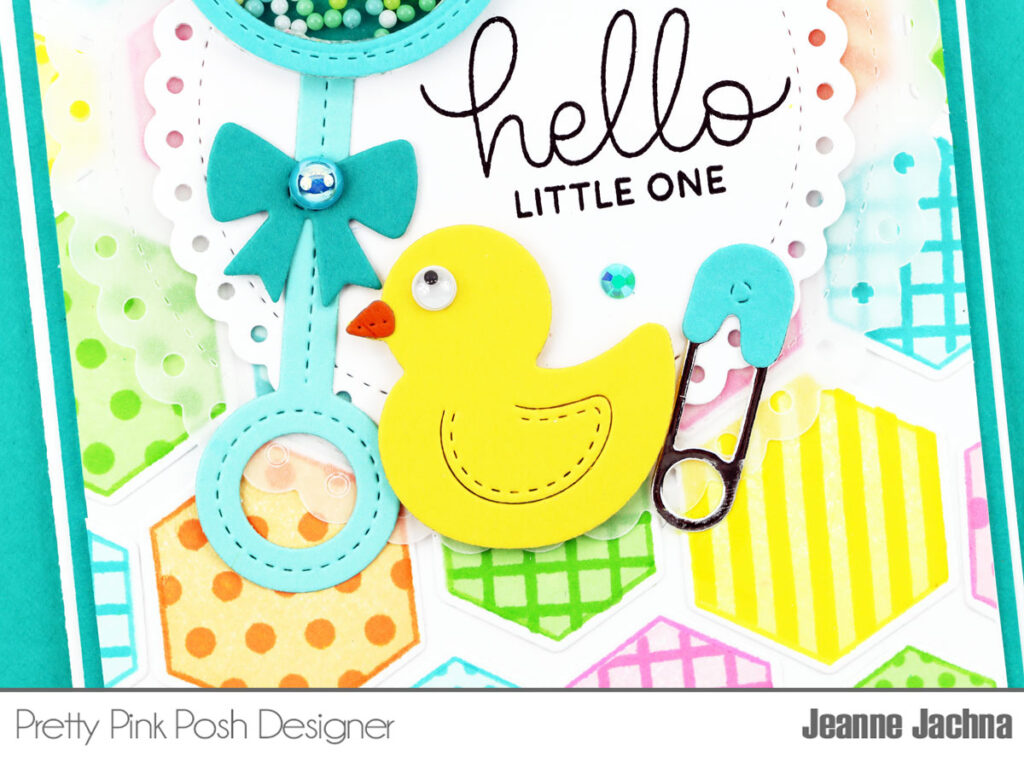
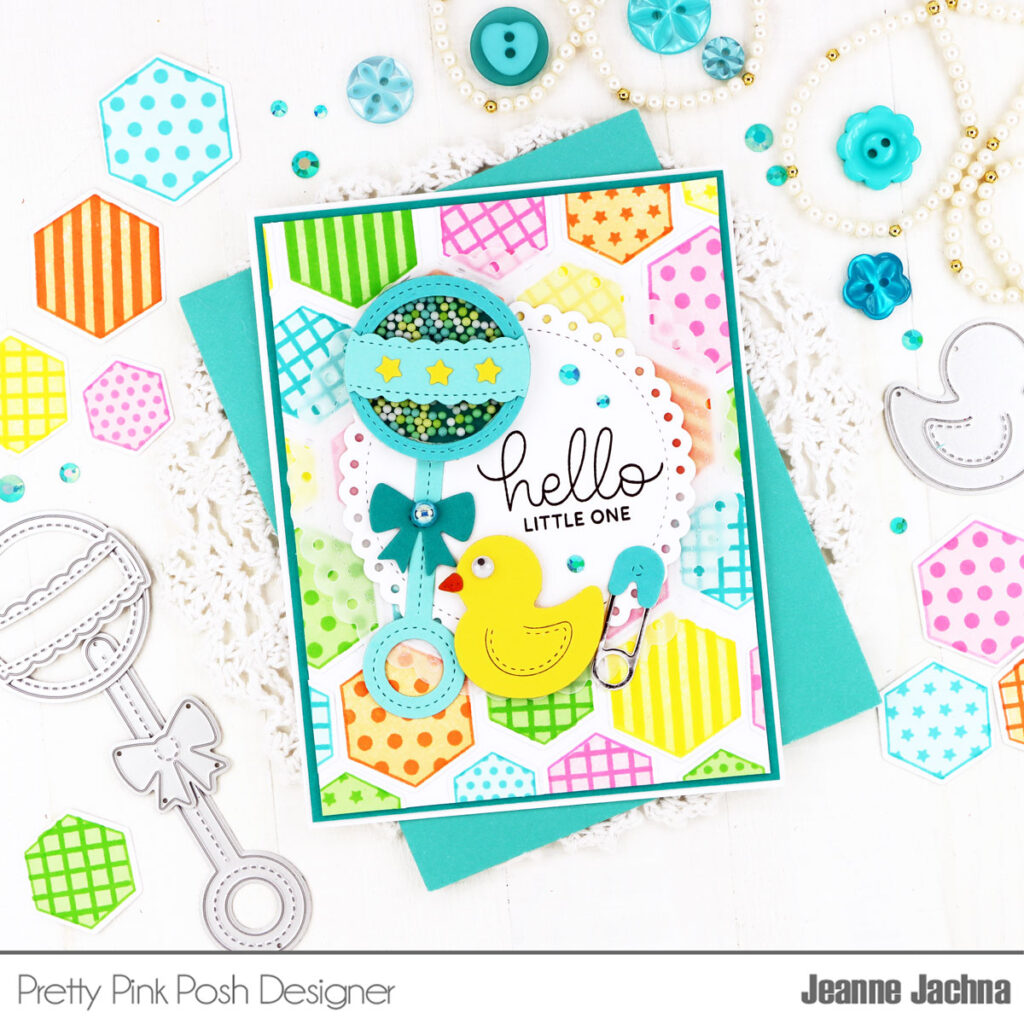
Next I stamped multiple Decorative Hexagons outlines on 80lb Neenah solar white cardstock using the same black ink as the bees, and started off by “coloring” those hexagons using the solid images along with Lawn Fawn Merman dye ink, and I stamped the patterns using Lawn Fawn Peacock dye ink. I cut my hexagons using the matching dies, attached them all on my Fancy Lattice panel using 1mm foam squares, along with the bees and trails, leaving enough space for my greeting.
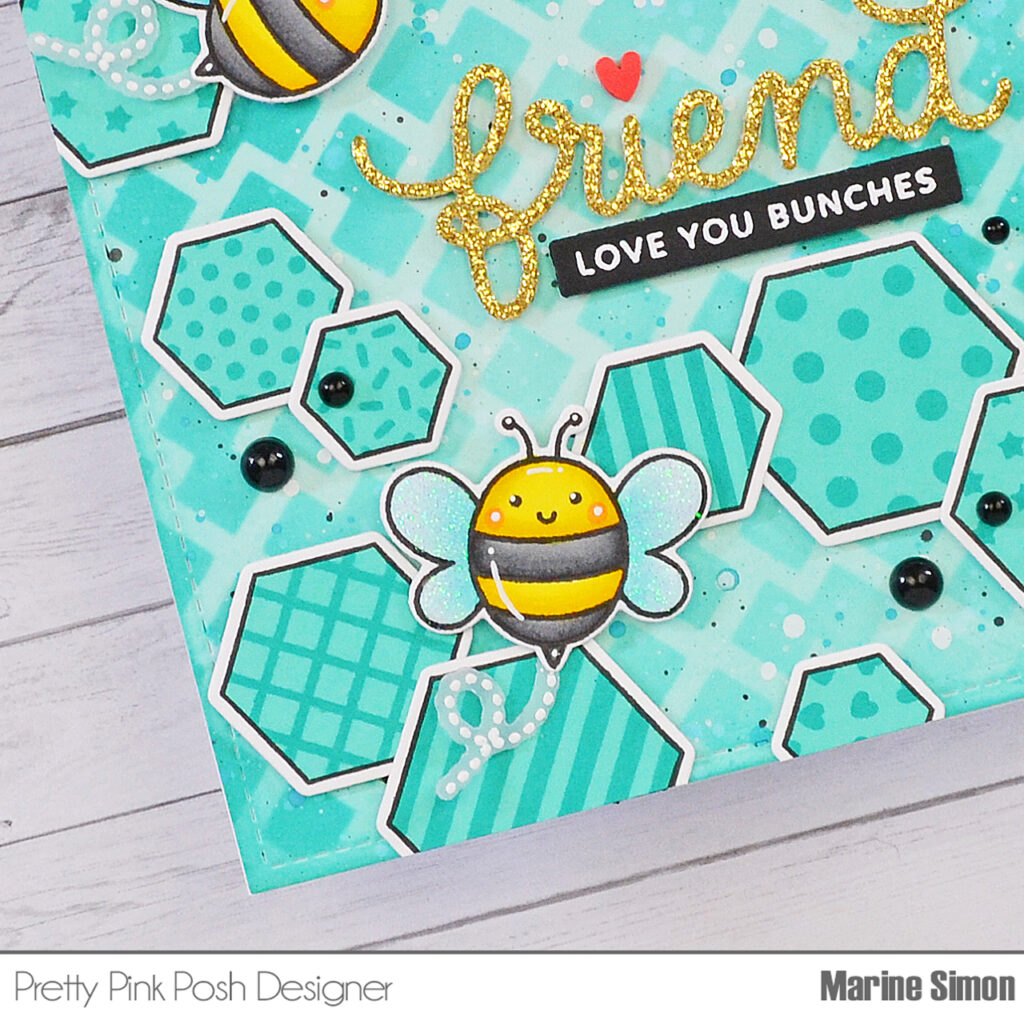
Speaking of which, I started off by cutting the Friend Shadow word out of gold glitter cardstock. Next I white heat embossed “Love you bunches” from Hedgehog Friends on black cardstock, trimmed it into a slim banner using a Sentiment Strips die, and then attached both pieces on my panel using 1mm foam squares. I finished my card by adding Onyx Black Pearls here and there, as well as a red heart from the Valentine Hearts clay confetti pack right above the “i” in “Friend”.
PRIZES: be sure to leave comments on each stop. We are giving away 3 $30 gift certificates to three random comments (1 winner each day) left before May 15, 2024 at 11:59 PM PST. I’ll be announcing the winners next week, so be sure to return and see if you are one of the winners.
Pretty Pink Posh blog << you are here
Nichol Spohr
Amy Rysavy
Heather Hoffman
Annette Allen
Mindy Eggen
Lisa Mears
Kristie Marcotte
Be sure to leave comments on all the stops- we’ll be randomly picking comments to win gift certificates. Thanks for joining us!

