June Intro: Sneak Peek Day 4
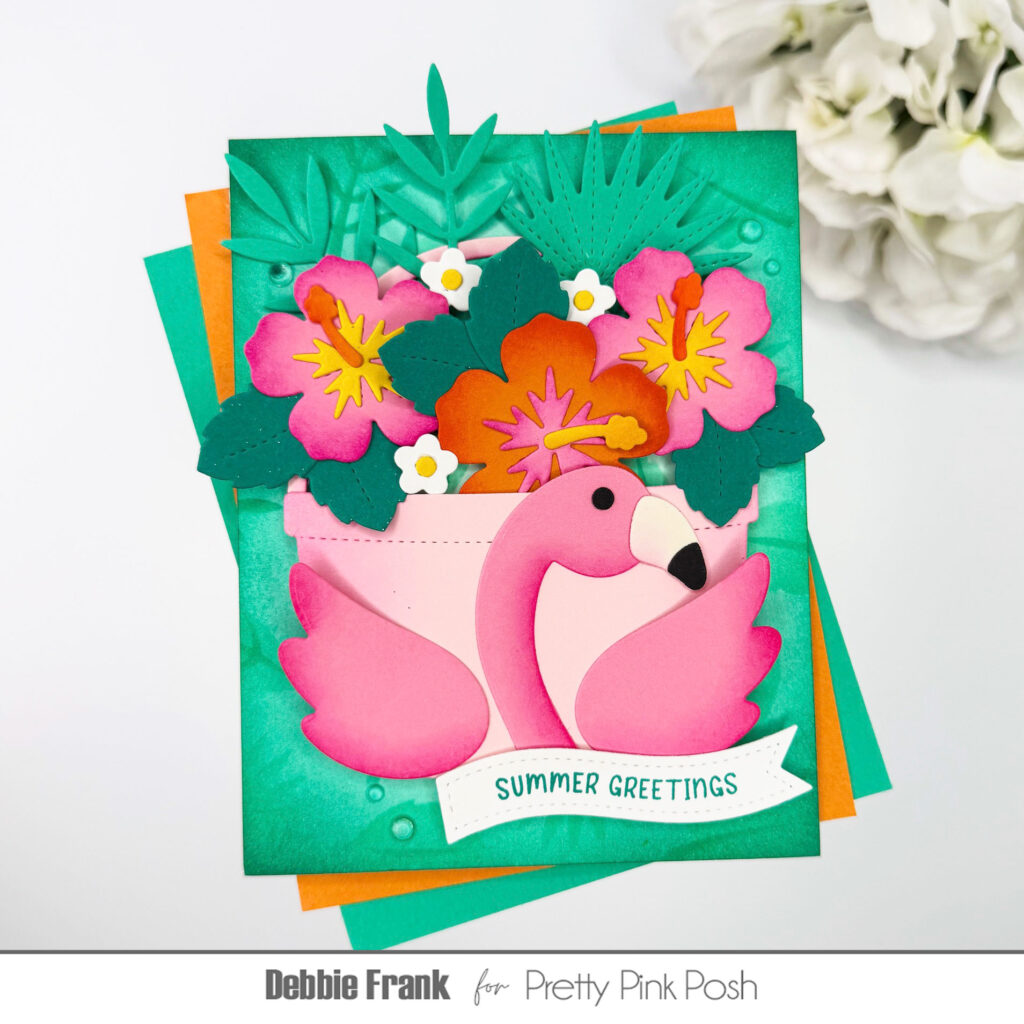
Hello and welcome to the last day of sneak peeks for the June 15th release. This collection features refreshing summer cocktails, vibrant hibiscus blooms, fun shaker dies, fabulous flamingos, and much more. This release includes four stamp sets, three coordinating dies, eleven standalone dies, five stencils, and four embellishments.
Watch the video above I Watch the video in HD on YouTube
Hey, Sunshine! Melissa here with you today and I’m lucky enough to be sharing a couple of cards created with the new Pretty Pink Posh June Release stamps and stencils. Let’s jump right in and make a splash!
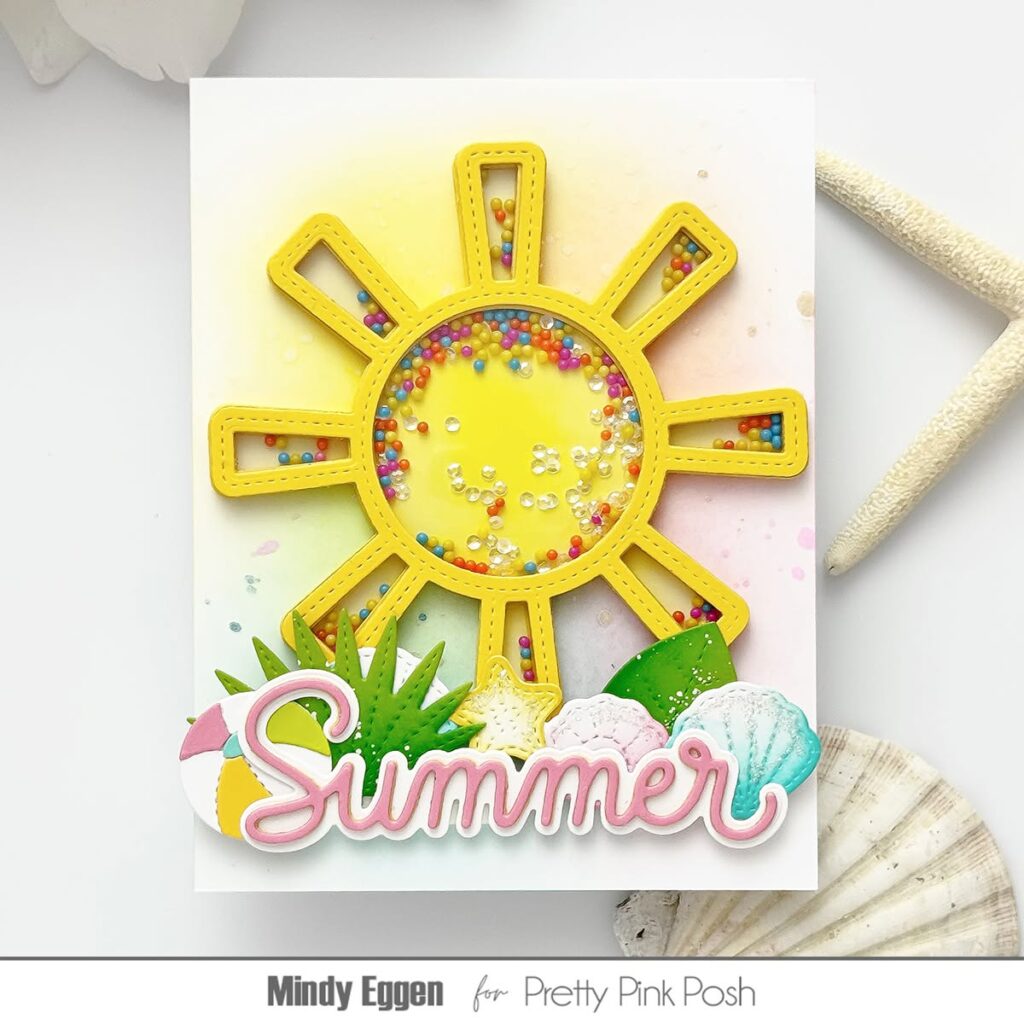
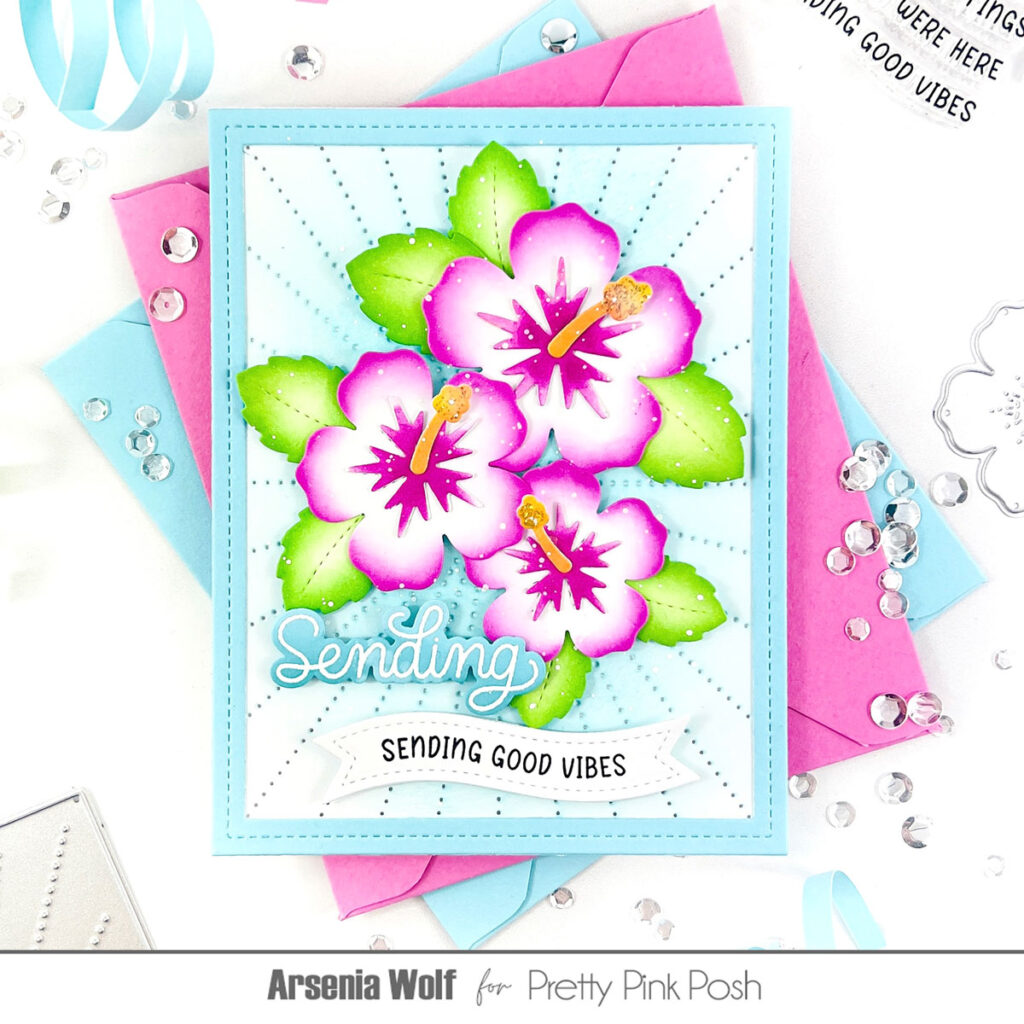
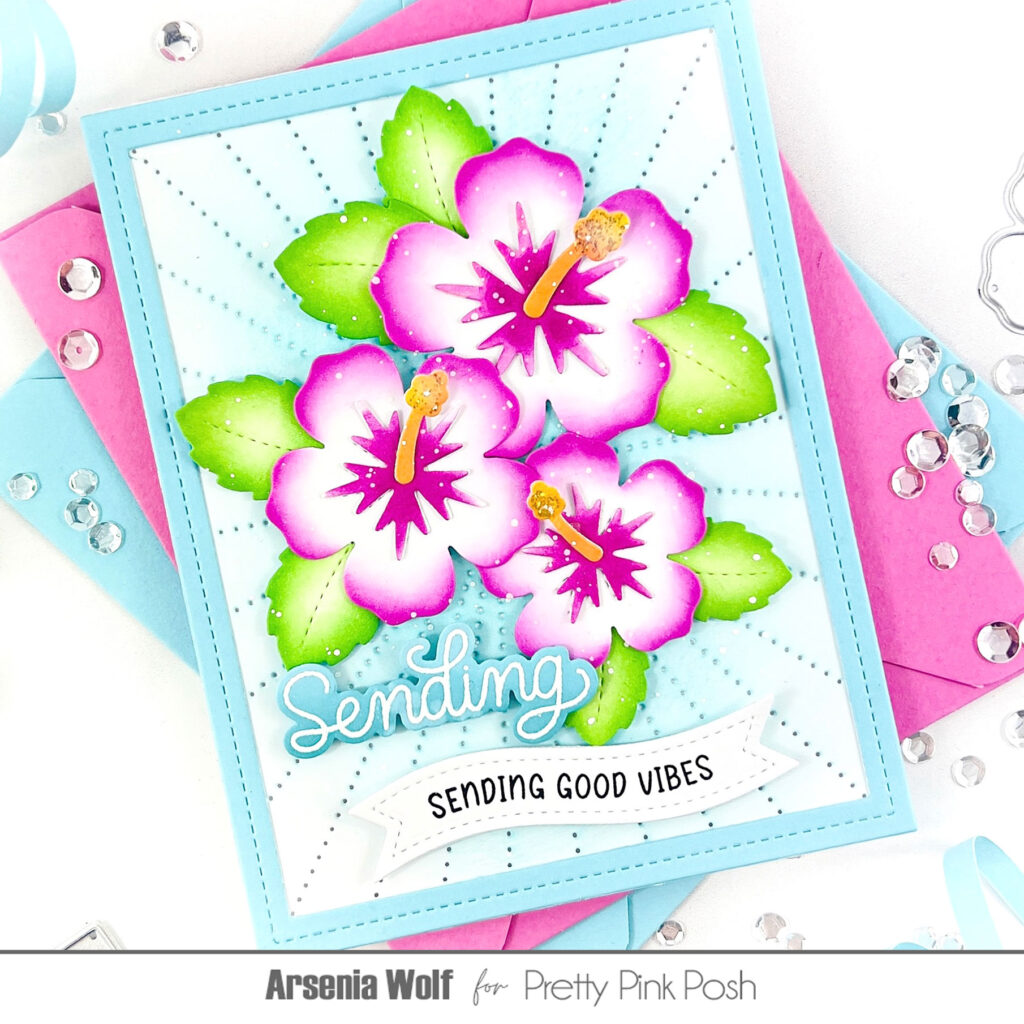
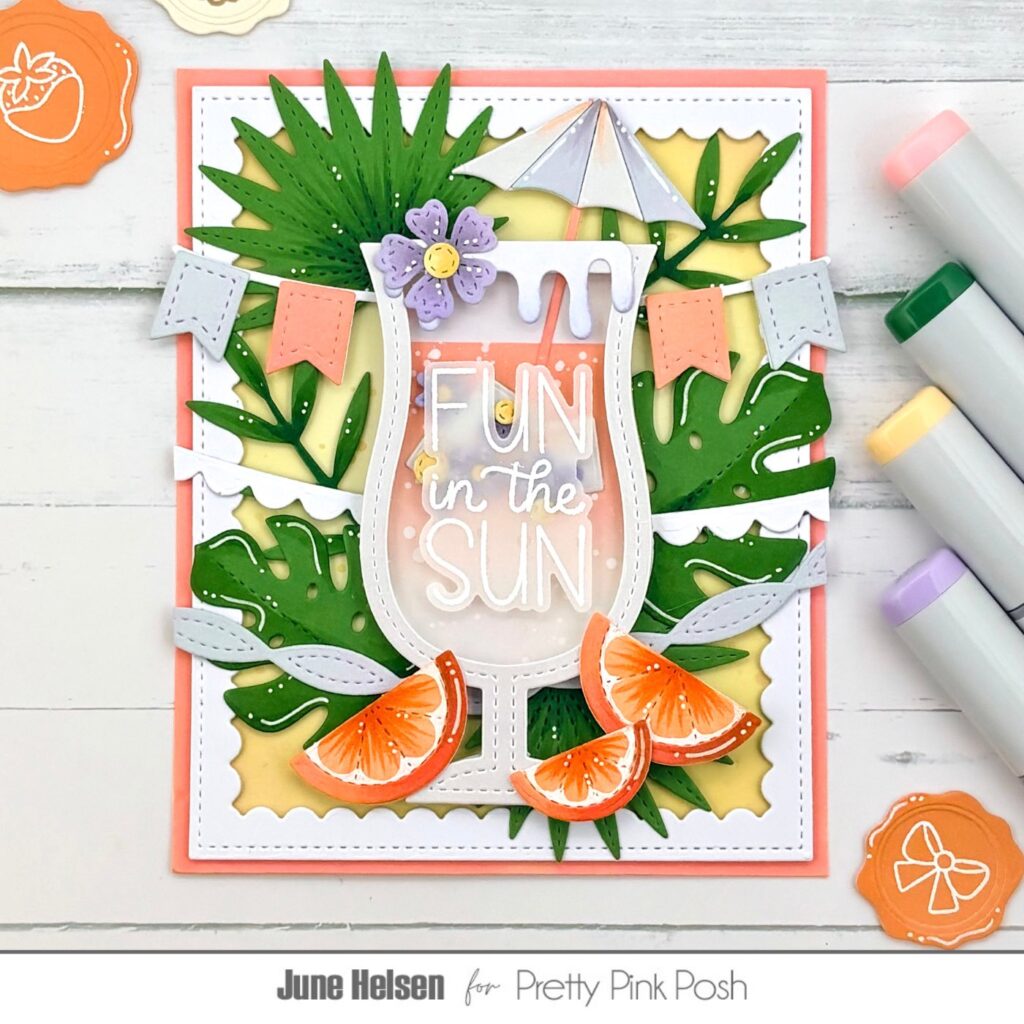
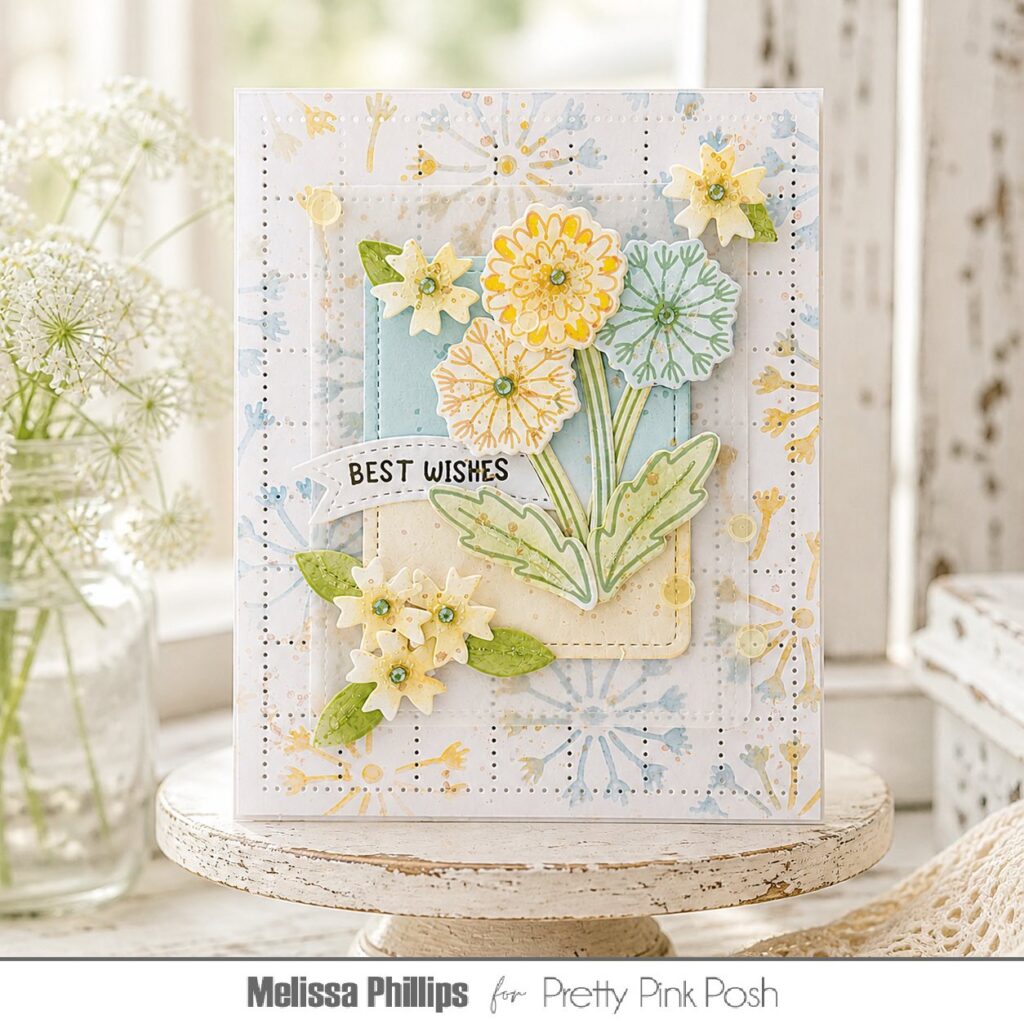
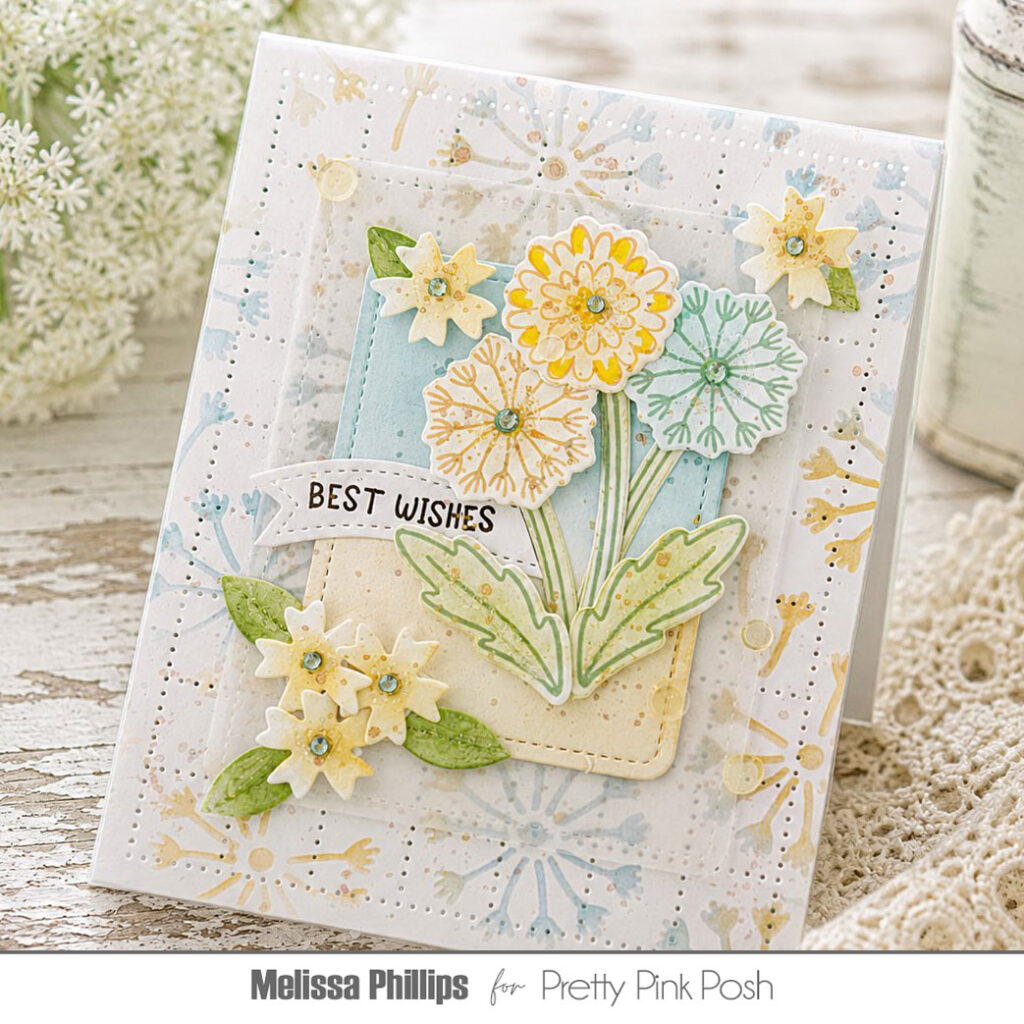
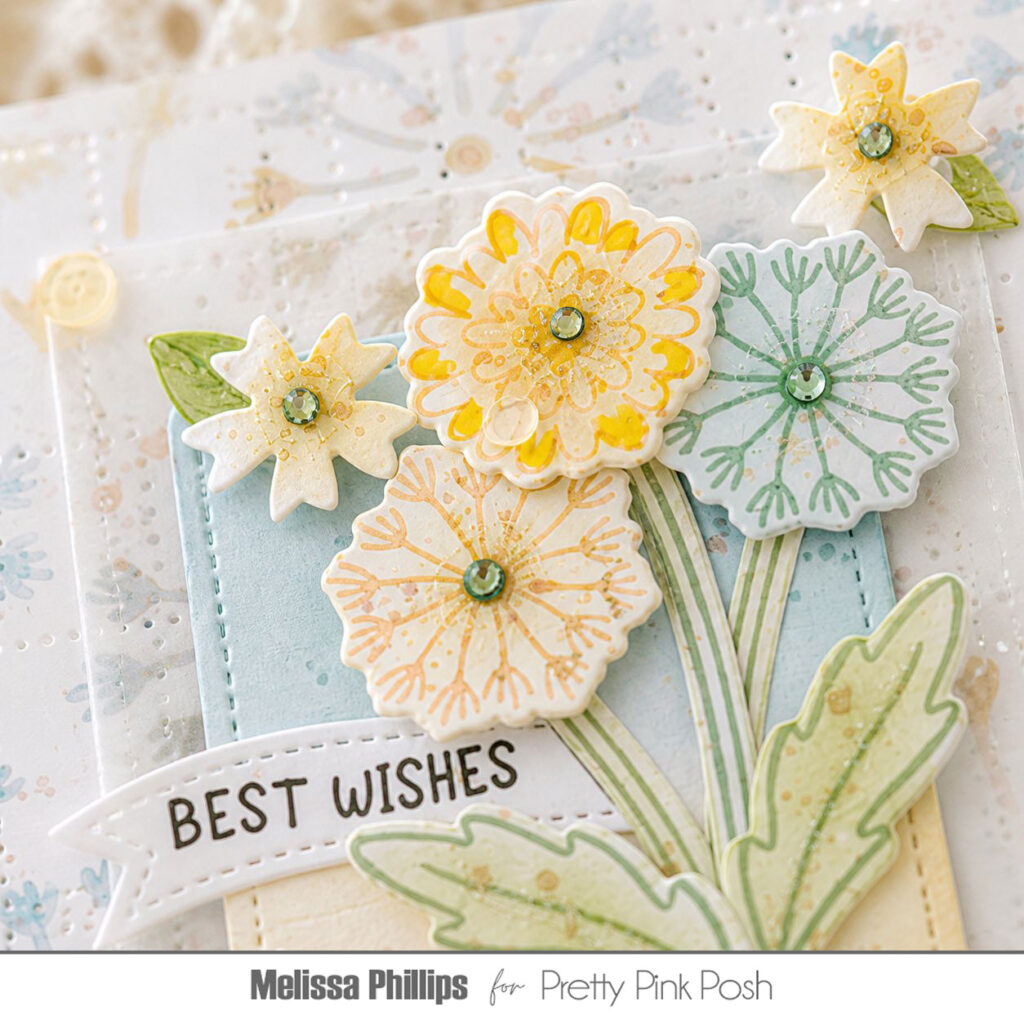
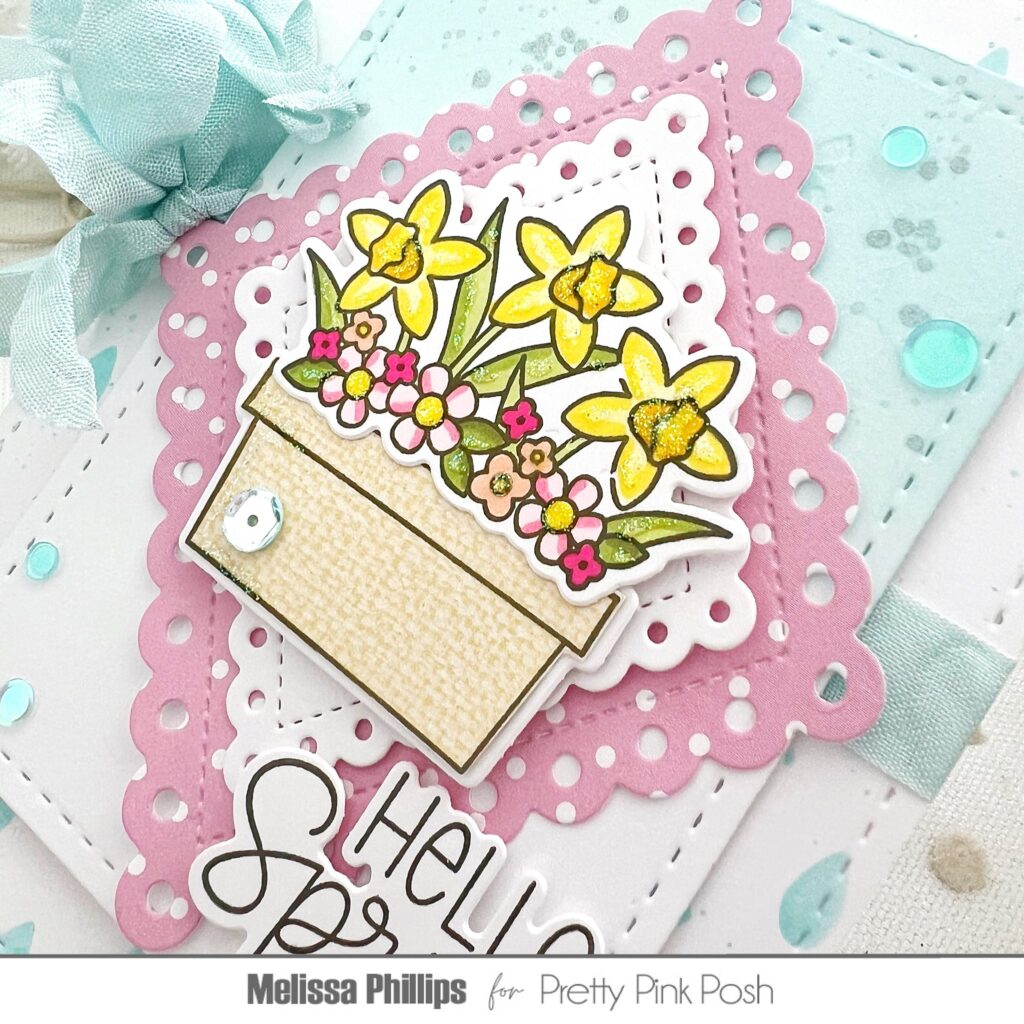
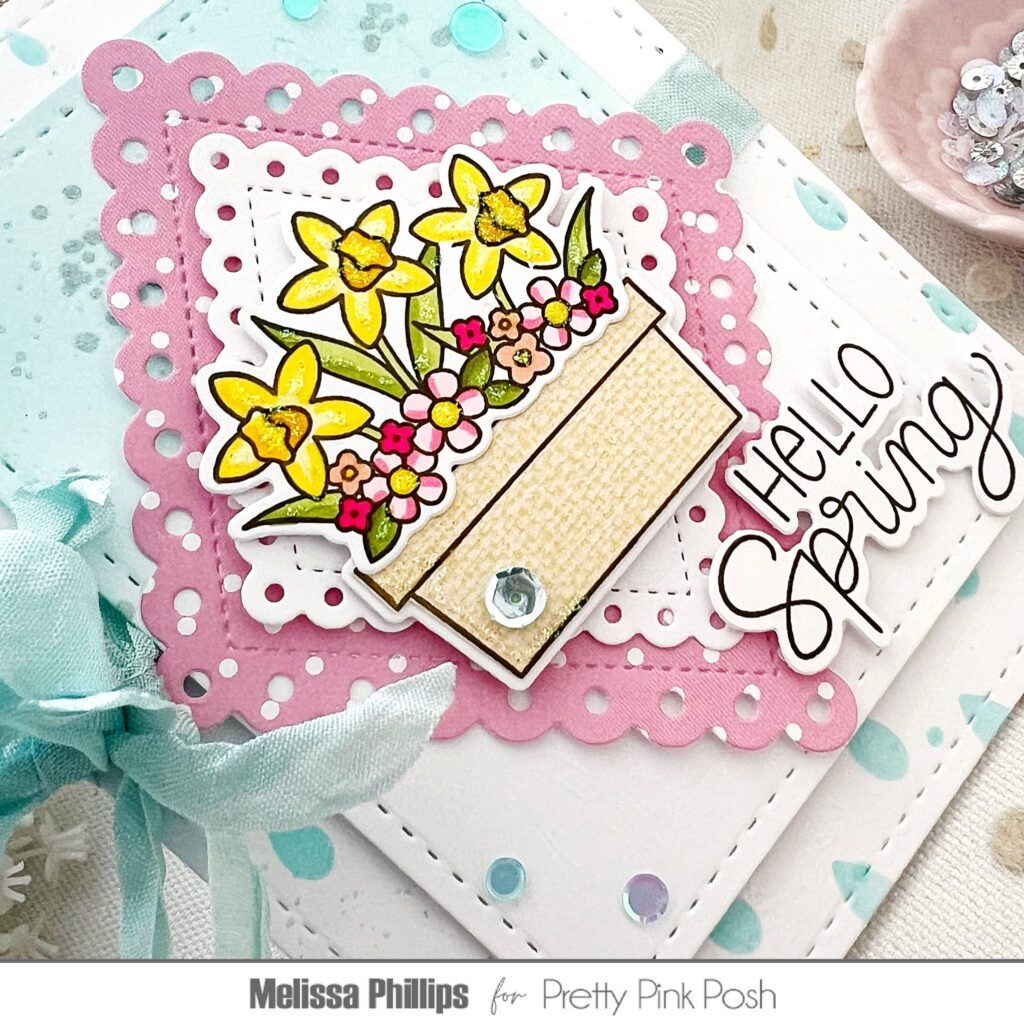
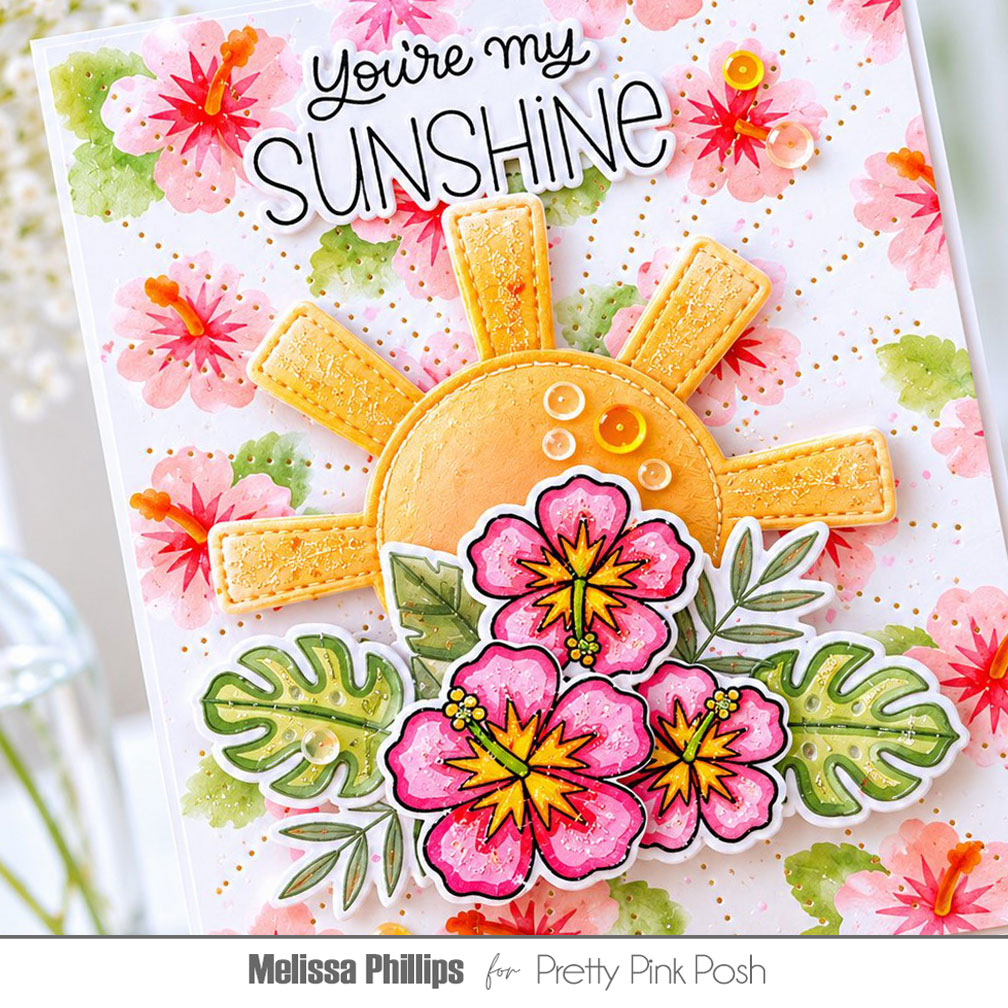
My first card uses the new Layered Hibiscus stencils to create my background, using bright and playful colors to set the tone of the card. These sweet tropical flowers make me smile and will be sure to brighten your day! After creating my background, I used the new Sunburst Pierced Plate to bring in the texture and accentuate the theme of my card.
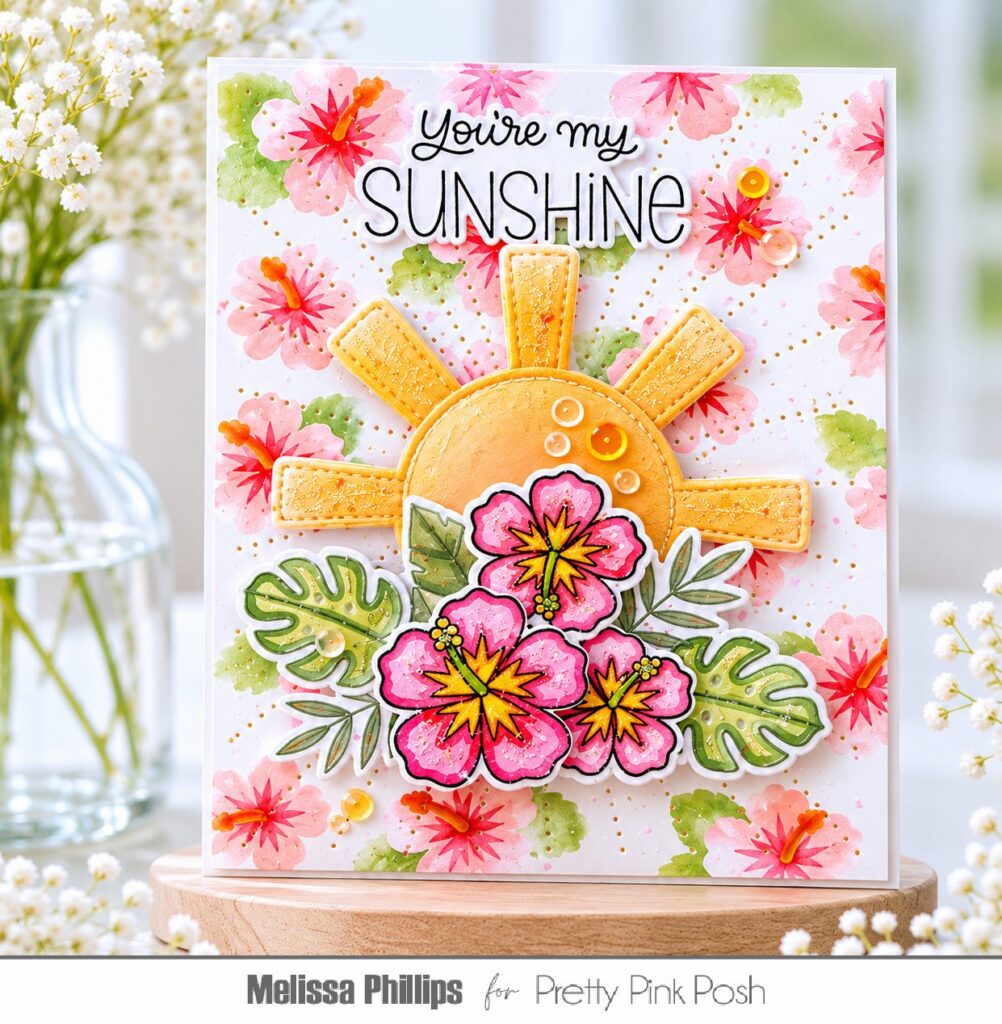
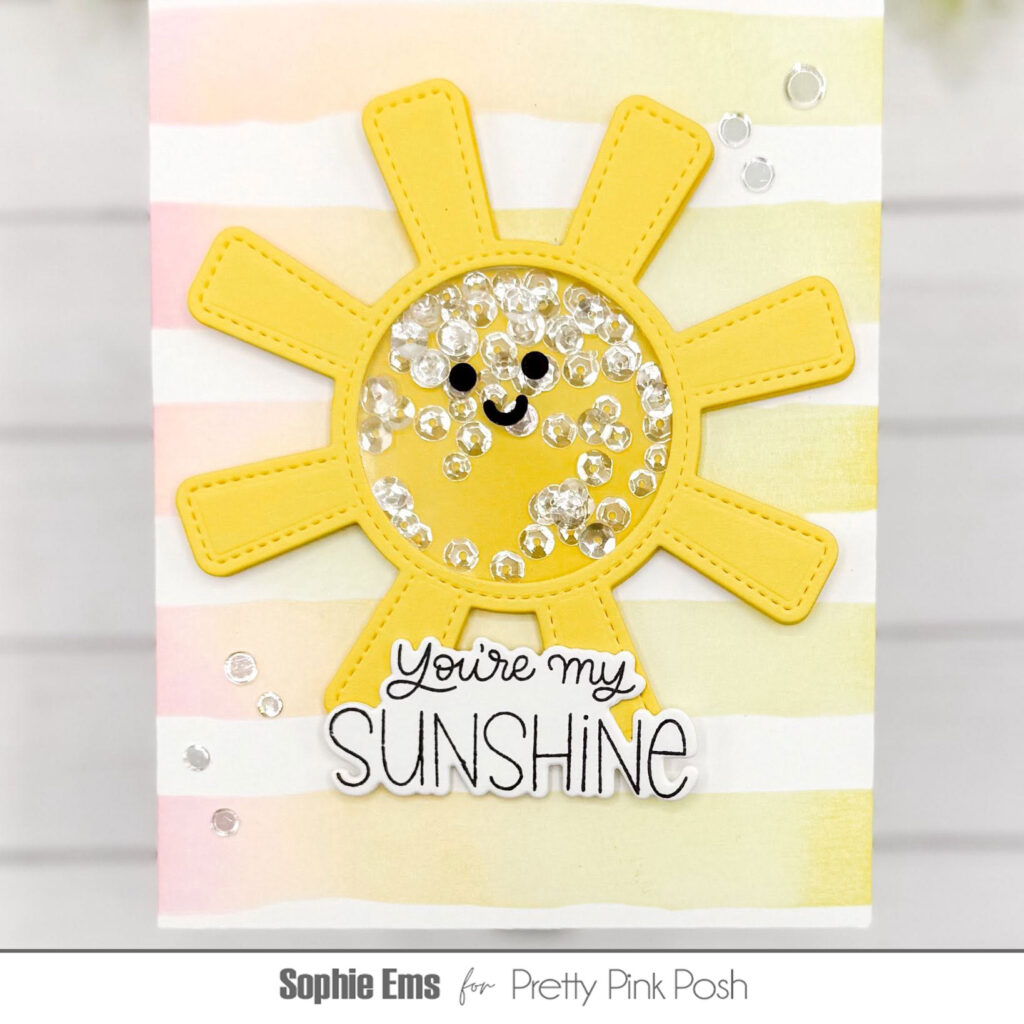
I then cut white cardstock using the Sun Shaker die and added yellows and a bit of rusty orange to create an ink-blended sunshine. I added this to the center of my card using foam adhesive to allow it to pop off the background.
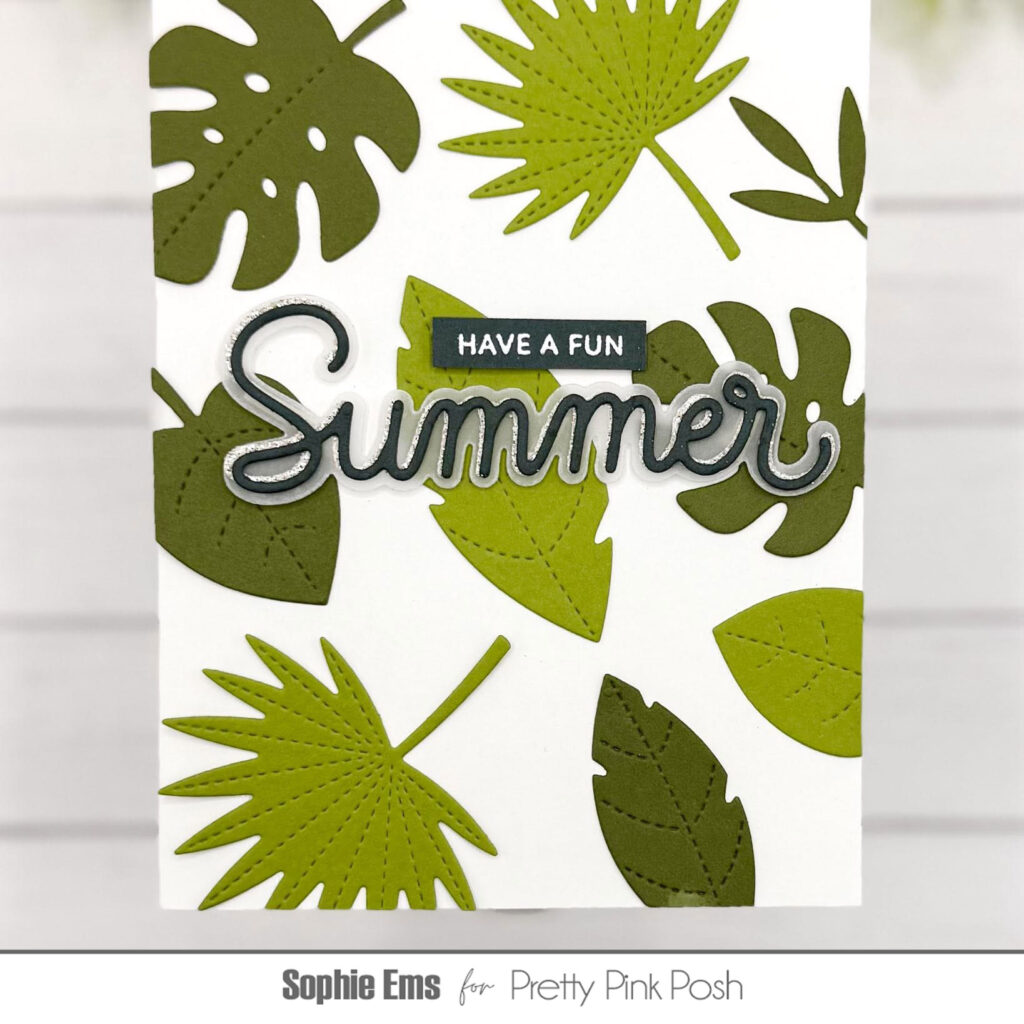
Next, I die cut and stamped my flowers using images from the Happy Hibiscus stamp set with coordinating dies. I colored them using my Copic Markers and added then beneath my sunshine, once again using foam adhesive. To finish, I die cut and stamped my cheerful sentiment using the Happy Summer stamp set and coordinating dies. What a happy card to create!
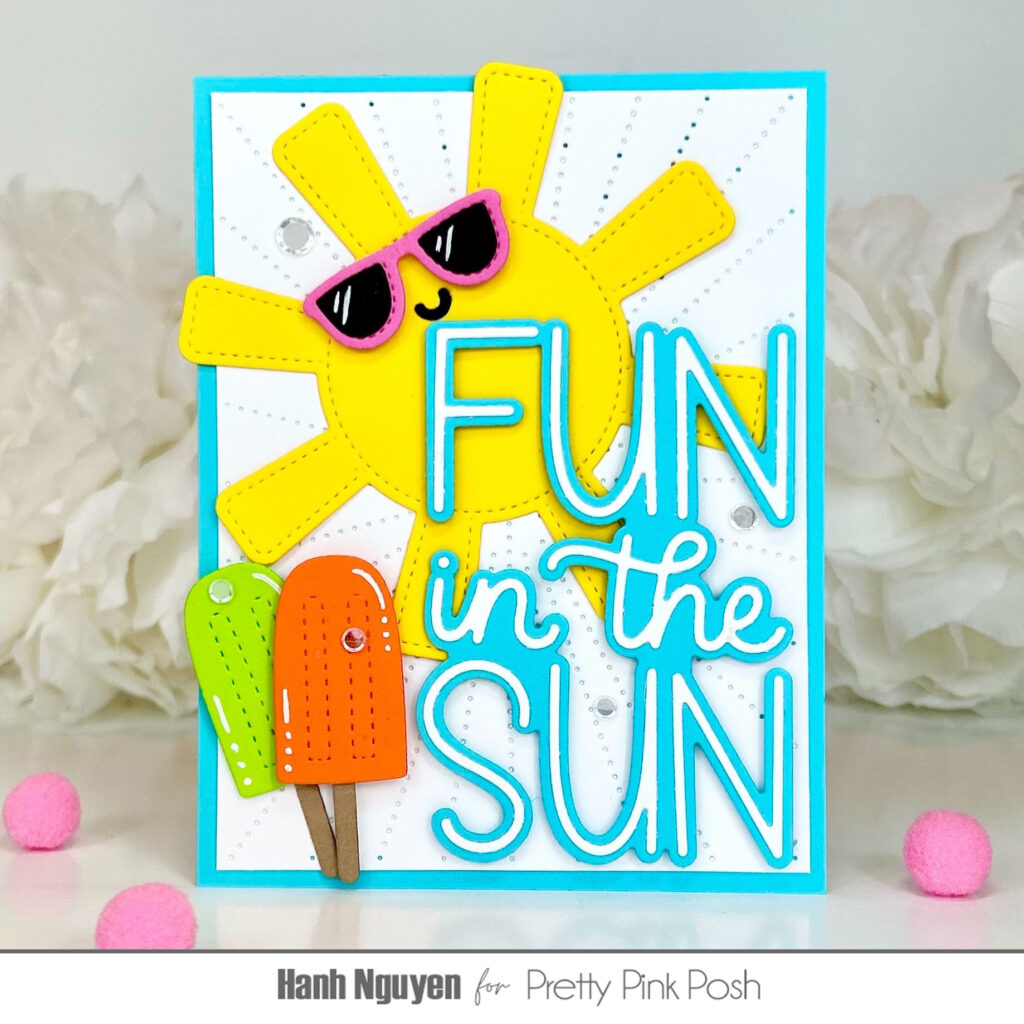
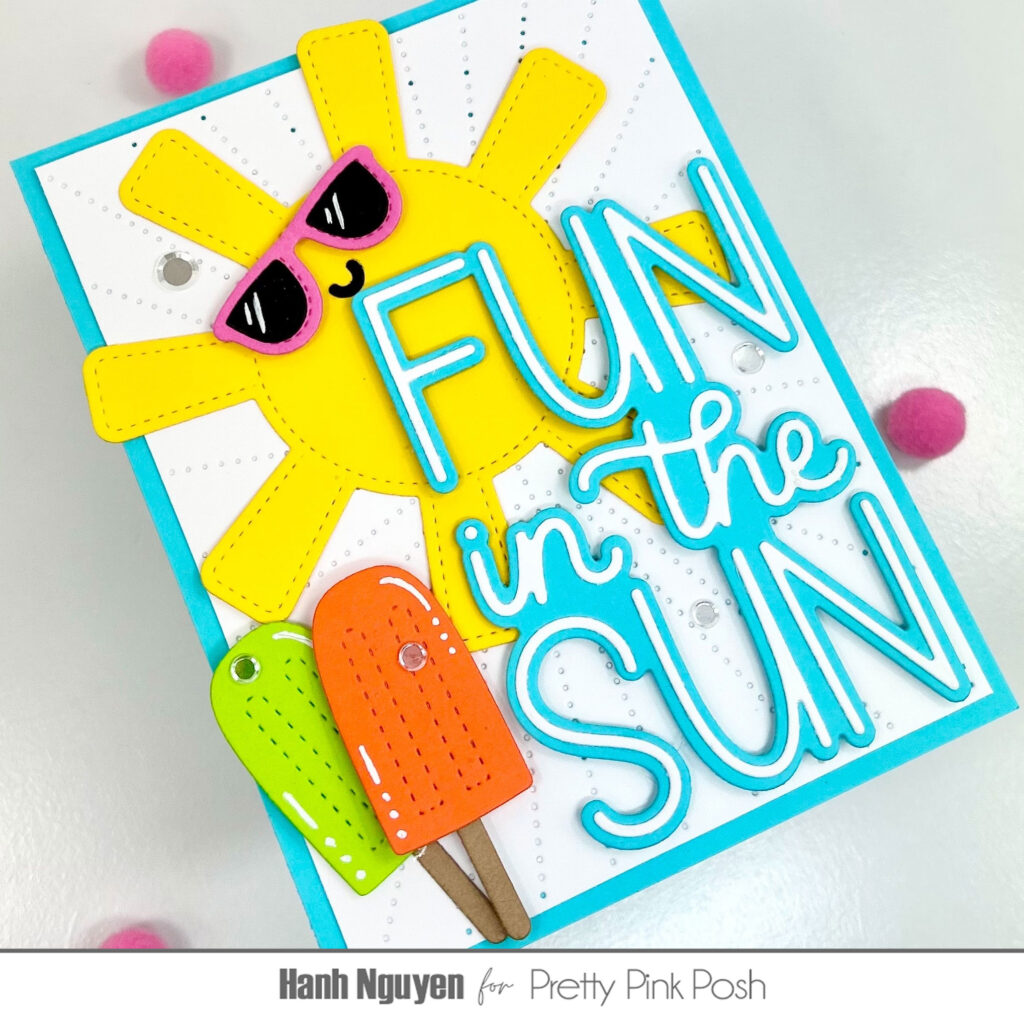
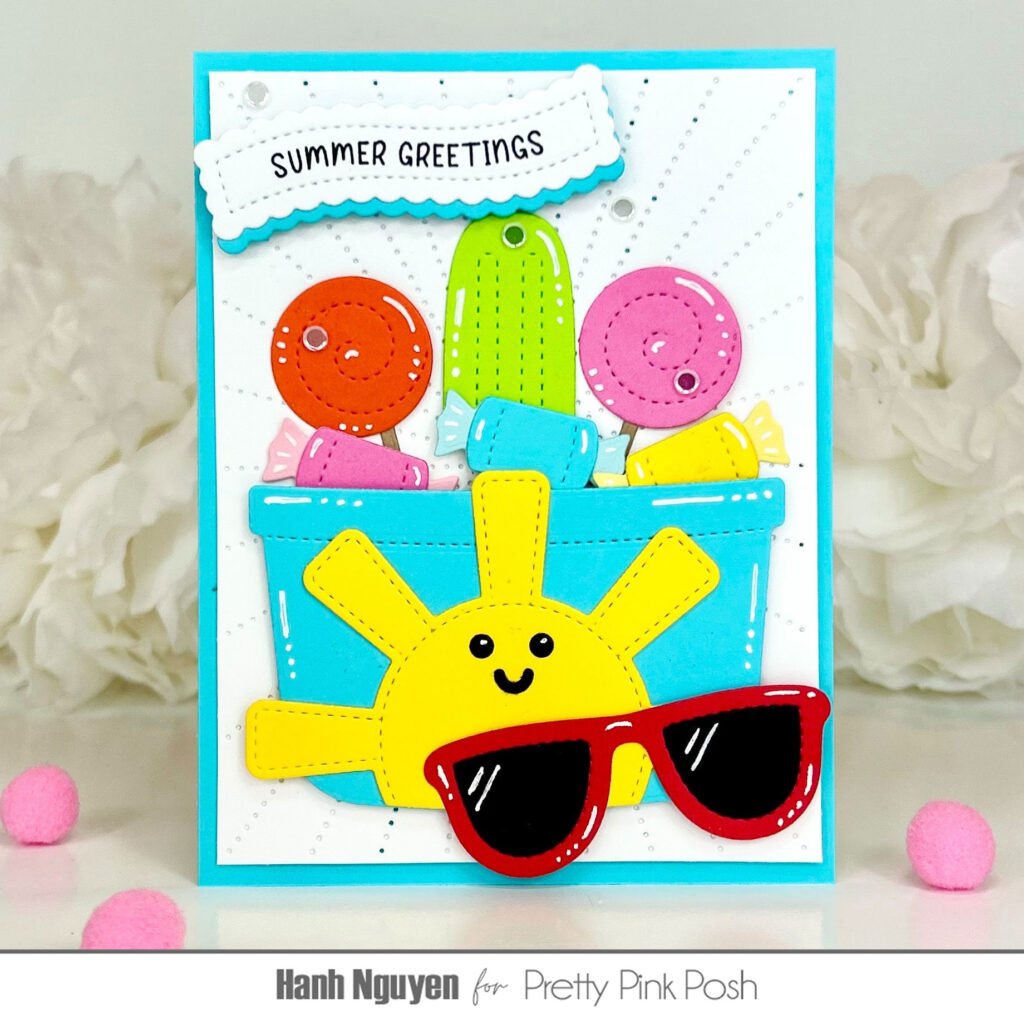
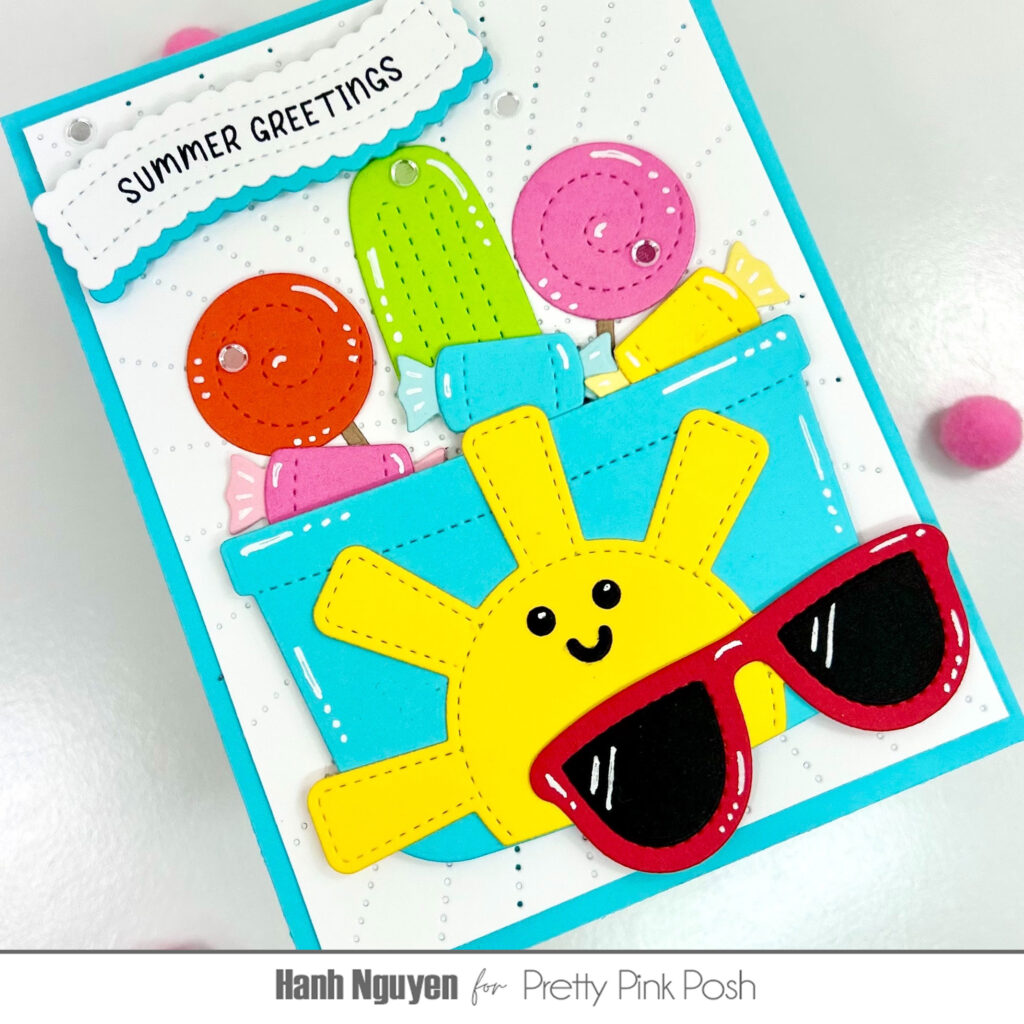
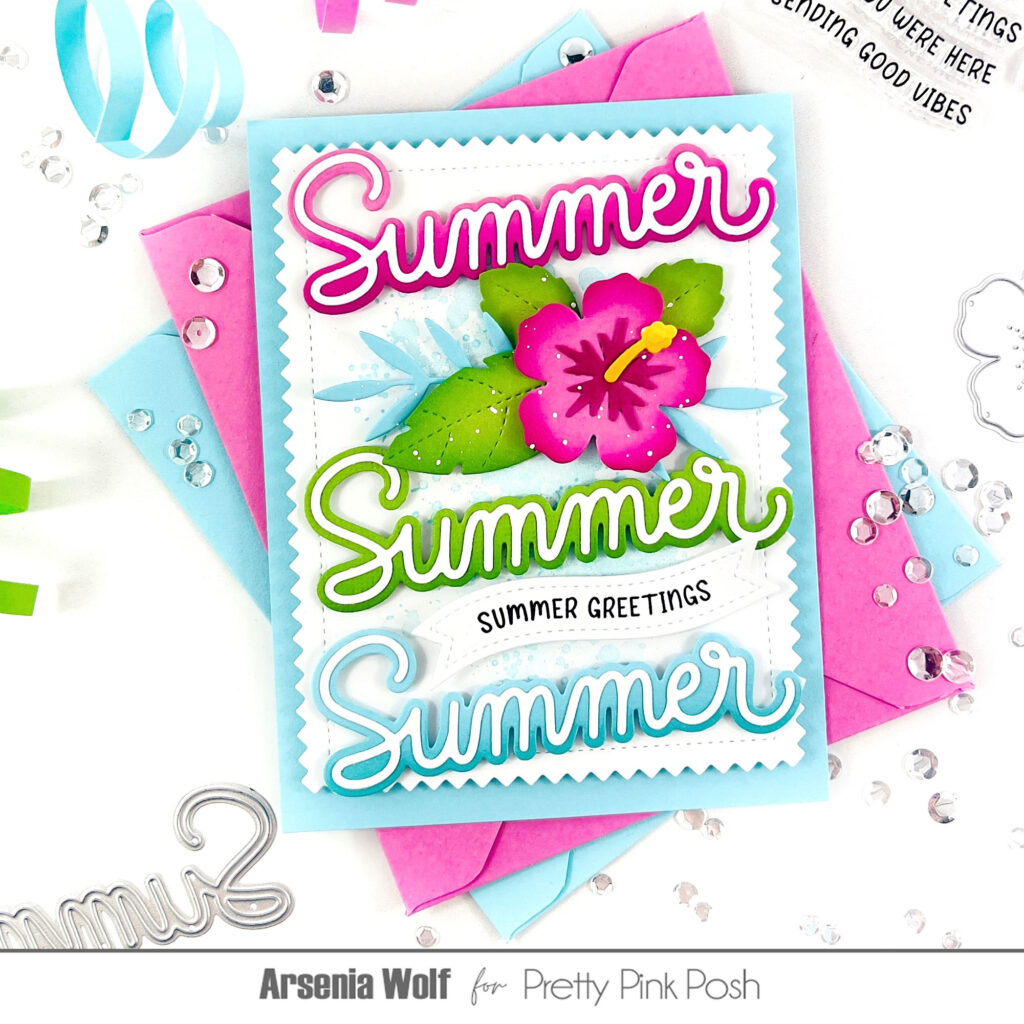
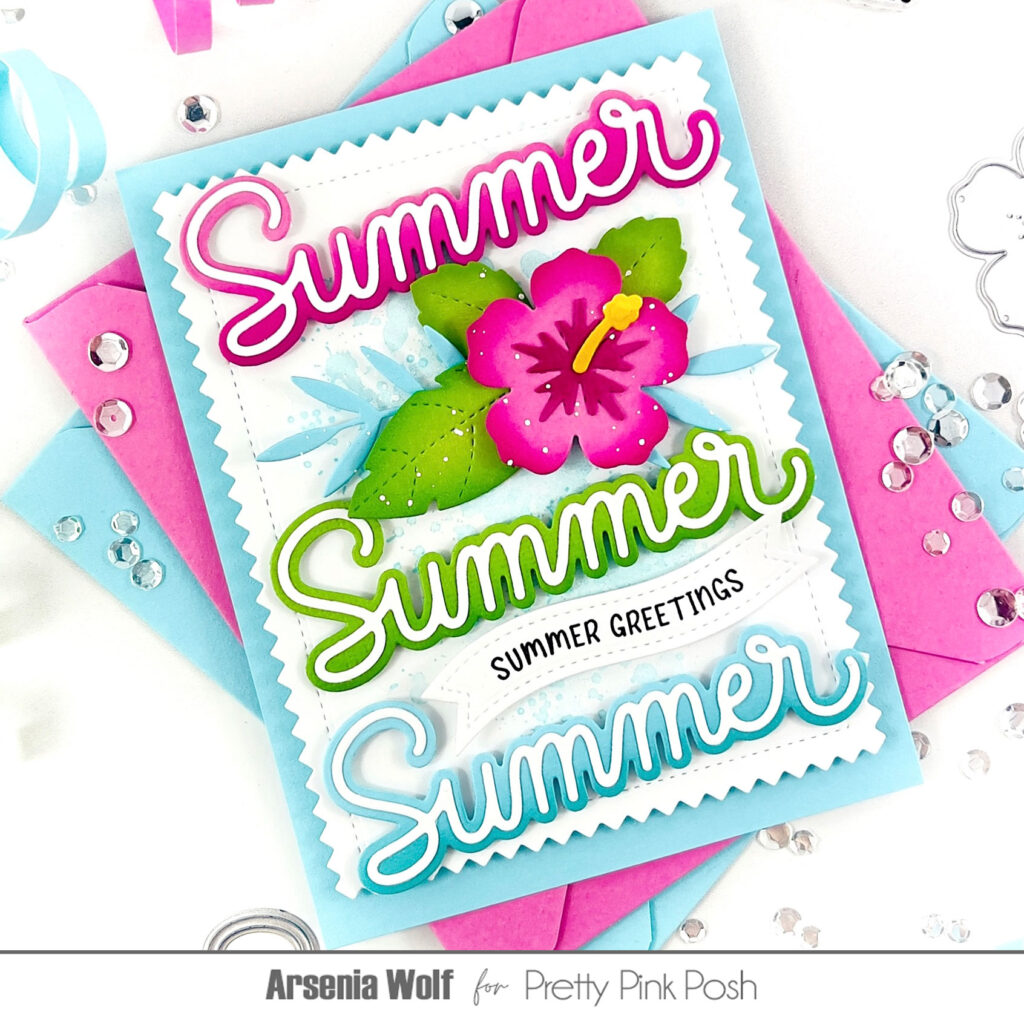
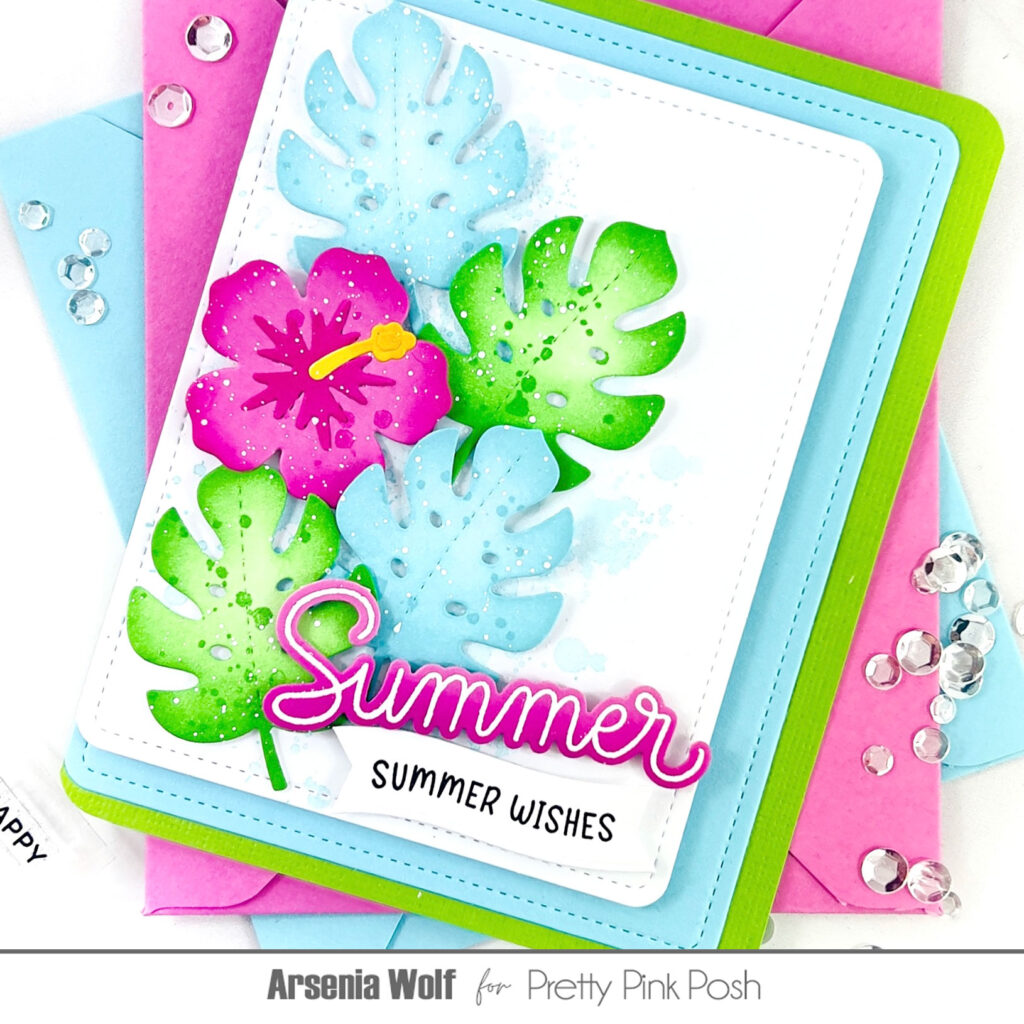
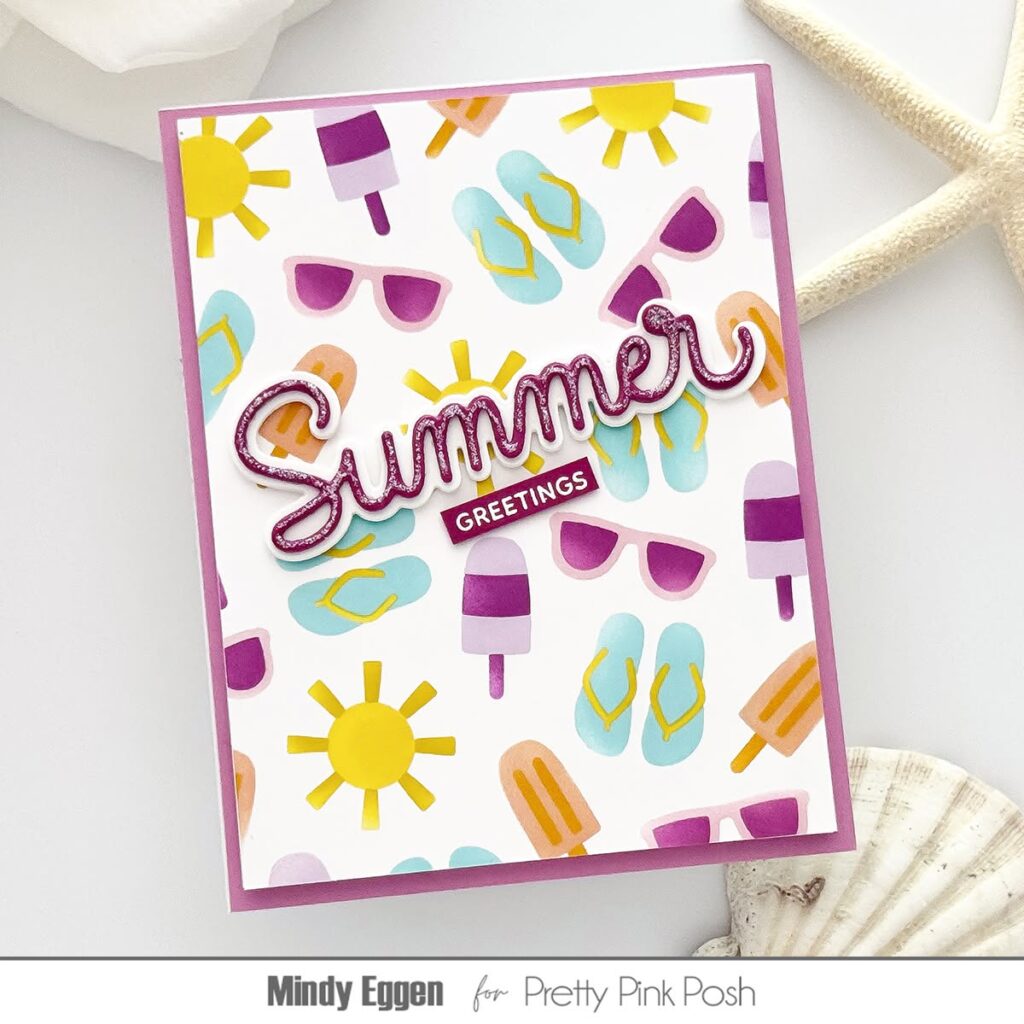
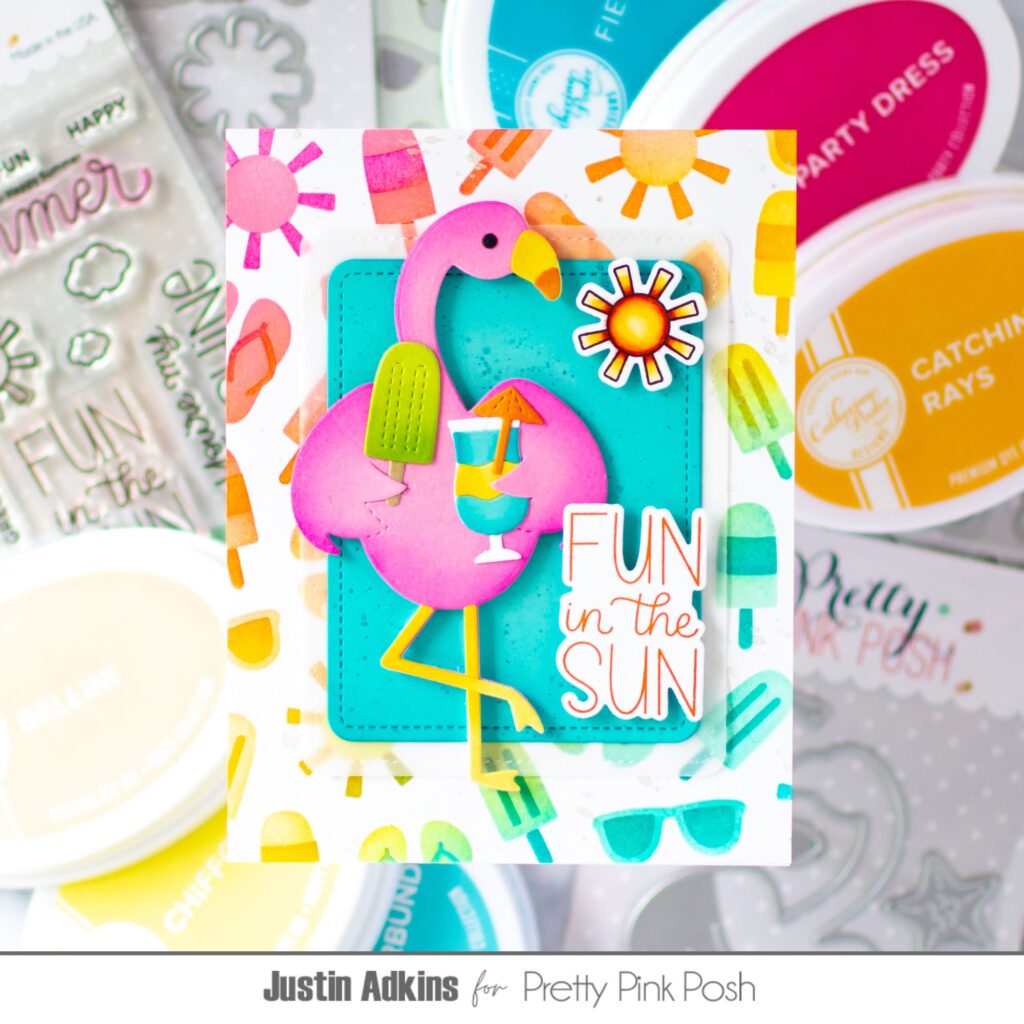
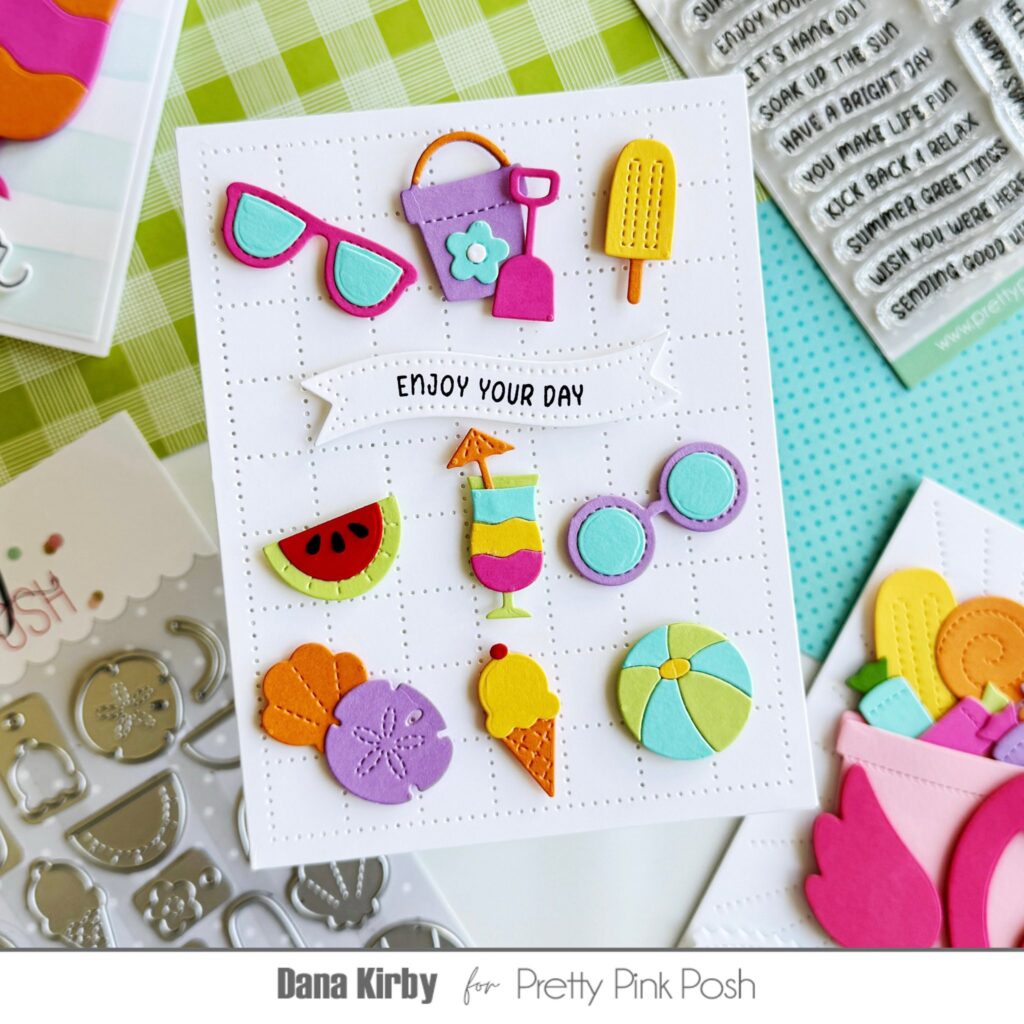
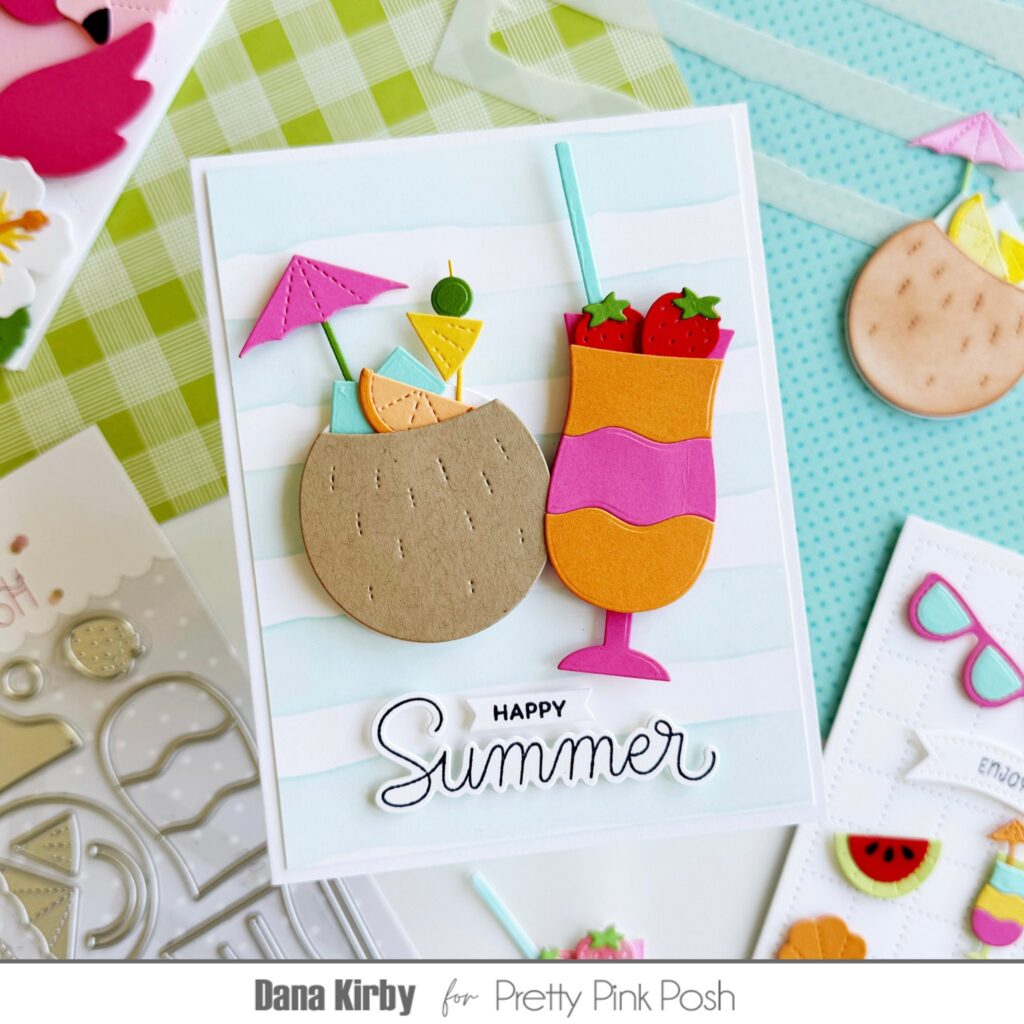
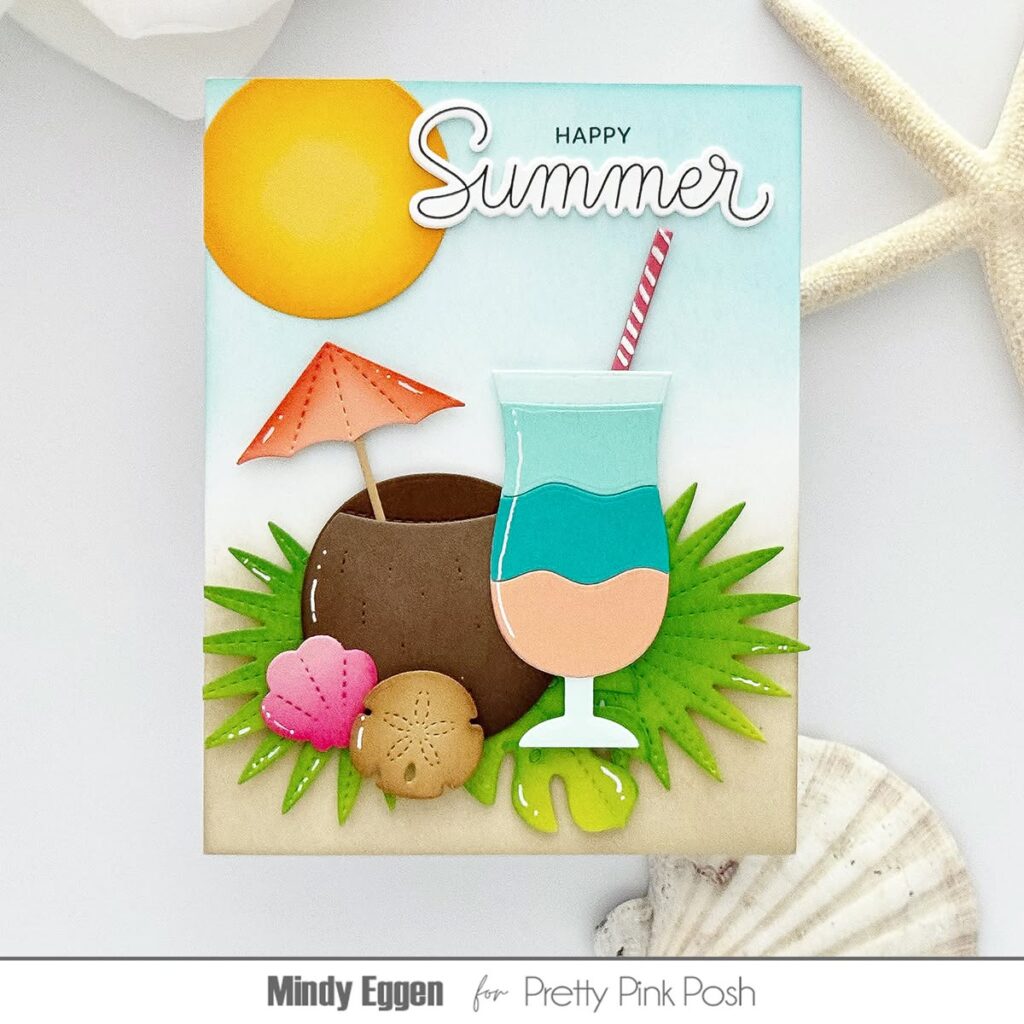
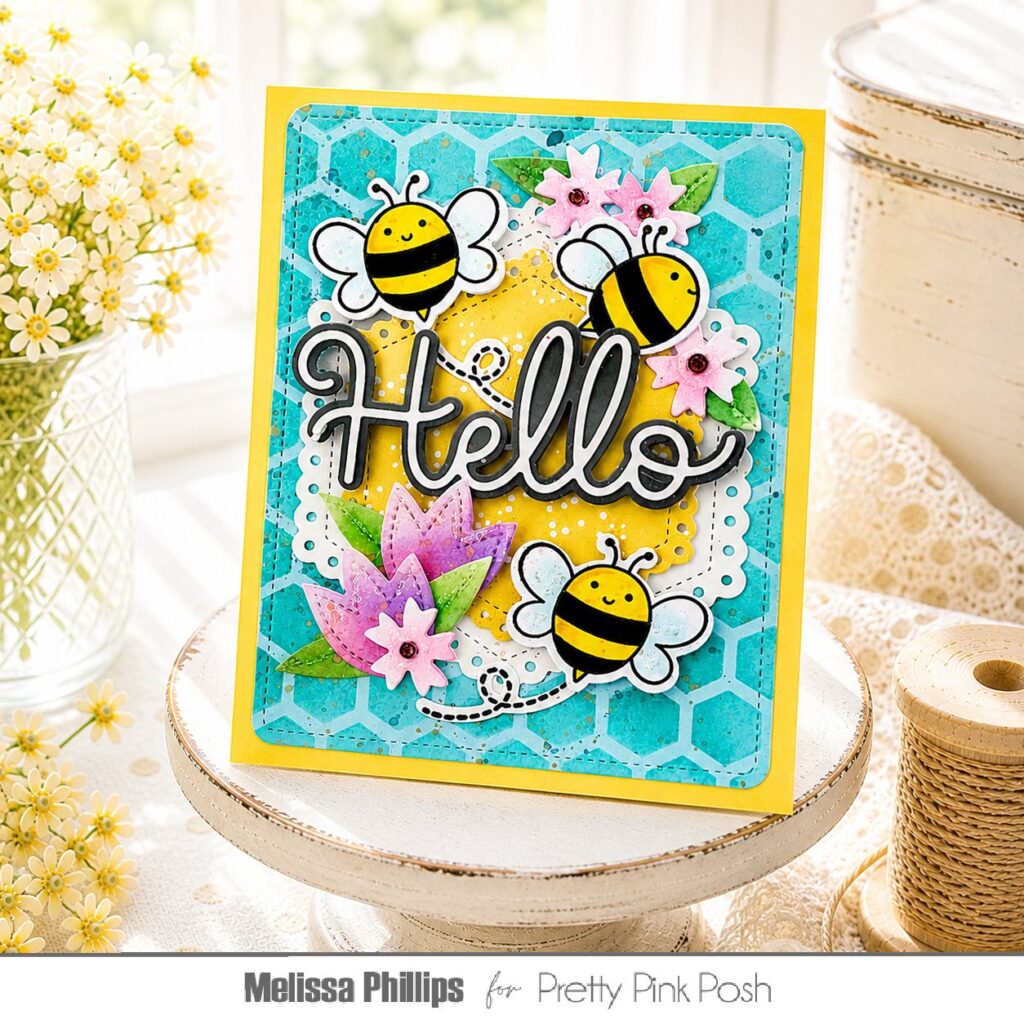
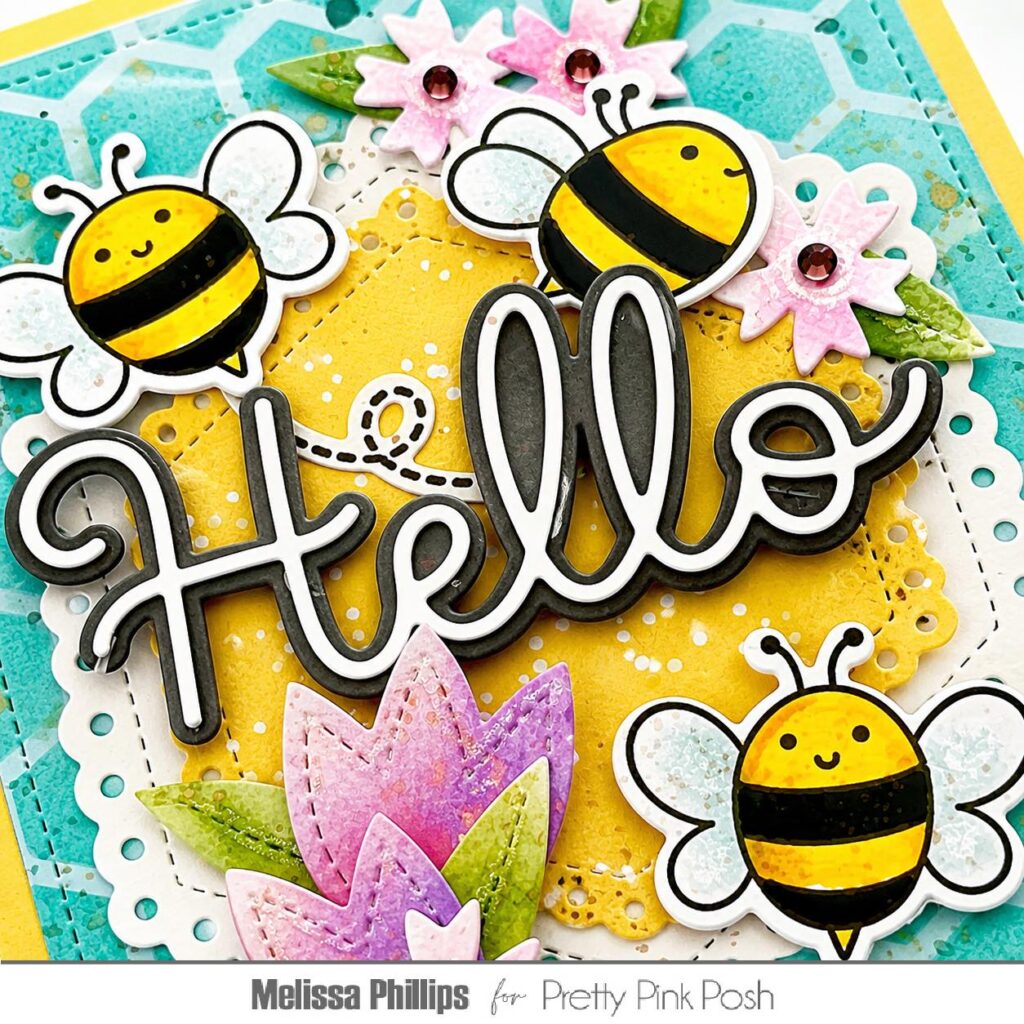
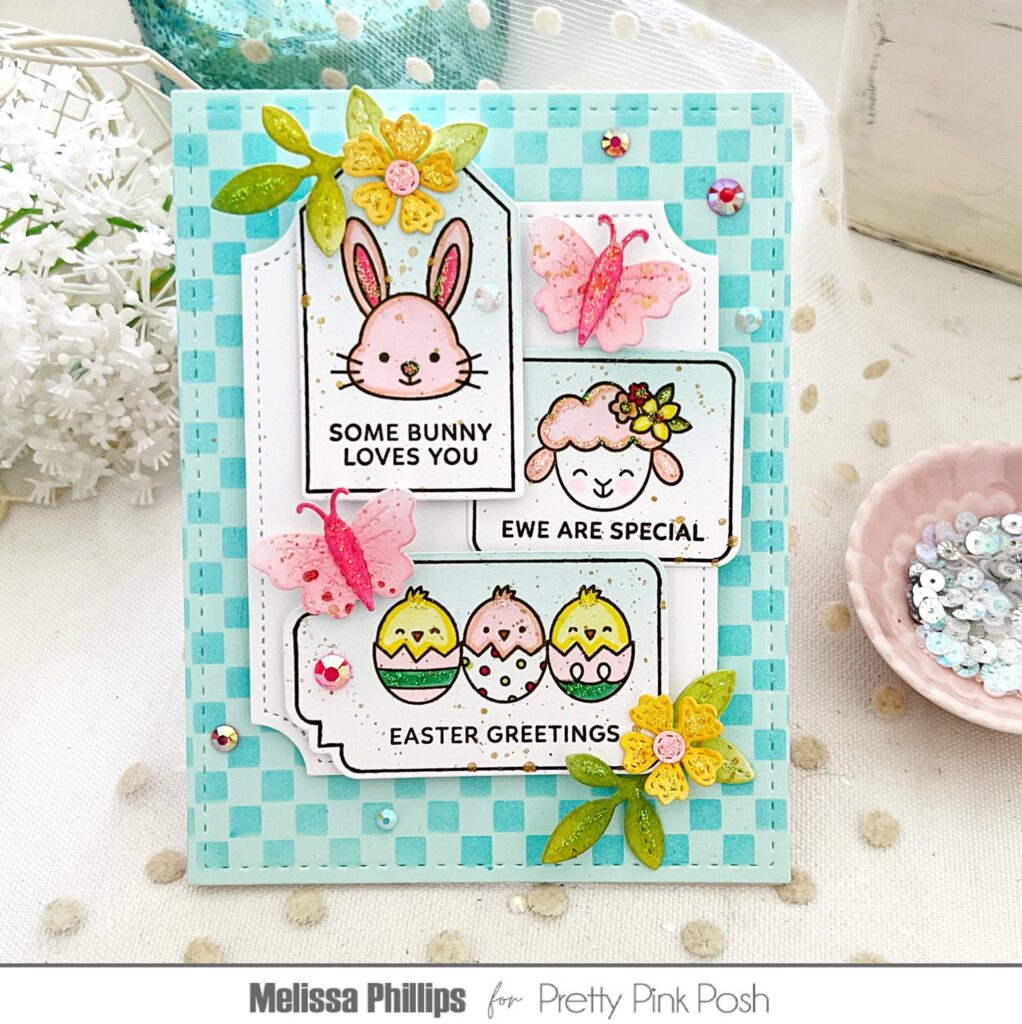
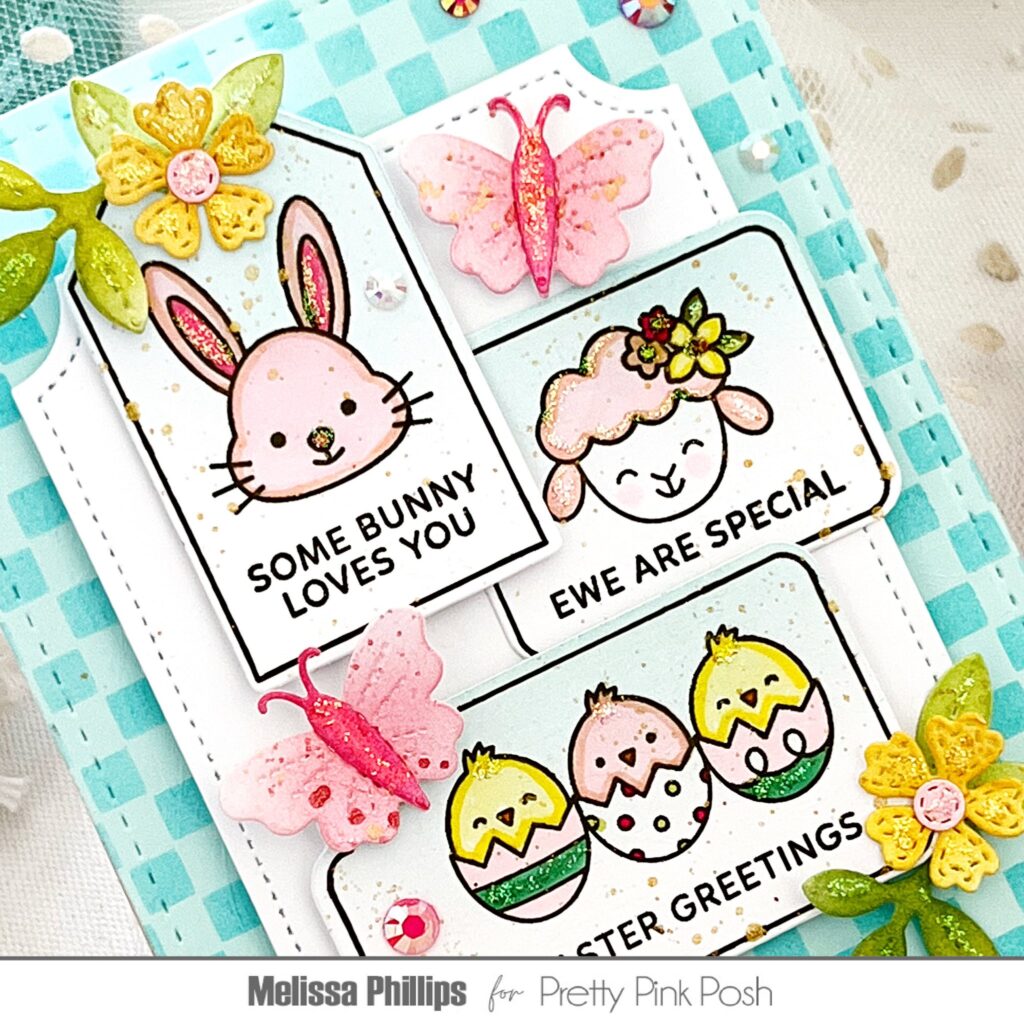
I had such fun creating my second card for you. I began by using the new and oh, so adorable, Layered Summer Fun stencils. Sunglasses, flip flops, sunshine and more, create the cutest background for your summertime cards.
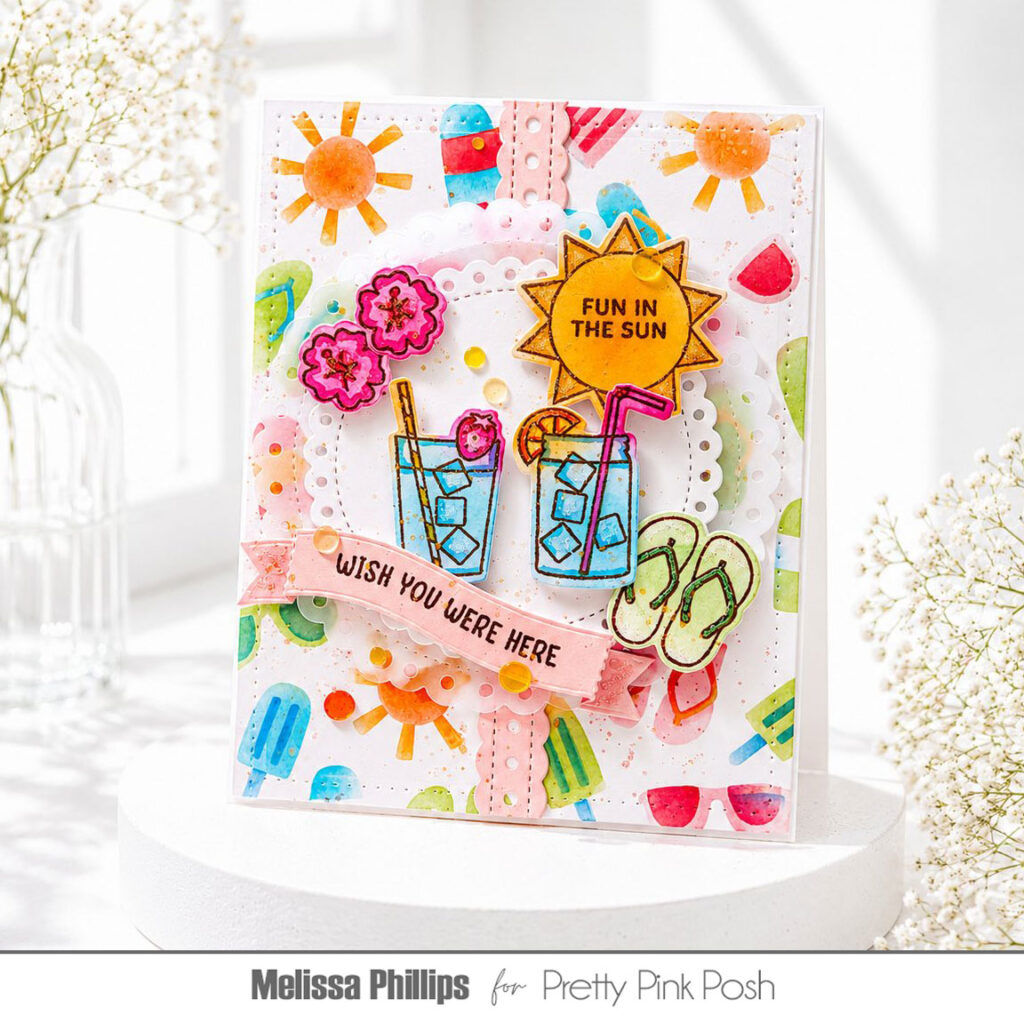
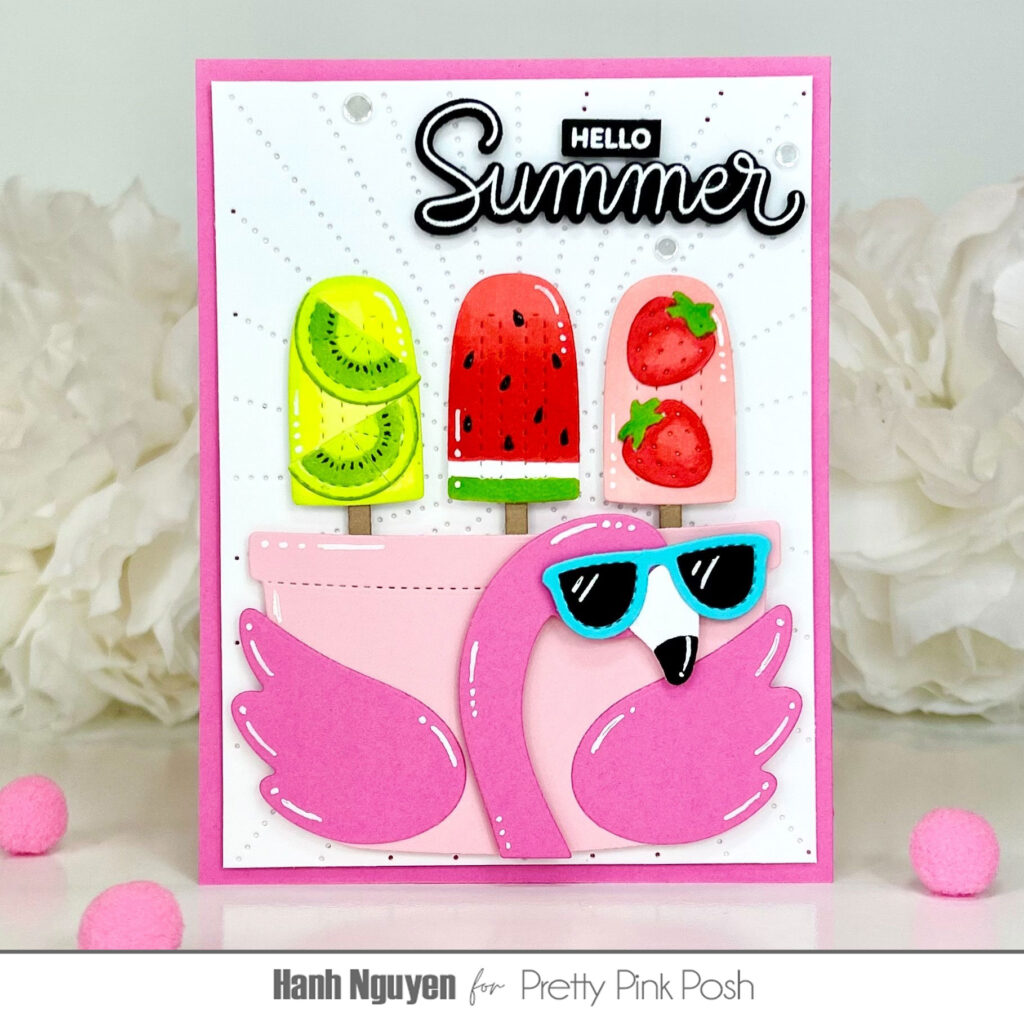
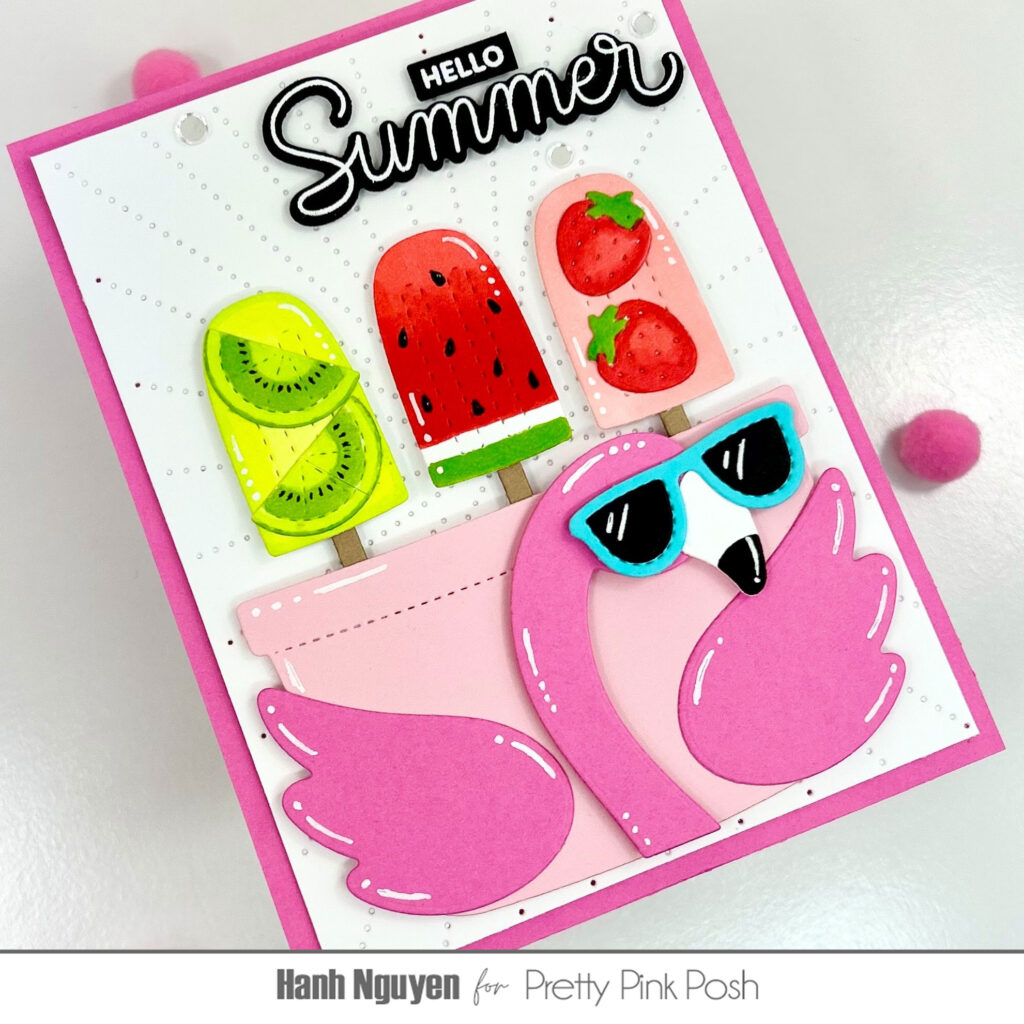
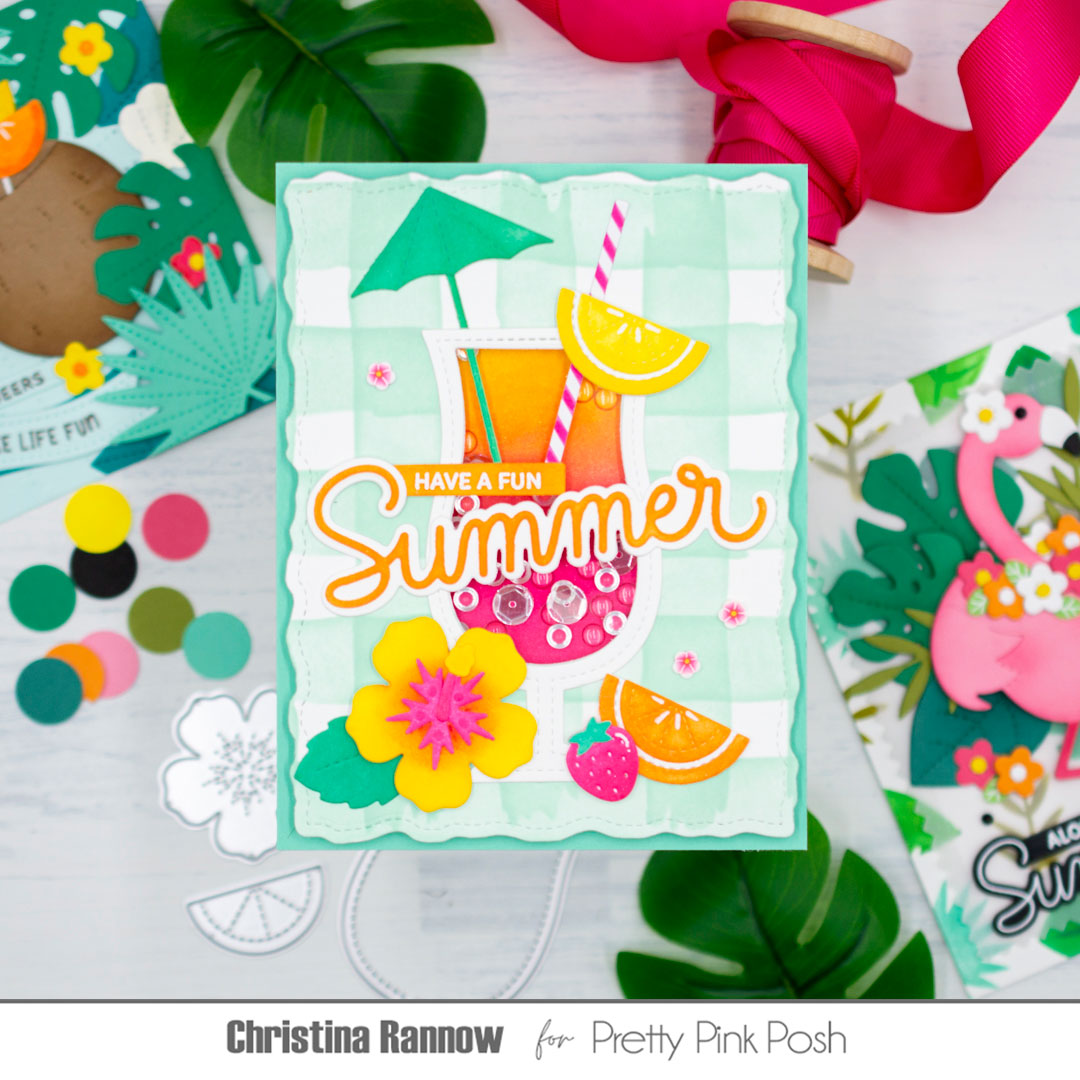
I then used vellum, white cardstock, and the Eyelet Circles dies to create a layered base for my focal points. I used the Summer Sips stamp set and coordinating dies to bring in some fresh, summer drinks, sunshine, and hibiscus. I used a fun technique on my stamped images by adding color through ink blending. I added just a touch of shading using my Copic Markers.
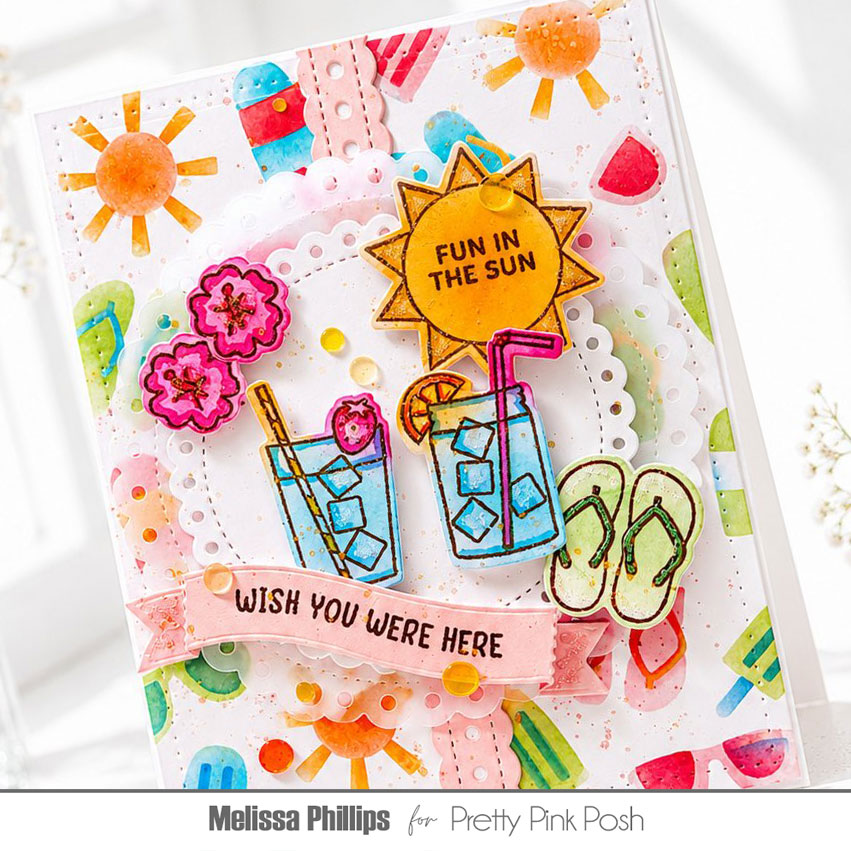
After I adhered my stamped images, I used the new Summer Banner Greetings stamp set and the Banner Greetings 2 dies to create my sentiment. Adhering it on a diagonal was a fun and unexpected twist that balances out my card.
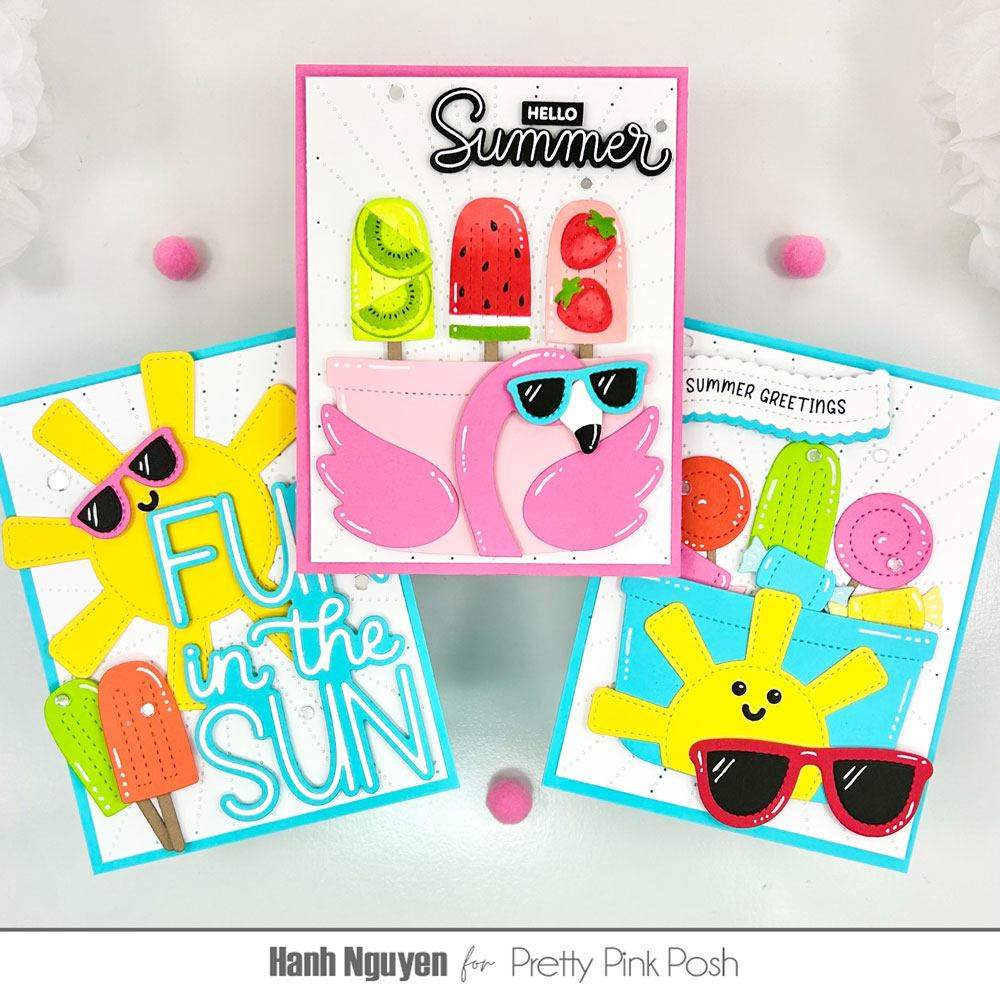
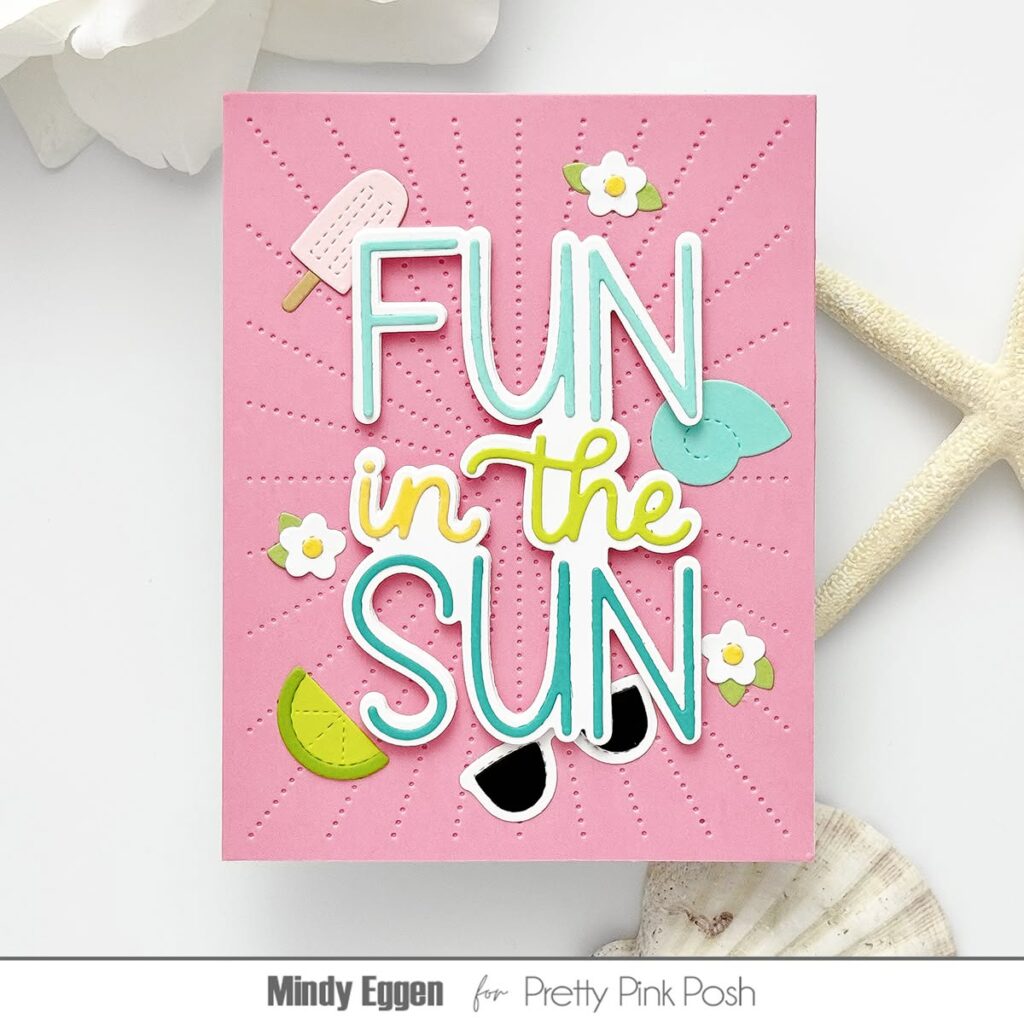
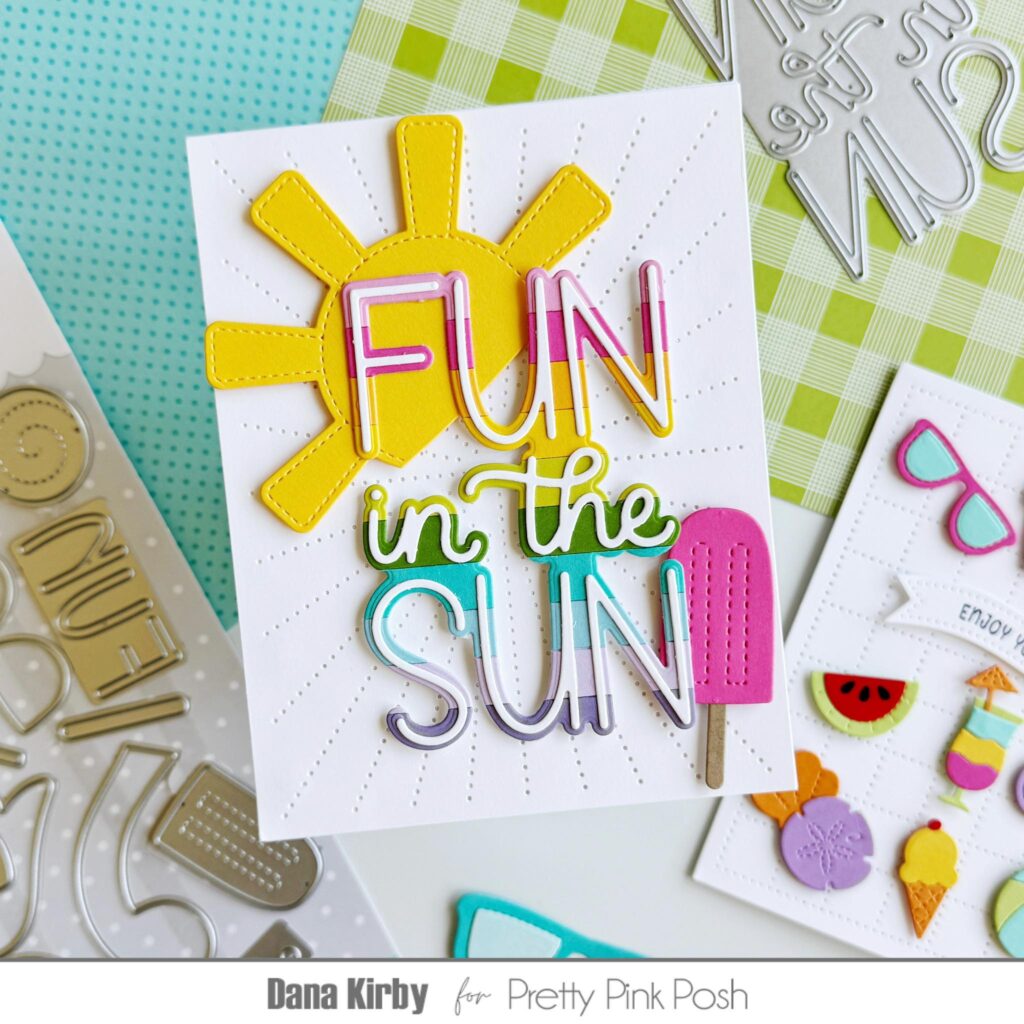
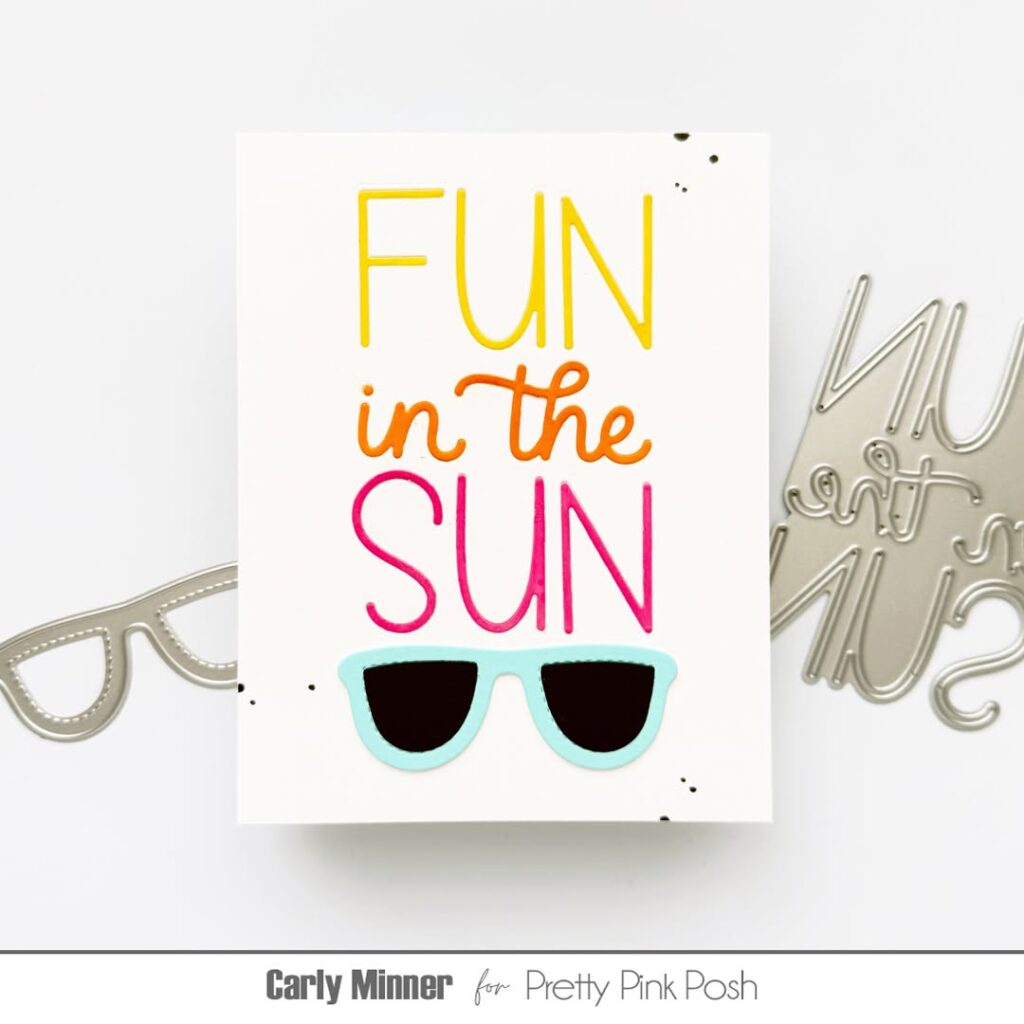
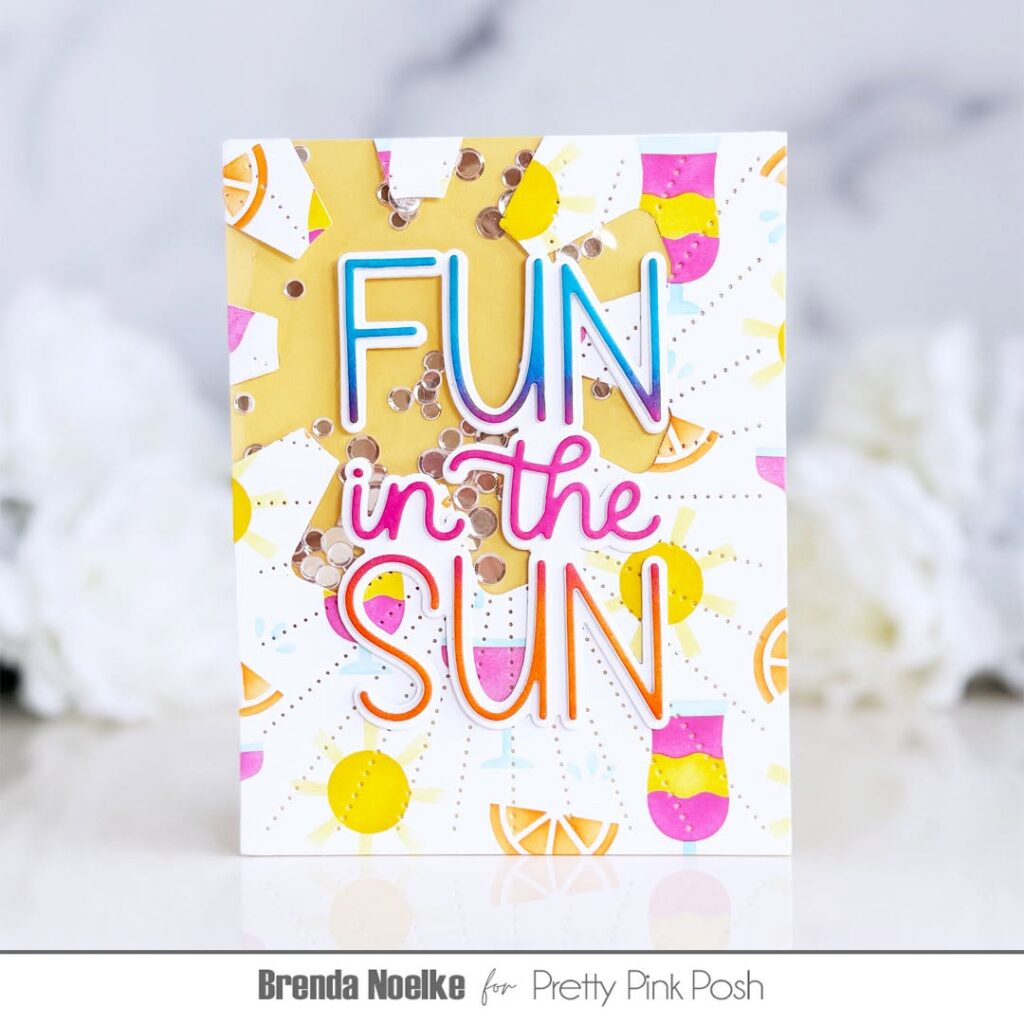
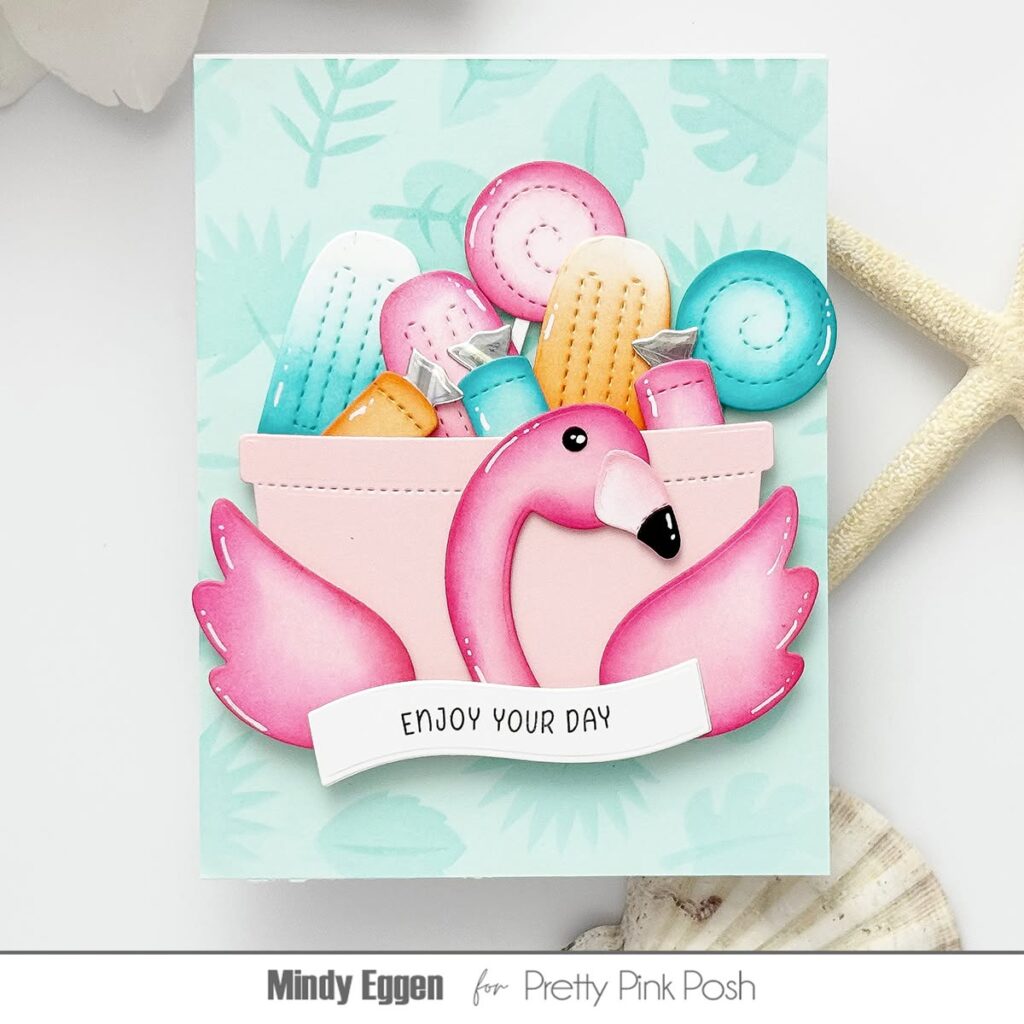
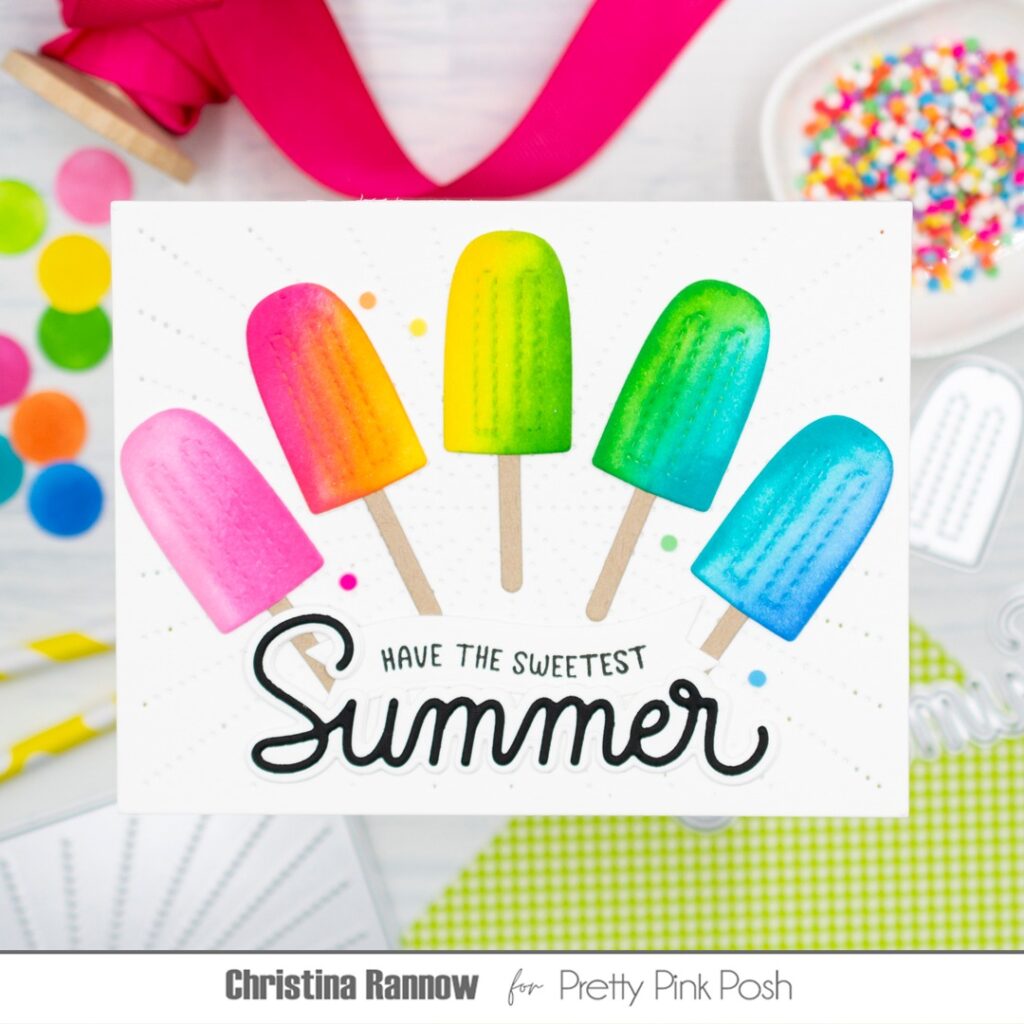
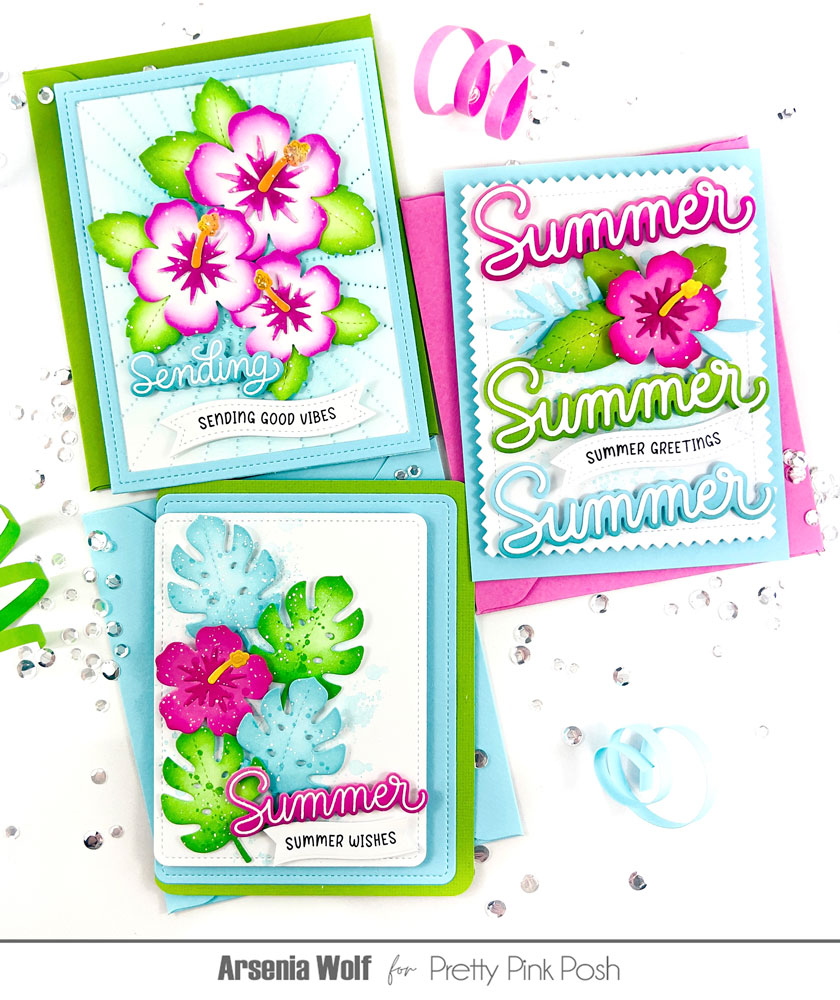
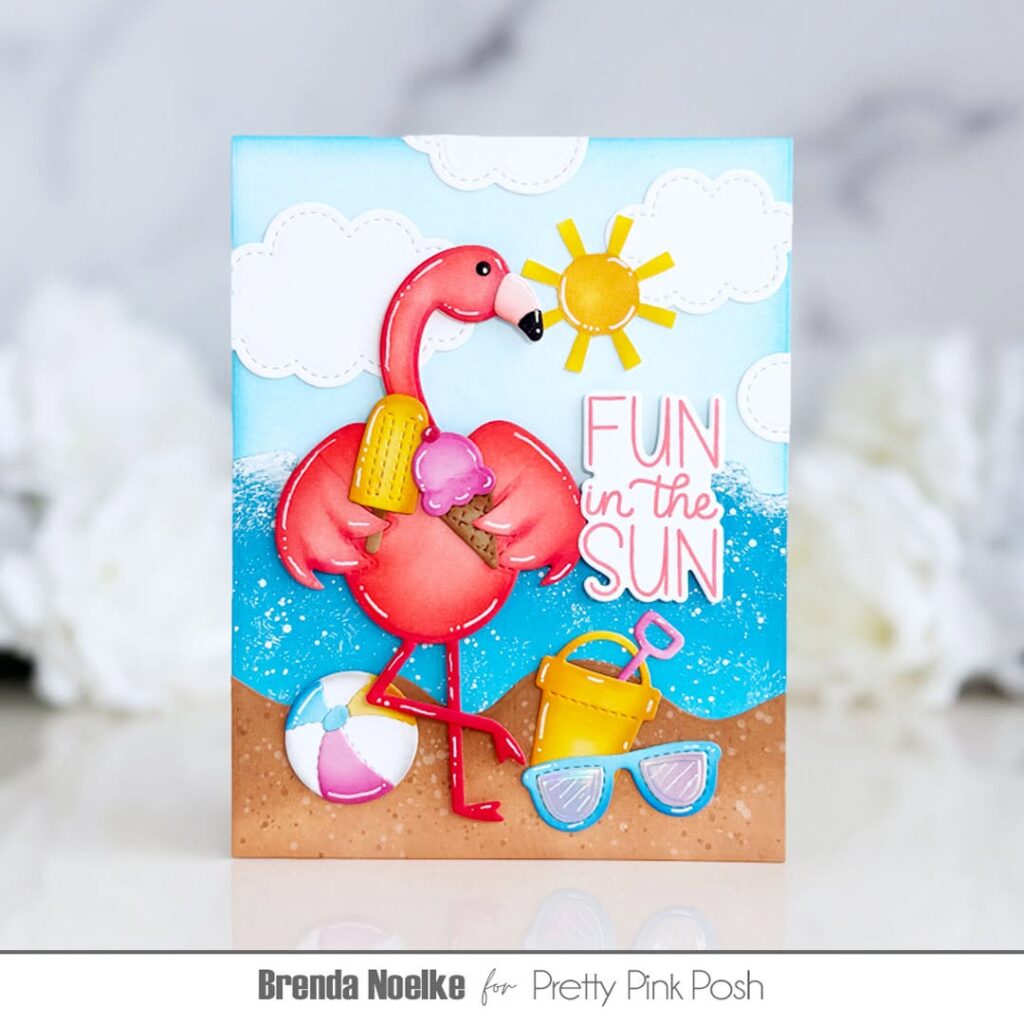
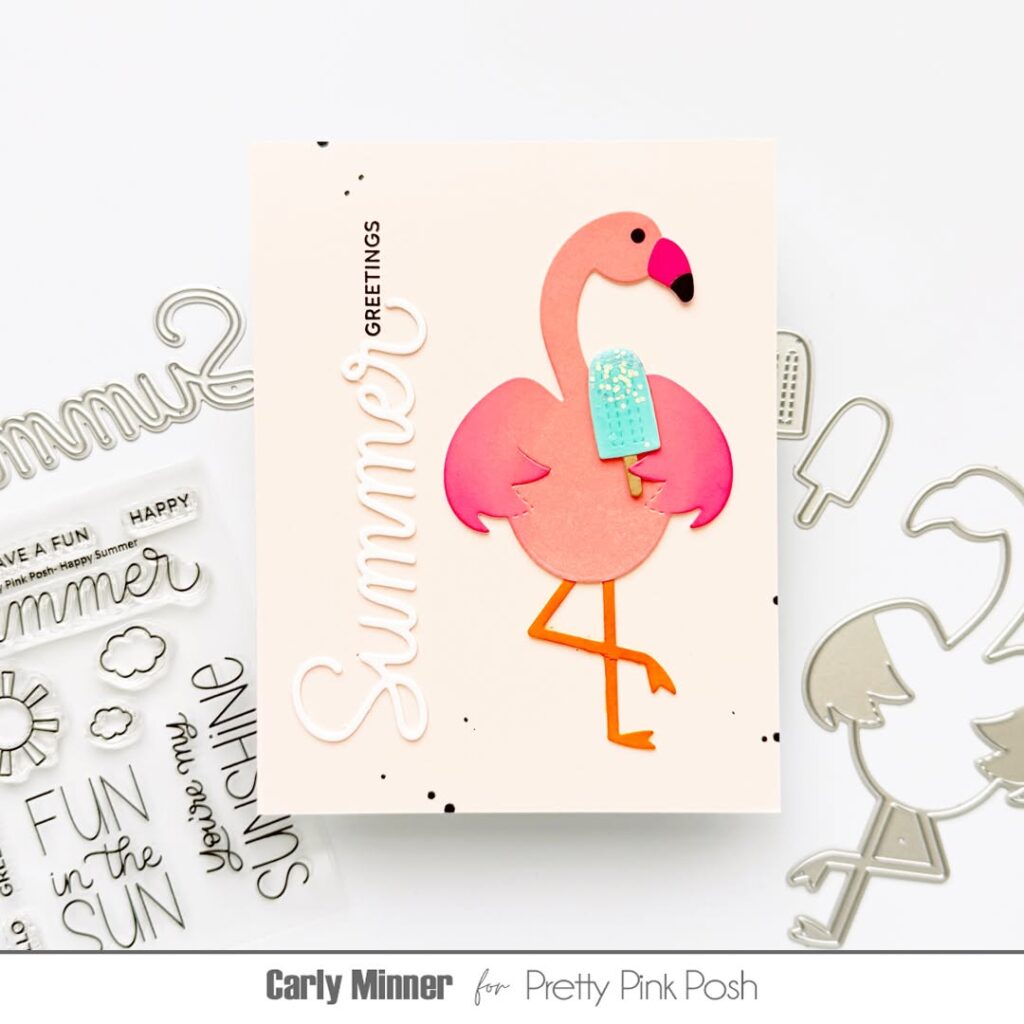
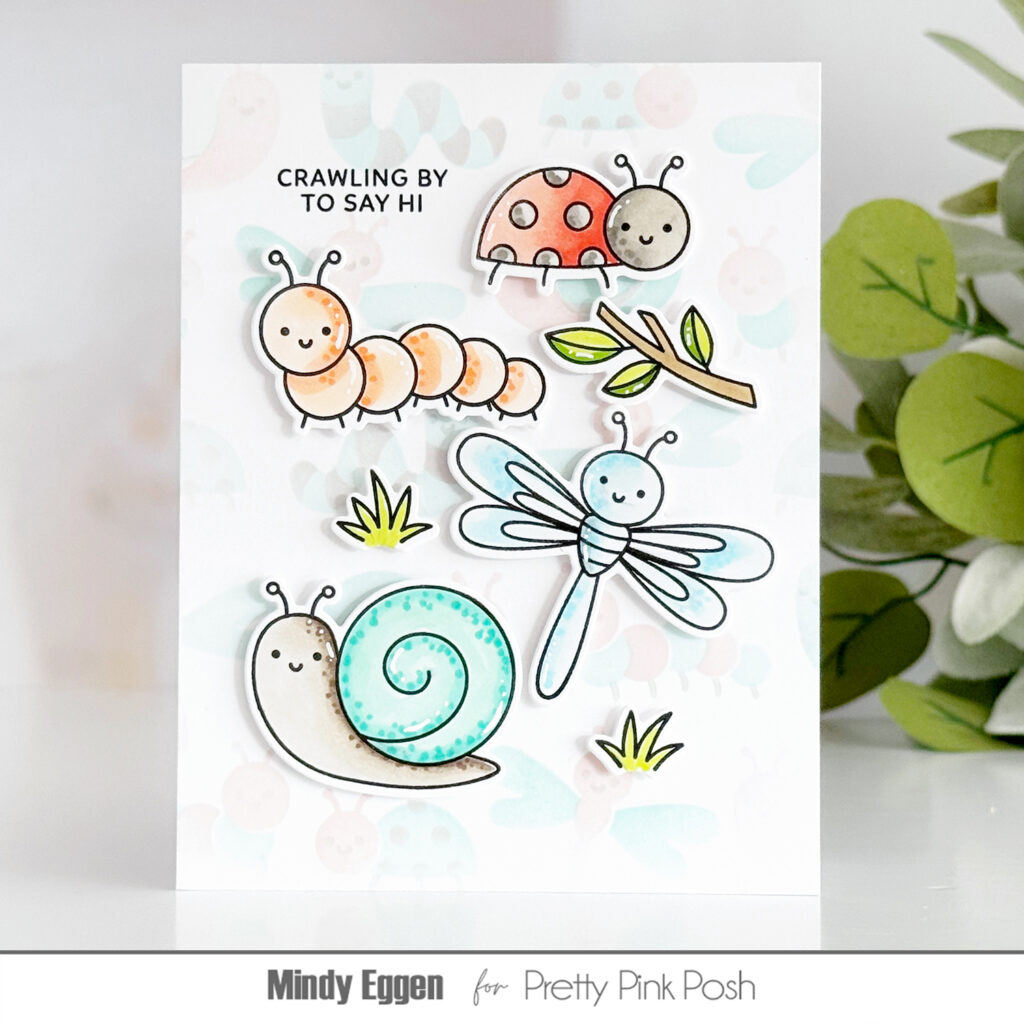
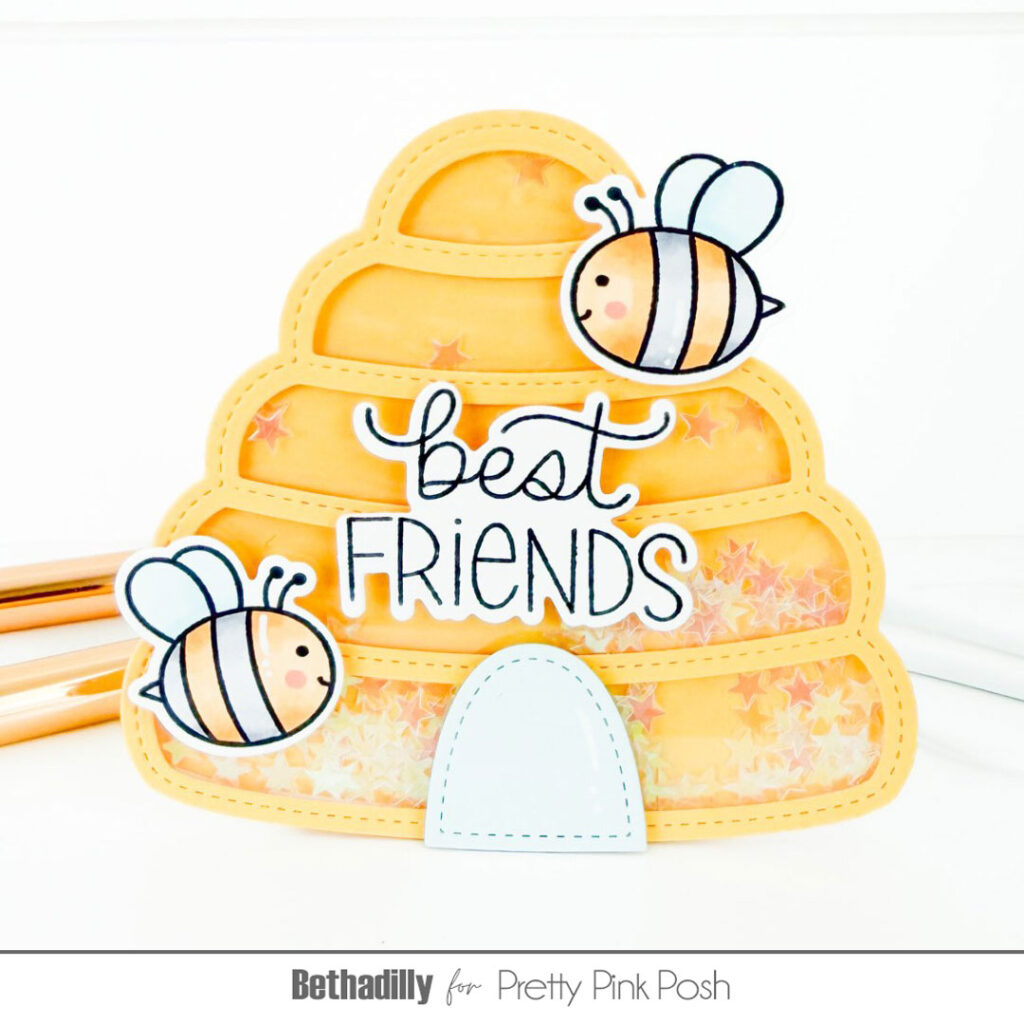
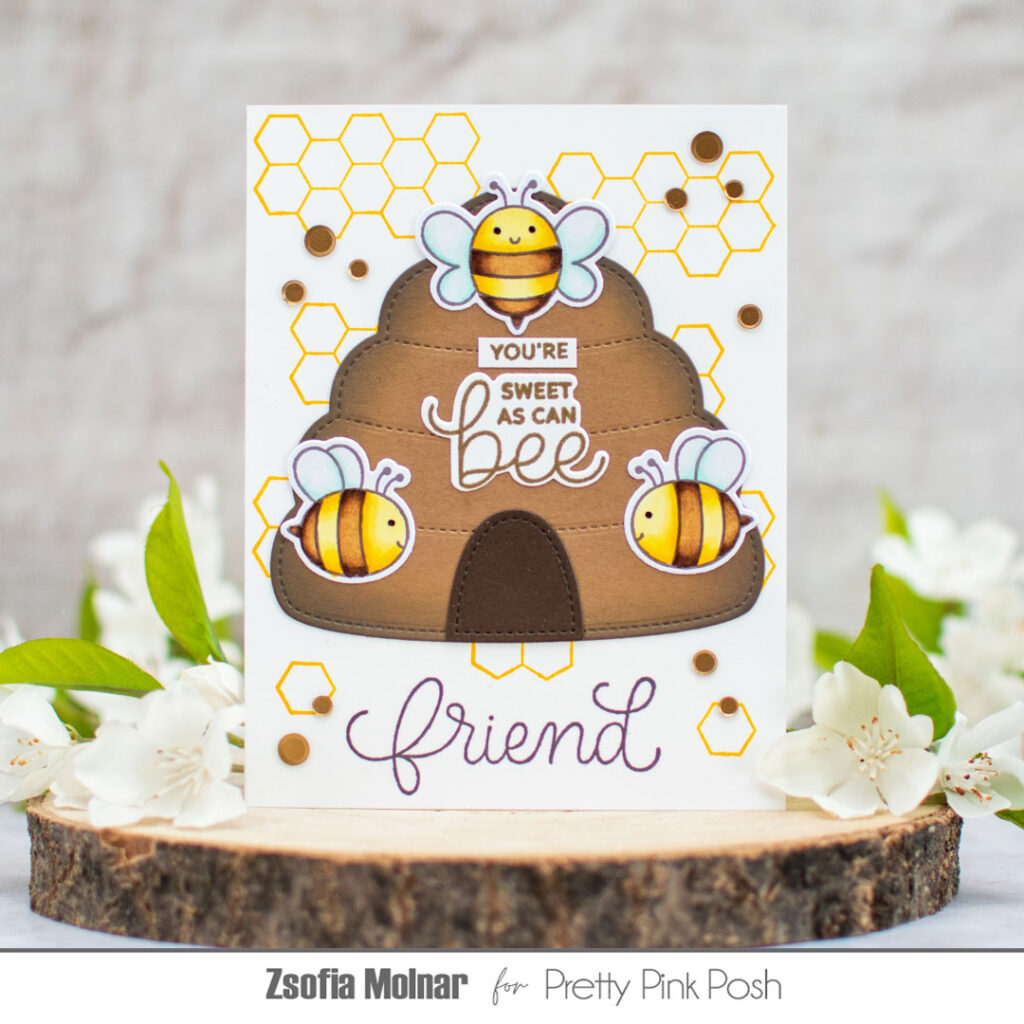
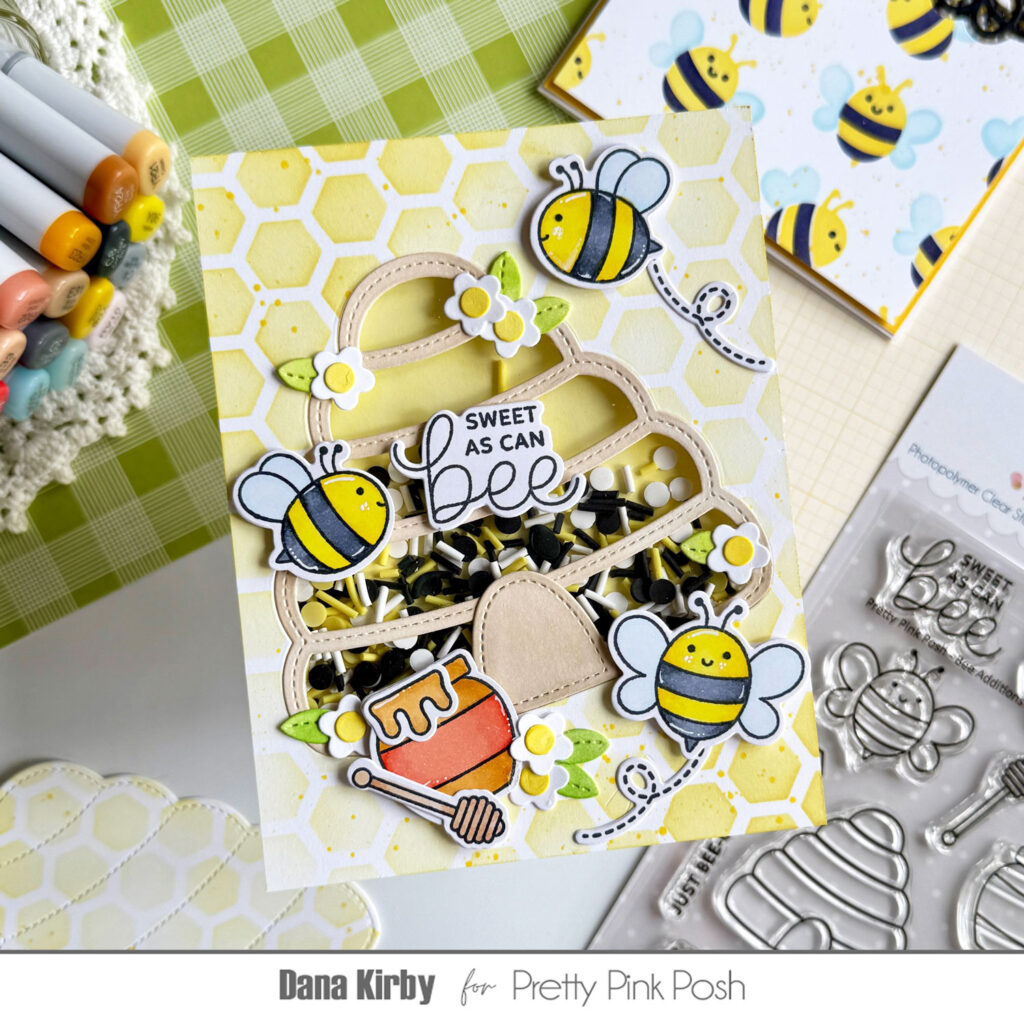
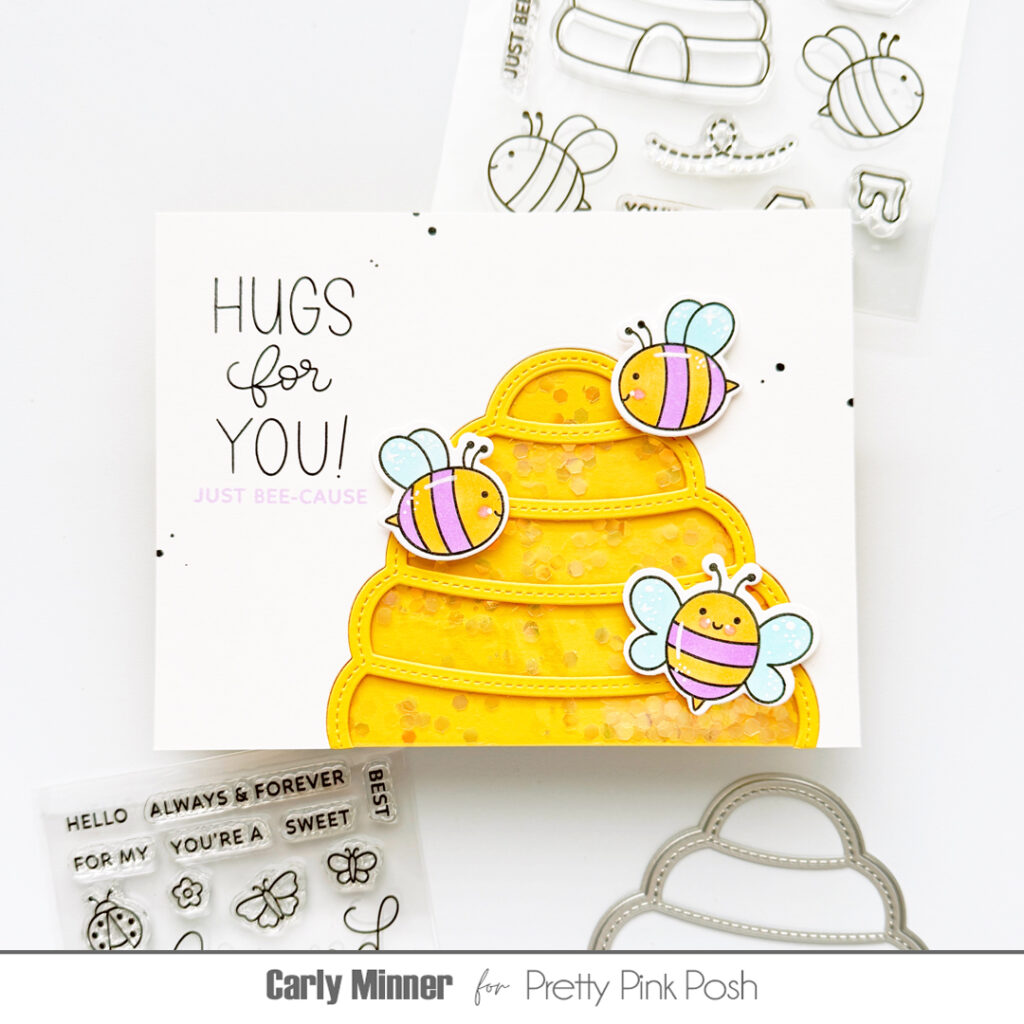
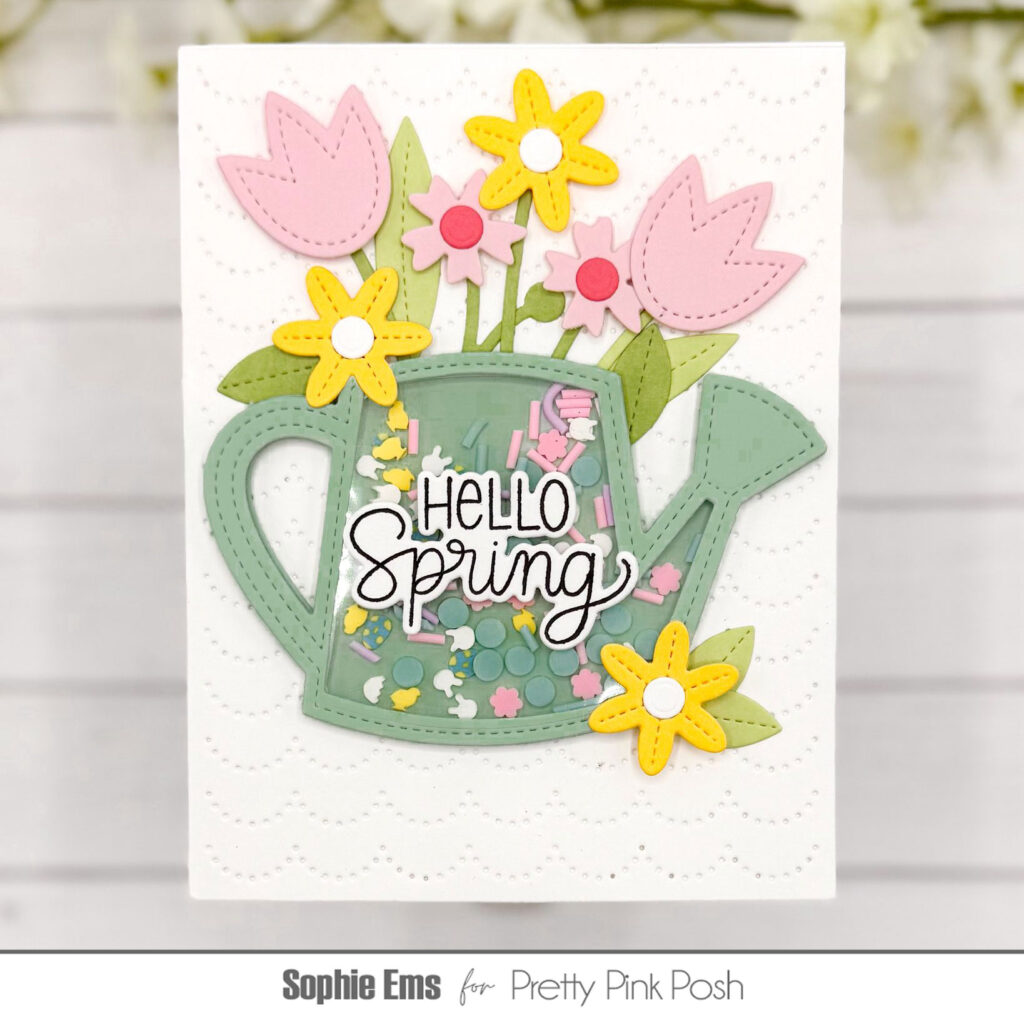
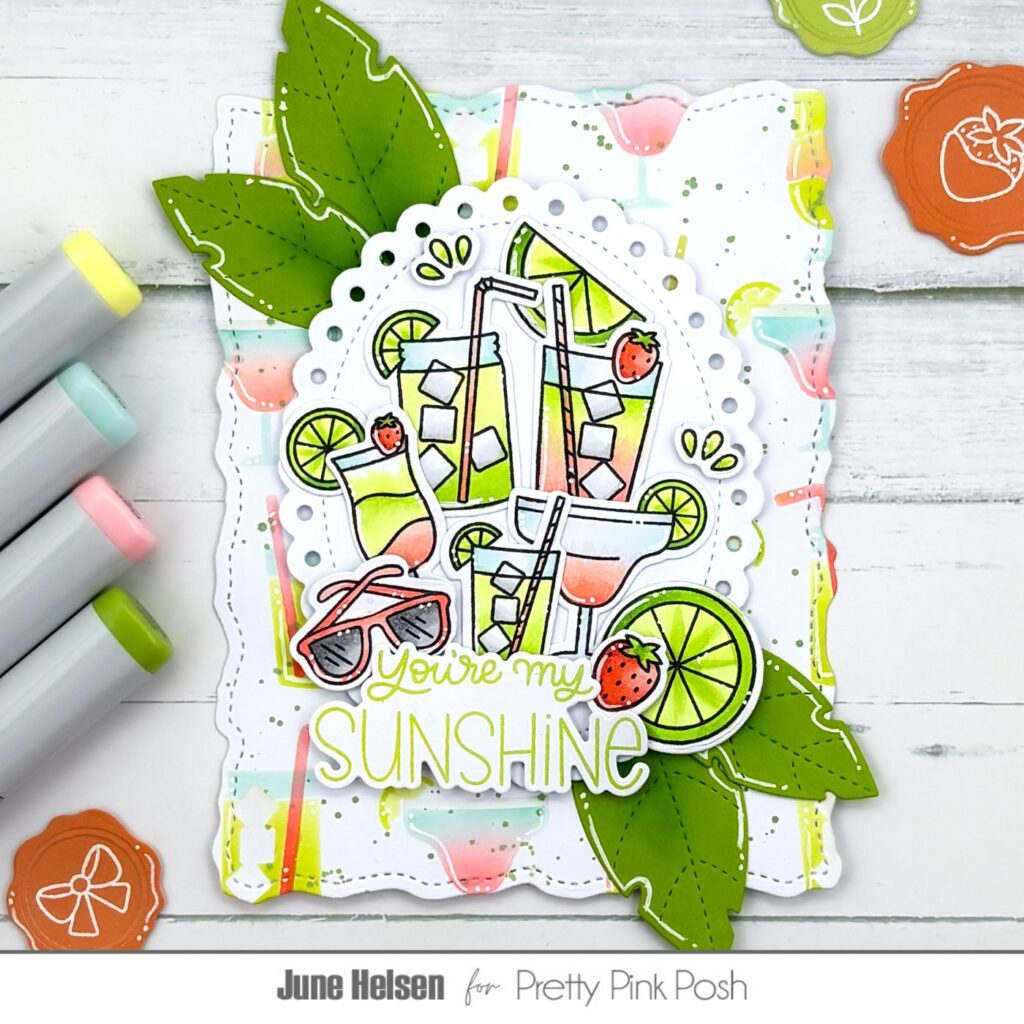
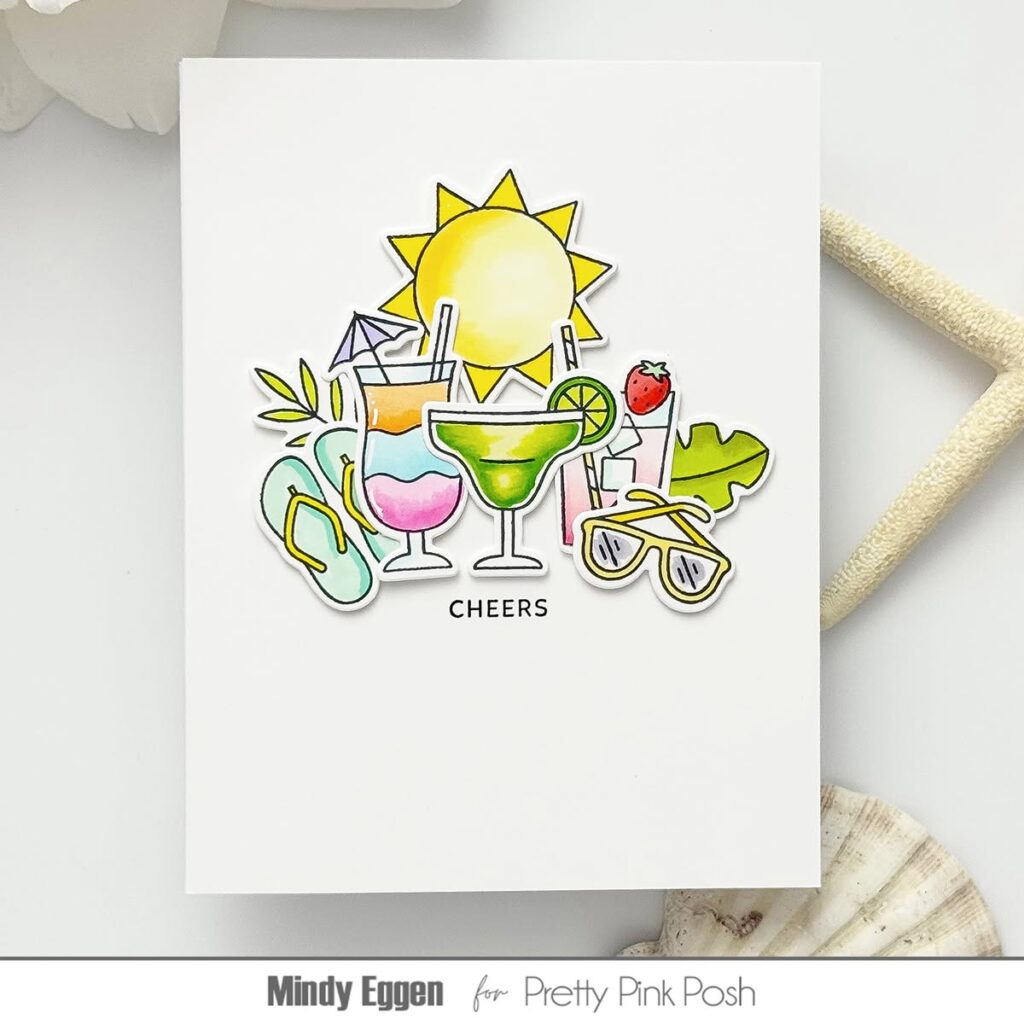
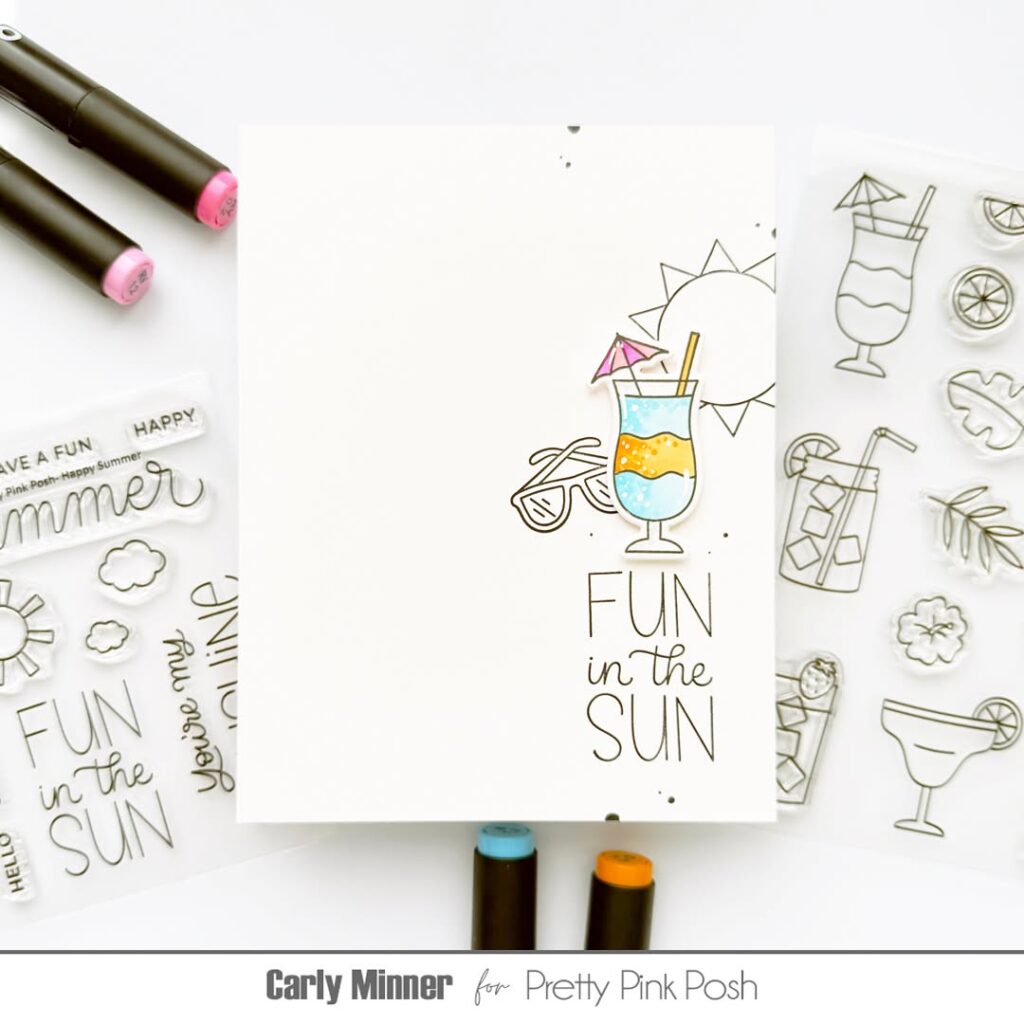
Ready to see some wonderful samples from the team using these products? It’s so fun to see how we can use the same products in such a variety of ways!
It’s been such a treat to create for you today. Happy crafting with these new supplies…you’ll love every minute. Join us tomorrow as we reveal all the new products!