September Intro: Christmas Bucket Additions + Christmas Cake Pops + Argyle Pierced Plate
Welcome to the Day 3 of sneak peeks of our September 18th release. Today we’ll be taking a look at the Christmas Bucket Additions, Christmas Cake Pops and Argyle Pierced Plate die sets.
Watch the video above I Watch the video in HD on YouTube
Hello, friends! Christina here to share a couple of sneak peek projects showcasing some of the new frosty and festive die sets from the upcoming holiday release! My cards today feature the Christmas Bucket Addition dies that coordinate with the original Candy Bucket dies, the adorable Christmas Cake Pops, and a new must-have basic for your stash, the Argyle Pierced Plate. Let’s jump into these snowy holiday cards!
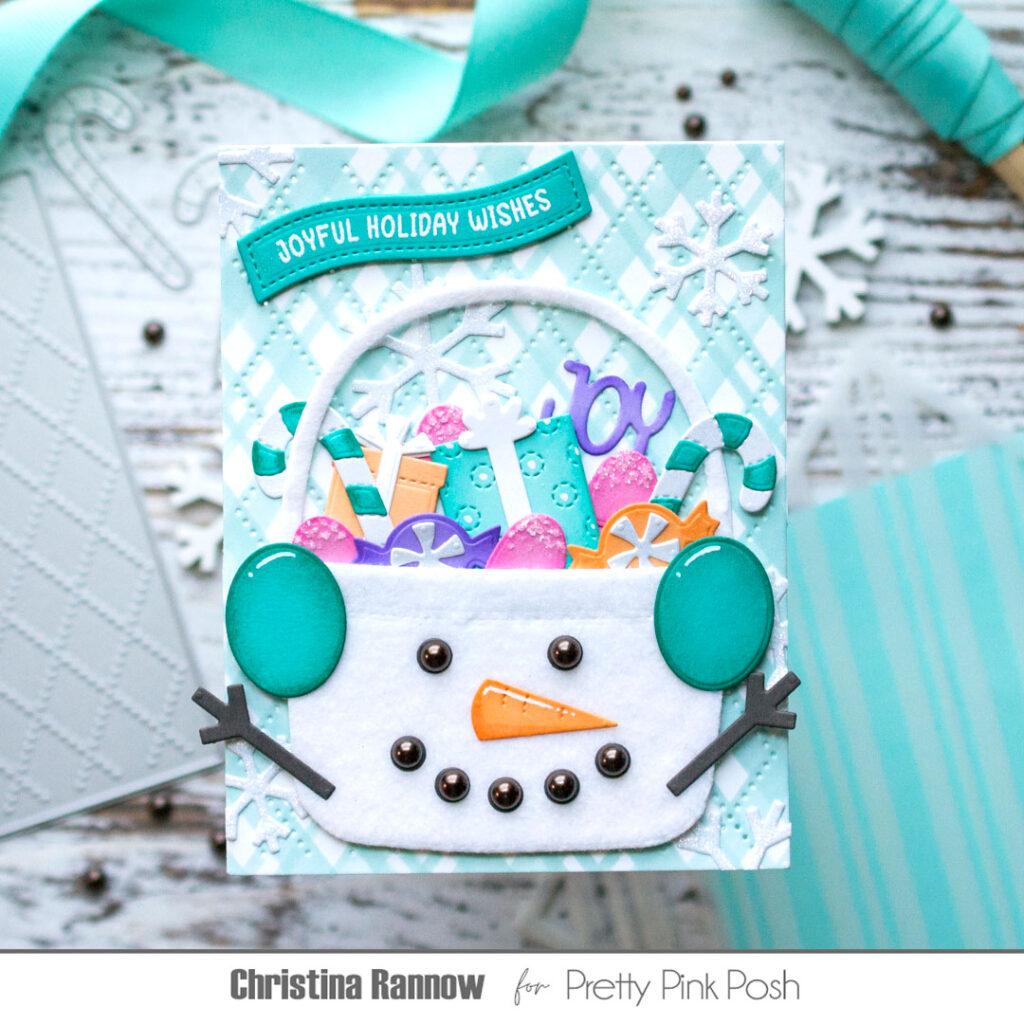
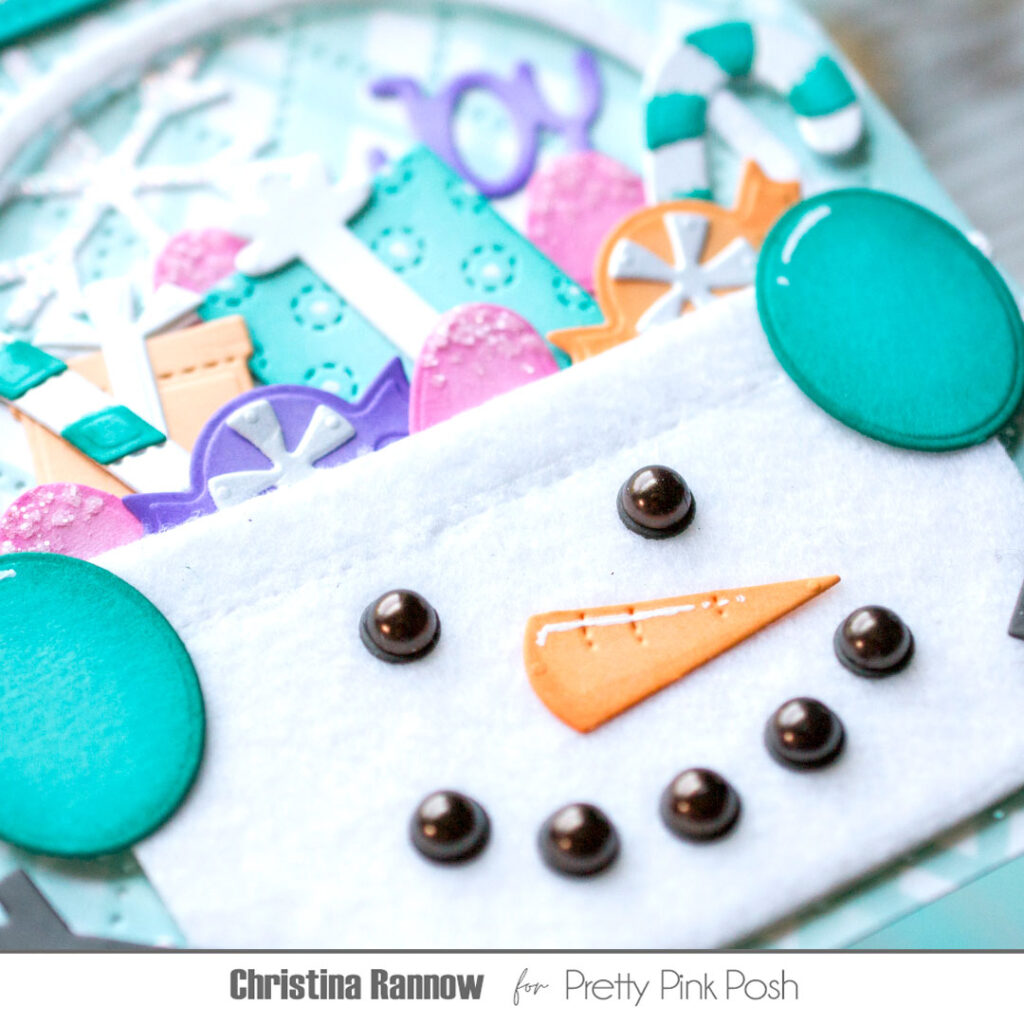
For my first card, I created a wintery snowman Candy Bucket full of sweet holiday treats using the Christmas Bucket Additions set. I die-cut the bucket from white felt for a snowy look and created earmuffs for our cool friend using the oval die from the Christmas Bucket Additions set that lets you turn your bucket into a sweet reindeer if you want. For a little dimension to the snowman’s face, I used Espresso Pearls for his eyes and mouth.
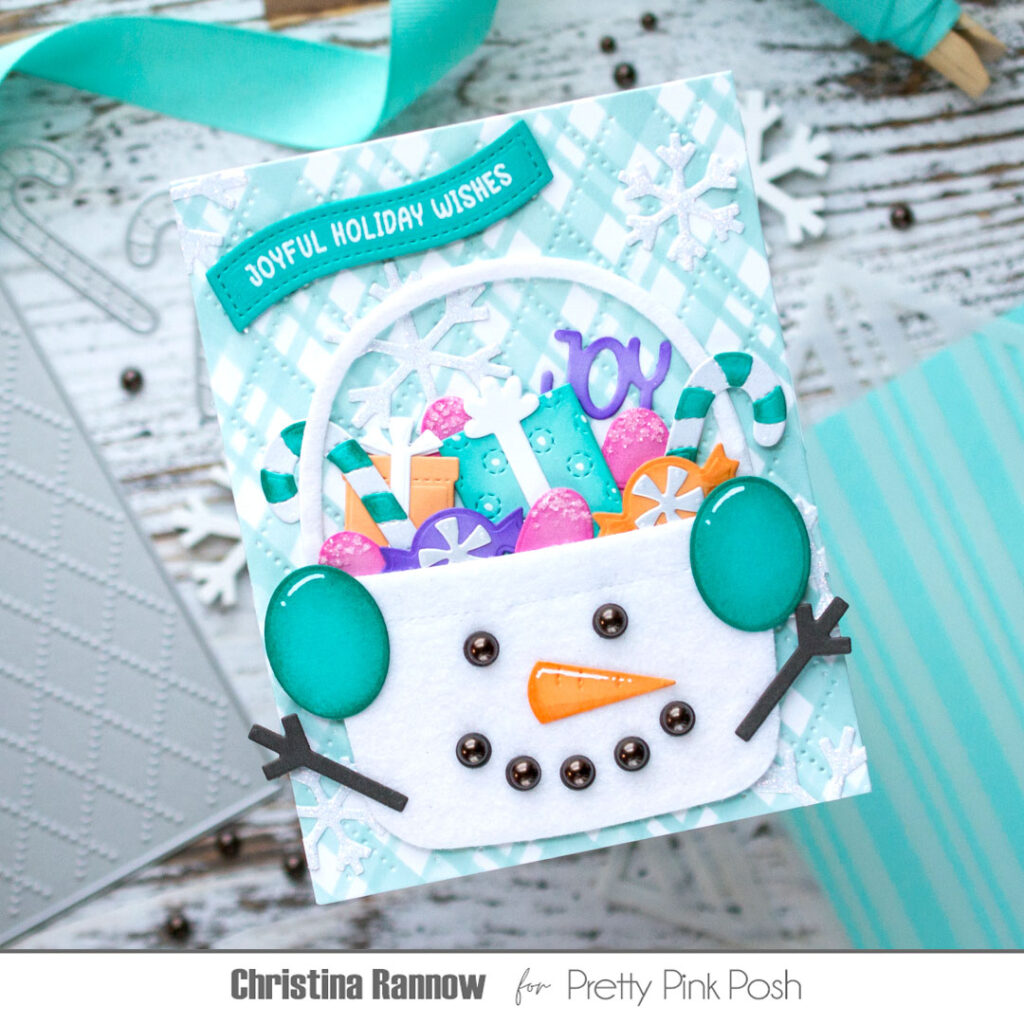
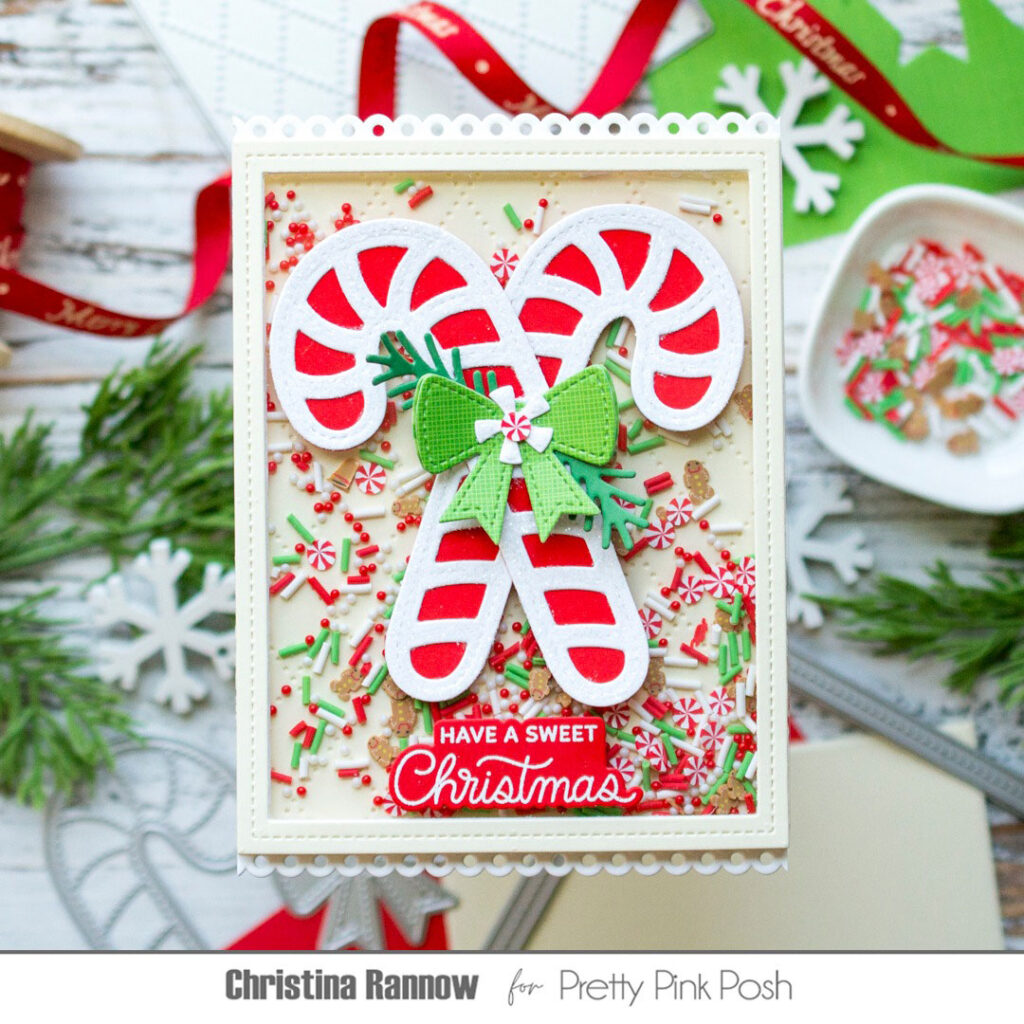
Using pink, lavender, apricot, and teal cardstock, I die-cut candy canes, gumdrops, and gifts to fill the snowman bucket. I added subtle shading to the diecuts with coordinating inks and gave the gumdrops a sugary coating using just a touch of glue and a sprinkle of sparkling glitter.
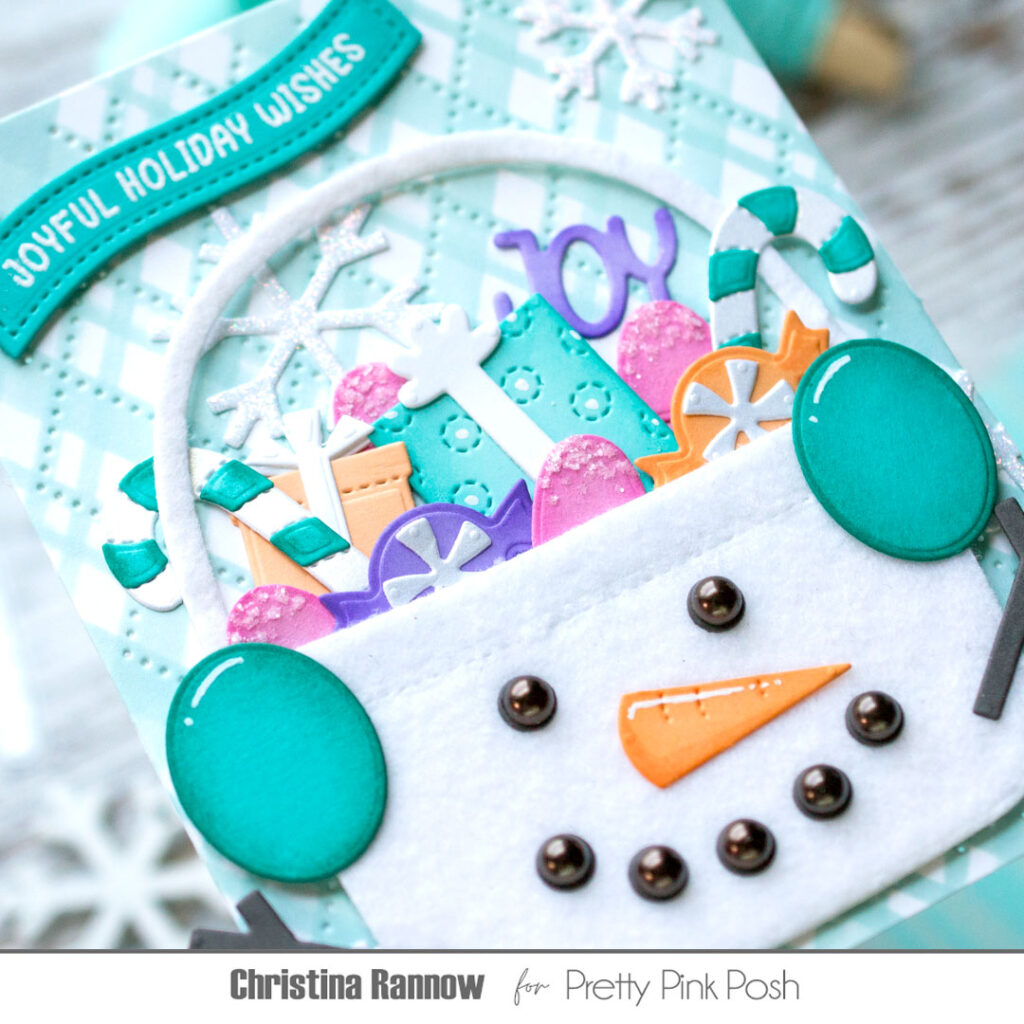
To create the plaid background for my snowman bucket, I started by die-cutting the Argyle Pierced Plate from white cardstock and then stenciling the new Candy Cane Stripes across the panel, going one direction, and then rotating the stencil to create stripes going the other direction. So easy! Attach this to a card base, and we’re almost done!
I finished up my card design with snowflakes die-cut from glitter cardstock for a little more sparkle and a heat-embossed sentiment from the new Christmas Banner Greetings Stamp set that works with the awesome new Banner Greetings 1 die set.
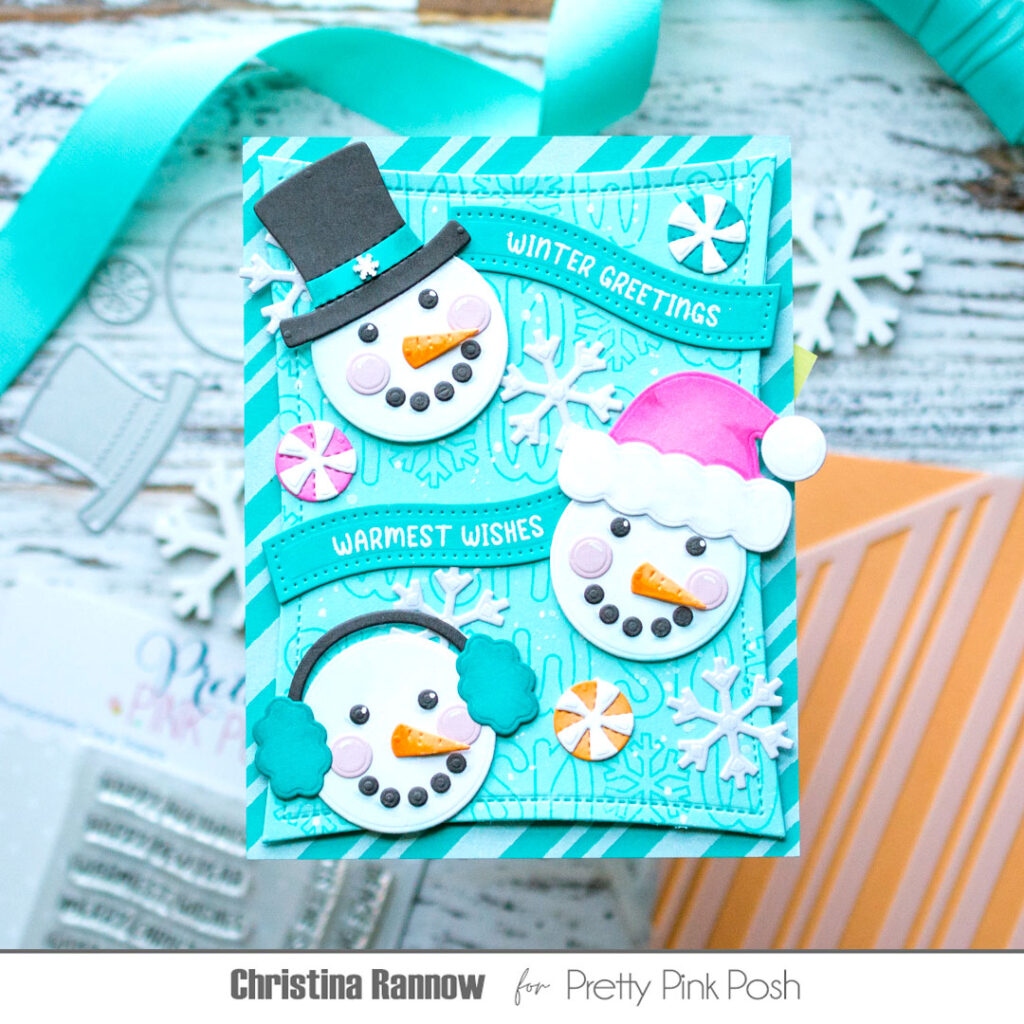
My second card features the adorable new Christmas Cake Pops die set. You can create four different holiday-themed cake pops with this set, but I chose to use just the snowman for my card design and added accessories not only from the Christmas Cake Pops set but also from the new Christmas Holder Additions die set (be sure to check out yesterday’s sneak peeks for more Christmas Holder inspiration!).
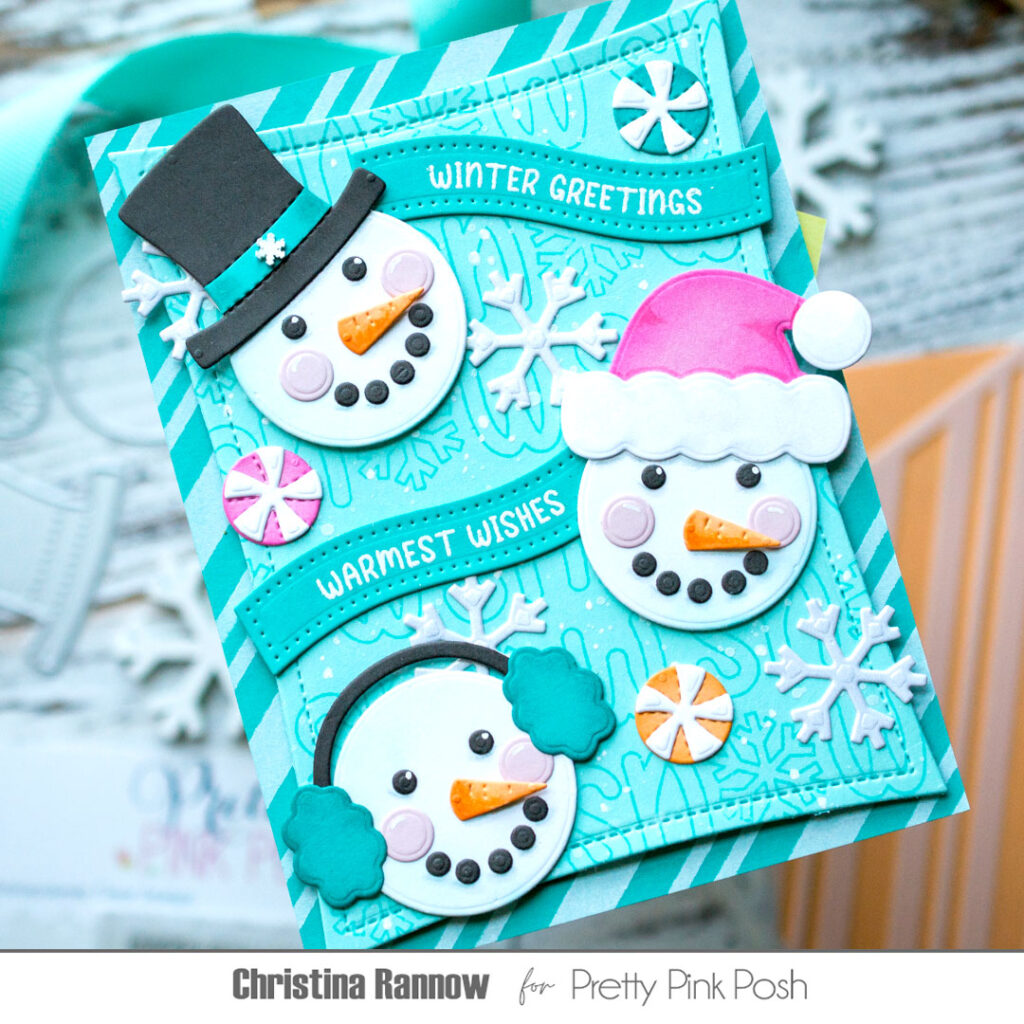
To create the background for these frosty friends, I started with a lighter teal cardstock panel and stamped one of the new Holiday Word Scenes in a darker teal ink repeatedly across the panel. Then I die-cut it with a Wonky Stitched Rectangle and attached it with foam tape to a darker teal cardstock panel that I stenciled using the new Candy Cane Stripe and white pigment ink.
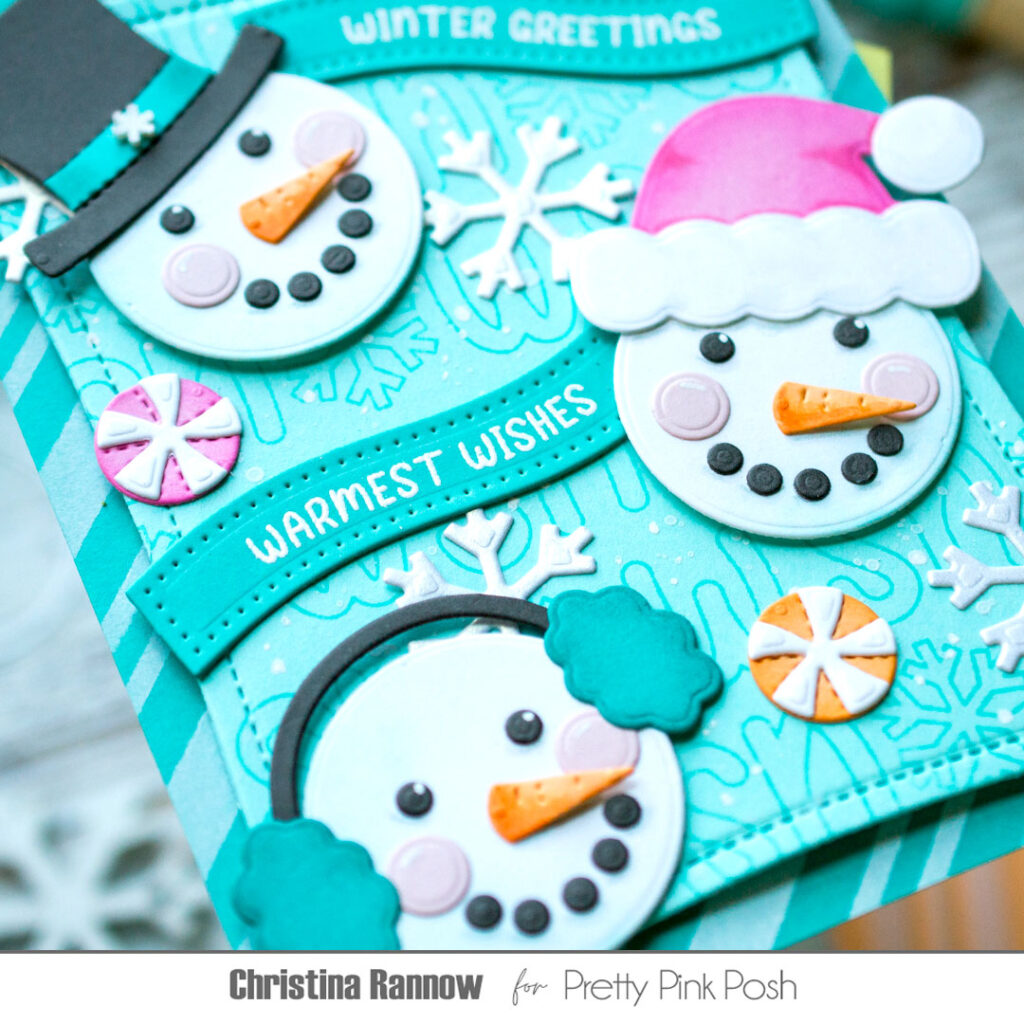
I finished things up with a couple of sentiments from the new Christmas Banner Greetings Stamp set, heat-embossing them with white embossing powder and die-cutting them with those awesome new Banner Greetings 1 dies. A few frosty snowflakes and some sweet peppermint candies were the finishing touches to this winter-themed sneak peek!
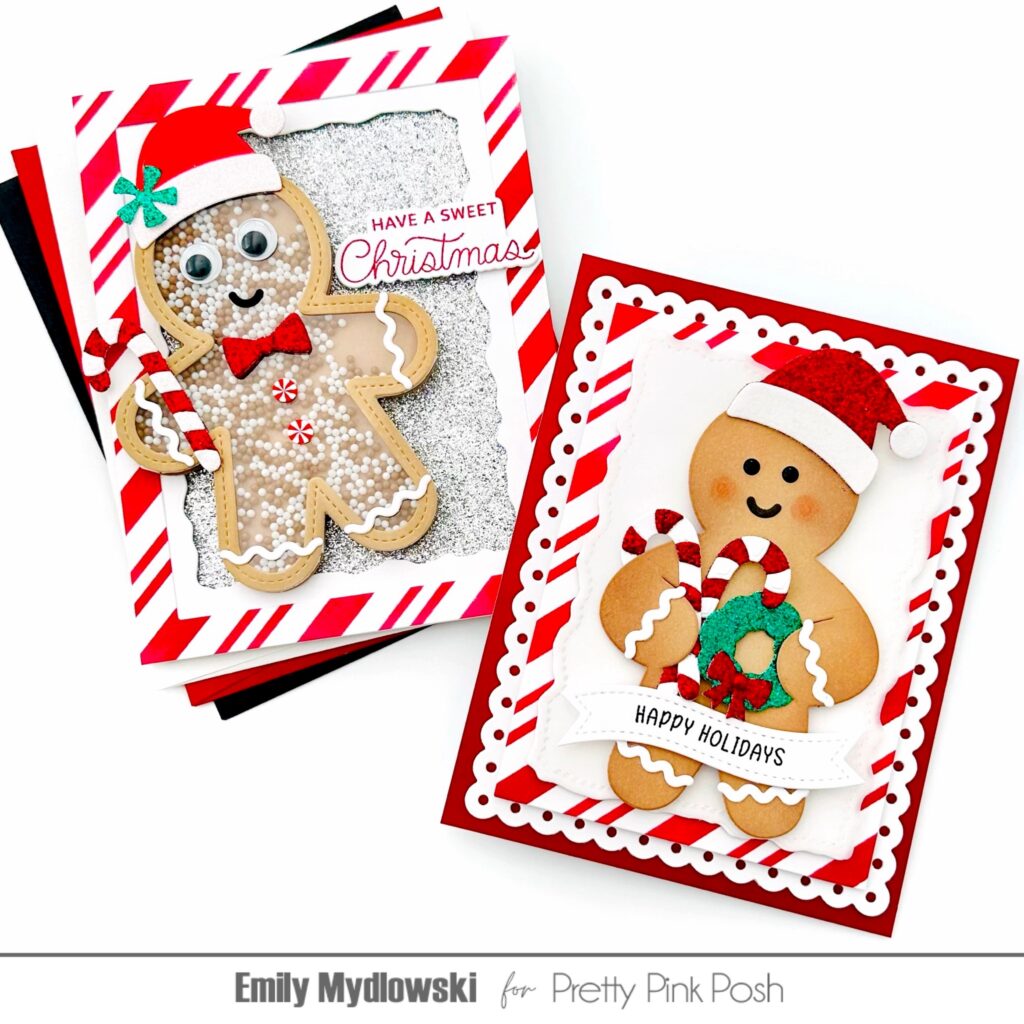
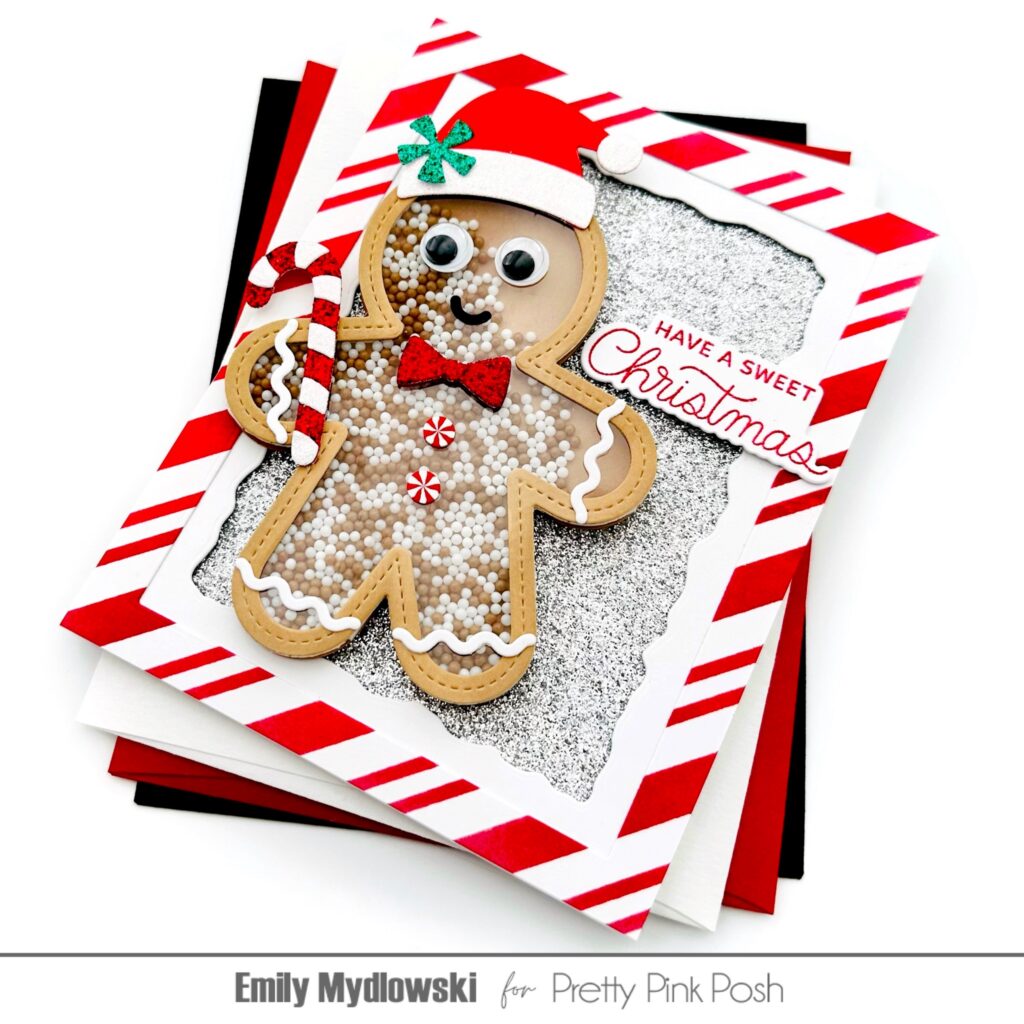
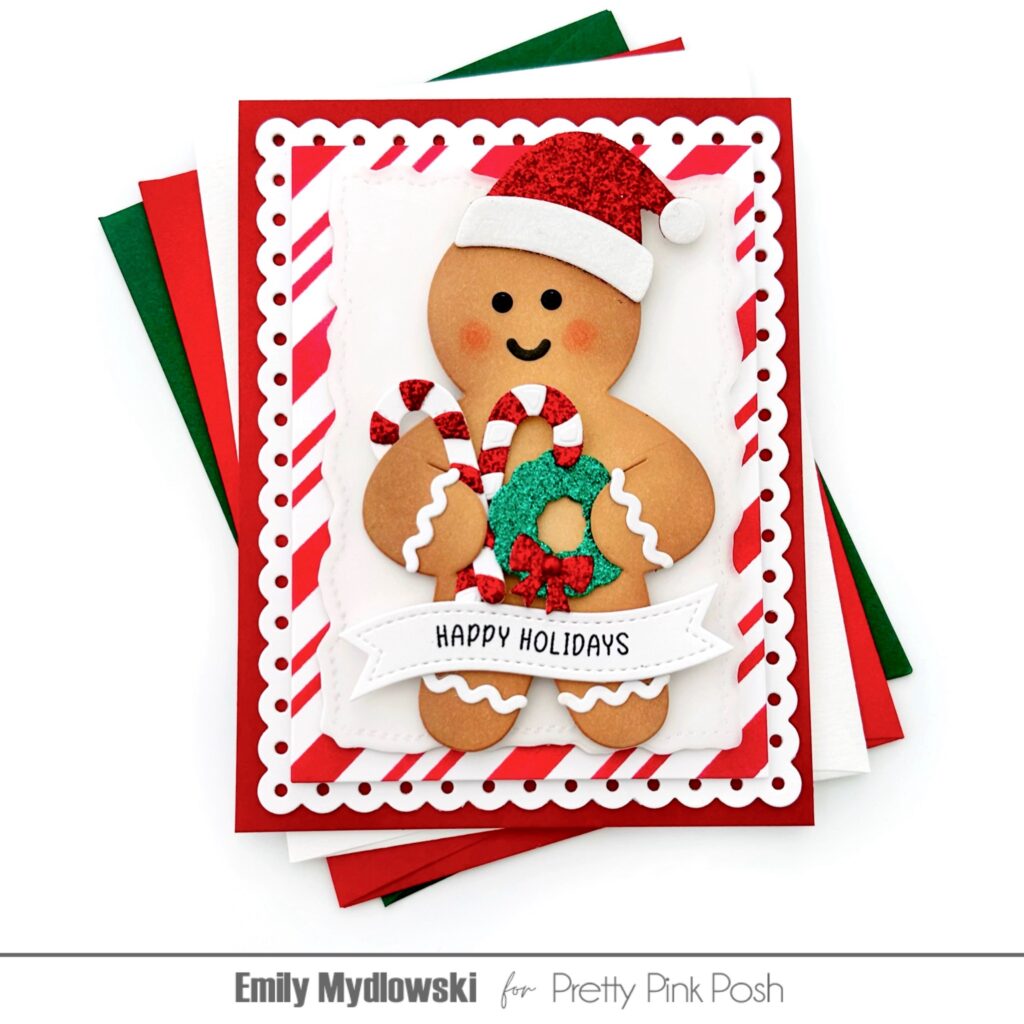
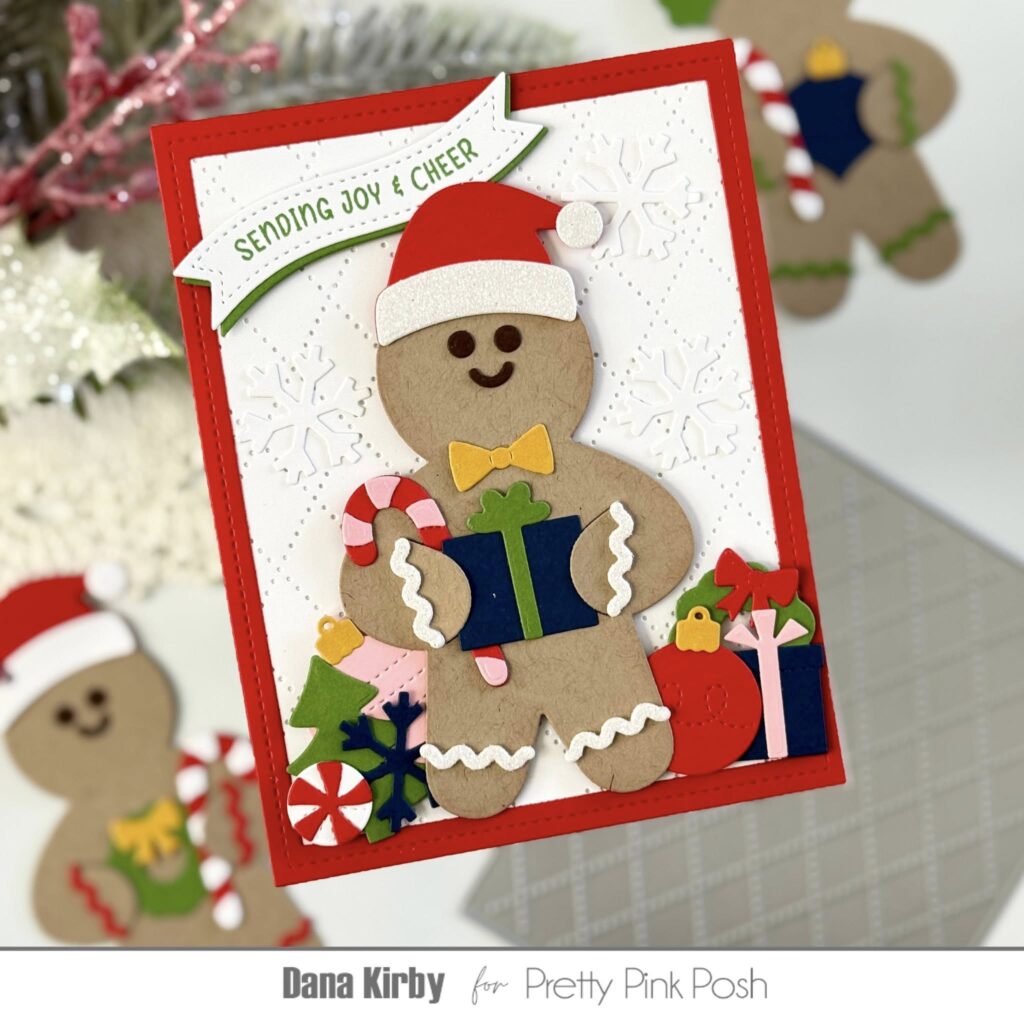
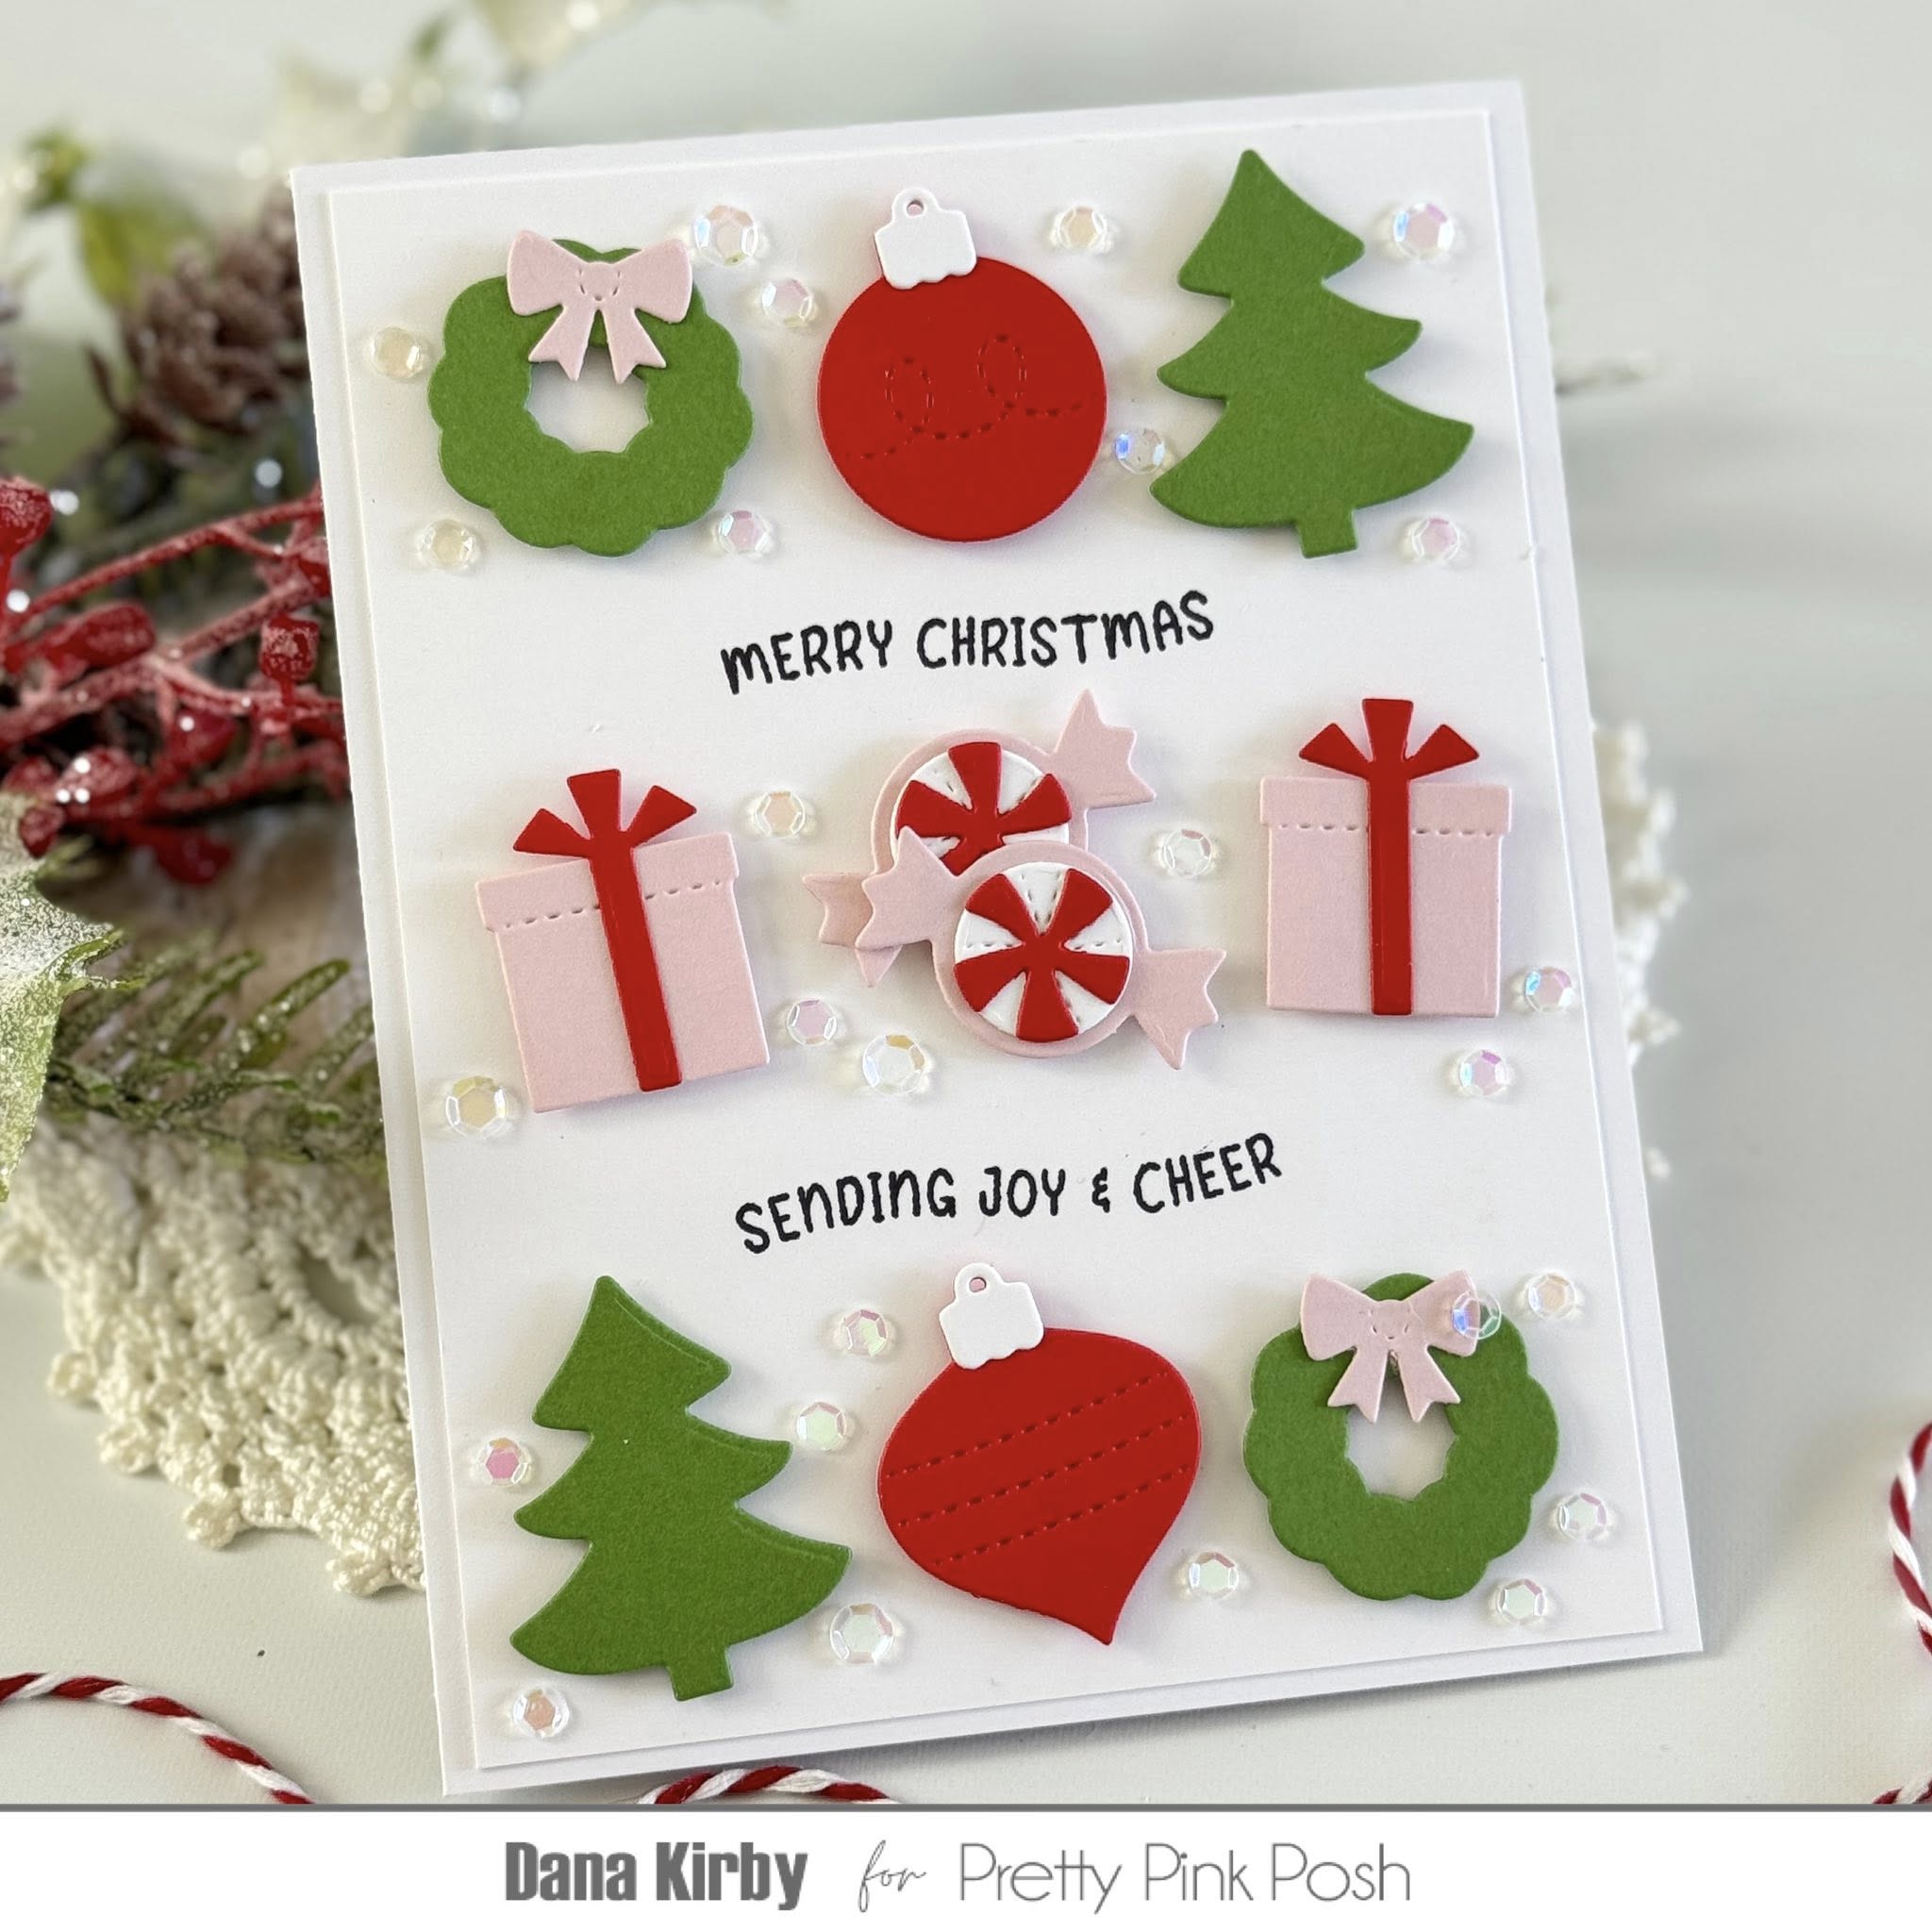
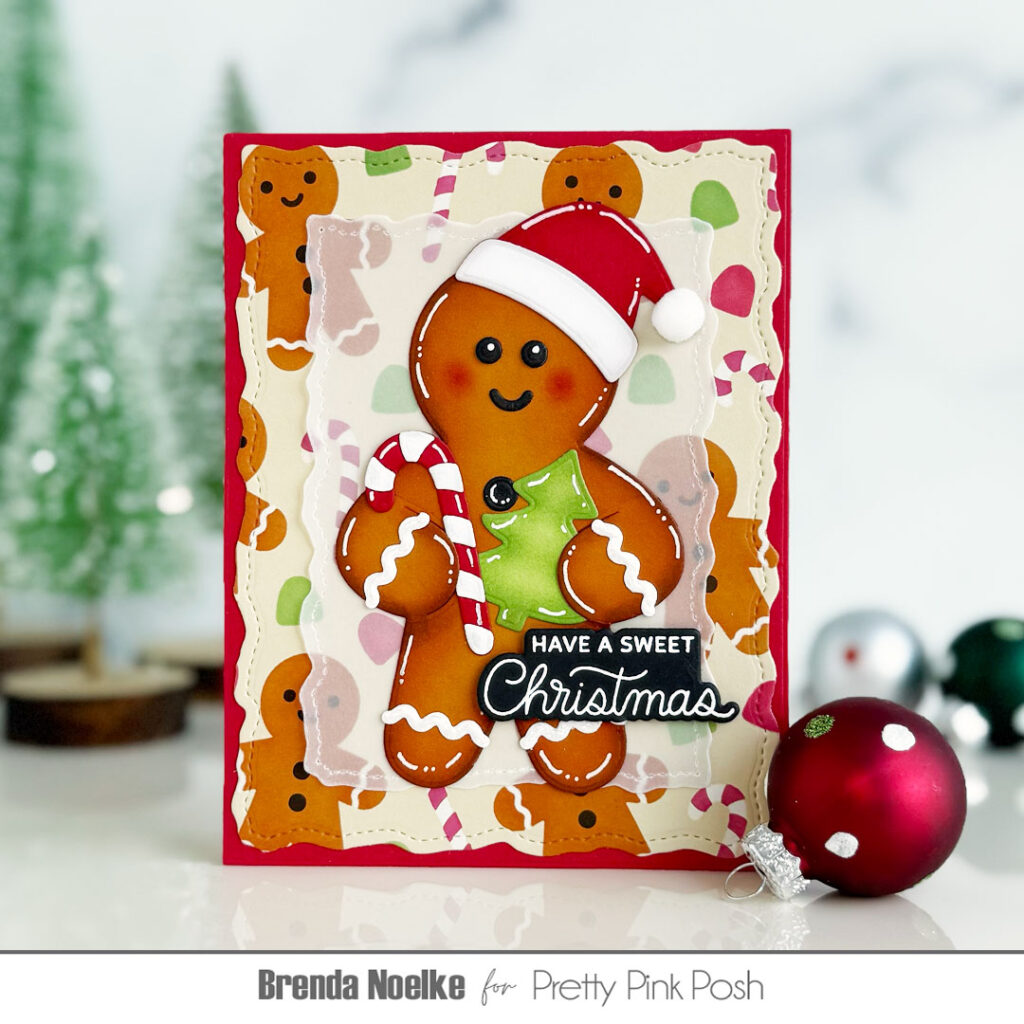
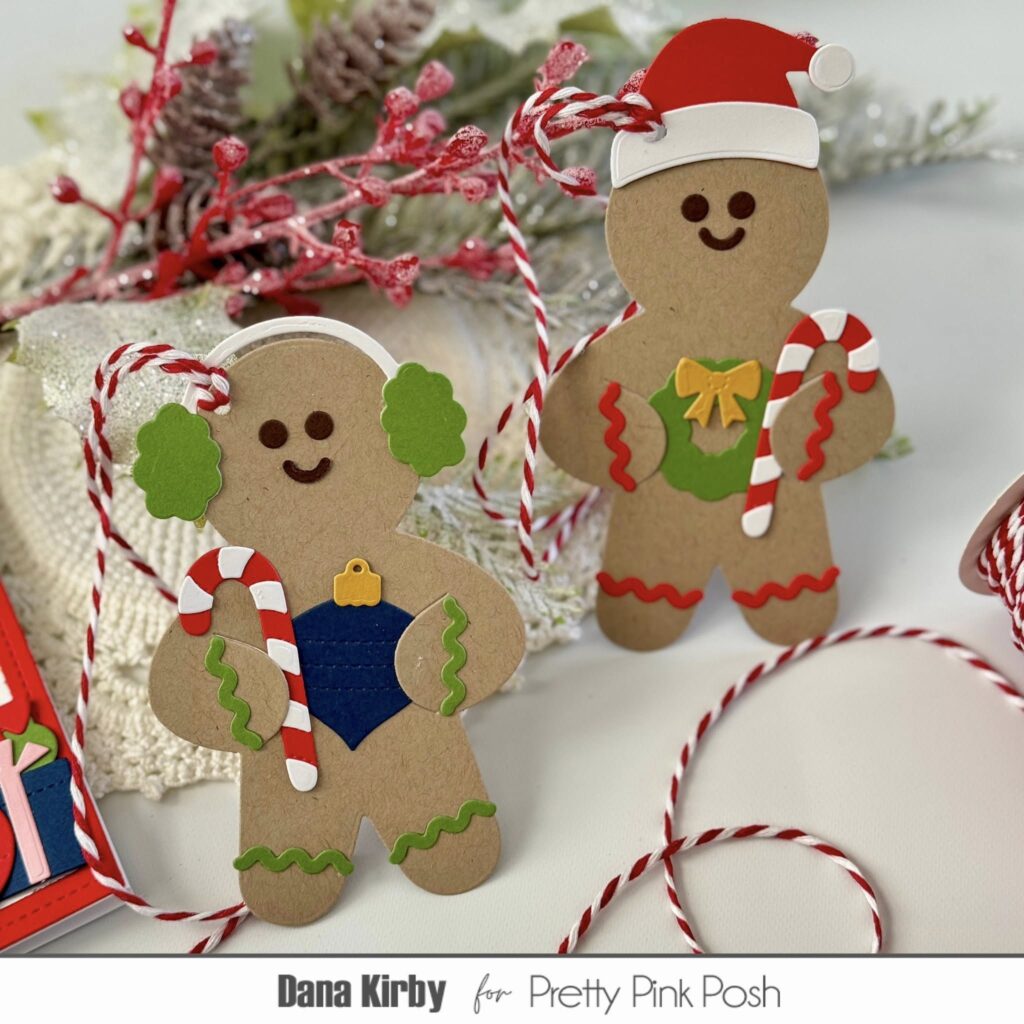
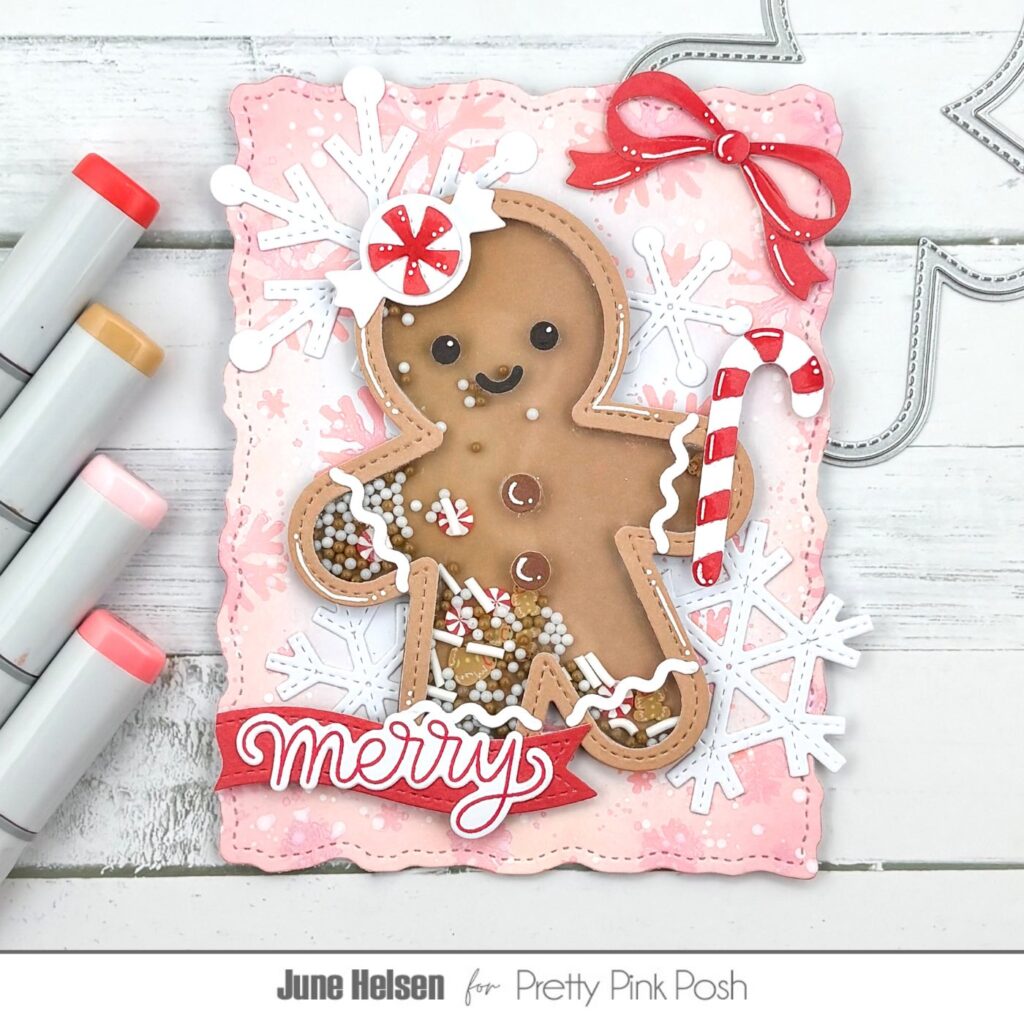
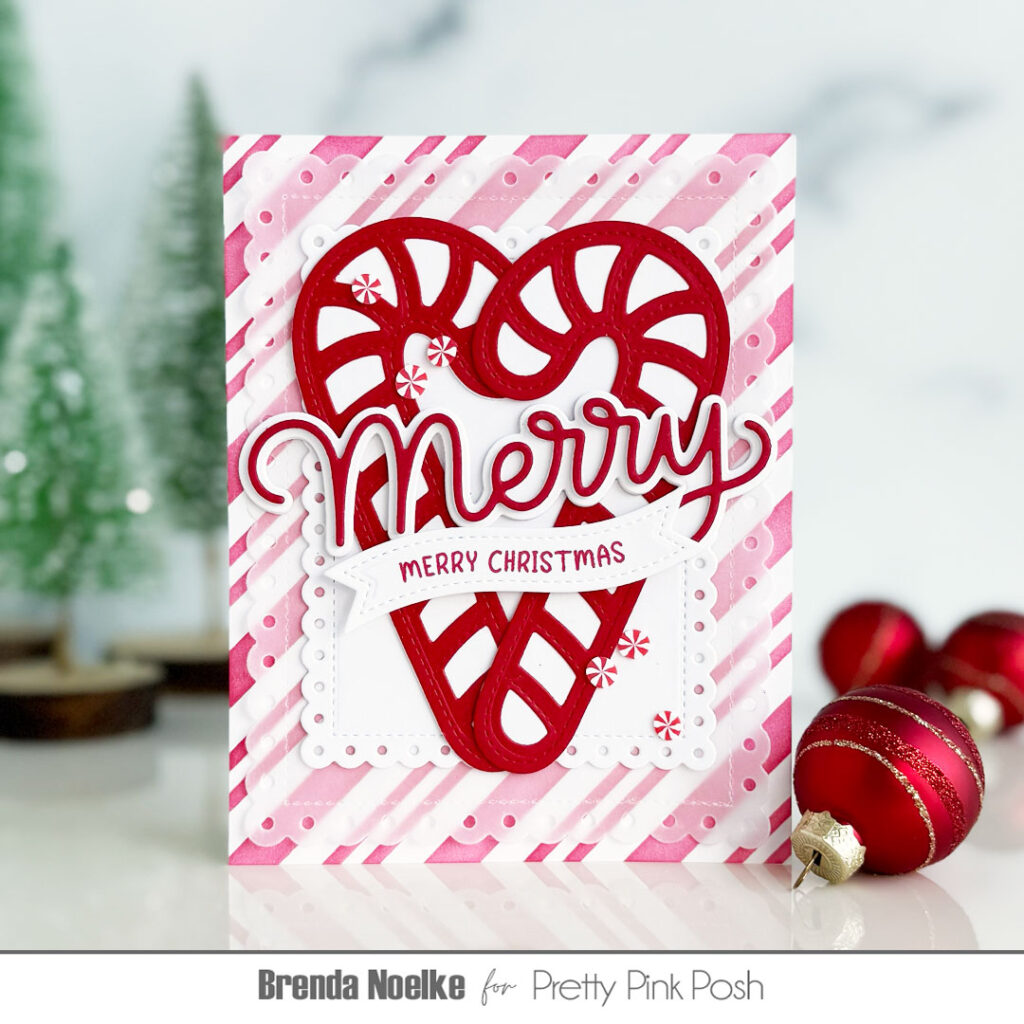
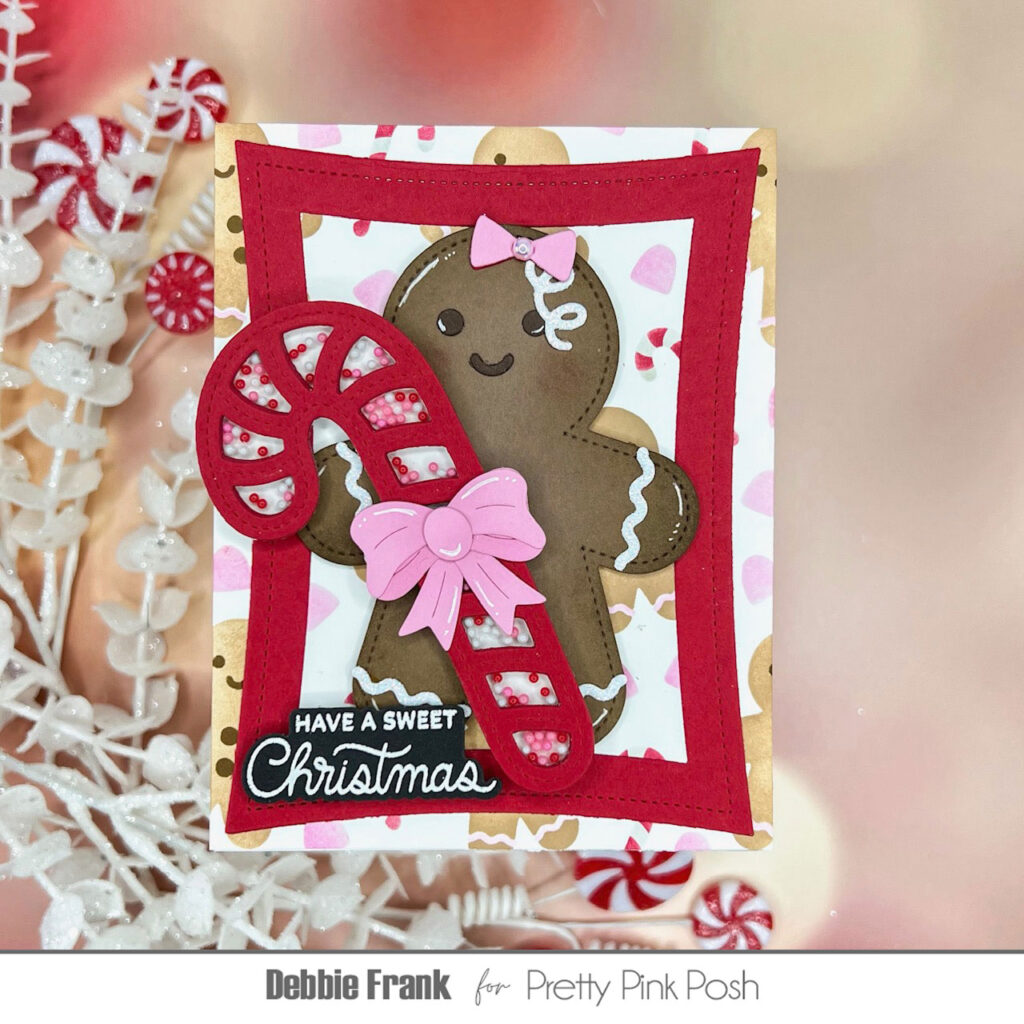
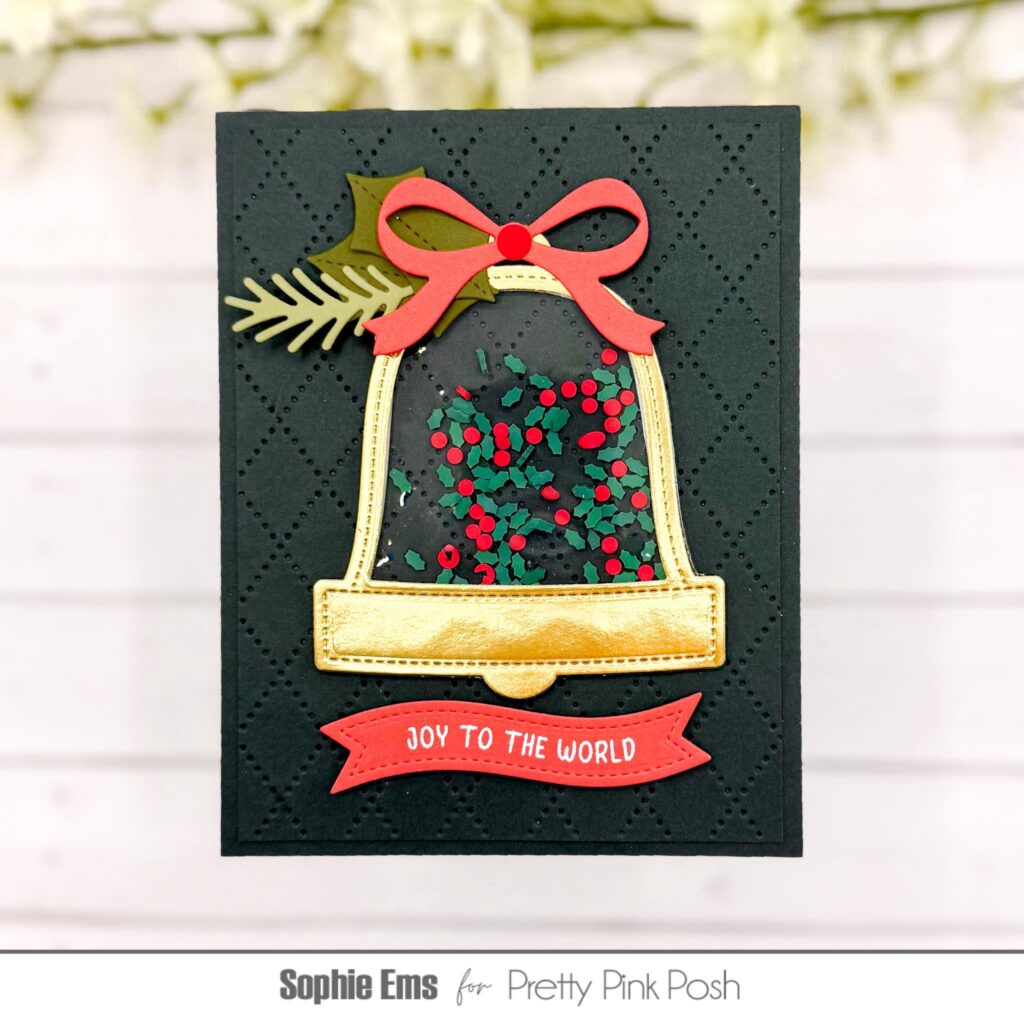
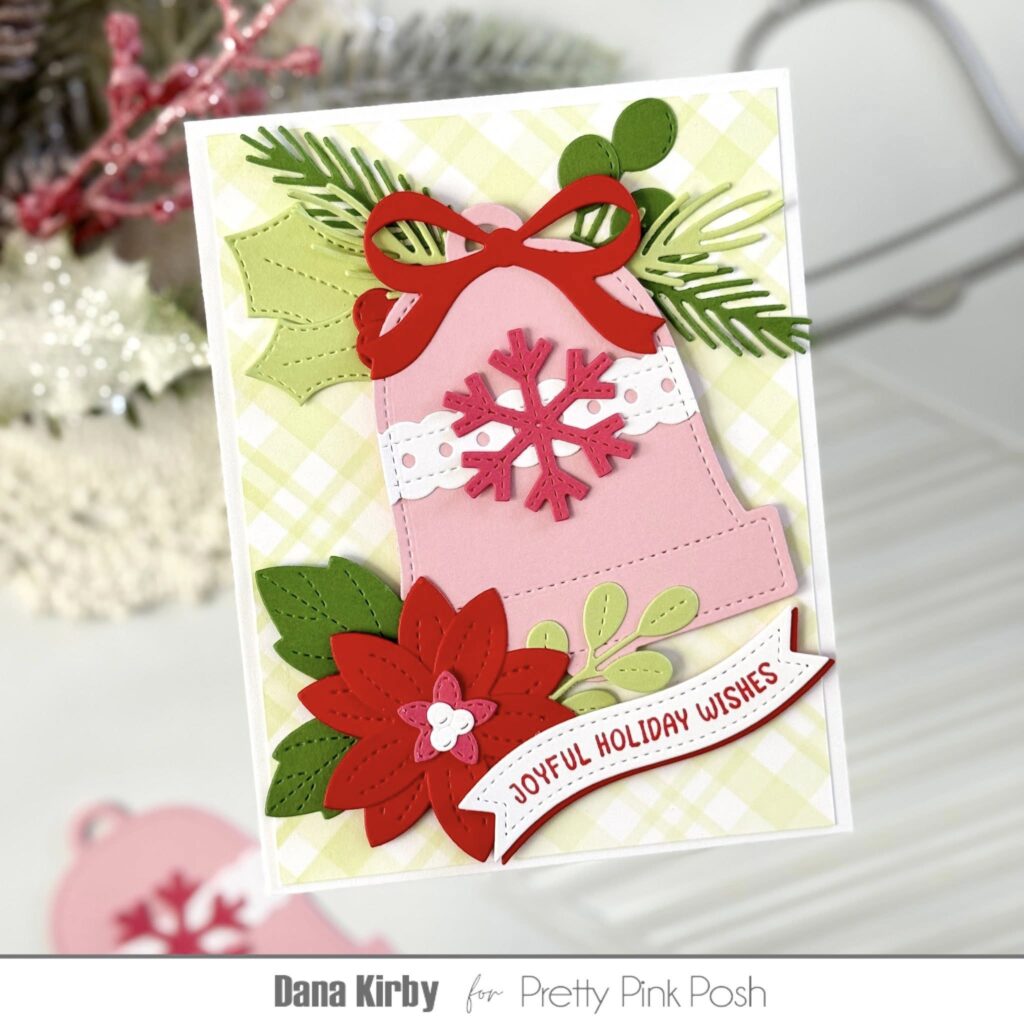
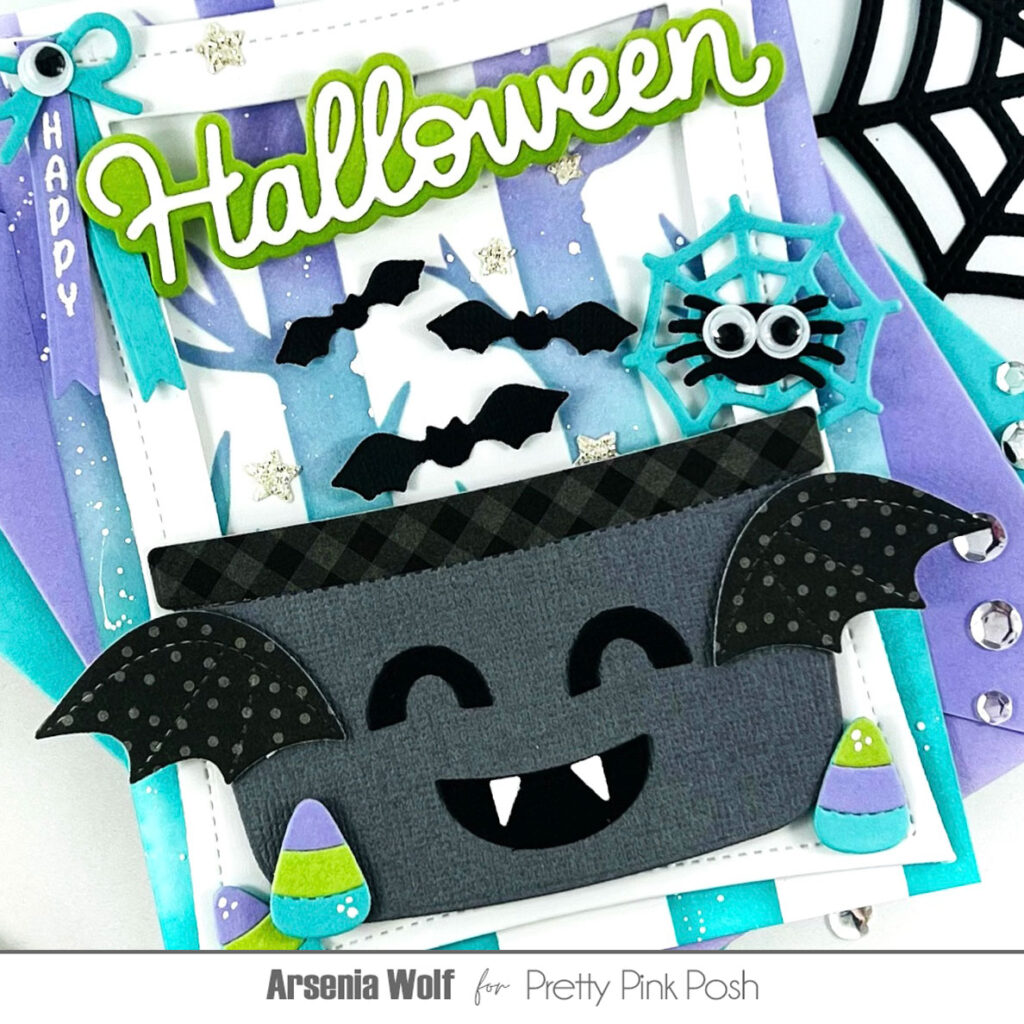
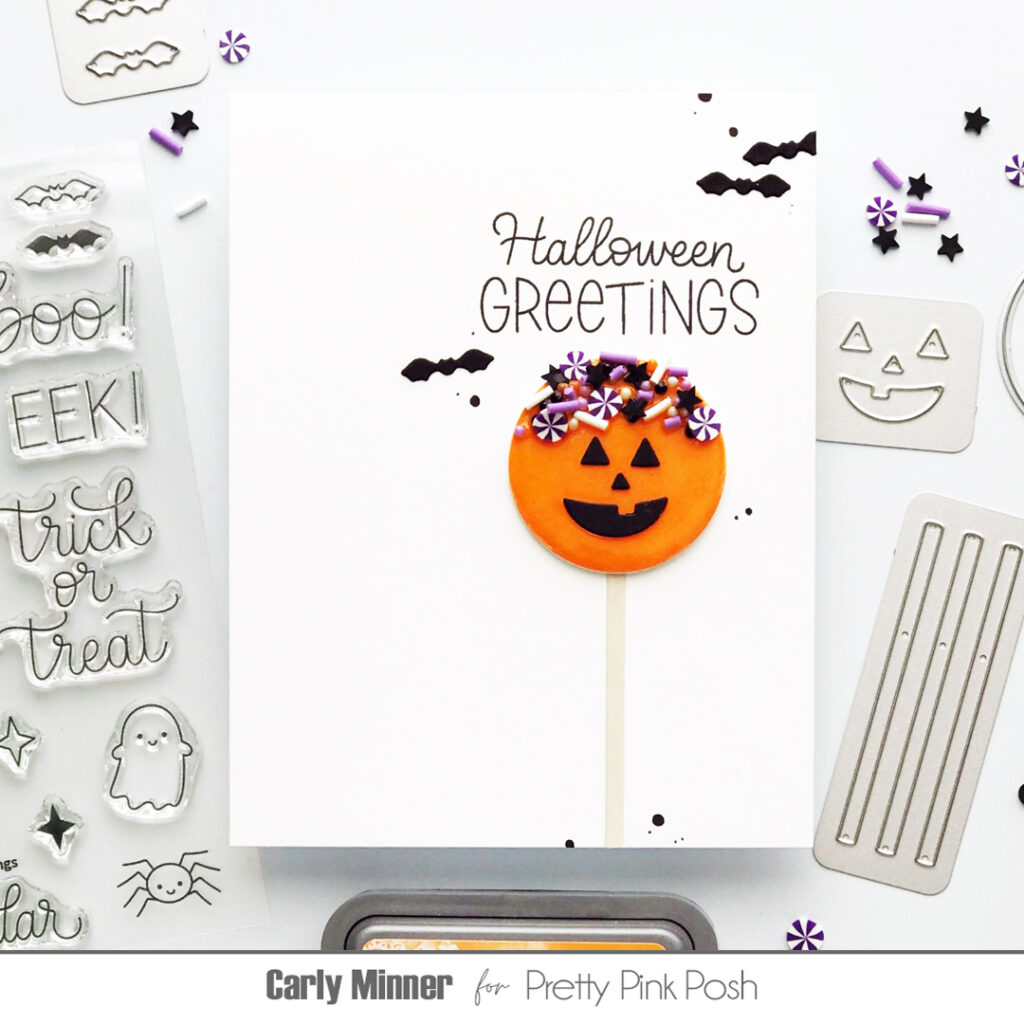
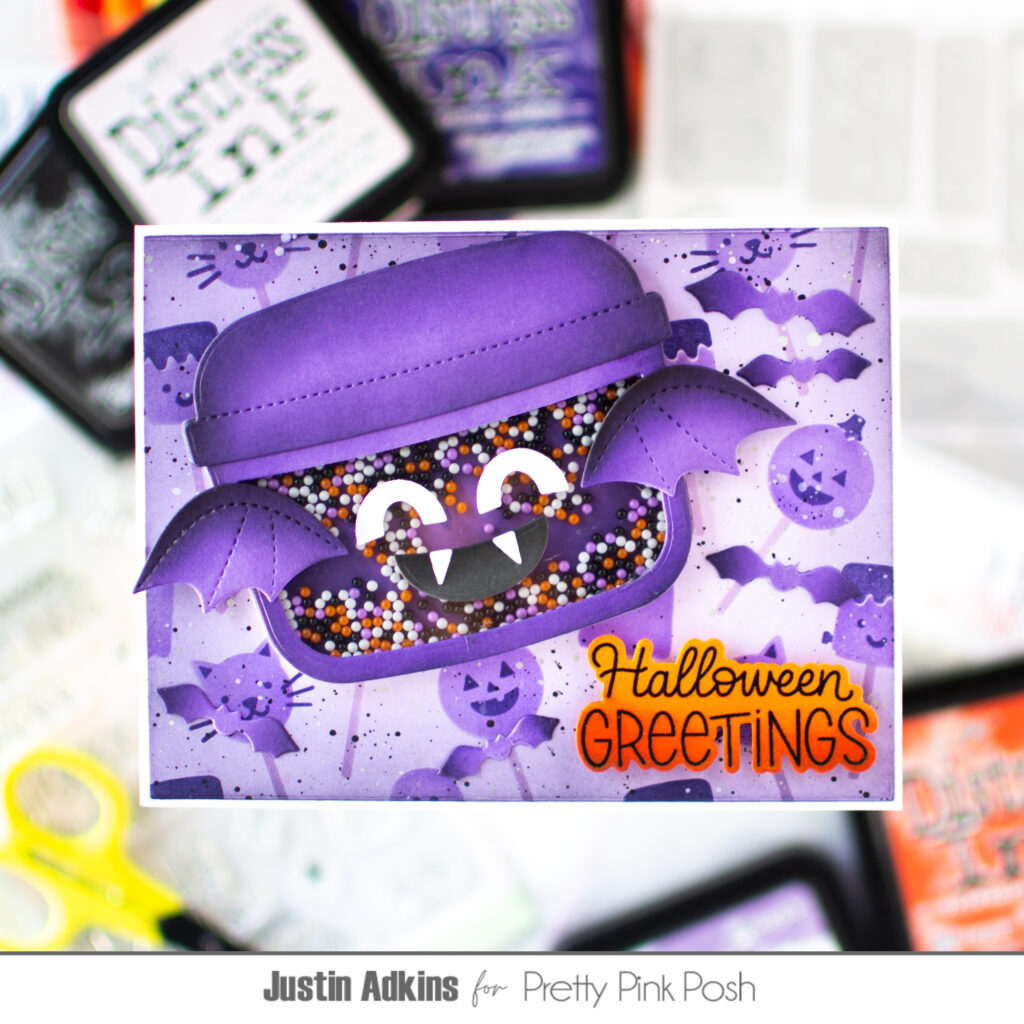
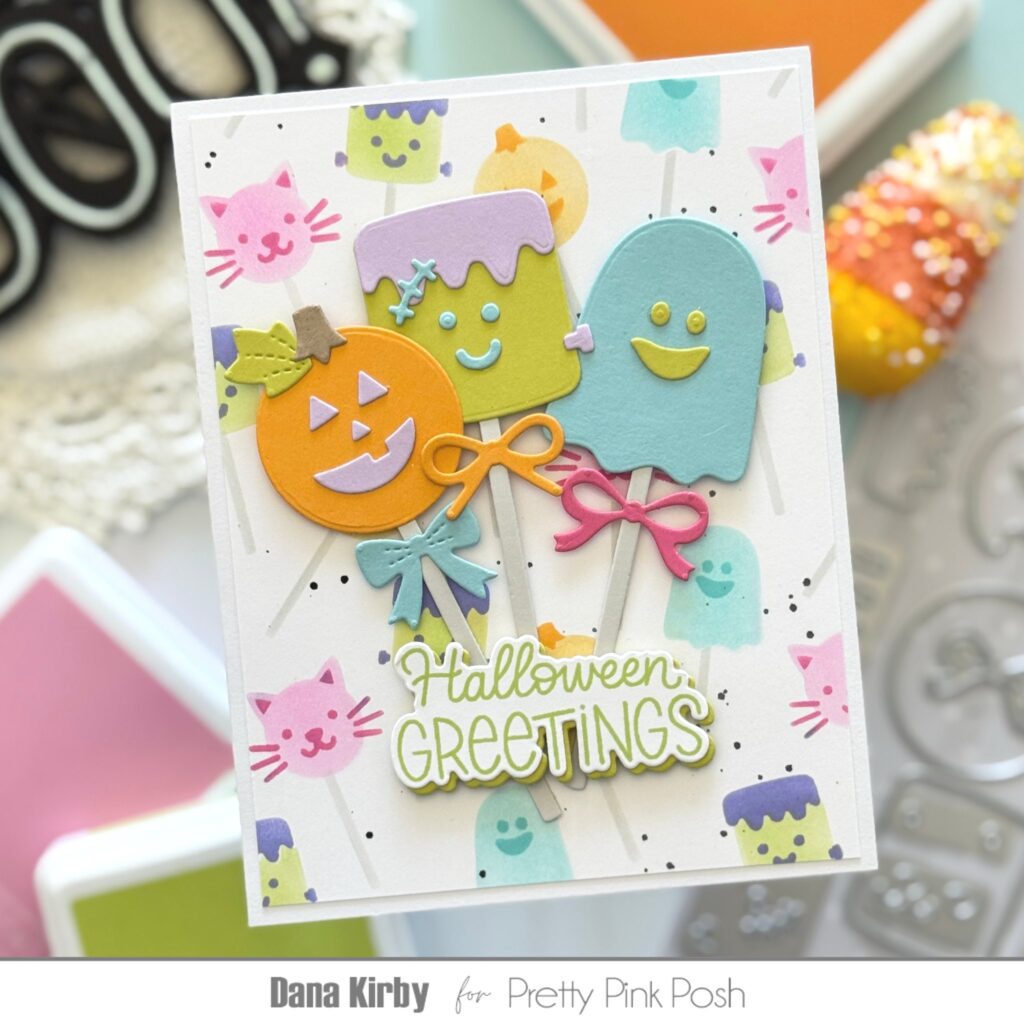
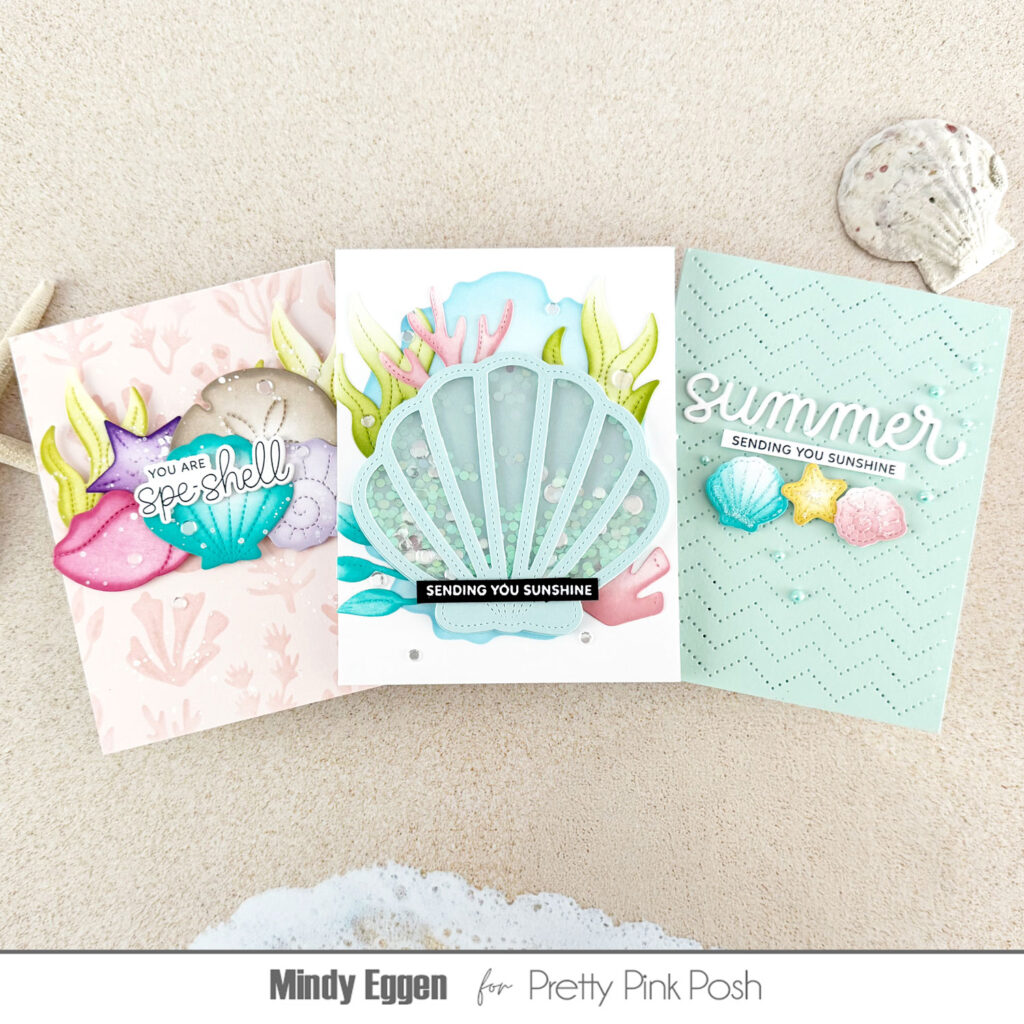
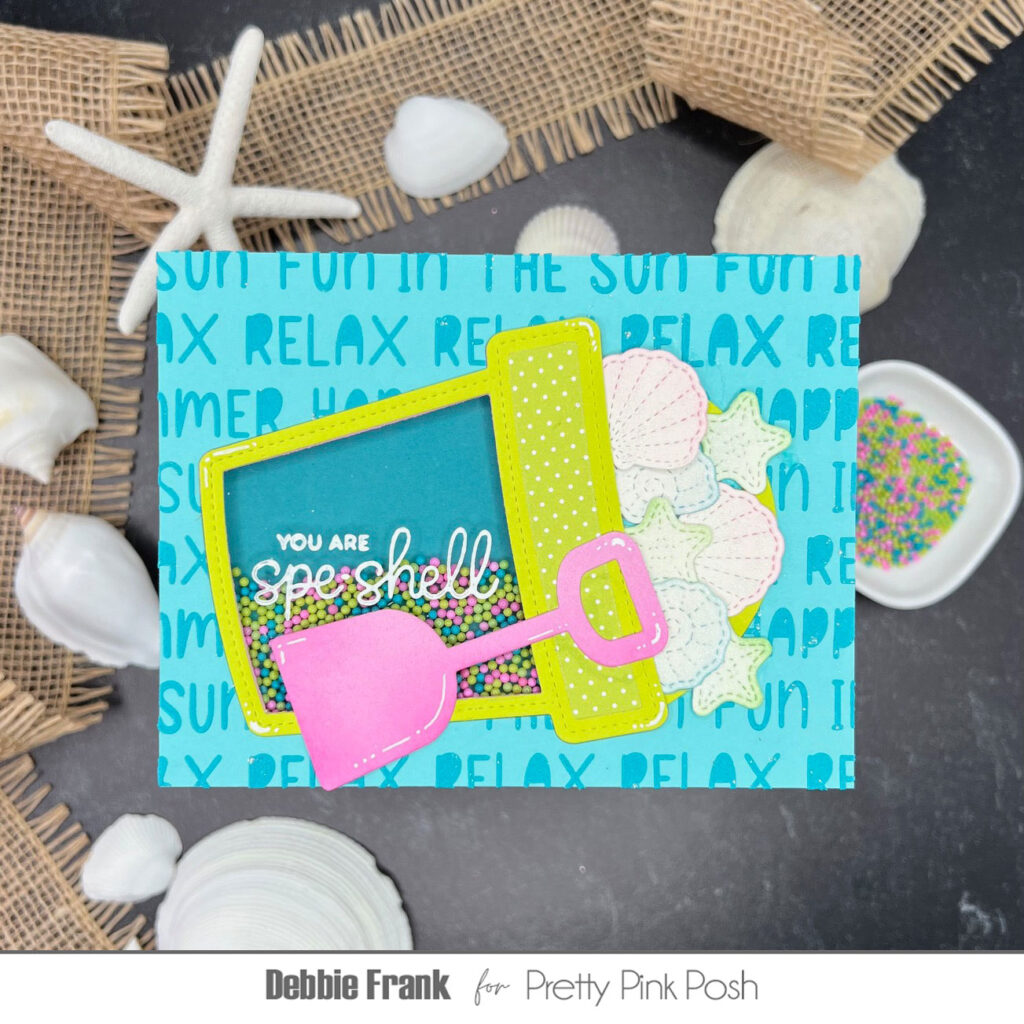
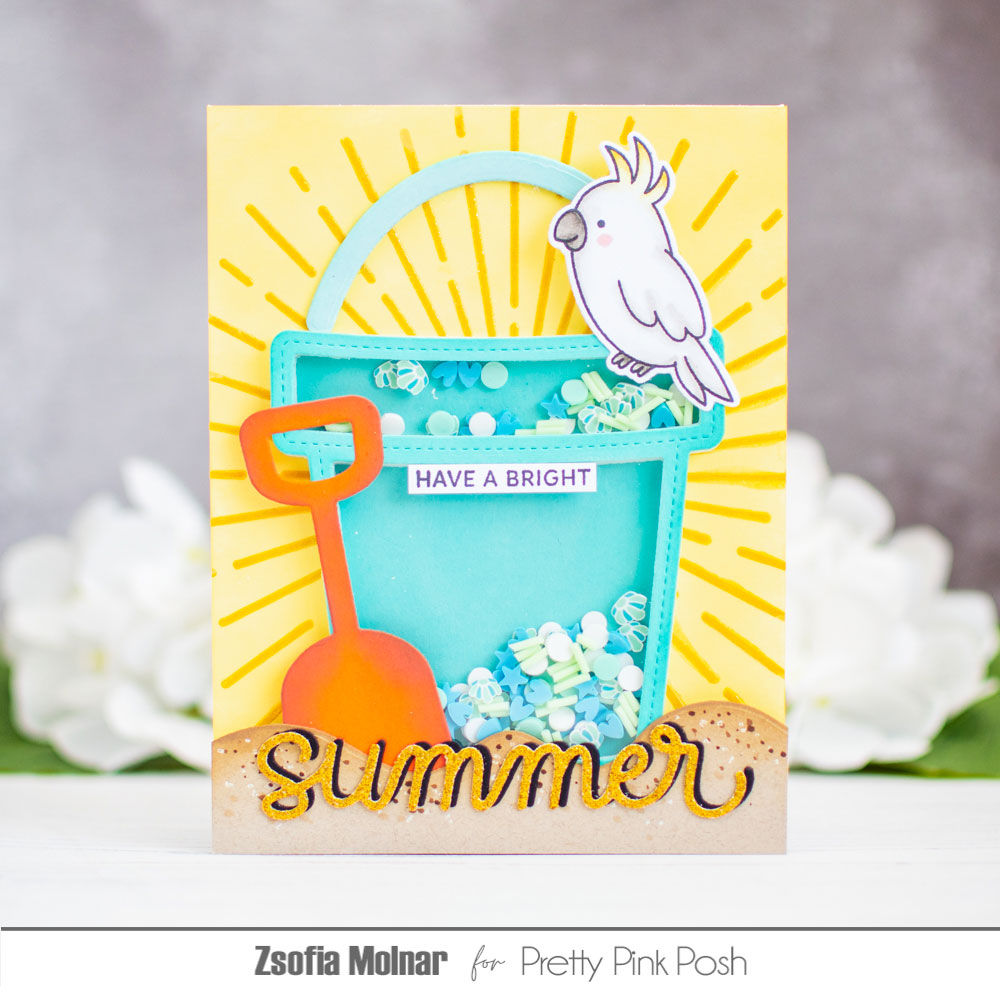
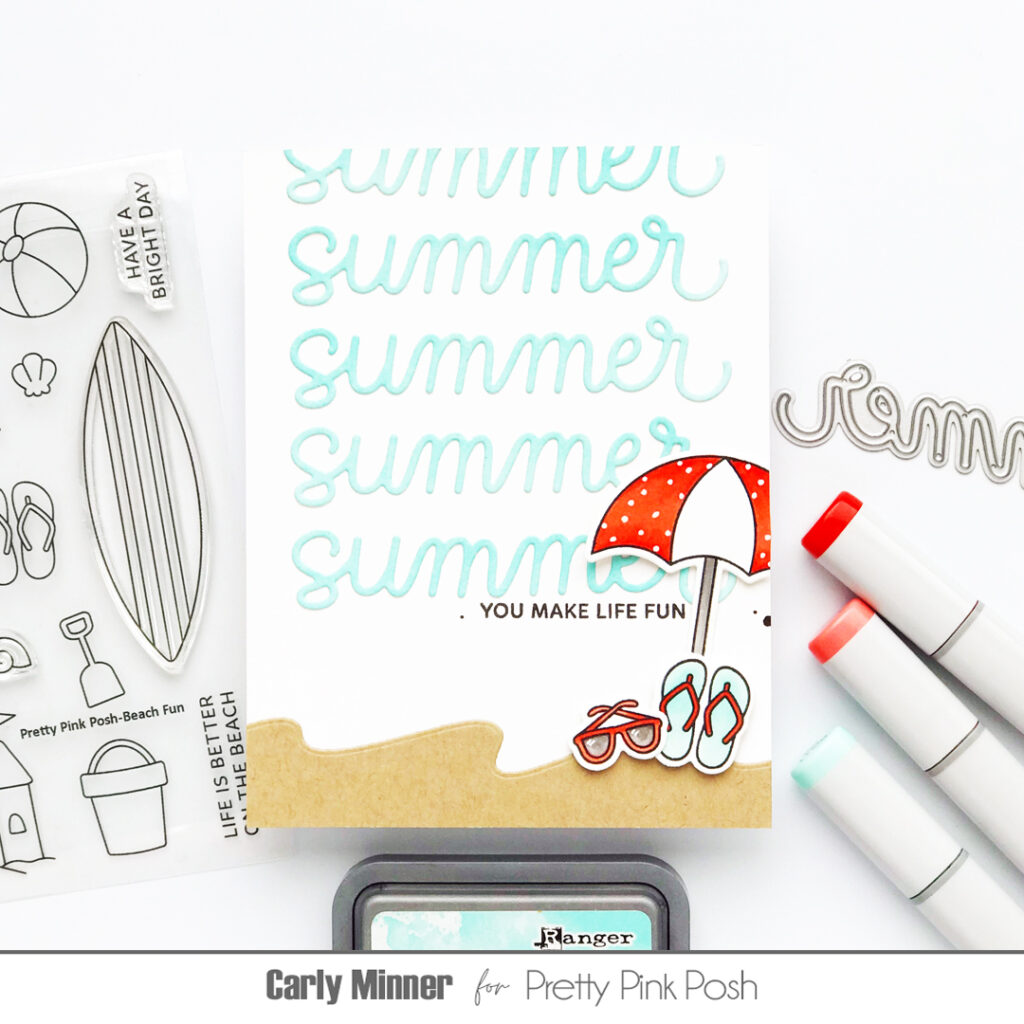
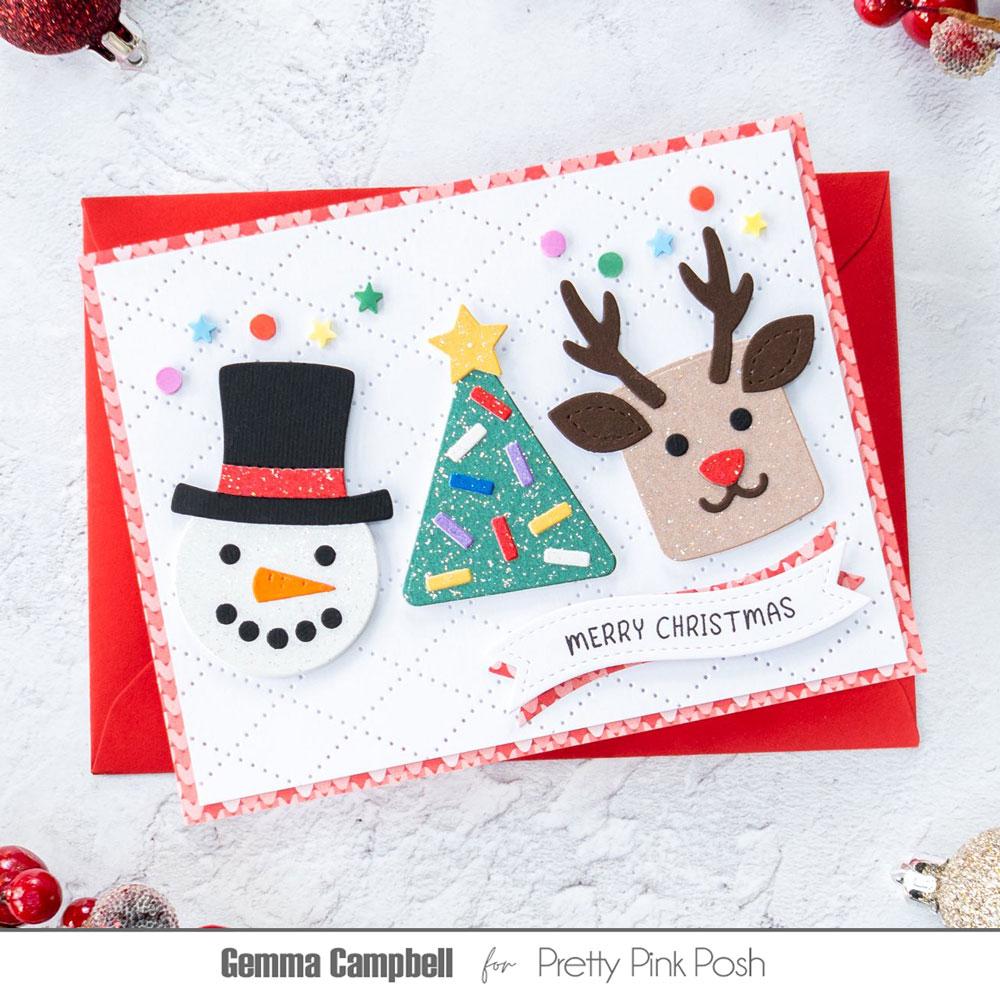
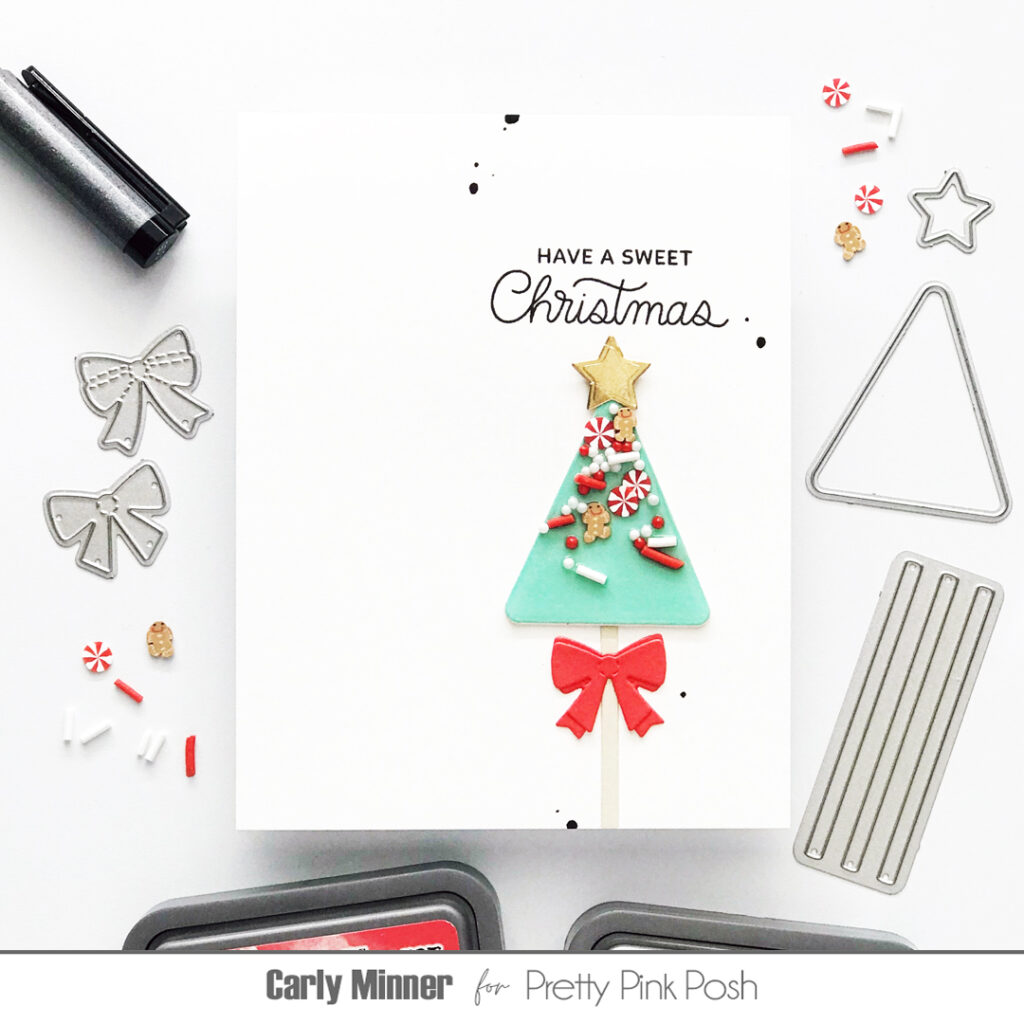
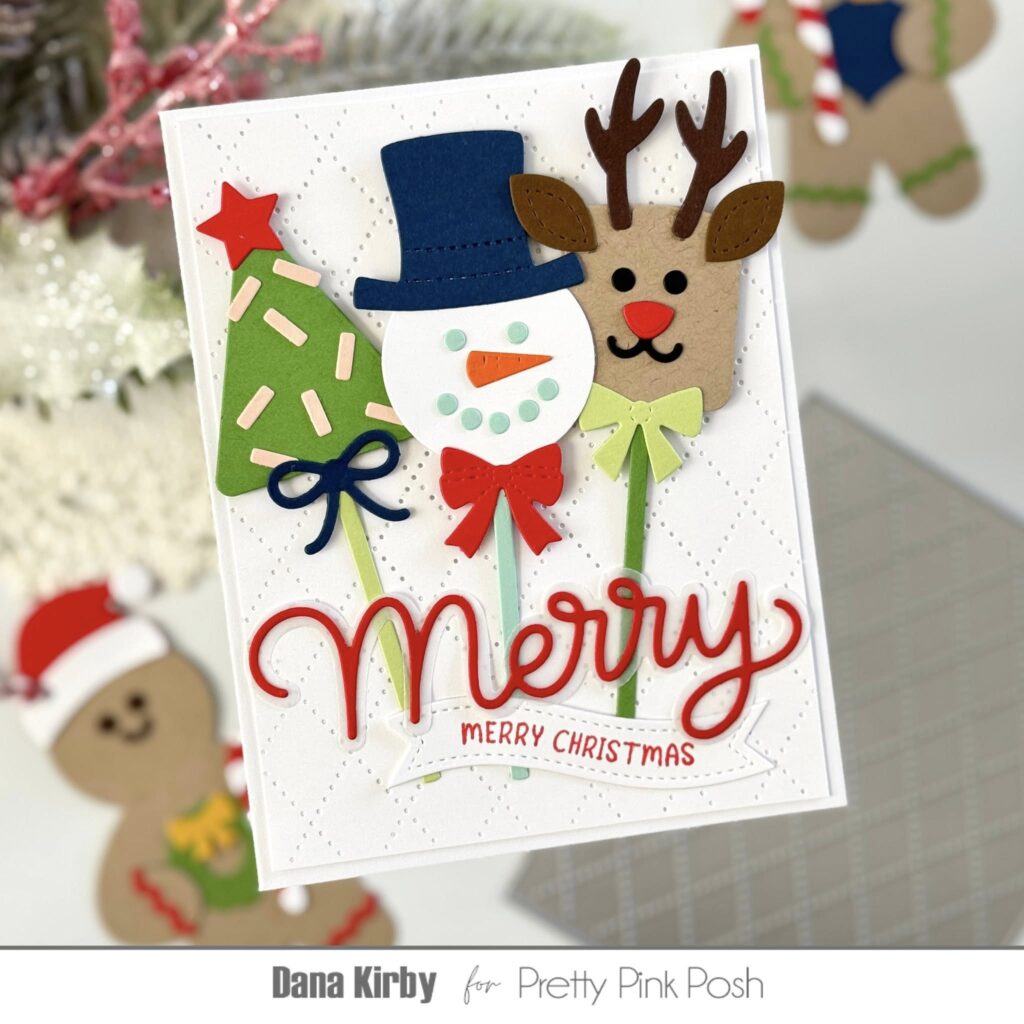
Here’s some more inspiration from the team using these fun die sets!
Thank you so much for checking out day 3 of sneak peeks for the upcoming holiday release available on September 18th. Be sure to stop back tomorrow for one more day of sneak peek inspiration!