
March Intro: Build An Egg + Fringe Egg + Easter Bucket Additions
Welcome to the day 2 of sneak peeks for our March 19th release! We are thrilled to introduce this collection of Easter-themed products, many of which are perfect for your spring projects as well. Today we’ll be highlighting the Build An Egg + Fringe Egg + Easter Bucket Additions die sets.
New release will be available March 19th
Watch the video above I Watch the video in HD on YouTube
Hey crafty friends! Arsenia here, back with a sneak peek of some egg-cellent new products that are going to make your crafty heart skip a beat! Get ready to meet the whimsical, fun, and oh-so-practical Build an Egg Dies and Fringe Egg Dies! These dies are perfect for crafting everything from cards and tags to cake toppers, cupcake toppers, party straws, and SO much more! I’ve got two cards to share today—so grab a cuppa, sit back, and let’s dive in!
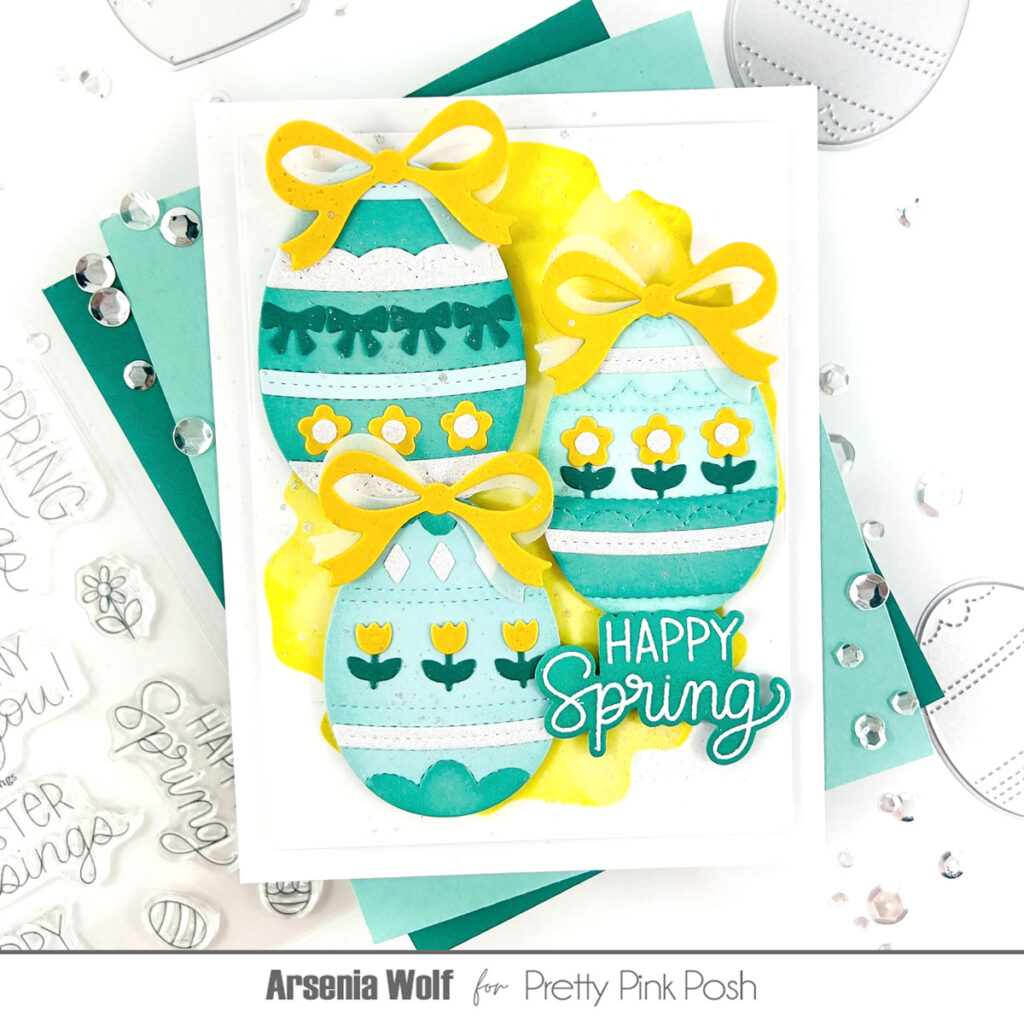
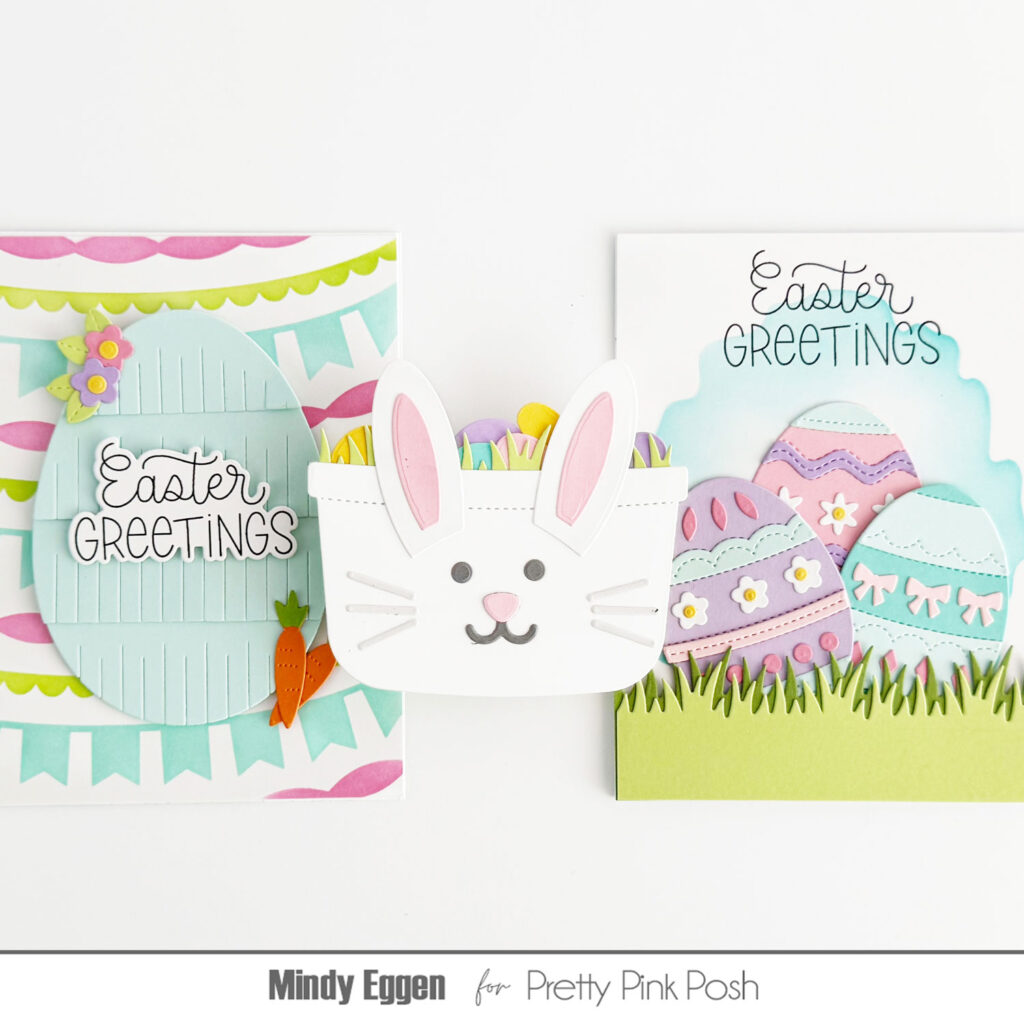
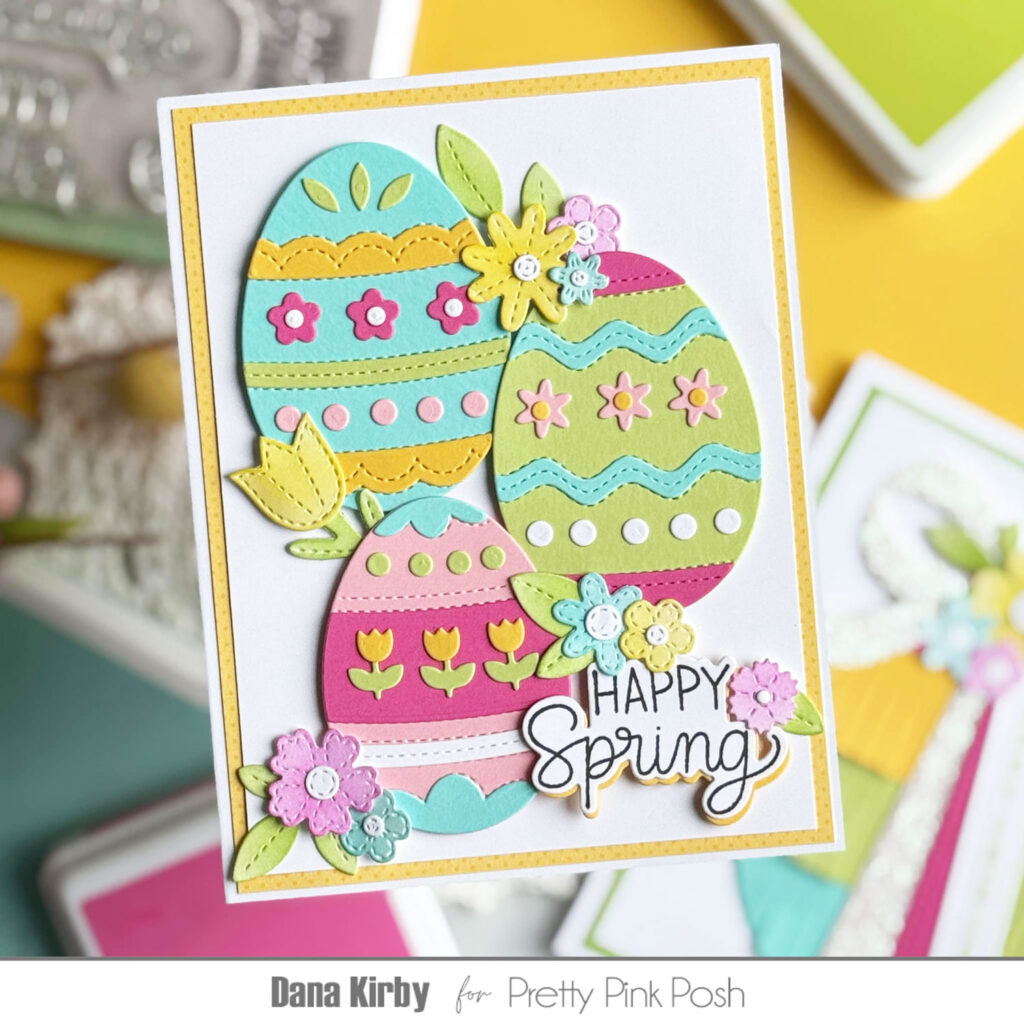
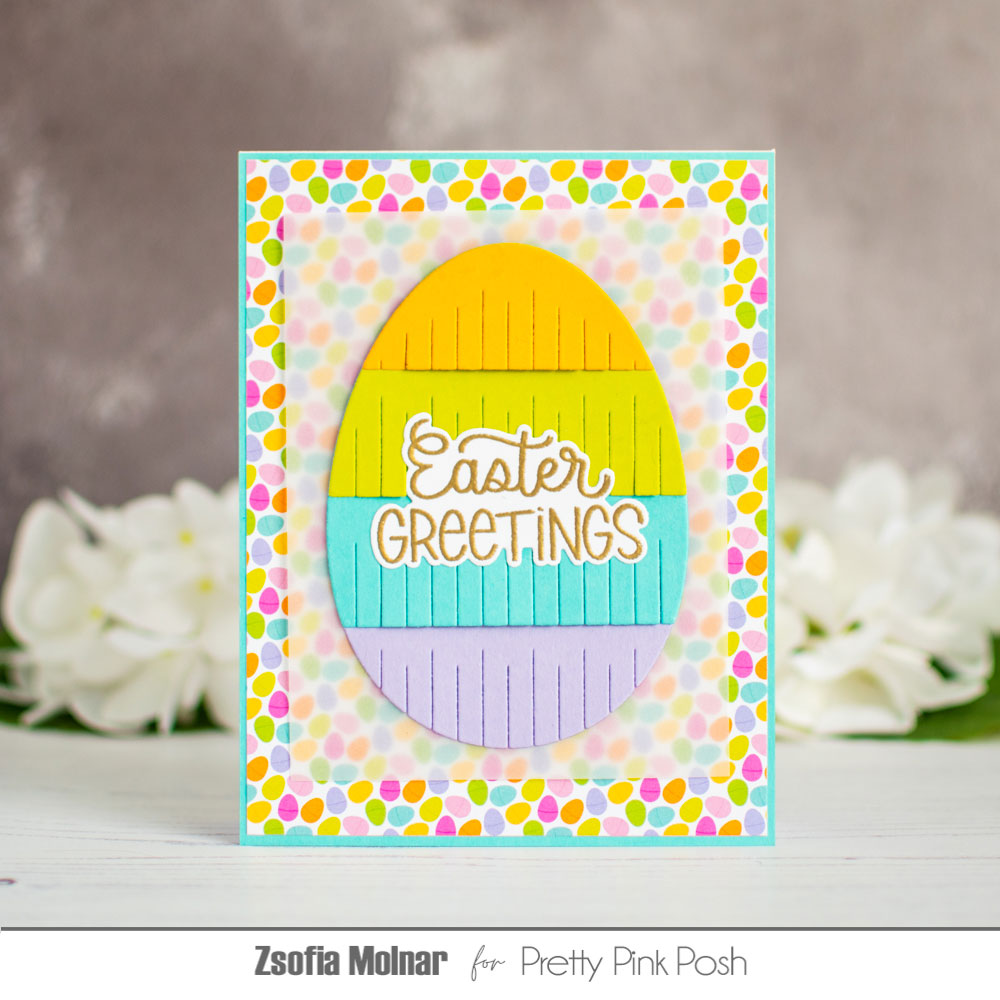
For my first card, I’m playing with the Build An Egg Dies—and let me tell you, it’s a blast! I started with a clean, white card base and paired it with the dreamy new Watercolor Oval Stencil for my card panel. Then, I die-cut three of the four eggs from the Build An Egg Die set using white cardstock. Time for some ink blending fun! I blended in gorgeous shades of blue and green, giving the eggs a fresh, pastel look.
Next, I added loads of little decorative pieces from the Build An Egg die set, all in matching colors. And here’s the trick—don’t overthink it! Just have fun and go wild with your color combos! I adhered the eggs to the card panel, added a cute bows (from the new Easter Bucket Additions die set in yellow and vellum), and finished off with the sentiment from the new Easter Greetings stamp set and the coordinating dies for the perfect touch!
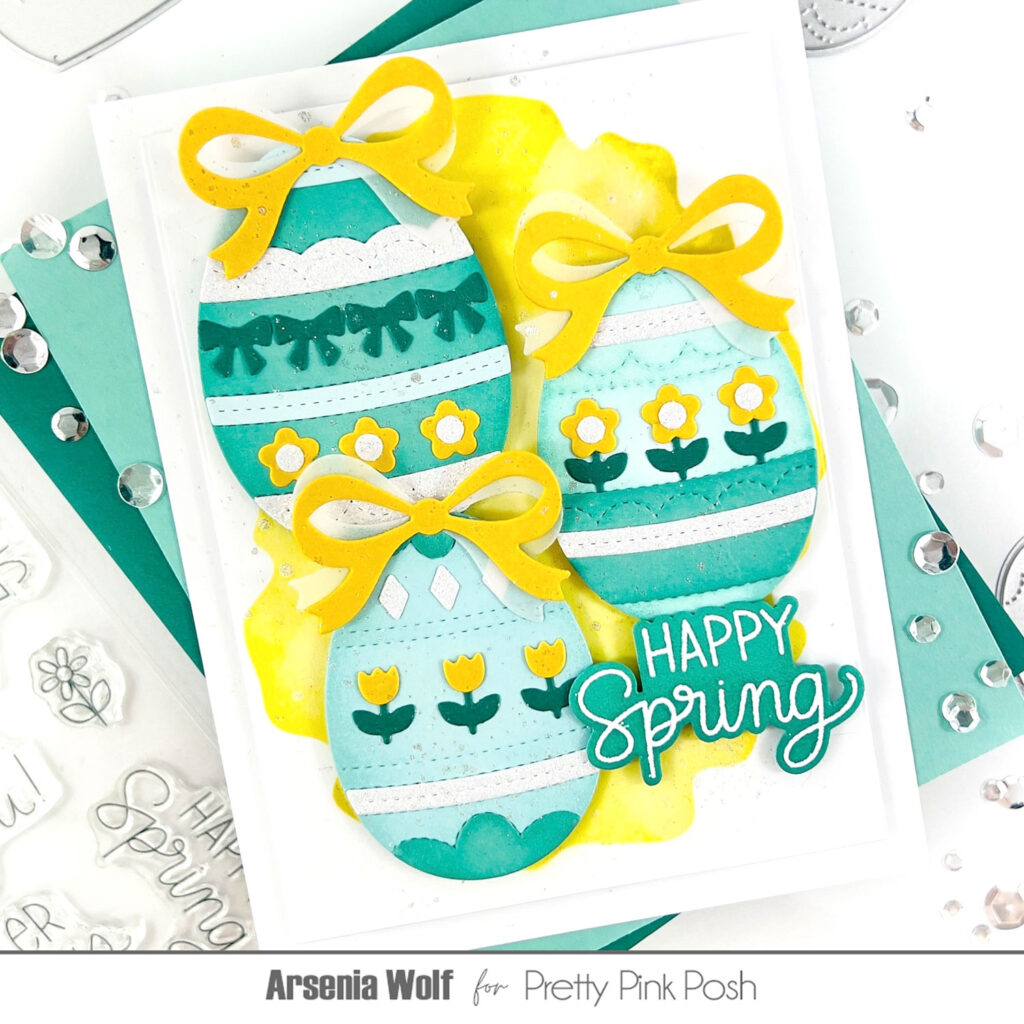
Of course, no card is complete without a little sparkle, so I splattered some shimmer all over the panel—voila! The card is done and it’s a pastel masterpiece.
Now onto my second card—featuring the brand new Fringe Egg Dies! I started by creating a soft background using one of my favorite stencils from the last release, the Layered Garlands stencils. For the card panel, I used the new Watercolor Oval Stencil to create a perfect base for my fringed egg.
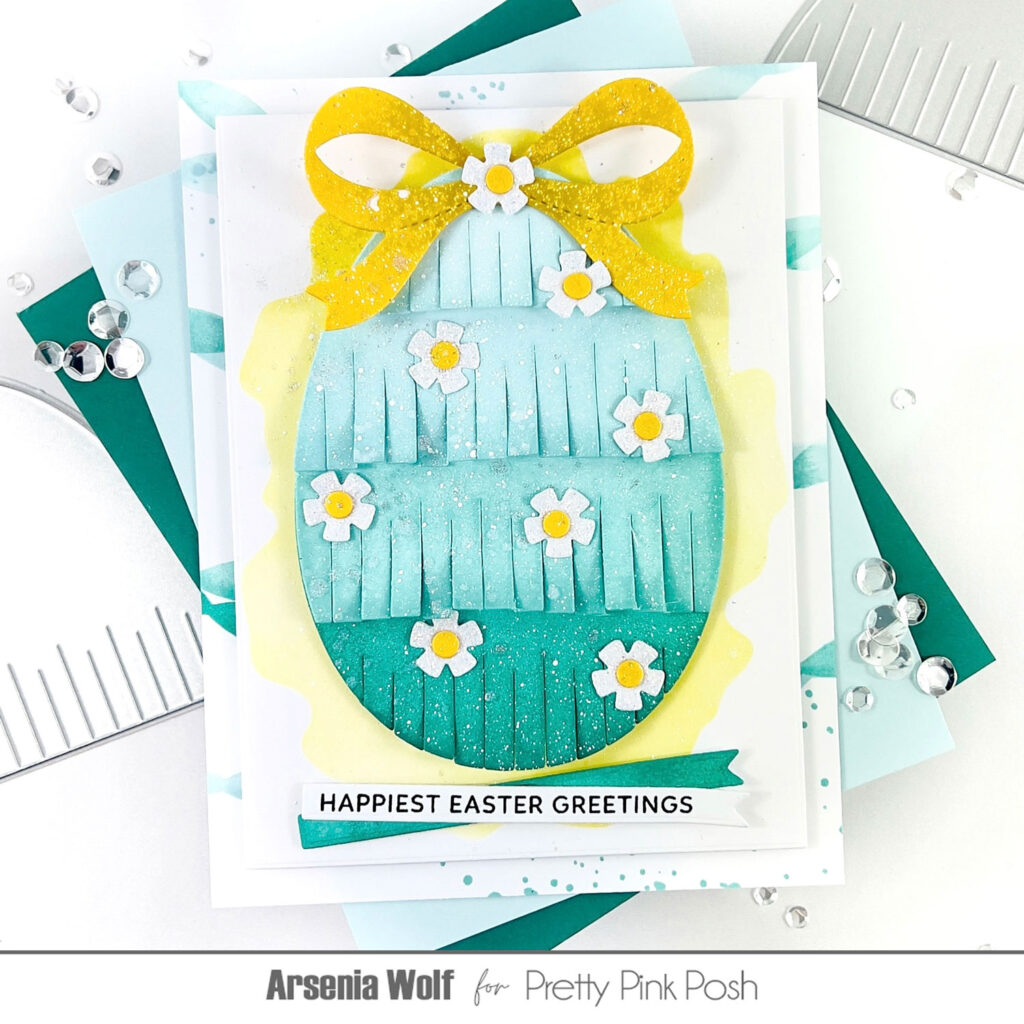
I die-cut all four pieces from the Fringe Egg Die set in white cardstock, then blended on some more fun blue-green ink. The fringe effect is so fun and textural—love it! I assembled the egg with a little glue, and decided to give it a pop of floral goodness using the Easter Holder Additions Dies. These little flowers in white glitter paper are just the right touch of sparkle.
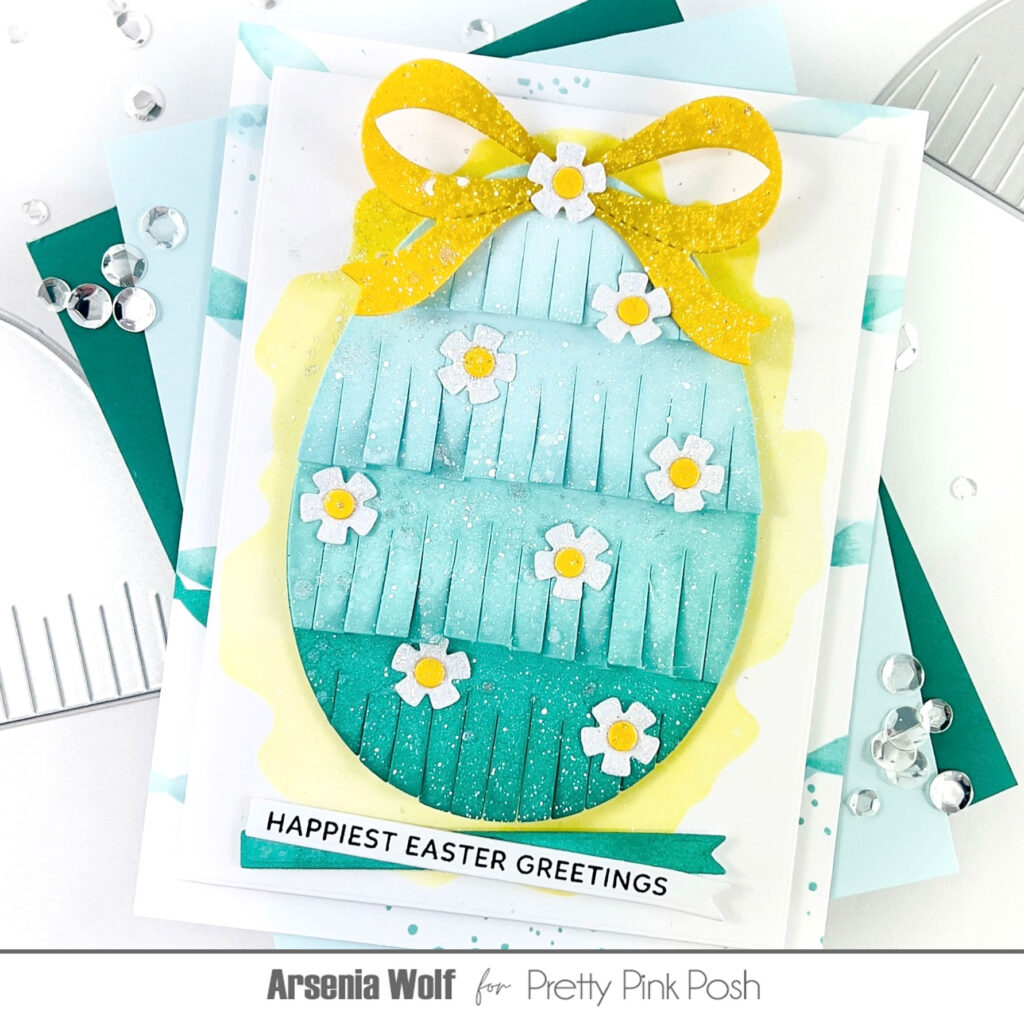
To finish things off, I topped the egg with a sweet paper bow, created with the Present Shaker Dies (because why not?). For the sentiment, I turned to an oldie but goodie—the Sentiment Strips: Easter stamp set. Using the Sentiment Strips die set, I cut out the sentiment, flagged the end for a fun detail, and added it all to the card panel.
Of course, no card would be complete without a little extra sparkle—so I splattered some shimmer all over, and ta-da! The card is ready to shine!
Ready to see some samples by the team? You’re in for a treat!
I hope you’re as excited as I am about these egg-citing new products! The Build an Egg, Fringe Egg and Easter Bucket Additions dies are sure to be some of your new favorites in your crafty stash. Honestly, the possibilities are endless!
The fringe egg is FABULOUS!
The very cutest eggs I have ever seen.
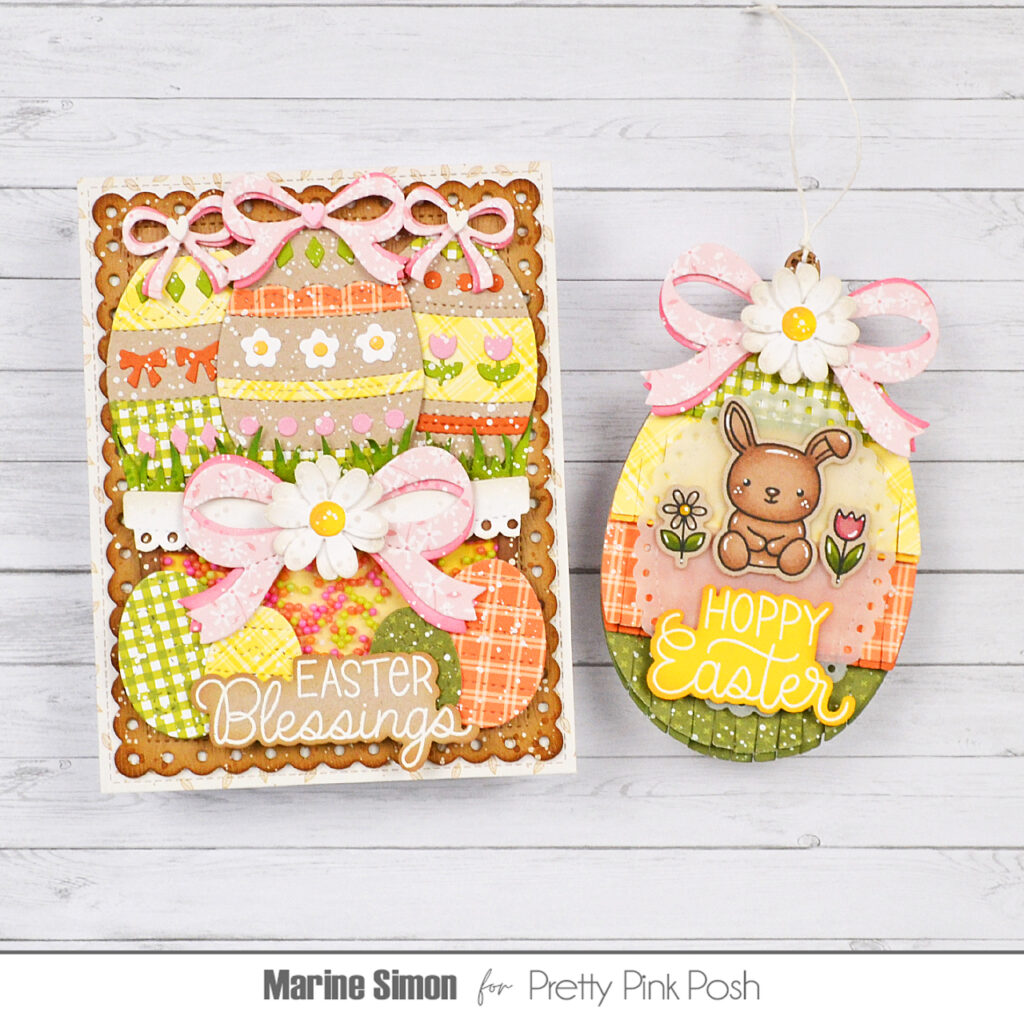
I’m “dying” to get my hands on the build an egg set and the Easter Bucket add ons. Added bonus… I have Easter Bunny pics that needed something brown and that color combo is perfect. Thank you for the inspiration.
My inbox overfloweth with great emails from PPP! Loving the egg / fringe egg / Easter bucket projects shown here!
Lori S in PA
So many fun Easter ideas…. loving the fringe egg!
Gorgeous cards but love that fringed, ombre egg with the adorable bow and flowers!! Great pairing up of the many die sets!! Fabulous cards, all!!