Sneak Peek: February 2025 Dies
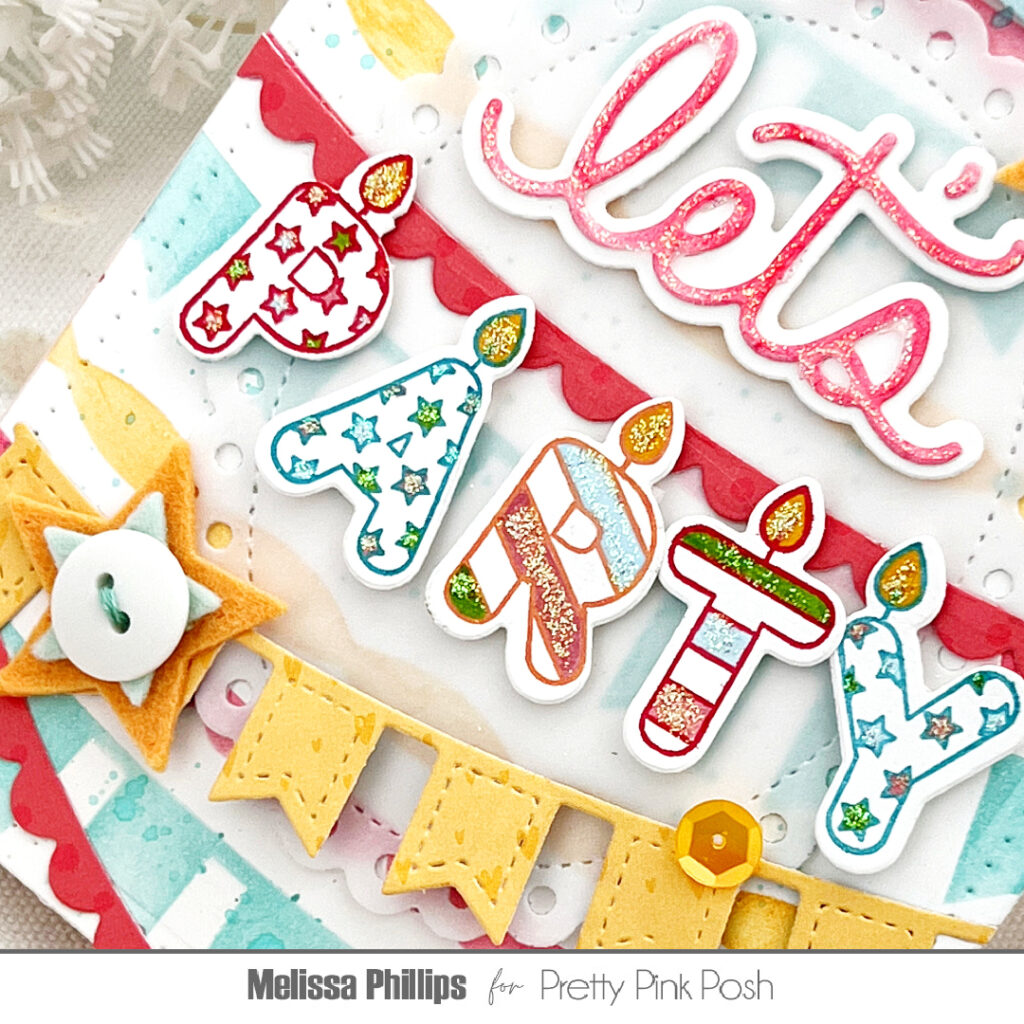
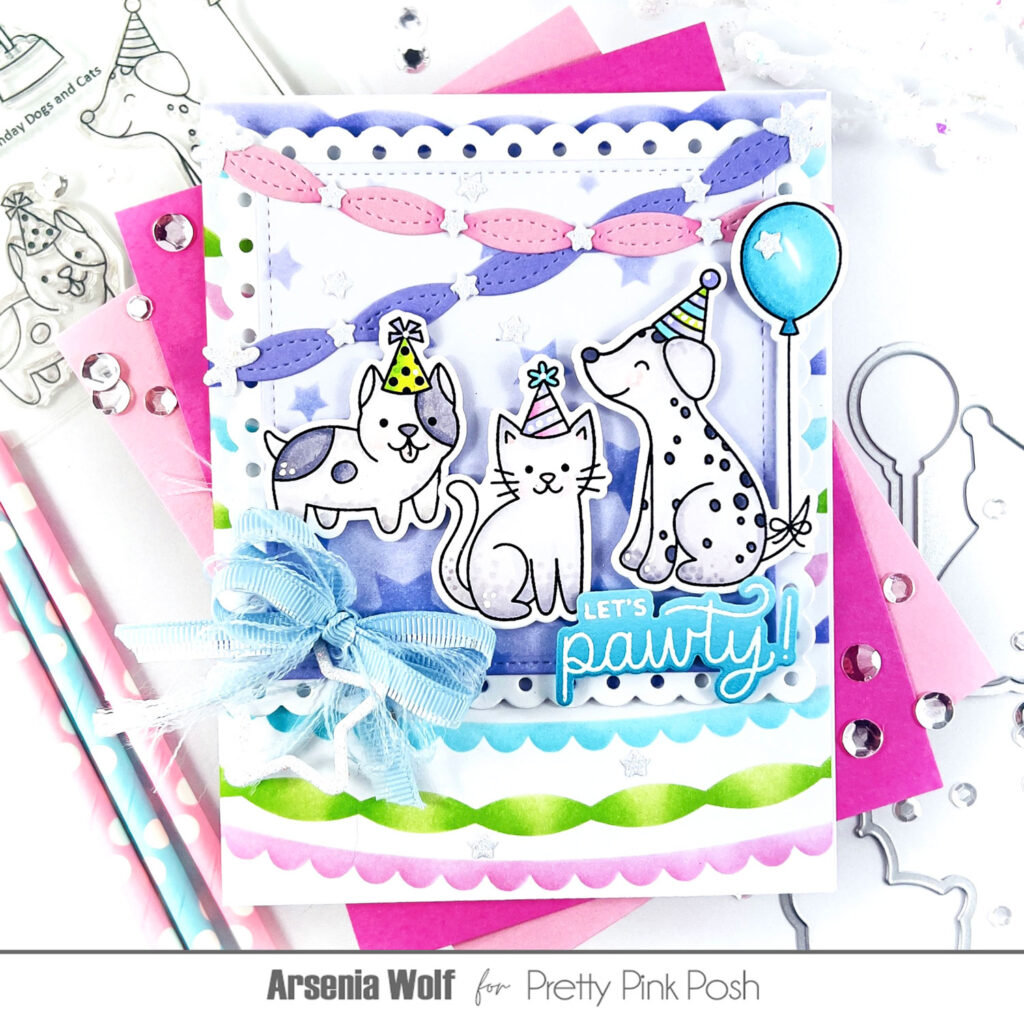
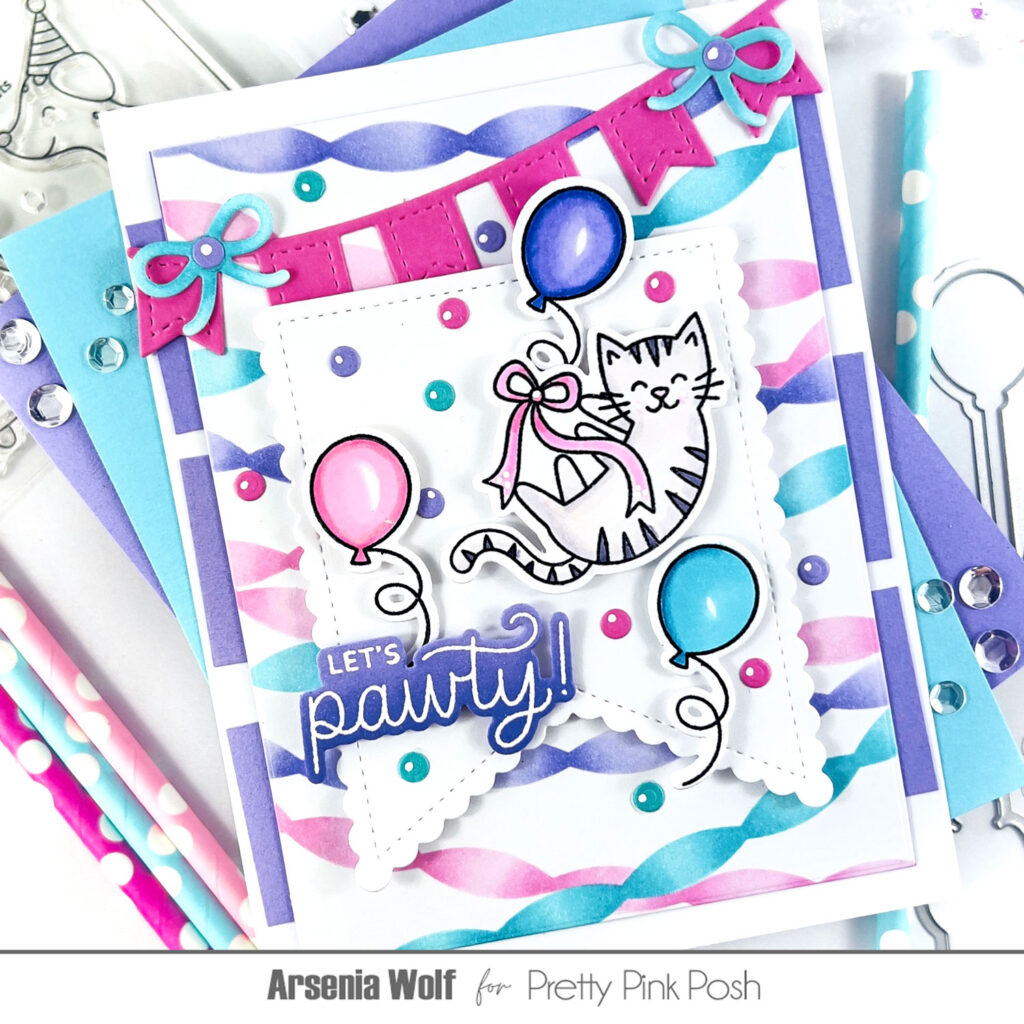
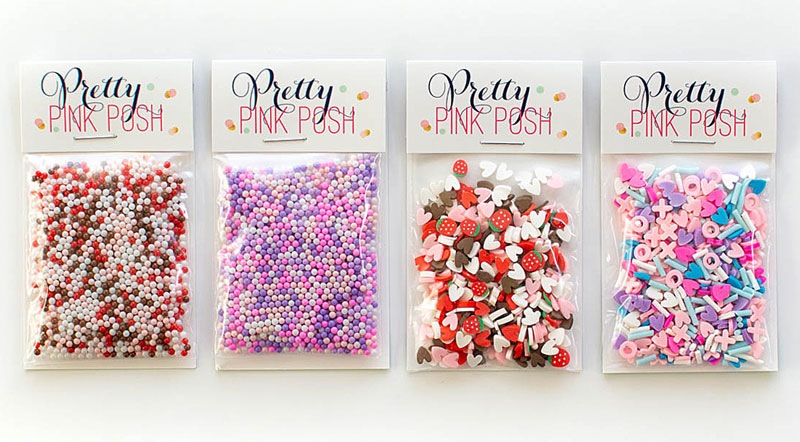
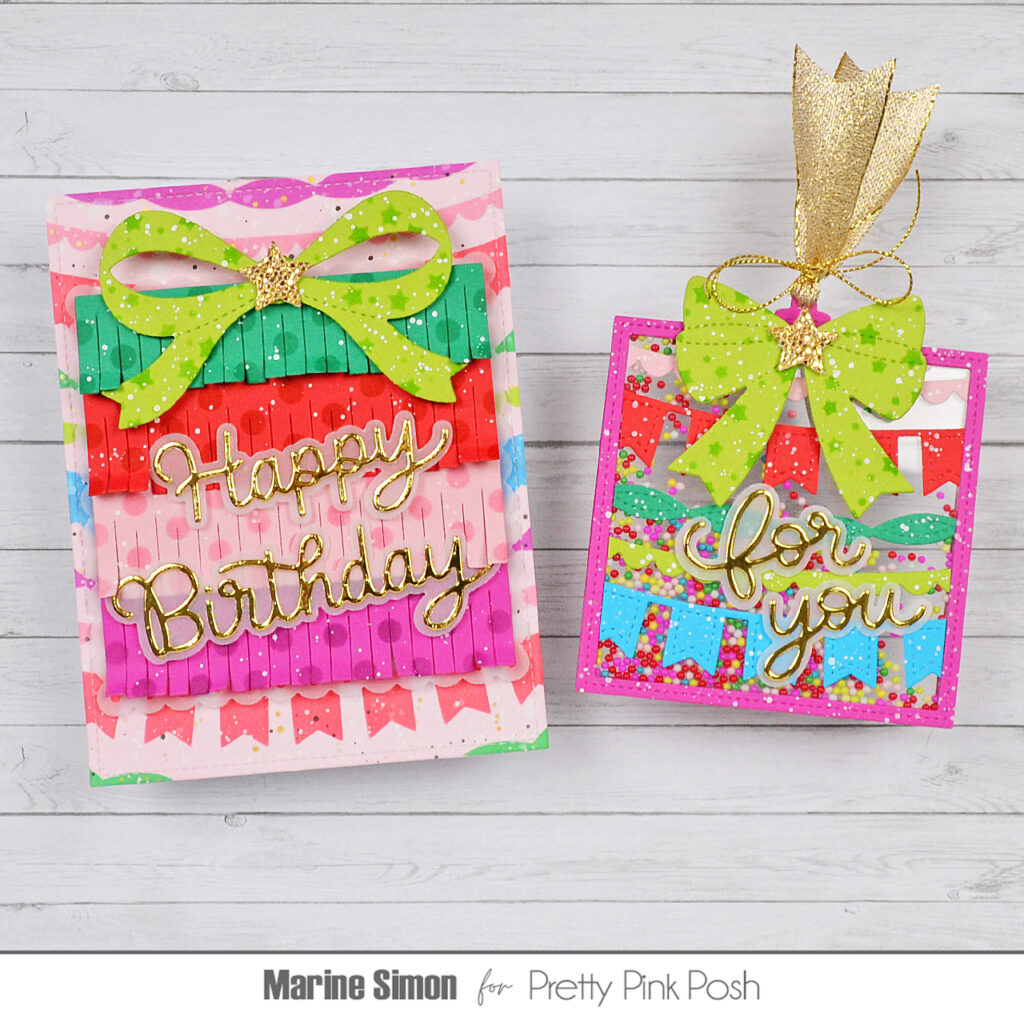
Hello crafty friends, Marine here, I’m super happy to be back on the blog with this new set of card and tag showcasing die sets from the February 2025 Release! This release is absolutely amazing, and I had a blast working on very colorful projects with all the new products, finding inspiration in the gorgeous Party Time shaker beads mix.
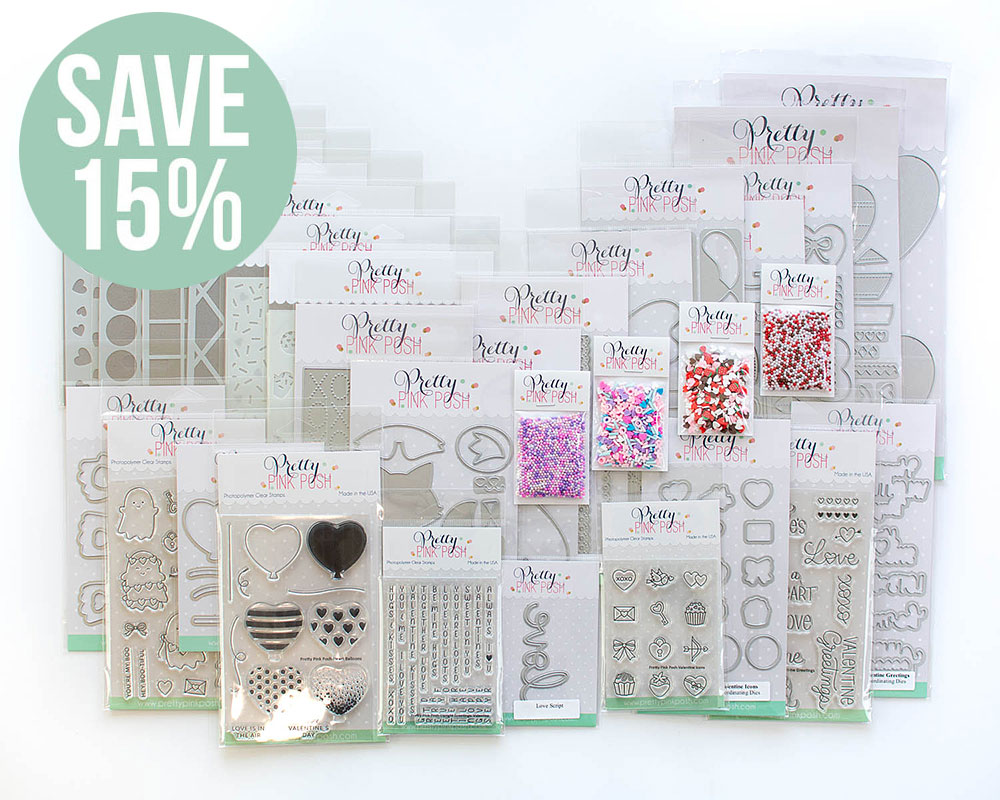
New release will be available February 24th
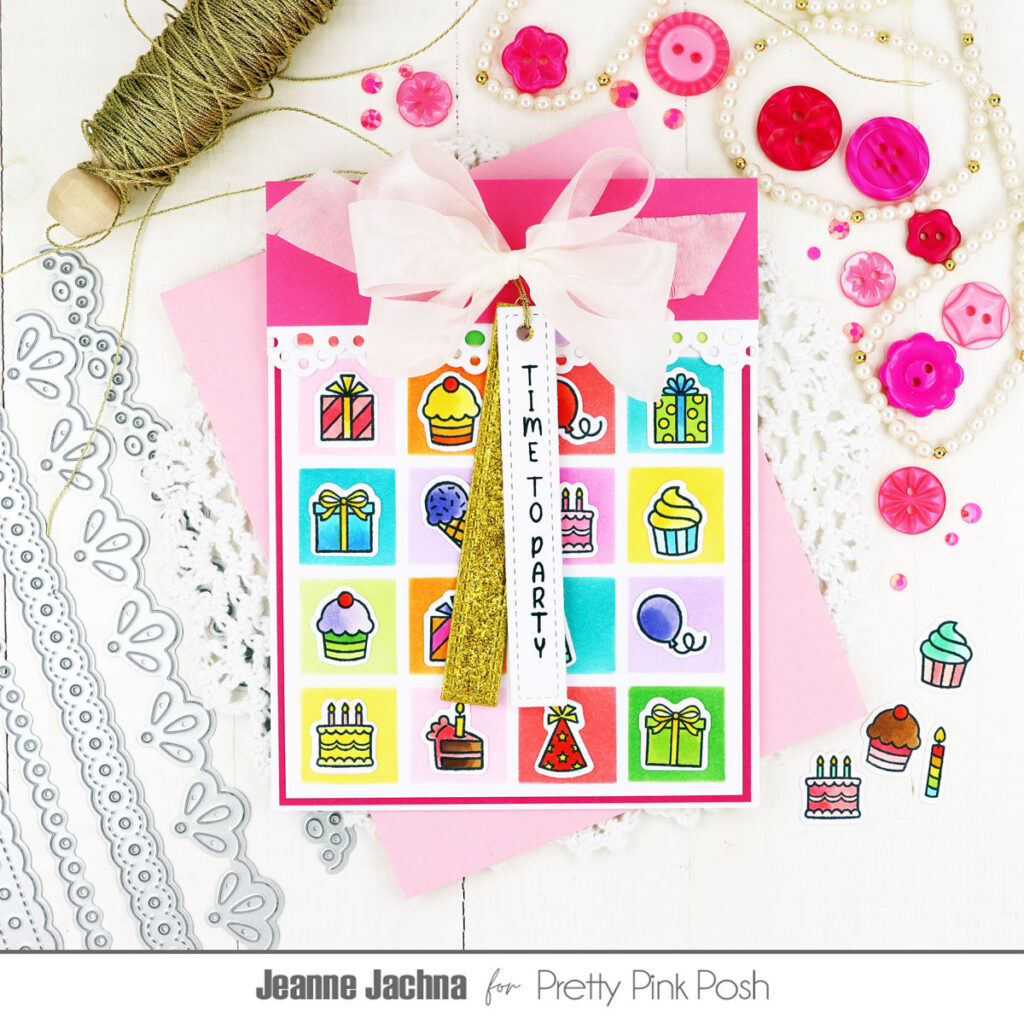
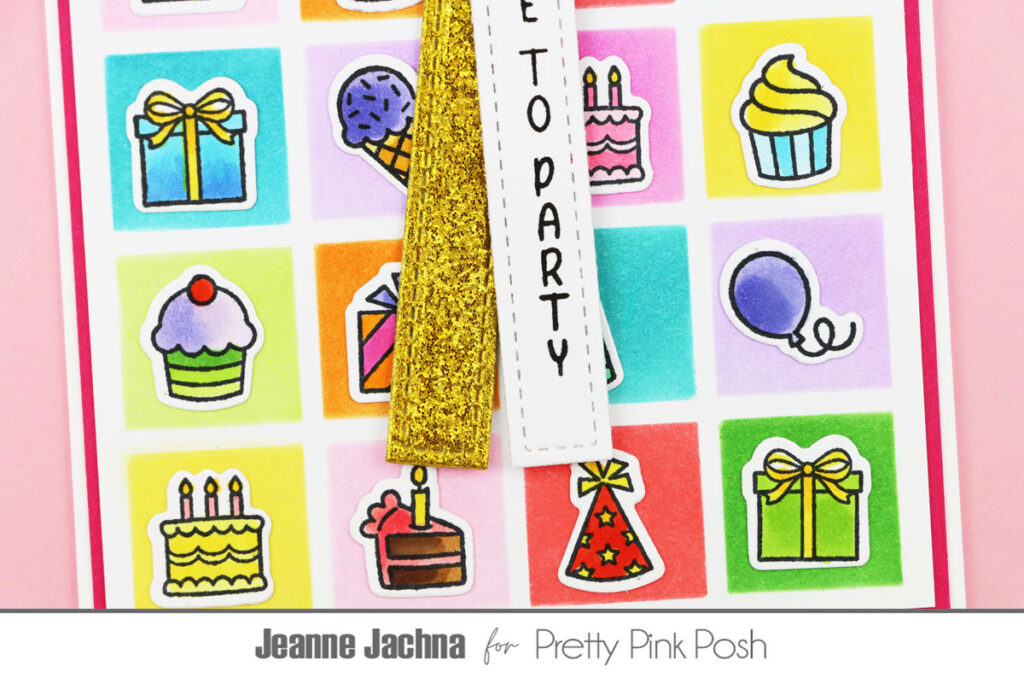
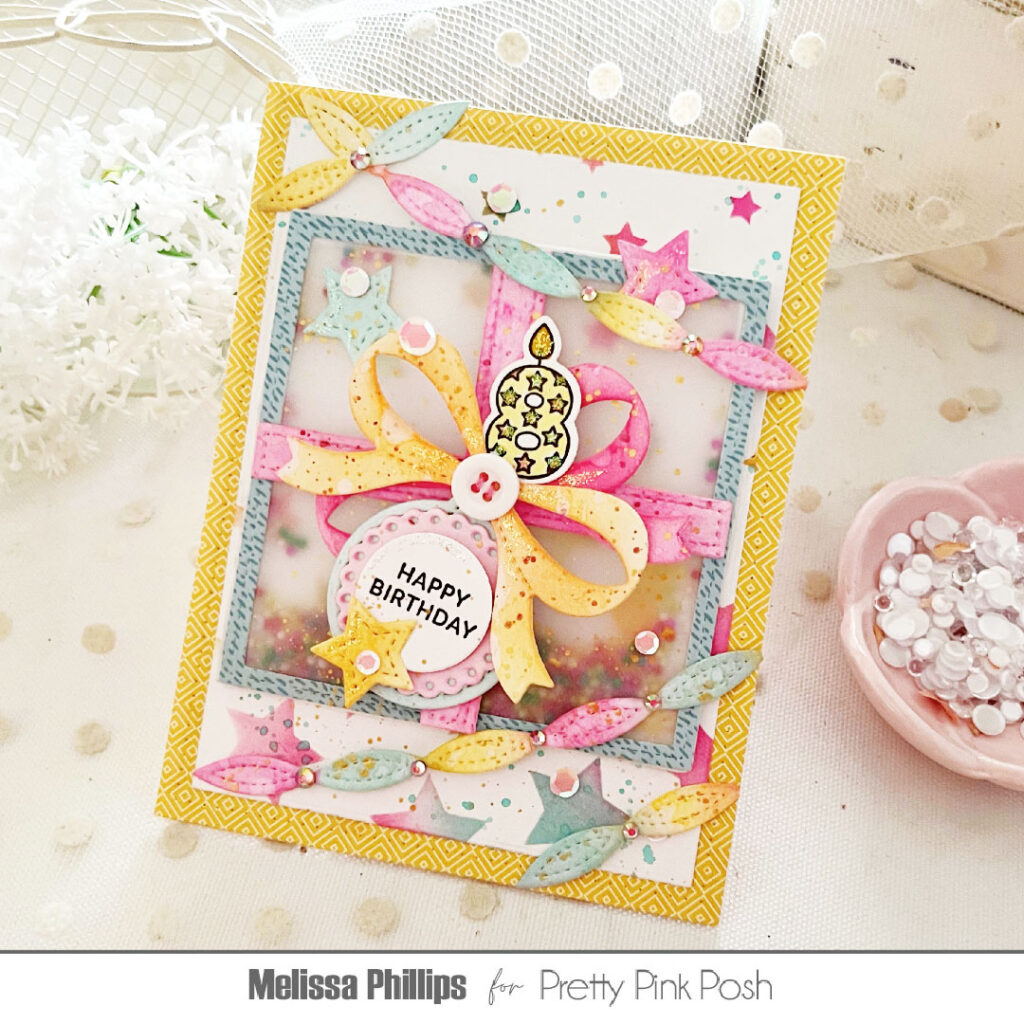
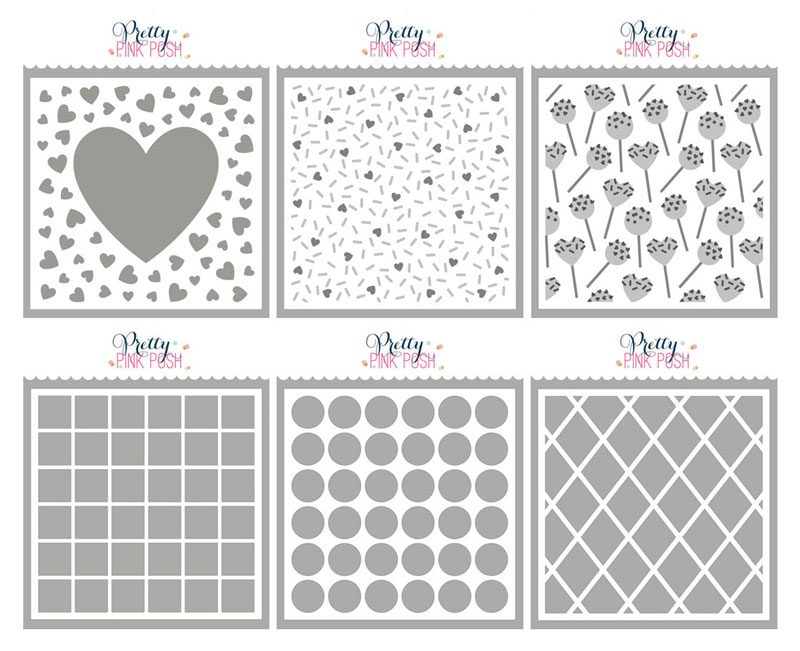
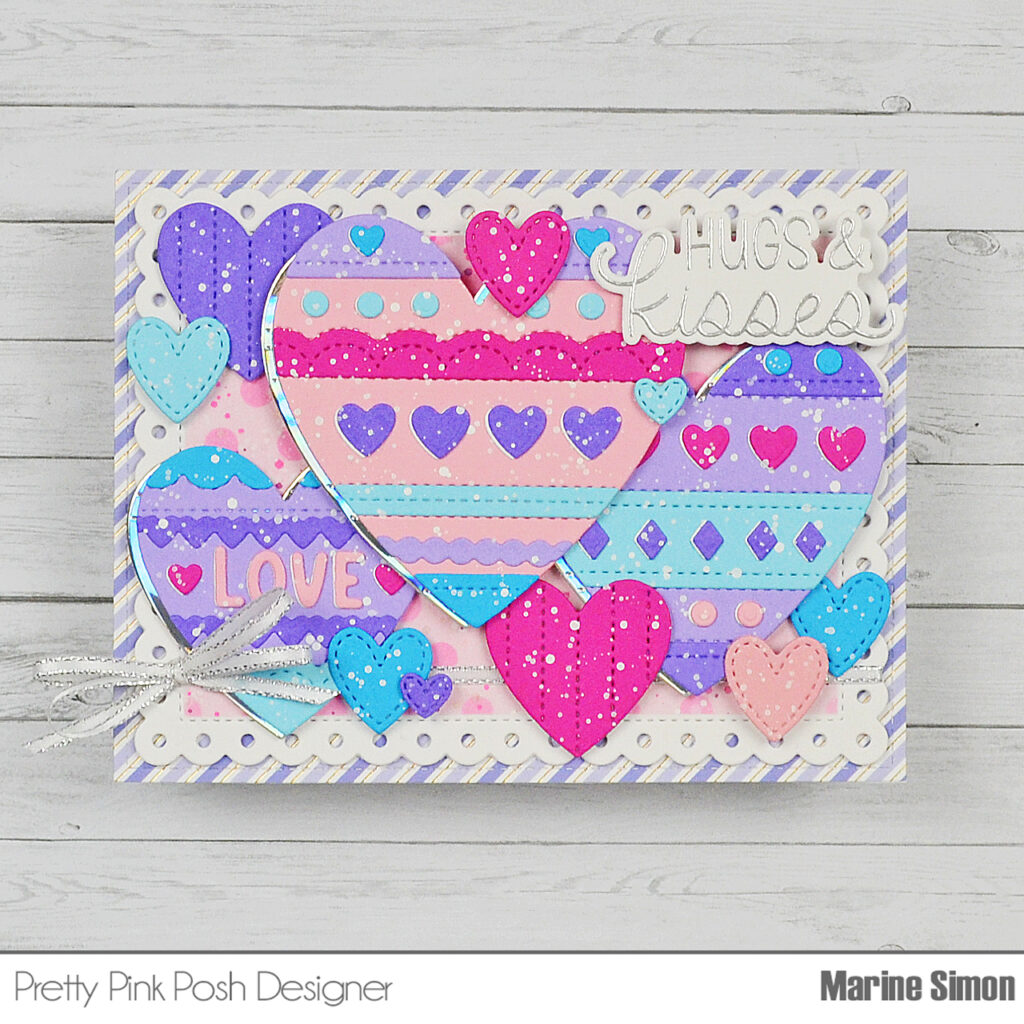
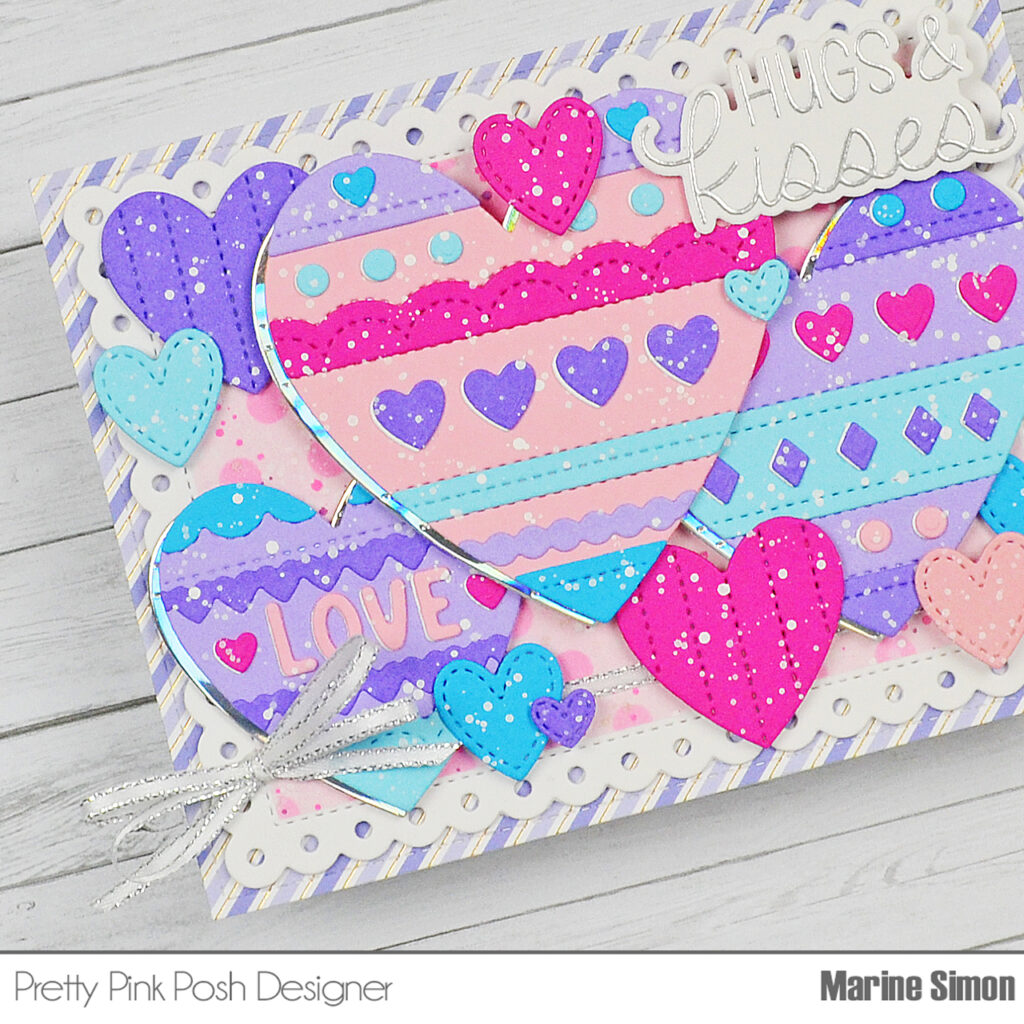
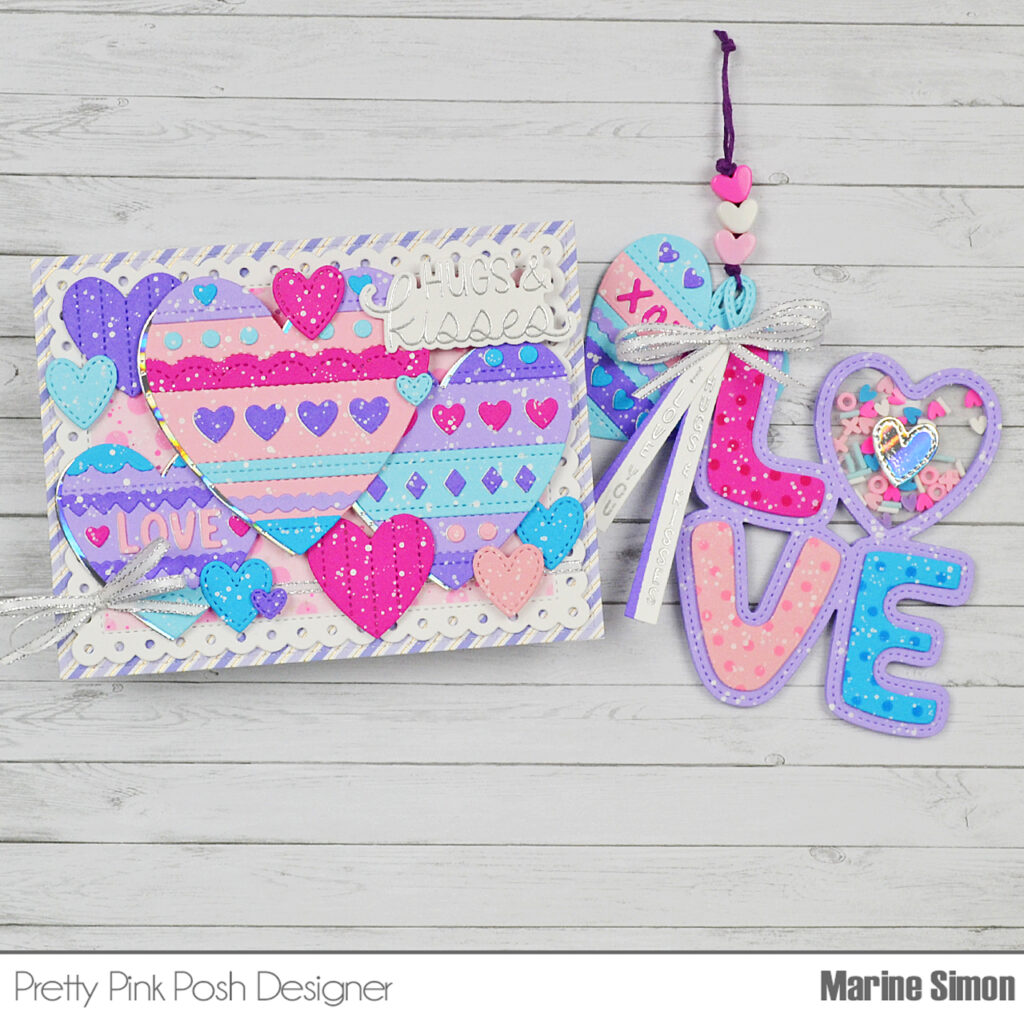
I started off with the card, and cut a 5,5 x 4,25 inches Strathmore bristol smooth panel that I entirely covered with spun sugar oxide ink first. Next I used the Layered Garlands stencil to add a colorful pattern to my panel with seedless preserves, worn lipstick, lumberjack plaid, lucky clover, mowed lawn and salty ocean oxide inks. I splattered water on my panel and dried it with a paper towel, mixed some copic opaque white ink water and used a slim brush to add more splatters to my panel, and then I did the same with fossilized amber distress spritz and with black soot oxide ink to add more shine and contrast.
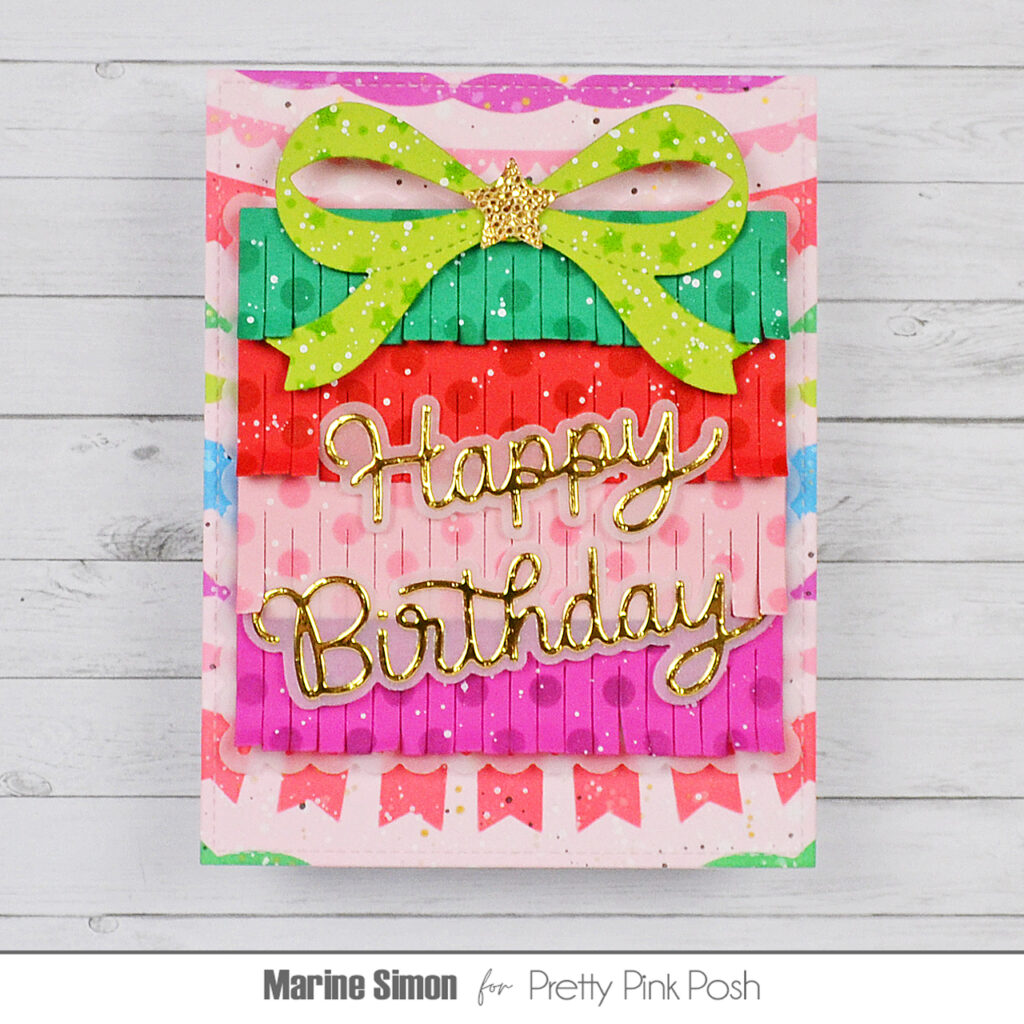
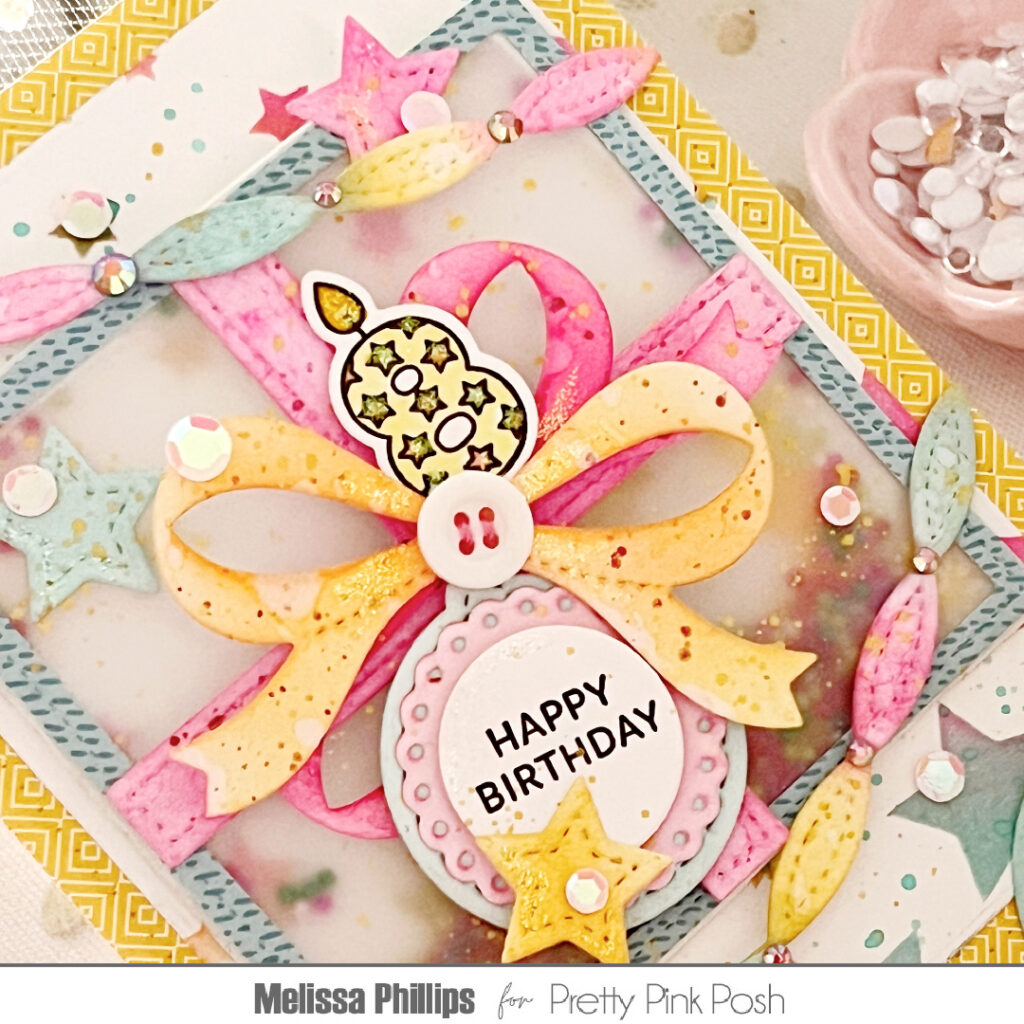
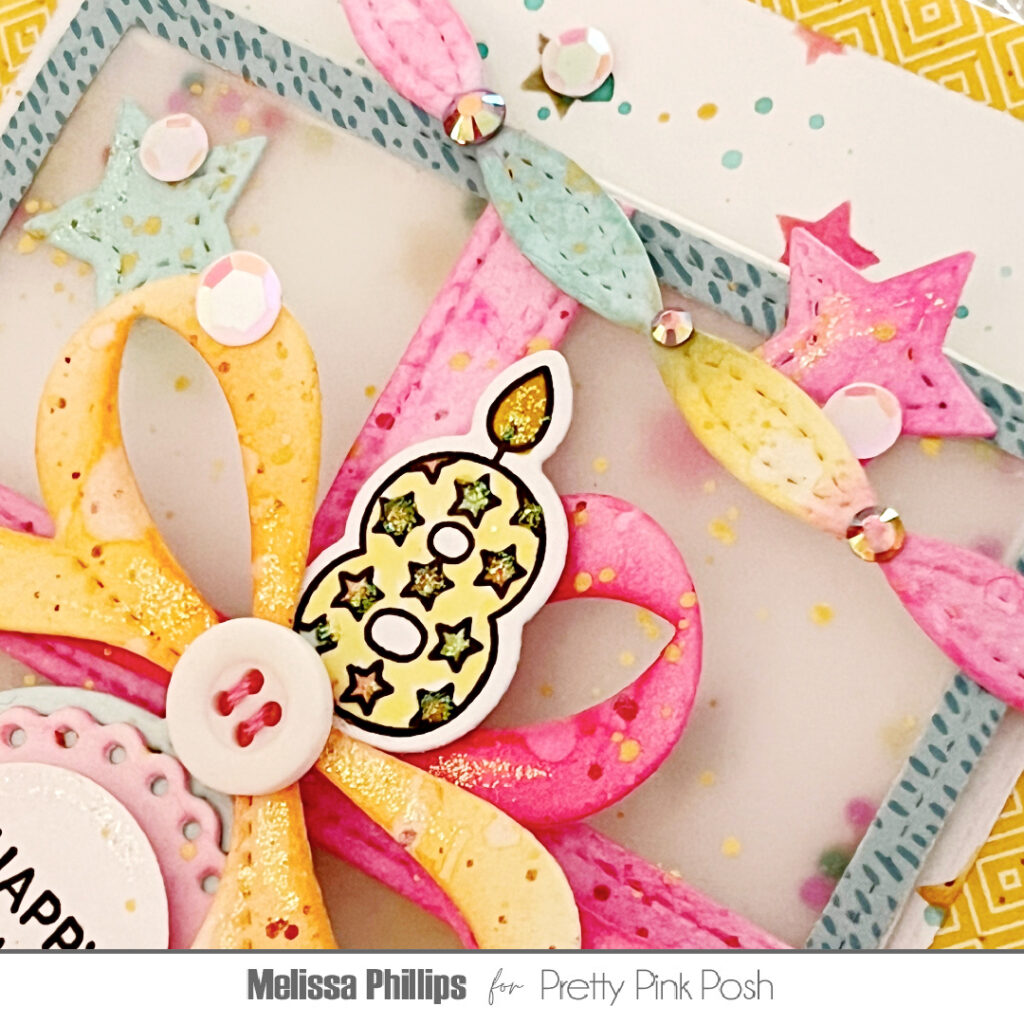
Next I cut the four sections of my Fringe Present, as well as the bow, out of colored cardstock. I added dots to each piece of the present using the Medium Polka Dots stencil along with matching distress inks, and stars to the bow using the Starry Background stencil. I added splatters of copic opaque white ink to all those elements, and while everything was drying, I cut a star out of gold glitter cardstock using a Onesie Shaker die and a large Eyelet Square out of vellum. I also cut the Happy Birthday Shadow pieces out of gold mirror cardstock and vellum, and assembled my greeting.
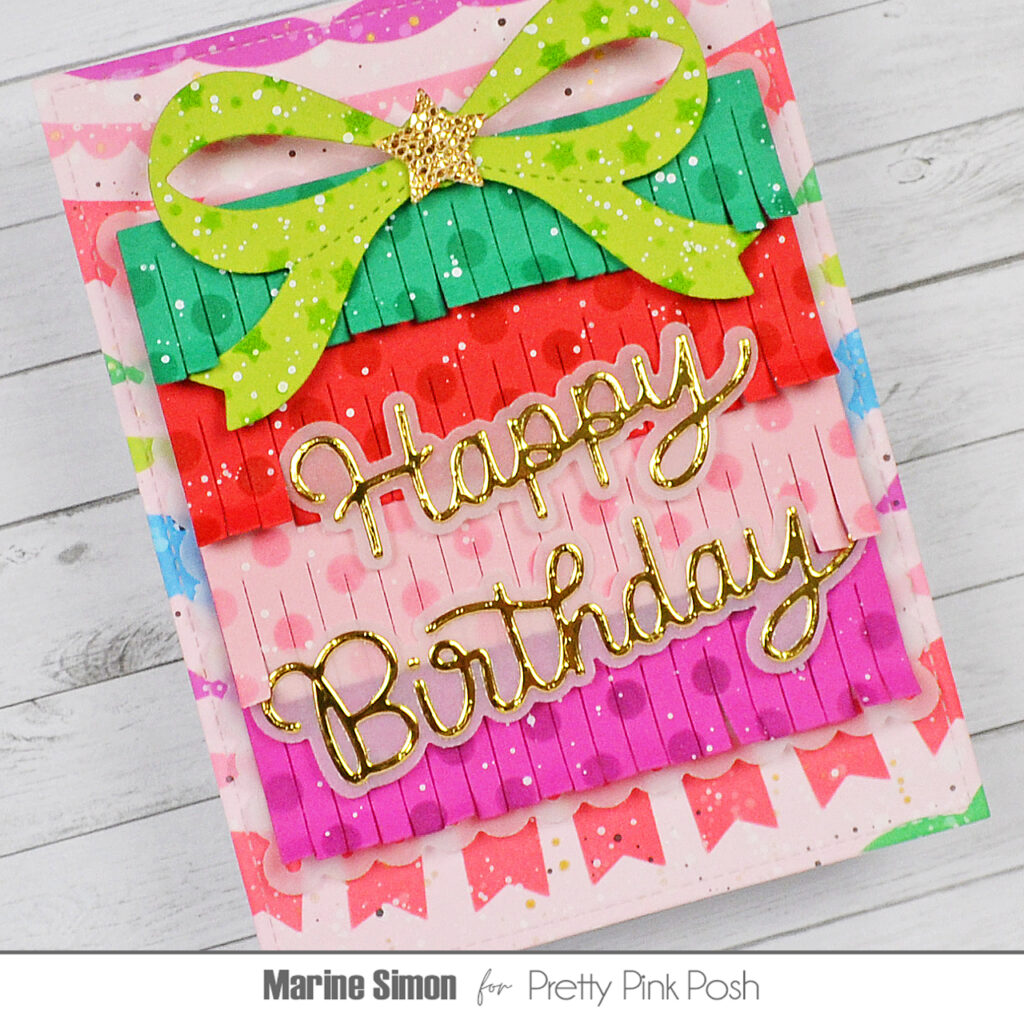
I assembled the four Fringe Present pieces using 1mm foam squares, attached the present to the vellum Eyelet Square panel using 1mm foam tape, and then stuck the whole piece to my Layered Garlands panel using foam tape again. The bow, star and greeting were attached using 1mm foam squares, I lifted the fringes with my fingers, and then moved on to the tag.
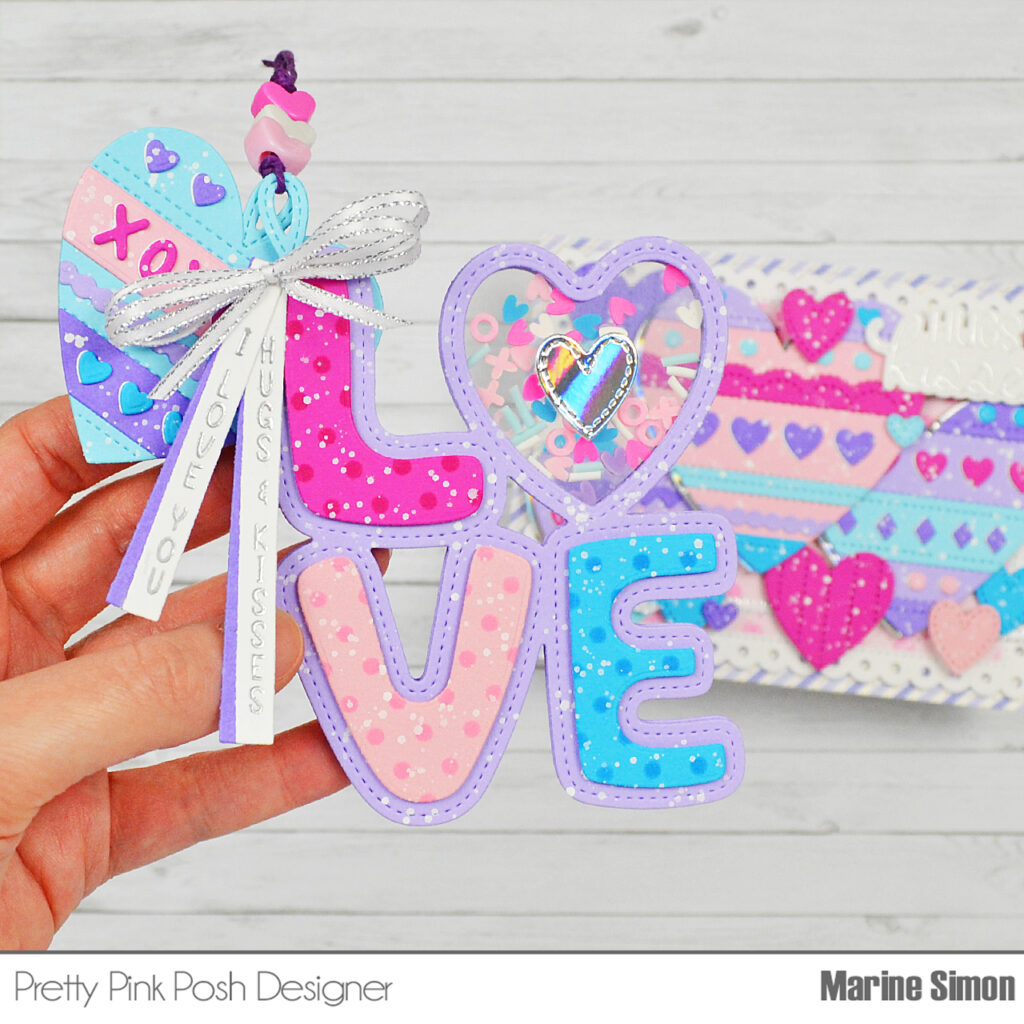
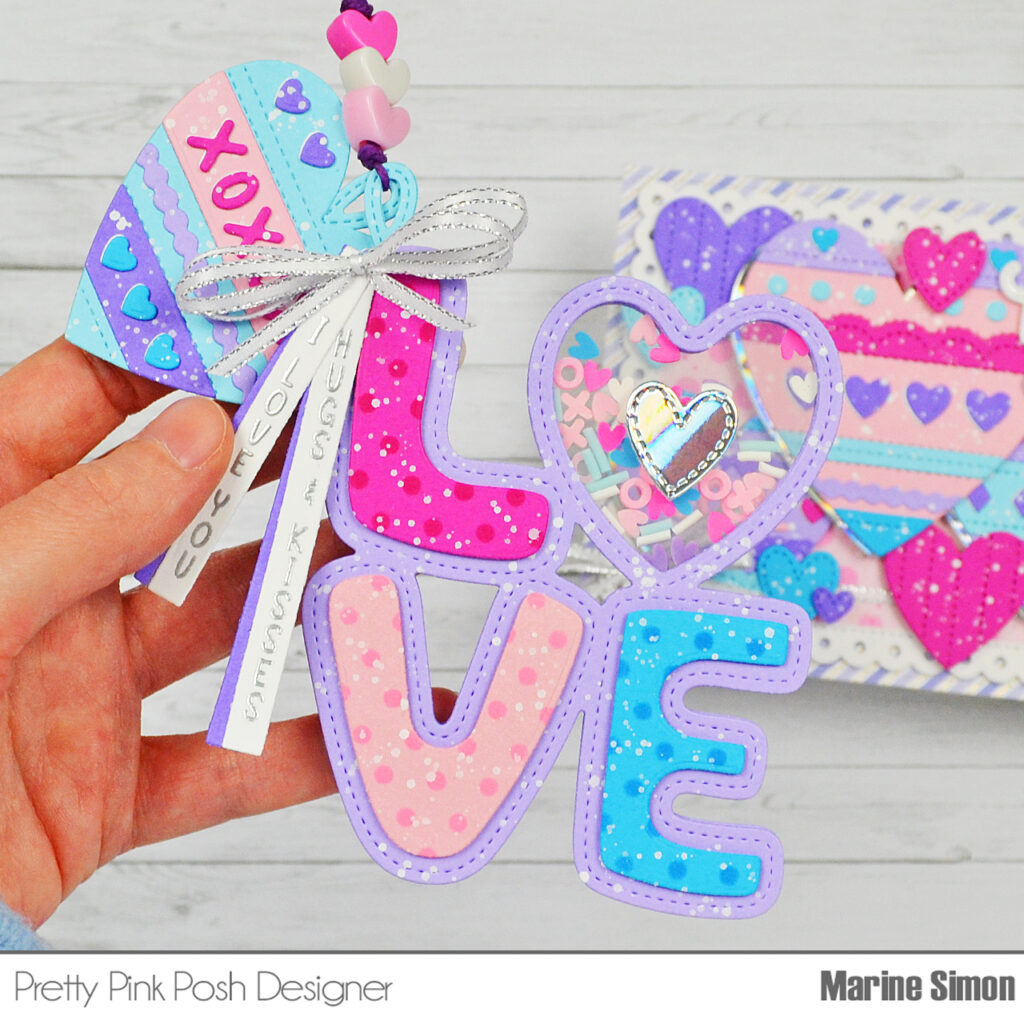
I absolutely love to create see-through shaker tags, I always follow the same steps, so here is how I built it:
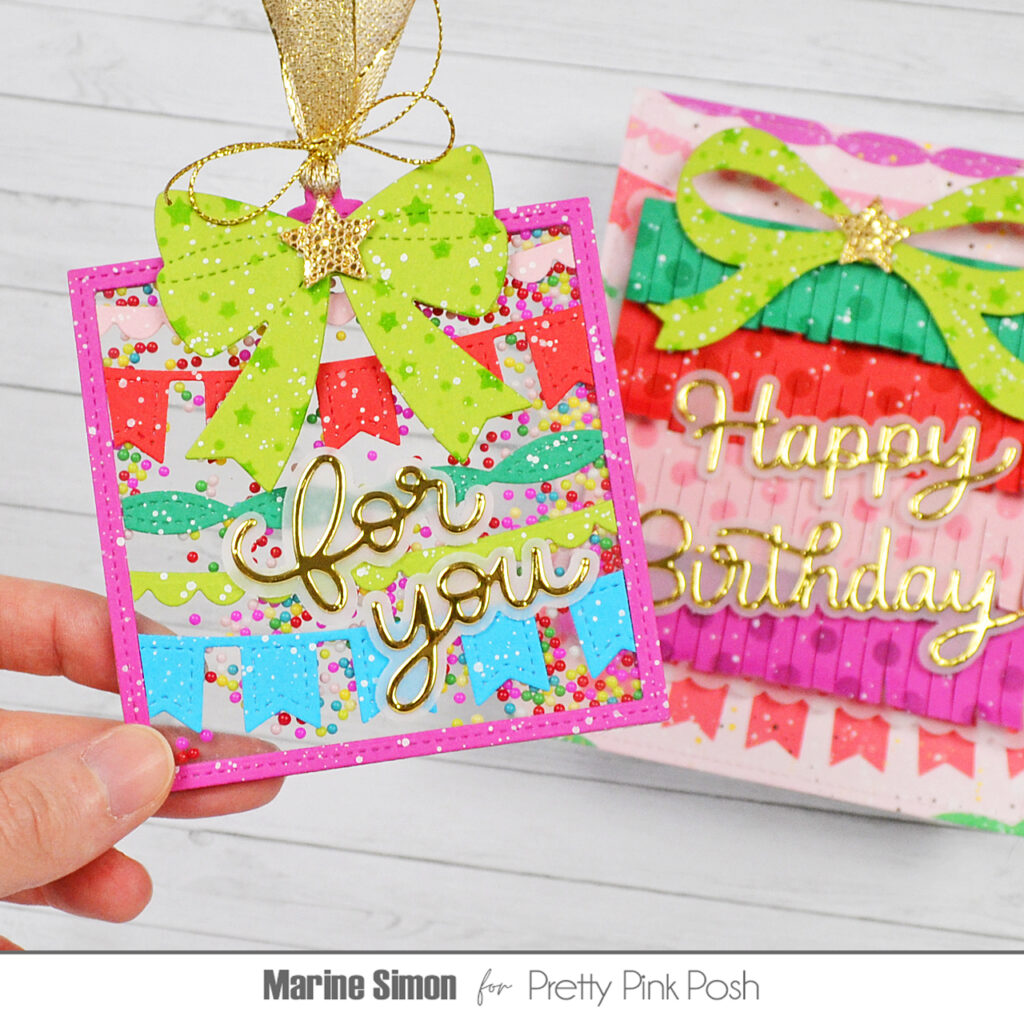
1. Cut a Present Shaker frame out of colored cardstock and a whole Present Shaker panel out of acetate
2. Attach the frame to the acetate panel using liquid glue
3. Flip the panel over and add foam strips at the back of the frame all along the four edges
4. Pour Party Time shaker beads inside the frame
5. Cut another Present Shaker out of acetate and stick it to the foam strips
6. Cut the handle using a Build An Ornament die and attach it to the acetate, right at the top of the tag
7. Cut another Present Shaker frame and stick it to the acetate panel to finish the back of the tag nicely
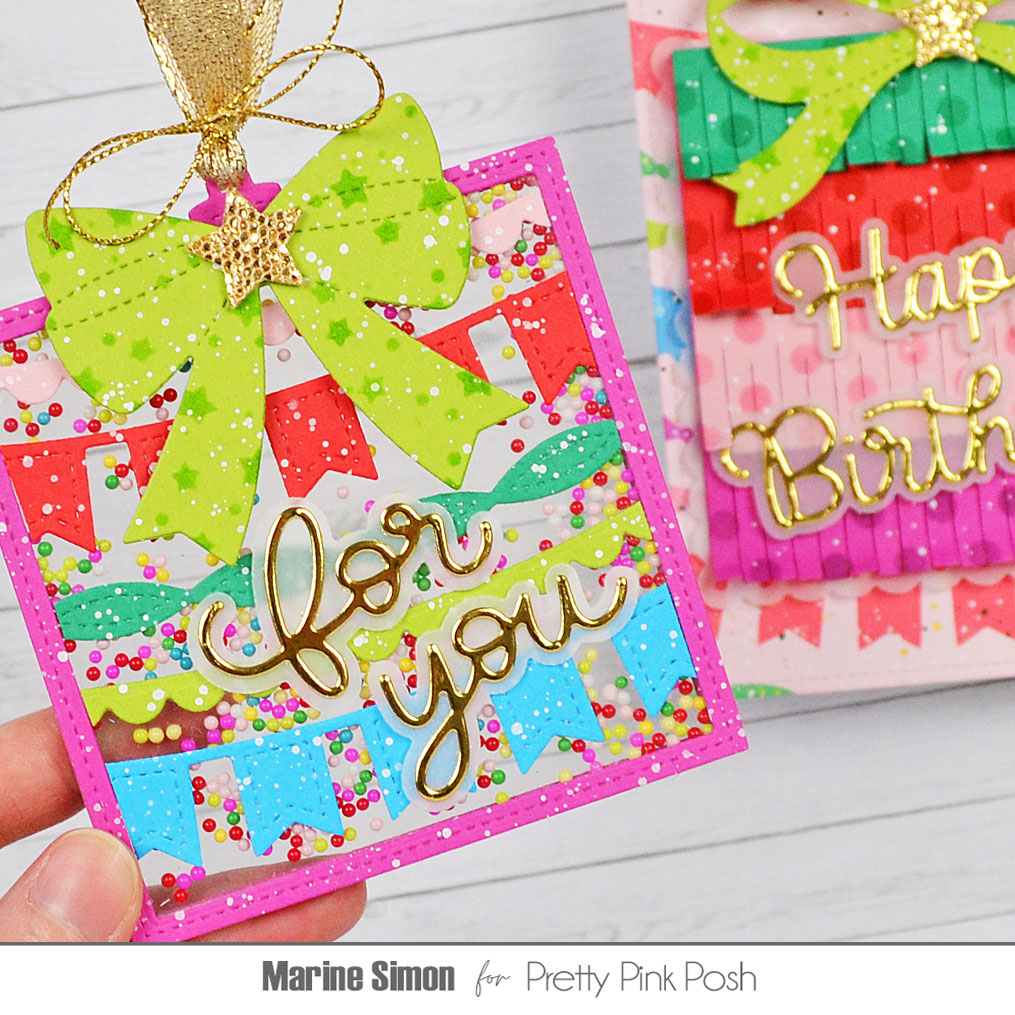
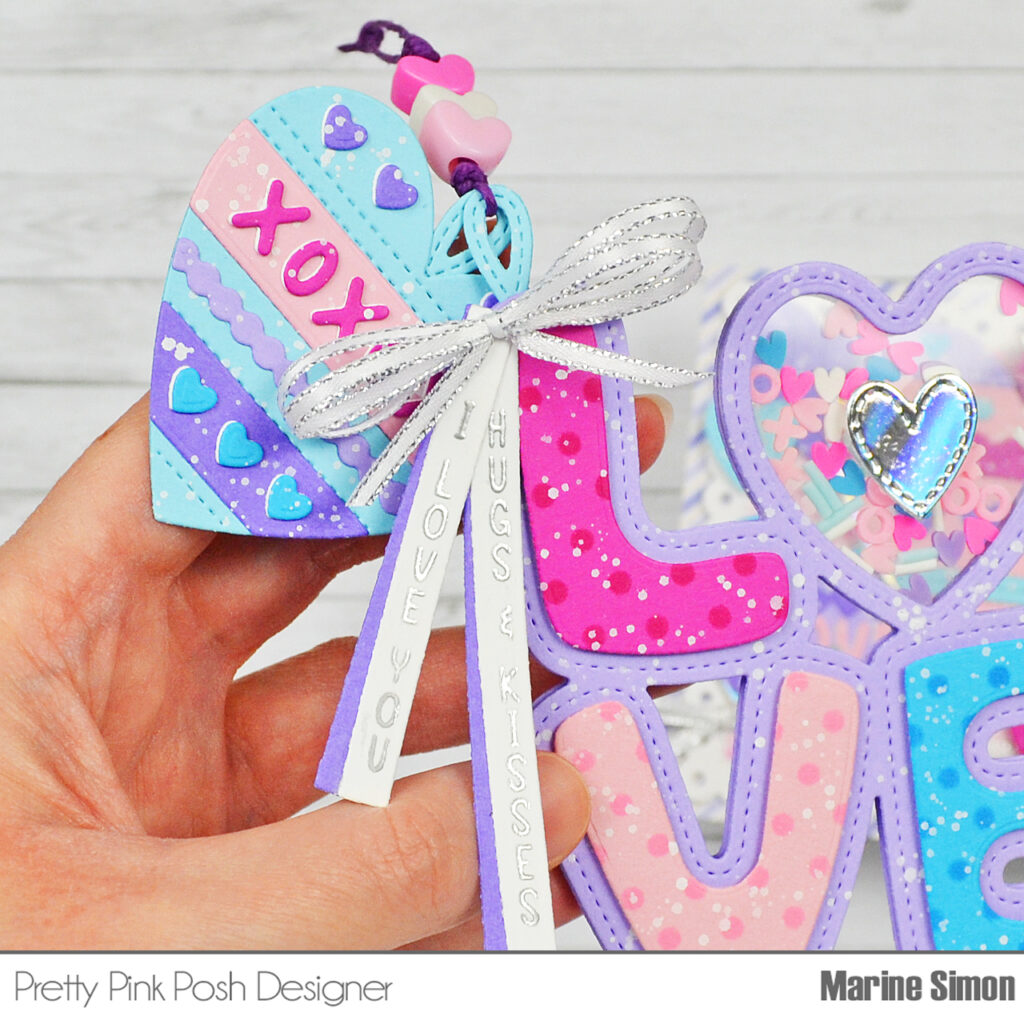
Next I cut all the pieces to decorate the present. I cut the bow using another Present Shaker die, as well as Streamers out of colored cardstock. I added the same pattern to the bow as the one on the Fringe Present card using the Starry Background stencil, and added copic opaque white ink splatters to the bow, streamers and present frame. I cut a gold glitter star using a Onesie Shaker die, cut the For You pieces out of gold mirror cardstock and vellum, and assembled my greeting. I attached the bow at the top of my Present Shaker and the golden star on top using foam squares, added gold ribbon and twine to the handle, and finally stuck my greeting on the Streamers using liquid glue.
And that’s it! Oh how I love all those bright and happy colors, I can’t wait to share more birthday projects with that same color palette! Thanks so much for stopping by, I hope you enjoyed today’s projects. See you next time!