Sneak Peek: August 2024 Stencils
Hi, friends! It’s Lauren and I am so excited to be sharing a sneak peek at two of the new stencils that will be released in a couple of days!
New release will be available August 12th
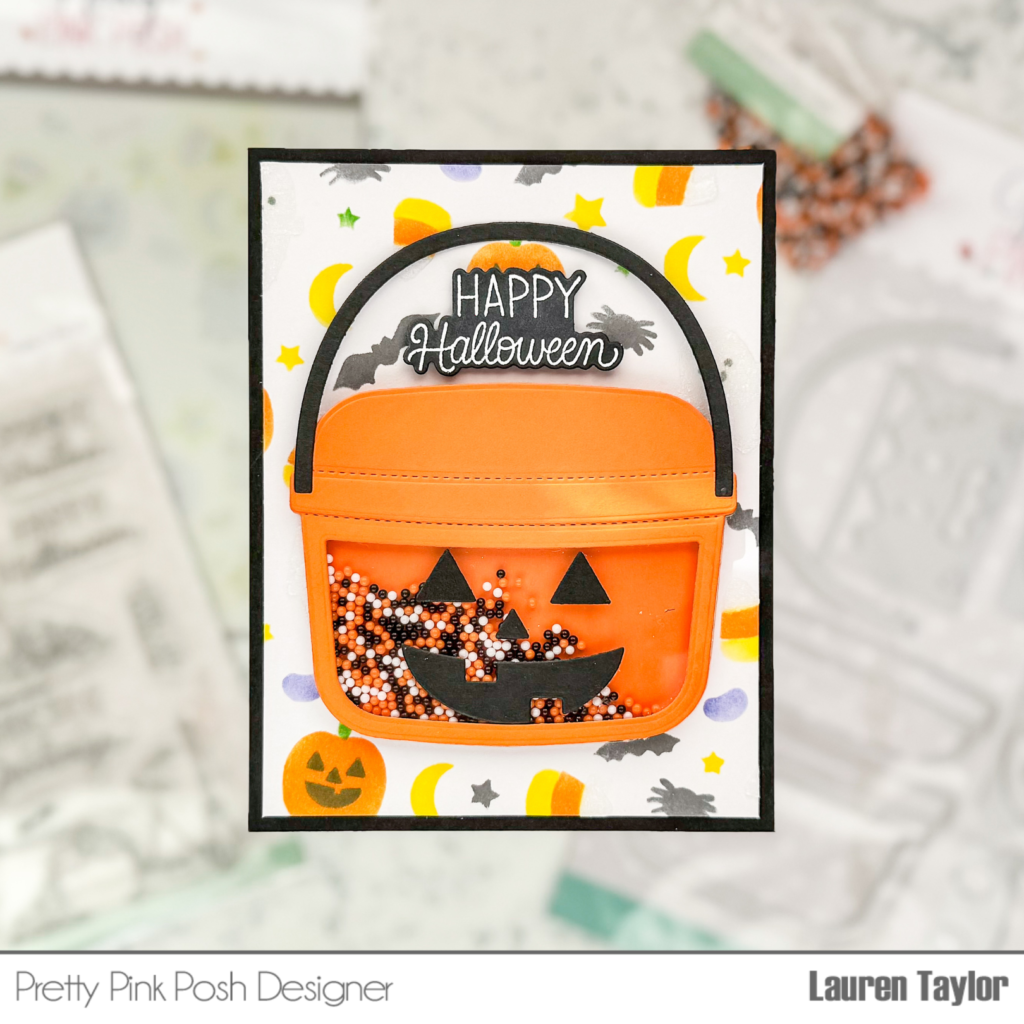
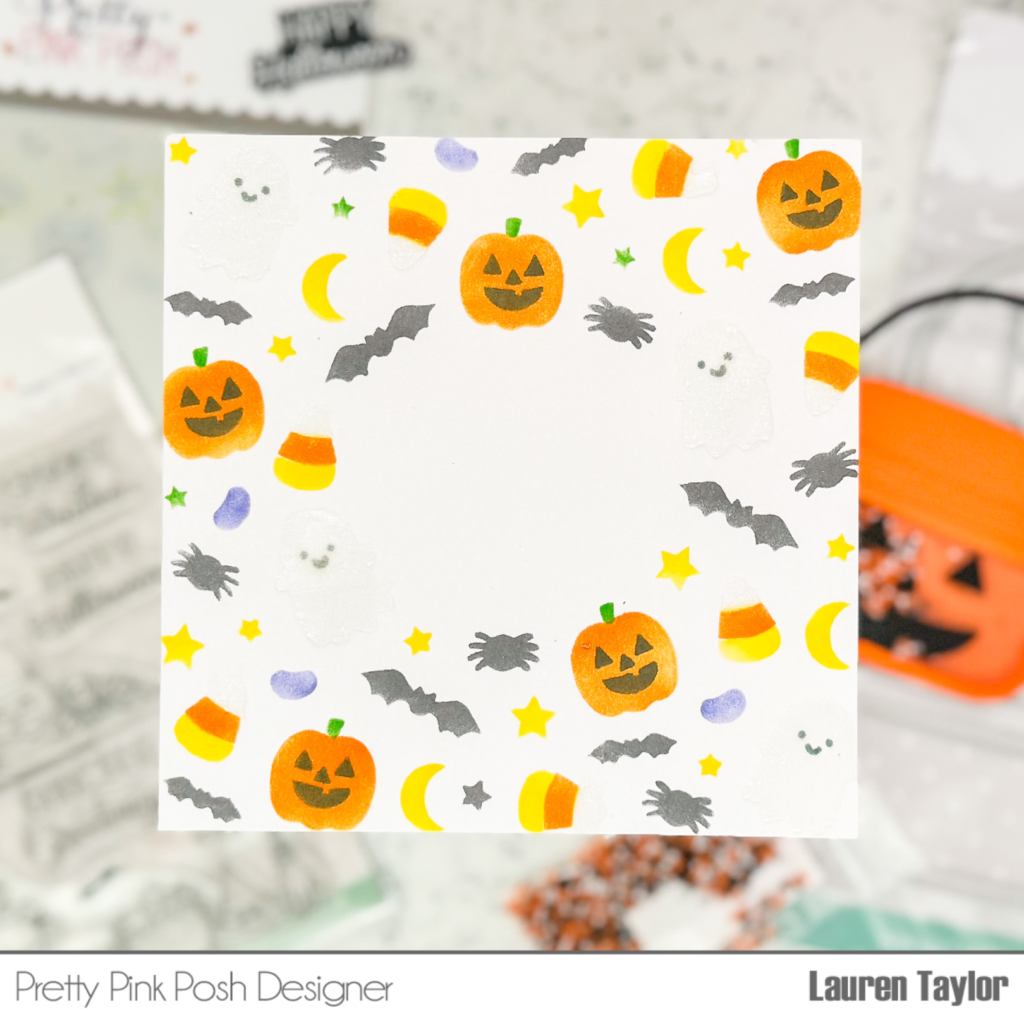
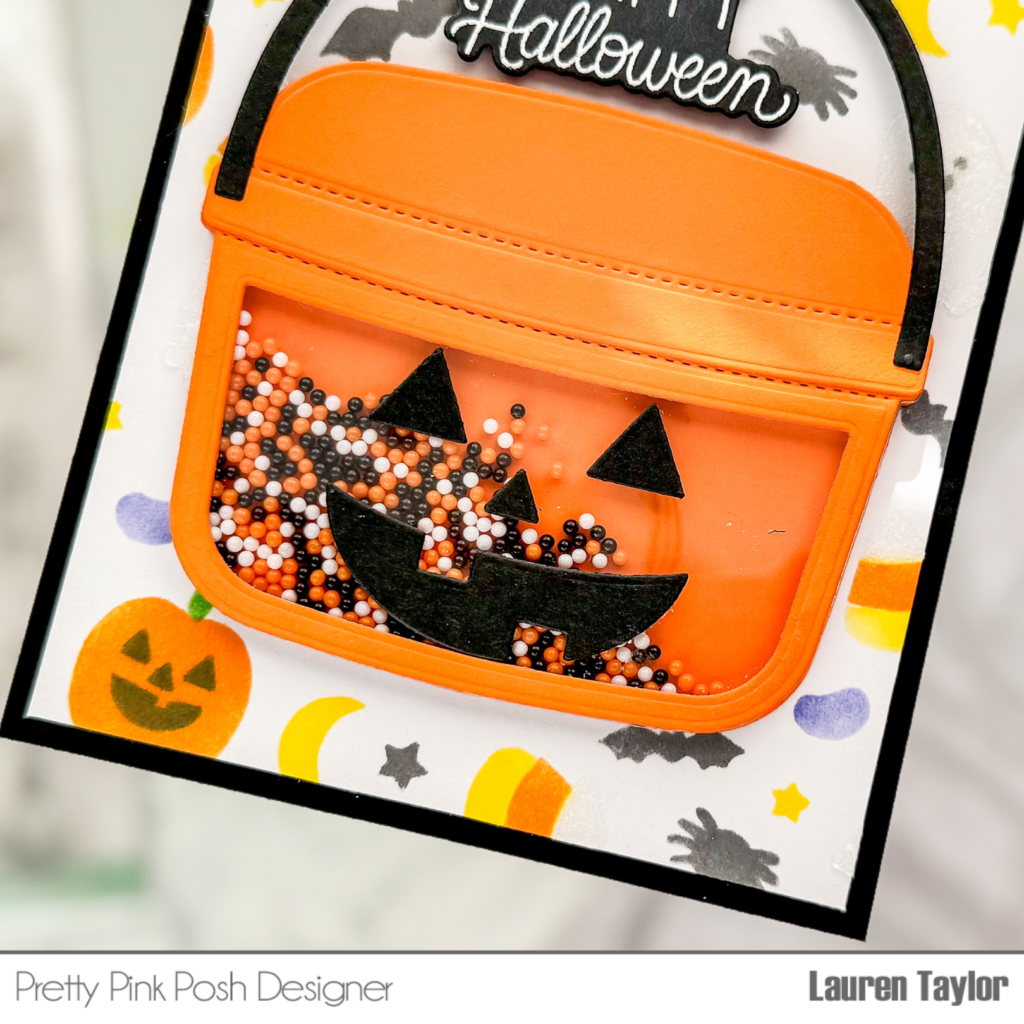
For my first card, I just had to use the Layered Halloween Wreath stencils! All of the adorable images just needed to be stenciled. I started with the (A) stencil and used purple, green and yellow inks, then the (B) stencil with orange and yellow inks, the (C) stencil with orange, black and green inks, and finally the (A) stencil again to add Frostbite Astro Paste to the tops of the candy corn and ghosts. I set it aside to dry and once it was dry, I trimmed it down to a 4×5.25” panel.
While my background was drying, I stamped and embossed the Happy Halloween sentiment in white from the Halloween Corners stamp set and used the coordinating dies to cut it out. I also cut the Candy Bucket Dies in orange and black cardstock to make the classic Jack-o-Lantern Treat Bucket! I made it into a shaker with acetate and Classic Halloween Shaker Beads.
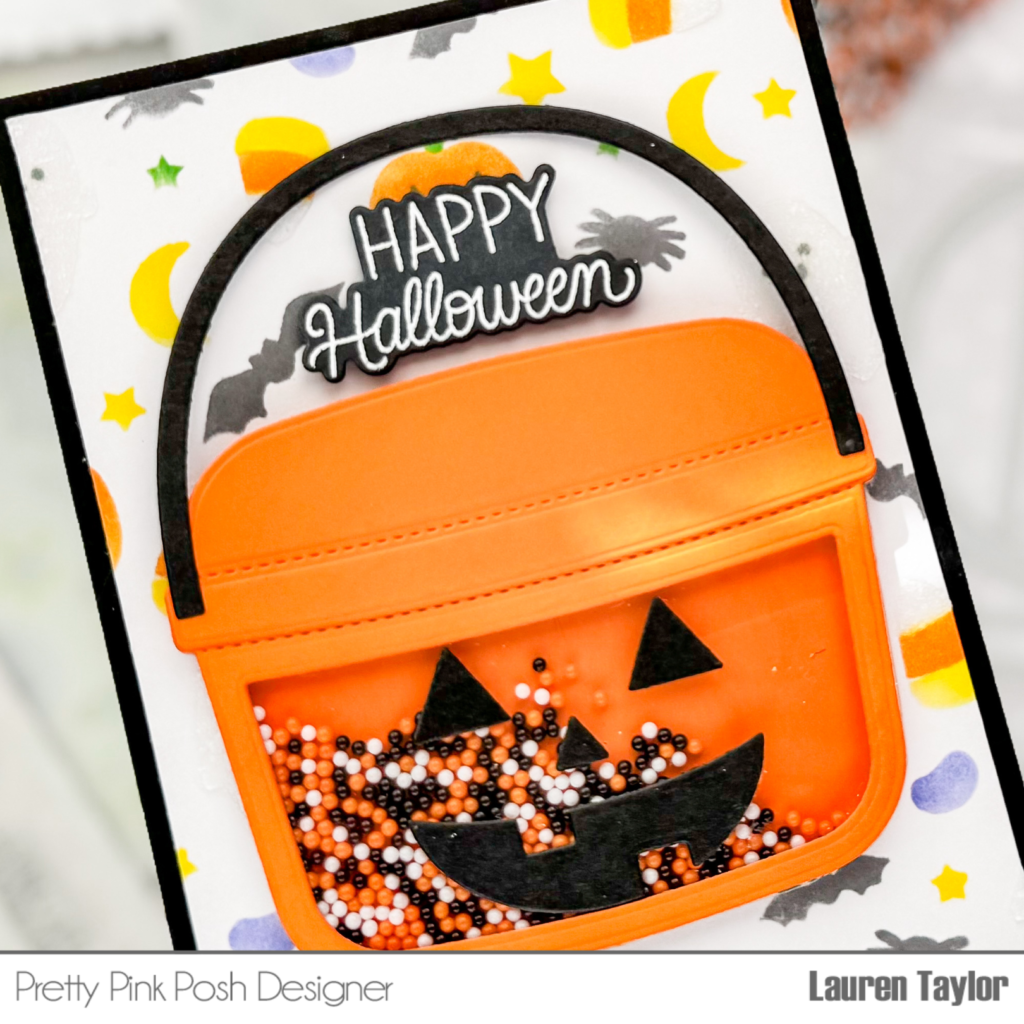
I adhered the stenciled panel to a piece of black cardstock cut to A2 in size and adhered them to a card base. I adhered the Candy Bucket to the center of the card base and popped up the sentiment under the handle with foam adhesive. I just love this classic looking Halloween card!
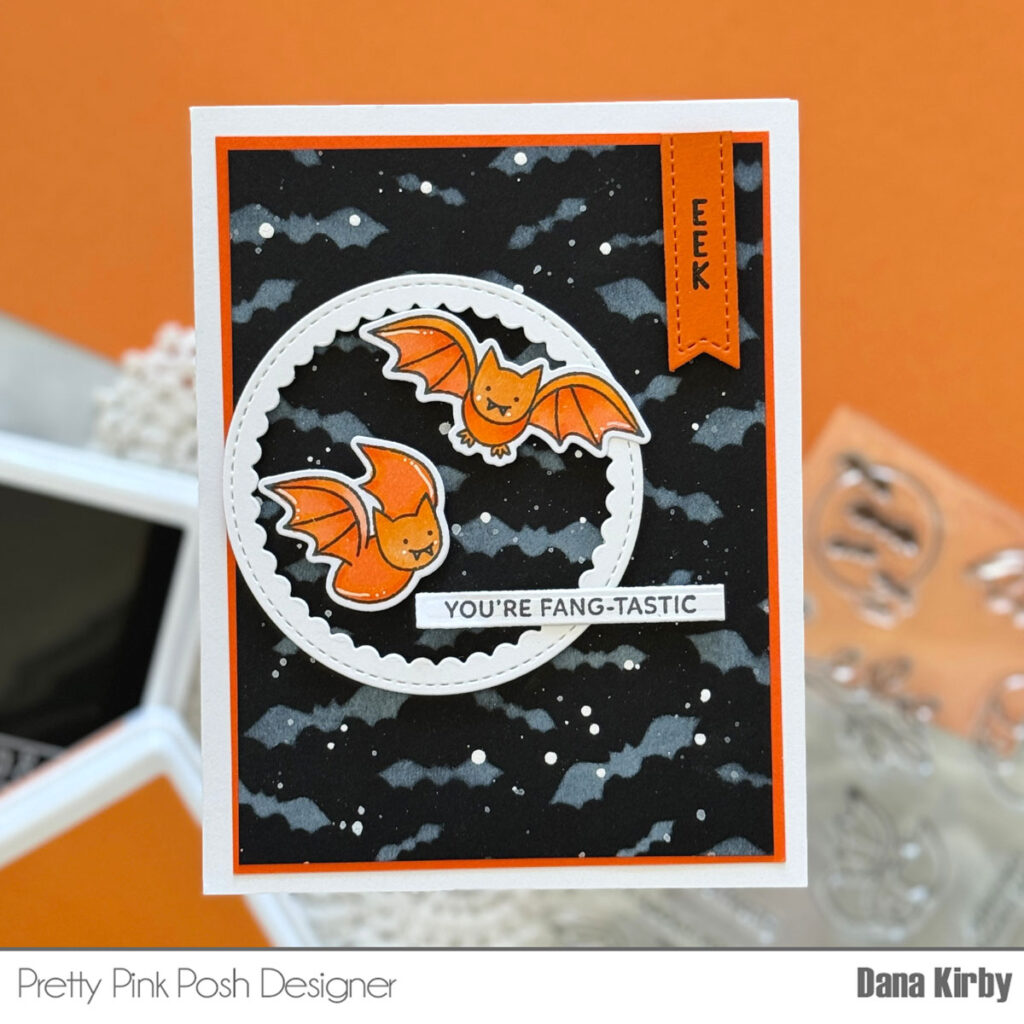
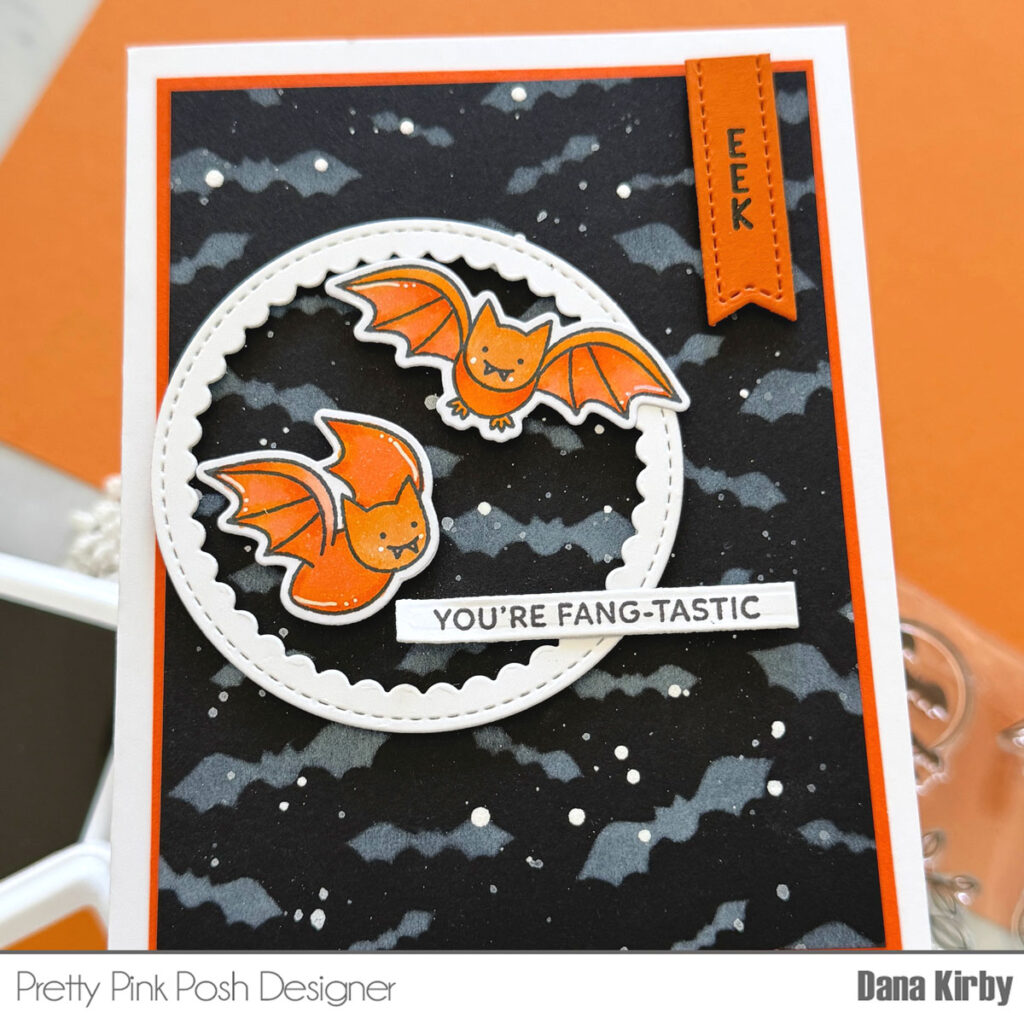
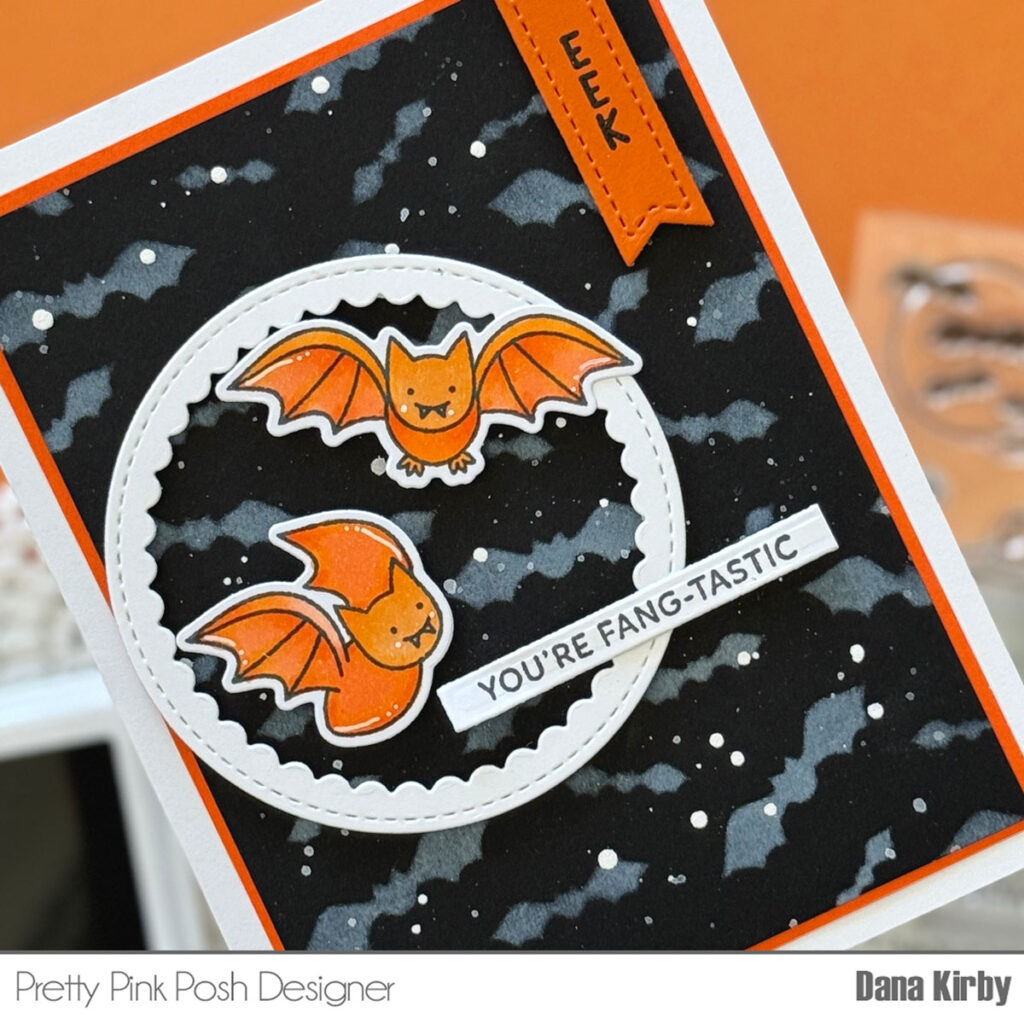
For the second card, I really wanted to make a night scene with the Layered Birch Trees stencils. I stenciled the (A) layer with Picket Fence Distress Ink and then sprayed the whole panel with Iridescent Glitter Dust. When it was dry, I used the (B) stencil with Grrr! Lunar Paste to add in the tree details. I sent it aside to dry and once it was, I trimmed the panel to 4×5.25”.
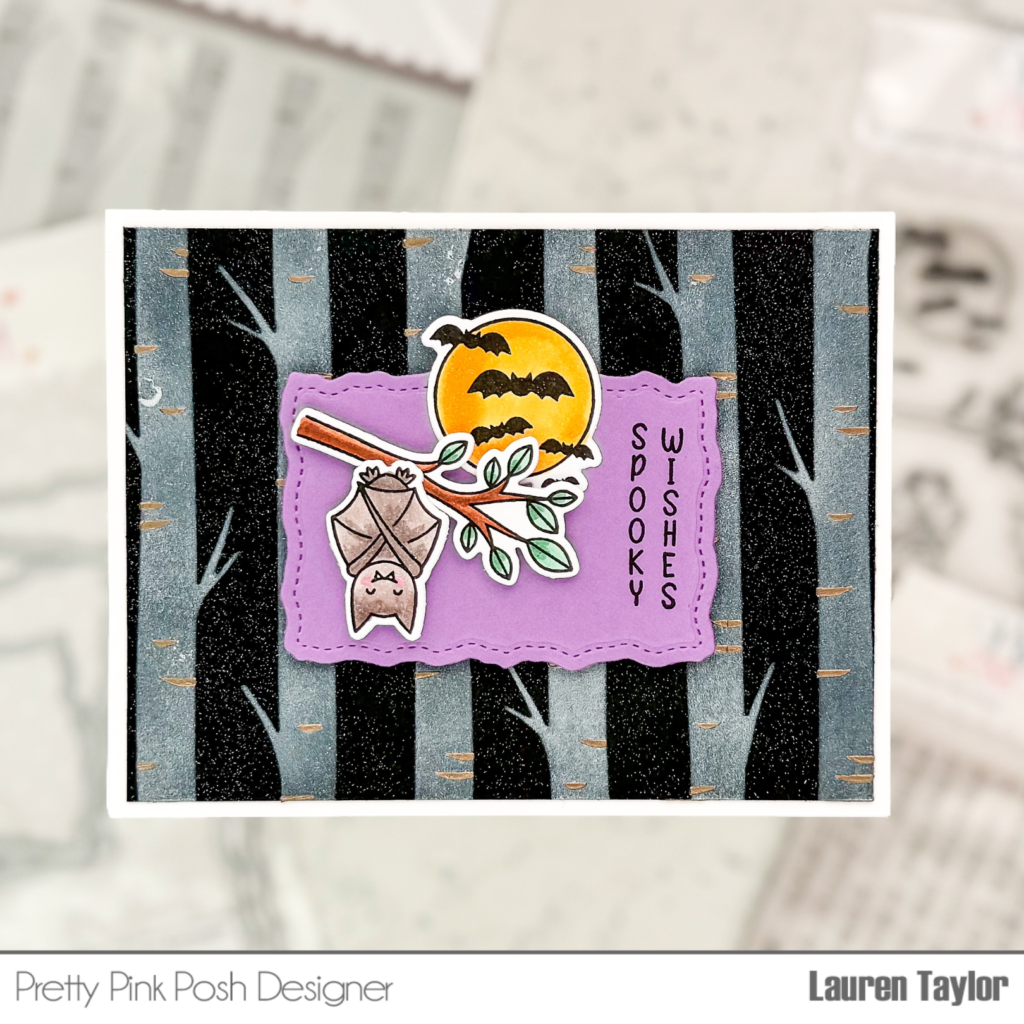
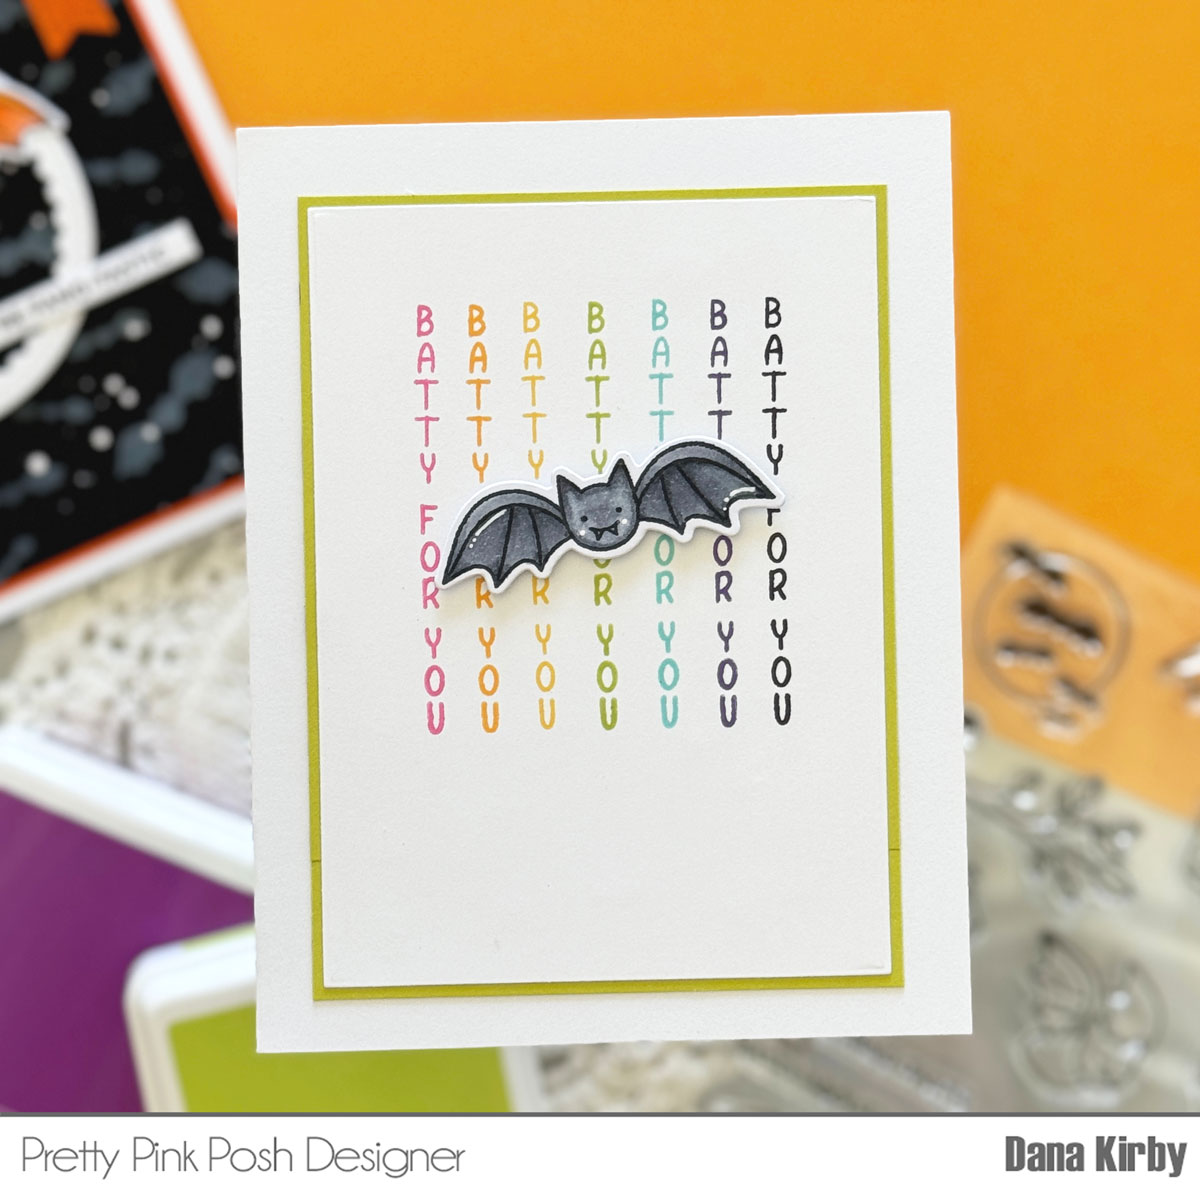
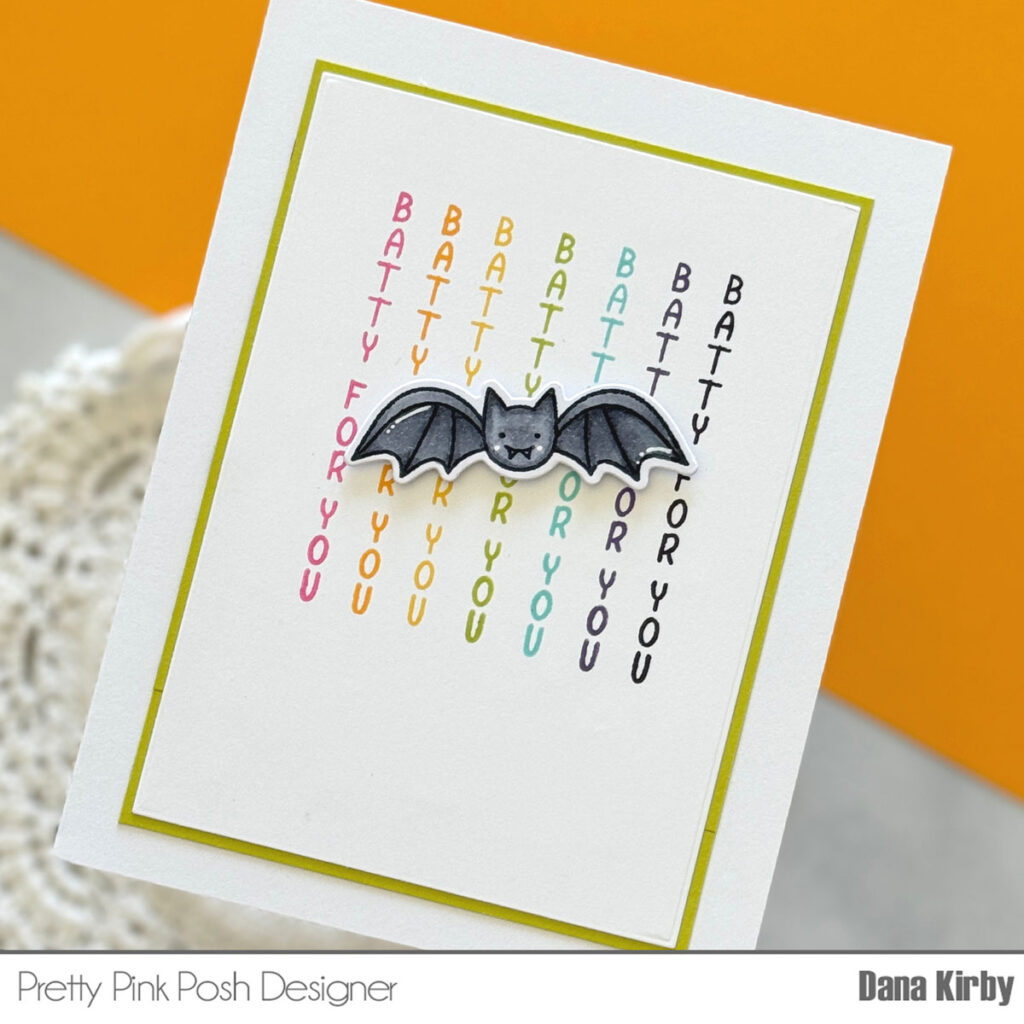
Next I stamped and colored in my images from the Batty About You stamp set with alcohol markers and used the coordinating dies to cut out the images. I also die cut the third Stitched Torn Rectangle from purple cardstock and stamped my Spooky Wishes sentiment from Upright Greetings: Halloween stamp set with black ink. I adhered the moon image to the purple rectangle and popped up the bat and branch with foam adhesive.
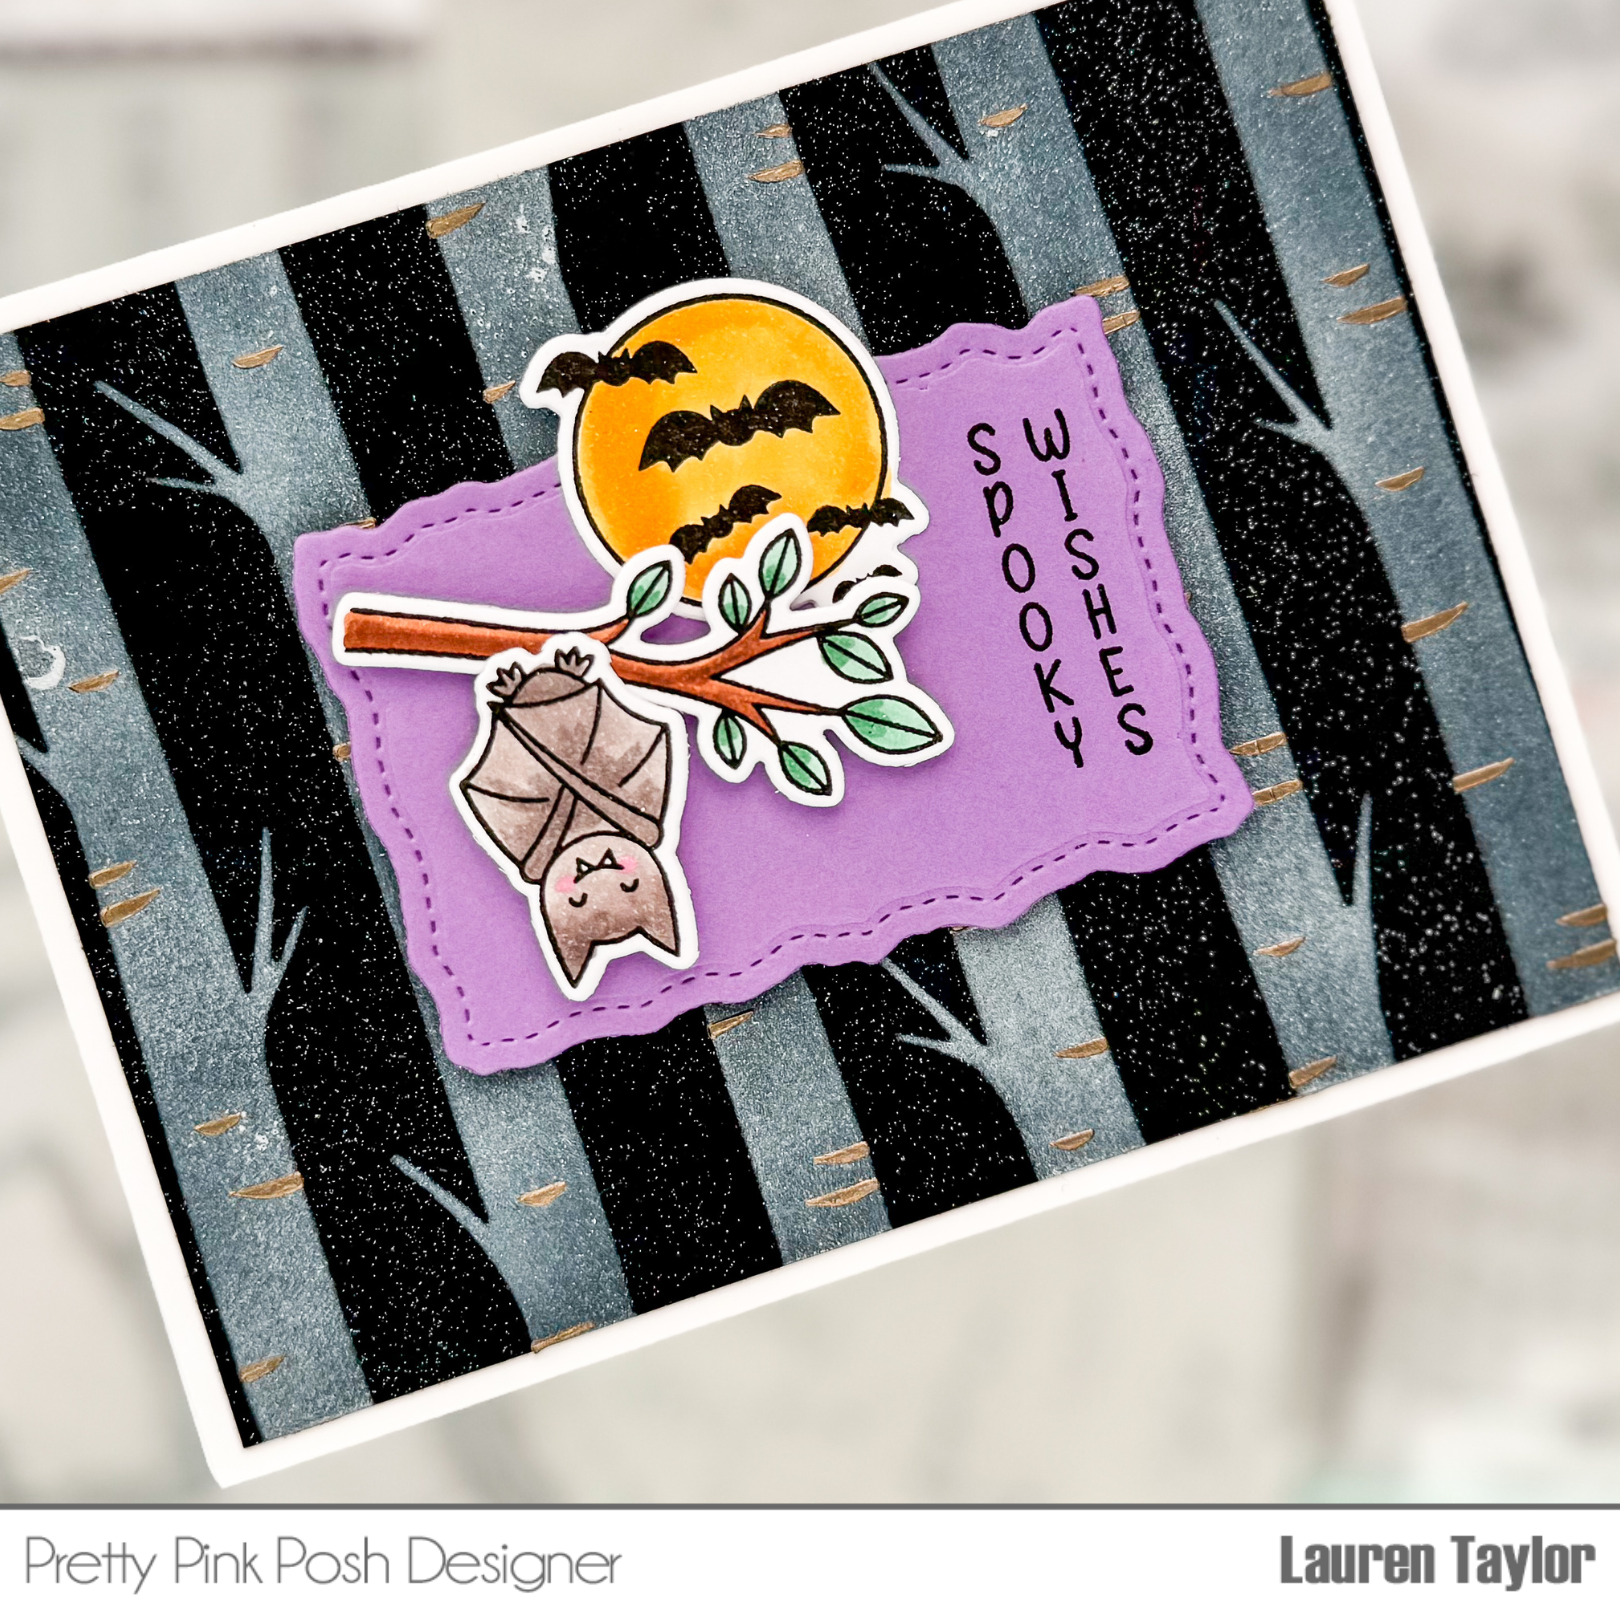
I adhered the stenciled panel to an A2 card base and popped up the purple rectangle with the images to the center of the card with foam adhesive.
I hope you enjoyed these card with two of the new stencils – you’re going to love all of them!