Sneak Peek: Daisies
Hello everyone! This is Melissa and I’m here to share a couple of cards made with the adorable Daisies stamps and coordinating dies.
New release will be available March 6th
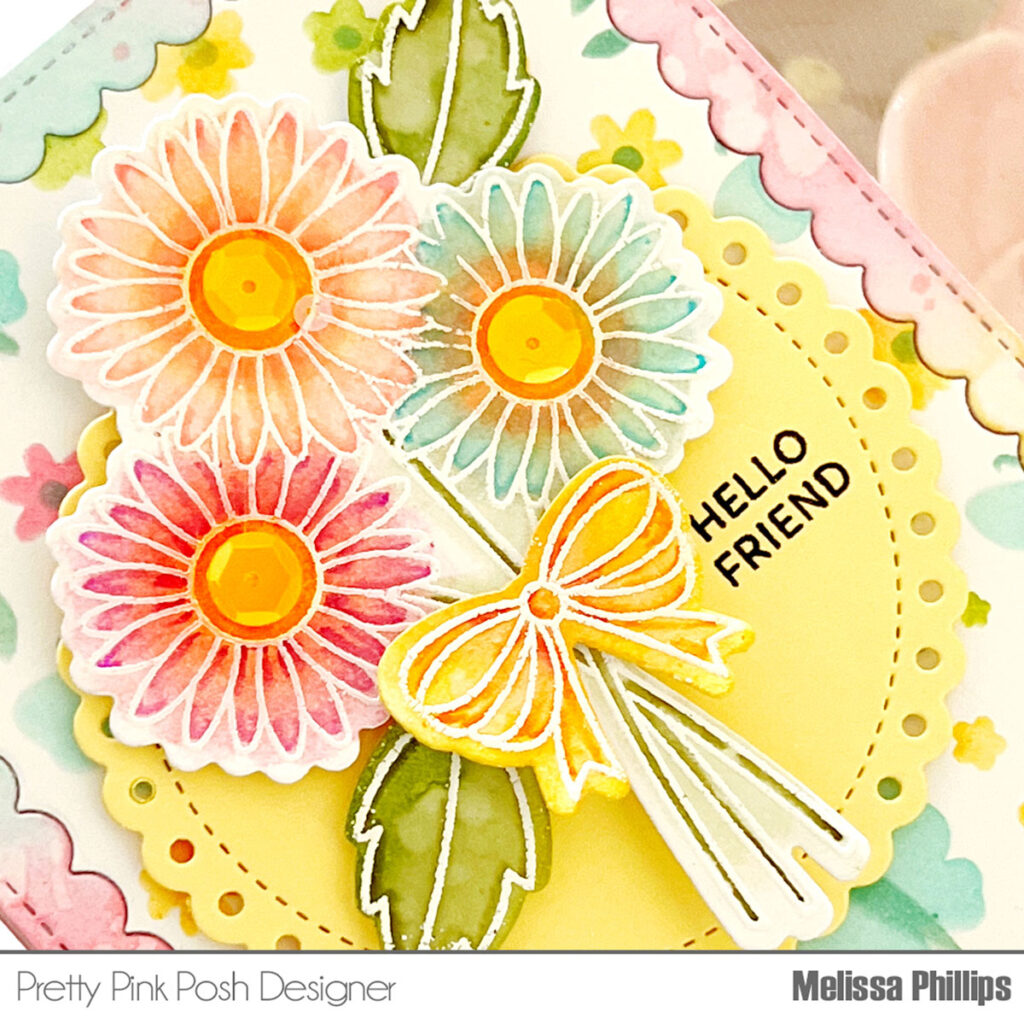
I stamped and heat embossed my sweet flowers from the Daisies stamp set, using watermark ink and white embossing powder on my first card. I loved this darling bouquet of daisies and wanted to bring them to life with watercolor markers. They look so cute bunched together, tied up with the bow you can find in the Daisies set.
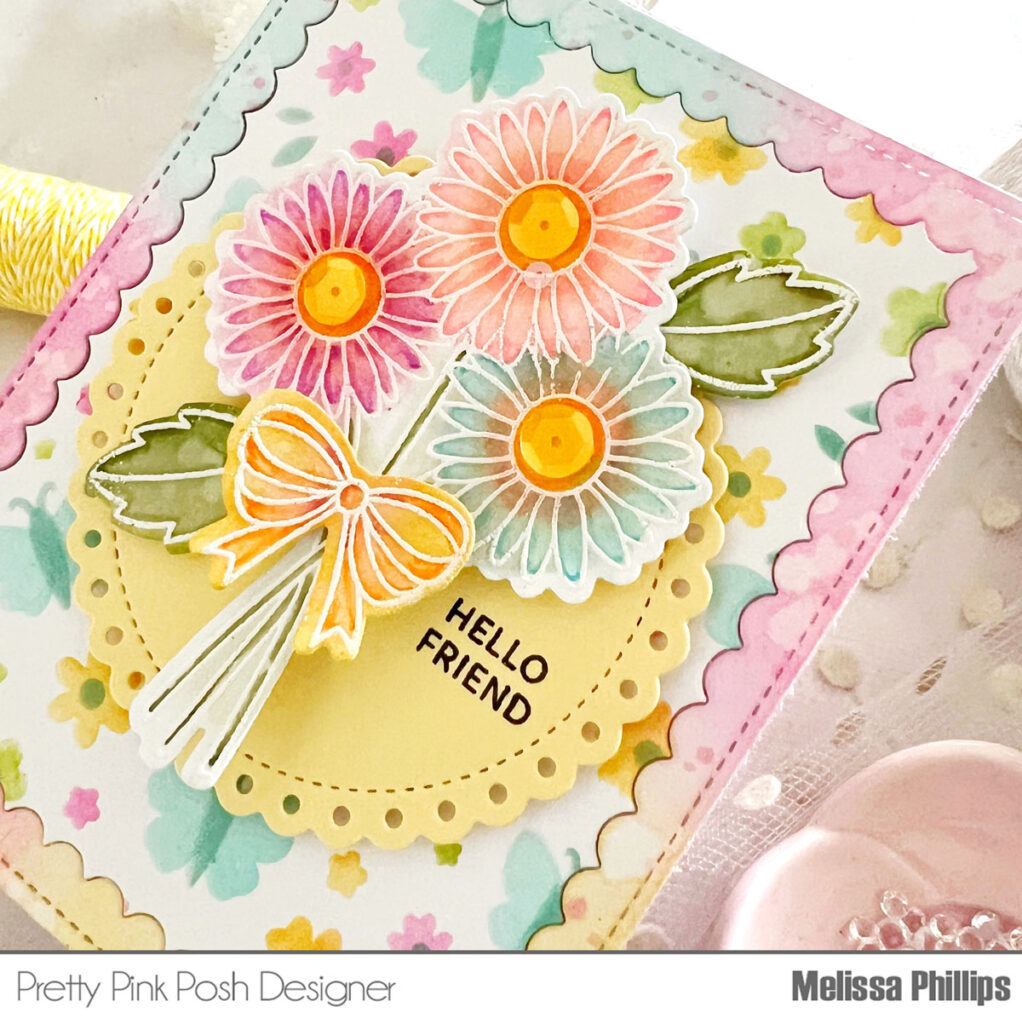
I matted my daisies on one of the new die cut Eyelet Circles dies. I adore these new circles…they make your focal point and sentiments pop all while adding soft curves and scallops.
Behind my daisies, I have used the delightful, new Layered Butterfly Floral stencils. What a sweet treat they are and they look so cute paired with the Daisies stamp set. I added in a die cut Scallop Frame on my card base to frame everything in perfectly. All that was left was the sentiment from the new Decorative Butterflies stamp set.
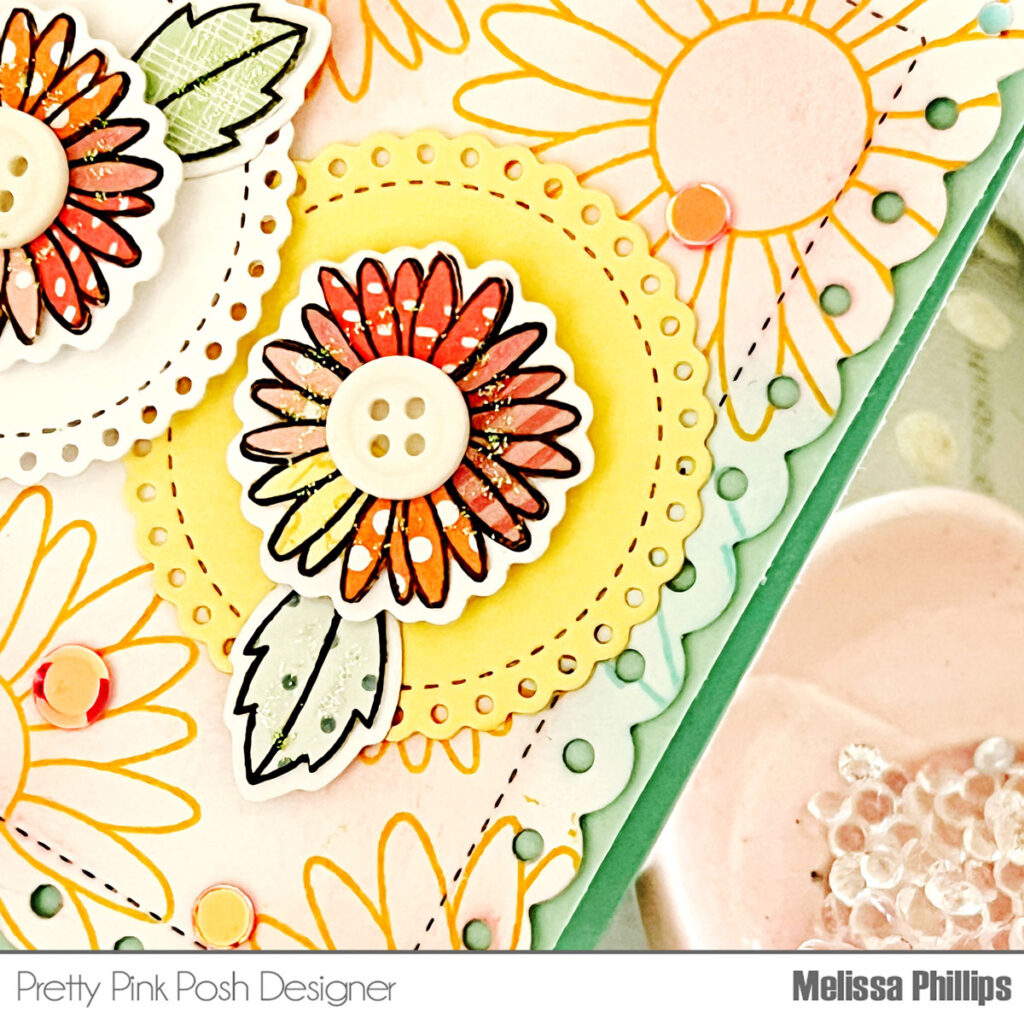
I wanted to share a different technique with you on my second card, so I paper-pieced my tiny daises and love how they turned out. Paper-piecing is one of my favorite techniques, because I love the quilted, pieced together look.
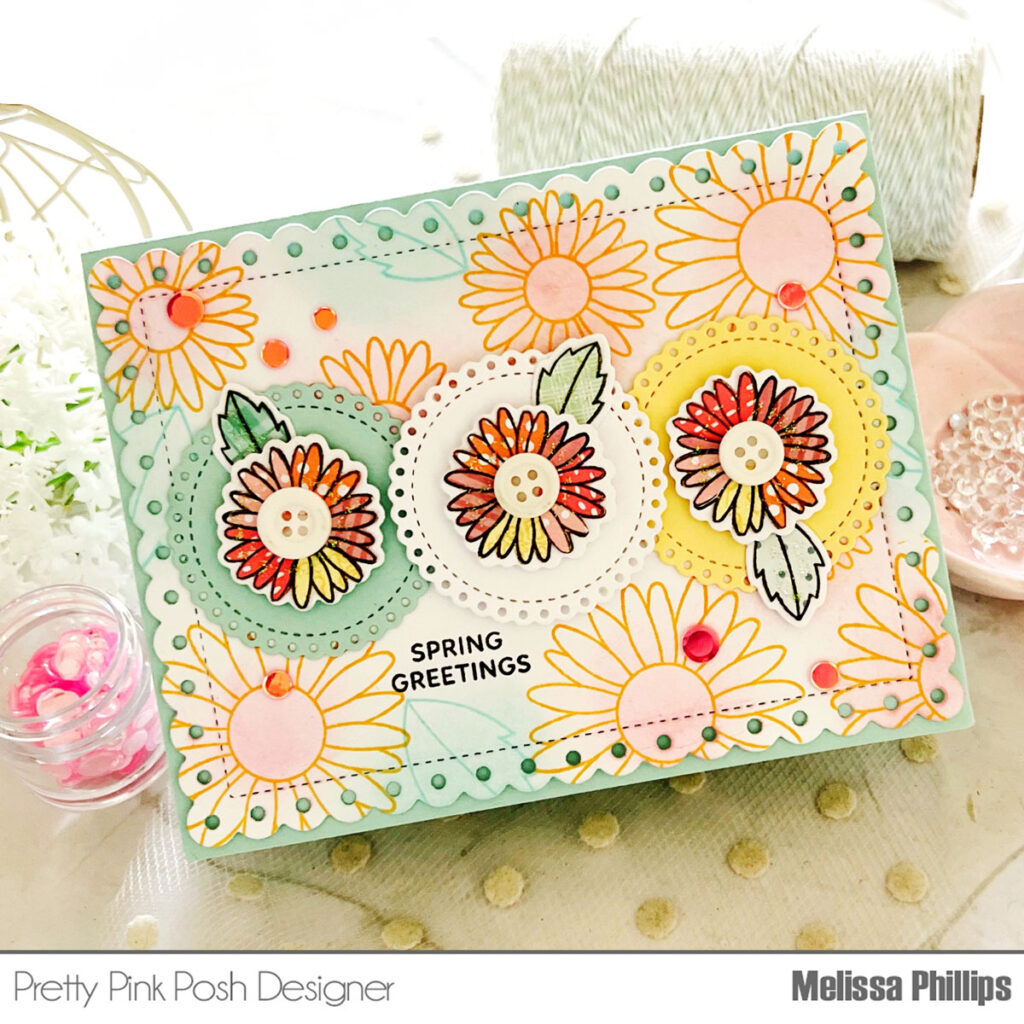
I layered each of my paper-pieced daises on the smallest die cut Eyelet Circles, cutting each from a different color. I layered this trio of circles across the front of my horizontal card. I love the colorful, simplicity of them all lined up together, don’t you?
To create my background, I used the Daisies stamp set, stamping flowers and leaves in coordinating colors found in my paper-pieced daisies. I then sponged ink over the surfaces of each and die cut my background using the largest Eyelet Rectangles dies. My sentiment was added last, using the Decorative Butterflies stamp set once again.
I adore these new products from Pretty Pink Posh and am officially ready for Spring! Thanks for visiting, stop by tomorrow for another sneak peek!
Melissa