Sneak Peek: Autumn Pumpkins
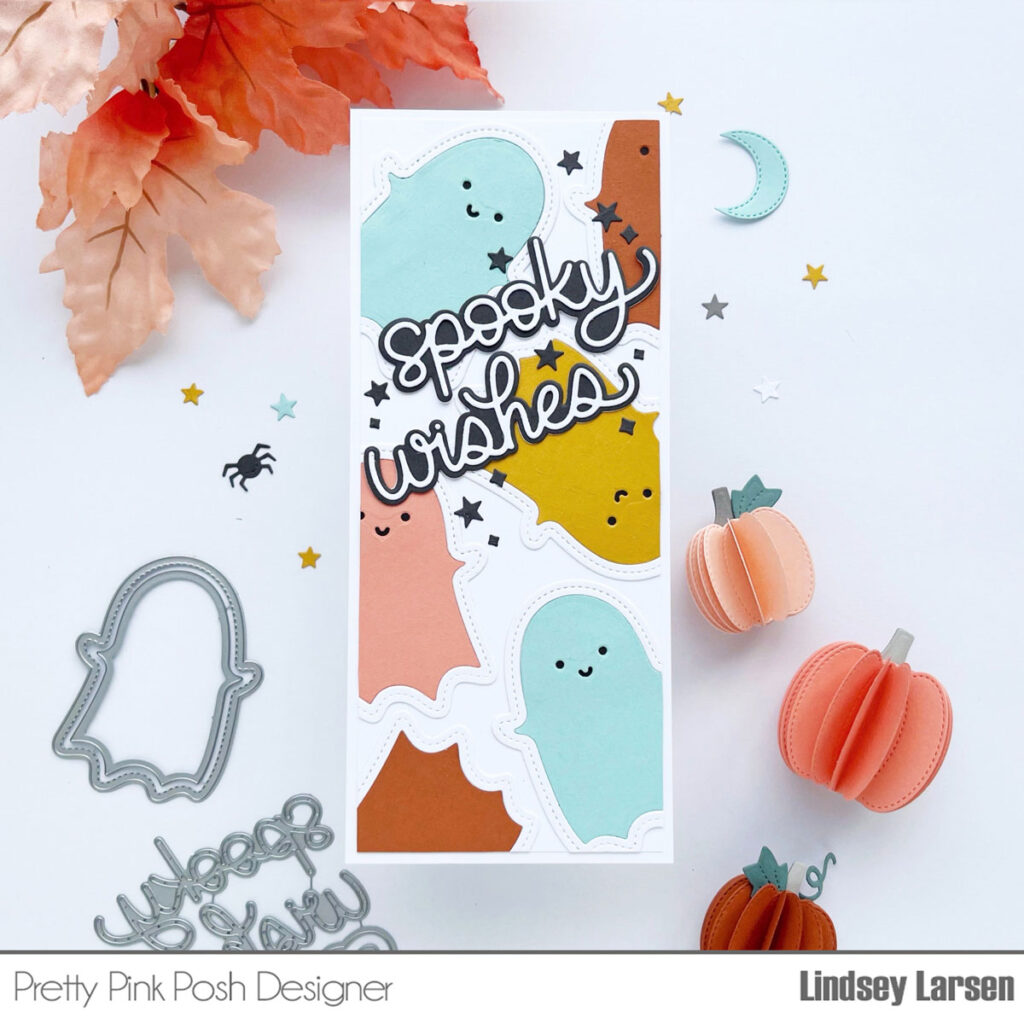
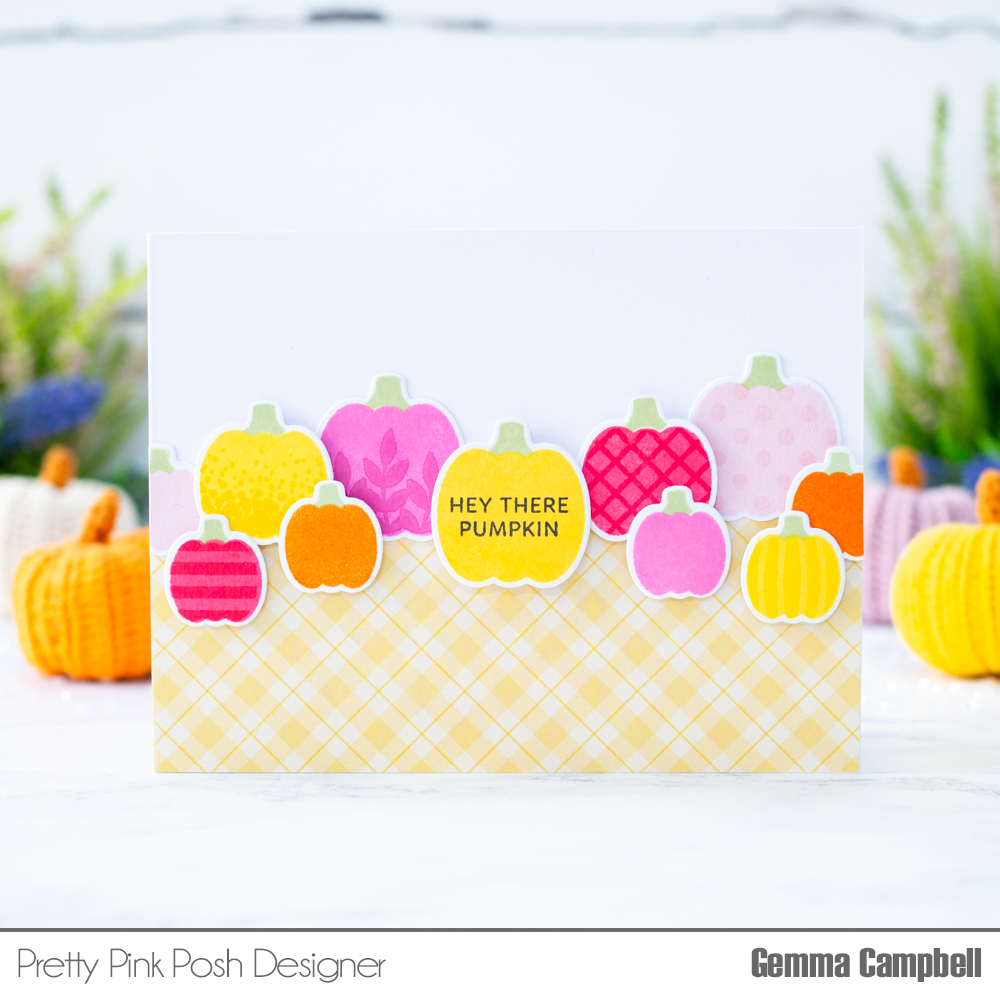
Happy Fall, everyone! This is Melissa and I’m here to kick off sneak peeks of the upcoming release. Today I have couple of cards made with the sweet Autumn Pumpkins stamp set and coordinating dies.
New release will be available September 12th
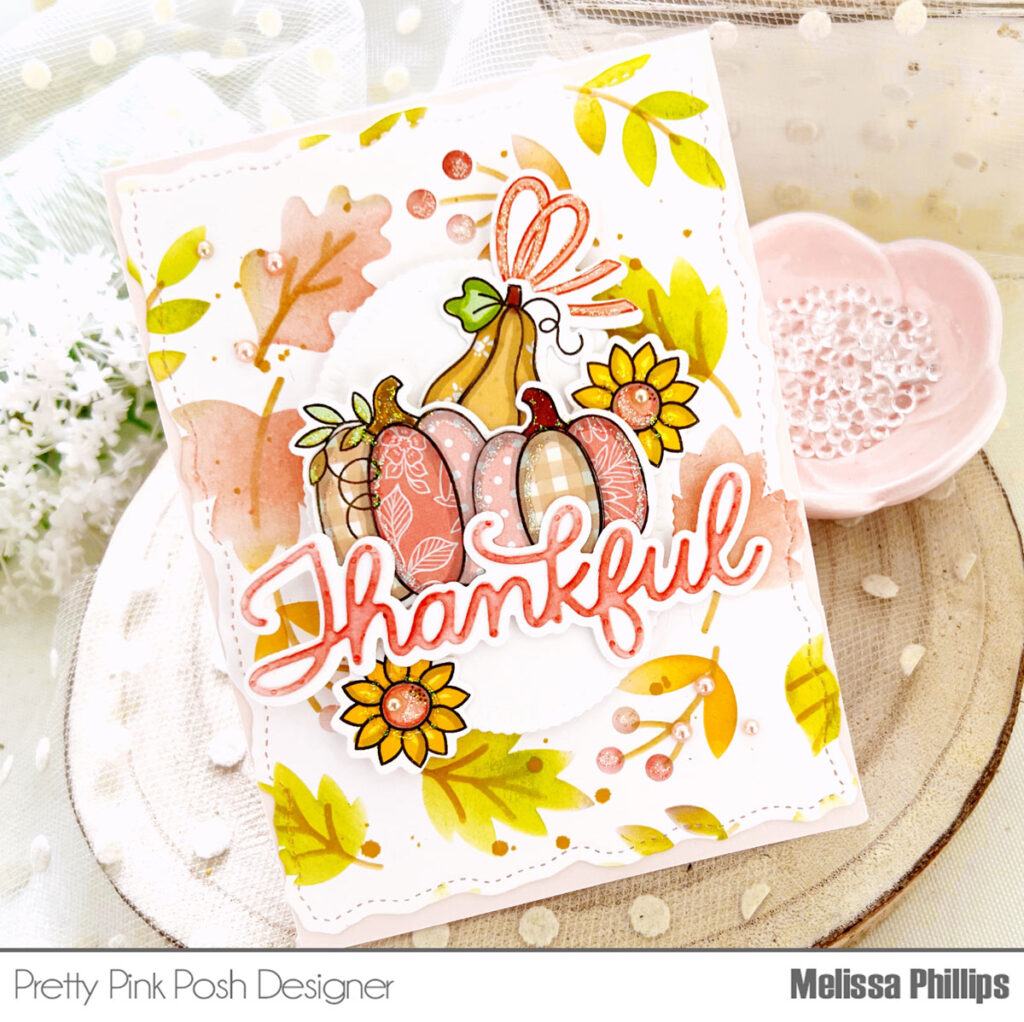
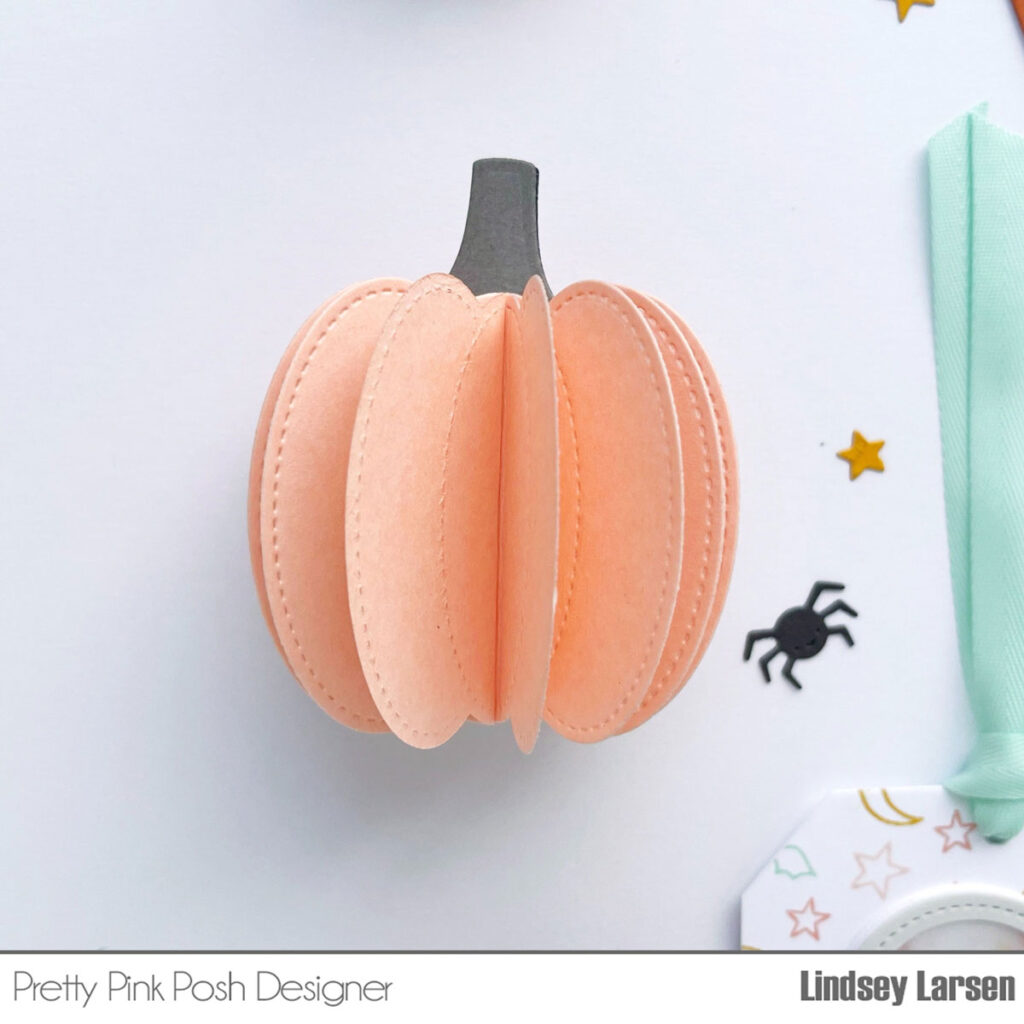
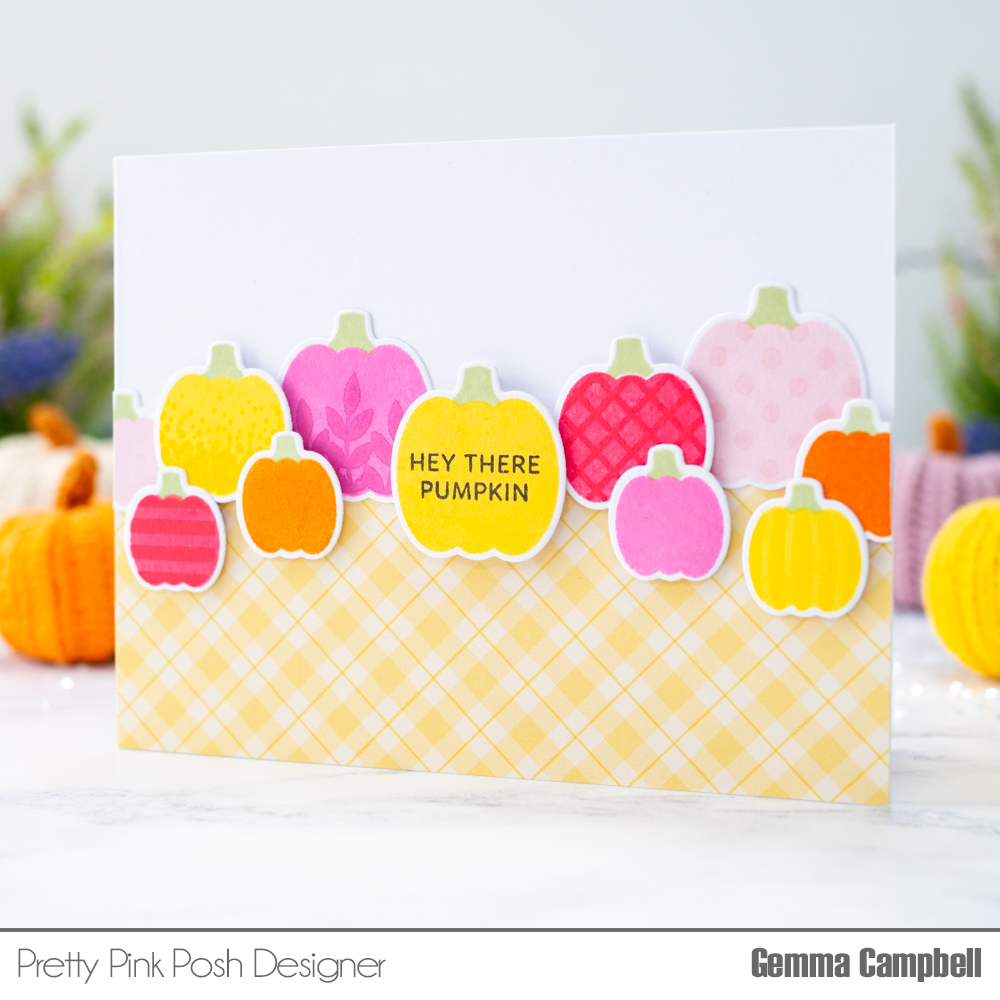
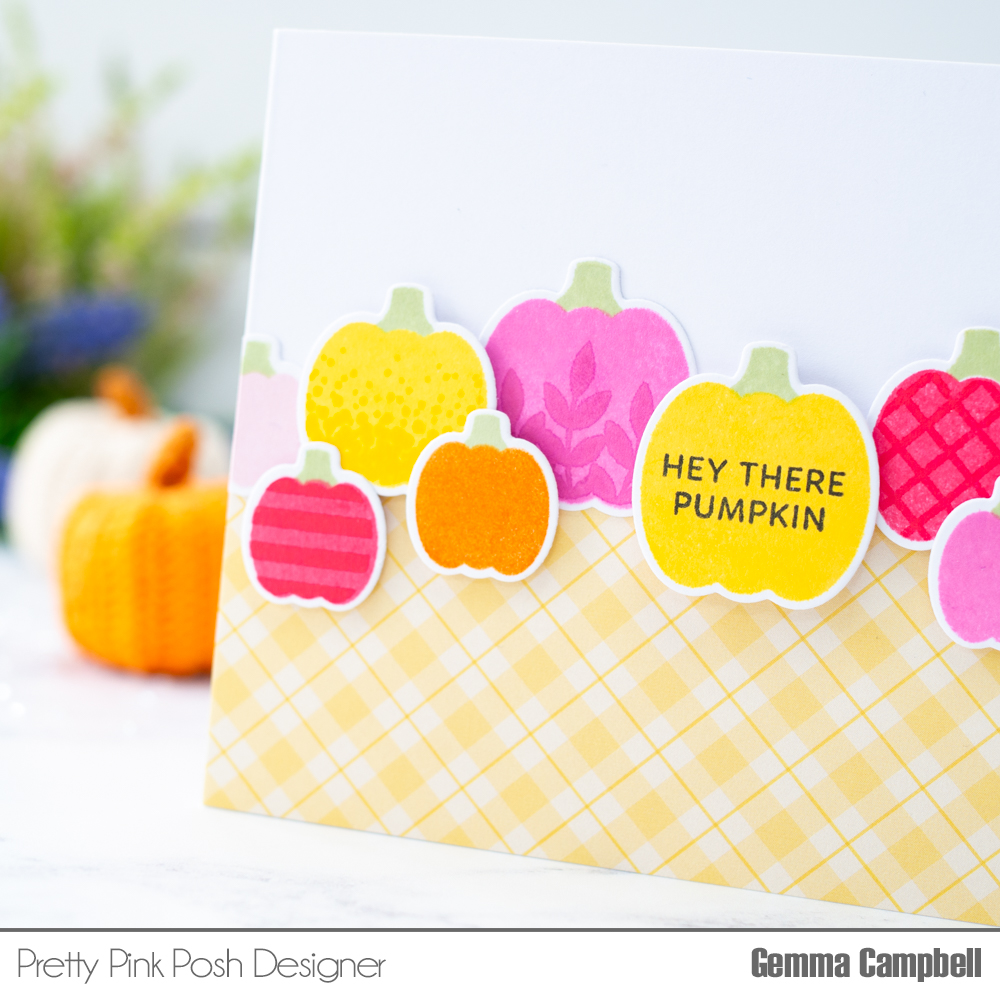
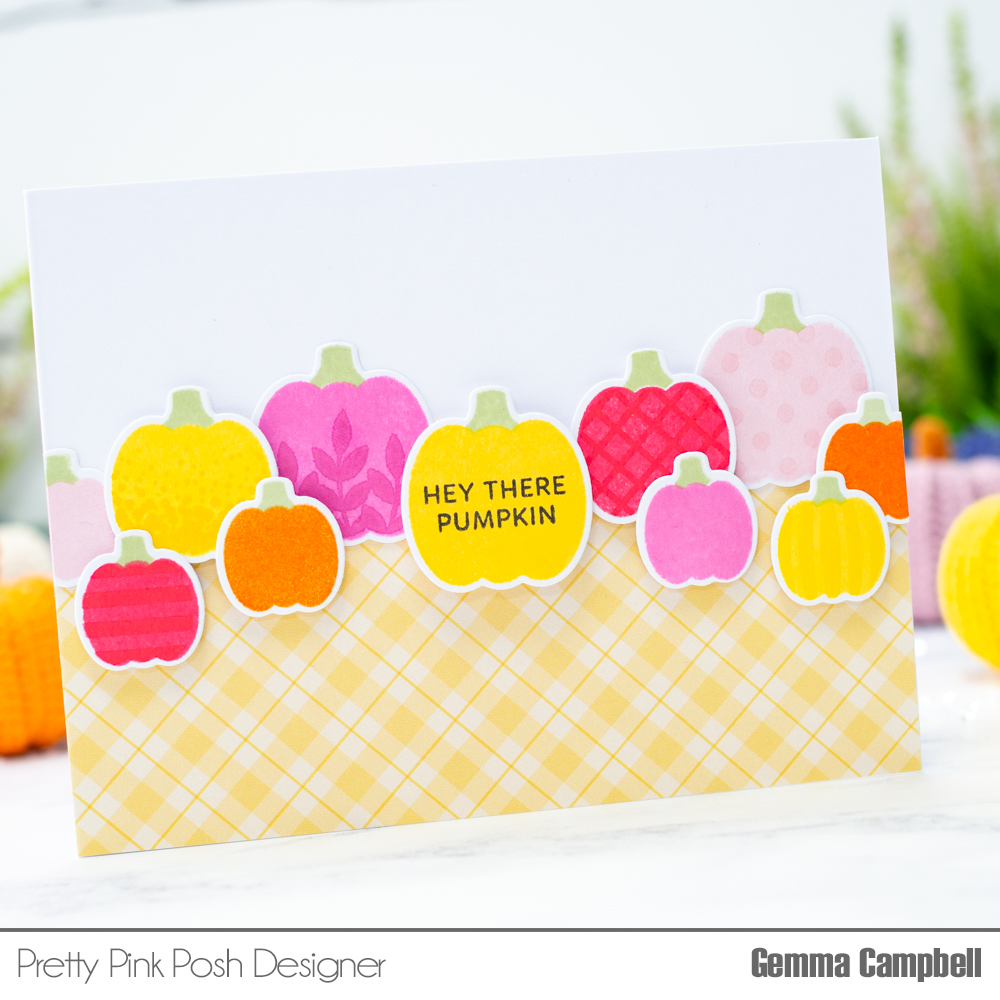
I created pink pumpkins on my first card, using my favorite paper-piecing technique. The Autumn Pumpkins set is perfect for those of you who enjoy coloring in your images, or if you’re like me and love paper-piecing, they’re perfect for that too.
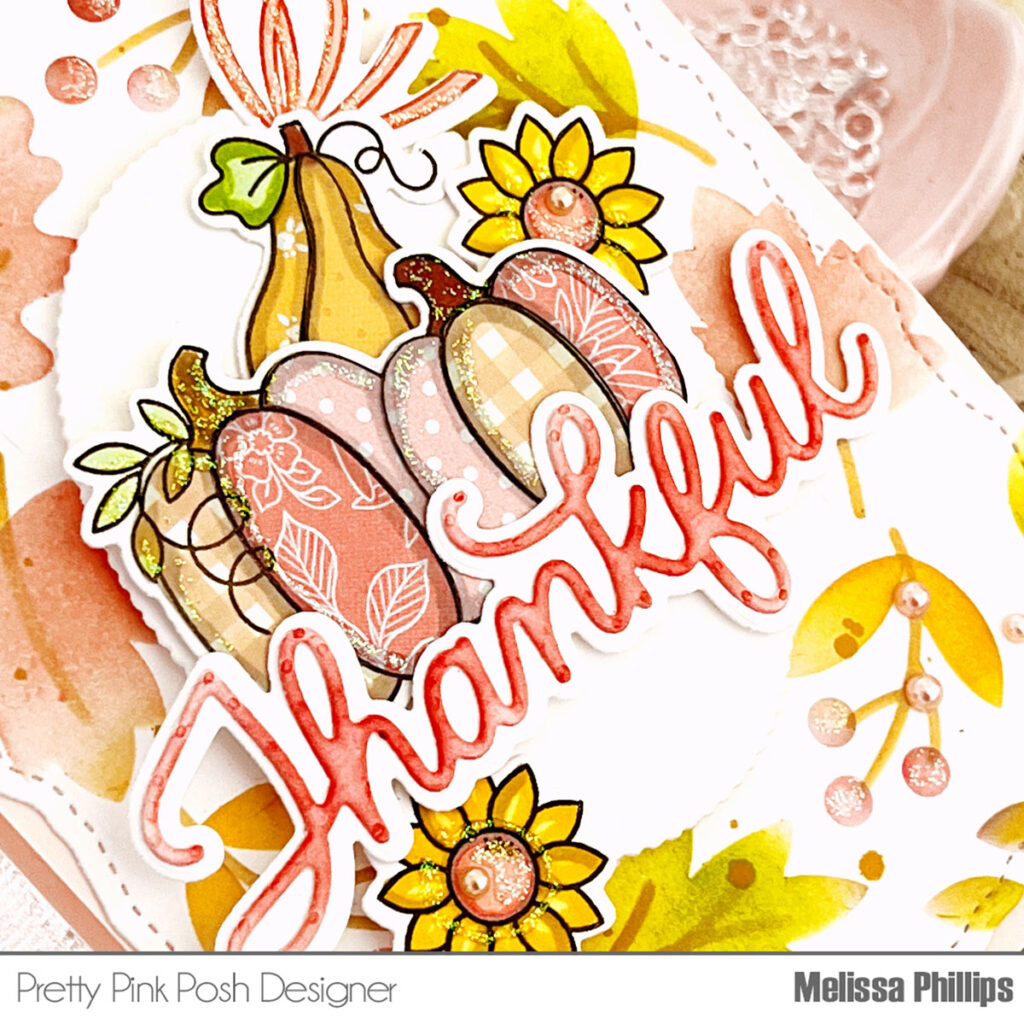
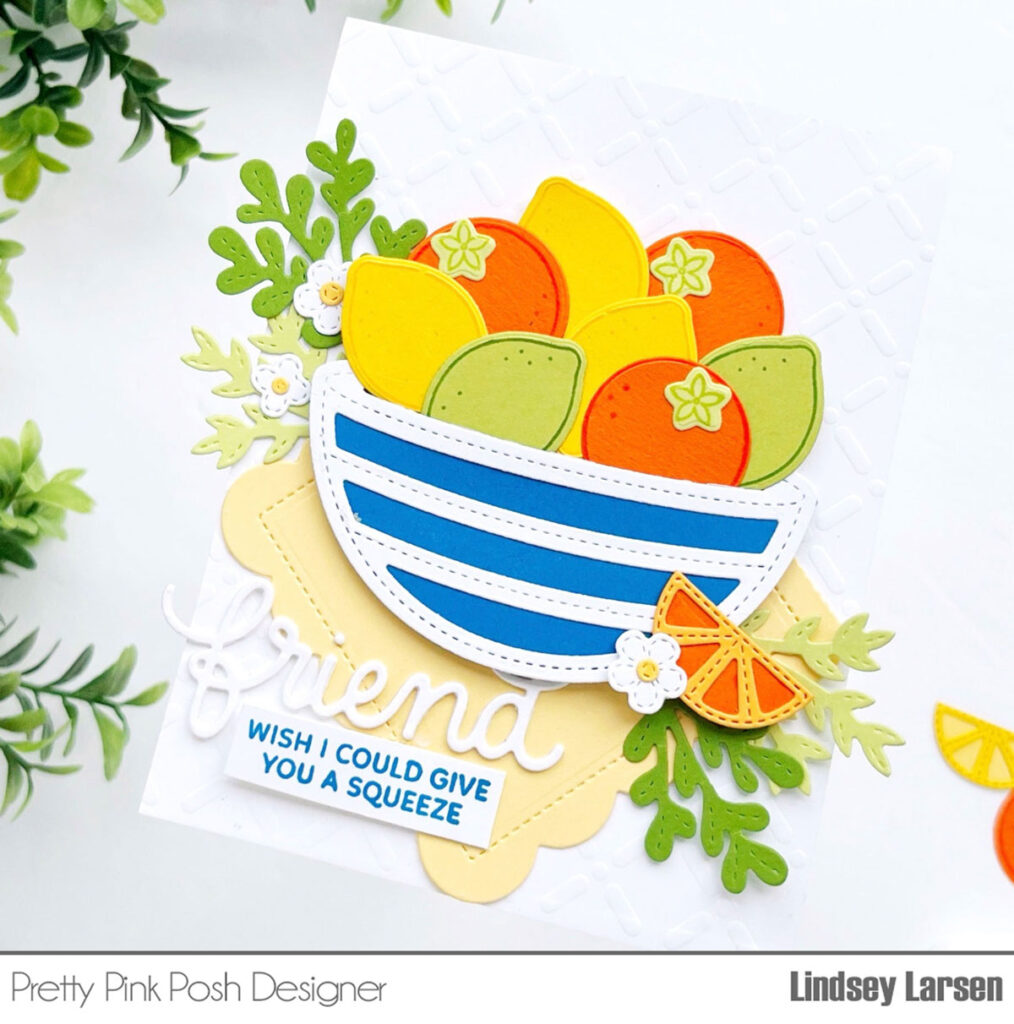
I adore the tiny squash in this set and stacked one on top of my darling pumpkins. In the background, I have used the new Layered Fall Wreath Stencils. This is one of my most favorite stencils from this release…it’s beautiful. I have also used the Stitched Torn Rectangles dies to die cut my background.

My sentiment is from the new Thankful Shadow die, and I accented my Autumn Pumpkins with the tiny sunflower and bow from the darling Fall Jar stamp set.
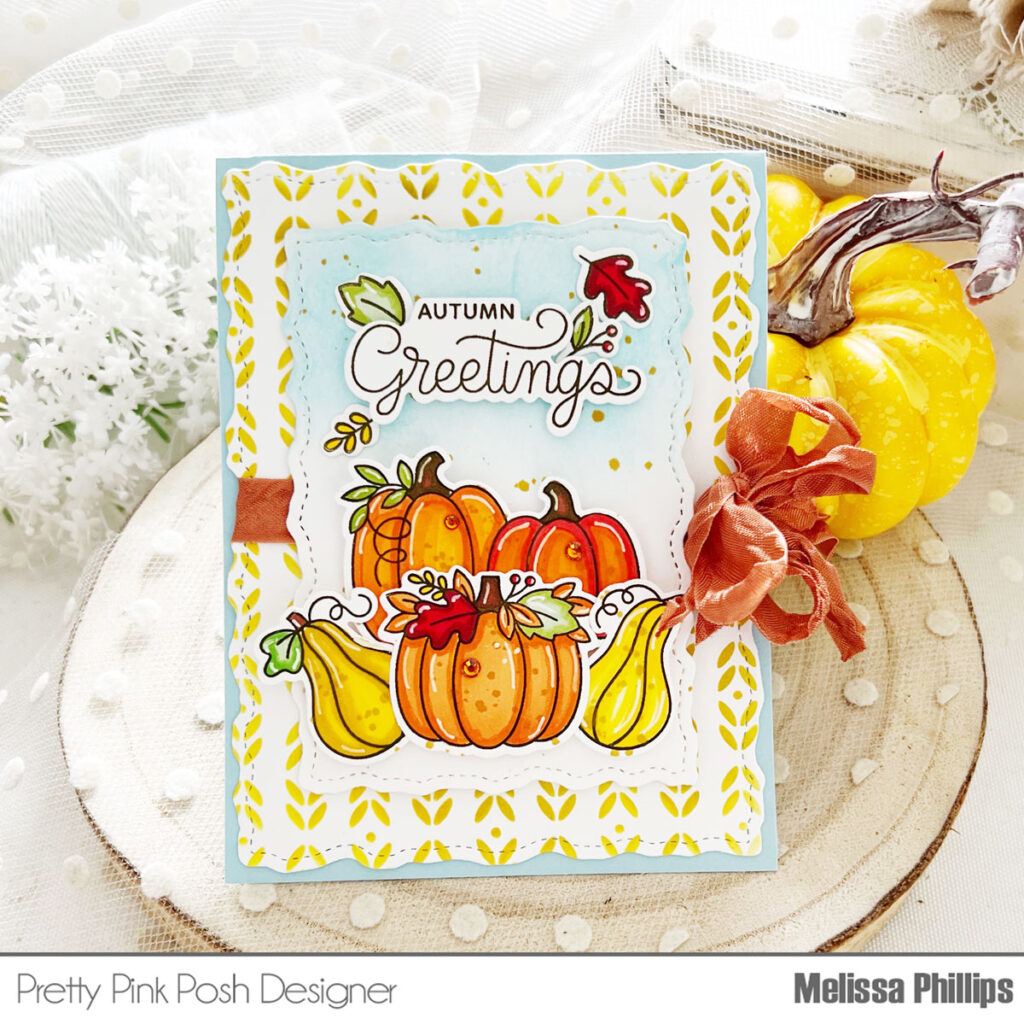
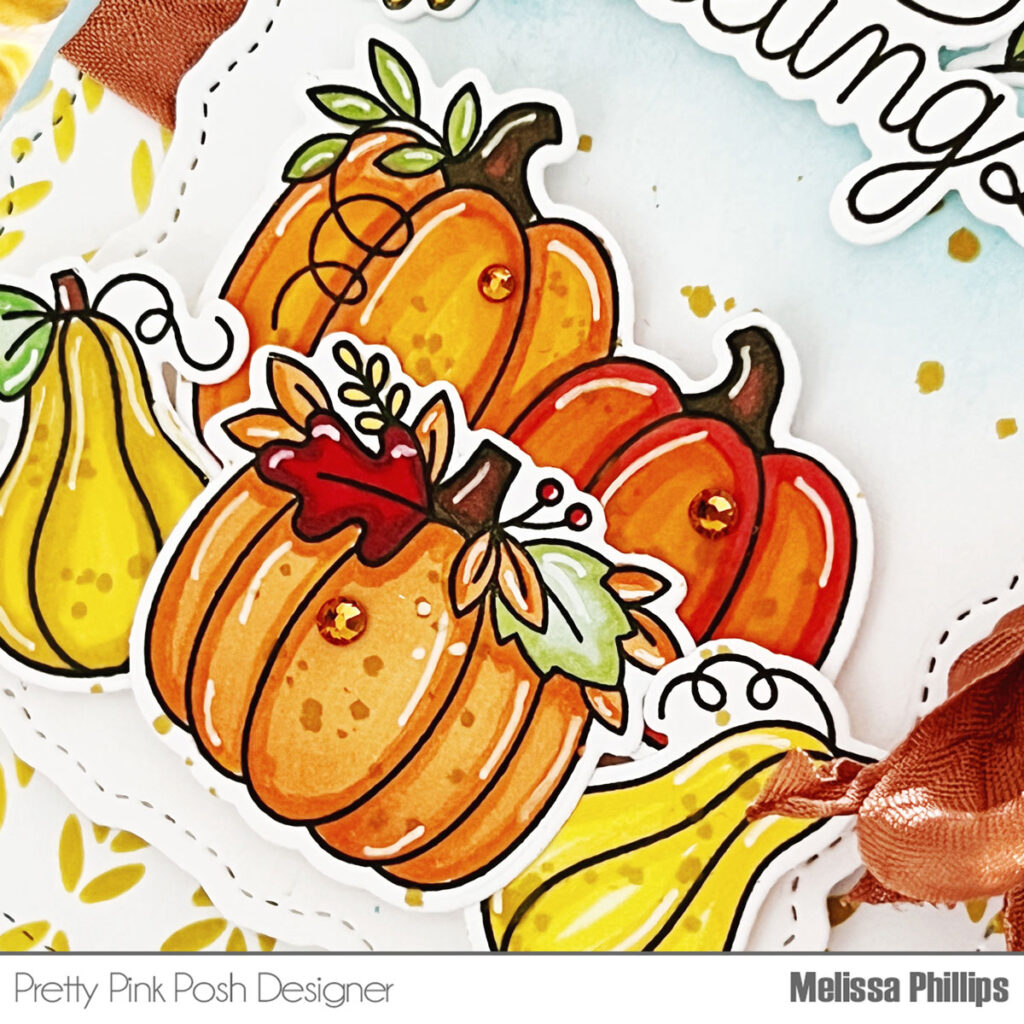
My next card uses more of the sweet Autumn Pumpkins, but this time I used my alcohol markers to add color. I used Distress Spray to add splatters to my pumpkins and background as well.
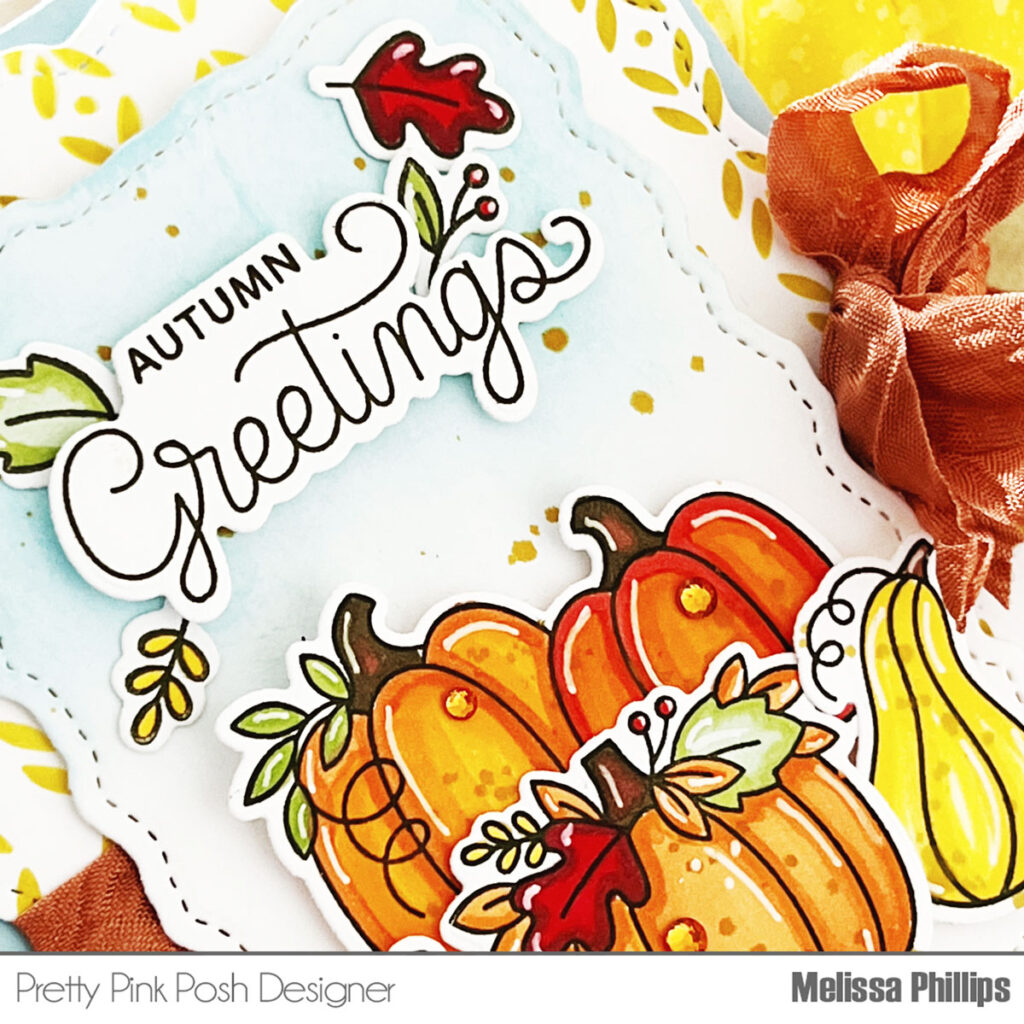
The Stitched Torn Rectangles dies were used once again to build my card. These are quickly becoming a favorite of mine. The base layer was stenciled using the new Deco Leaves stencil. This adorable stencil reminds me of corn on the cob and wheat and I love it!
I sponged ink over my top Stitched Torn Rectangle layer and added a die cut sentiment from the Autumn Pumpkins stamp set and coordinating dies. I added a few falling leaves to embellish around the sentiment and accented with adhesive gems to bring in a little sparkle.
Thanks so much for joining me! Stop by tomorrow for another sneak peek of the upcoming release!