Sneak Peek: Leafy Spring Wreath
Hello, Gemma here today and I’m excited to share a sneak peek of the new Leafy Spring Wreath stamp set, from the upcoming March release. I created two cards, with different looks, to show it’s versatility.
New release will be available March 8th.

I began with a wreath in traditional colours. I stamped out the Leafy Spring Wreath and coloured it with green copic markers.

I stamped the bow, birds, flowers and Easter eggs from the same set, along with some additional Easter eggs from the new Easter Sentiments stamp set. I used copics markers to colour everything in, then die cut them out with the coordinating dies.

On a 5×5 square card base, I adhered a subtle print patterned paper. I added a couple more layers of the wreath for dimension. In one of the centre die cut pieces, I stamped a sentiment from the Leafy Spring Wreath set.
I adhered the wreath and sentiment to the card, then used foam tape to add the Easter eggs, birds and bow, and liquid glue for the flowers.

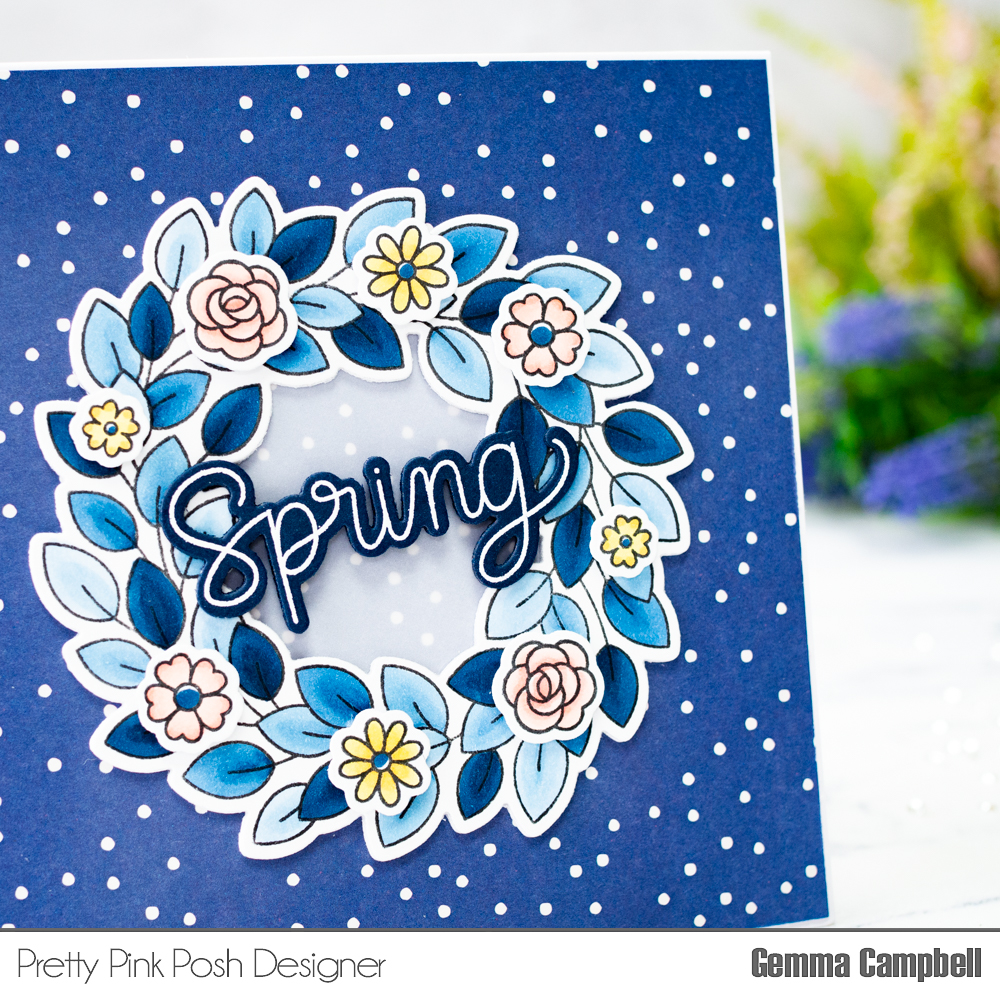
For my second card, I chose non-traditional colours. I love the look of blue and white foliage, and I added pink and yellow flowers for a pop of spring colour.
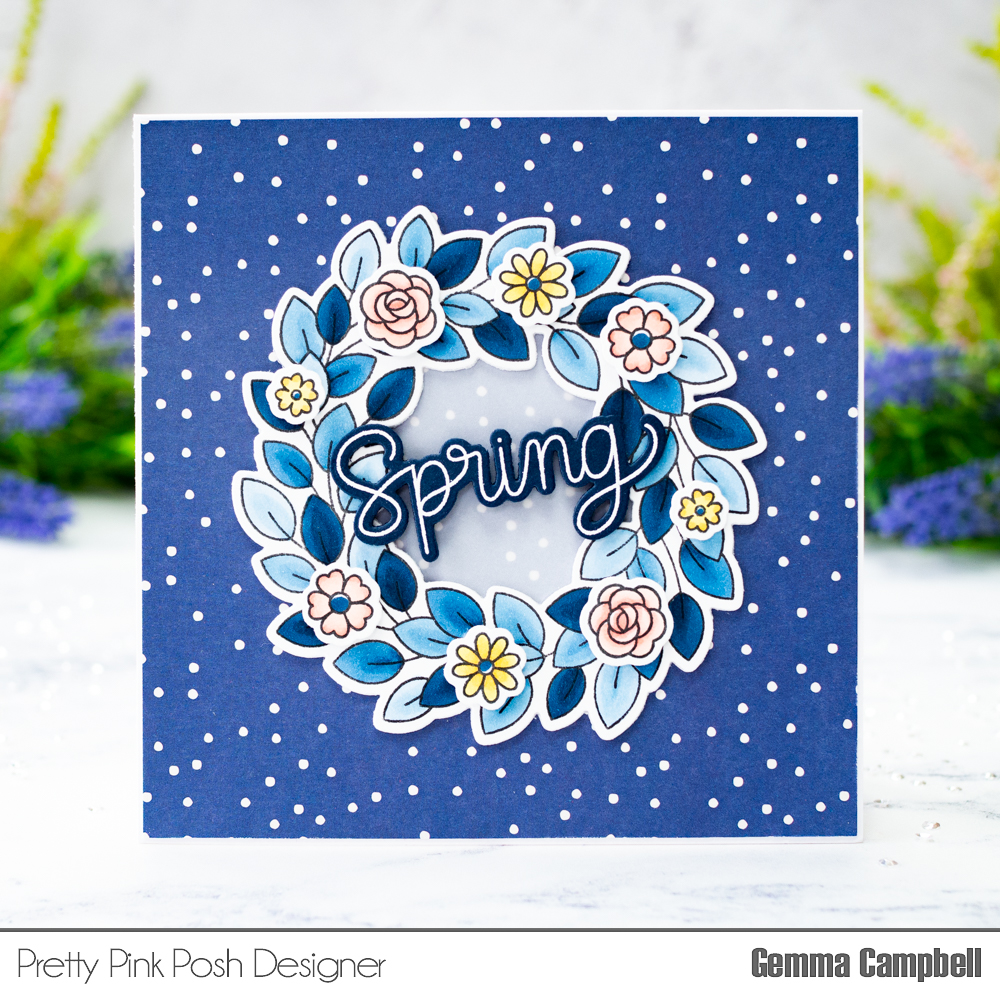
As before, I stamped out the wreath and flowers from the Leafy Spring Wreath stamp set. I coloured the images with copic markers, then die cut them with the coordinating dies.
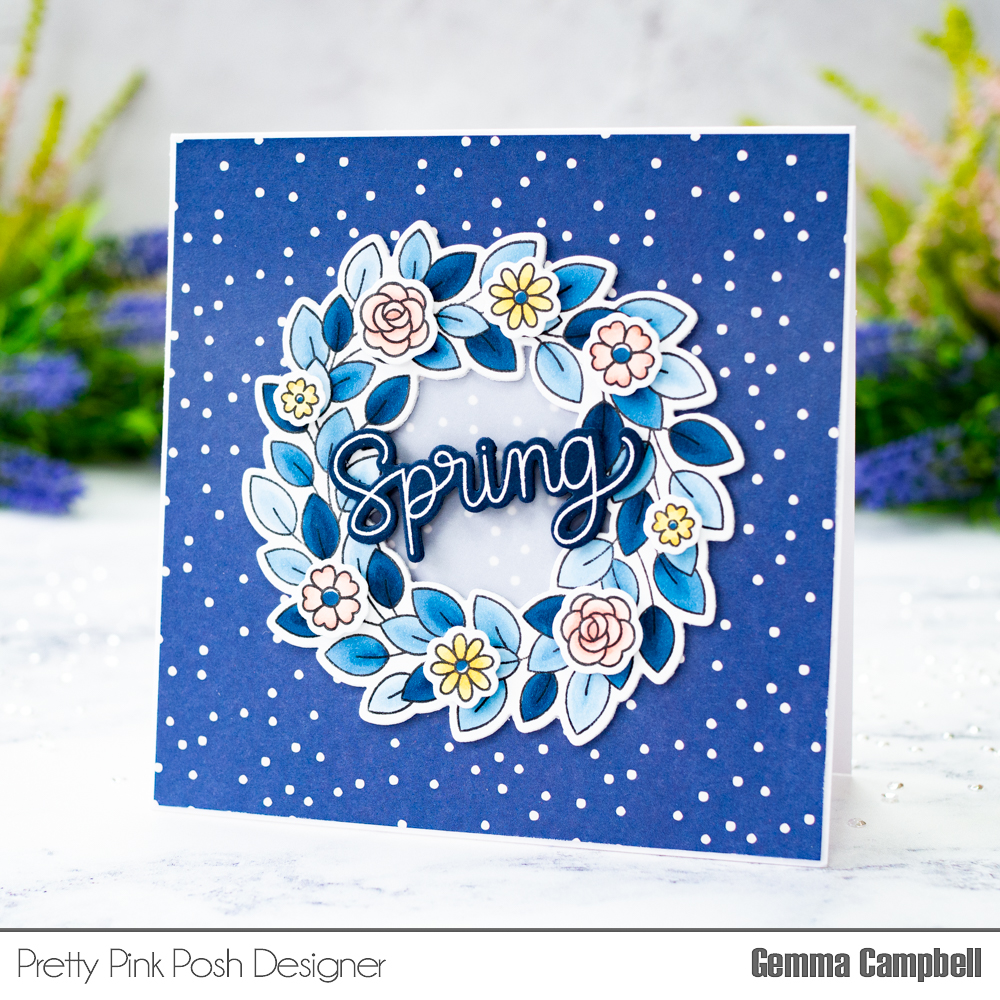
On a 5×5 card base, I adhered a bold patterned paper. I stacked the wreath with a couple more layers for dimension, then added a piece of vellum behind. This will soften the strong background and help the sentiment show up better.
The large ‘Spring’ sentiment is from the Leafy Spring Wreath stamp set. I stamped and white heat embossed the sentiment on navy card, then die cut it with the coordinating die. I added two more layers for dimension, then adhered across the centre of the wreath.
I added the wreath to my card, then the flowers to the wreath with foam tape to finish.
Thanks for joining me today! I hope you were inspired by these samples, this new wreath set is so fun to use!