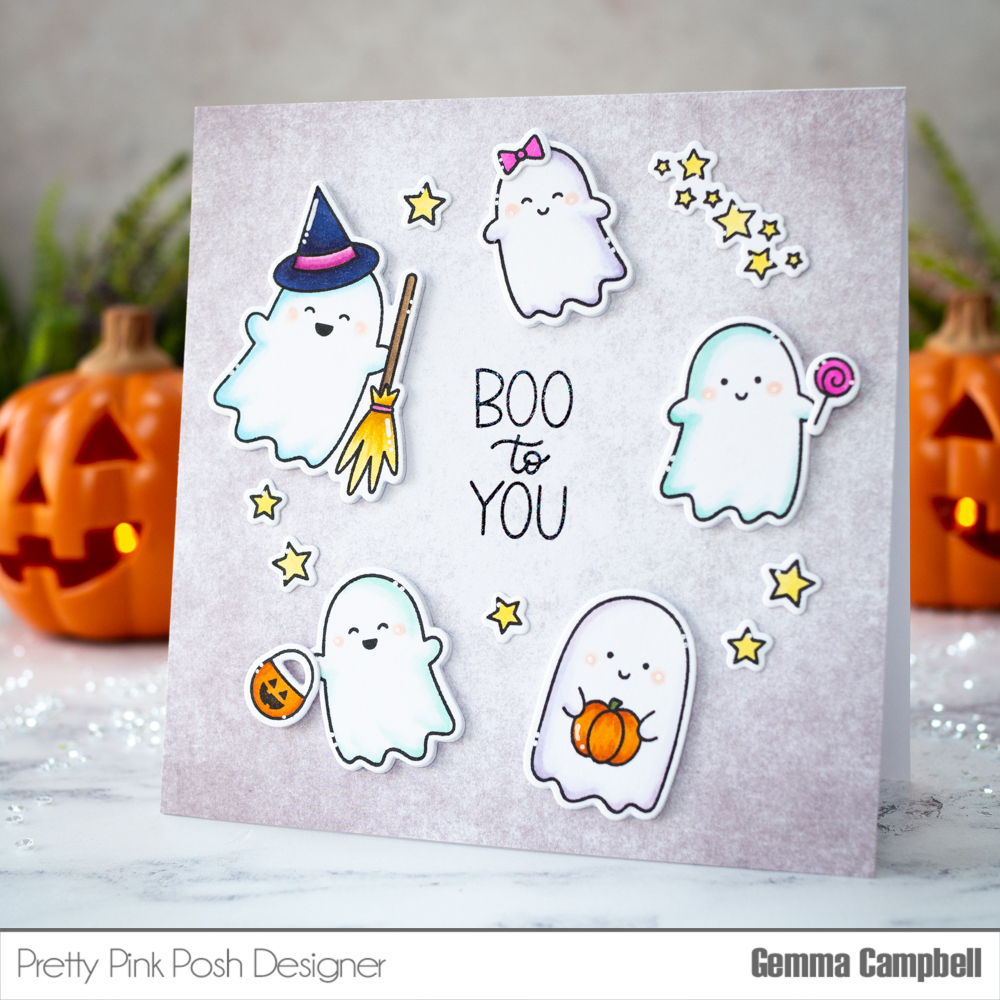
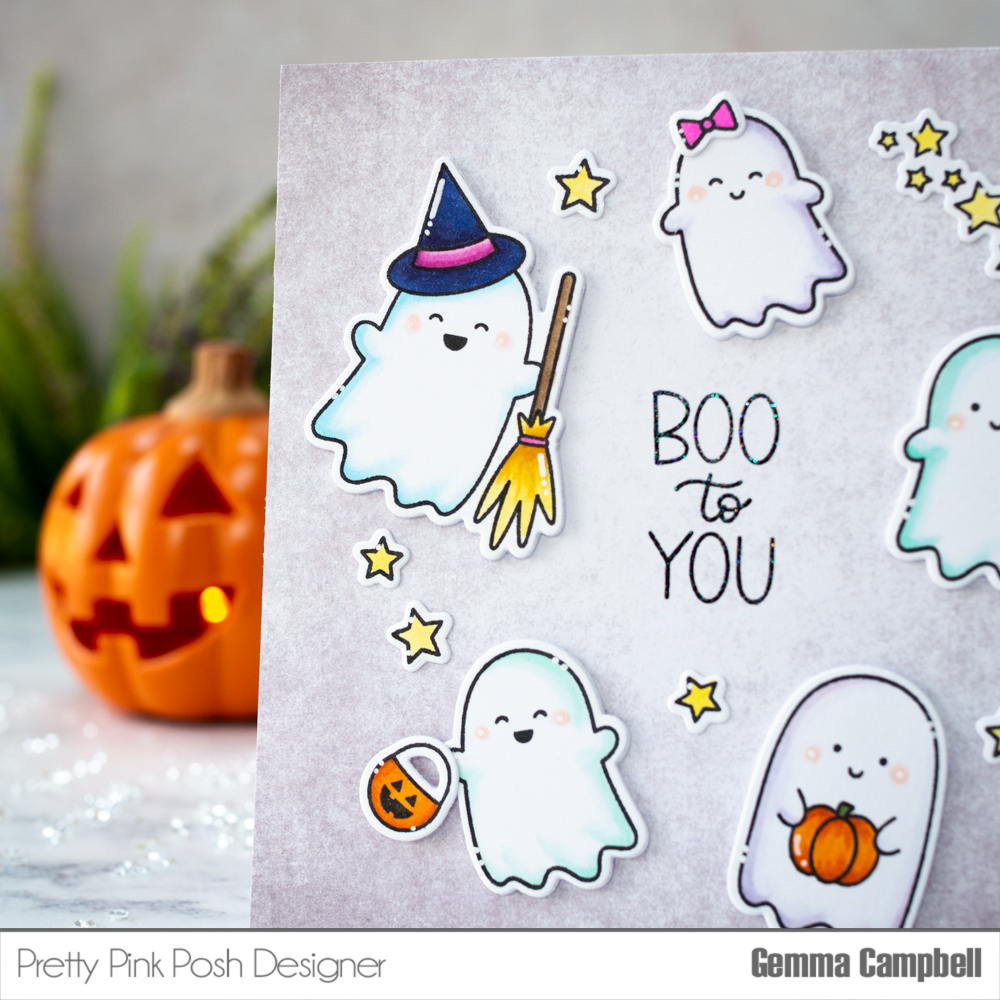
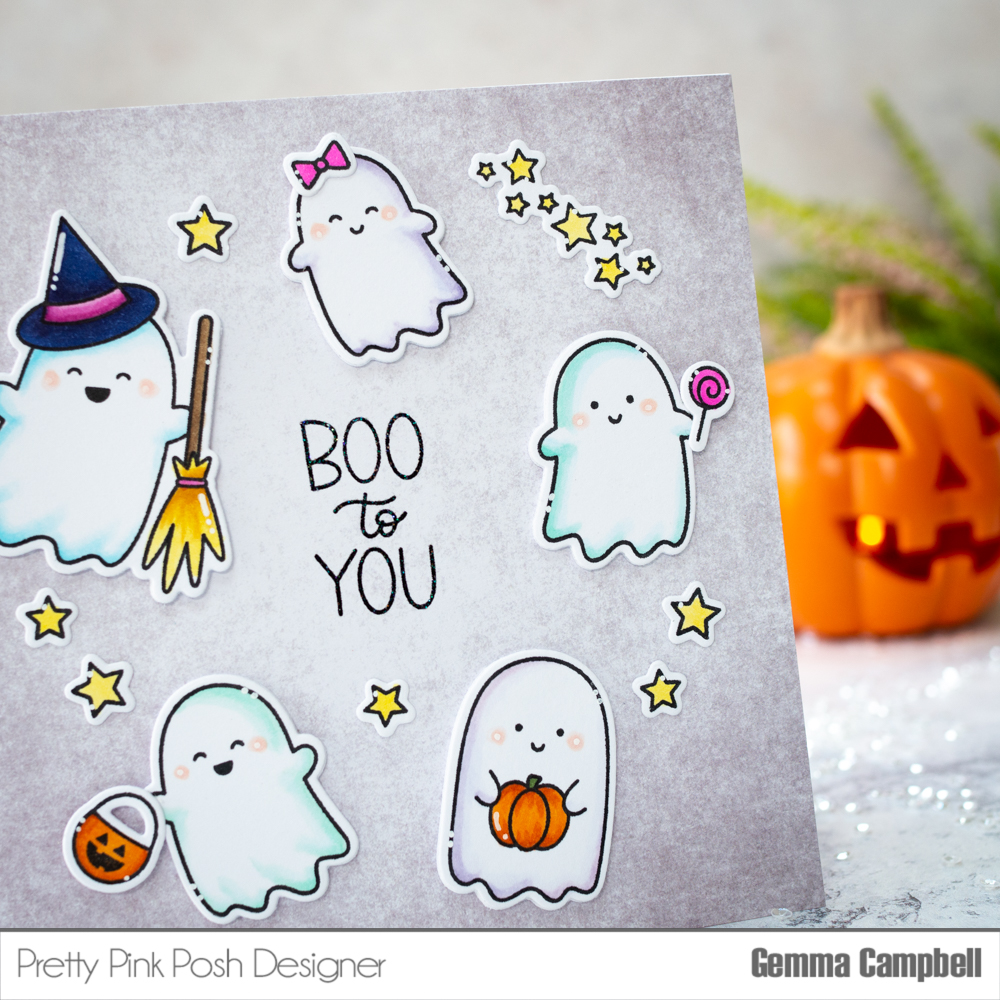
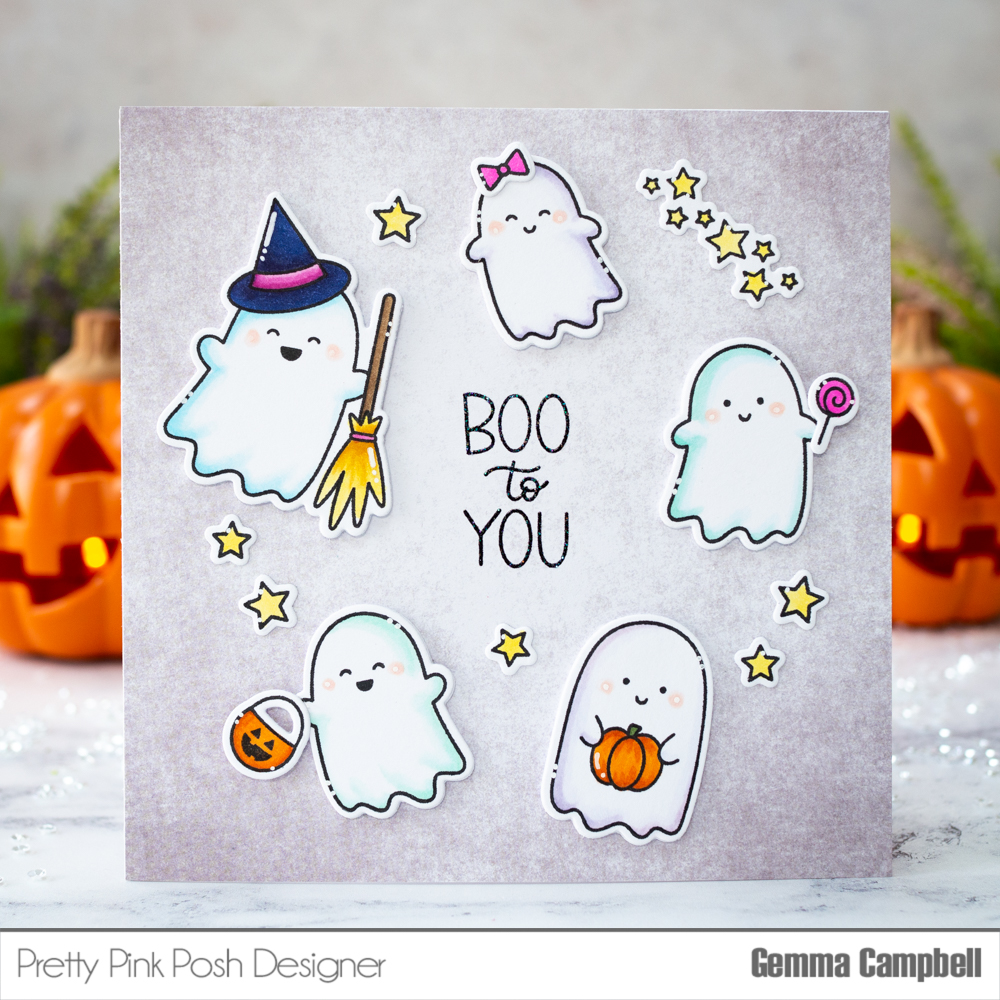
Hello, Gemma here and I’m excited to share a sneak peek of the new Ghost Friends stamp set releasing on August 10th. I love Halloween crafting and this set is great fun!
To begin, I stamped out images from the Ghost Friends stamp set, coloured them with copic markers, then die cut them with the coordinating dies.
For my background, I cut a piece of patterned paper to 5.25” square. In the centre, I embossed a sentiment from the Ghost Friends stamp set, using a black pigment ink and a clear embossing glitter. I then adhered the panel to a card base.
I arranged the images in a circle around the sentiment, adhering the stars with liquid glue and using foam tape to add dimension to the ghosts. I love the accessories in the set that can be added to the ghosts.
I finished by adding white gel pen details to the images.
Stay tuned for more sneak peeks of the upcoming Halloween release releasing on August 10th. Thanks for stopping by!
Hi Friends! It’s Raquel here today. I’m so happy to be sharing some fun sneak peeks of the upcoming Pretty Pink Posh August 10th release!
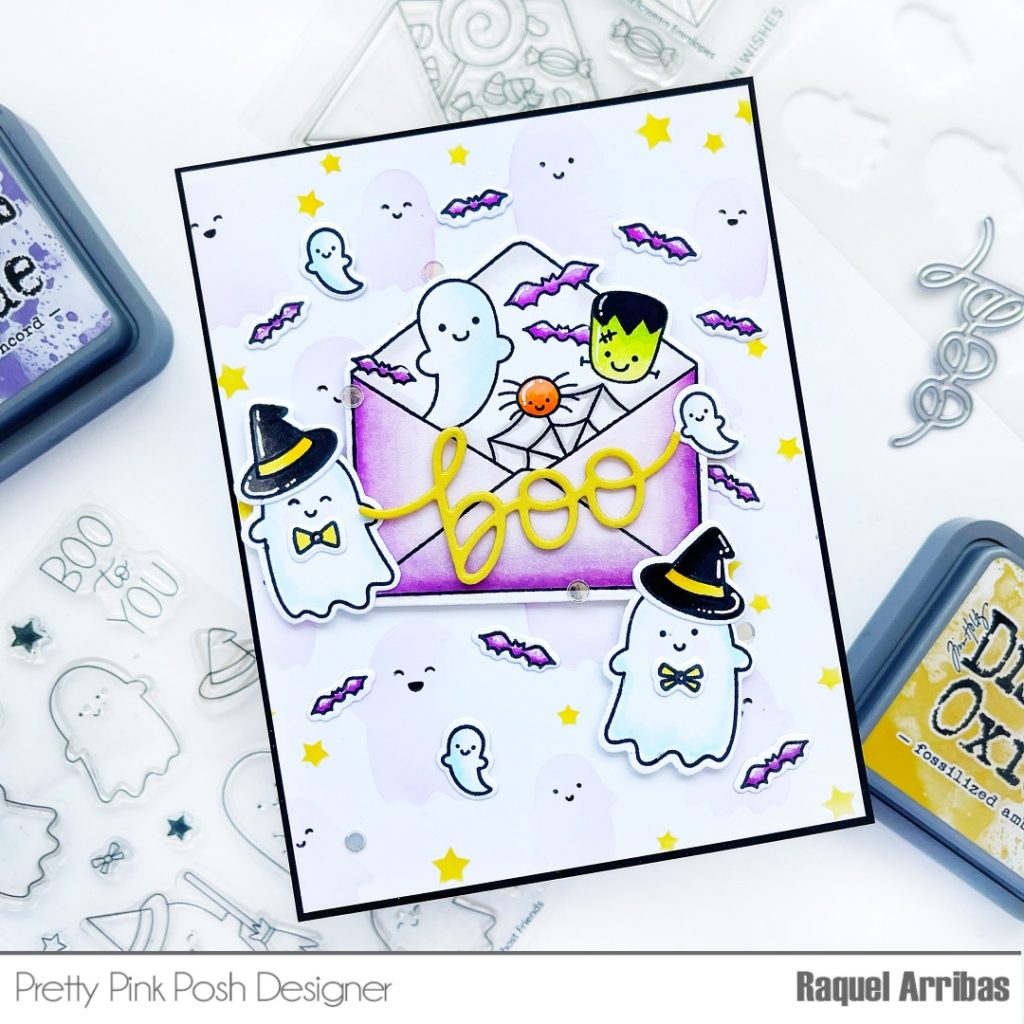
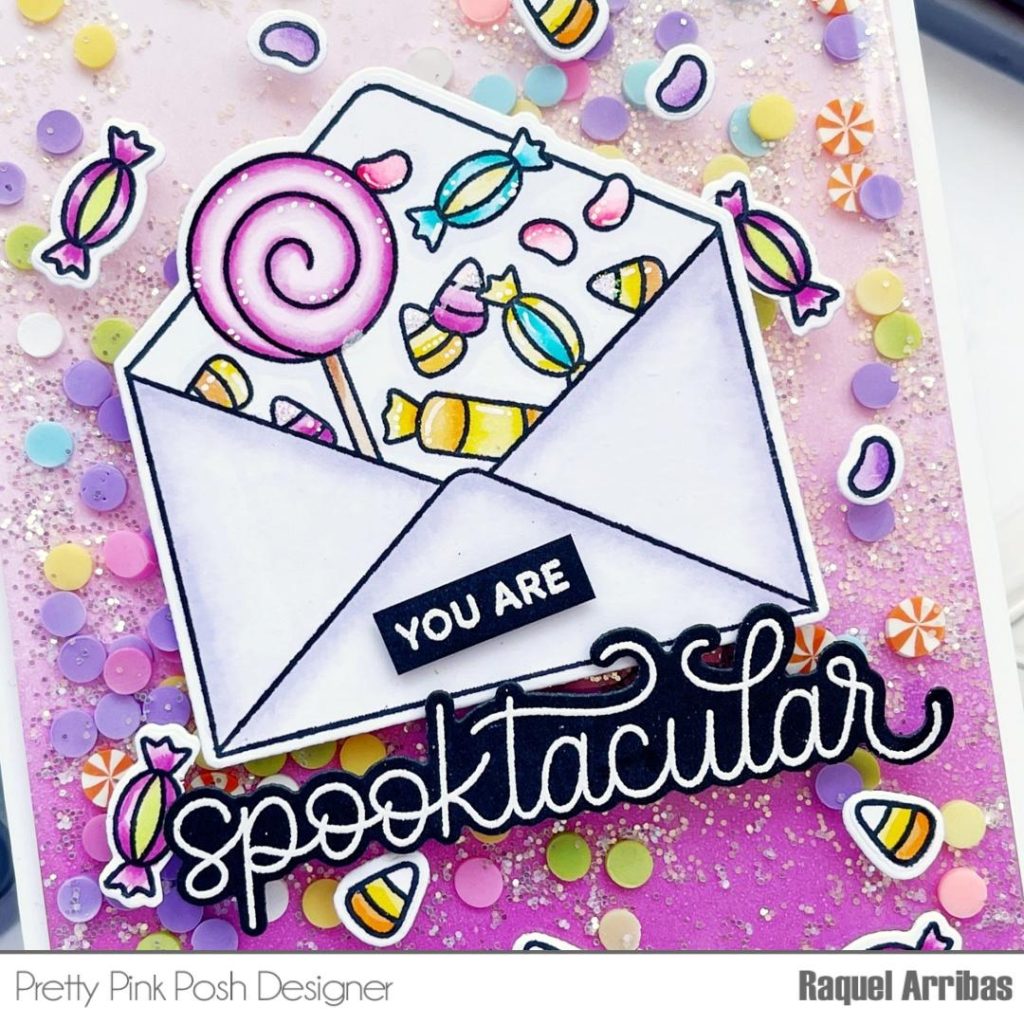
This release is all about Halloween and believe me, you are going to love it. Among the cutest stamp sets of this release, there is this super adorable set called Halloween Envelopes. The envelopes are so unique and gorgeous!
Let’s dive right in and let me show you my first project. To create this fun scene, I started by using the Layered Ghost stencils set.
I wanted to achieve a purple and yellow look to my entire design so I thought Spun Sugar Distress Oxide Ink would do the trick for these little ghosts.
I decided to apply ink more heavily on one side and blend it softly to the other side to get this ghostly look.
These stencils are so super easy to use! With the second layer I applied Black Soot Ink for the eyes and for the third and final layer, I used Fossilized Amber Distress Oxide Ink for the stars. I trimmed it to a 4 ¼ and 5 ½ size panel since I knew I wanted a black border to show.
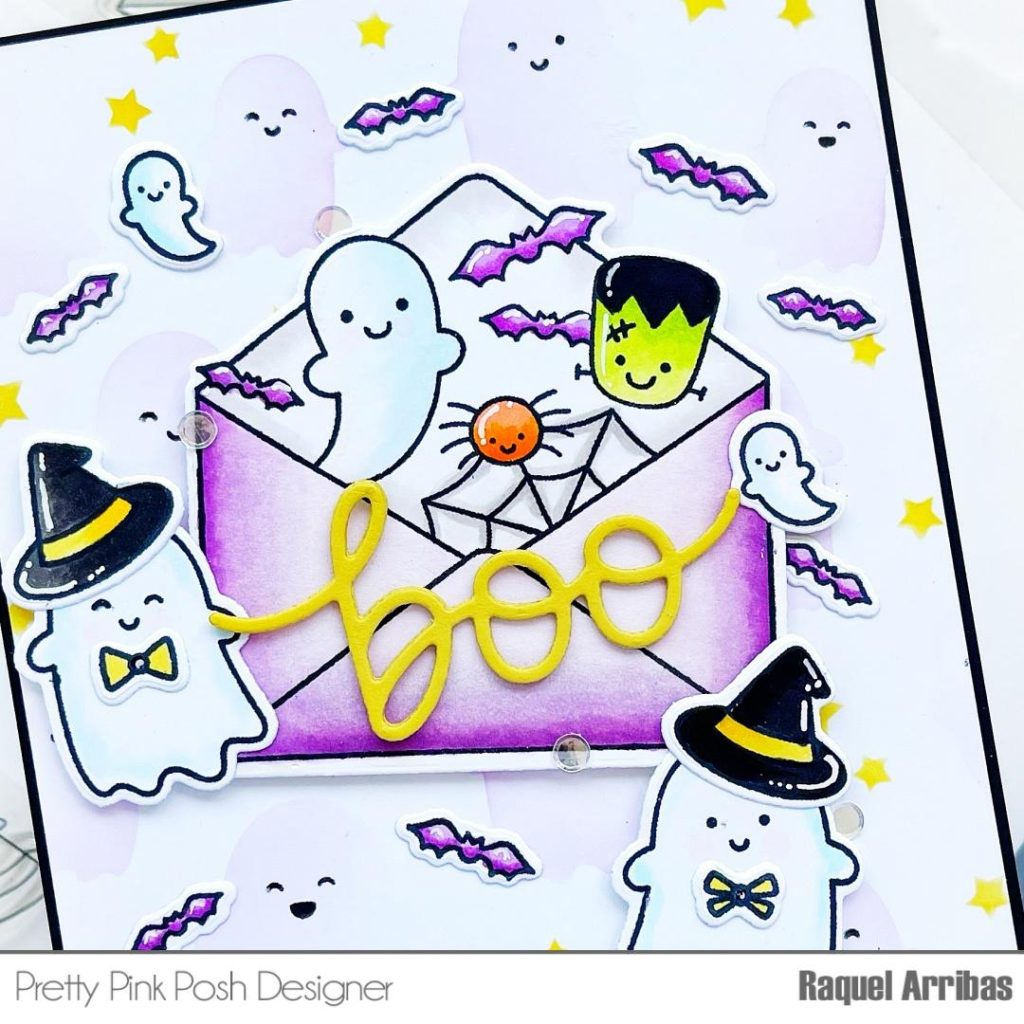
Next up I stamped my Halloween Envelope in Memento Tuxedo Black Ink and colored the images with Copic markers.
I used:
Boooo and Booo for the Ghost, Y
G00 and YG01 for the little Frankestein,
YR14 and YR16 for the Spider
W0 and W1 for the Spider Web
V6, V5, V12, V1 and V000 for the envelope.
Once I die cut this image with the Halloween Envelopes coordinating dies I foam mounted it onto the Layered Ghost Stenciled panel.
I wanted to dress up the scene a bit so I decided to add some little bats and ghosts from the same set. I colored them in the same colors of the envelope.
To complete the scene, I used some more ghost from the Ghost Friends stamp set. I also used the same markers (B0000 and B000) to color these bigger ghosts. I made them wear these super fun hats and bows which I believe are just perfect and make them even more adorable!
Finally, I just had to add my sentiment, so I thought the Boo Script Die in yellow was the perfect fit.
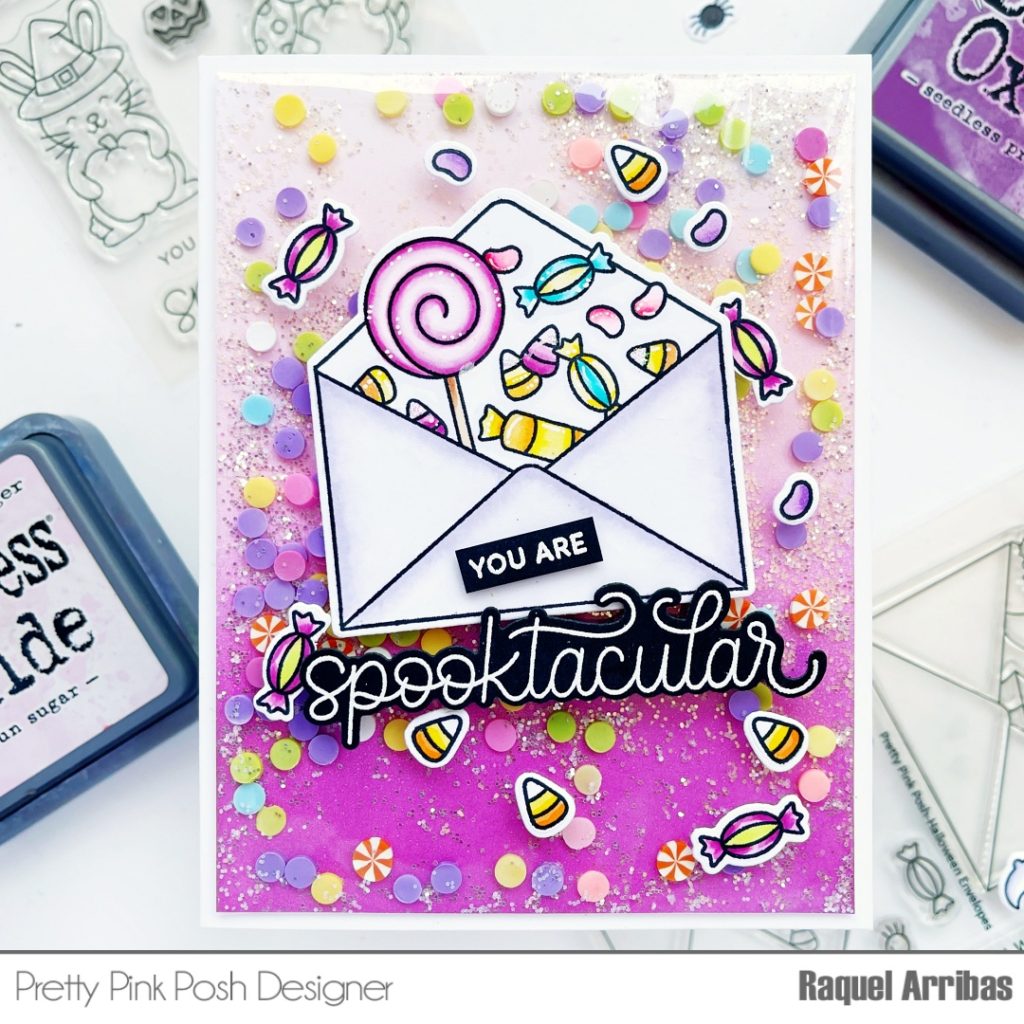
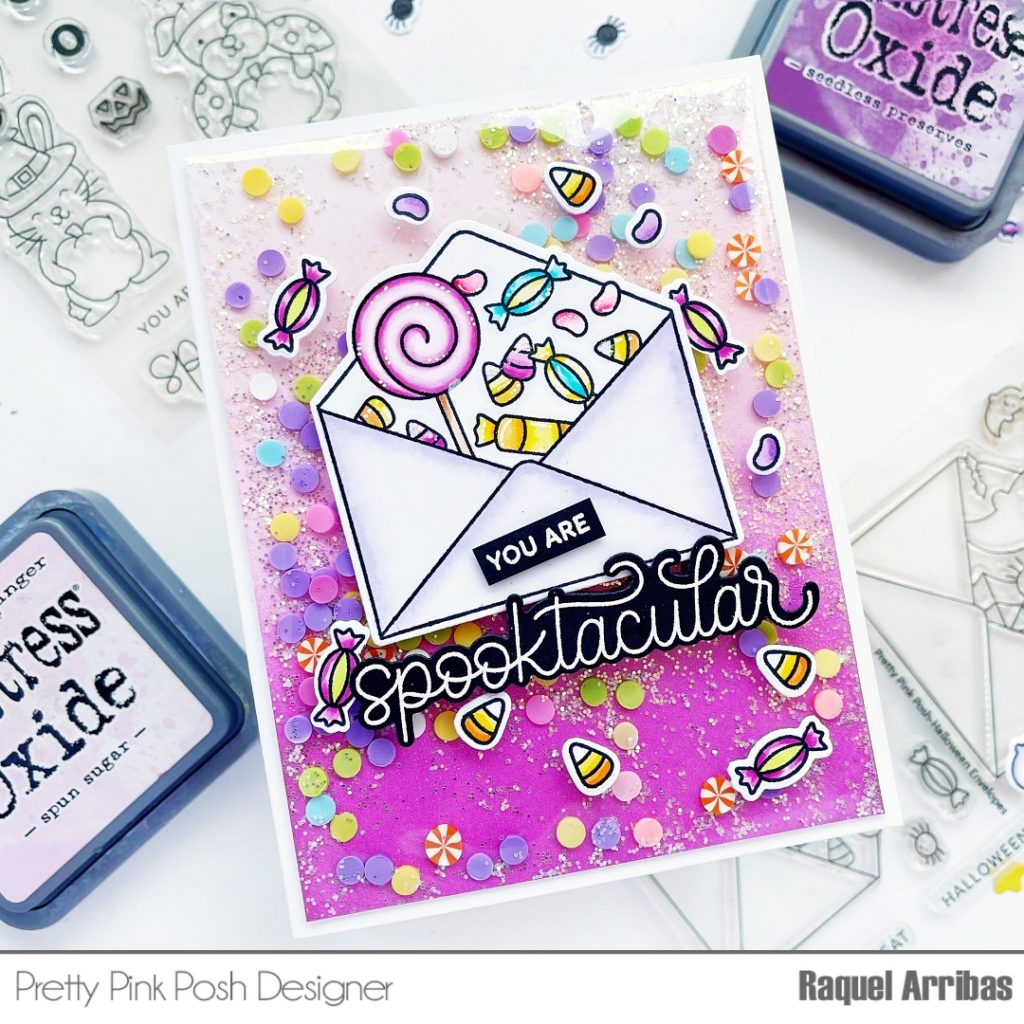
I started out by ink blending an A2 panel of white cardstock with Span Sugar and Seedless Preserves Oxide Distress Inks.
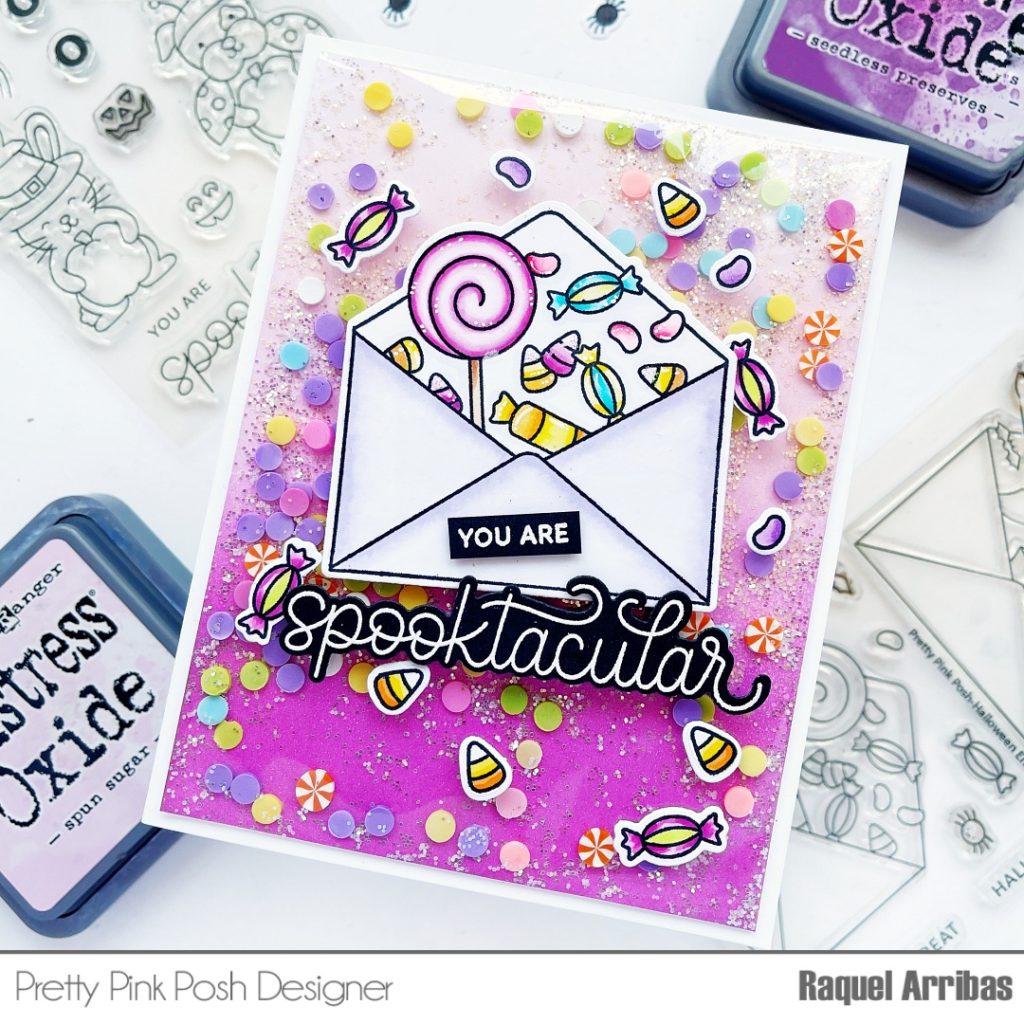
Next I colored another envelope from the same set: Halloween Envelopes, along with some of the smaller images that come in this set. This is what I love most about this set, it has these super cute envelopes, but it also has the cutest small images that are perfect to dress up your design.
I also used Copic Markers to color my images:
V0000, V000, V12, V05, V06 for purples,
BG15 and BG000 for blues,
Y11 and Y13 for yellows,
YR16 and YR14 for oranges,
RV13 and RV00 for pinks.
BV0000 and BV000 for the envelope.
Next up I trimmed my panel to 4 by 5 ¼ inches and adhered a plastic from some packaging I had all around the back of the panel except to the top.
I hand picked some clay confetti from several sets: Spooky Fun Mix, Monster Mash Mix, Spooky Night Mix and Halloween Party Mix and put it my shaker along with some crystal glitter.
Once I closed the flap of my shaker, I adhered the envelope and small images onto the Infinity Shaker card.
Lastly, I white heat embossed the sentiment You are Spooktacular from the Halloween Critters Stamp set and placed it onto the envelope.
I hope these projects inspire you to create. Stop by tomorrow for another sneak peek of the Halloween release!
Hi friends! It’s Dana here today and I am excited to be back showing you a sneak peek of the new stencils coming to Pretty Pink Posh on June 16th.
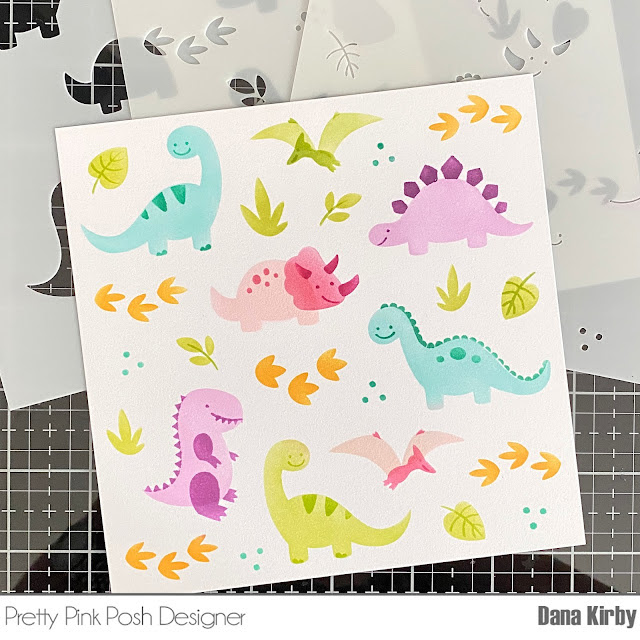
This release includes five new stencil sets: Layered Construction Trucks, Layered Cars, Layered Roads, Layered Dinosaurs and Dino Dig. The Layered Roads and Dinosaur Dig stencils make great backgrounds and coordinate perfectly with the stamp sets being released this month too. I created two cards to share with you today so let’s get started.
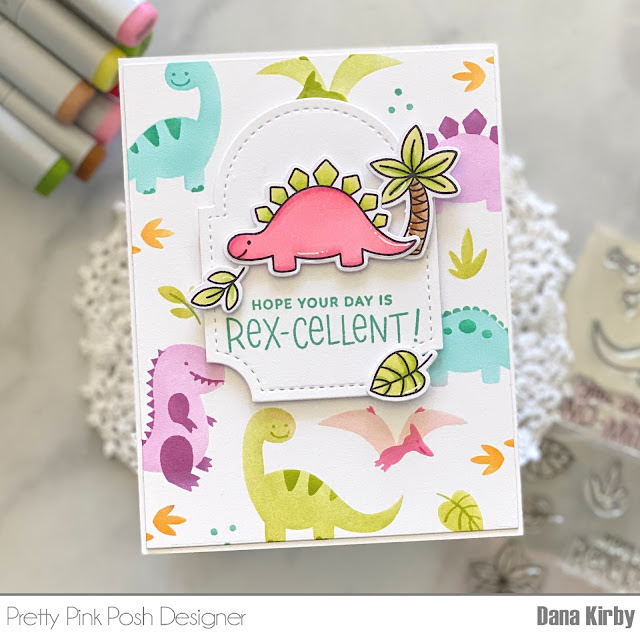
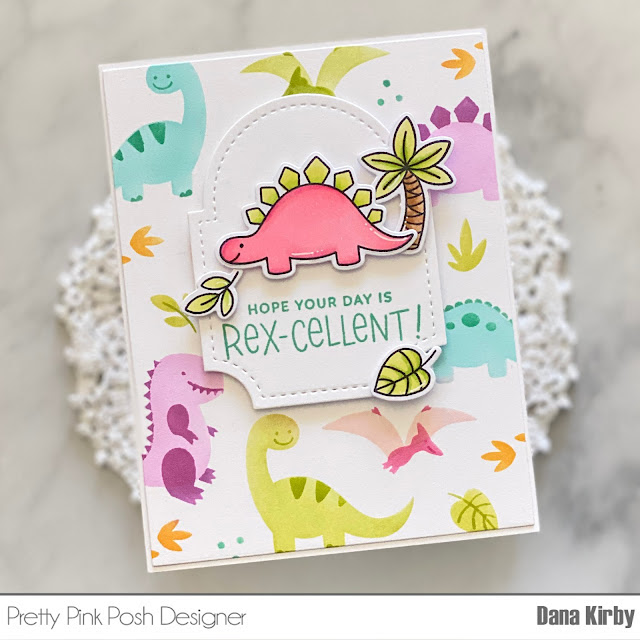
I started my card by making my card panel with the Layered Dinosaur stencil. This is a three pack of stencils that layer perfectly to create the cutest dinosaur panel. I used dye inks and finger daubers for all of my blending.
Next, I trimmed my panel down and attached it to an A2 card base. I then used the new Dinosaur Friends stamp set to stamp my images. I colored them with Copic markers and used the new Dinosaur Friends dies to cut them out. Lastly, I used the Spring Circles die set to create my frame for my sentiment and stamped images.
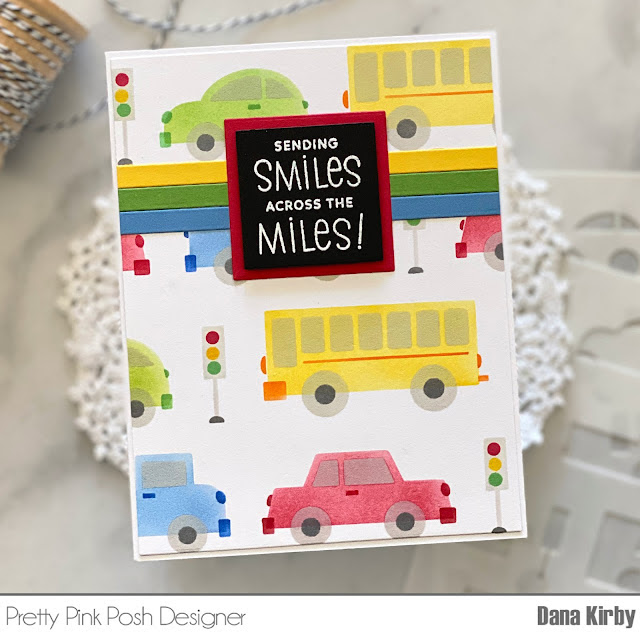
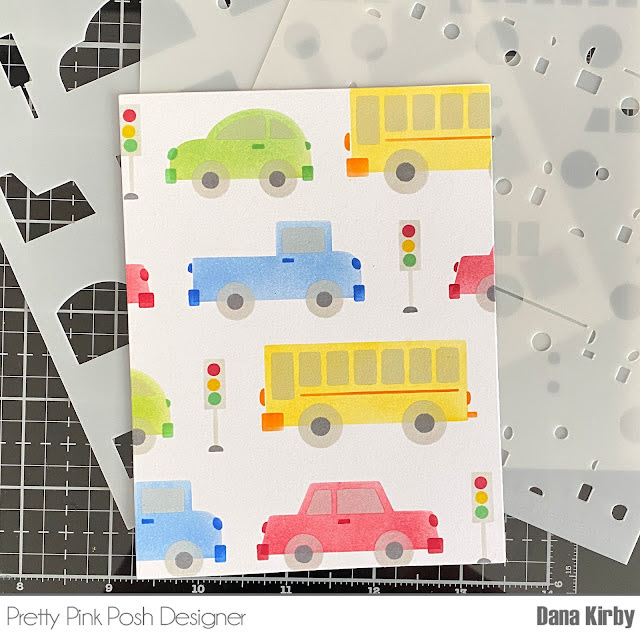
My next card uses the new Layered Cars stencil set.
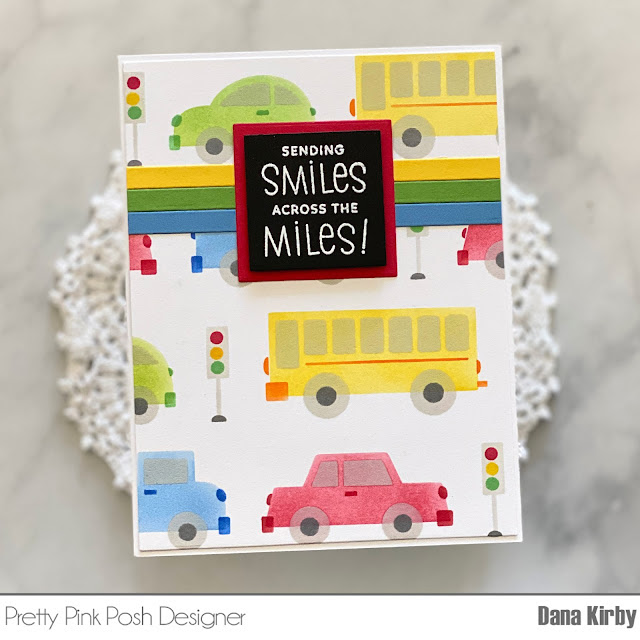
The layered Cars stencil pack is also a three pack of stencils. I once again used finger daubers and dye ink to create my card panel. Each layer lines up on top of the previous layer to give the vehicles such fun details.
Once I trimmed my panel down I added three coordinating strips that had been die cut with the Simple Strips die. Lastly, I used the new Across the Miles stamp set to stamp my sentiment and finish my card.
Thanks for joining me today. I can’t wait to see what you create with these fun new products! Join us tomorrow as we reveal all of the new products and the bundles go up for sale.
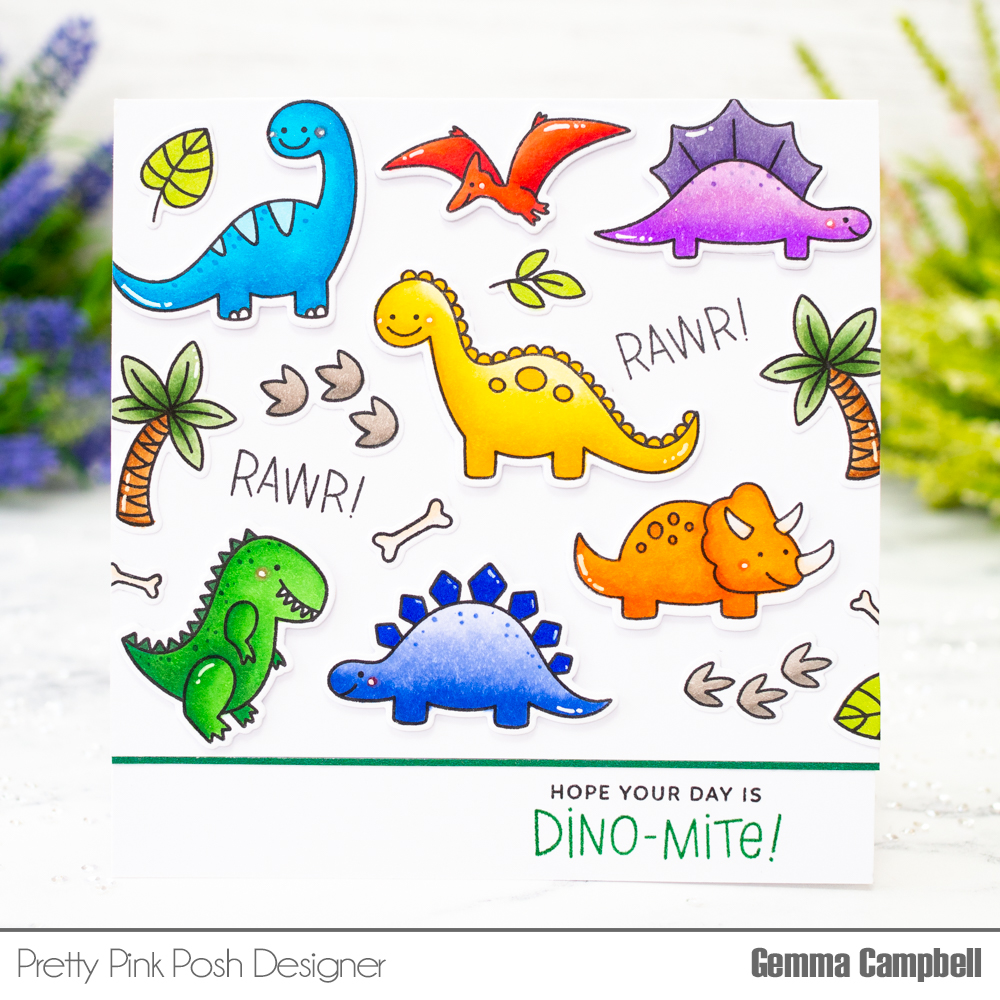
Hello, Gemma here today and I’m excited to share some sneak peeks of two fabulous new stamp sets – Dinosaur Friends and Dinosaur Additions. These sets release on June 16th.
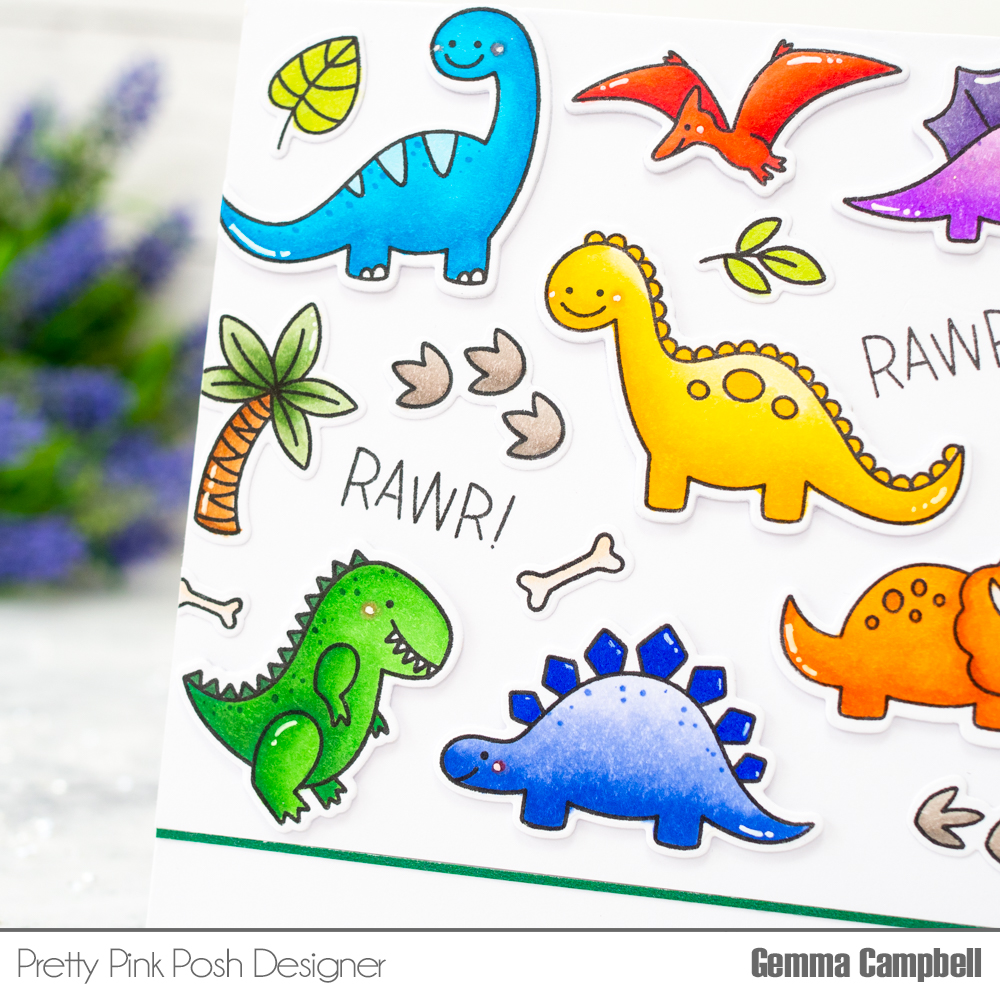
For my first card, I stamped out images from both sets and coloured with my copic markers. I then die cut the images with the coordinating dies.
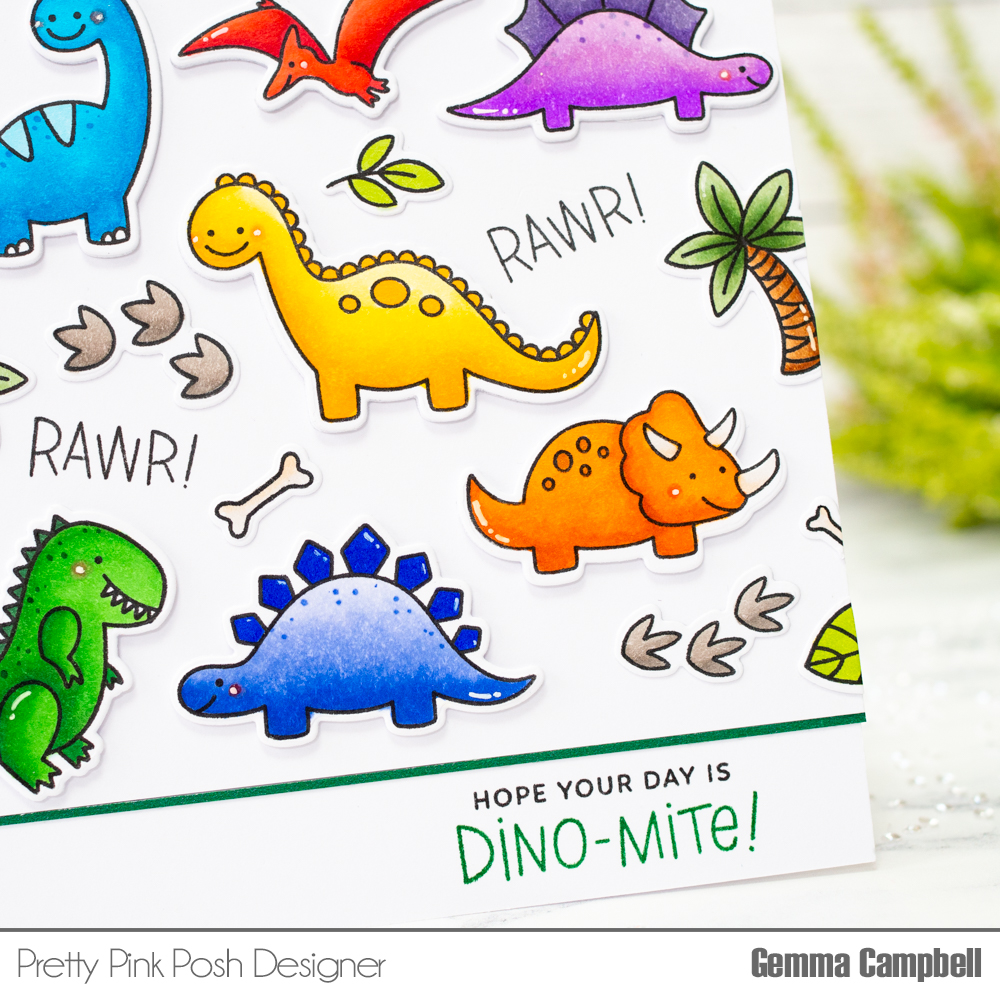
I added extra die cut layers behind the dinosaurs, then arranged all the images on a white card panel. I left space to stamp two ‘rawr’ words between the images. This is from the Dinosaur Additions stamp set.
On a 4.75” square card base, I customised a greeting using two of the sentiment stamps from the new Dinosaur Friends stamp set.
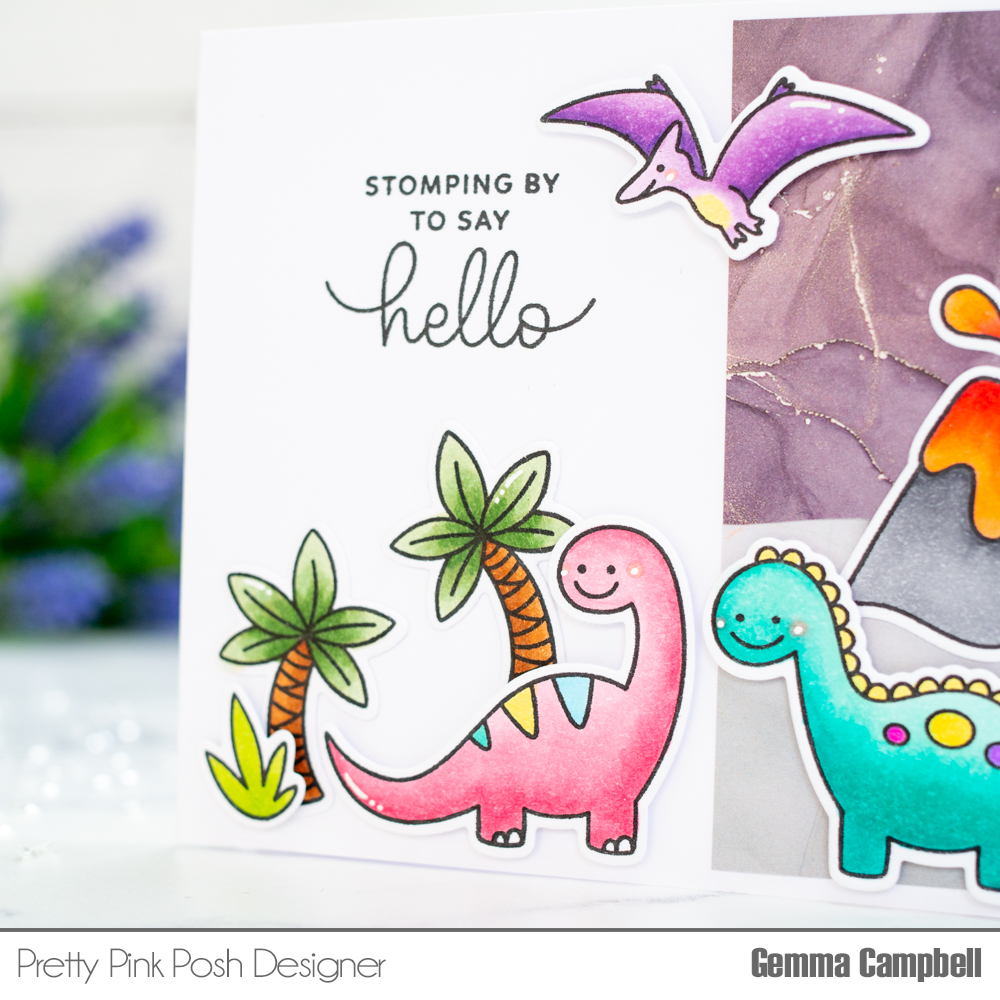
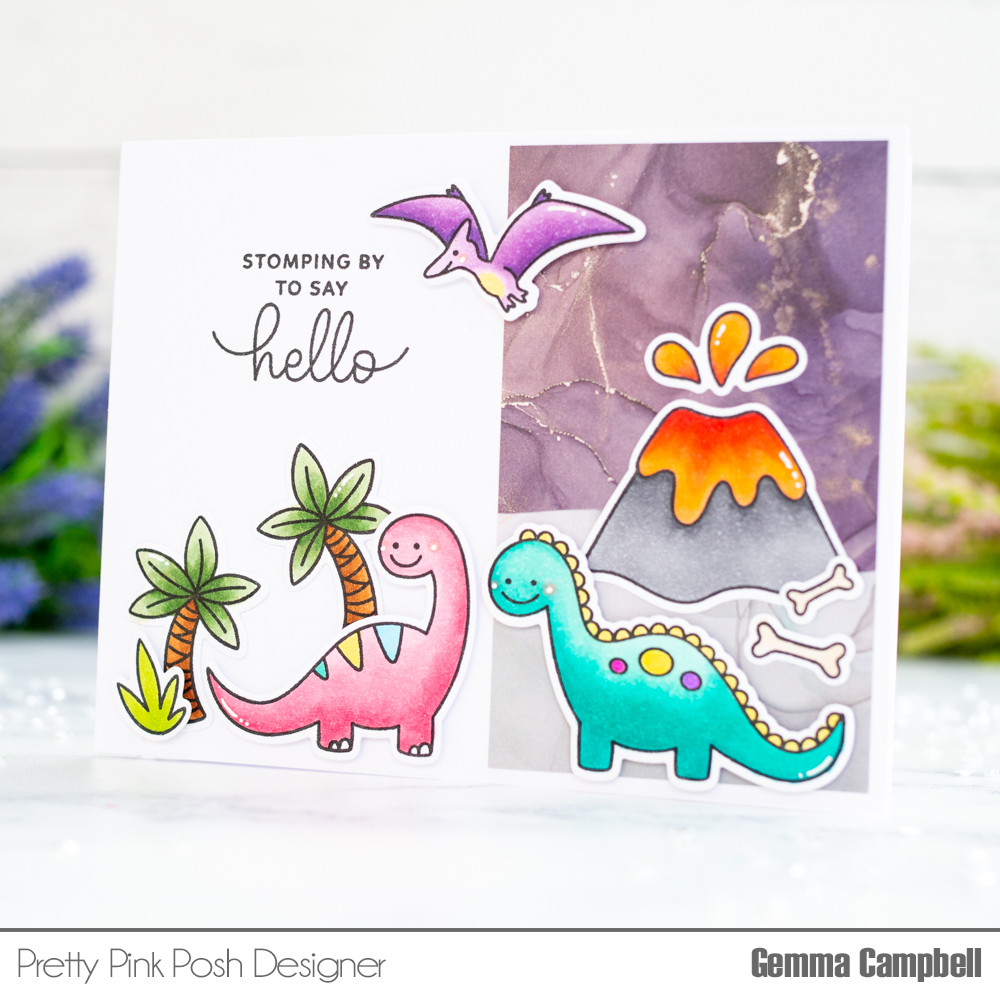
On my second card, I created a mini scene using the volcano image from the Dinosaur Additions stamp set. I cut two pieces of patterned paper to create a dramatic sky with ground, then adhered this to my A2 card base. I left space to the side to stamp a sentiment from the Dinosaur Additions stamp set.
The images used are from both Dinosaur Friends and Dinosaur Additions, coloured with copic markers and die cut with the coordinating dies.
I adhered some images with liquid adhesive and others with foam tape, placing them both on the background area and on the white space, to break out the scene.
Thank you for stopping by! Join us tomorrow for a sneak peek of the new stencils coming on June 16th.
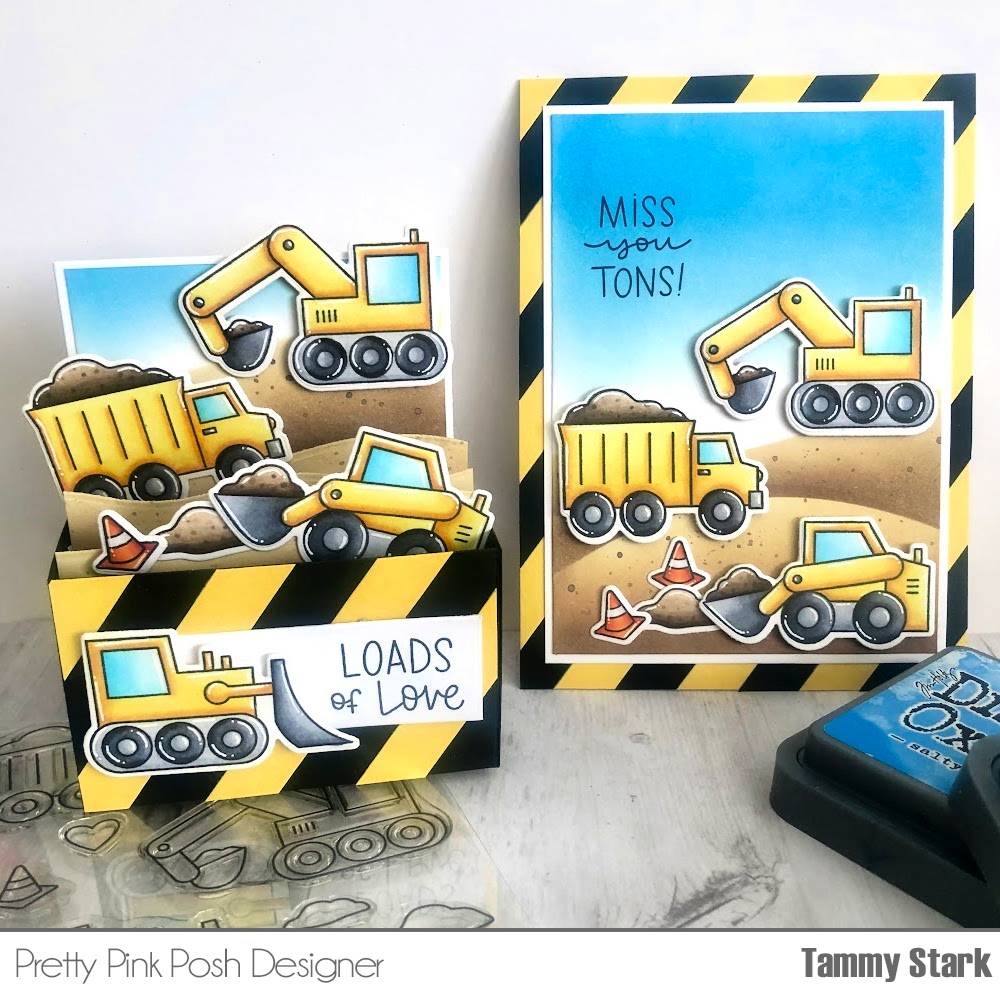
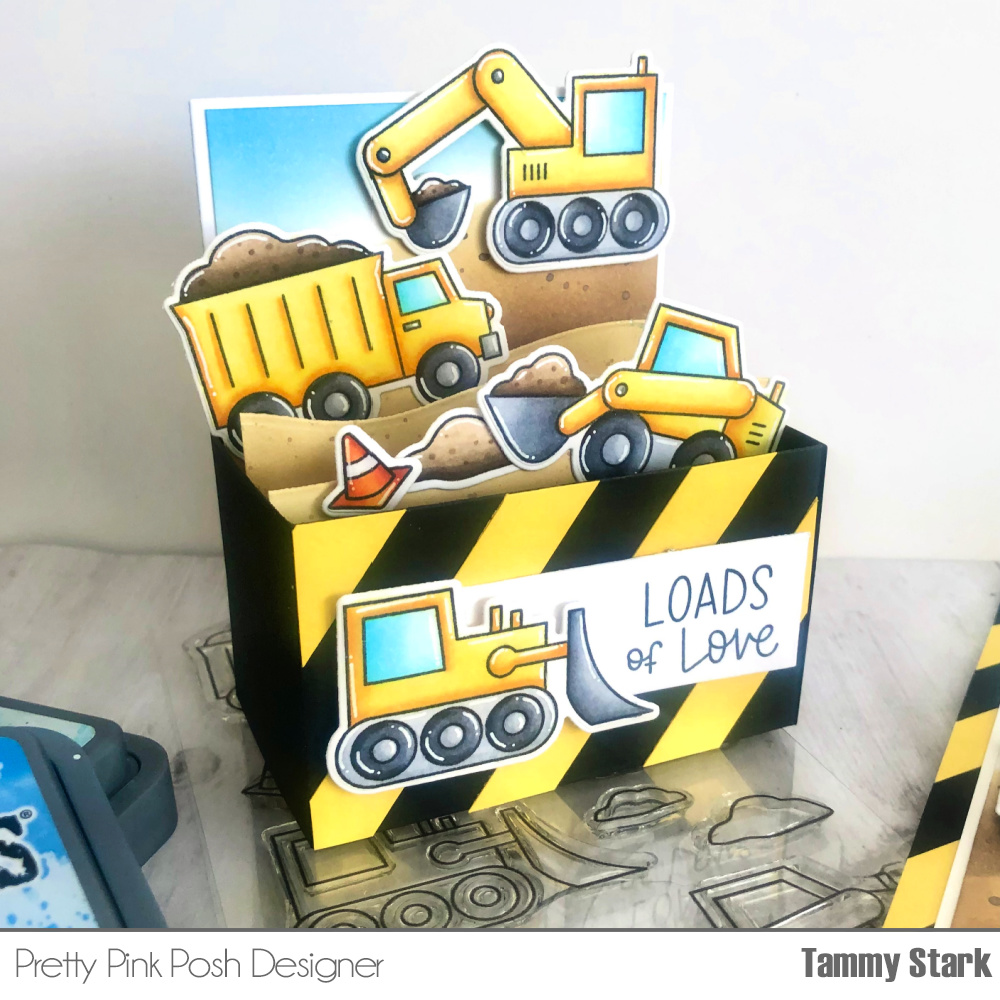
Hello friends, Tammy here. I had so much fun creating these cards featuring the new set, Construction Trucks that releases on June 16th. This set is so much fun, and would be perfect to create party favors for a construction themed party!
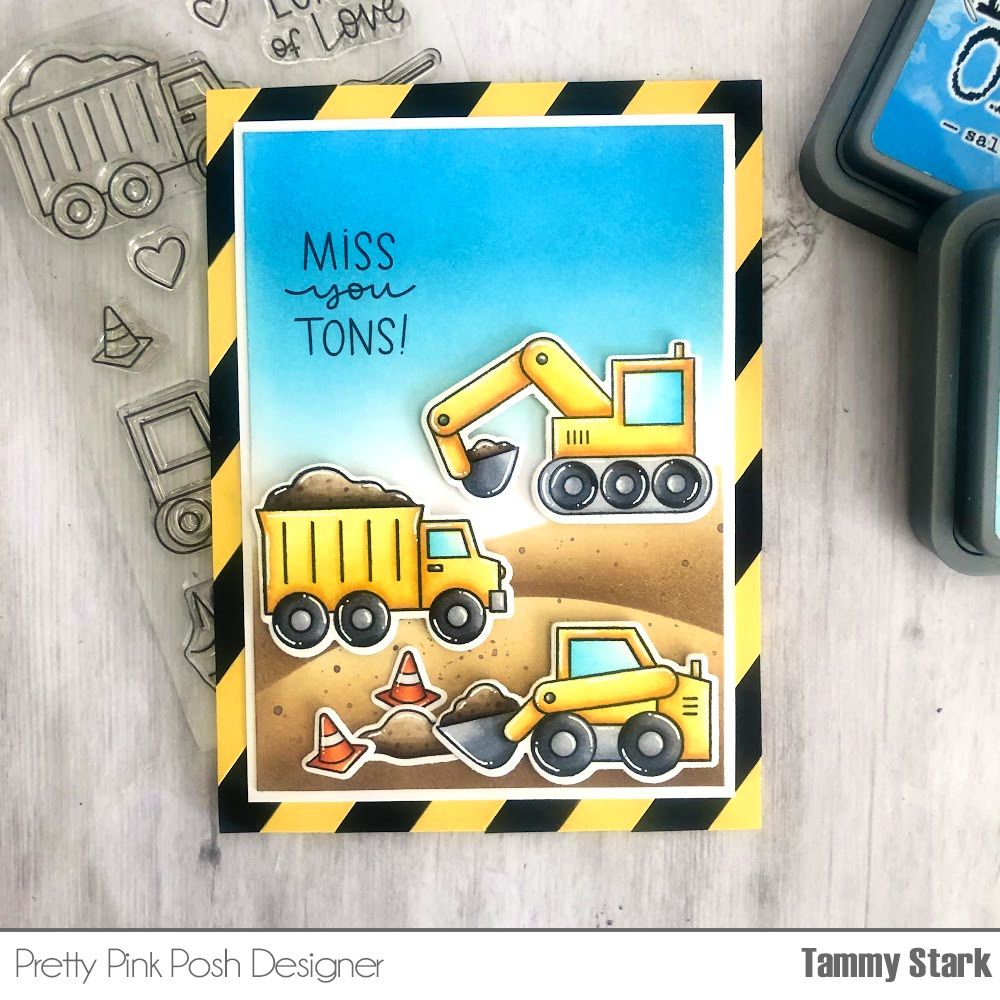
To begin, I stamped the images from the Construction Trucks Stamp Set onto Bristol smooth cardstock and colored with Copic markers. I then die cut the colored images using the Construction Trucks Coordinating Dies.
To create this A2 card, I began with an A2 panel and attached black and yellow cardstock strips die cut using the Simple Strips Dies. I adhered the strips diagonally, cutting off the excess to create a fun background. Next, I cut a smaller rectangle panel from Bristol smooth cardstock. I created the dirt hills using the new Layered Roads Stencil, and blended Antique Linen and Vintage Photo Distress Oxide inks. I then splattered some Vintage Photo ink, thinned with water, to add some interest to the hills. Next, I ink blended the top of the card with Salty Ocean and Tumbled Glass Distress Oxide inks and attached it to a white mat before attaching to the striped background. Lastly, I stamped the sentiment in black ink and attached it to an A2 white card base to complete my card.
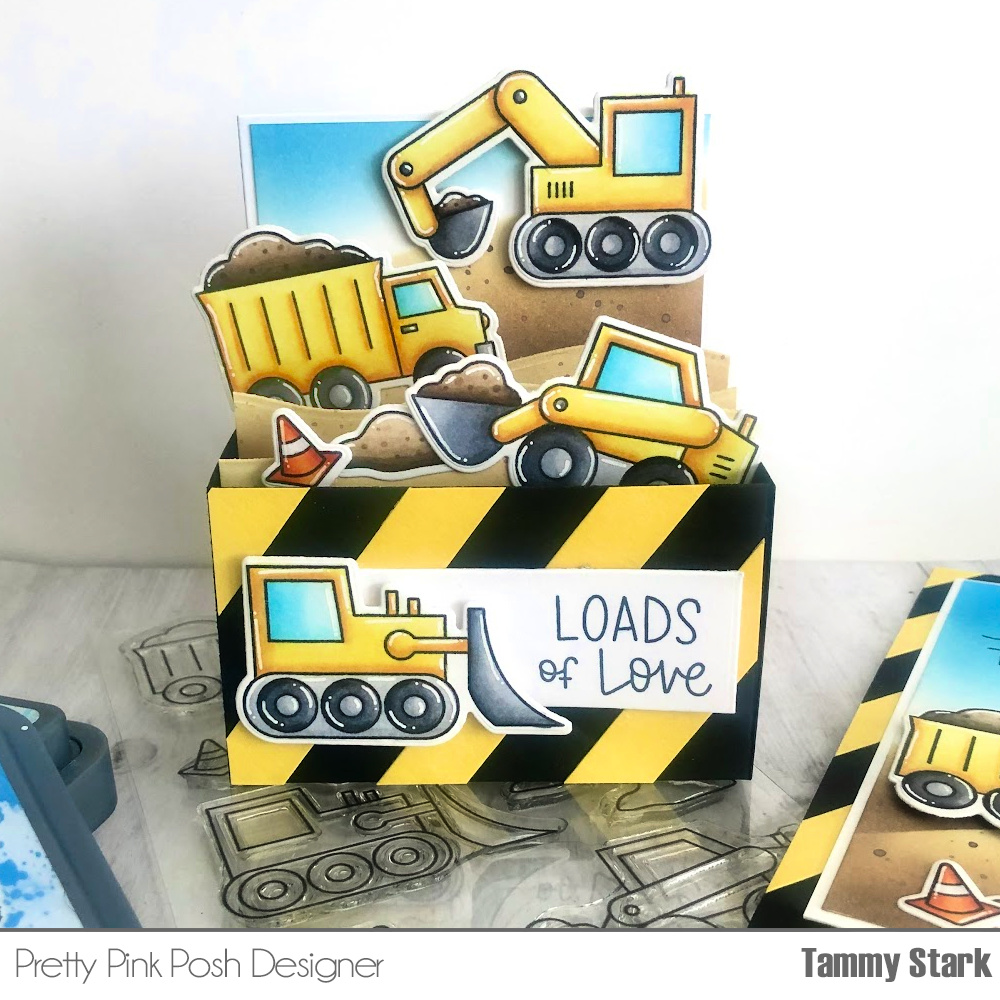
I also created a fun, coordinating box card using the Construction Trucks stamp set. I began by cutting the base of the box from black cardstock. I added some yellow cardstock strips die cut using the Simple Strips Dies, attaching them diagonally as I did the A2 card. Next, I finished assembling the base of the box. The backdrop was cut from Bristol smooth cardstock, and the top was ink blended with Salty Ocean and Tumbled Glass Distress Oxide inks. I created the dirt hill using the Layered Roads Stencil, and blended Antique Linen and Vintage Photo Distress Oxide inks. I then splattered some Vintage Photo ink, thinned with water, to add some interest to the hill. I then attached my backdrop to a white mat and adhered it to the box.
I attached the colored images to the box, using foam tape on some for both dimension and to add some stability to the box. Lastly, I stamped the sentiment onto a strip of white cardstock and attached to the front of the box card and finished it off with a little truck attached with foam tape.
I hope you were inspired to create some fun Construction themed projects! Stay tuned for more sneak peeks of the upcoming June 16th release!
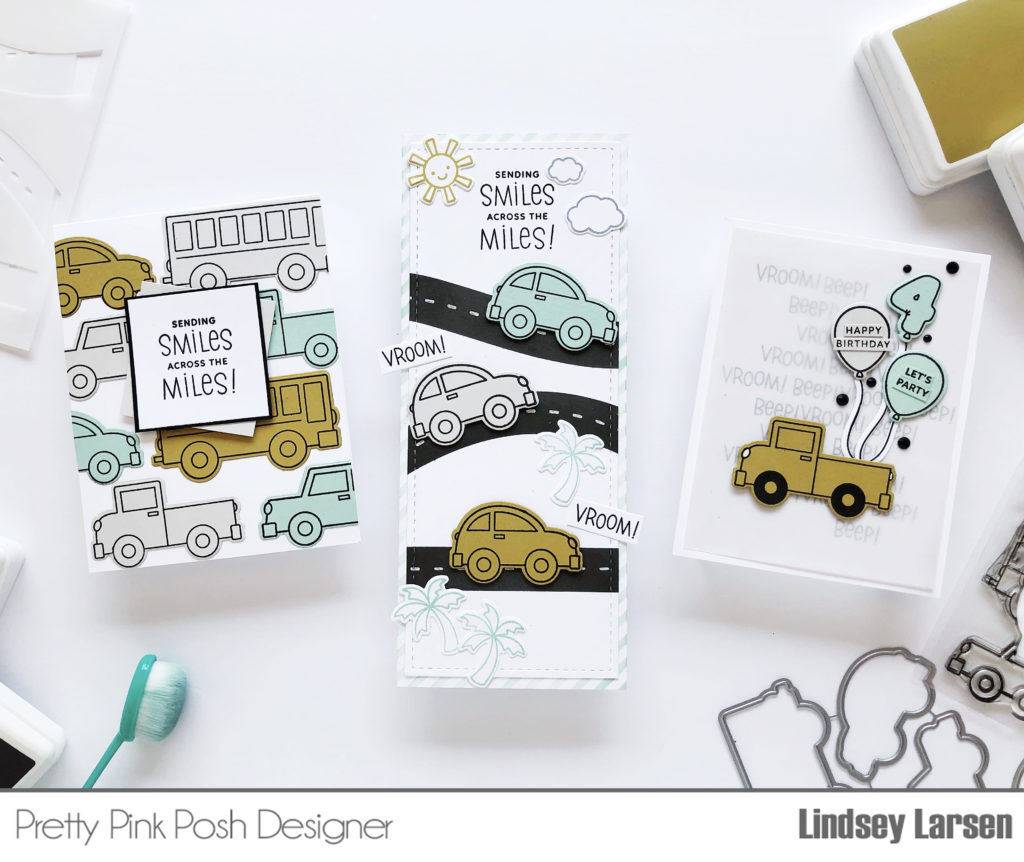
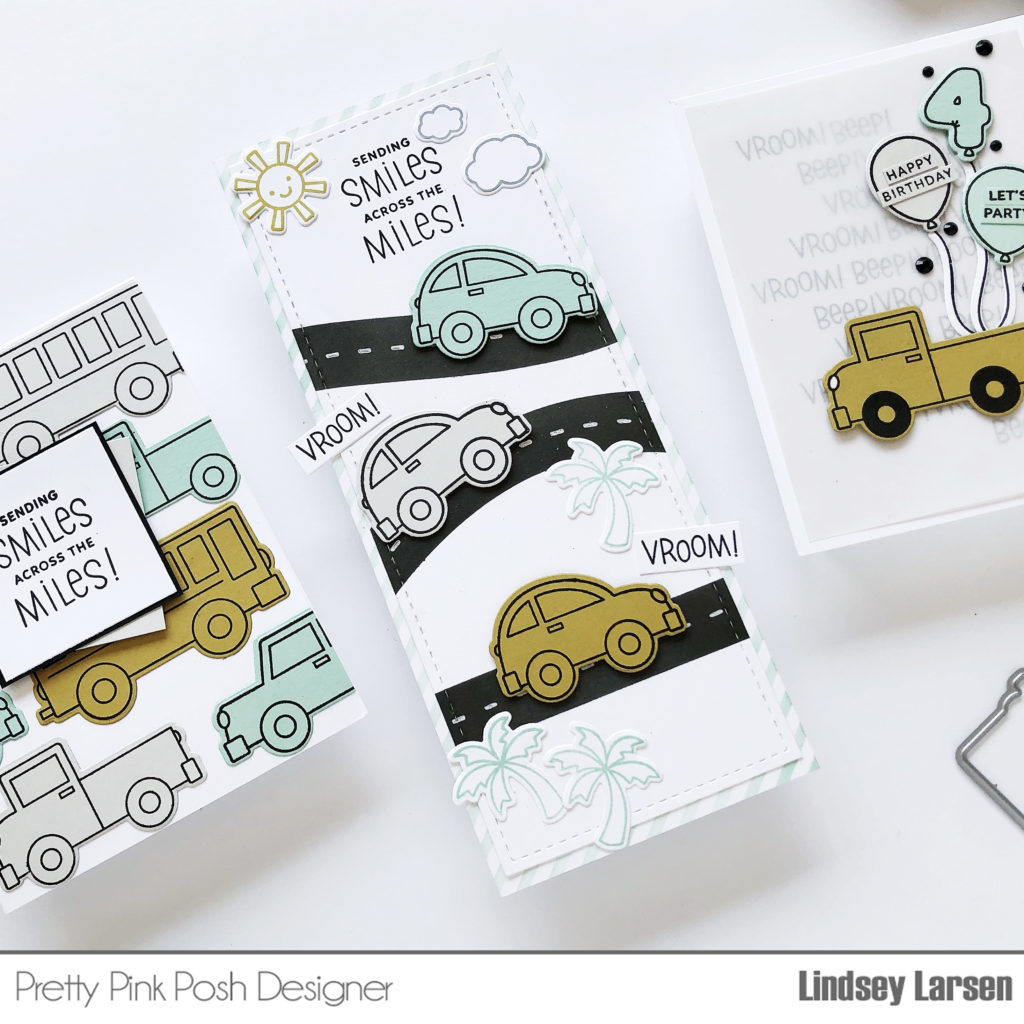
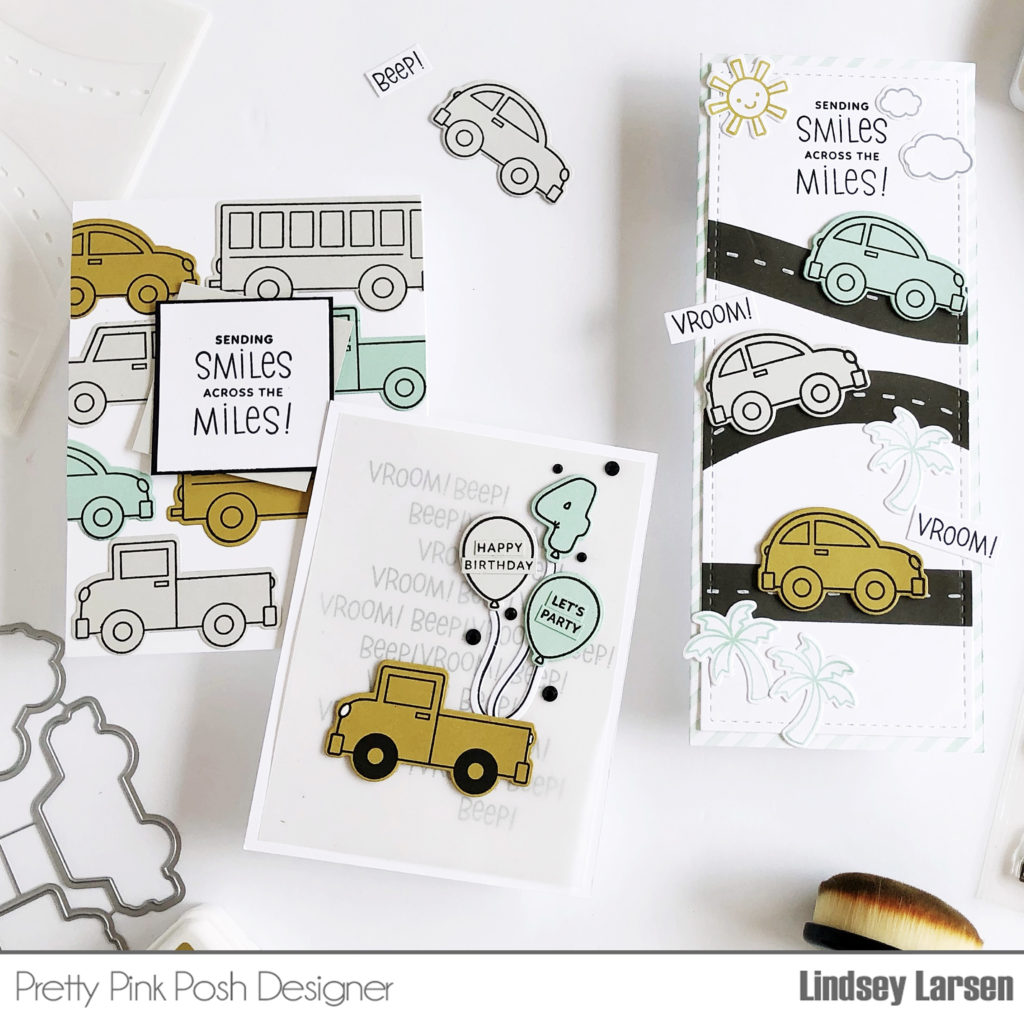
Good morning! It’s Lindsey here today and I’m excited to give you a peek at the brand new Across the Miles stamp set releasing on June 16th. This darling transportation set coordinates perfectly with several other stencils and stamps being released thismonth. I’ve got three projects to share today, so let’s get started!
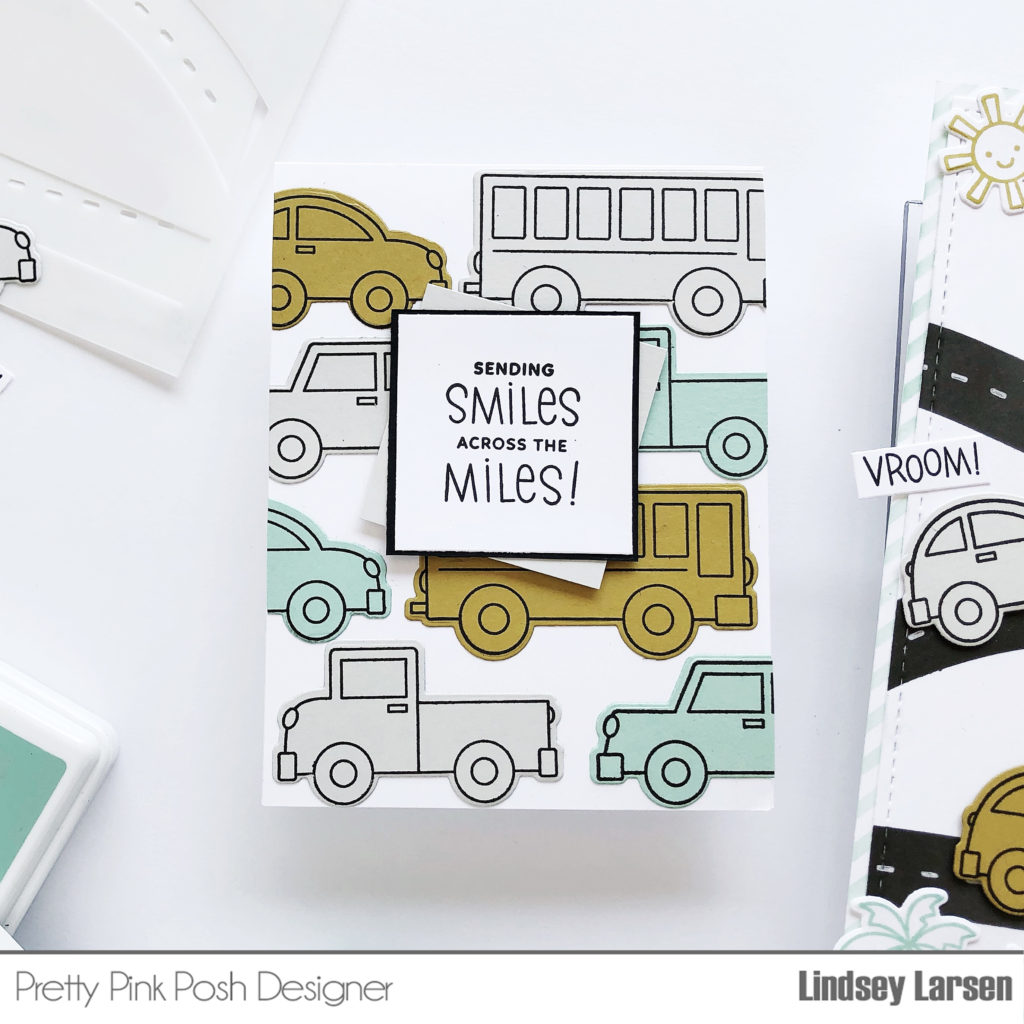
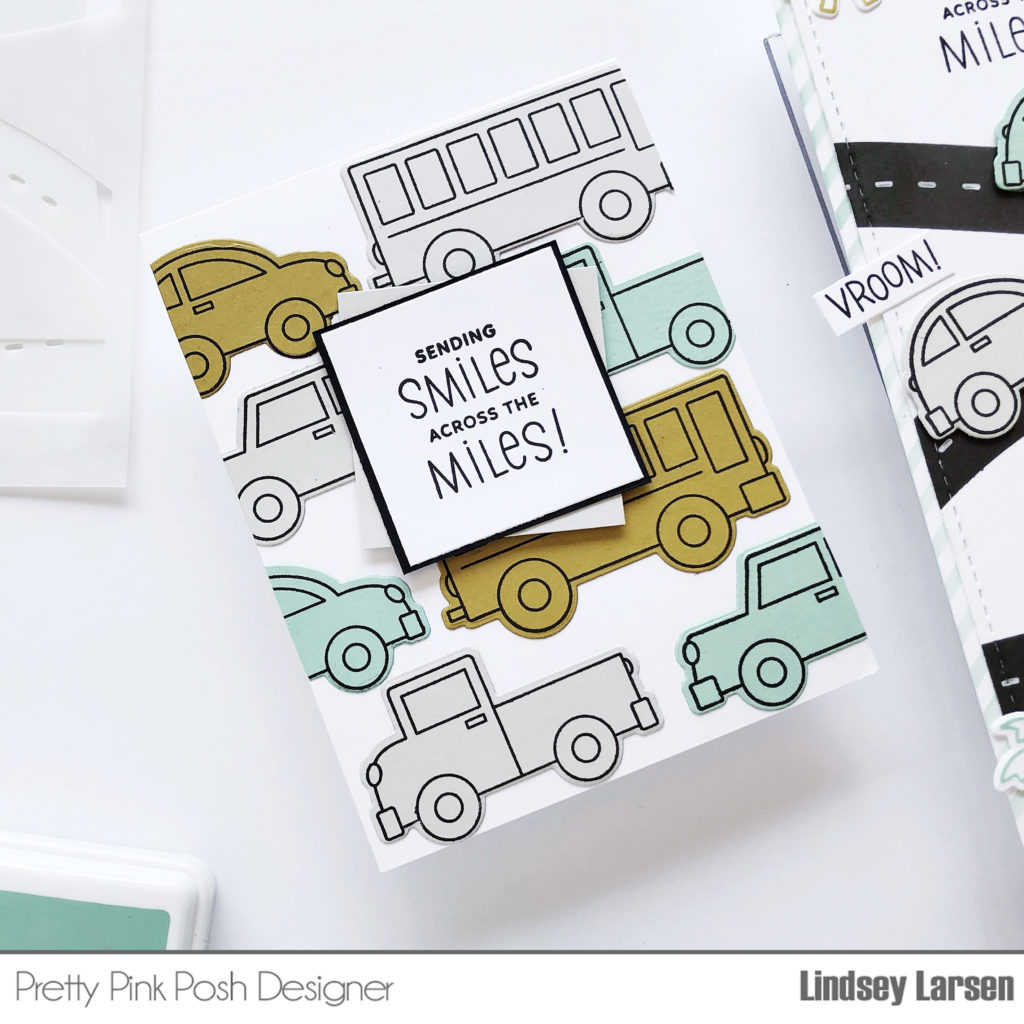
First up is a card that uses just Across the Miles, so you can see how cute it is on it’s own. I stamped all the vehicles in the set on golden/dijon yellow, mint, and light grey cardstock and cut them with the coordinating dies.
I then arranged them in rows of traffic on my card base. You’ll notice that half of the images in the set are right facing and the other half are left facing.
I finished my card off by layering a couple of off-set squares and stamping a sentiment from Across the Miles. Don’t you just love the font pairing? I’m a huge fan!
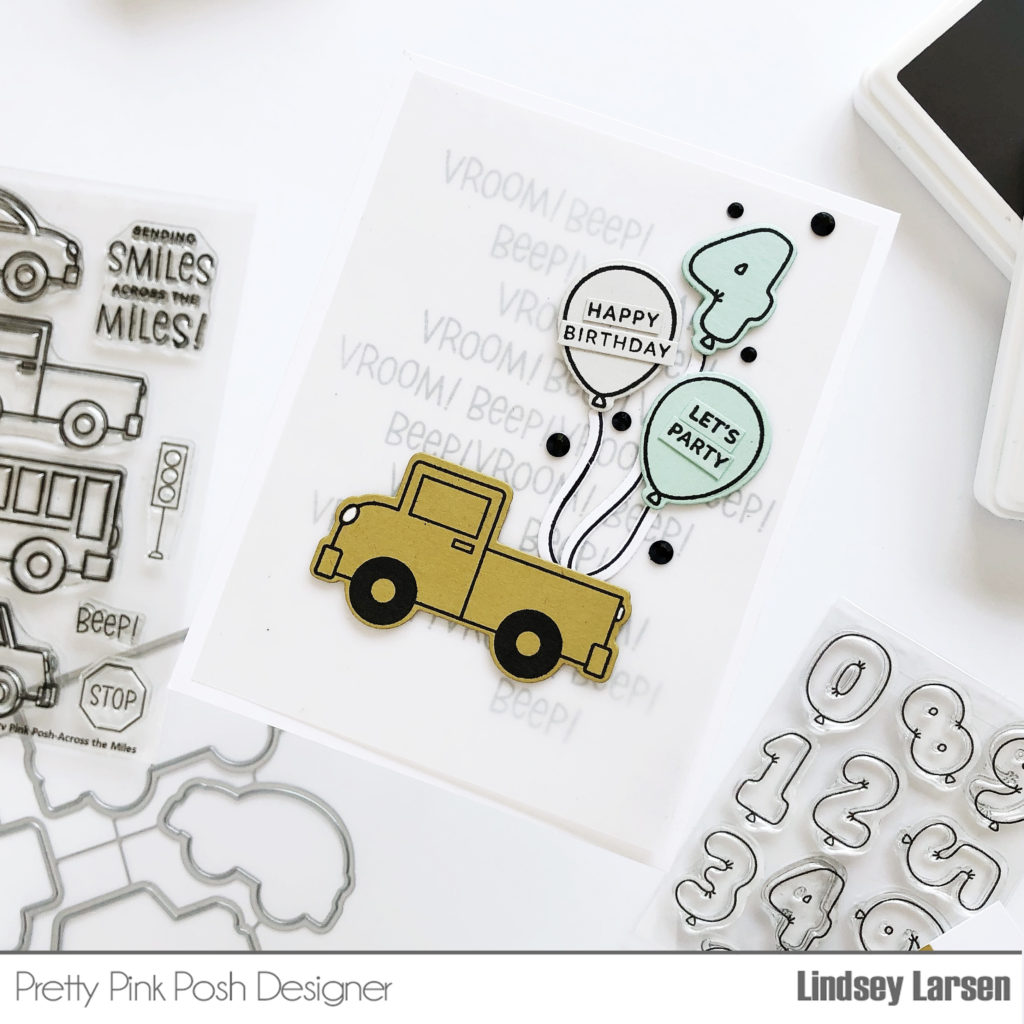
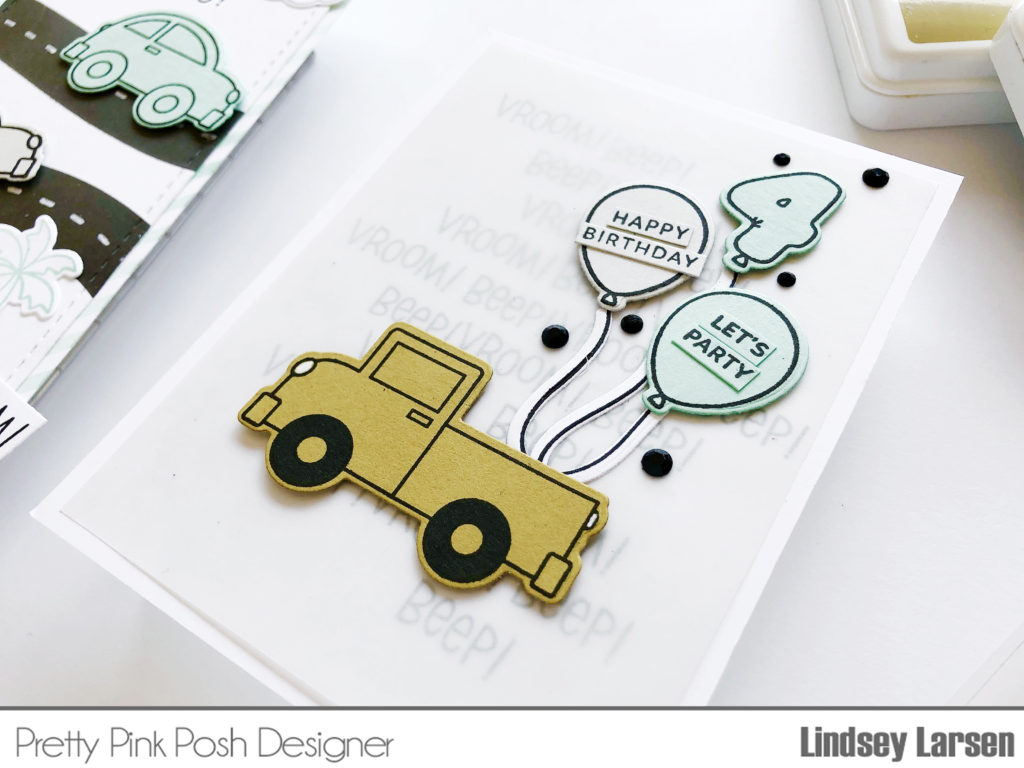
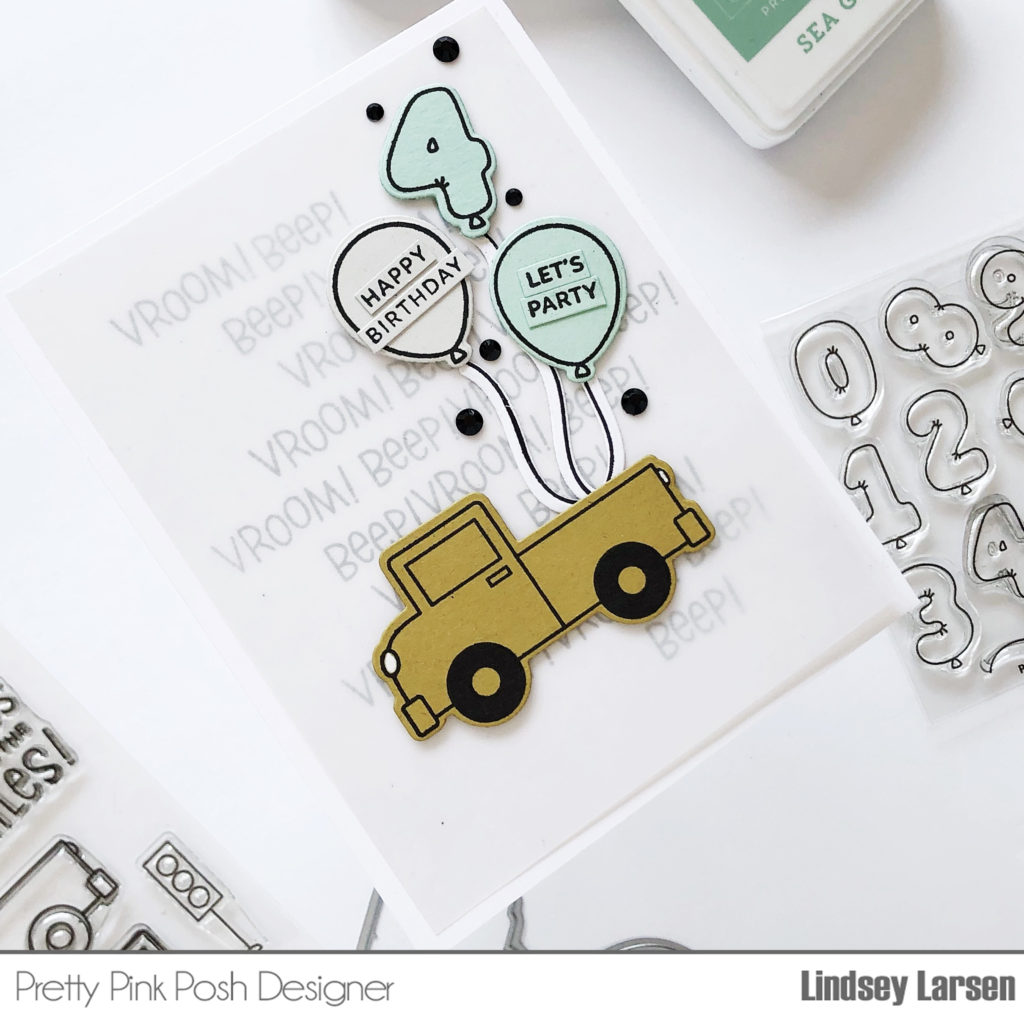
There is a darling truck in this set, and it was begging to be filled, so I did just that on the next card.
Let’s start with the card base. I began by alternately stamping “vroom!” and “beep!” until the center of the card base was filled. To keep the background a bit more subtle, I layered a piece of vellum on top.
Next I stamped the truck and did the tiniest bit of coloring with a white gel pen for the lights and a black marker for the tires. It’s surprising how adding just this tiny bit of black really draws the eye in.
I had SO many ideas for fillers for this truck, but I chose to make a birthday truck by filling it with balloons using the Balloon Numbers and Balloon Alphabet stamp sets and dies. The balloon strings weren’t quite long enough for my tallest balloon (“4”), so I stamped two strings, connected them together, and hid the overlapping portion behind the mint party balloon.
I added tiny little sentiments from Let’s Party to the center of the balloons and popped everything up on my card base.
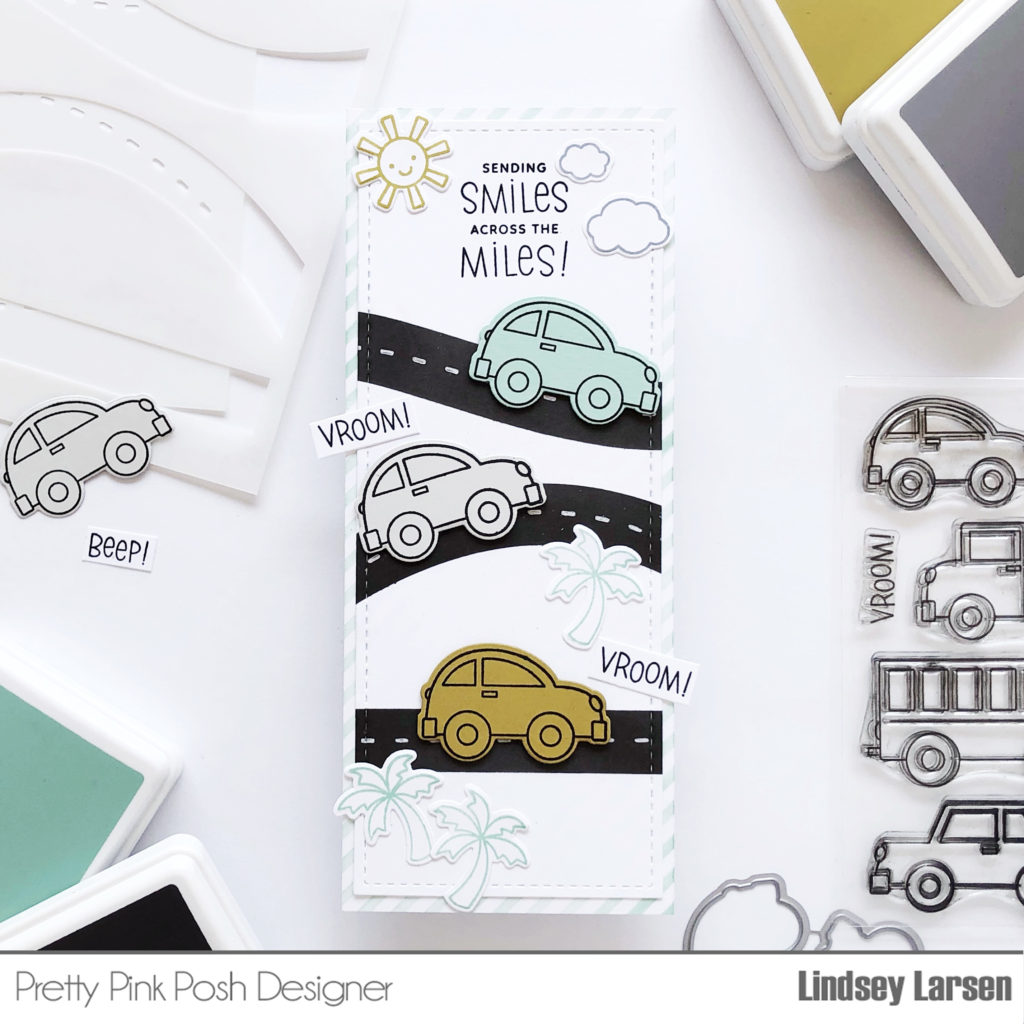
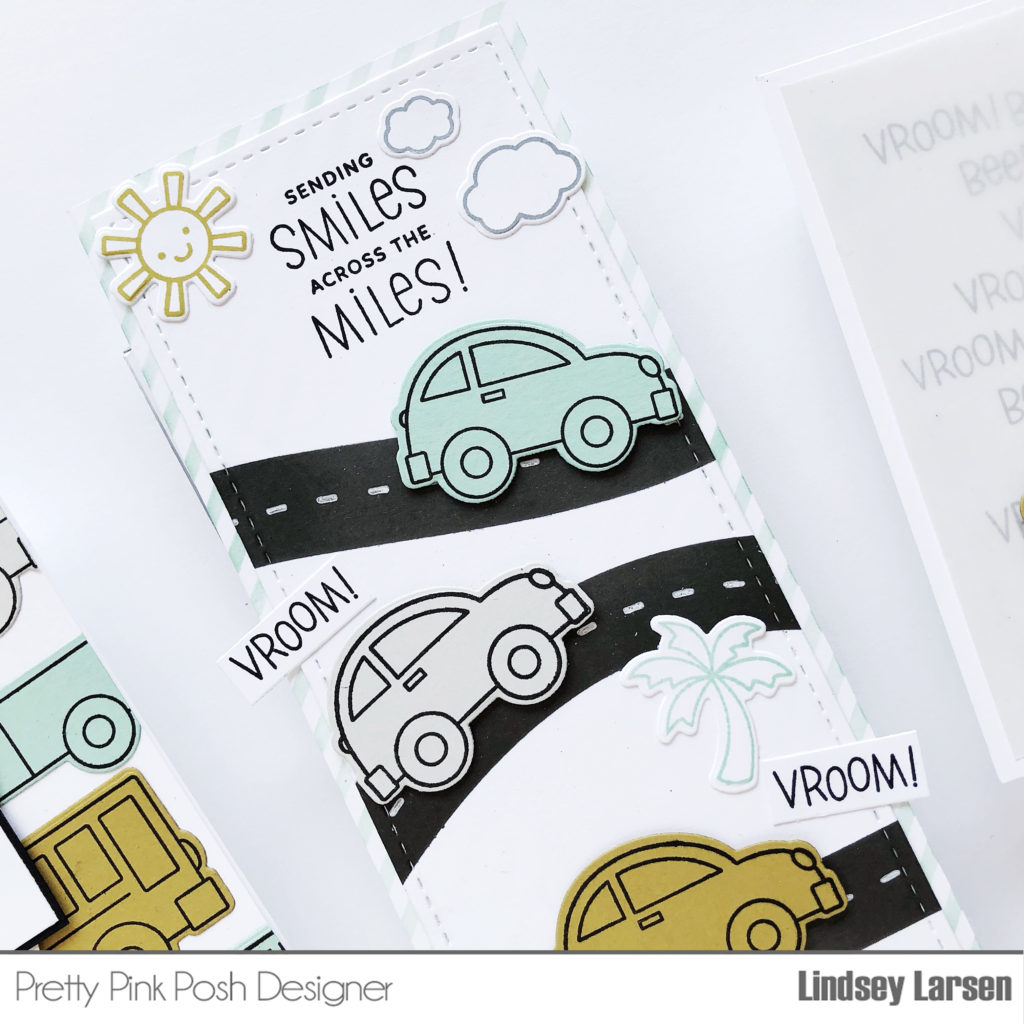
On my final card in the trio I wanted to pair Across the Miles with one of the new stencils- Layered Roads. In order to create a larger scene, I chose to make a slimline card.
I blended the roads in a very dark grey onto a stitched base from the Slimline: Peekaboo Windows Dies. I only used two of the stencils, the road and the dotted lines. With some trial and error, I found that the easiest way to create crisp, vibrant white lines is to use a gel pen with the stencil.
This card happens to be traveling to a friend who lives across the country in a place full of sunshine and palms, so I pulled out the Hugs(sun, clouds) and Summer Wreath(palm tree) stamp sets and dies to add a little color the scene.
Though subtle, I wanted to point out the cutePinstripe Stencil on my card base. Due to the nature of the stripes, this stencil is really easy to align for a taller card base and added just a bit of fun and color.
I stamped the sentiment at the top, and to add just a little emphasis on the desire to quickly send those smiles, I added “vroom!” in a couple places. :)
Here’s one last peek of the cards all together.
Thanks so much for visiting today! Make sure to come back again tomorrow for more fun peeks of this fabulous new release!
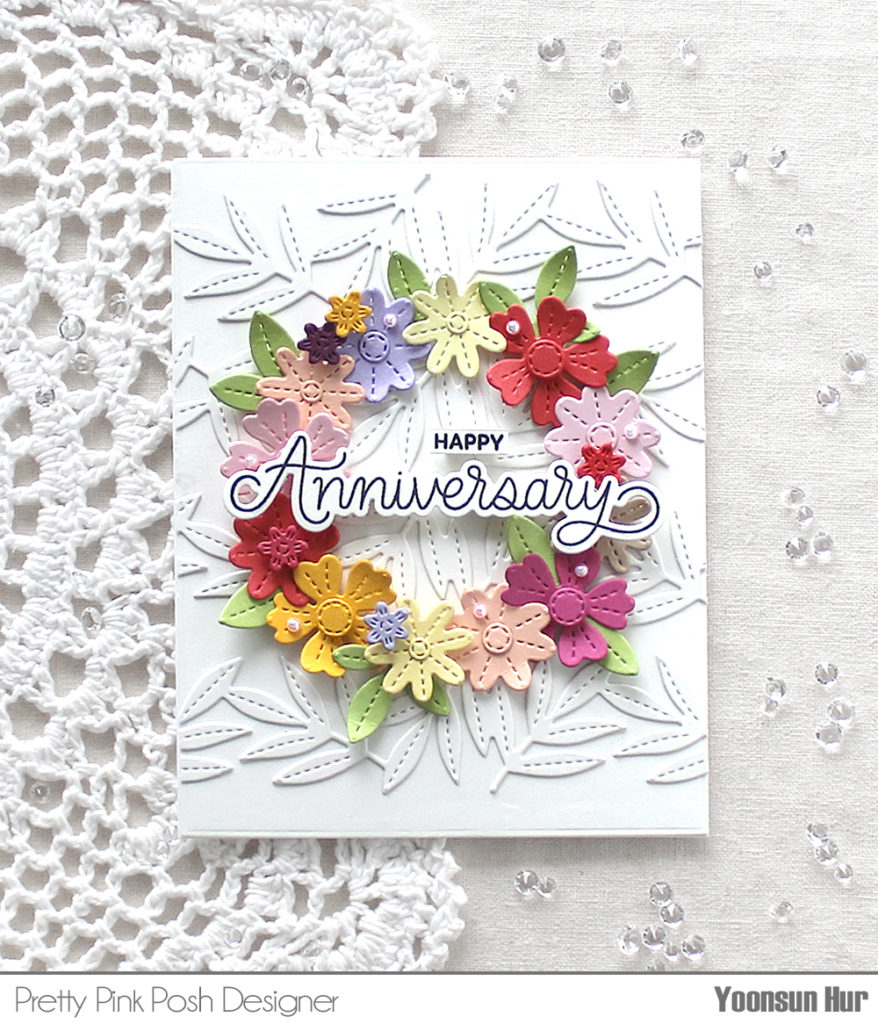
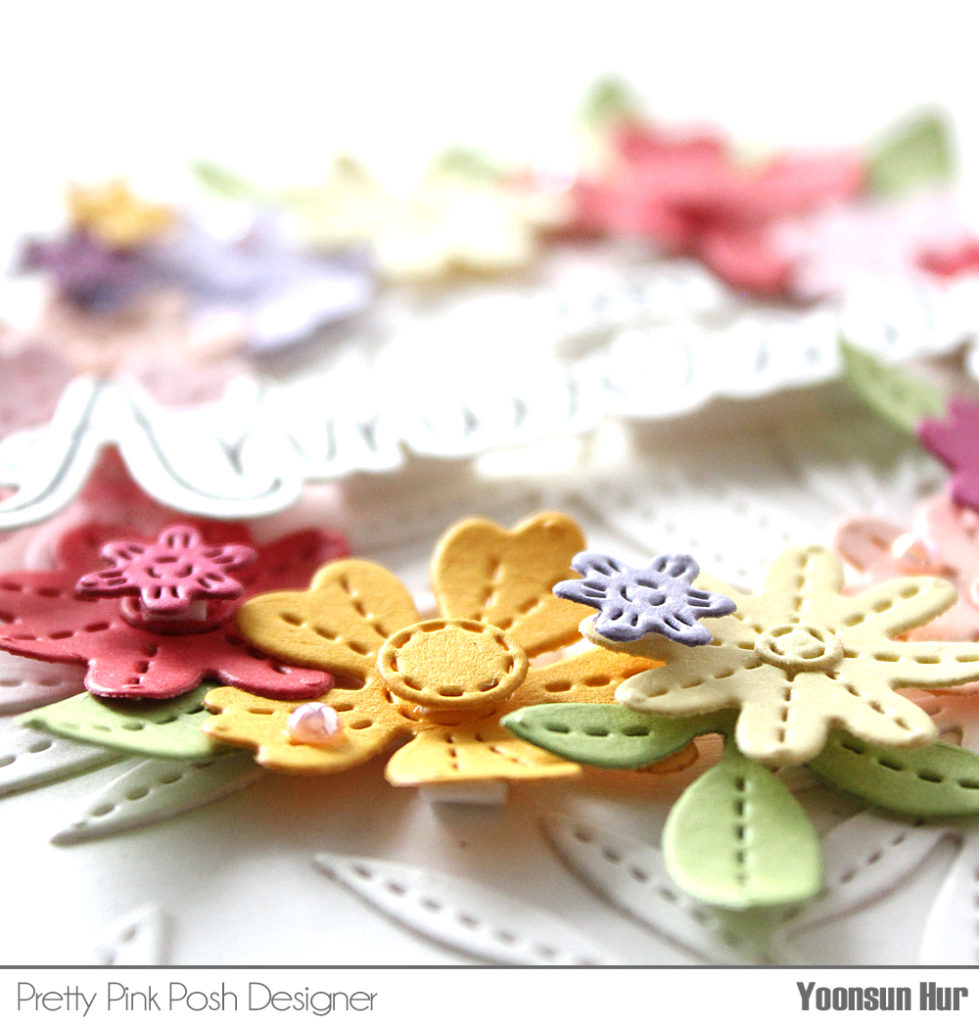
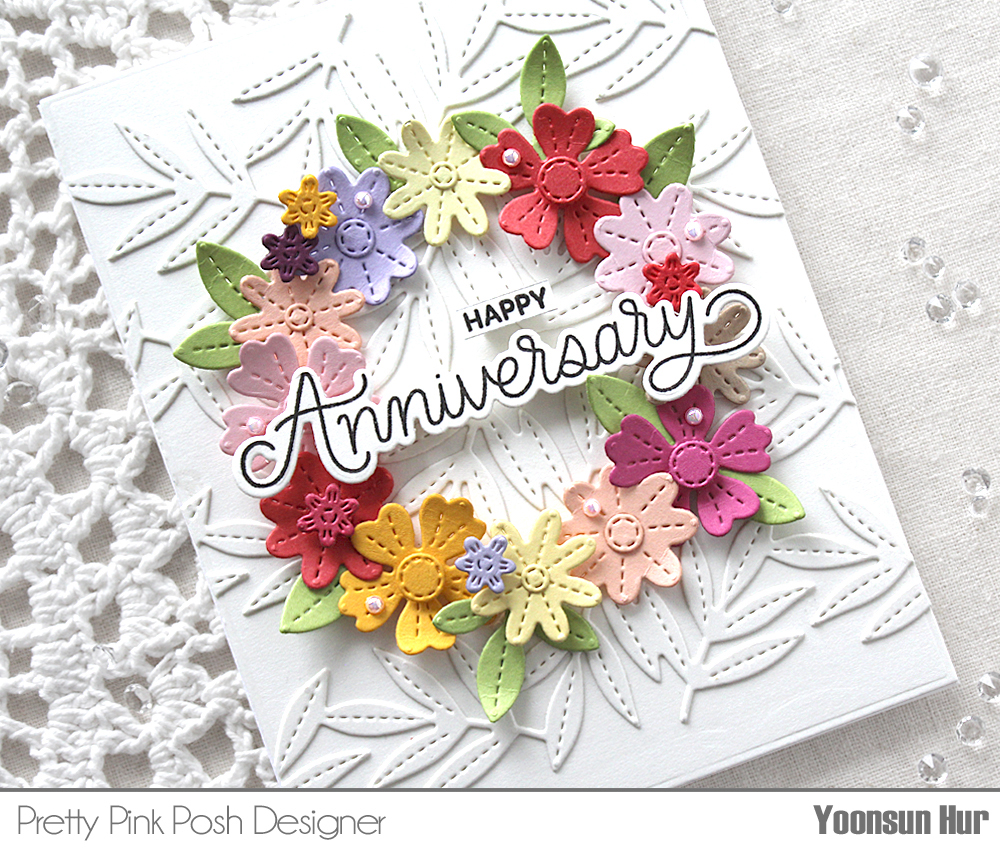
Hello crafty friends! It’s Yoonsun here to share a floral wreath card with so beautiful Spring Foliage die set that releases on May 16th. It contains small sized stitched flowers & leaves- so perfect for making many different styled spring floral cards!
I started by die cutting flowers and leaves from coloured cardstock using the Spring Foliage die set.
Next, I die cut 4 leafy borders from white cardstock using the Stitched Leafy Borders die, then adhered them on white card base using fine tip glue pen. I lightly drew a circle line on the centre of the leafy base using pencil, and then adhered flower die cuts along the circle line using foam tape first, and then added leaves.
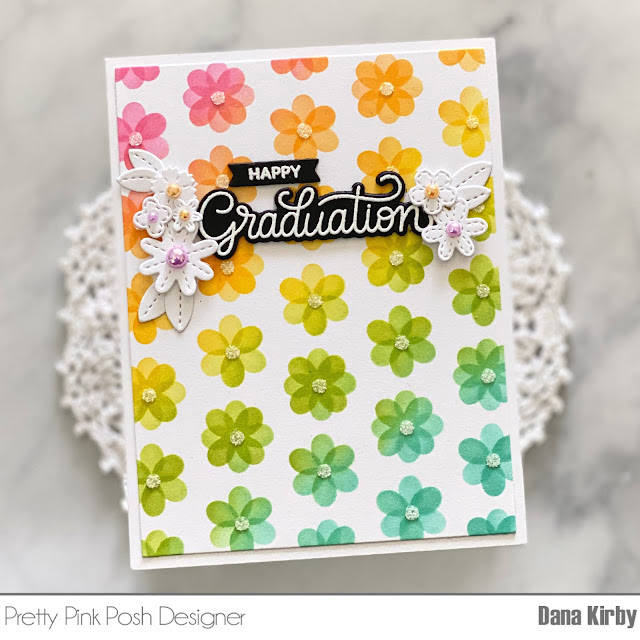
For the sentiment on top of the floral wreath, I used the new Celebration Scripts stamp set.
Thank you so much for stopping by. Join us tomorrow for a full picture reveal of the May 16th release!
Hi friends! It’s Dana here today sharing a sneak peek of two of the new stencils coming to Pretty Pink Posh on May 16th. There are five new stencils being released, which include a fun Pinstripe, Mini Grid, Layered Letters and the two I will be using today.
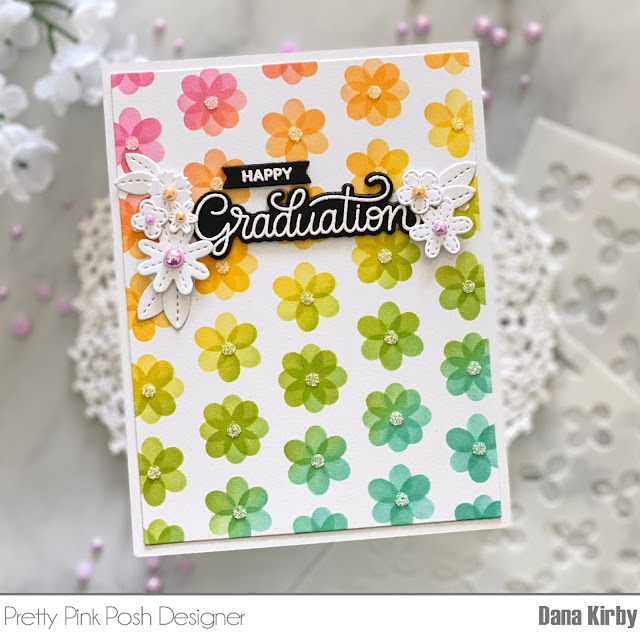
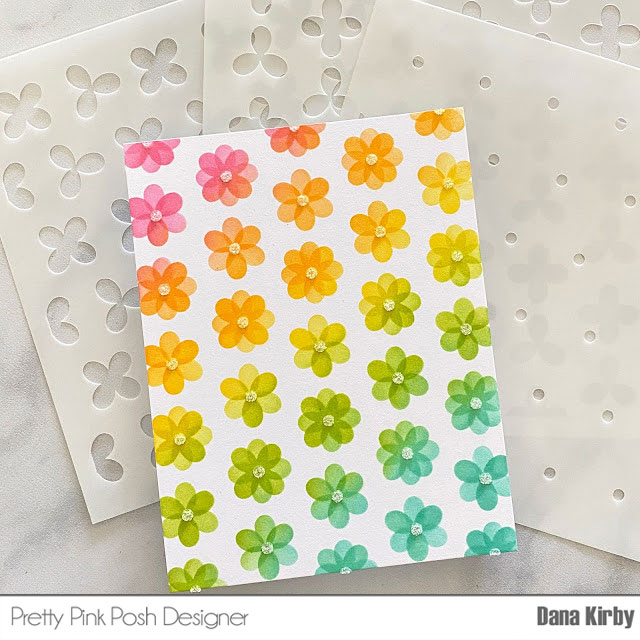
For my first card I am using the new Layered Spring Flowers stencil pack. This is a three pack of stencils that can be layered together to create the most adorable background. I used dye ink and a blending brush to create my panel. The first two layers create the flowers and then the final layer is the flower’s center. For the last layer I used Glitz Glitter Gel in white to give the flowers a little extra sparkle.
For my sentiment, I used the new Celebration Scripts set. This is a great set of sentiments, perfect for so many occasions. Next, I used the Spring Foliage dies to create my white flowers and leaves. These dies are just the sweetest. There are so many options for building bouquets, floral clusters and accents. I know it is a set of dies that I will use often. Lastly, I addedLight Orchid and Creamsicle pearls to my flower’s centers to finish my card.
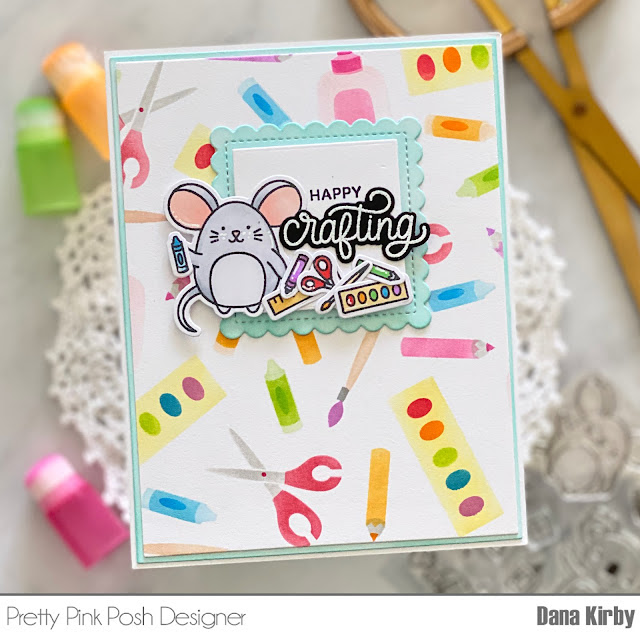
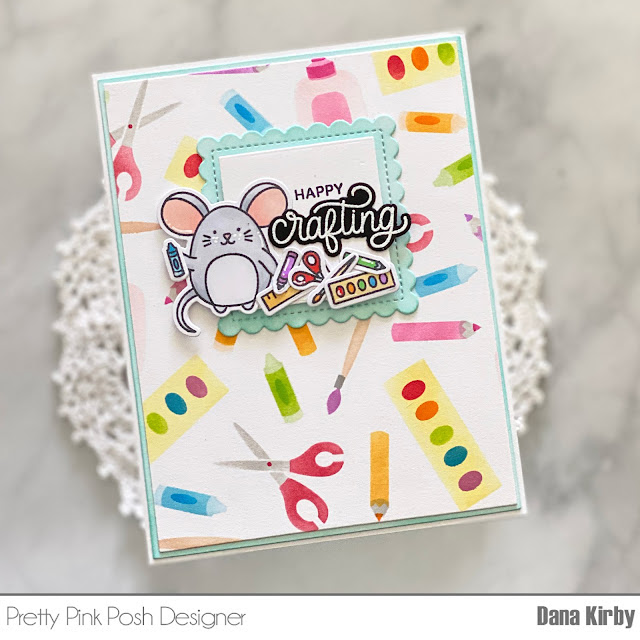
My second card uses the new Crafty Background stencil set.
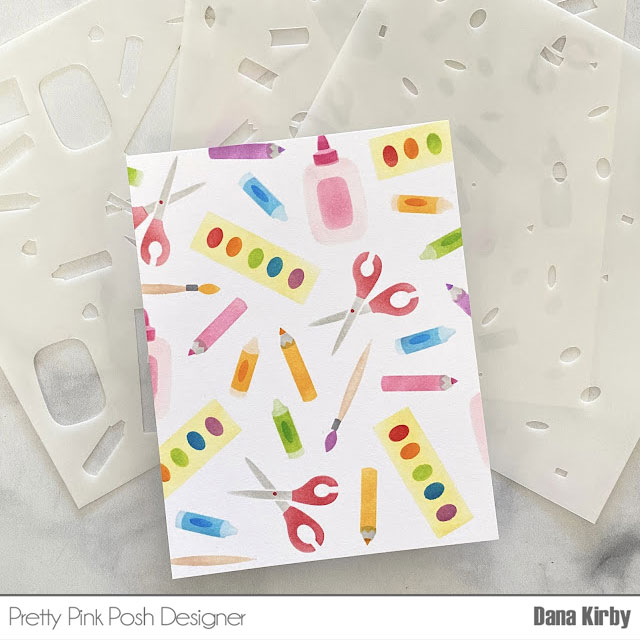
The Crafty Background stencil set is a pack of three stencils that layer together to make the most adorable background. It’s perfect for your favorite crafter and coordinates perfectly with all the new craft supplies sets that will be available with the new release. To create my panel, I used dye ink, finger daubers along with a little post-it tape for some masking.
Next, I used the dies from the new Crafty Days die set to create my frame. I then used the Crafty Critters set for my sentiment, mouse and craft supplies. I colored the images with Copic markers and used the coordinating dies to cut them out. Lastly, I attached my frame to the center of my card panel with foam adhesive and attached everything to an A2 card base.
Thanks for joining me today. I hope you enjoyed my cards and I can’t wait to see what you create with these fun new products.
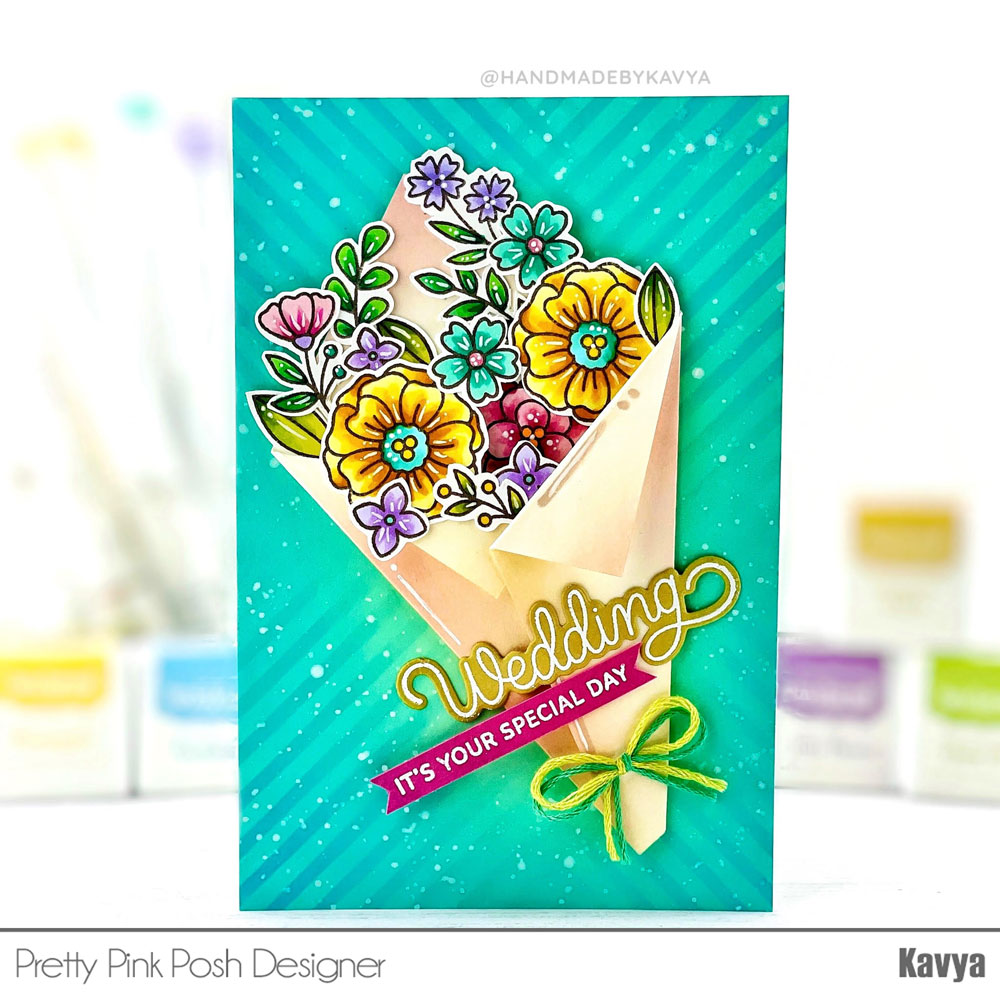
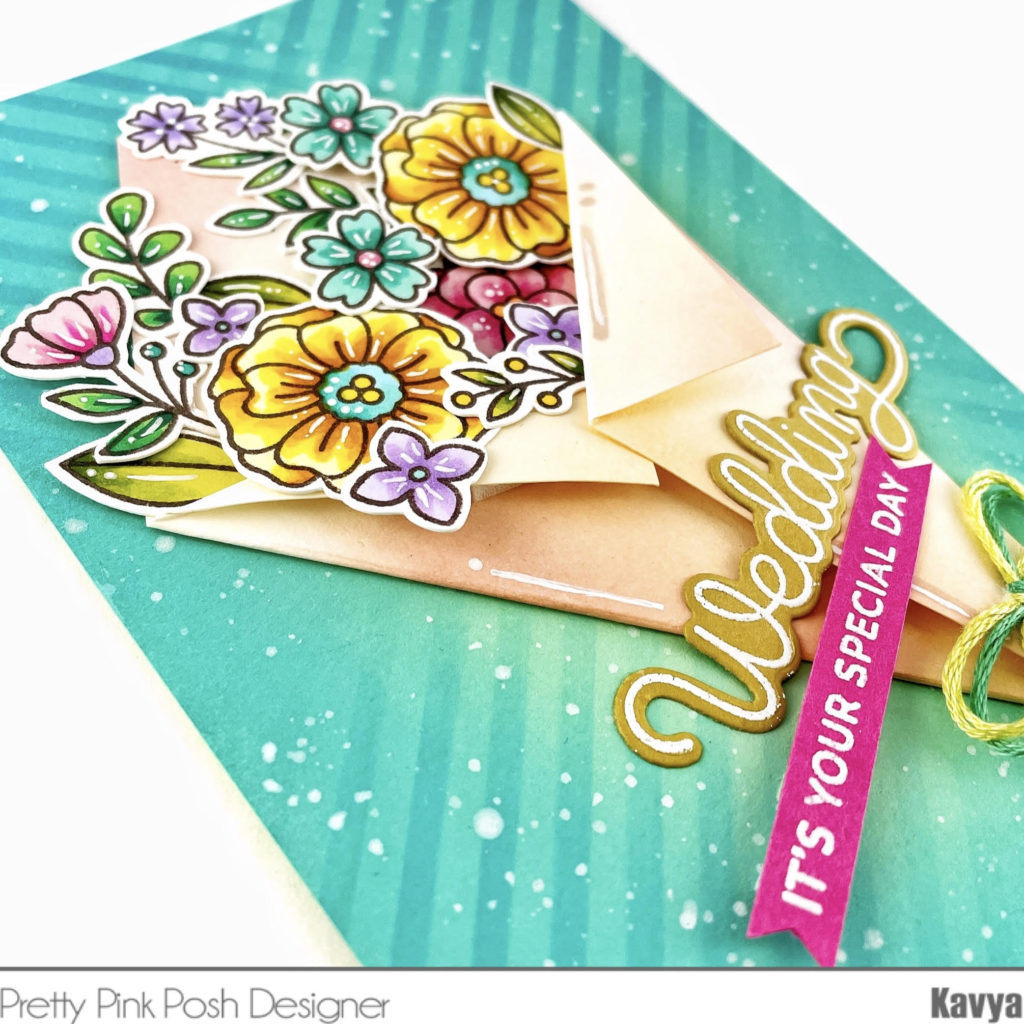
Hi folks, Kavya here with another fun sneak peek of the new release! If you love crafting and florals – THIS IS THE ONE FOR YOU! I absolutely love what PPP did with the theme! My card today is an extension of my love for creating mini envelopes for my cards. I created a mini bouquet of flowers this time around to hold the gorgeous florals from the Spring Flowers set.
I first started off by creating my background by ink blending Cracked Pistachio and Peacock Feathers distress oxide inks. I then used the Pinstripe Stencil create a fun background.
For the bouquet, I used a square piece of cream cardstock. I then folded it using the Kite fold like shown in the diagram but just make sure that the edges overlap instead of meeting at the center. Fold two flaps at the top and you are done!
Then, I filled the bouquet with some stamped and colored Spring Flowers and added a sentiment from Celebration Scripts to finish off my card.
Wasn’t that fun? Love how this turned out! Check back tomorrow for more sneak peeks of the May 16th release!
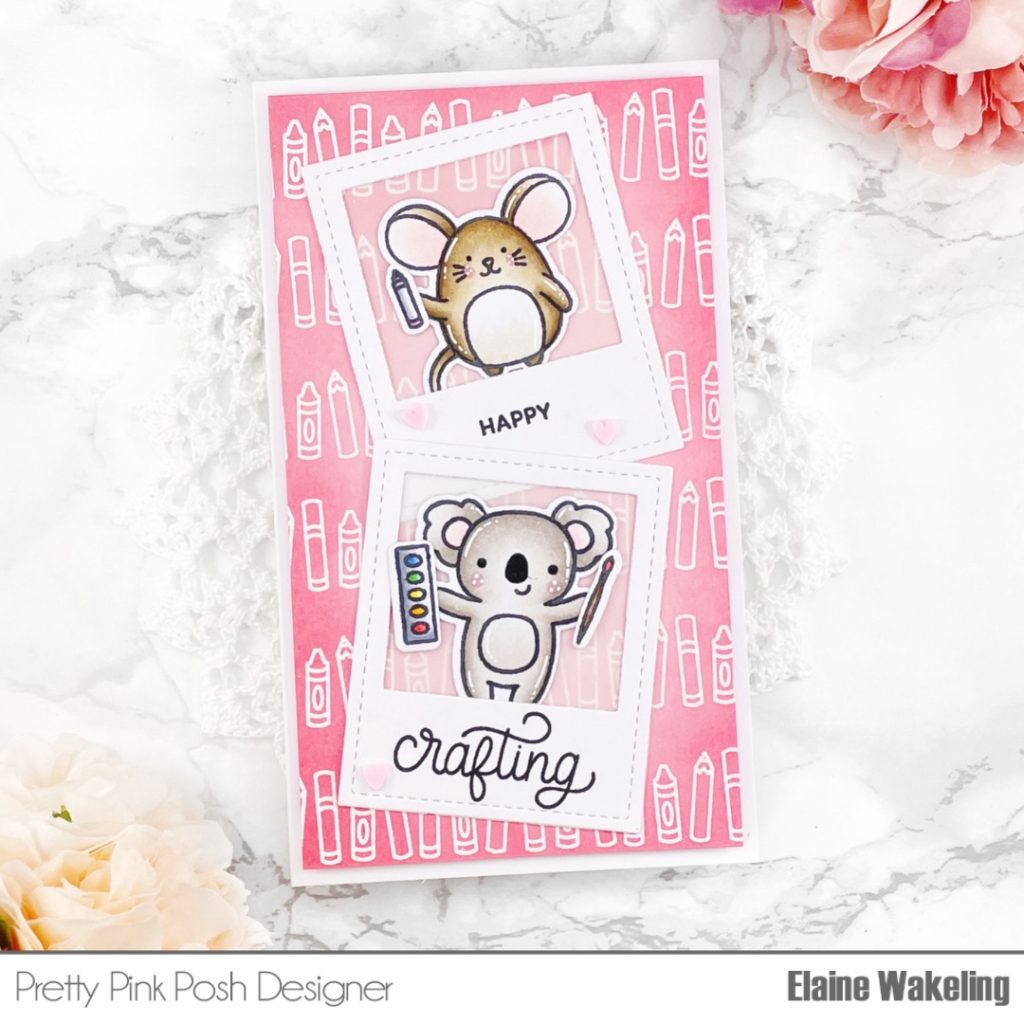
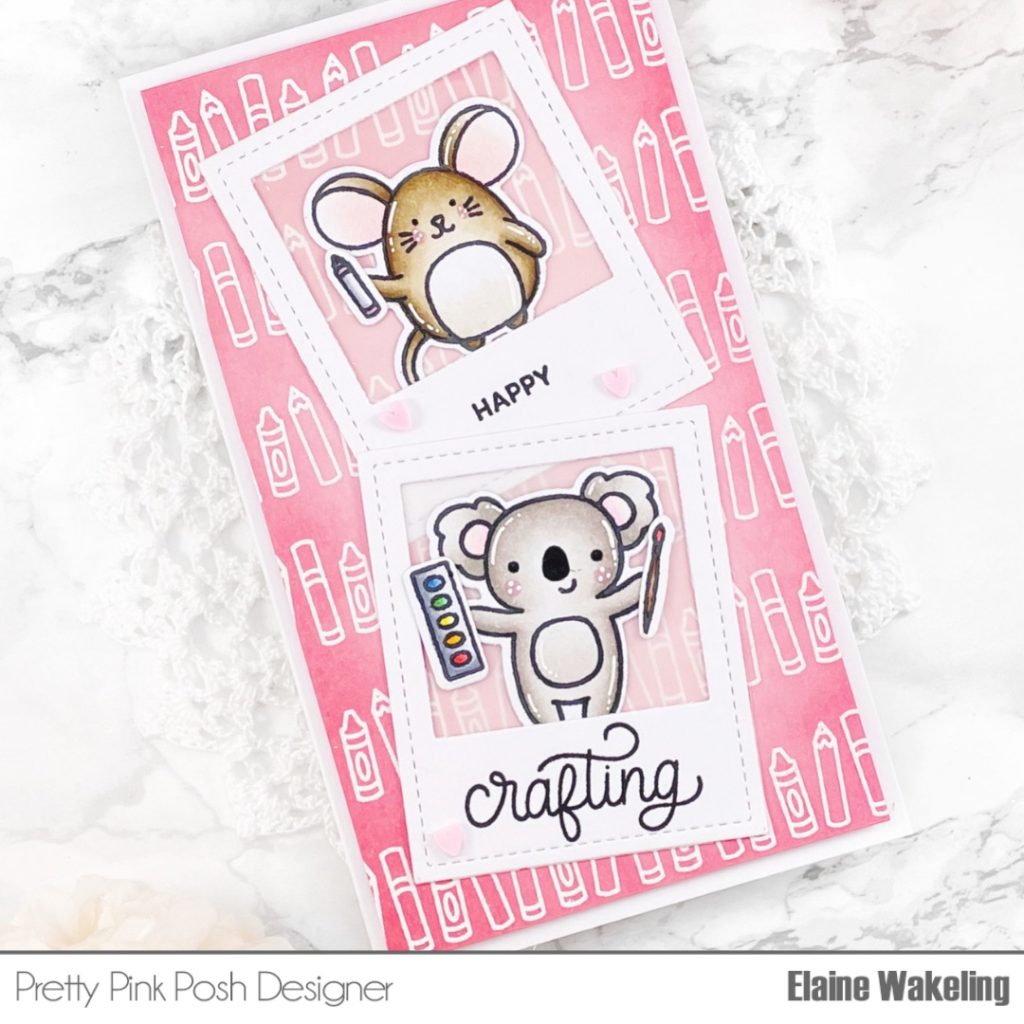
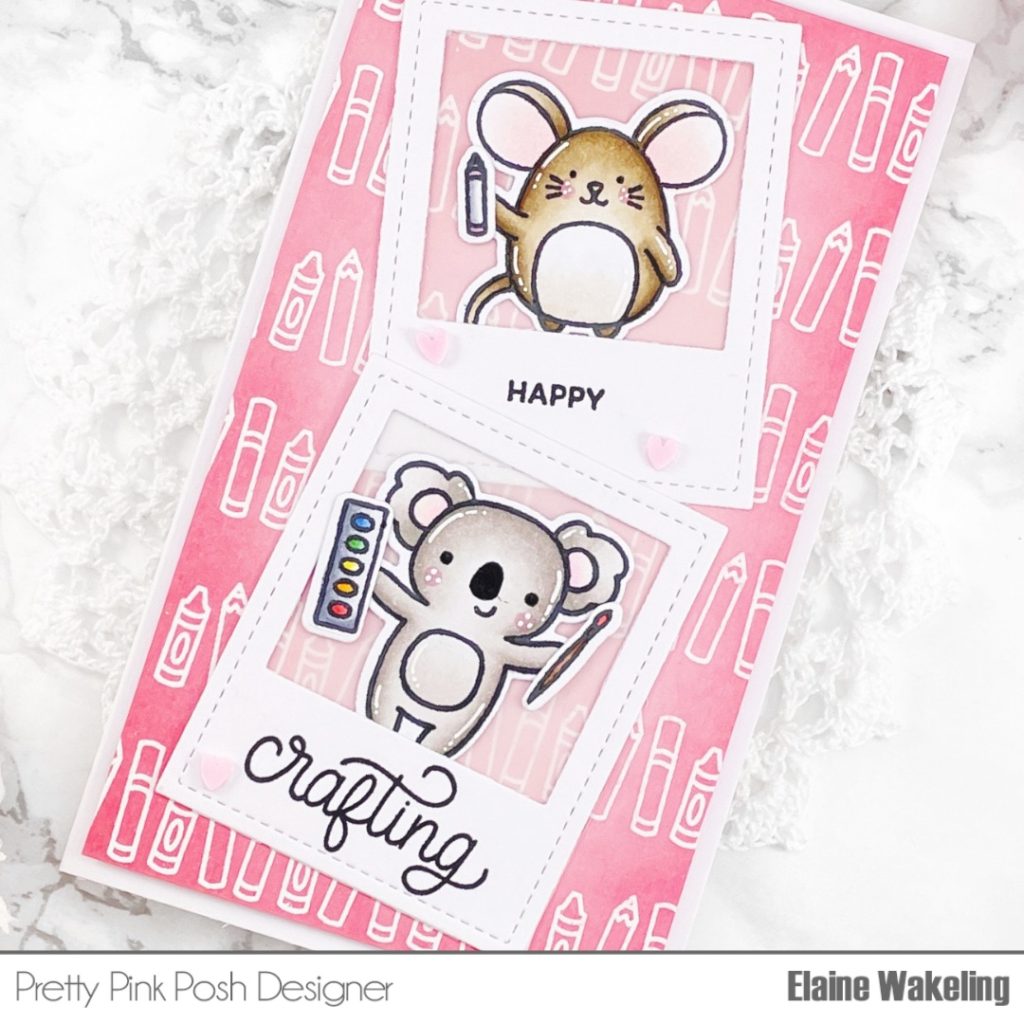
Hi friends, it’s Elaine from Pink Peppermint Cards on the Pretty Pink Posh blog today. I am absolutely delighted to be back to share a sneak peek at some of the products releasing May 16th. One set may look familiar as it was a free gift earlier this year but now it’ll be available for purchase!
I started this card with a piece of Strathmore Bristol Smooth Cardstock measuring 6.5” x 4”. I treated the whole panel of cardstock with an antistatic powder tool and used my Misti stamping tool to repeat stamp the pen, pencil and crayon border stamp from the Crafty Days stamp set with Versamark Ink. I used a fine white embossing powder to coat the clear inked panel and then heat set the powder until smooth and glossy. Taking my Distress Ink pad in Worn Lipstick I ink blended on to the panel with a blending brush, ensuring the focus of the color was around the edges and using a lighter hand towards the middle. Once I was happy with the ink blending, I cut the panel down to 5.75” x 3.25”. The panel was set aside to dry while I worked on the other elements of the card.
I stamped the images from Crafty Critters stamp set with a black dye ink on to copic friendly cardstock. I then used my copic markers to color these super cute images! Here are the colors I used:
Once the coloring was done, I cut out all the images with the Crafty Critters coordinating dies.
I created a card base for this card by cutting a piece of heavyweight white card 7”x 6” and scored the longest edge at 3.5”, this gave me a 6”x 3.5” side folding cardbase. I popped some foam tape on the back of the embossed ink blended panel and adhered it to the cardbase. To create a focal point for my little critters I cut the largest frame from the Stitched Photo Frames Die set twice and popped a layer of vellum behind the opening. I used a black pigment ink to stamp the sentiment included in the Crafty Critters stamp set on to each of the frames. I secured the frames to the front of the card with liquid adhesive and then secured the little critters and their accessories on top.
Using a white gel pen I added a few highlights to the colored images and some black glaze gel pen to finish off the nose and eyes. Finally, I added a few pink clay hearts because I can never get enough of clay hearts and I’m calling this card done!
Thank you so much for joining me today! I hope you enjoyed taking a quick sneak at some of the new products releasing this month, these products are perfect for creating some fun projects your crafty pals!