Sneak Peek: Crafty Critters
Hi friends, it’s Elaine from Pink Peppermint Cards on the Pretty Pink Posh blog today. I am absolutely delighted to be back to share a sneak peek at some of the products releasing May 16th. One set may look familiar as it was a free gift earlier this year but now it’ll be available for purchase!

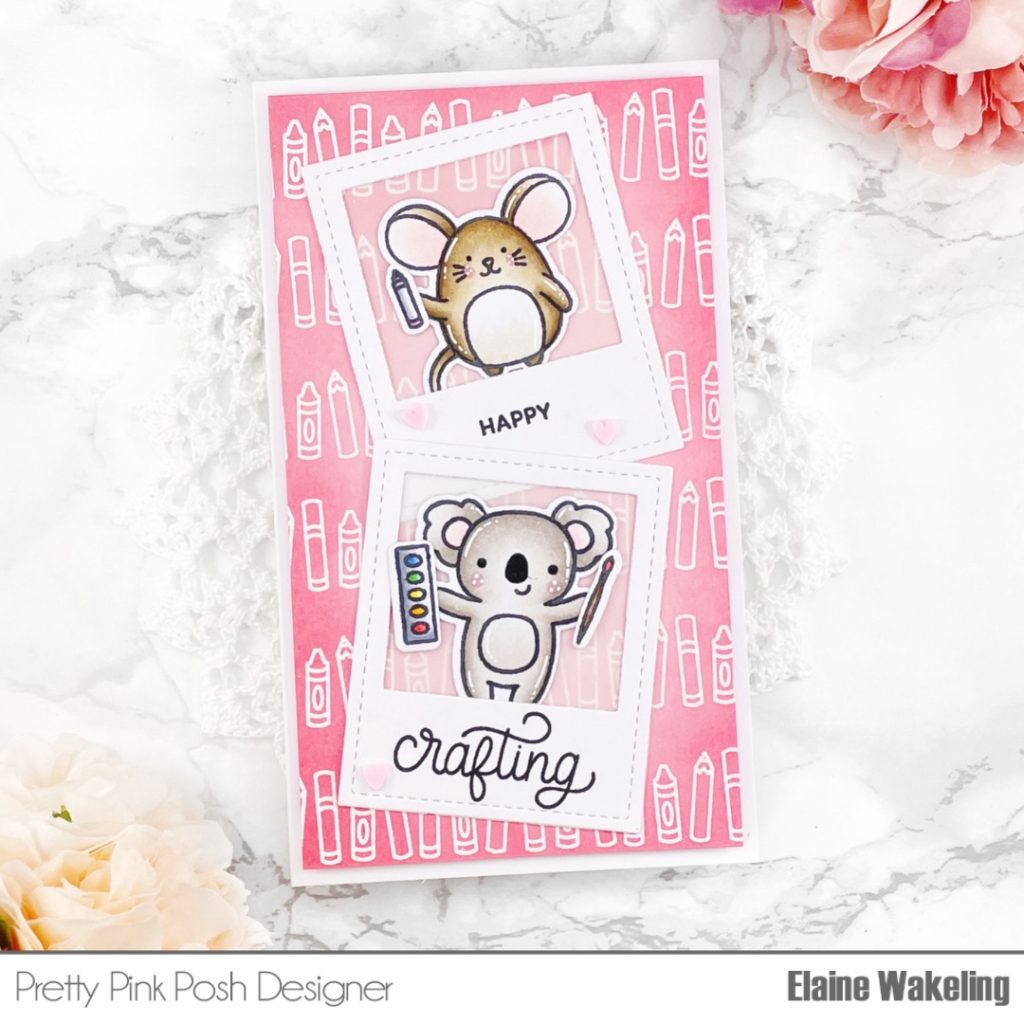
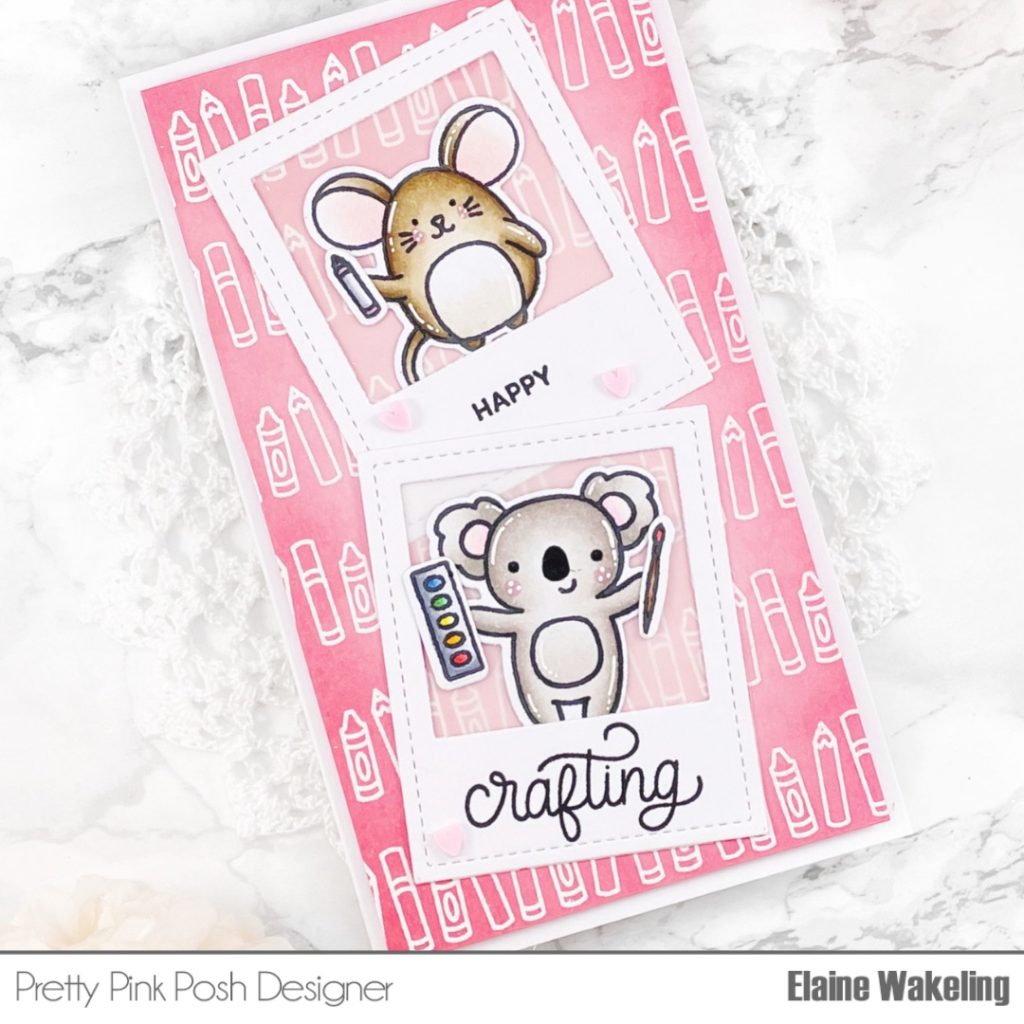
I started this card with a piece of Strathmore Bristol Smooth Cardstock measuring 6.5” x 4”. I treated the whole panel of cardstock with an antistatic powder tool and used my Misti stamping tool to repeat stamp the pen, pencil and crayon border stamp from the Crafty Days stamp set with Versamark Ink. I used a fine white embossing powder to coat the clear inked panel and then heat set the powder until smooth and glossy. Taking my Distress Ink pad in Worn Lipstick I ink blended on to the panel with a blending brush, ensuring the focus of the color was around the edges and using a lighter hand towards the middle. Once I was happy with the ink blending, I cut the panel down to 5.75” x 3.25”. The panel was set aside to dry while I worked on the other elements of the card.

I stamped the images from Crafty Critters stamp set with a black dye ink on to copic friendly cardstock. I then used my copic markers to color these super cute images! Here are the colors I used:
Koala: W4, W3, W1, W0, RV02, RV10
Mouse: E44, E43, E42, E41, E40, RV02, RV10
Paint pallet: C3, C1, C00, R27, R24, YR07, YR04, Y17, Y13, G07, G02, B26, B23
Paint brush: E27, E23, E55
Once the coloring was done, I cut out all the images with the Crafty Critters coordinating dies.
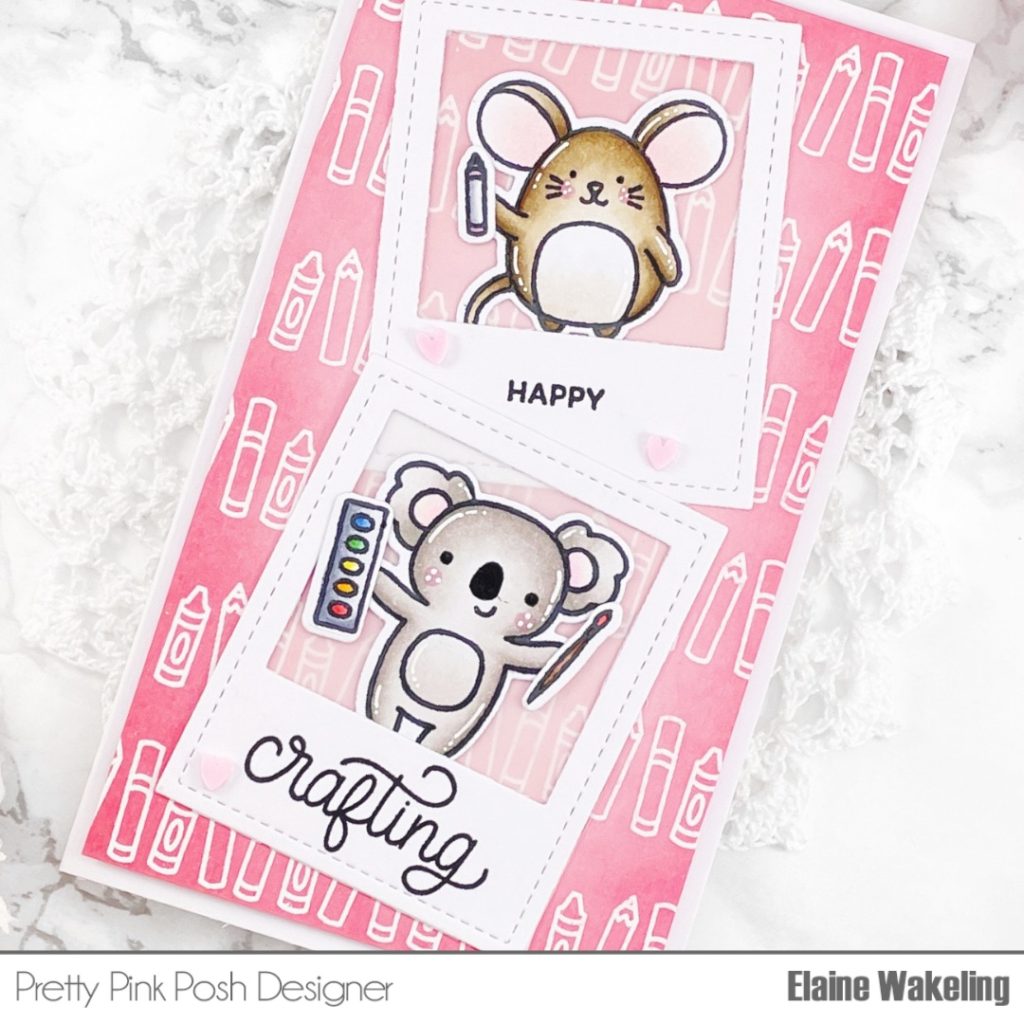
I created a card base for this card by cutting a piece of heavyweight white card 7”x 6” and scored the longest edge at 3.5”, this gave me a 6”x 3.5” side folding cardbase. I popped some foam tape on the back of the embossed ink blended panel and adhered it to the cardbase. To create a focal point for my little critters I cut the largest frame from the Stitched Photo Frames Die set twice and popped a layer of vellum behind the opening. I used a black pigment ink to stamp the sentiment included in the Crafty Critters stamp set on to each of the frames. I secured the frames to the front of the card with liquid adhesive and then secured the little critters and their accessories on top.

Using a white gel pen I added a few highlights to the colored images and some black glaze gel pen to finish off the nose and eyes. Finally, I added a few pink clay hearts because I can never get enough of clay hearts and I’m calling this card done!
Thank you so much for joining me today! I hope you enjoyed taking a quick sneak at some of the new products releasing this month, these products are perfect for creating some fun projects your crafty pals!
Happy crafting! Elaine xxx

I LOVE the koala!
Adorable card! Thanks for sharing.
I like the vellum idea for the “Polaroids” – I am going to give that a try!