Sneak Peek: Birthday Wreath
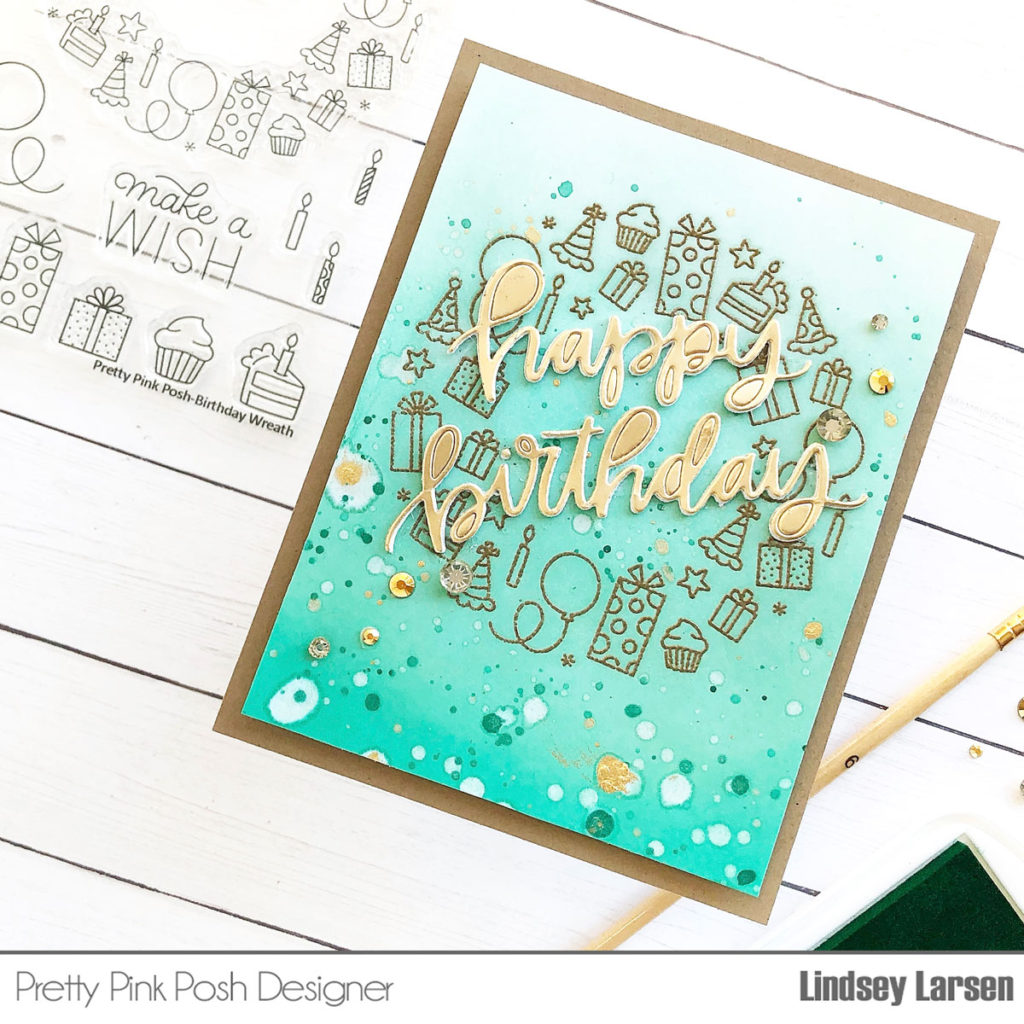
Good morning! It’s Lindsey here today, and I’m excited to be giving you a sneak peek of the Birthday Wreath stamp set releasing on February 10th. It’s so fun! One thing I love about all the new products is that they pair so seamlessly with previously released Pretty Pink Posh products.
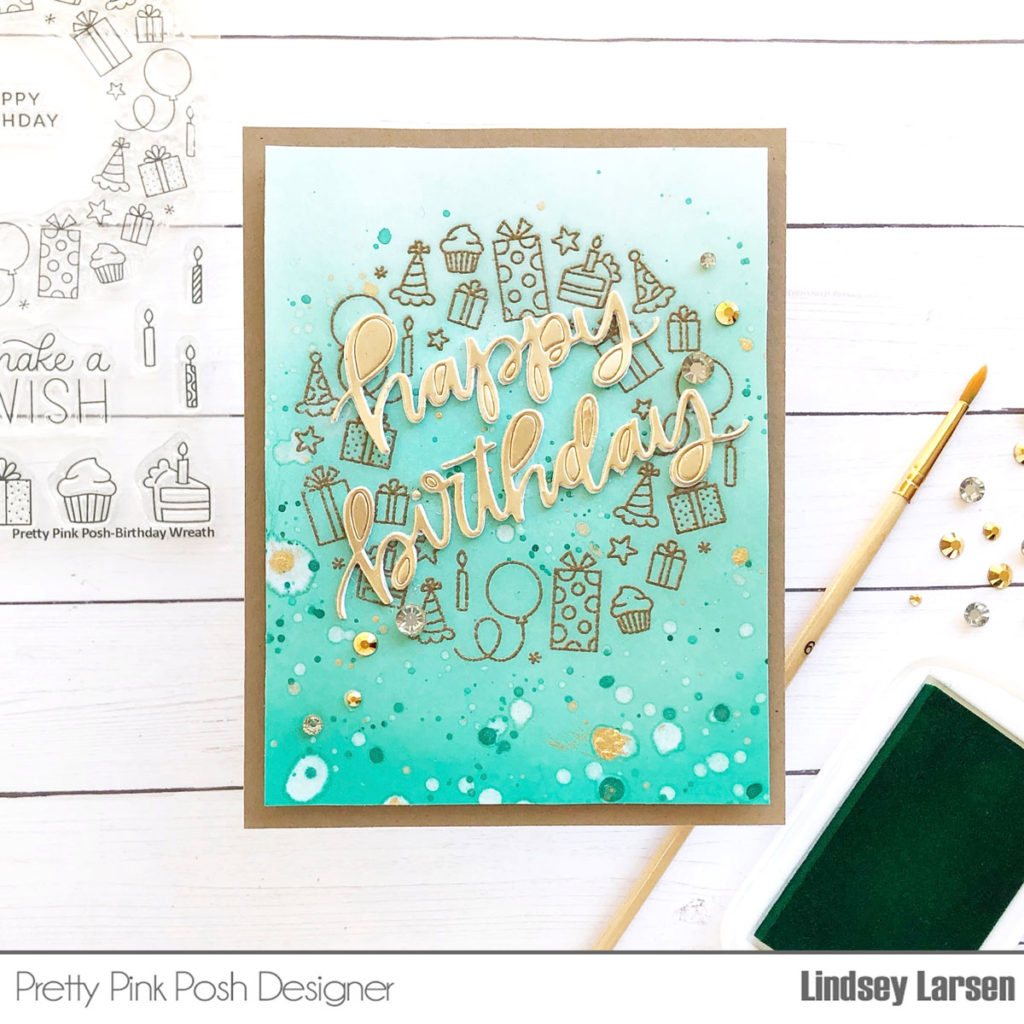
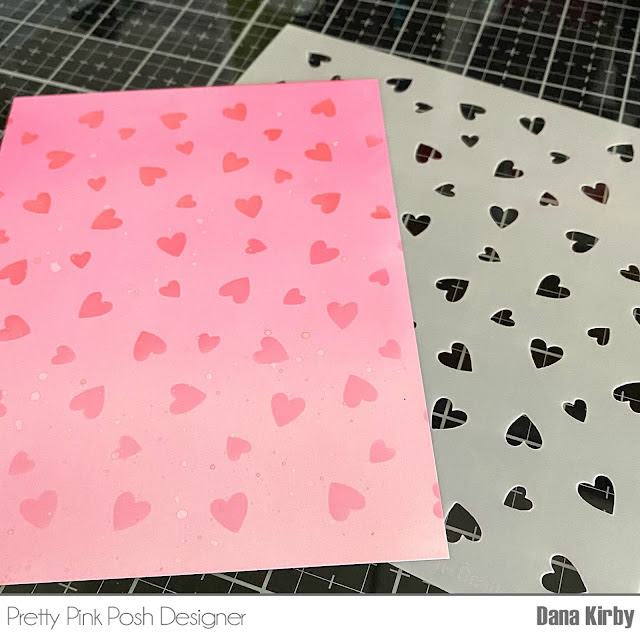
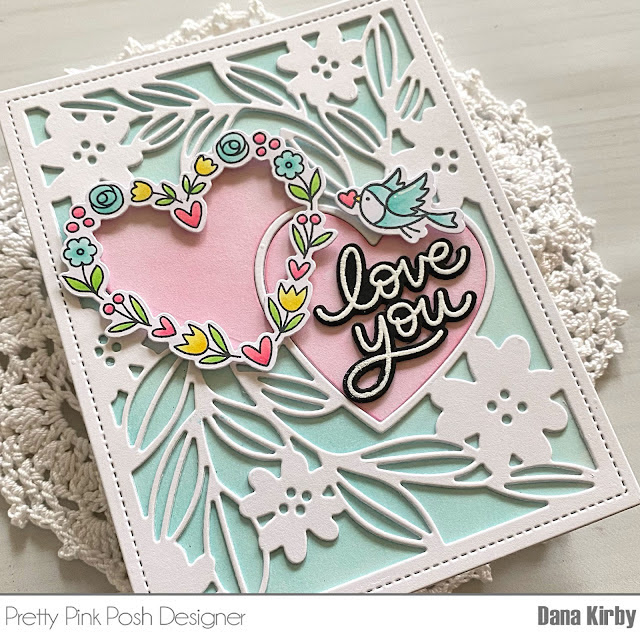
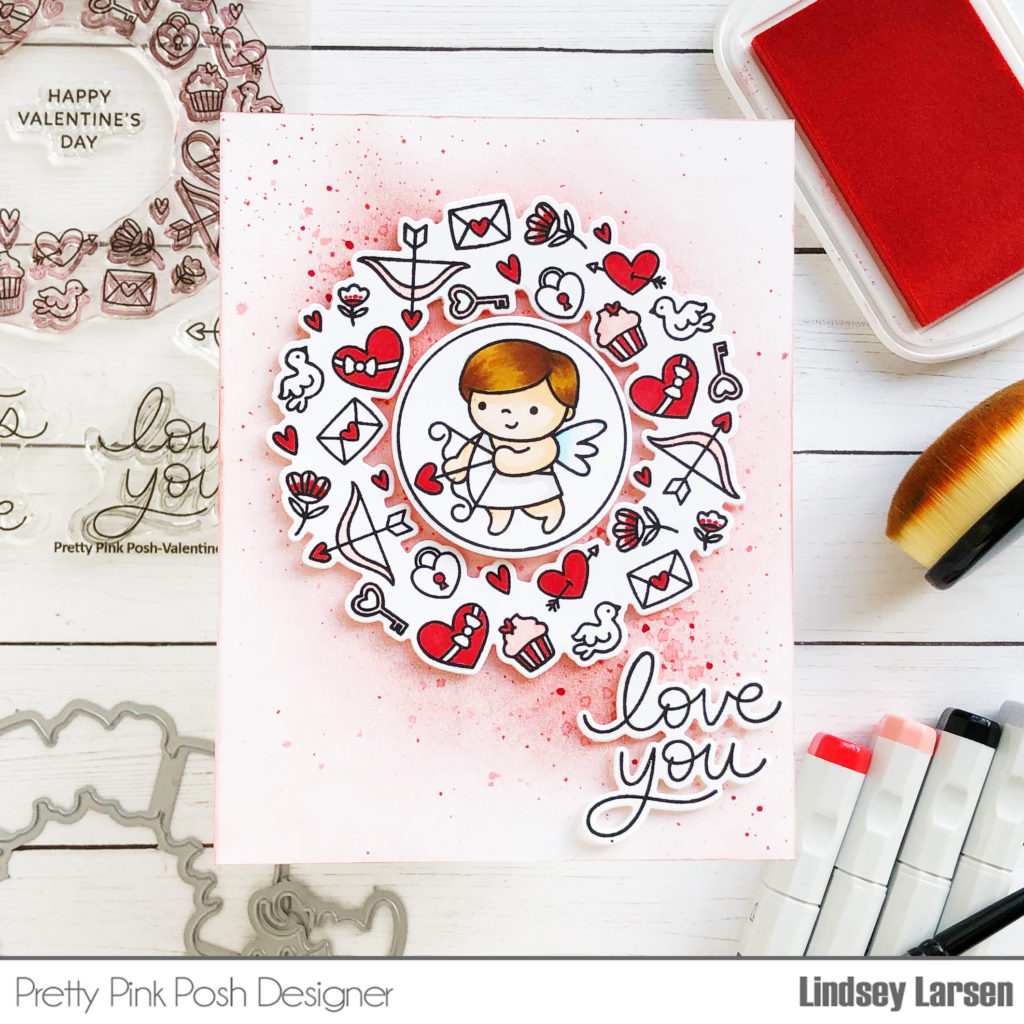
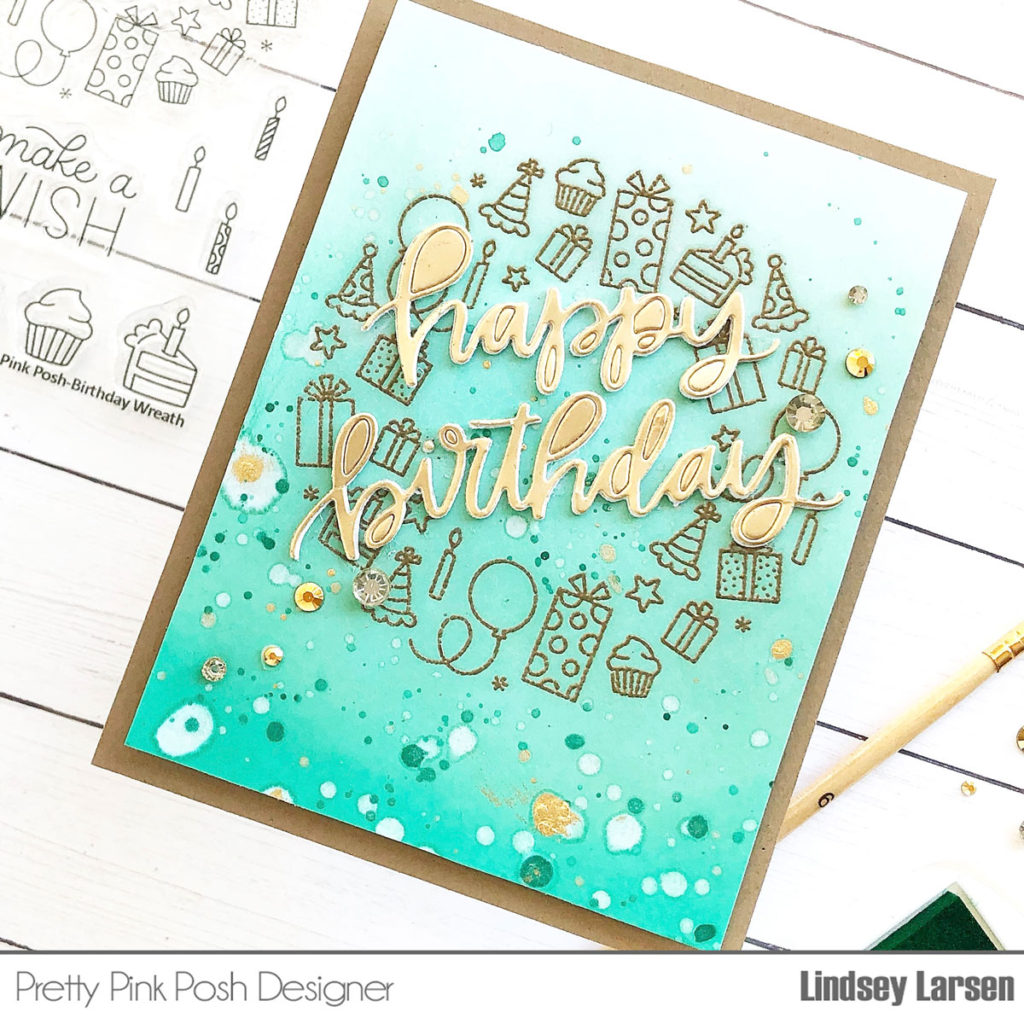
I really love all the little images in the wreath stamp sets, and I think that they look fabulous just as they are, so for my card I decided to simply emboss the Birthday Wreath image in a dark gold/bronze color. Next I blended aqua ink in an ombre fashion, and then splattered to my heart’s content. Truth be told I was watching a movie, placed my card inside a box to catch the splatters and just went at it. I used water, gold paint, and a shimmery teal paint to add a variety of flecks. It kind of reminds me of birthday confetti, which seemed fitting.
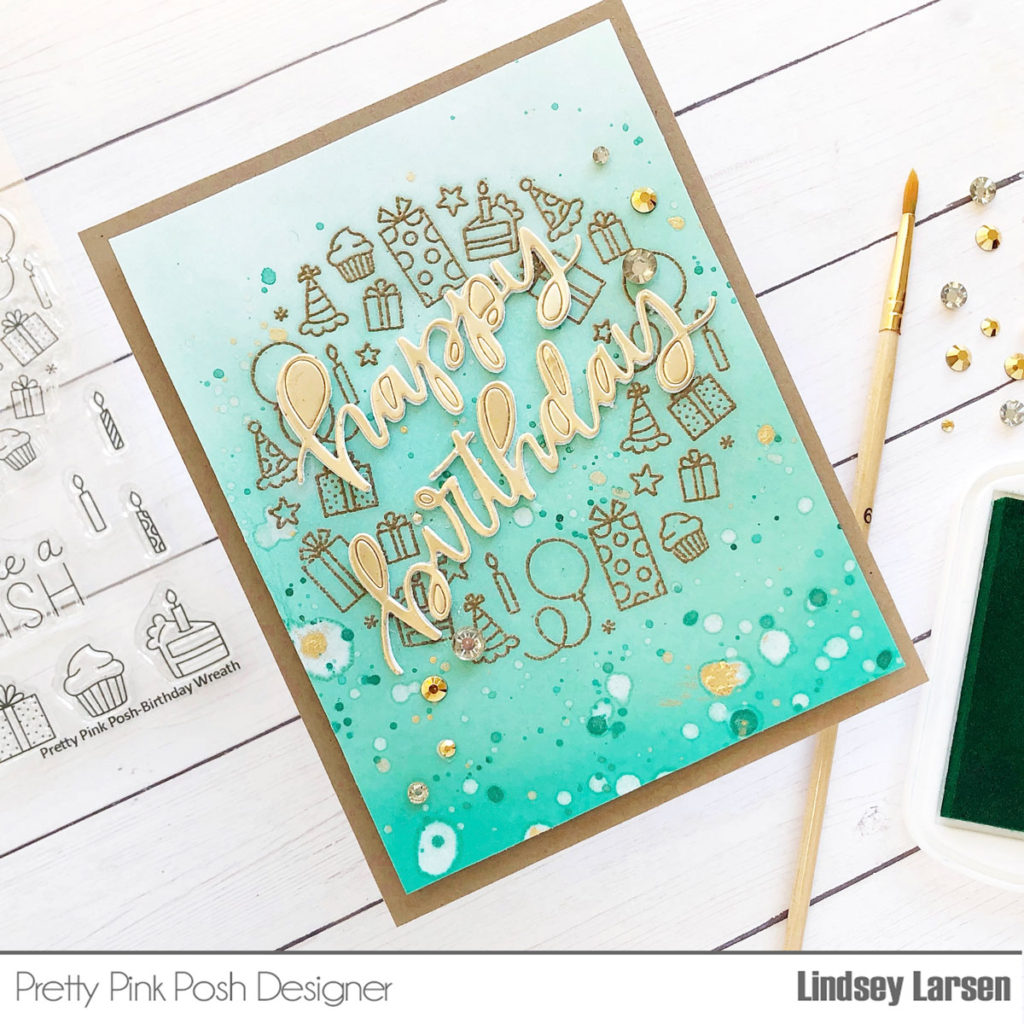
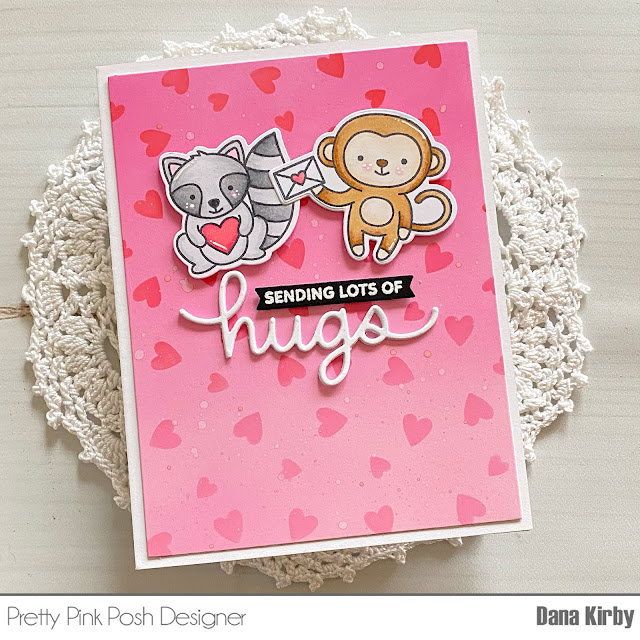
For my sentiment I die cut the Happy Birthday Script several times in white, layered them together, and placed a gold die cut on top. I opted to leave the centers in the letters, so the sentiment was more readable atop the busy background. I decided to go big or go home with the gold on my card and added a few metallic gold jewels to dress it up just a bit more. As the jewels tumbled out of the bag, some were right side up and some were upside down. The backside was clear and I liked combination with the gold fronts, so when I adhered my jewels I purposely adhered some of them right side up and some upside down.
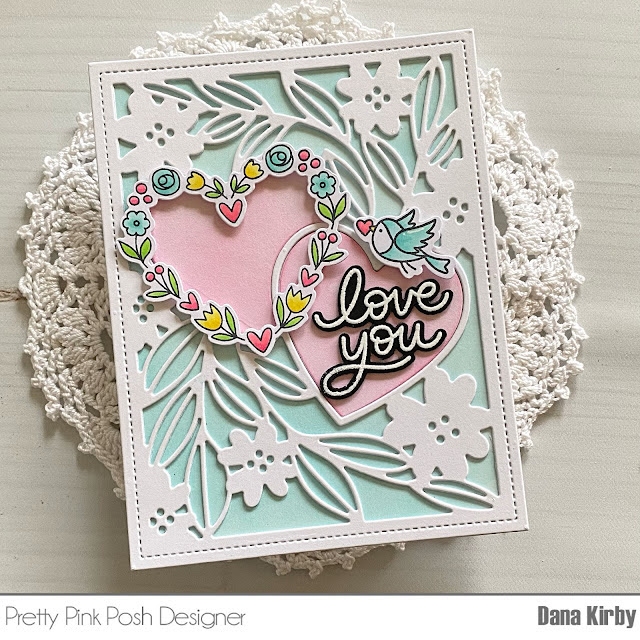
I popped my panel up on a kraft card base and called it a day. I’m always tickled when all I need are a few great products to make a card.
Thanks so much for visiting today! Stay tuned for peeks of new products the rest of the week. You are going to LOVE this release!