Sneak Peek: Across the Miles
Good morning! It’s Lindsey here today and I’m excited to give you a peek at the brand new Across the Miles stamp set releasing on June 16th. This darling transportation set coordinates perfectly with several other stencils and stamps being released this month. I’ve got three projects to share today, so let’s get started!
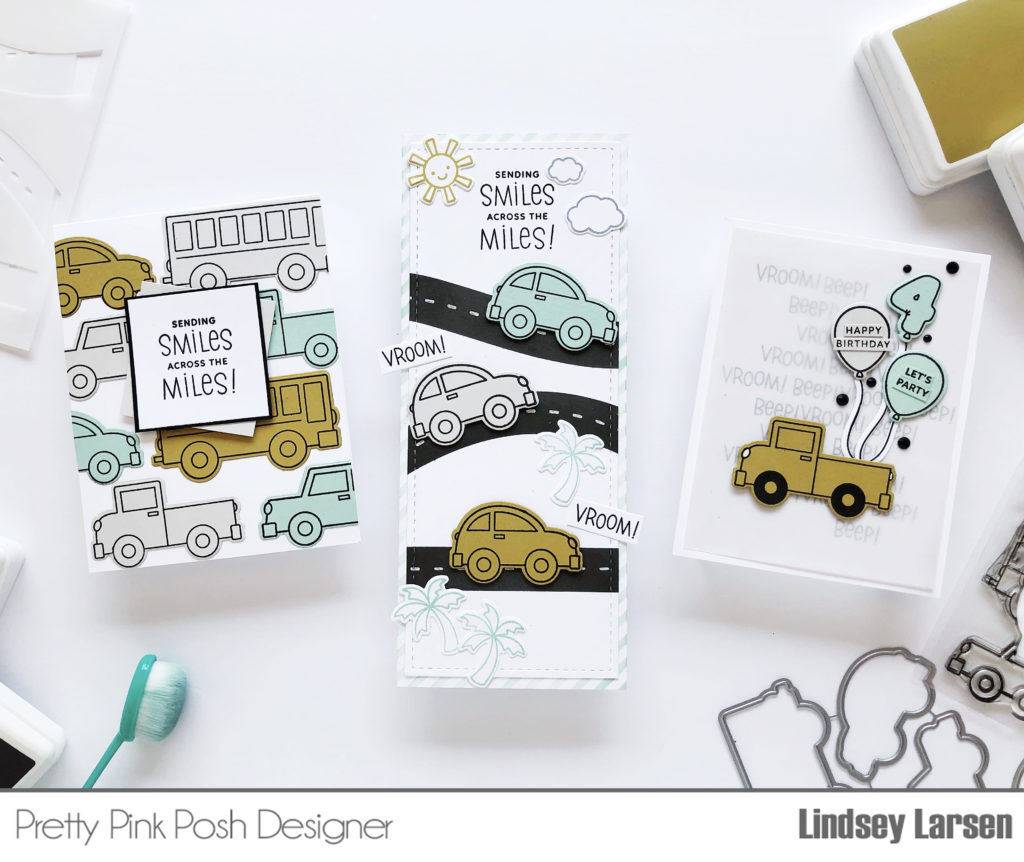
First up is a card that uses just Across the Miles, so you can see how cute it is on it’s own. I stamped all the vehicles in the set on golden/dijon yellow, mint, and light grey cardstock and cut them with the coordinating dies.
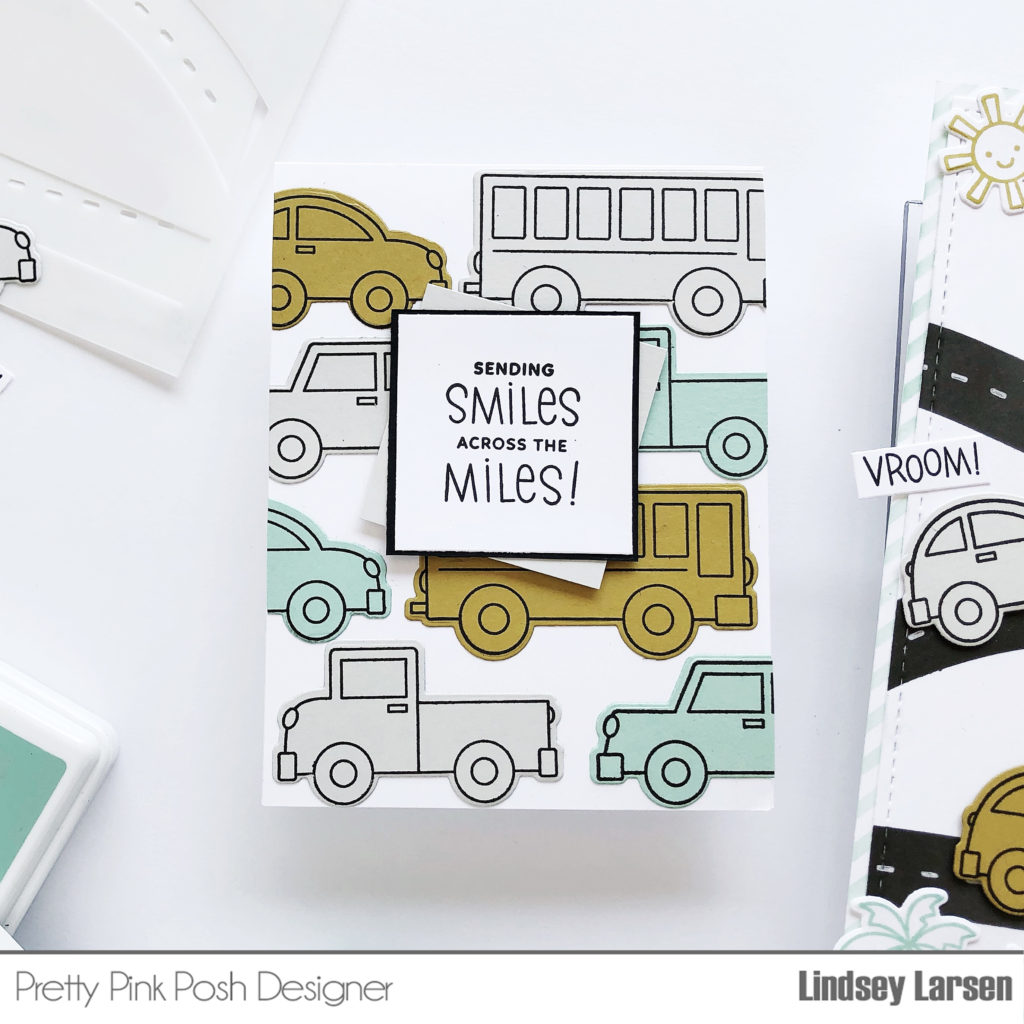
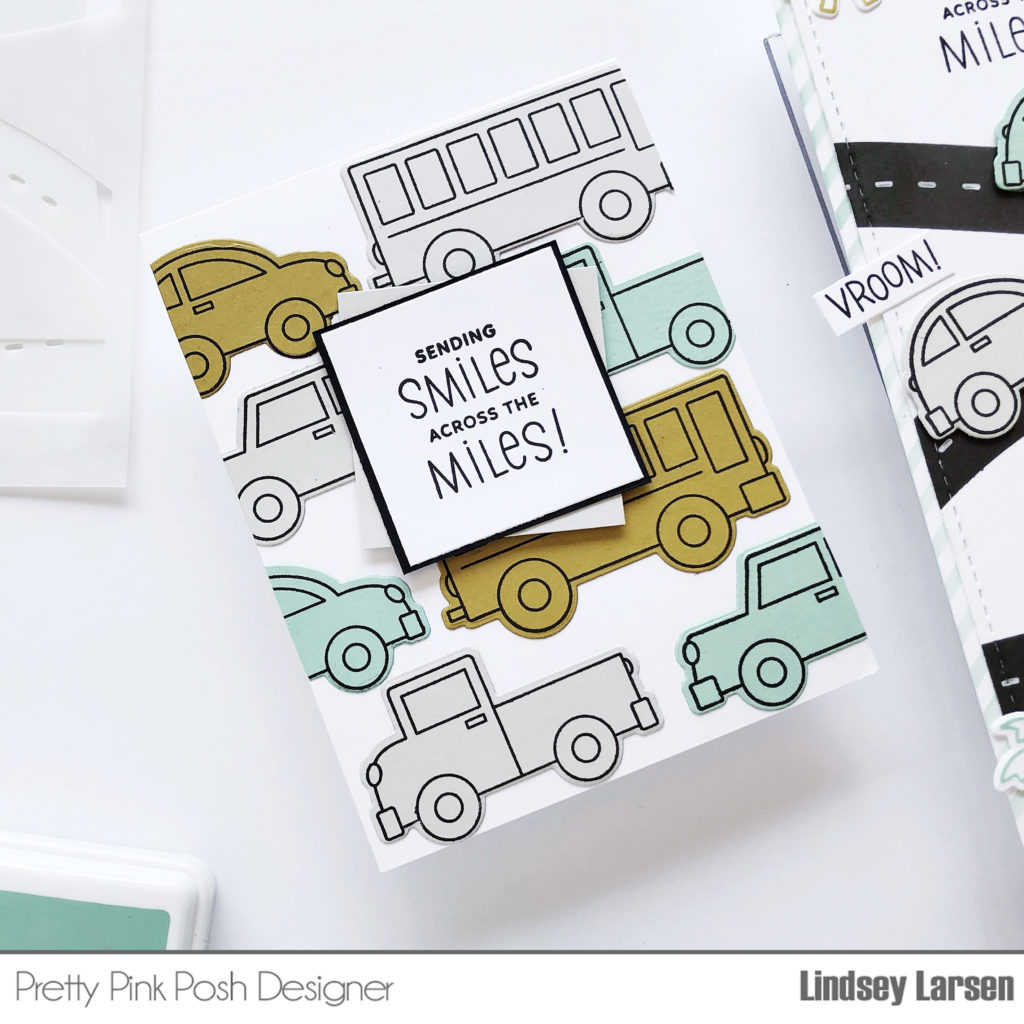
I then arranged them in rows of traffic on my card base. You’ll notice that half of the images in the set are right facing and the other half are left facing.
I finished my card off by layering a couple of off-set squares and stamping a sentiment from Across the Miles. Don’t you just love the font pairing? I’m a huge fan!
There is a darling truck in this set, and it was begging to be filled, so I did just that on the next card.
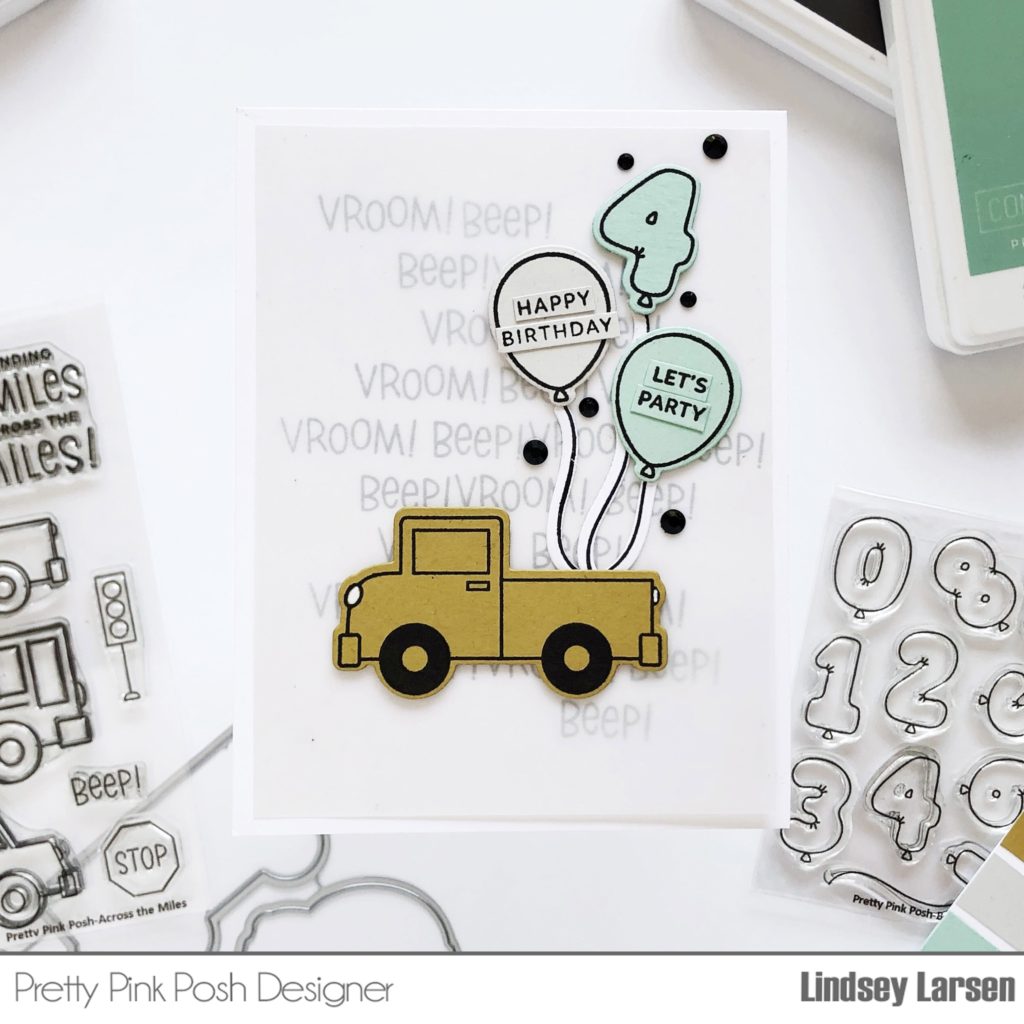
Let’s start with the card base. I began by alternately stamping “vroom!” and “beep!” until the center of the card base was filled. To keep the background a bit more subtle, I layered a piece of vellum on top.
Next I stamped the truck and did the tiniest bit of coloring with a white gel pen for the lights and a black marker for the tires. It’s surprising how adding just this tiny bit of black really draws the eye in.
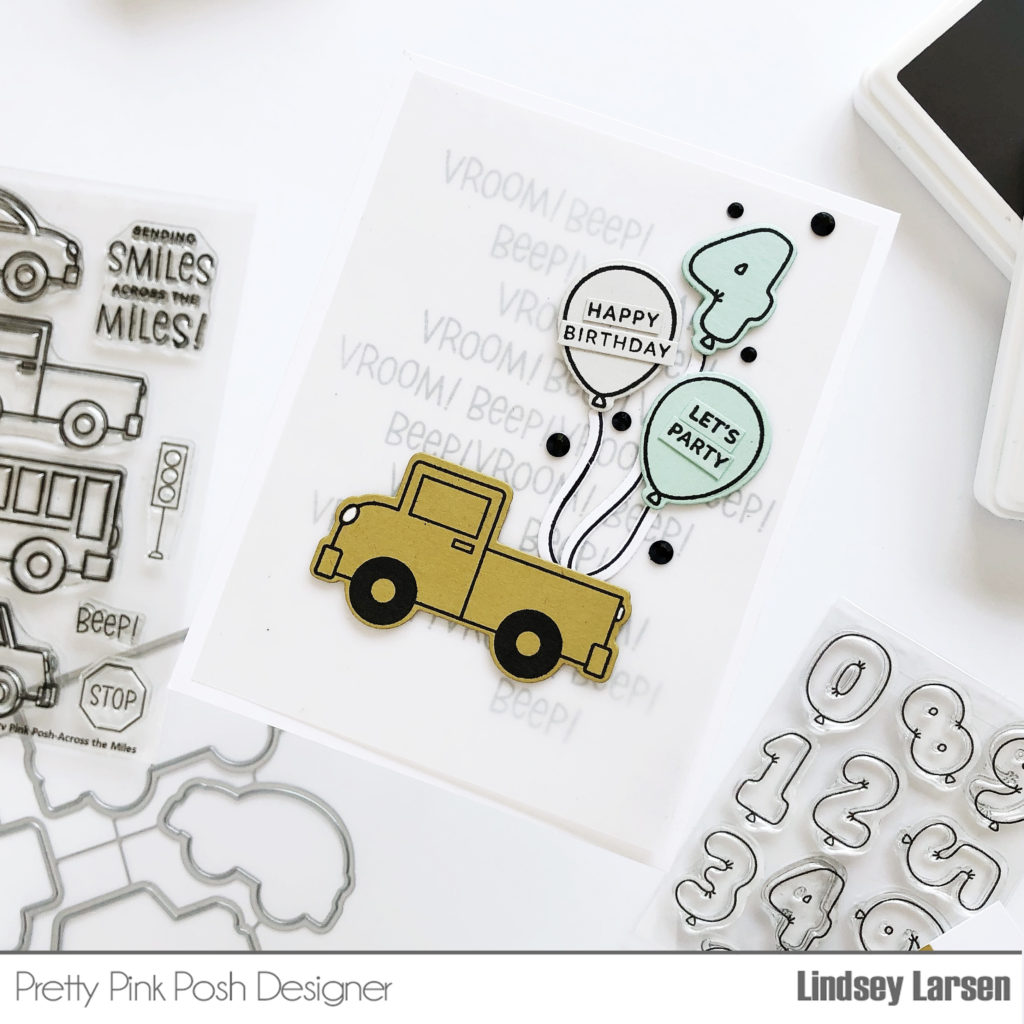
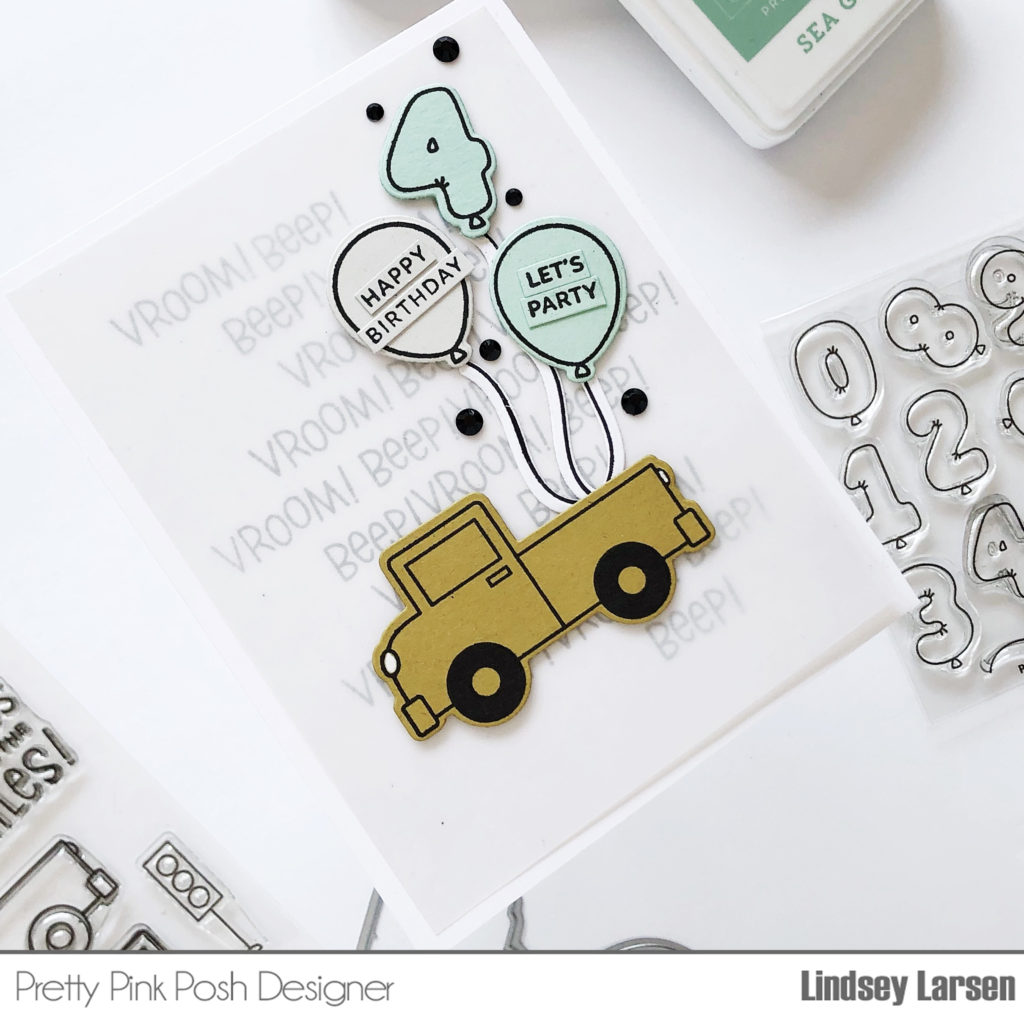
I had SO many ideas for fillers for this truck, but I chose to make a birthday truck by filling it with balloons using the Balloon Numbers and Balloon Alphabet stamp sets and dies. The balloon strings weren’t quite long enough for my tallest balloon (“4”), so I stamped two strings, connected them together, and hid the overlapping portion behind the mint party balloon.
I added tiny little sentiments from Let’s Party to the center of the balloons and popped everything up on my card base.
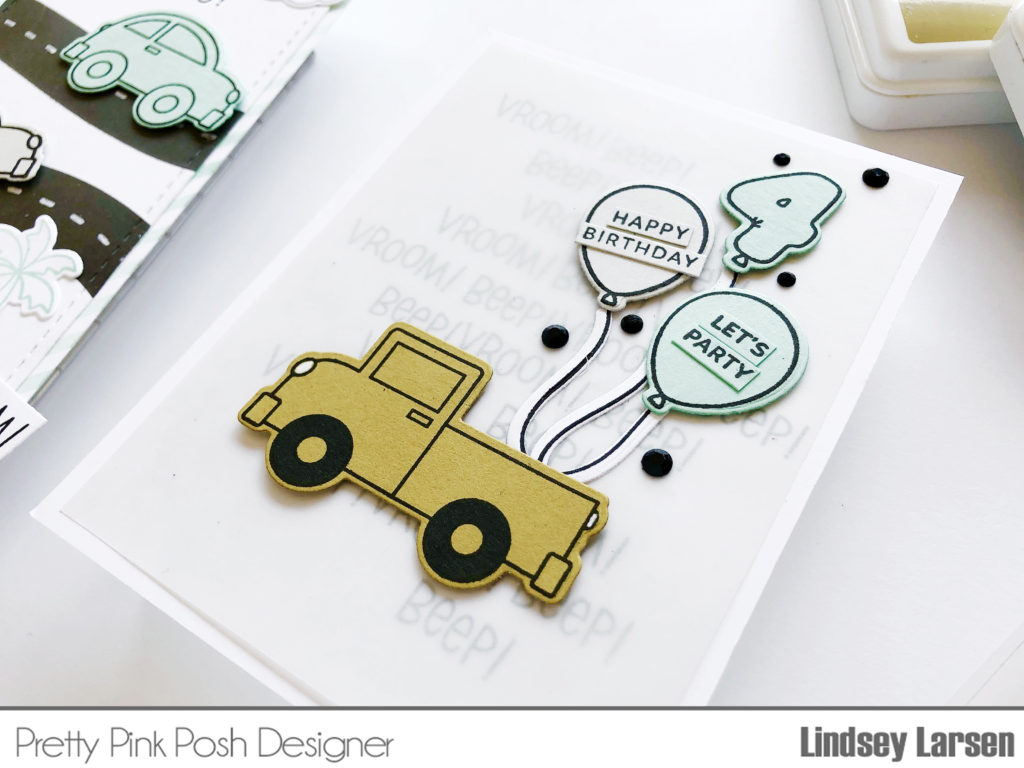
A little sprinkling of glossy black jewels and my card was finished.
On my final card in the trio I wanted to pair Across the Miles with one of the new stencils- Layered Roads. In order to create a larger scene, I chose to make a slimline card.
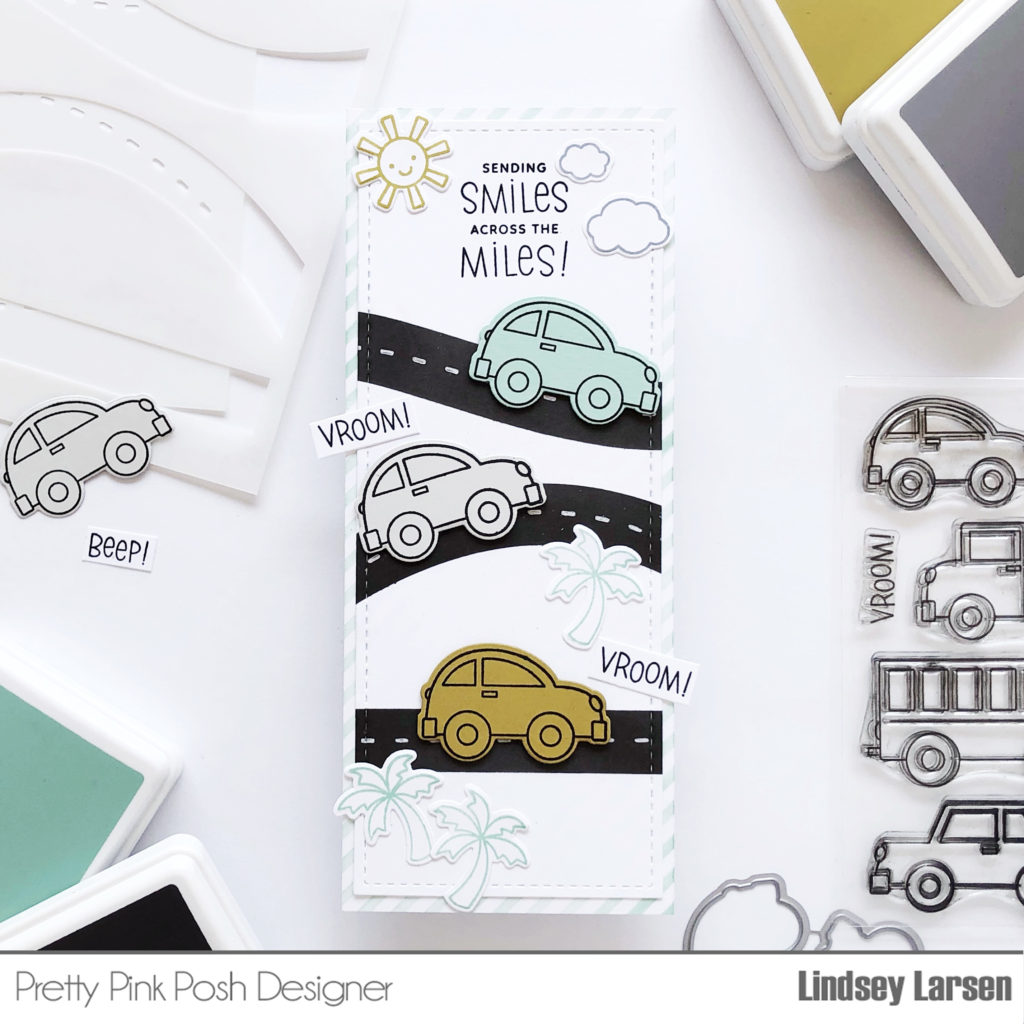
I blended the roads in a very dark grey onto a stitched base from the Slimline: Peekaboo Windows Dies. I only used two of the stencils, the road and the dotted lines. With some trial and error, I found that the easiest way to create crisp, vibrant white lines is to use a gel pen with the stencil.
This card happens to be traveling to a friend who lives across the country in a place full of sunshine and palms, so I pulled out the Hugs (sun, clouds) and Summer Wreath (palm tree) stamp sets and dies to add a little color the scene.
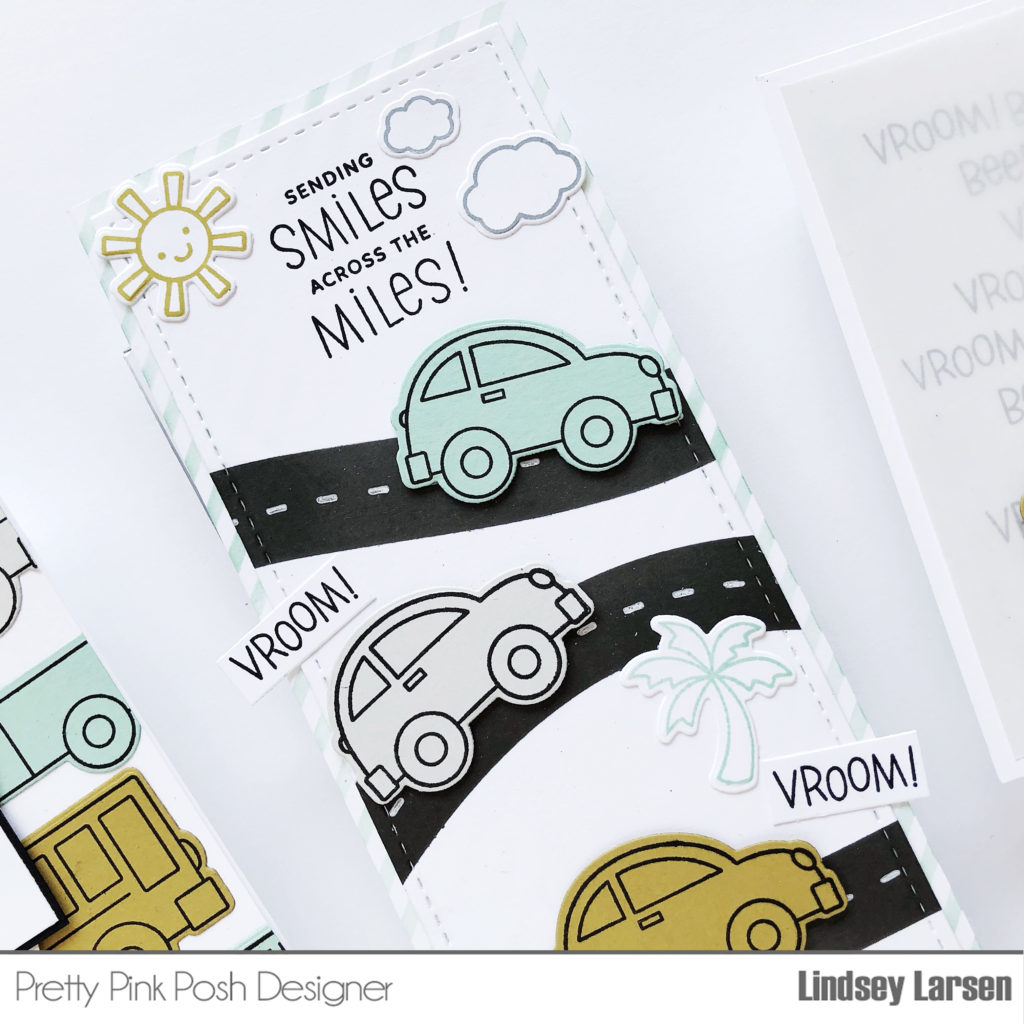
Though subtle, I wanted to point out the cute Pinstripe Stencil on my card base. Due to the nature of the stripes, this stencil is really easy to align for a taller card base and added just a bit of fun and color.
I stamped the sentiment at the top, and to add just a little emphasis on the desire to quickly send those smiles, I added “vroom!” in a couple places. :)
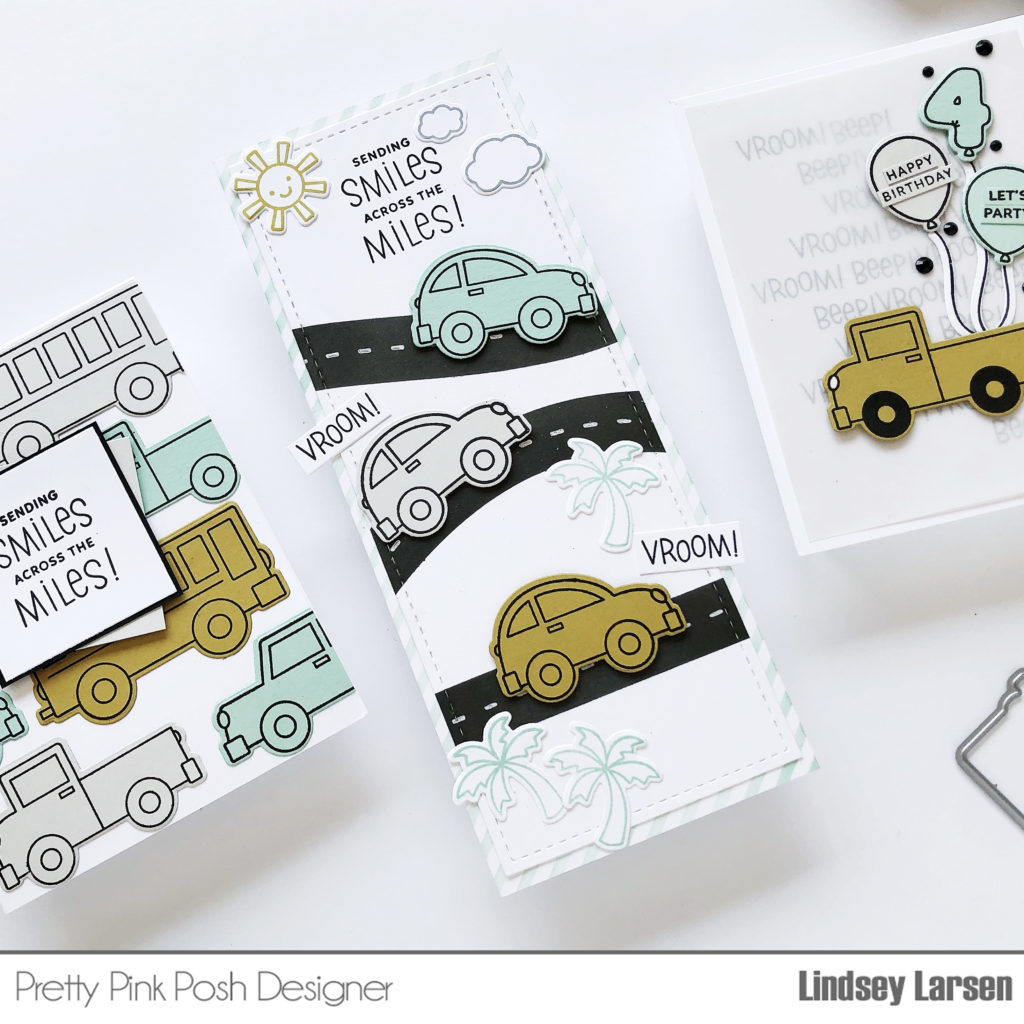
Here’s one last peek of the cards all together.
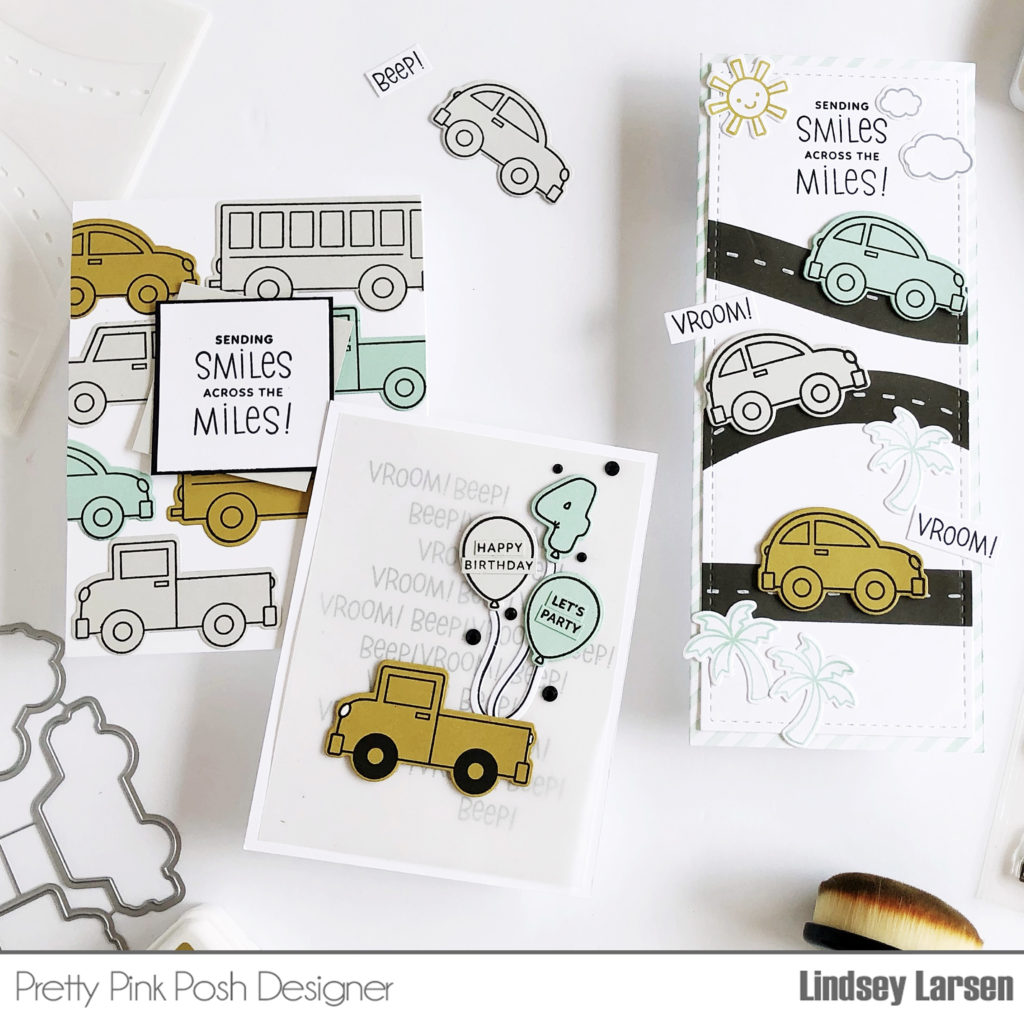
Thanks so much for visiting today! Make sure to come back again tomorrow for more fun peeks of this fabulous new release!

ADORABLE cars!!!
Love all of these cards!!
You already know that this stamp set matched my party theme 😆 definitely need to add more bou-masculine stamps to my stash! Now to make time to create 🥰