Sneak Peek: May 2023 Dies
Good morning! It’s Lindsey here giving you a sneak peek of some of the amazing dies releasing this month. There are two new additions to the mug line-up, scripty sentiments, and some beautiful bird and birdhouse dies. SO much to love!
New release will be available May 1st
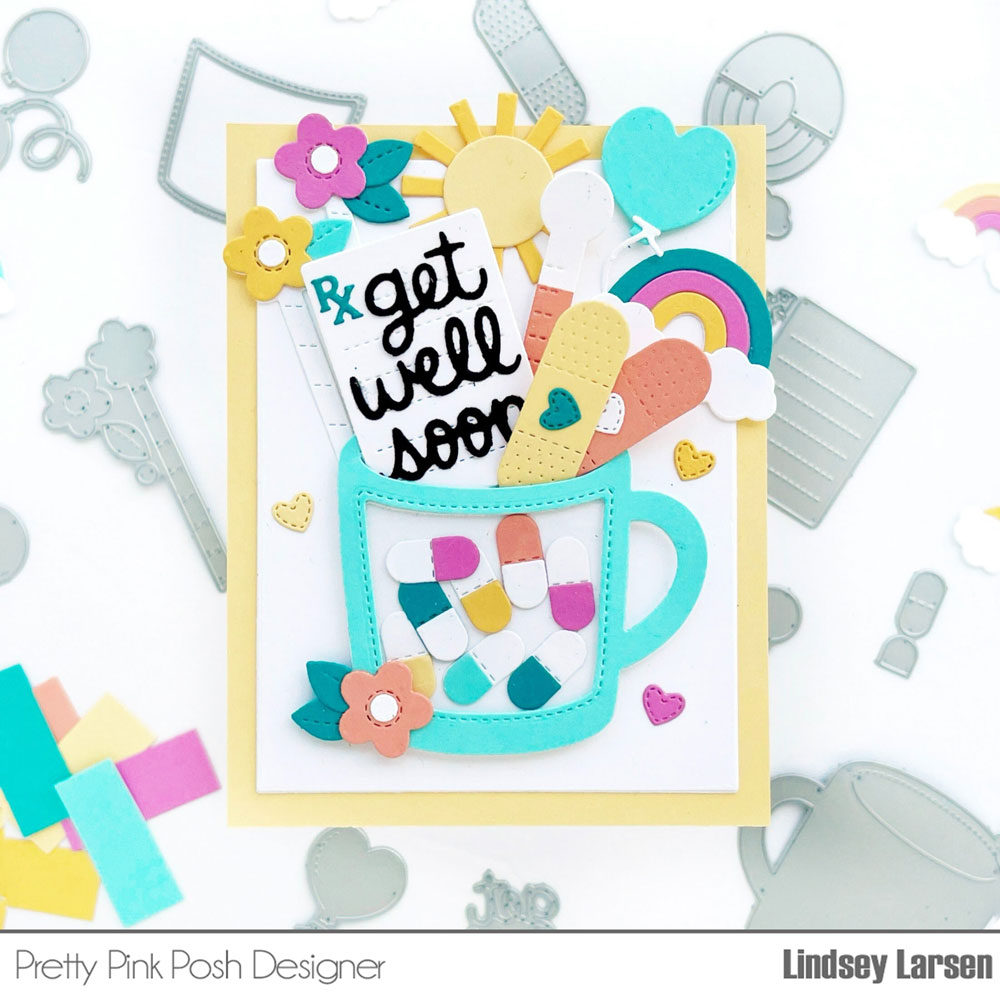
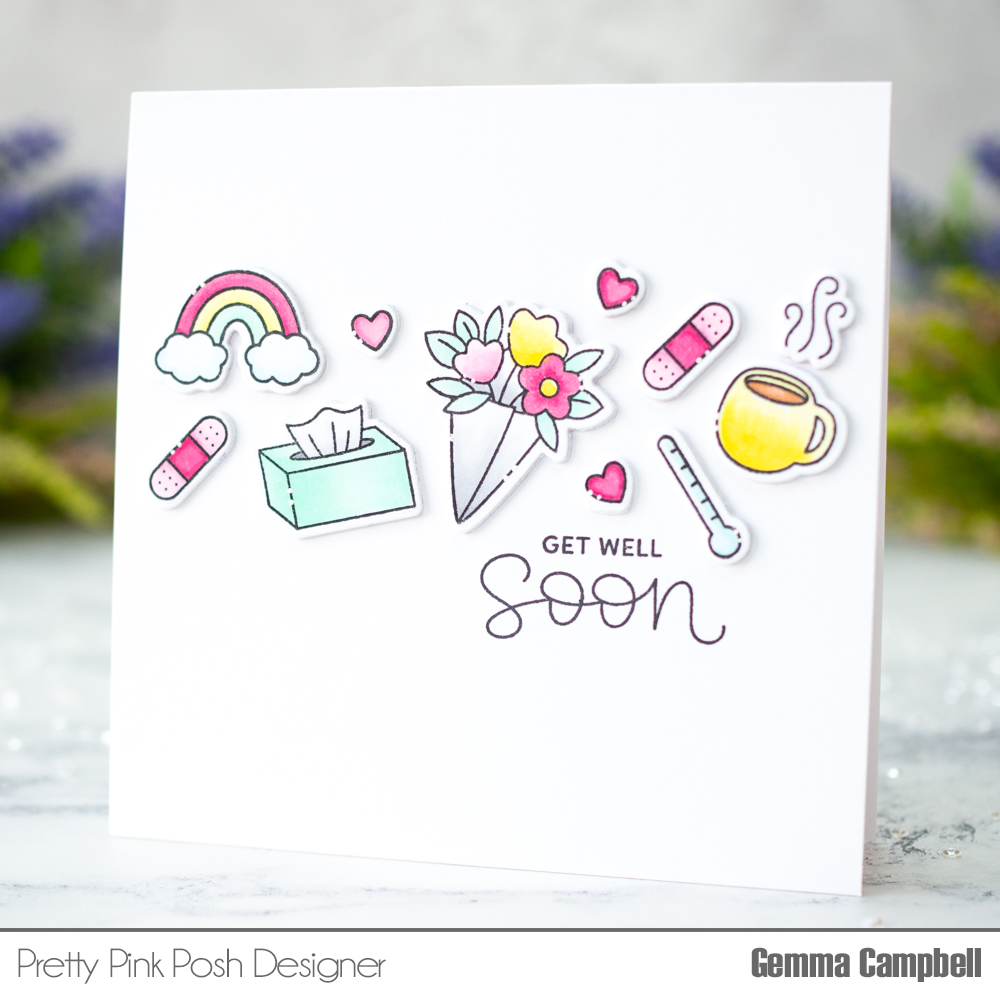
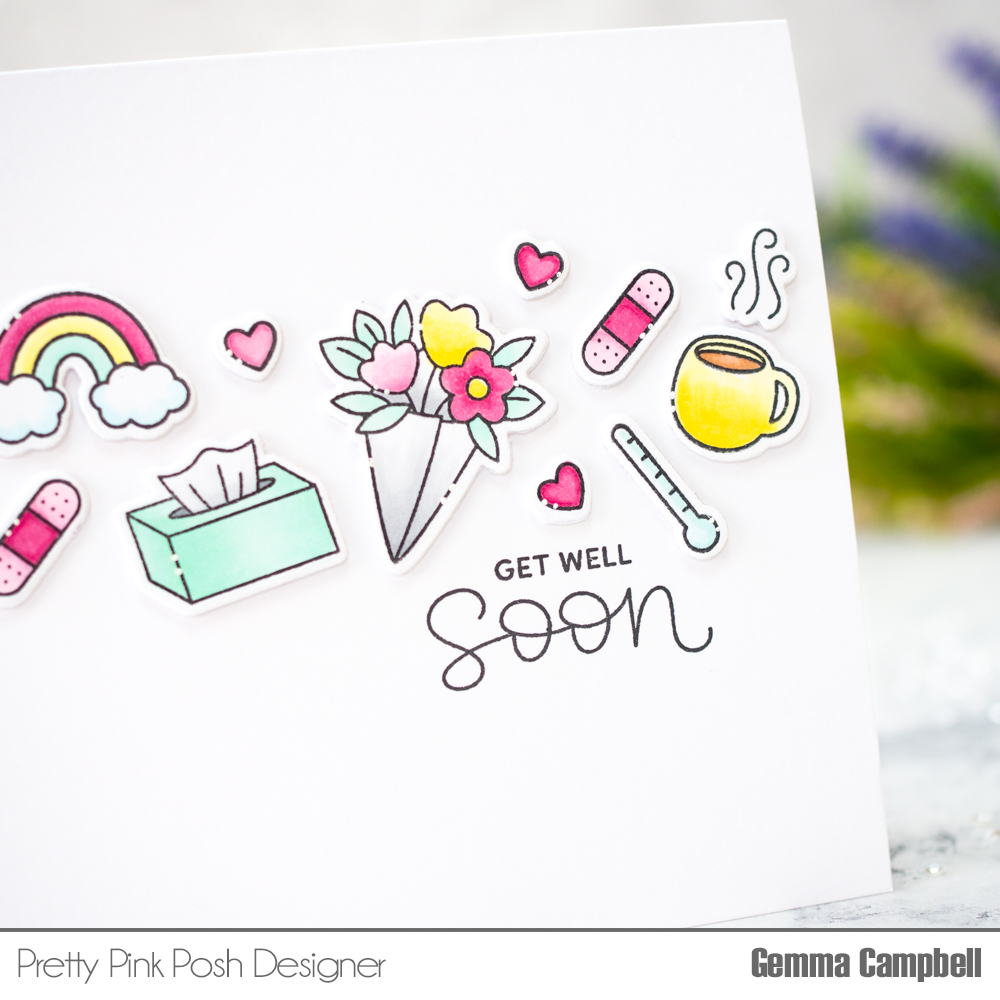
First up is a cheery get well card with a bright color palette. There are lots of great products this month expanding the “get well” category. You are going to love them! This card showcases Get Well Mug Additions.
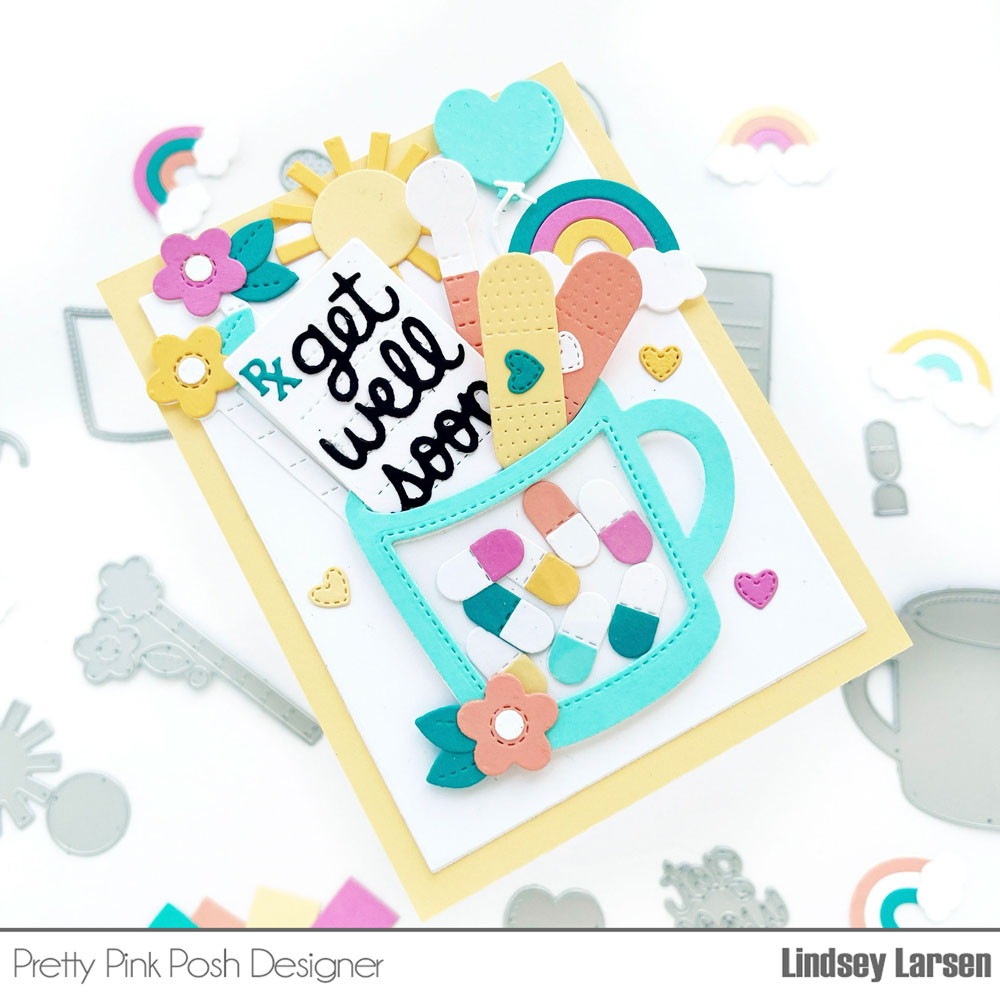
I figure if someone is sick and needs some cheering up, a shaker is a good way to do that. I started with my beloved Winter Mug and die cut out the center using a die from Birthday Mug Additions. Then I filled it full of colorful pills from the Get Well Mug Additions.

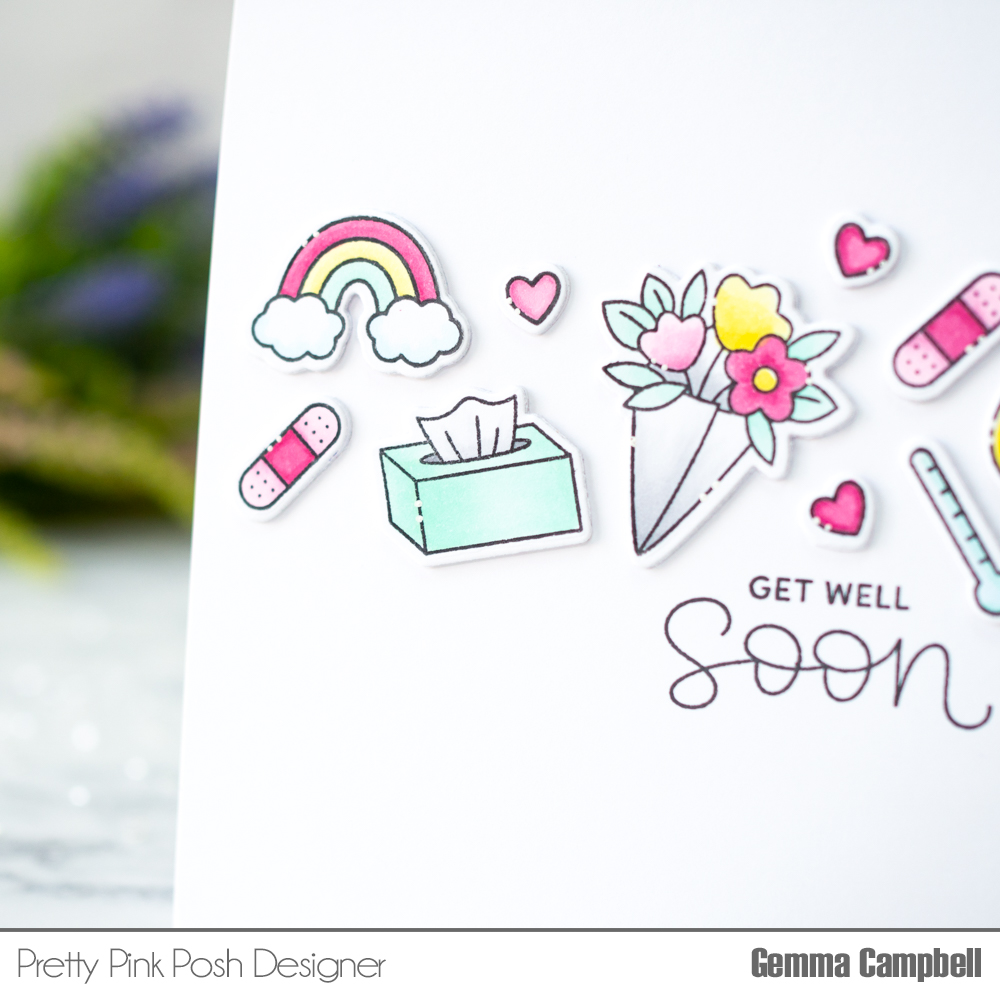
Next I die cut and stuffed the mug with medical supplies and happy things to brighten a mood. You may notice that the darling sun, rainbows, flowers, etc. are in the same style as the previously released Hugs stamp set. I can’t wait to use them together! This card just makes me smile. :) These dies are the definition of happiness.

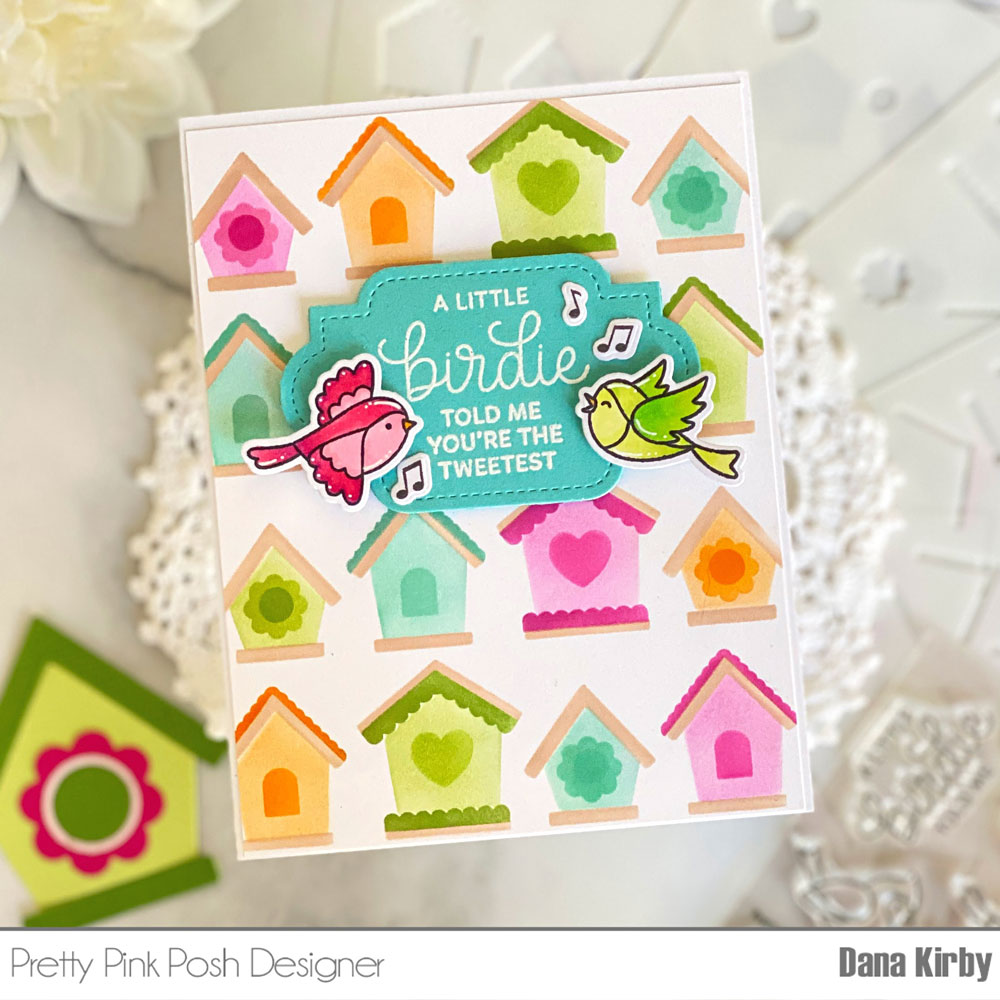
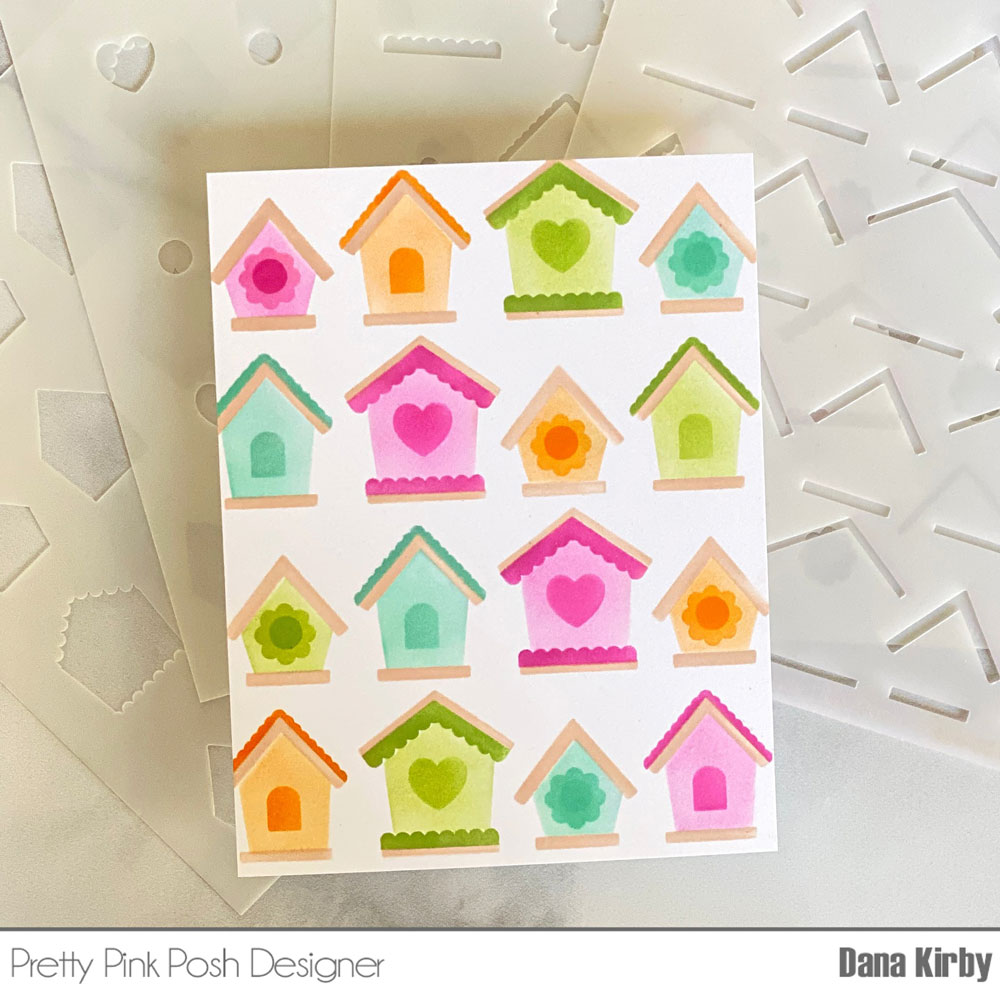
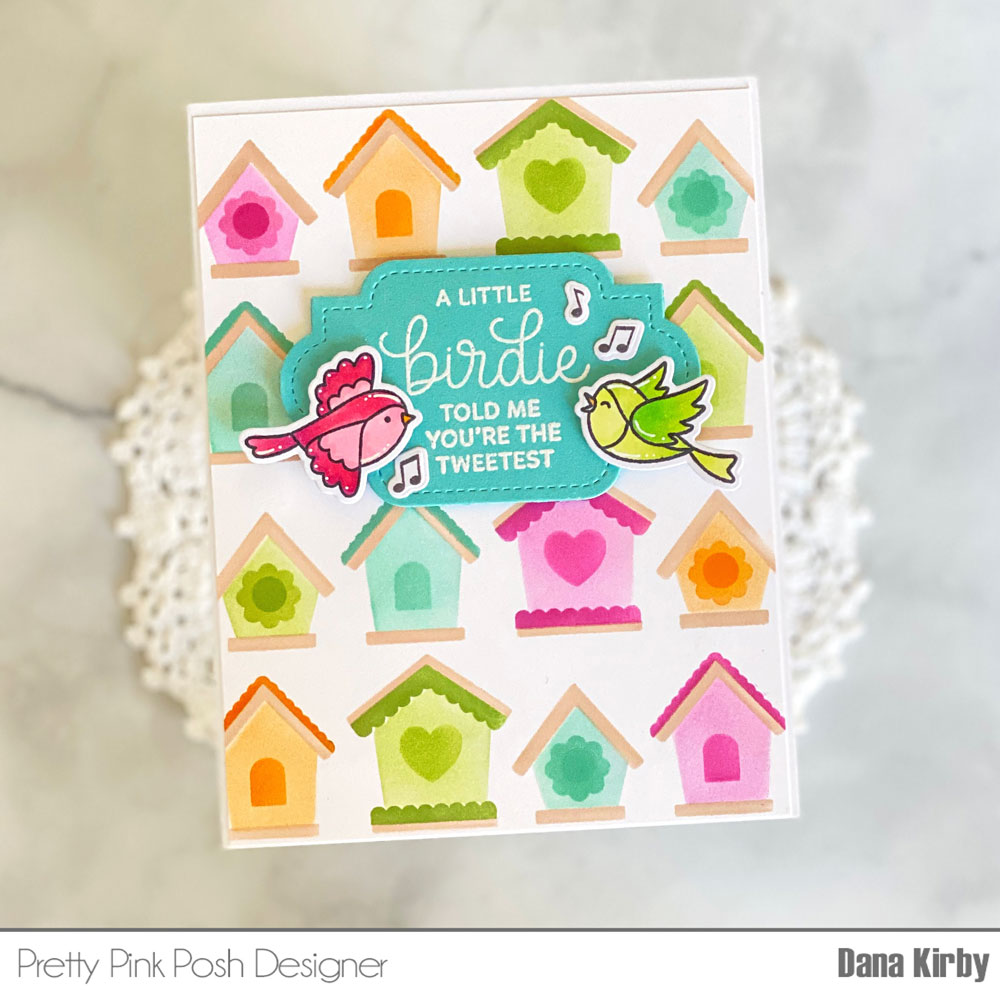
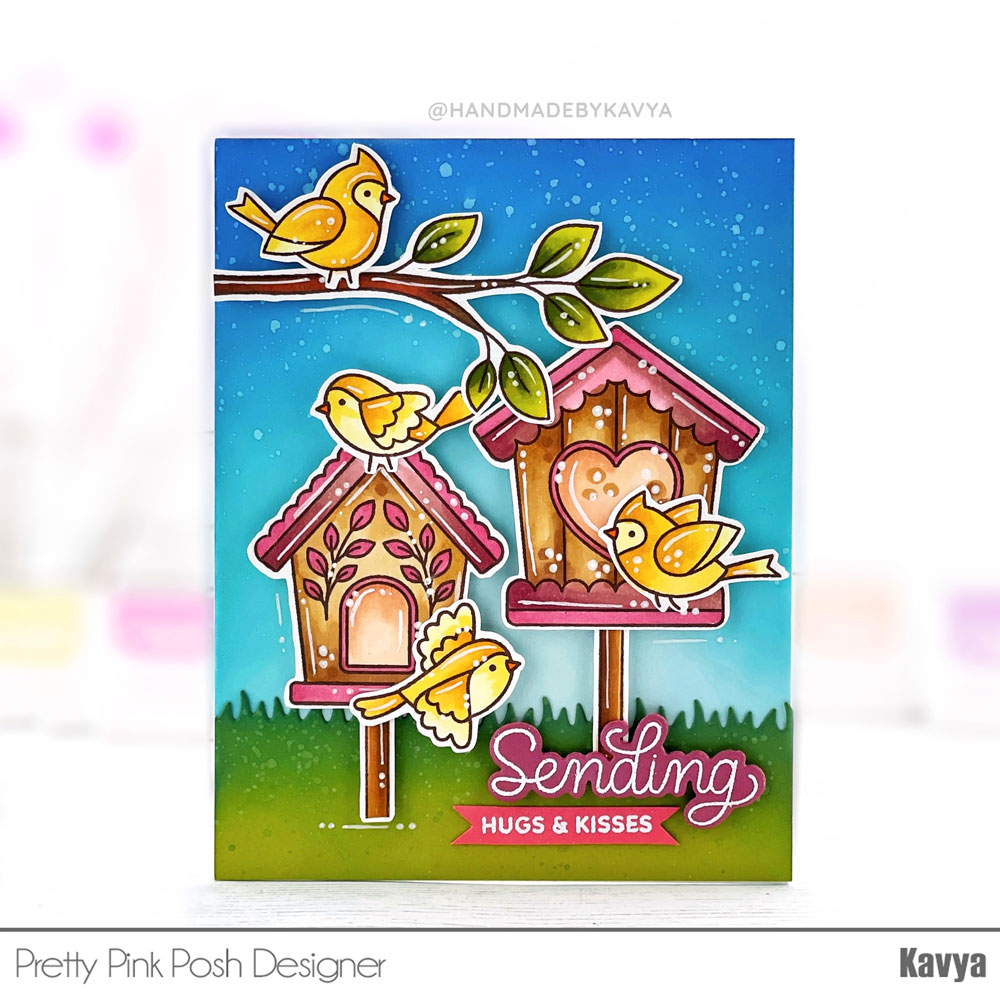
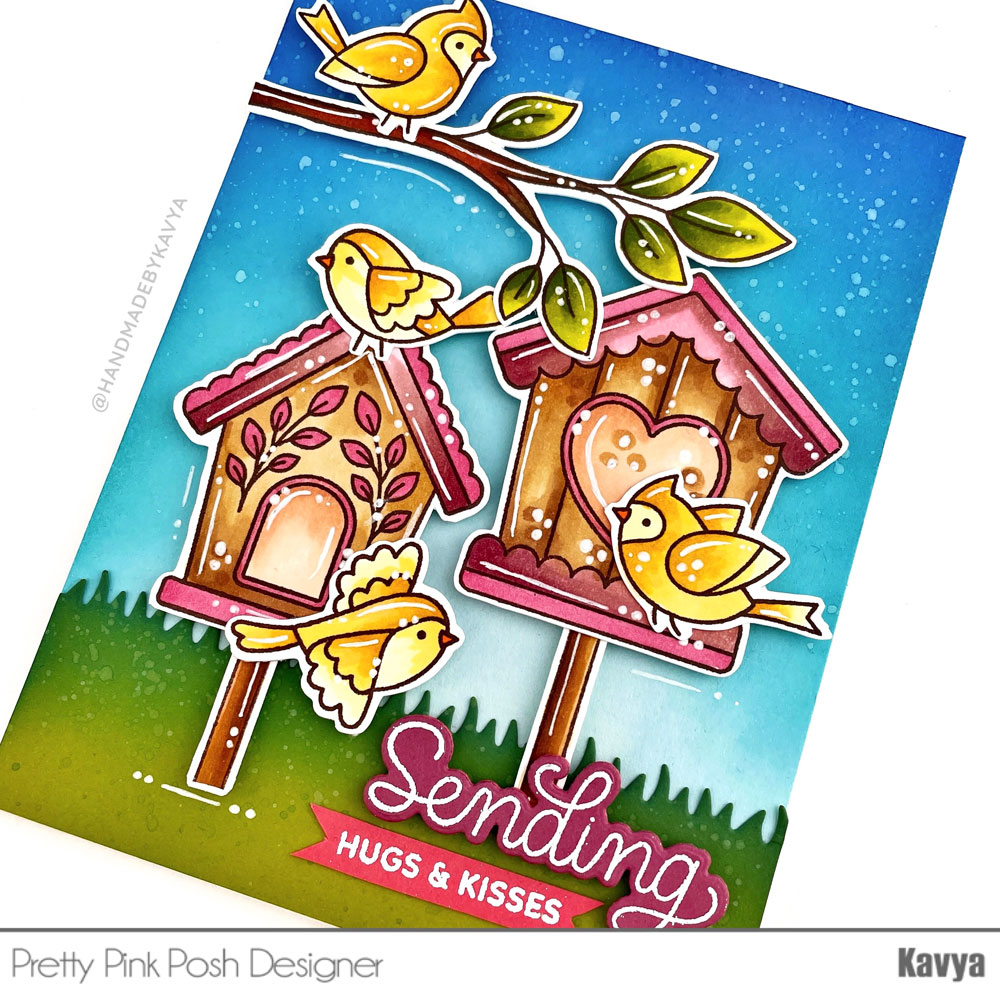
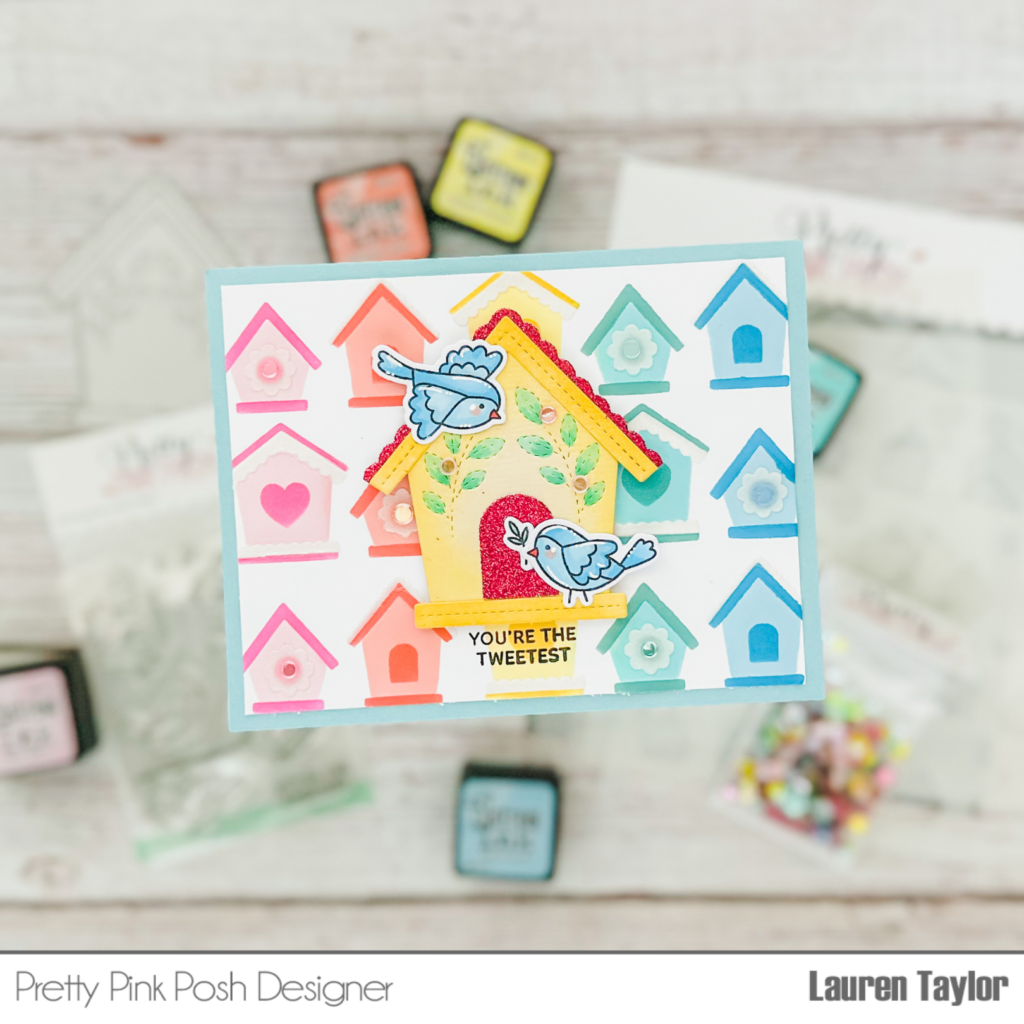
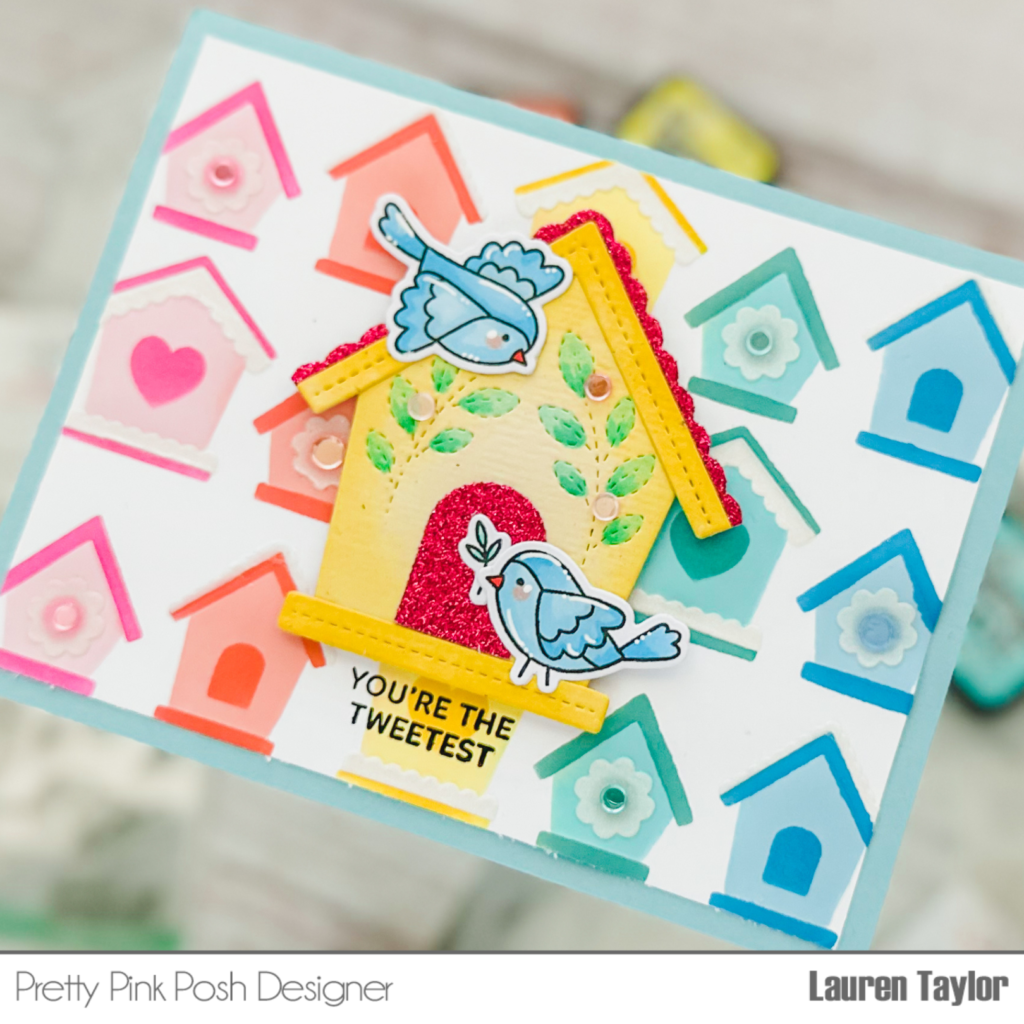
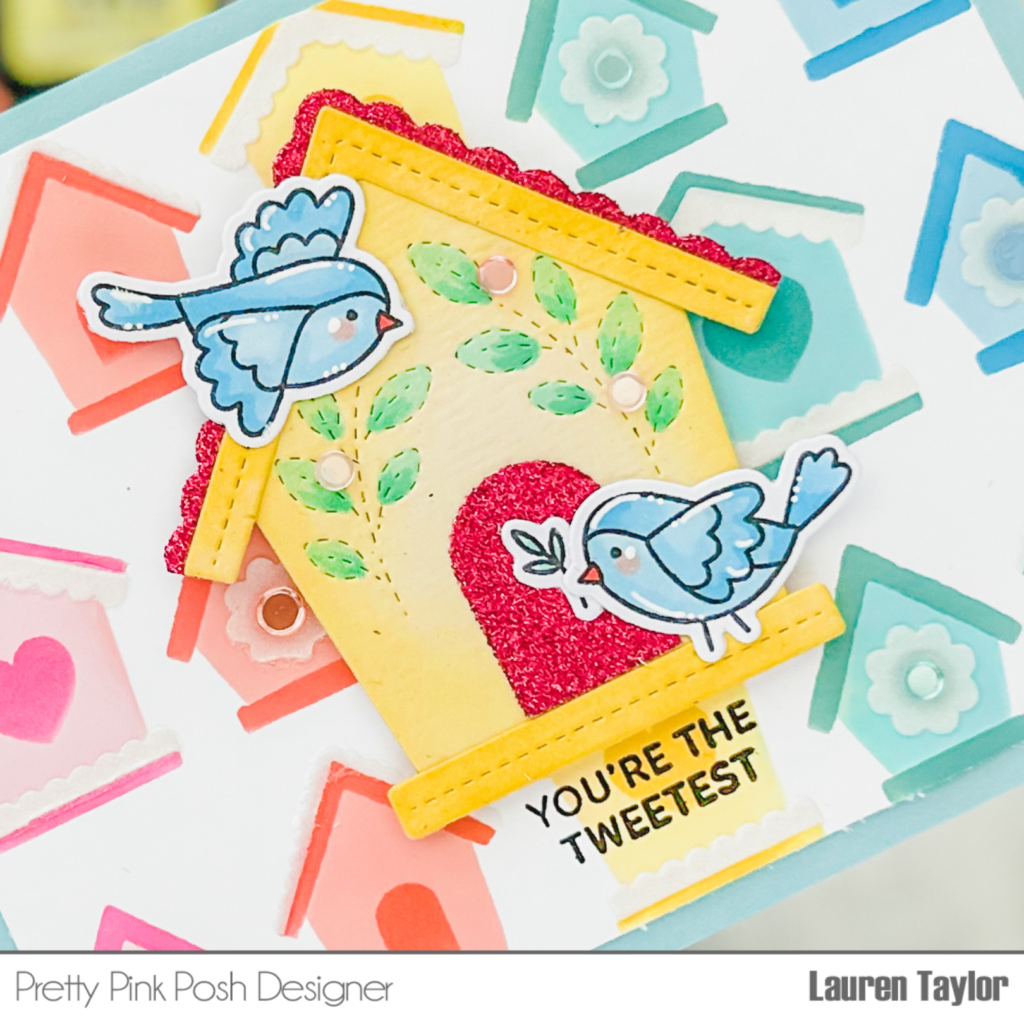
Okay, on to the next peek. I’m super excited about this one! It uses the new Decorative Birdhouses and Stitched Birds dies. There are three birdhouses with different options for the center opening on the bird house and three bird dies in these sets.
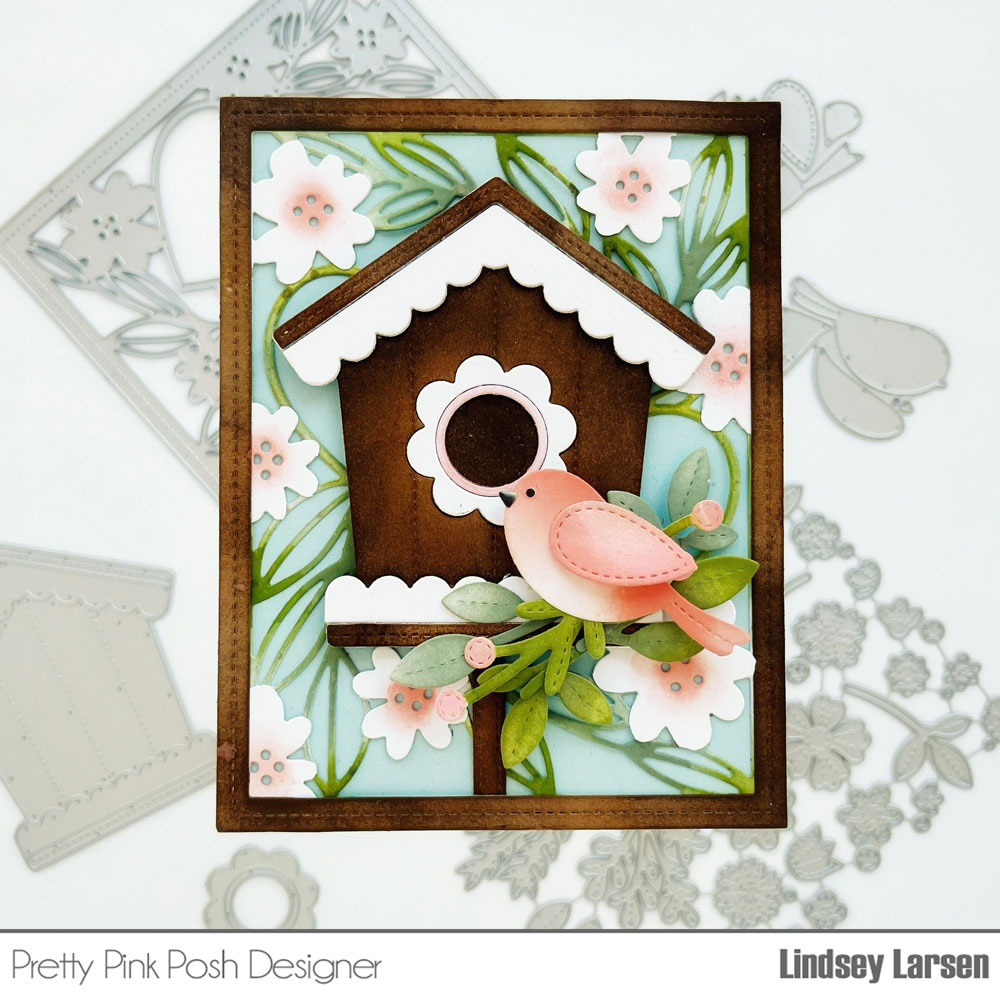
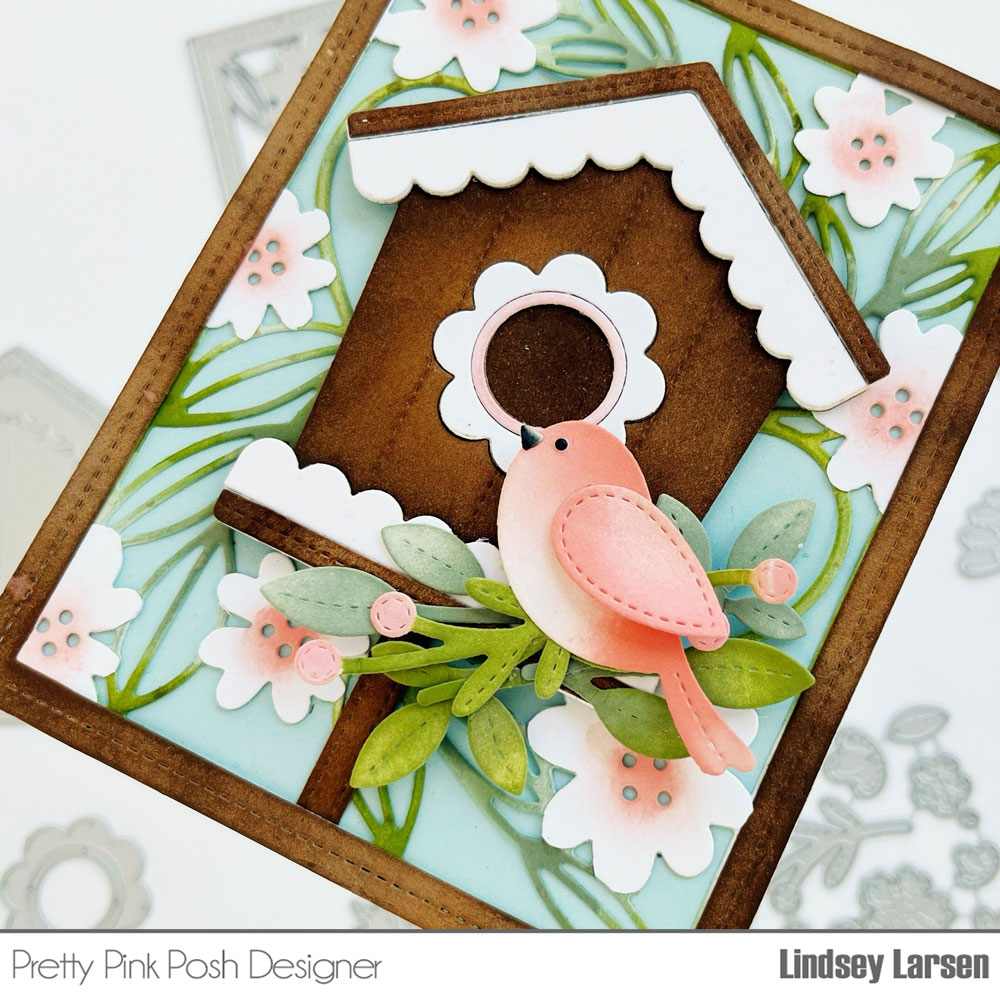
I chose the largest bird house for my card and blended two different shades of brown to create a dark, rich wood color. After piecing the birdhouse together, I added a stitched pole using a die from the Valentine Mug Additions for my birdhouse to stand on.
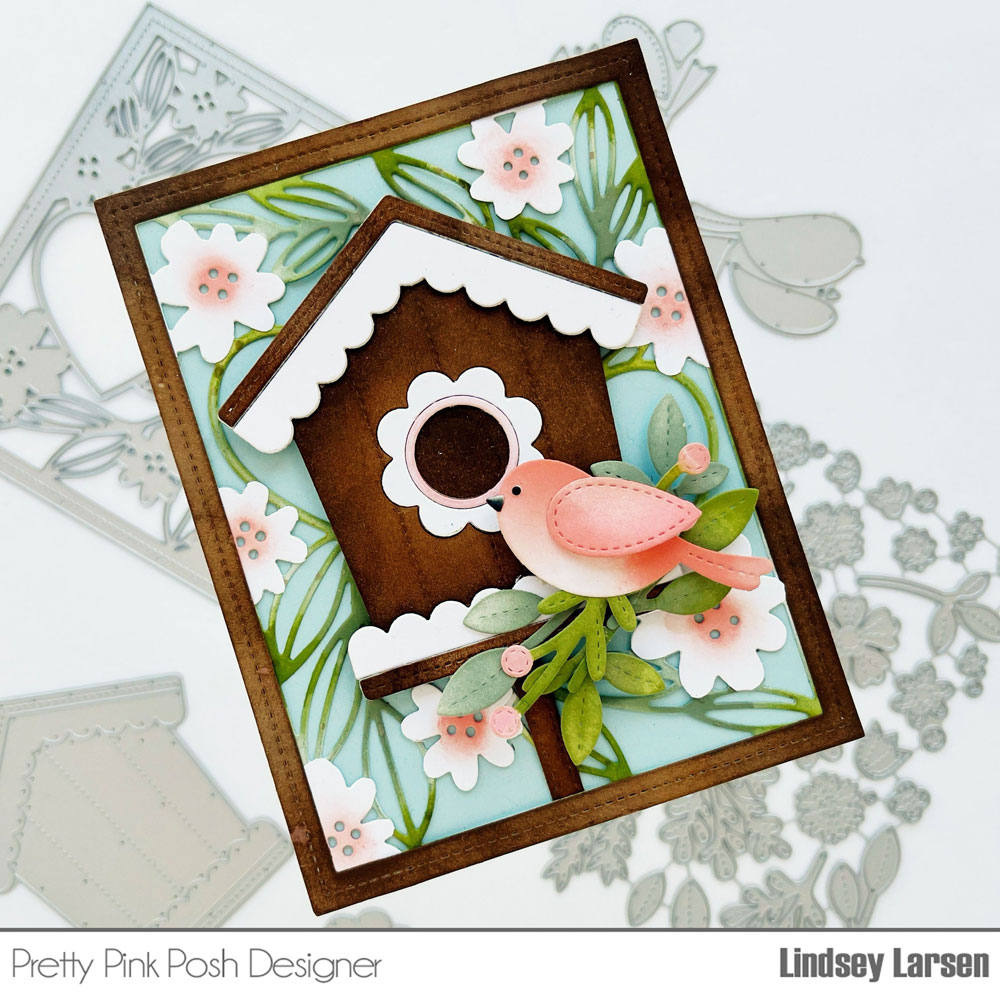
Next, I worked on the background. I blended ink on the previously released Love Hearts die and layered it on top of a light blue card base. Then I framed it with the large stitched frame in the Fancy Cake die set. I just love how the greenery and blossoms surround the birdhouse!
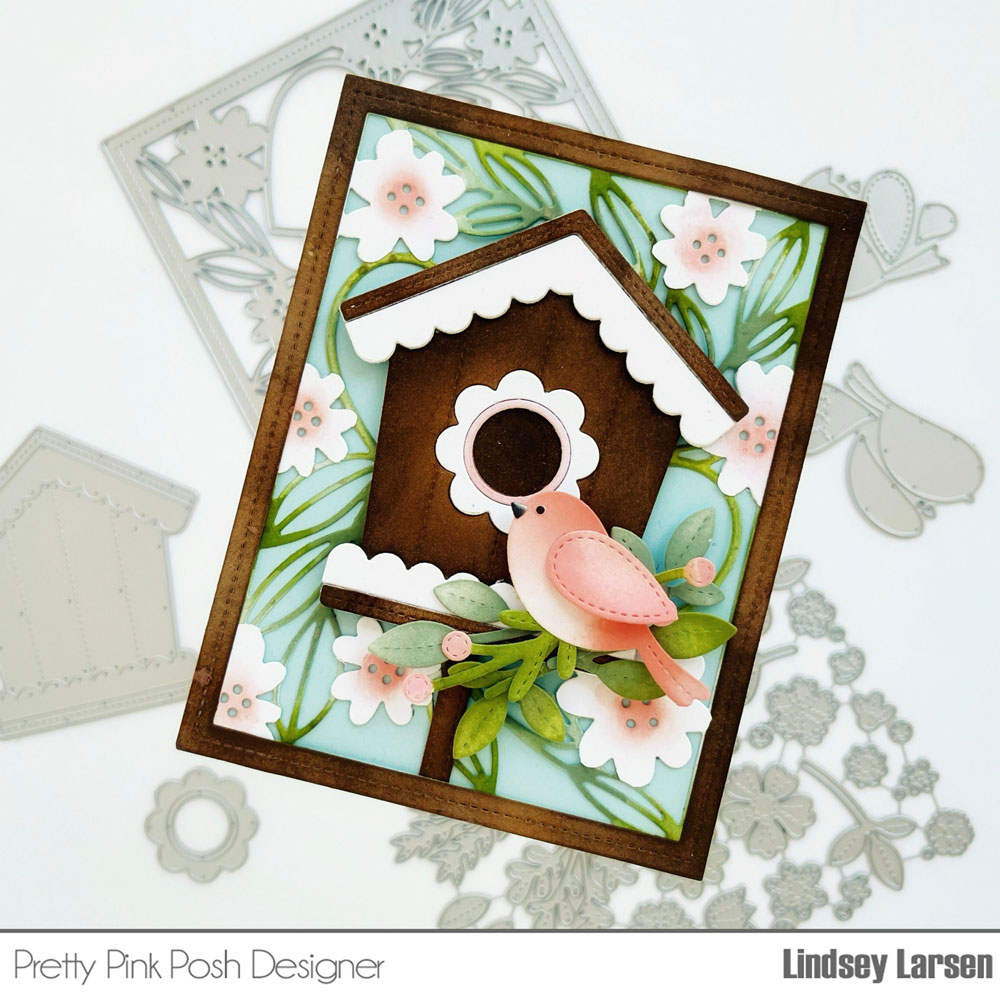
Of course this house needed a bird, so I took some creative liberties and made a pink one using the Stitched Birds dies. You can piece the birds together with different colors or blend them with ink like I’ve done here. You can also mix and match the wings. (I’ve made at least a dozen different birds so far…) I nested this little birdie on top of some leaf and berry sprigs from the Spring Foliage Dies and called it a day.
Thanks so much for joining me! This release is a fun one! Stop by tomorrow for a look at all the new products.