Sneak Peek: Construction Additions
Hi folks, Kavya here with some fun inspiration for the latest release! The new Construction Additions set pairs perfectly with the previously released Construction Trucks set.
New release will be available June 10th
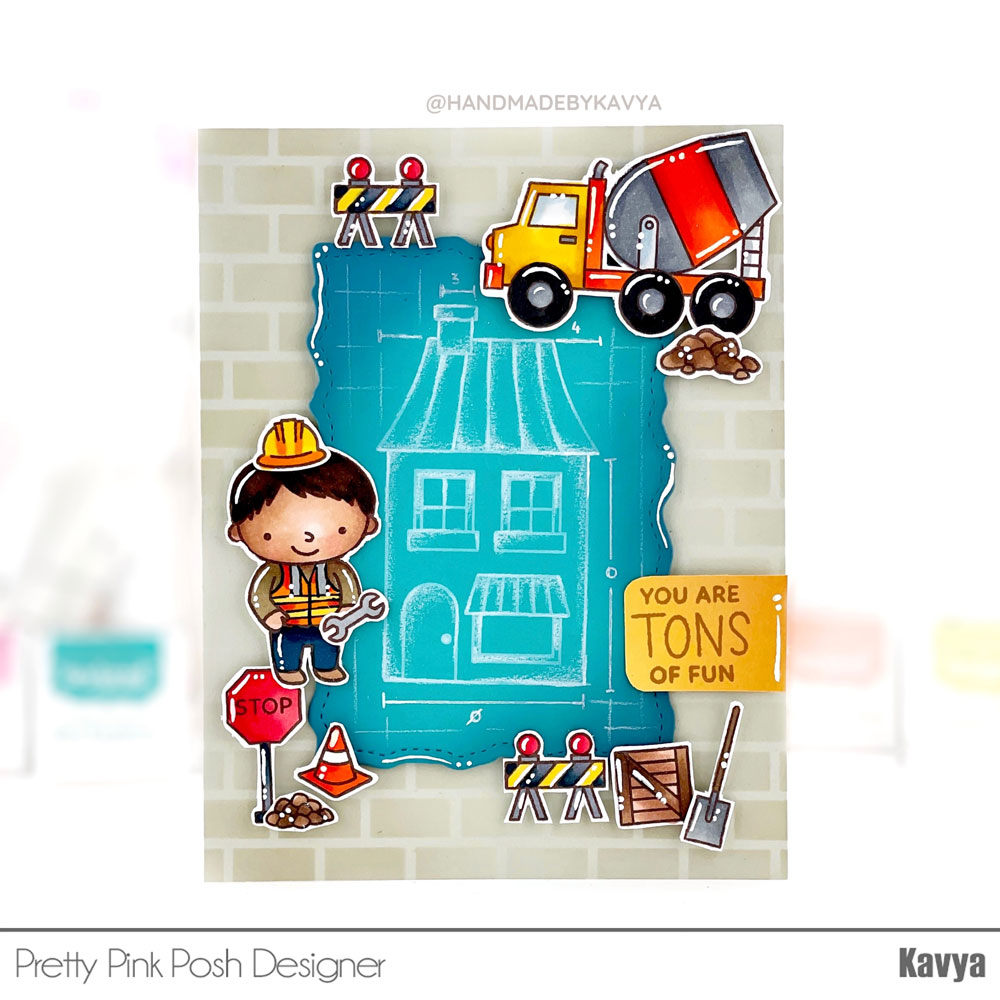
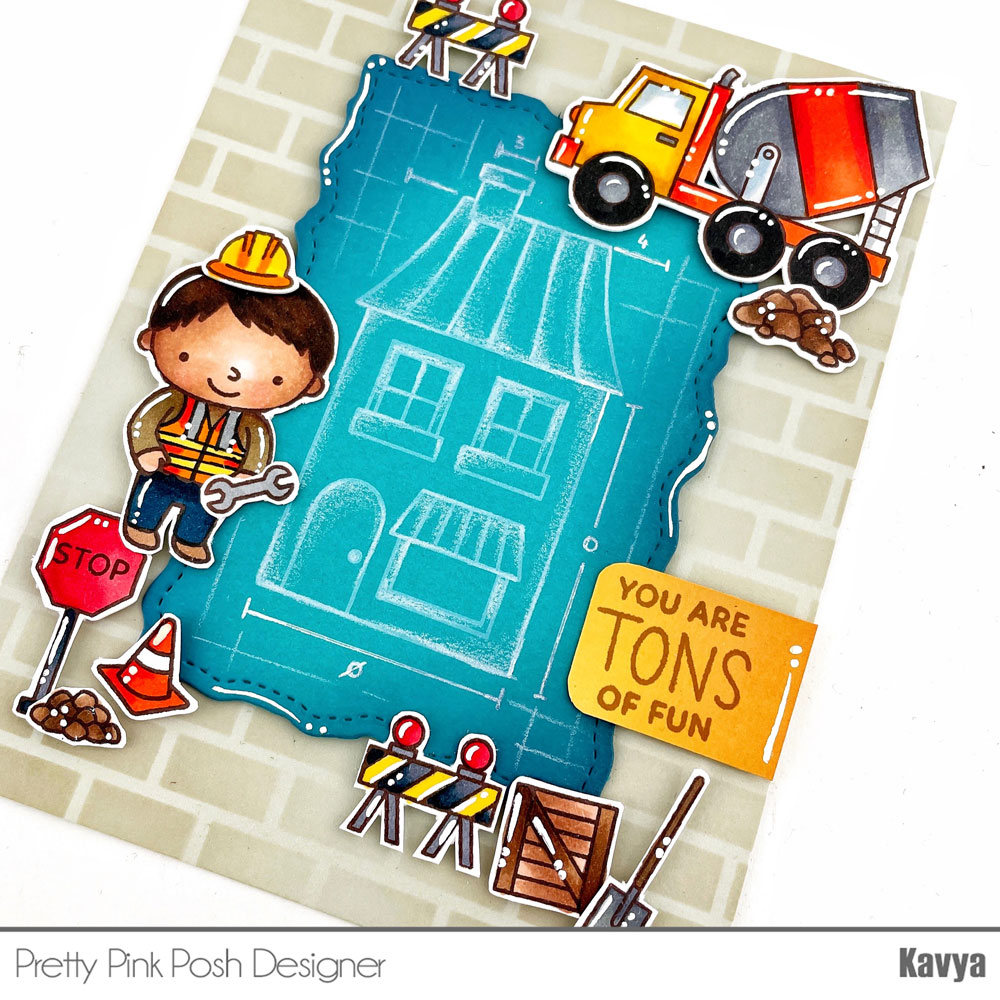
My first card is inspired by blueprints using just a few additional old products that you might already have in your stash. I love how this one turned out! I started off my ink blending the brick wall stencil on soft warm gray cardstock. Then, I die cut blue cardstock out of Stitched Torn Rectangles die to create my ‘blueprint base’. I then stamped a house from Village stamp set using white dye ink and added some architectural markings using a white pencil. Then, I stamped and colored a bunch of images from Constructions Additions, Construction Trucks, Helper Vehicles, School Friends and Utility Vehicles to finish off my card.
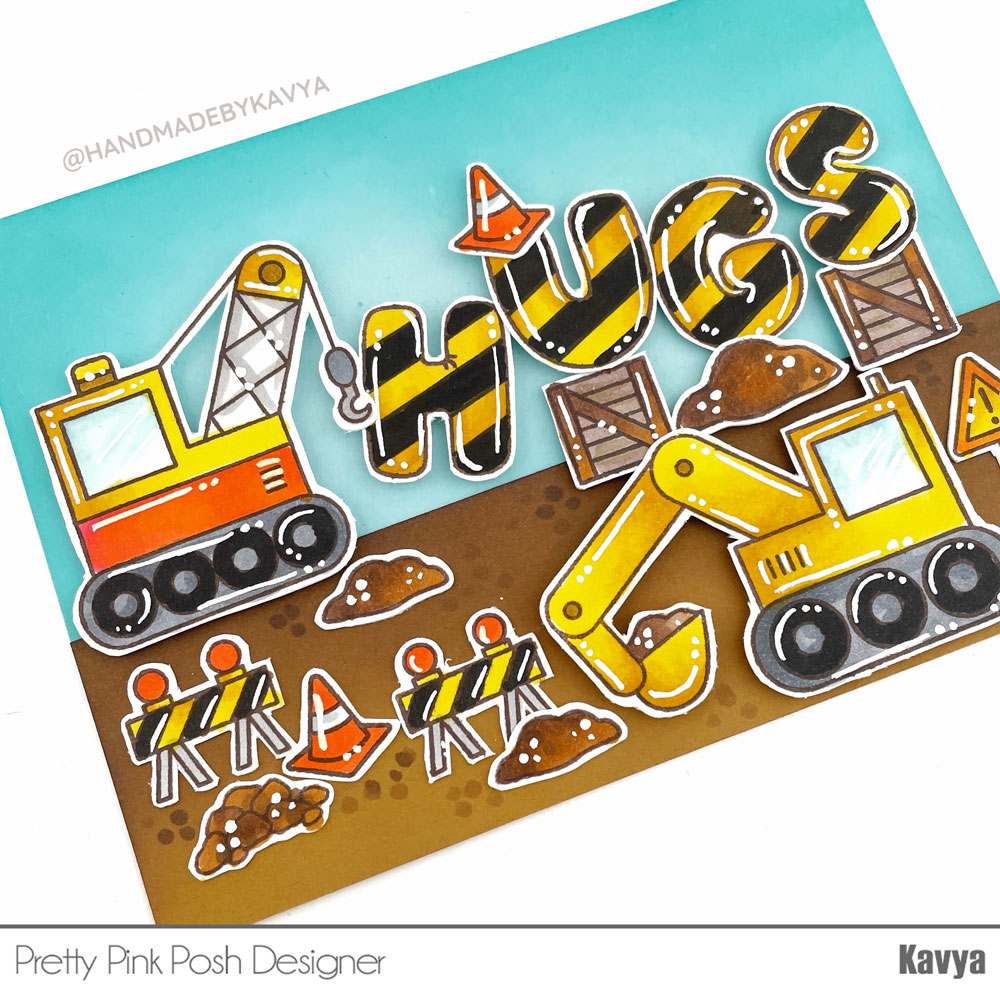
My next card uses the new Construction Additions stamp set as well. I started off by ink blending blue and yellow ochre cardstock with coordinating dye inks to create my background.
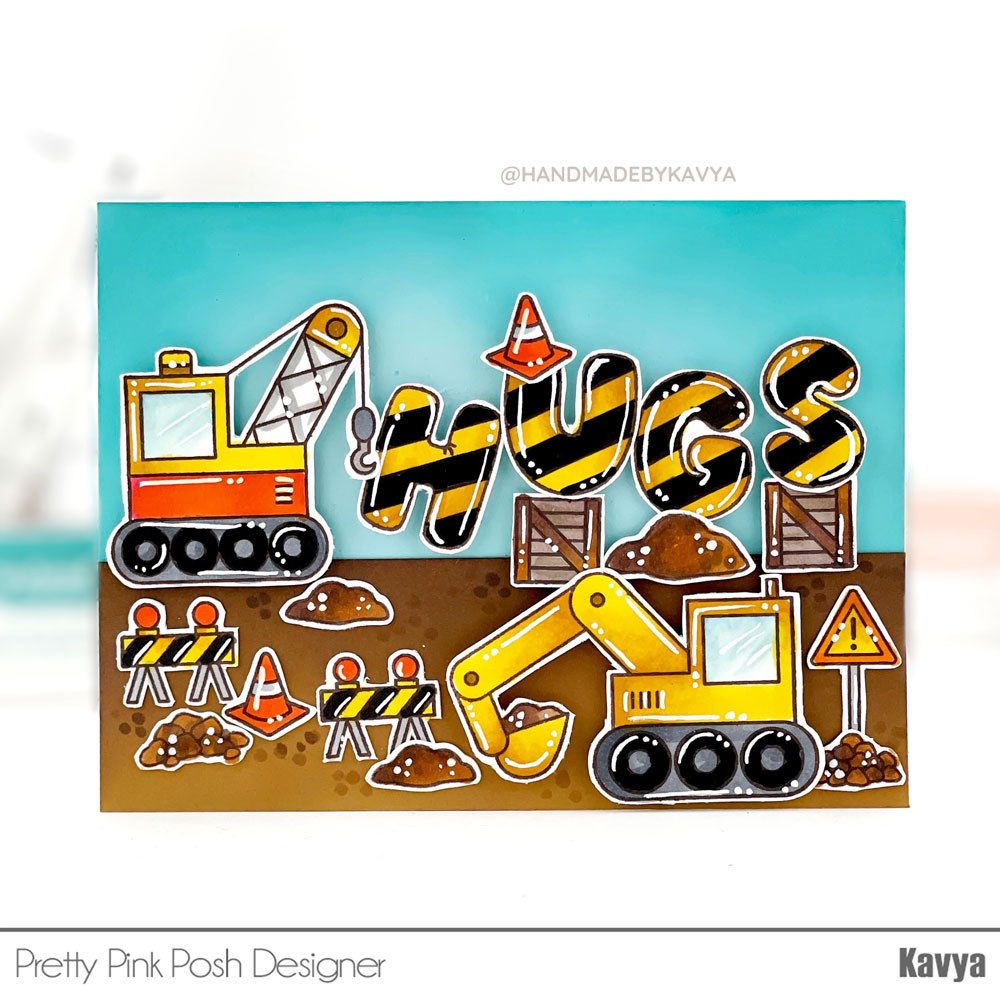
I stamped and colored a bunch of images from Constructions Additions, Construction Trucks, Helper Vehicles, Utility Vehicles and Balloon Alphabet to finish off my card. I made it look like the crane was trying to carry the word ‘hugs’ and I think that looks just adorable! Love how this one turned out
Hope these projects inspire you! Stop by tomorrow for another sneak peek of the June 10th release.
Happy crafting,
Kavya