
Sneak Peek: May 2024 Stencils
Hi, friends! It’s Lauren and I am so excited to be sharing a sneak peek at two of the new stencils that will be released. I just love the new stencils – there are great layering stencils (like the Layered Onesies Stencils I will feature today), but my favorite just might be the new Fancy Lattice Stencil.
New release will be available May 8th
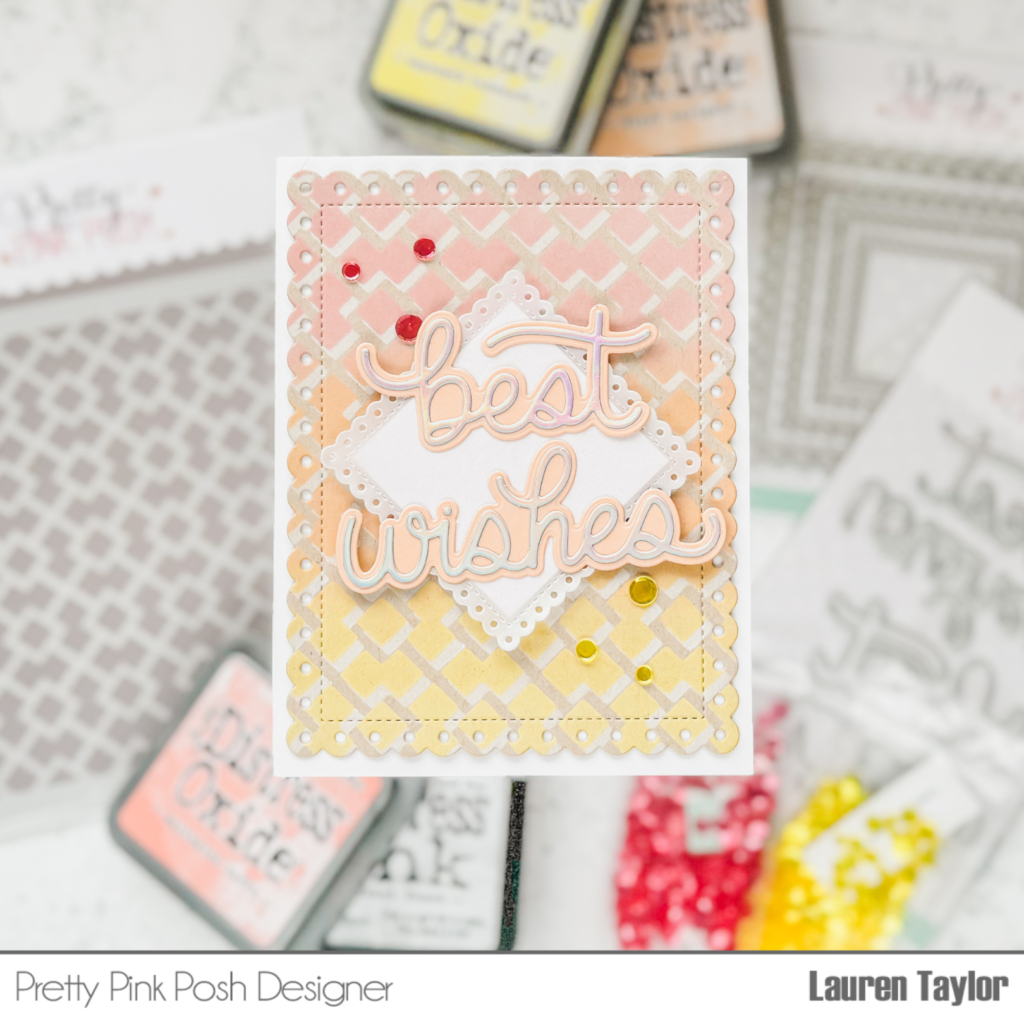
For my first card, let’s start with the Fancy Lattice Stencil! I used it with a 6×6” piece of kraft cardstock and first stenciled on Picket Fence Distress Ink. I cleaned off the stencil, then shifted it then inked a blend of Distress Oxide inks in Saltwater Taffy, Dried Marigold and Squeezed Lemonade.
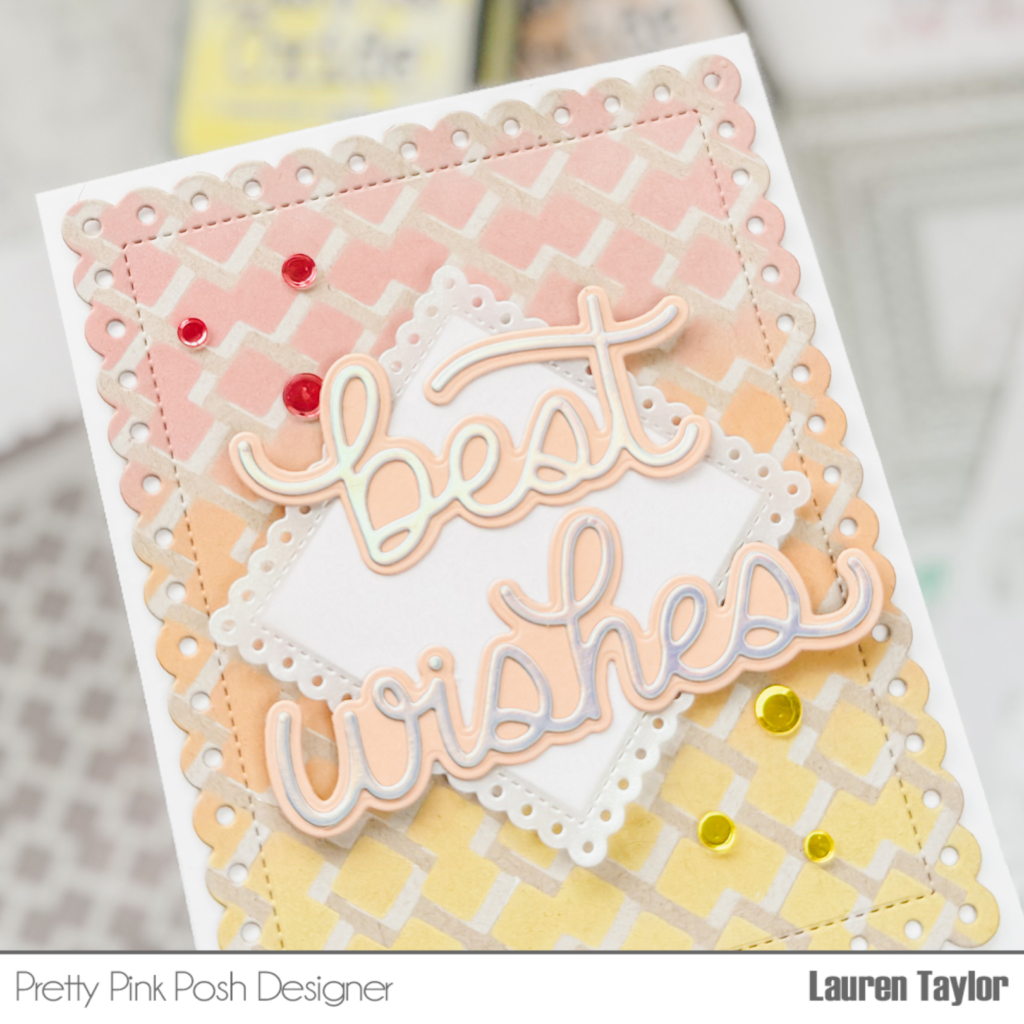
When the ink was dry, I cut it with the largest Eyelet Rectangle Die and adhered it to an A2 white card base. I then cut the third Eyelet Square Die out of pearlescent vellum as well as trimming down a piece of white cardstock to 2×2” to fit behind the square. I finally cut out the Best Wishes Shadow Dies out of holographic cardstock and apricot cardstock for the shadows.
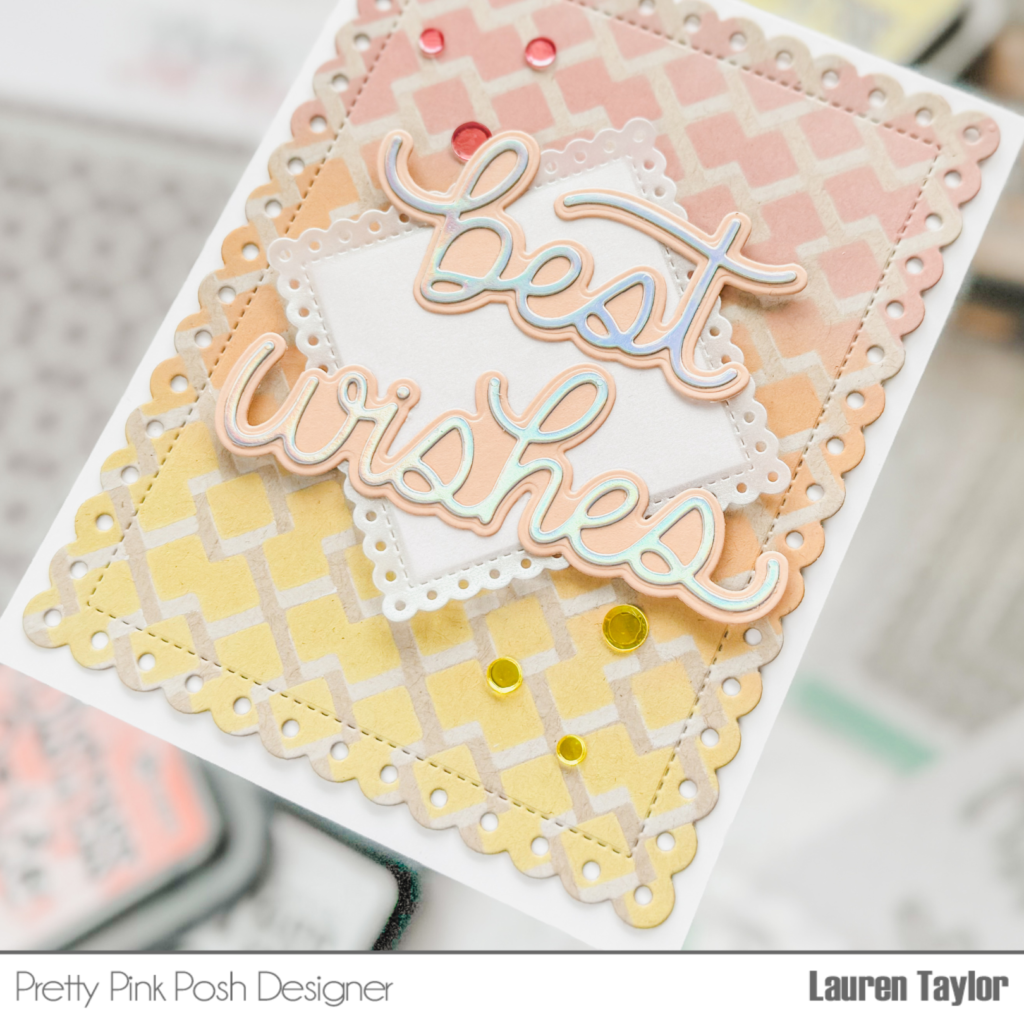
I adhered my words to their shadows, then to the pearlescent vellum with liquid adhesive. Using the words as a guide, I adhered the white square to the back of the Eyelet Square so the glue would not show through. I then popped it up to the card base with foam adhesive along with a few Strawberry Shimmer and Lemon Shimmer sequins to the card.
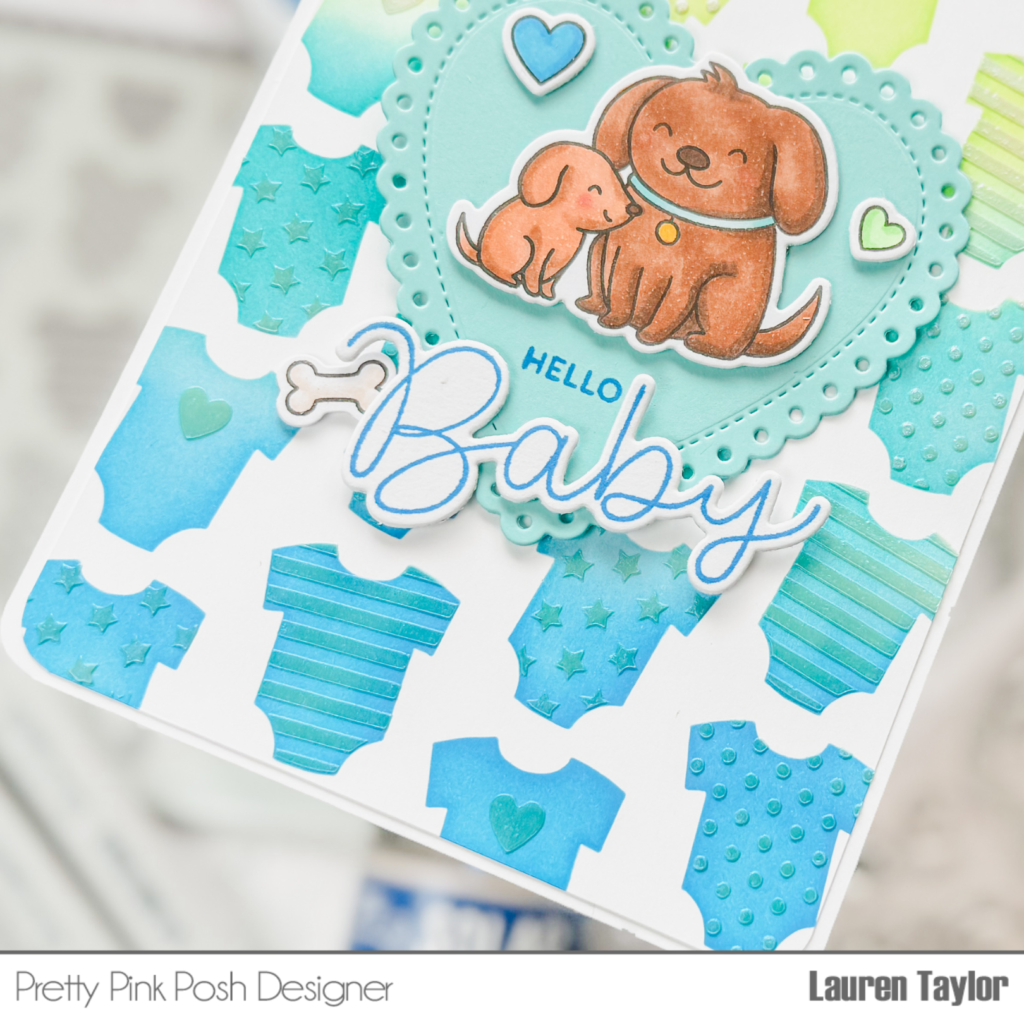
Moving to the second card, I stenciled the Layered Onesies Stencils on white cardstock. I used Catherine Pooler Inks with the (A) stencil in Lime Rickey, All That Jazz and Something Borrowed. For the (B) stencil, I used Beluga Solar Paste and set it aside to dry.
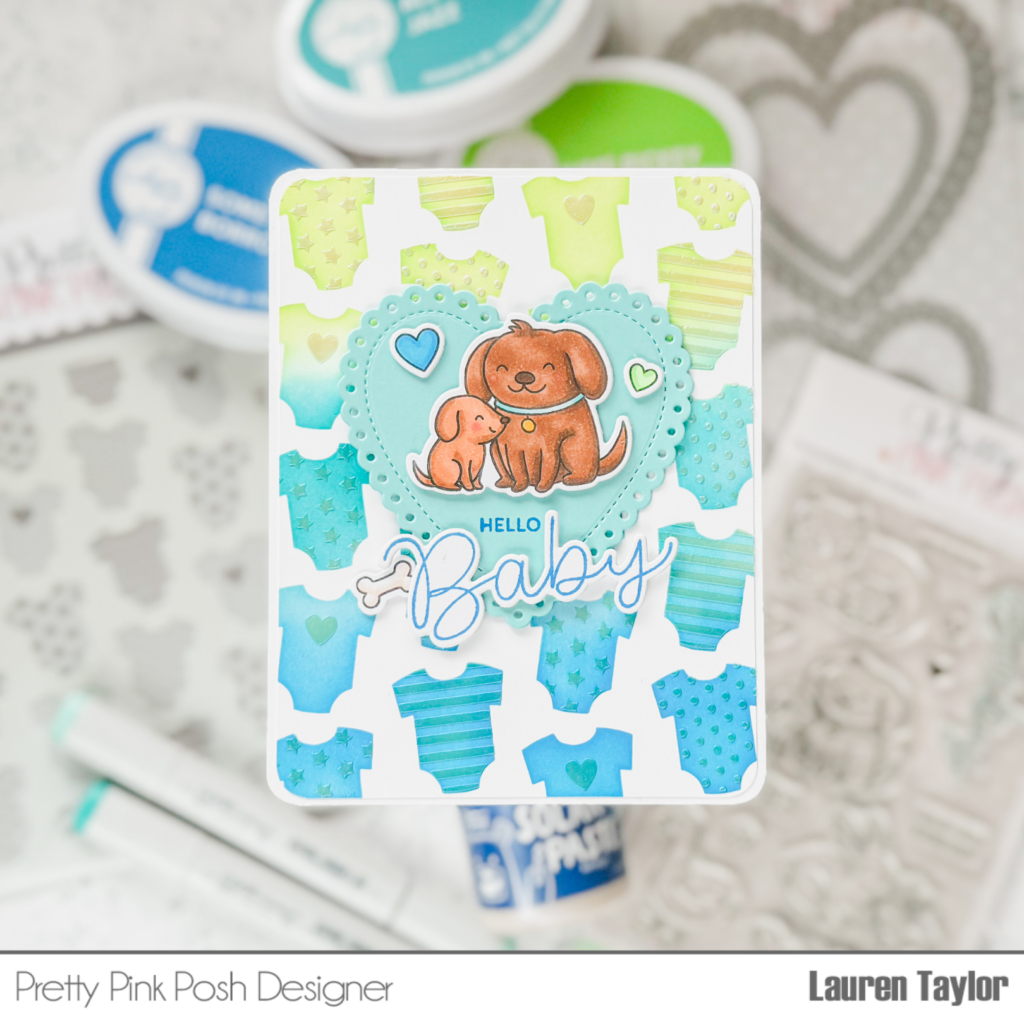
Next I stamped and colored my images from the Baby Animals Stamp Set as well as my sentiment. I used the Baby Animals Coordinating Dies to cut out the images and “Baby” sentiment. I cut the third Eyelet Hearts Die out of teal cardstock and used the images as a guide to stamp “Hello” onto the heart.
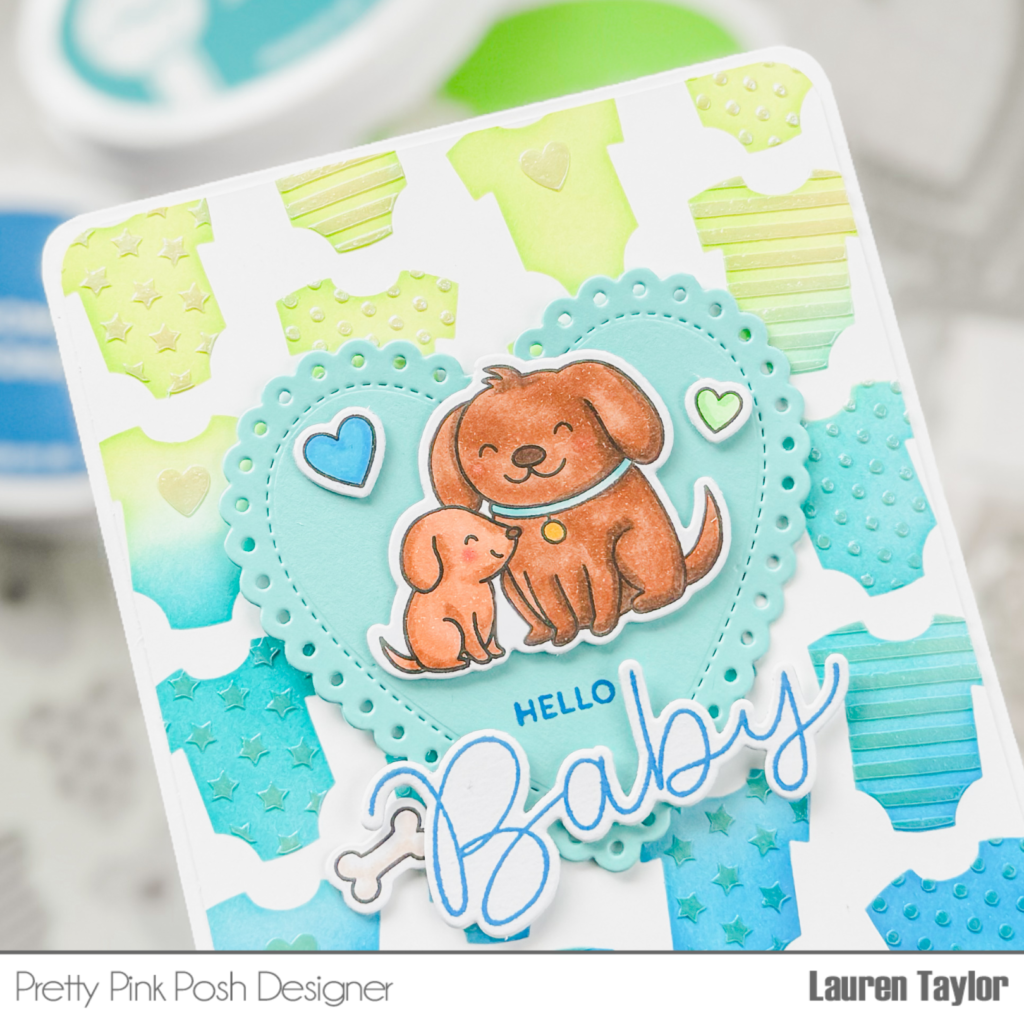
I cut down my stenciled background to 4-⅛x5-⅜” and used a corner rounder. I used the same corner rounder on my A2 white card base and I adhered the background to the card. I popped up the heart, images and sentiment to my card base. I love the subtle shine from the Layered Onesies and the adorable dog images.
I’m so excited for you to see the rest of the release and amazing stencils! Stop by tomorrow for a look at the new die sets coming soon!
OMG! The onesie stencil is sooo cute 🤩
These are fantastic! How you keep coming up w/ such terrific ideas is beyond me. LOVE the onesie!
Lori S in PA