Spring Tags
Hi Everyone! It’s Melissa here with you today, sharing a couple of sweet tags created with new products from the May Pretty Pink Posh release. I find tags to be one of my most favorite things to create…good things come in small packages, right? And it’s so fun to have a coordinating set, so that’s where we’re going with my post today!
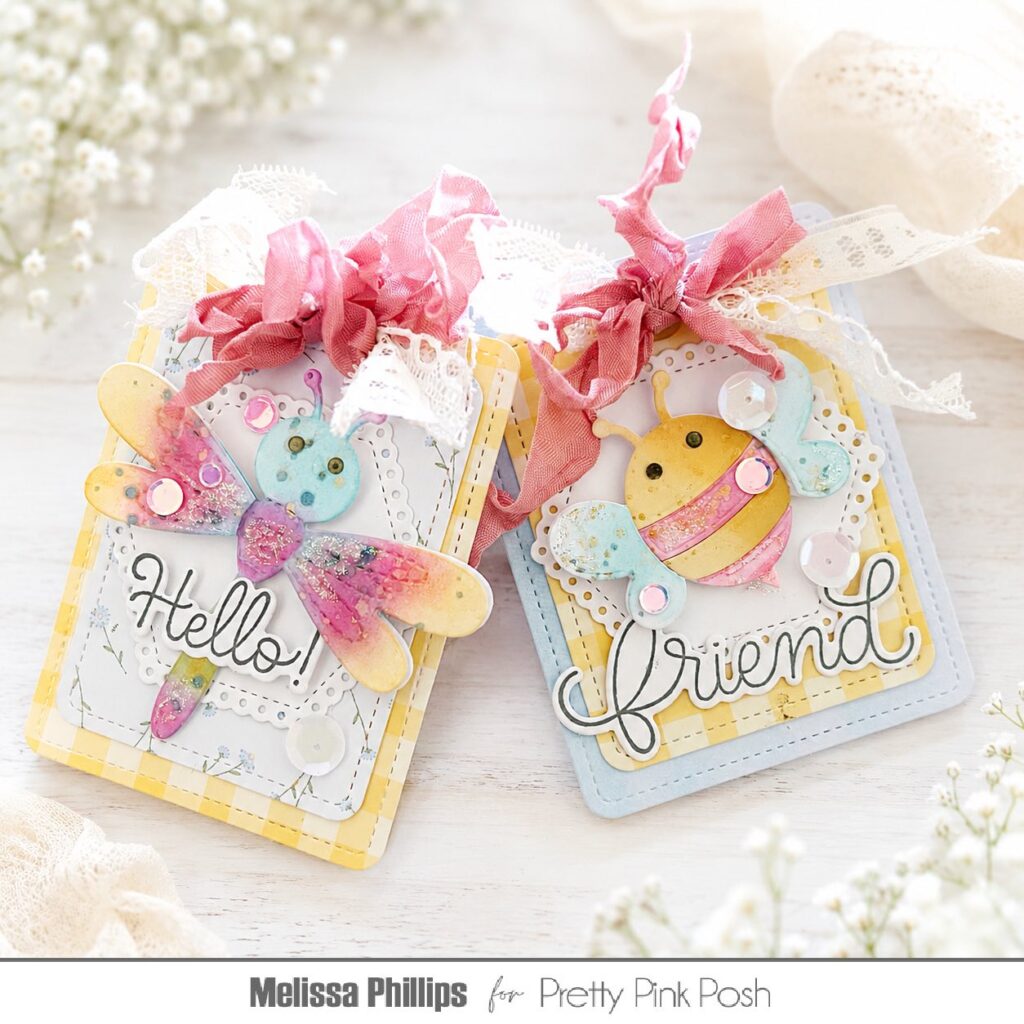
My basic tag shape comes from using the Rounded Stitched Rectangles Dies. They come in a variety of sizes and I picked the medium size for my tag base. I then selected a size down from the medium rectangle and cut two from coordinating patterned paper.
Next came a hexagon center using the new Eyelet Hexagons Dies. These also come in a variety of sizes and have the sweetest eyelet trim around the edges. These die cuts were cut from white cardstock and adhered to the center of both tags.
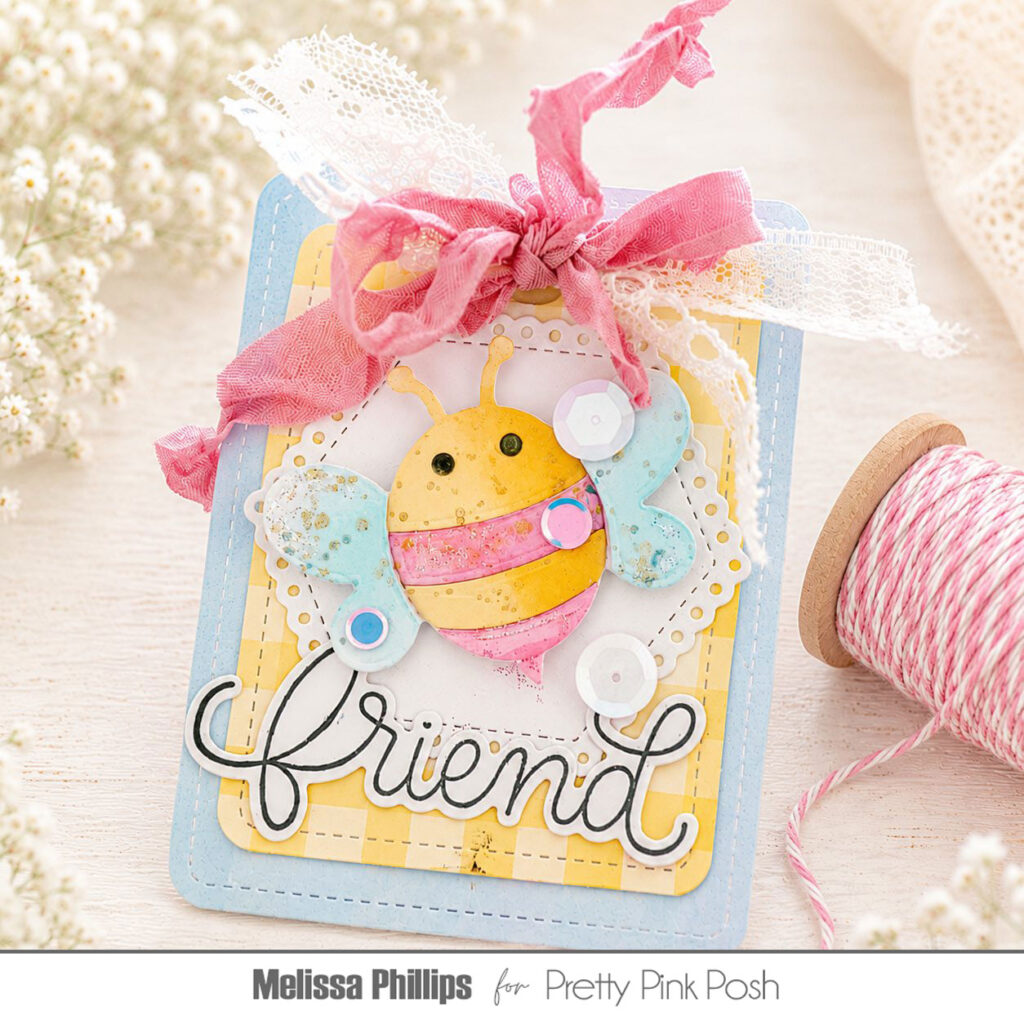
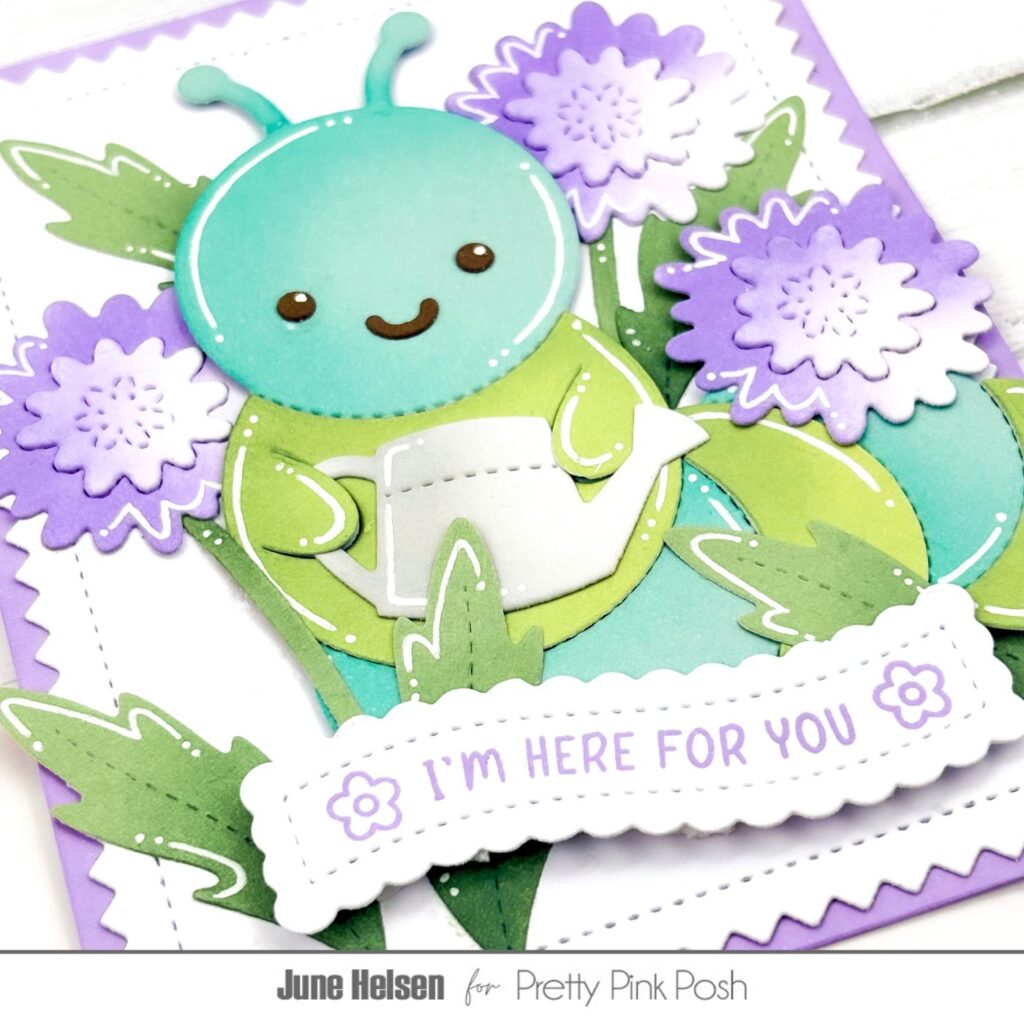
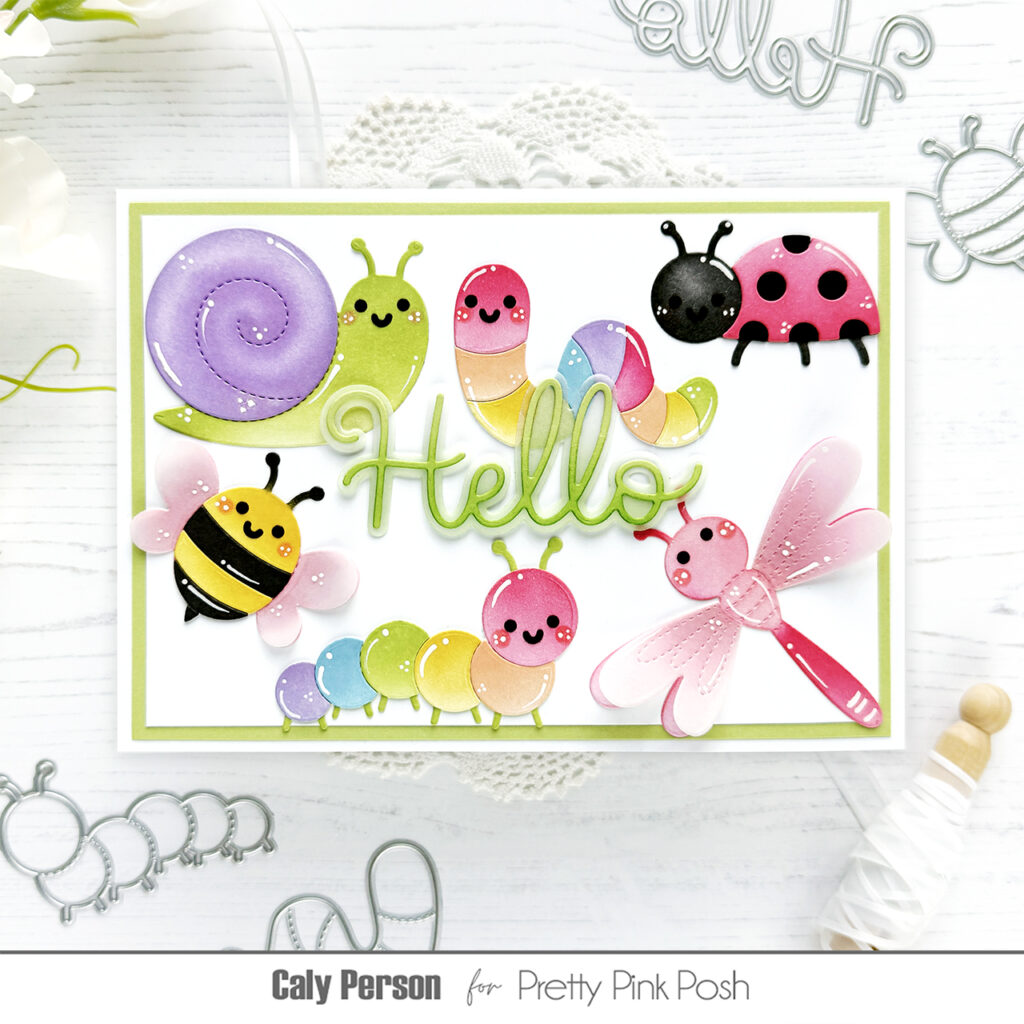
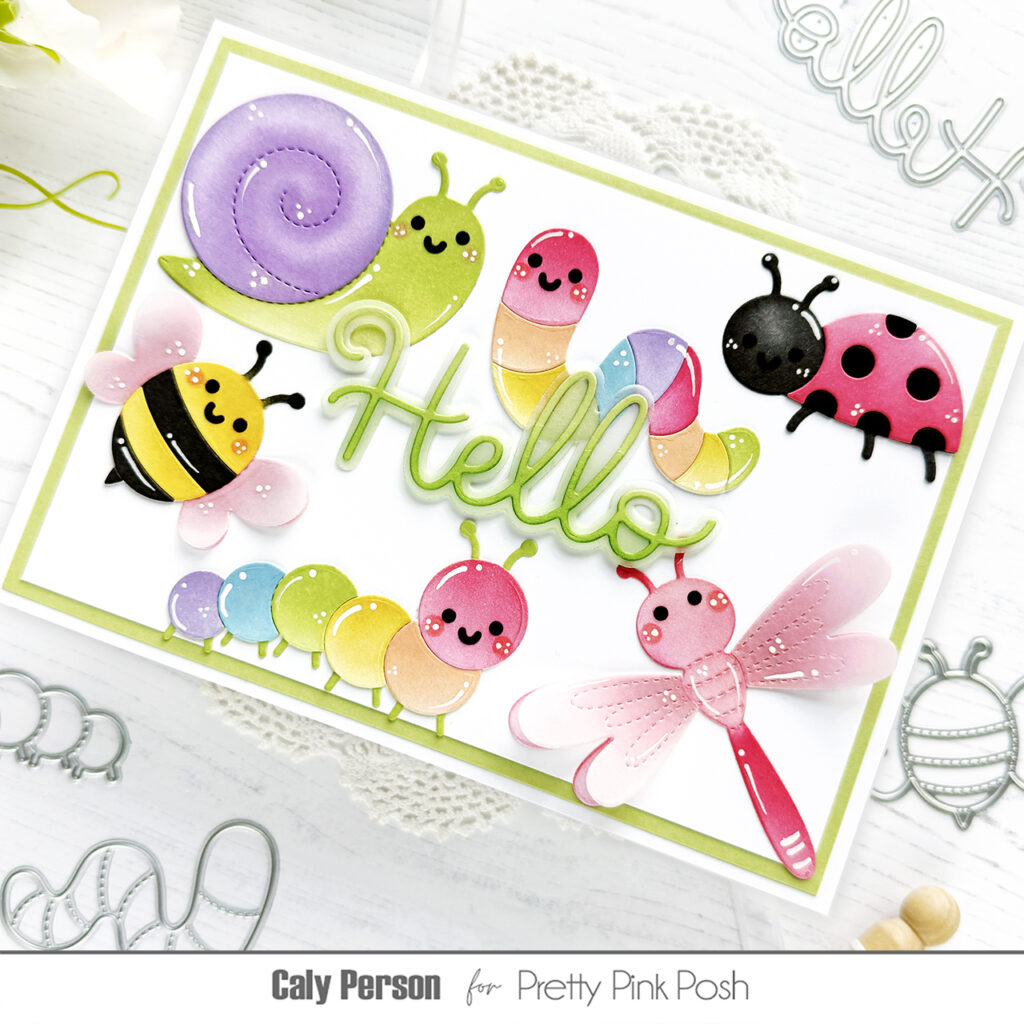
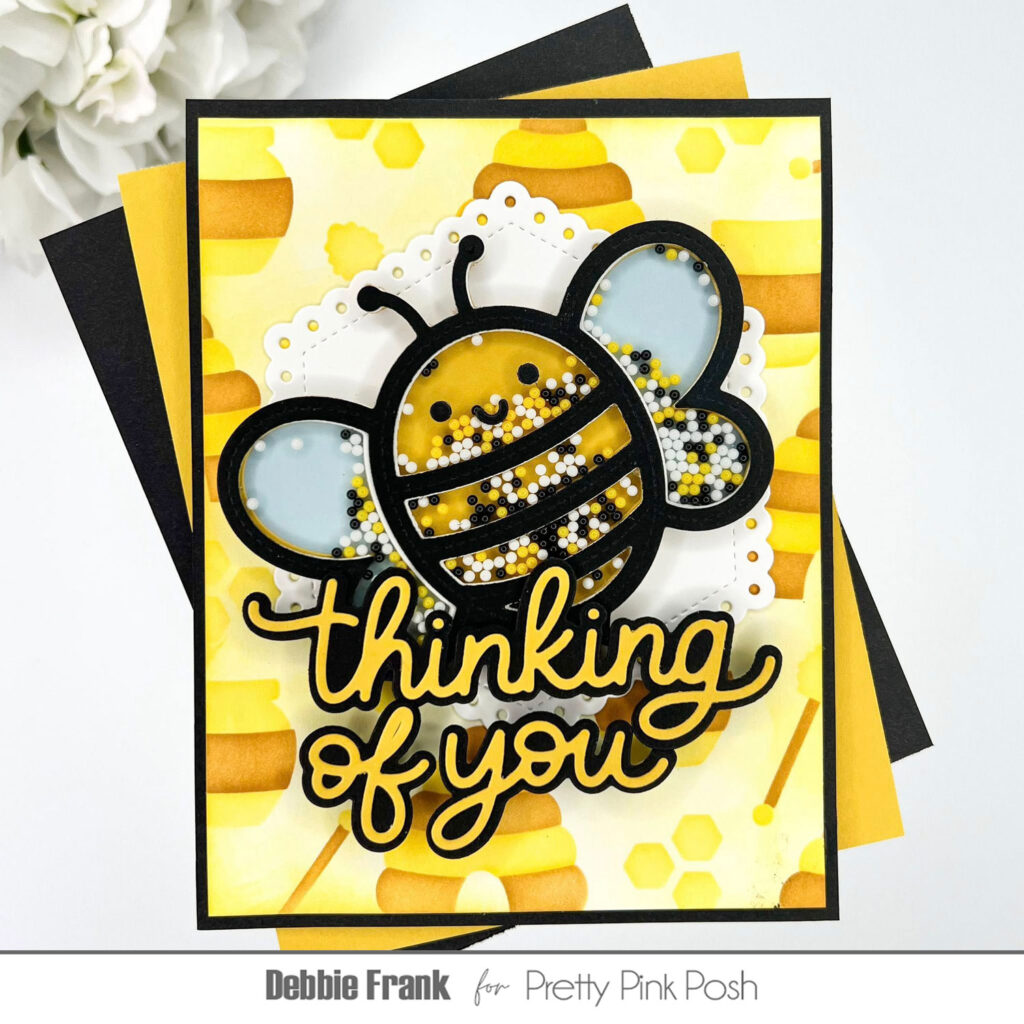
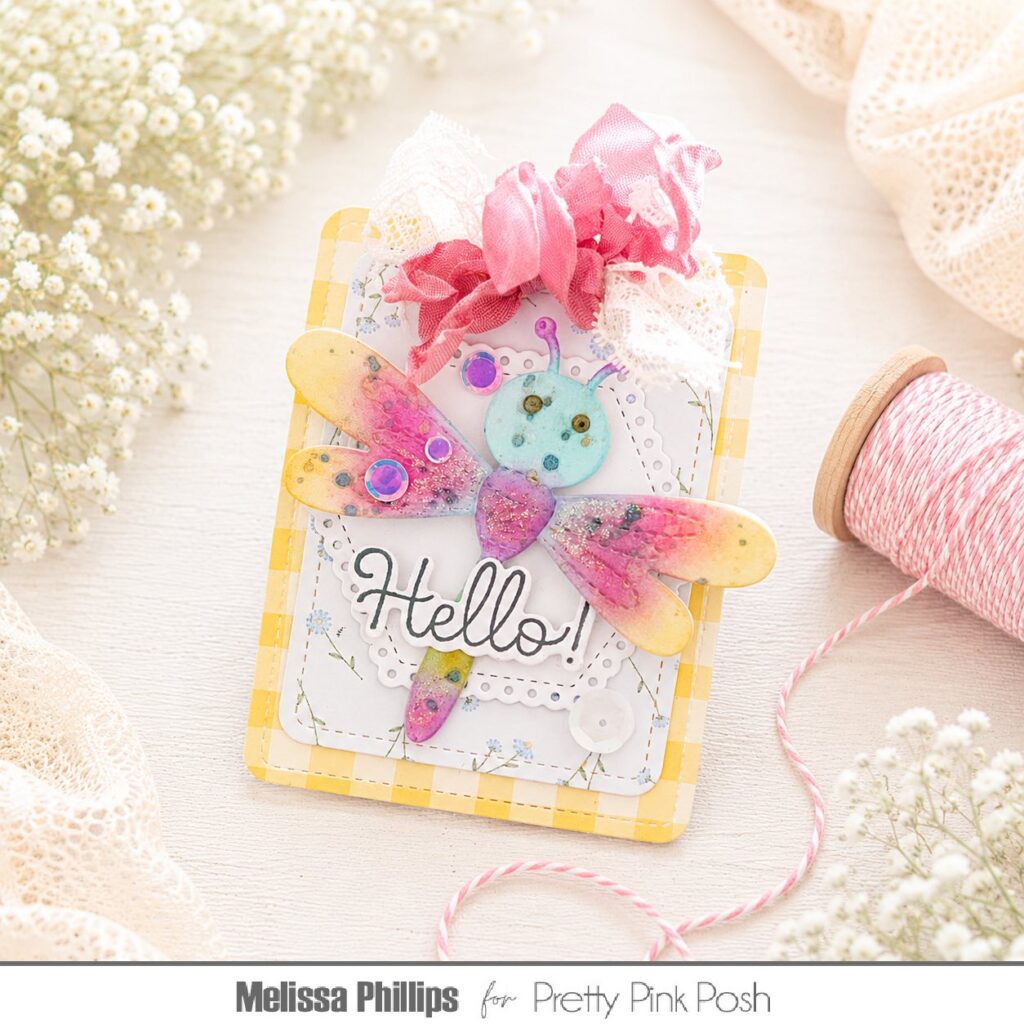
I used the darling Stitched Bugs Dies, selecting the dragonfly and bee shapes. I ink blended each layer creating a soft, muted blend of colors. Ink blending is one of my favorite techniques and works wonderfully with these tiny bugs.
To finish I added stamped sentiments using the new Cute Bugs stamp set and coordinating dies as well as the Hello Friend stamps and coordinating dies. I added sequins, Crystal Stickles glitter and fun coordinating junk bows at the top of my tags to finish them off.
Happy crafting! Thanks for visiting!