May Release Now Available
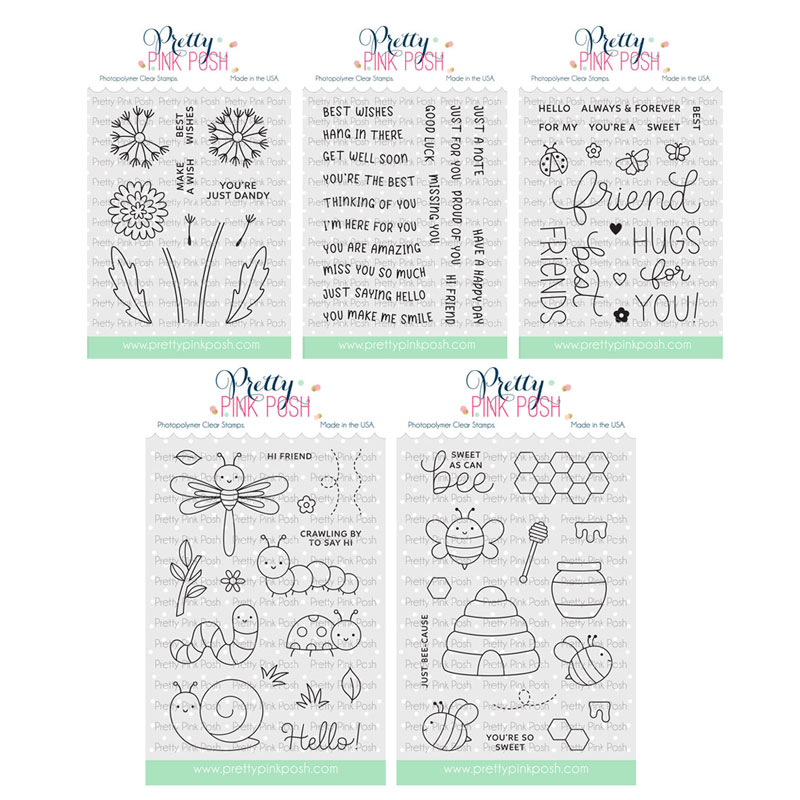
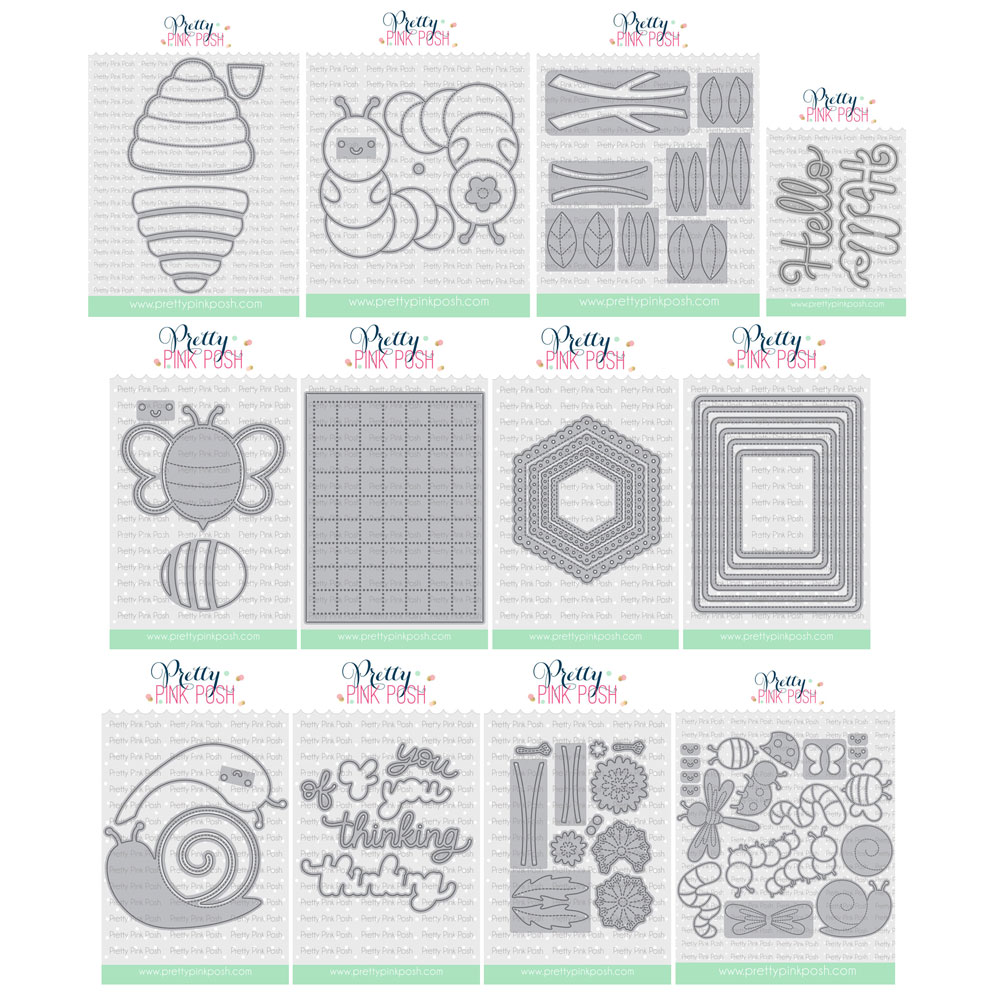
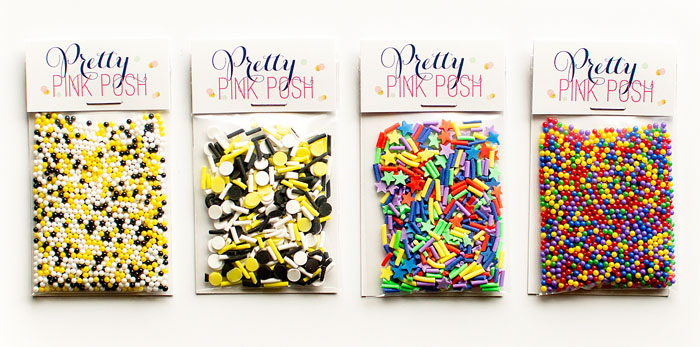
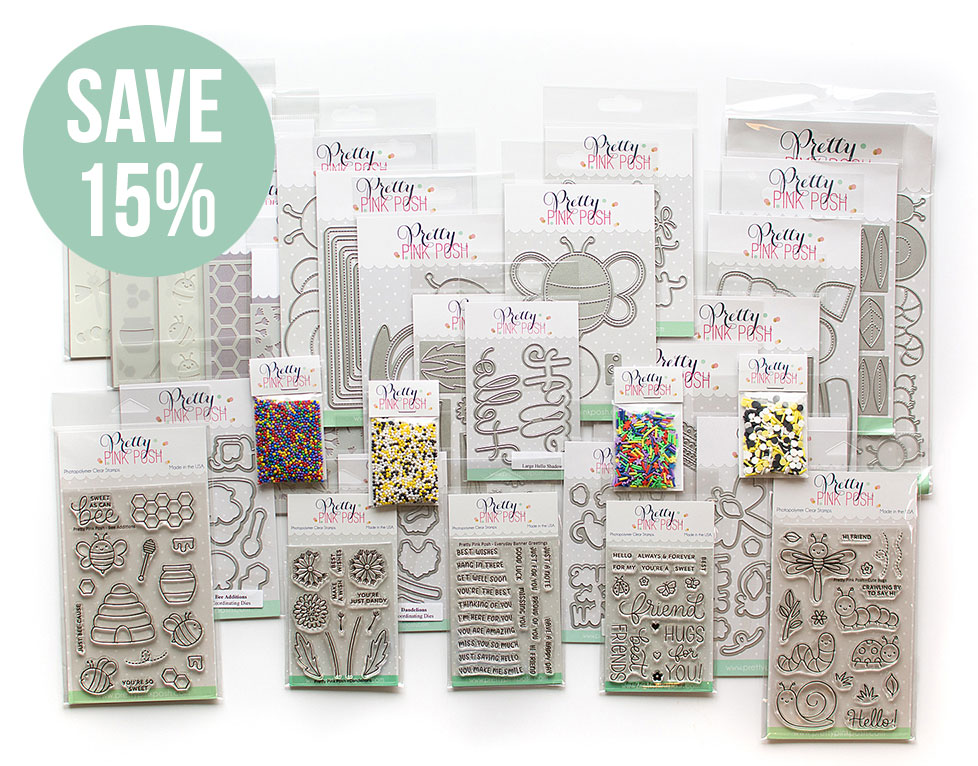
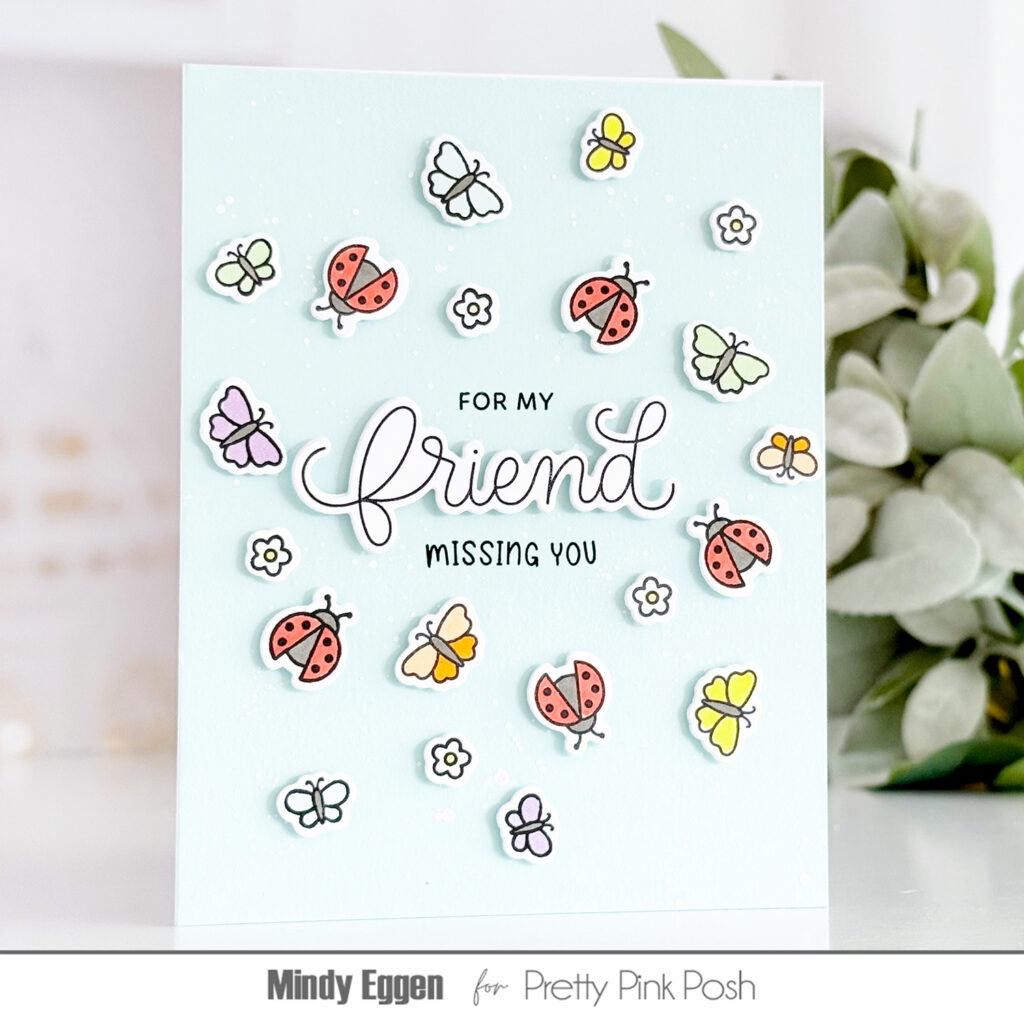
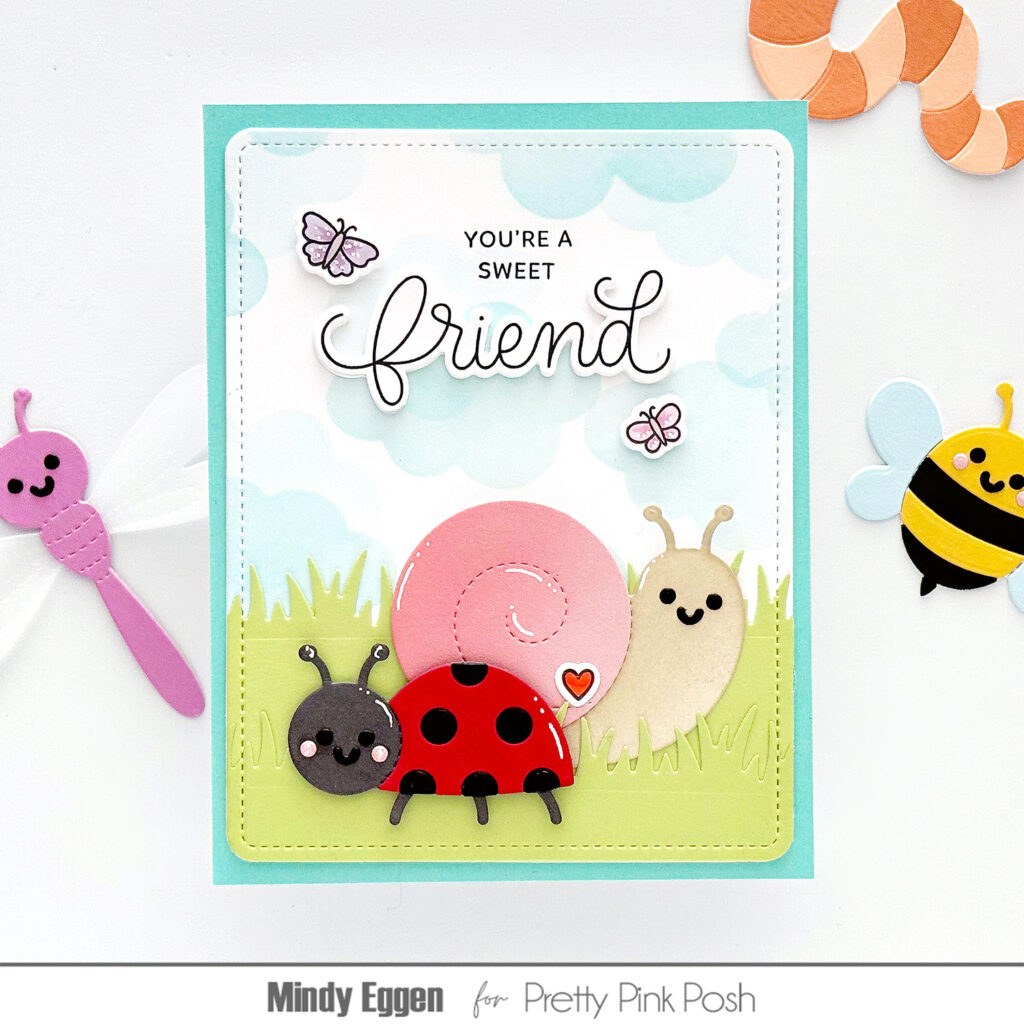
The May 2026 Release is now available in the Pretty Pink Posh Shop and select retailers that carry our products. If you missed our post yesterday, we revealed all of the products in picture form, but if you would like to see them in a video, Mindy has that for you today!
Watch the video above I Watch the video in HD on YouTube
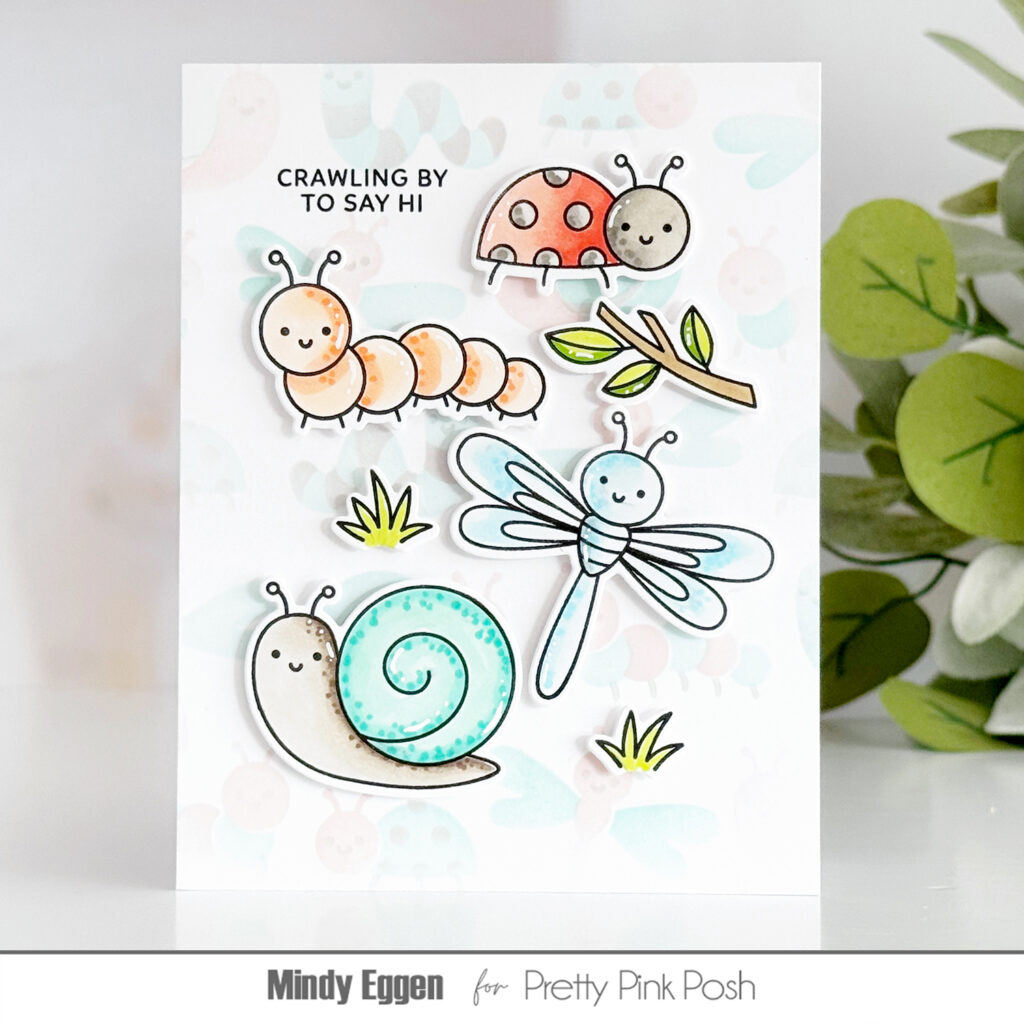
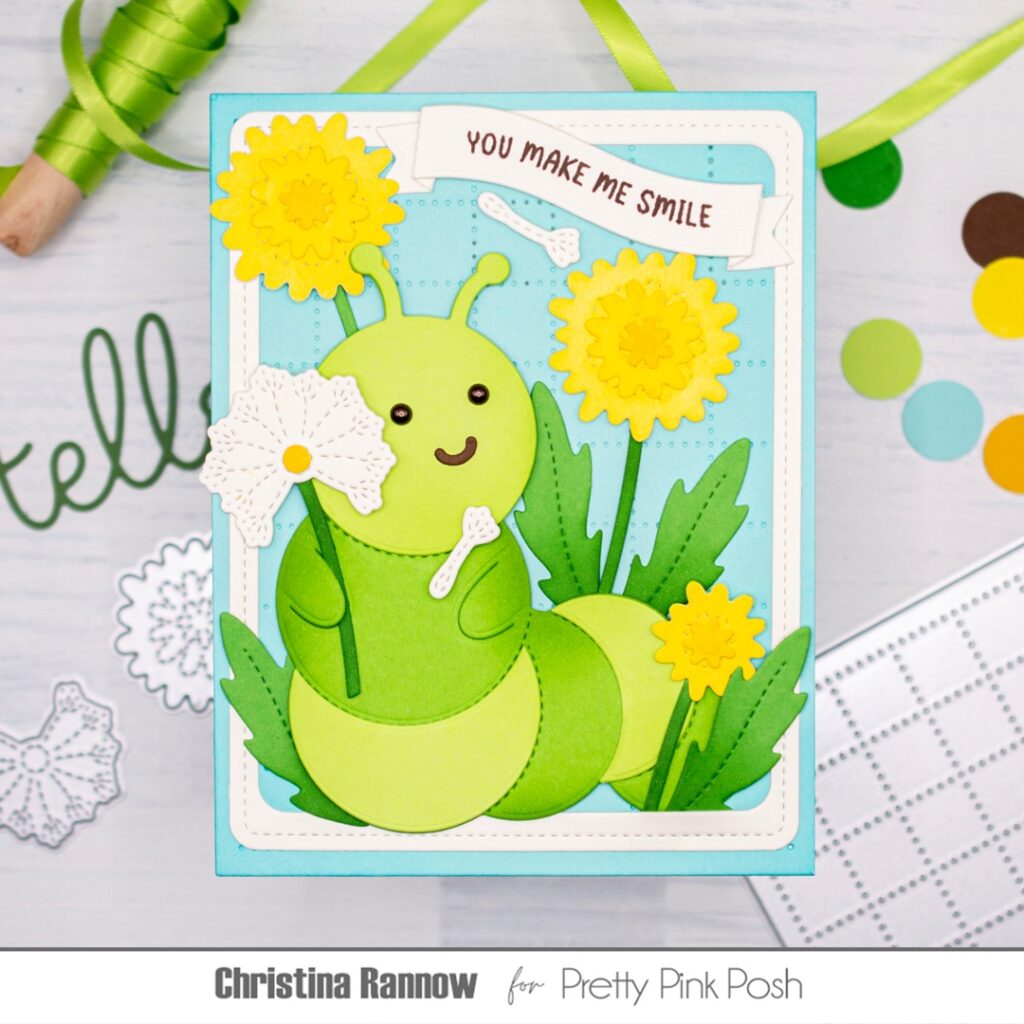
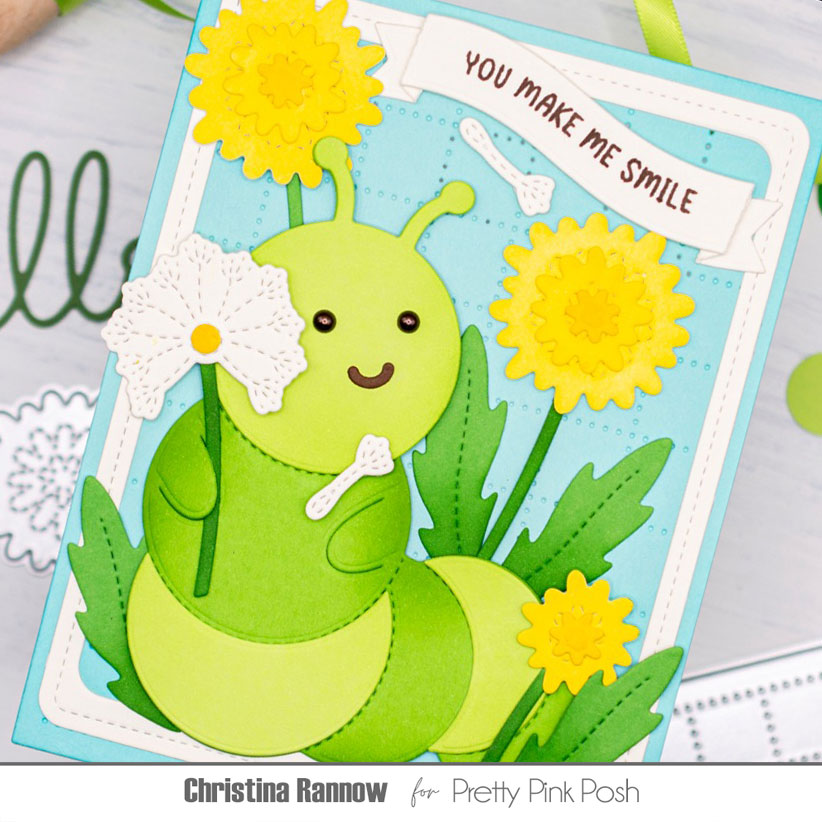
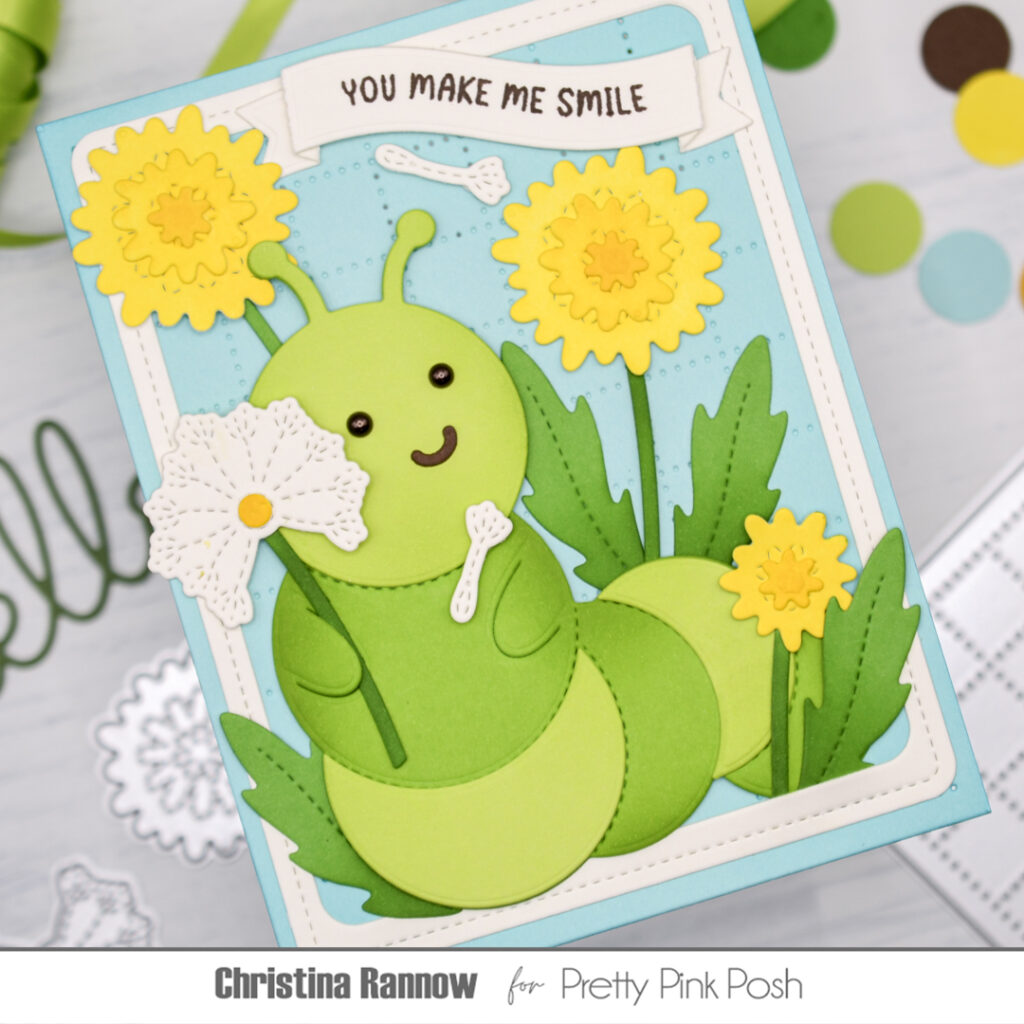
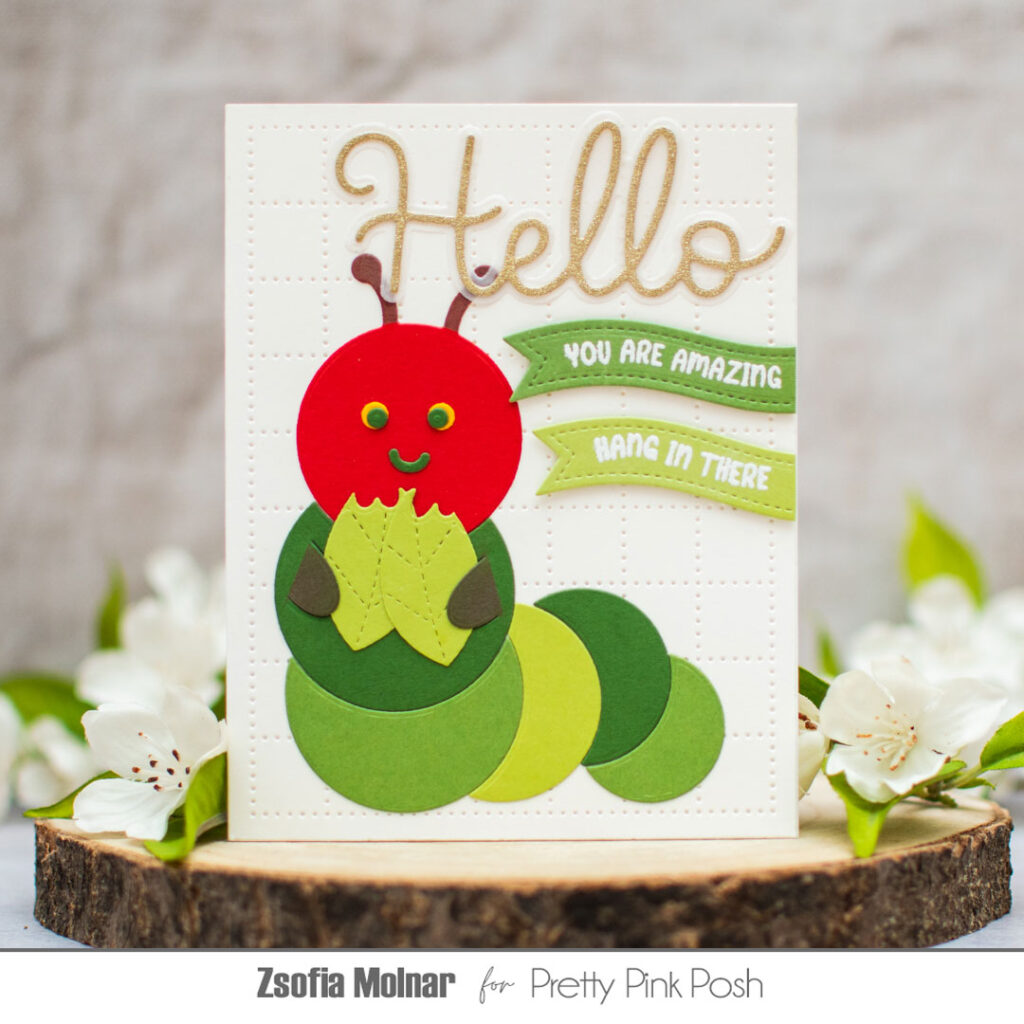
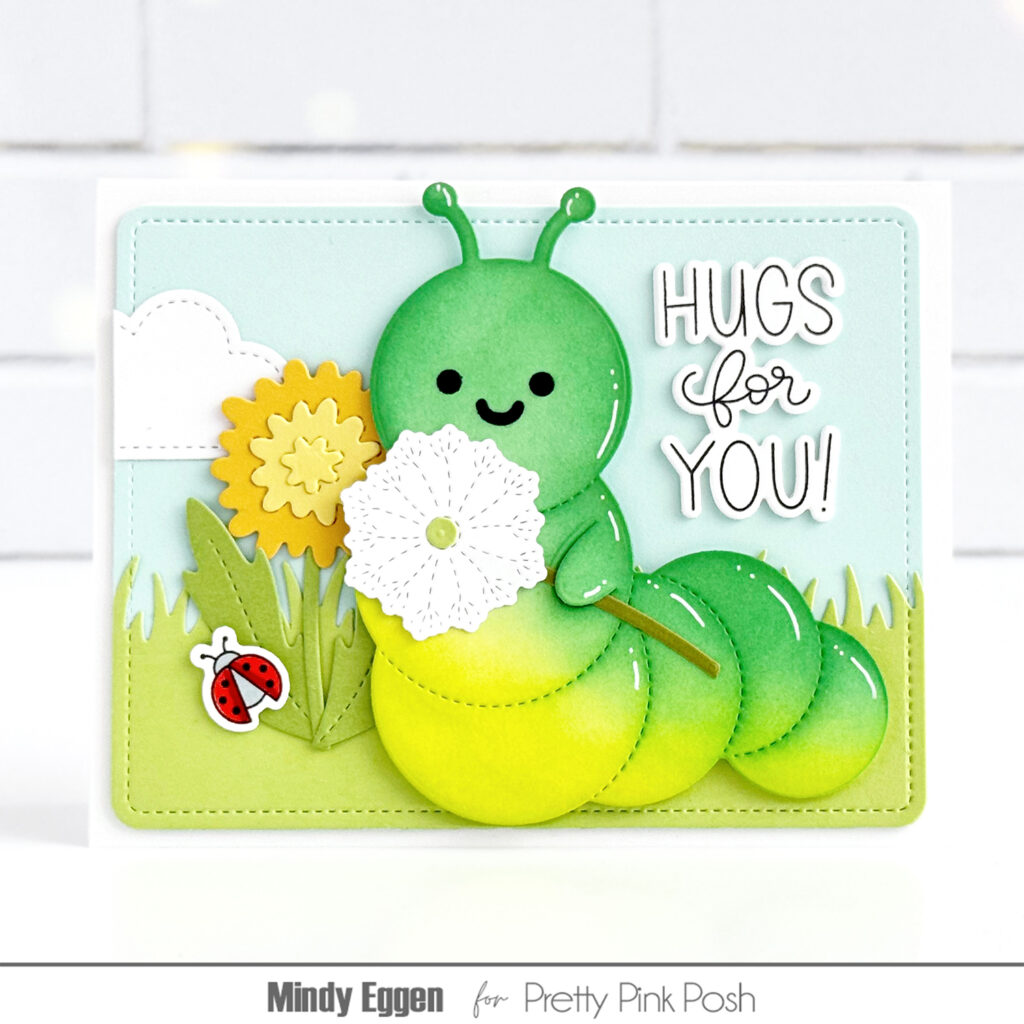
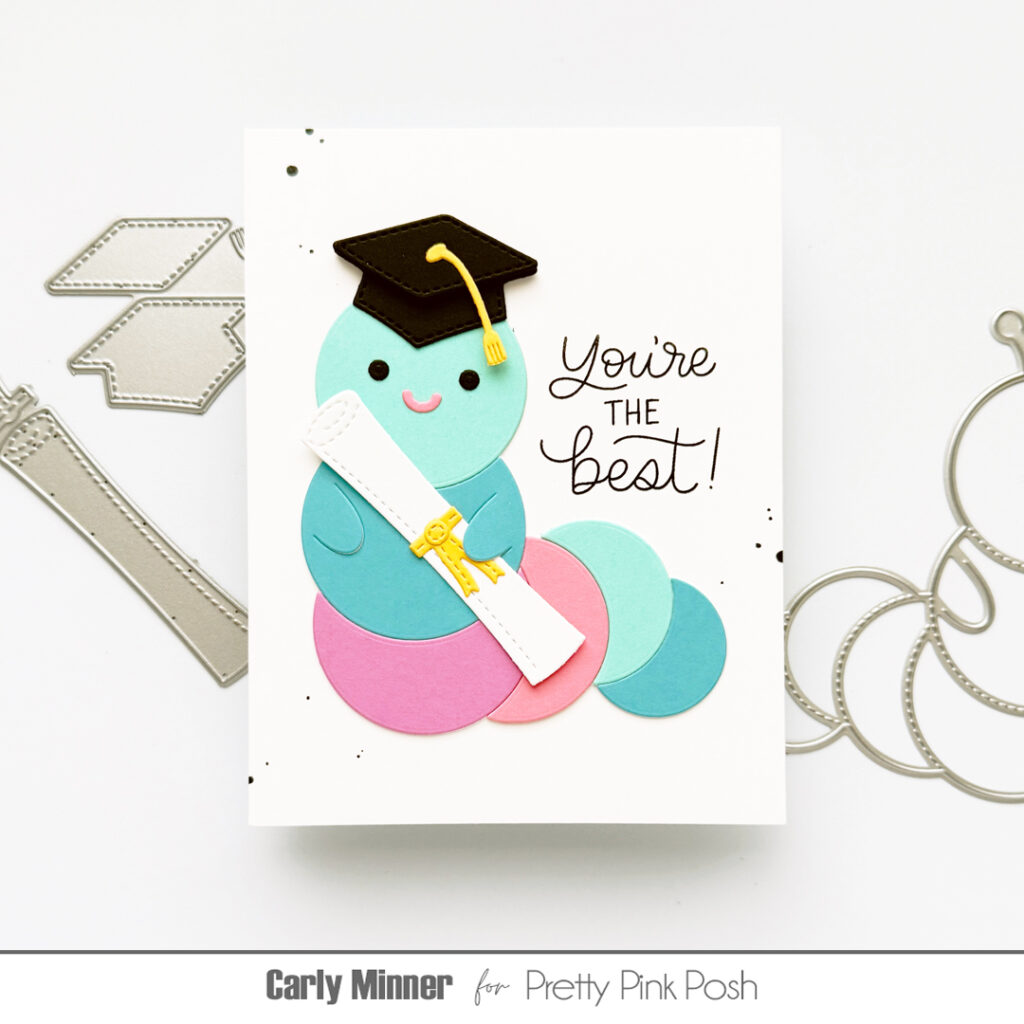
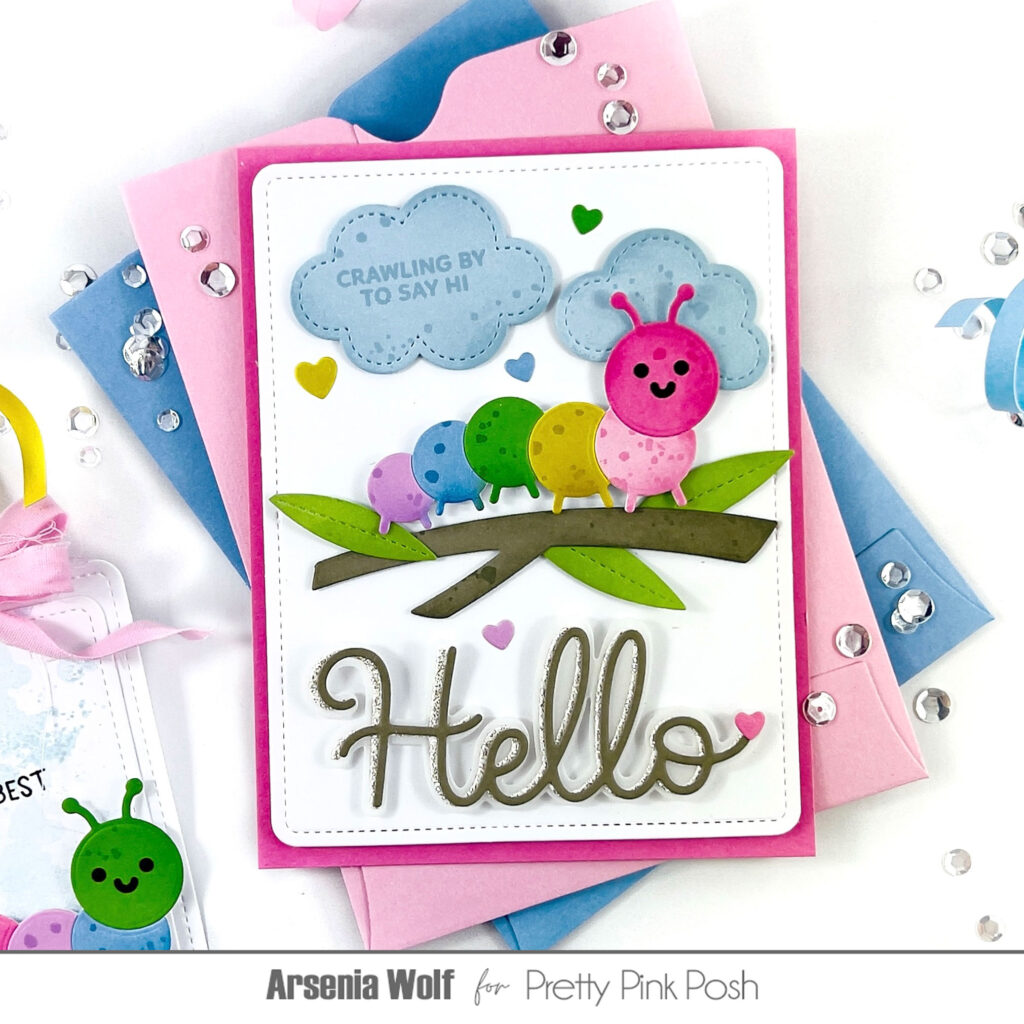
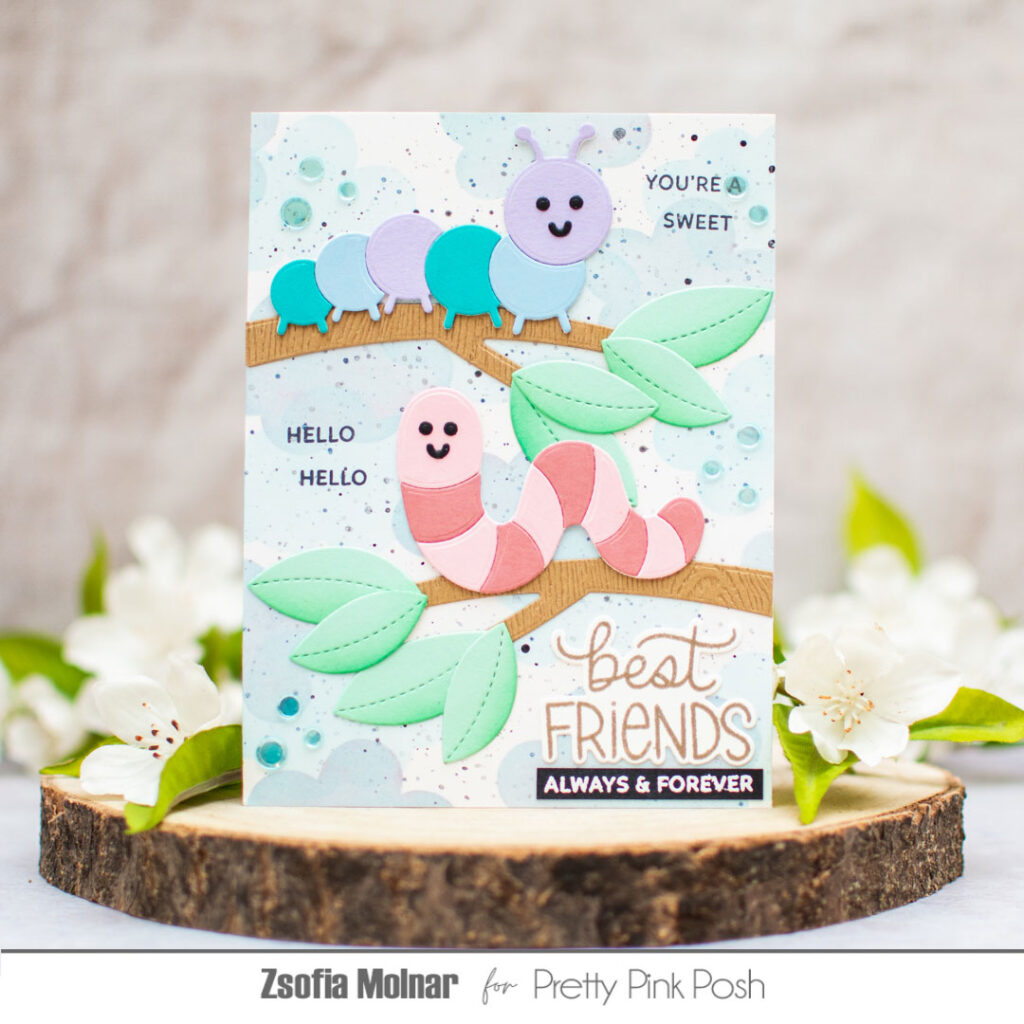
Hello Everyone! It is Zsofi here today with a cute caterpillar card using the May release. It is absolutely unique and full of cheerful little garden critters, perfect for the season. This card was heavily inspired by the famous children’s book, The Very Hungry Caterpillar. Let me show you how I made it.
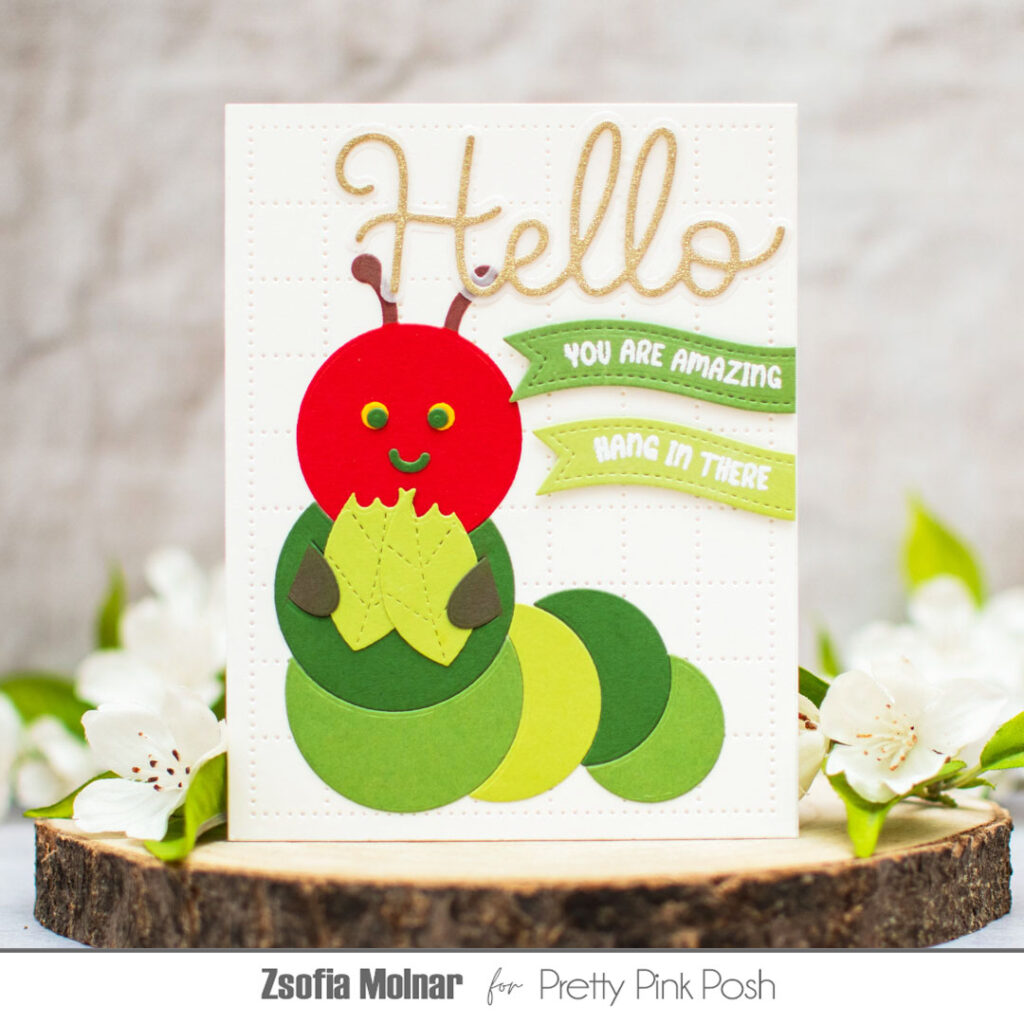
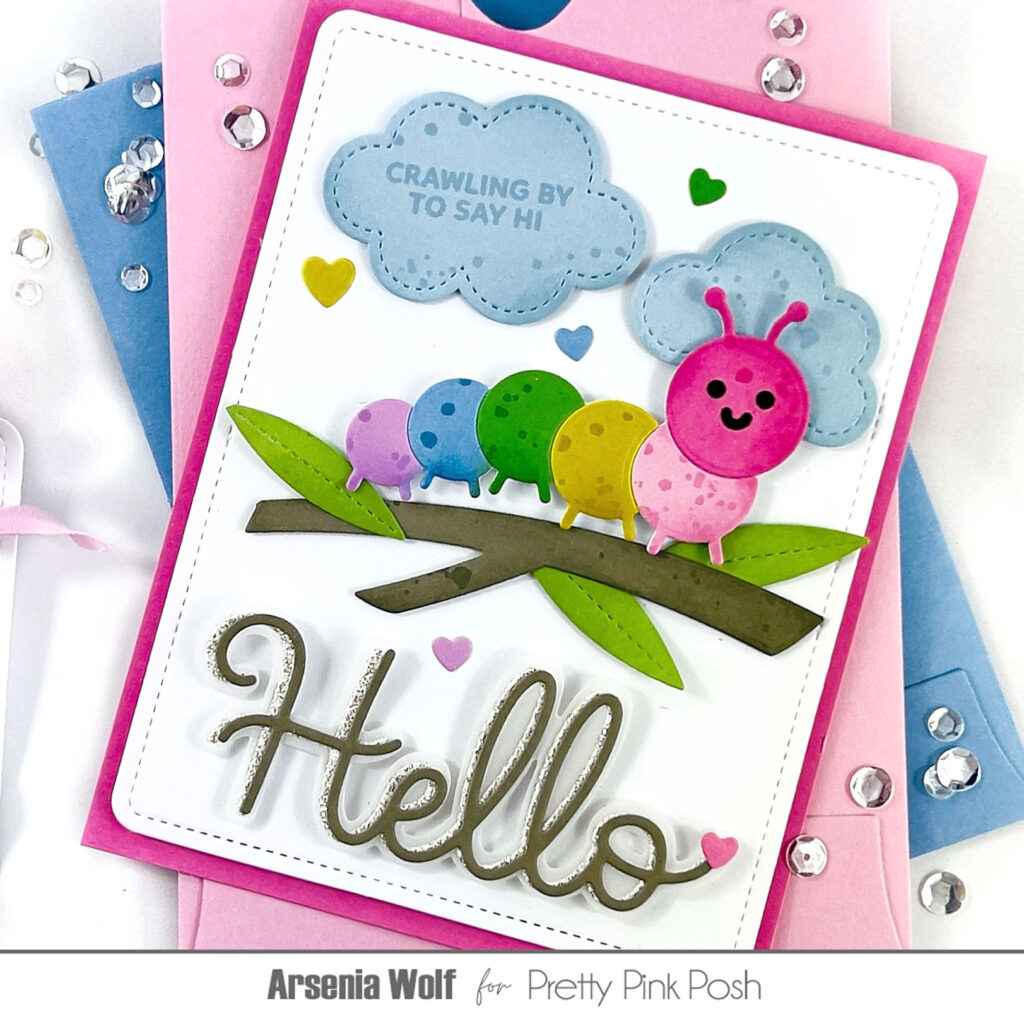
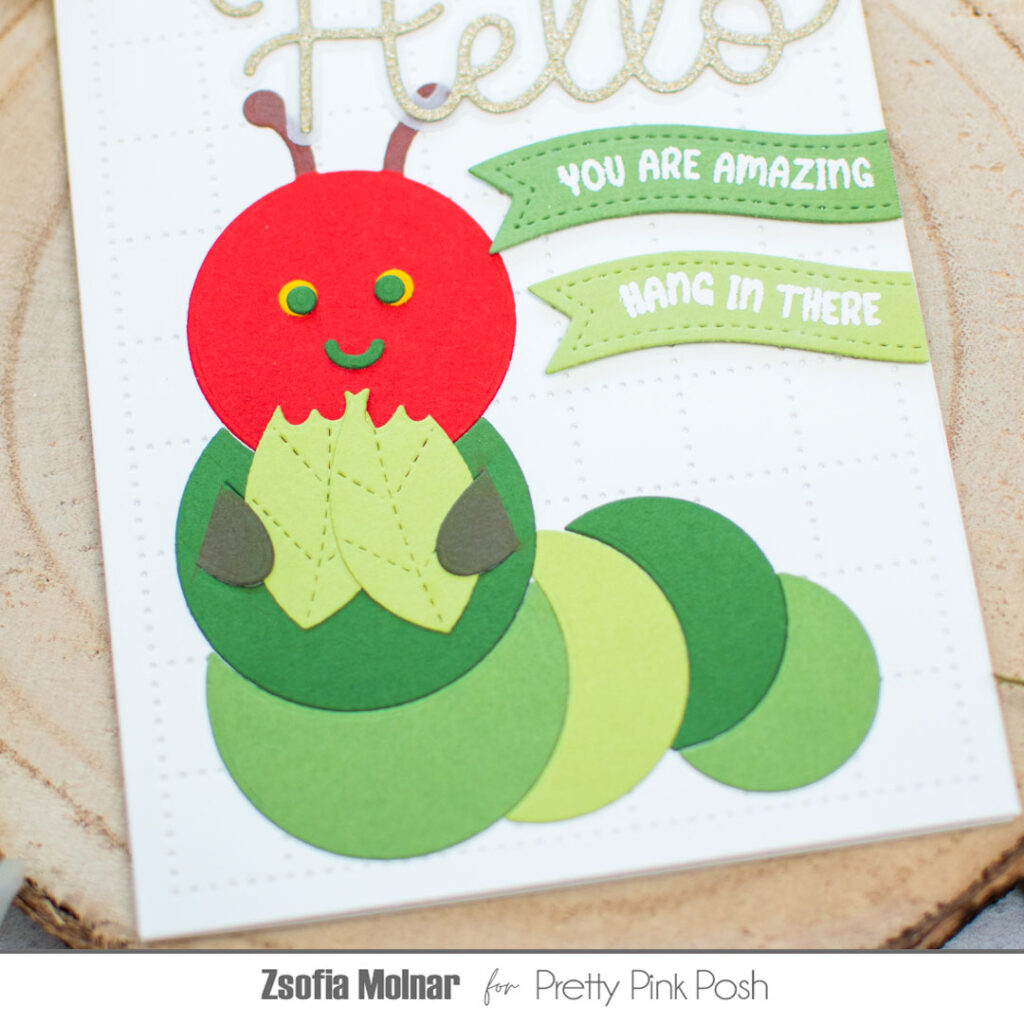
First I cut the Caterpillar Holder die 3 times from different shades of green cardstock. I kept the negatives to use as a template later. I also cut the head from a red scrap piece, masked off the head under the little aentenna with a piece of post-it and blended it with Gathered Twigs Distress Oxide ink. On the red it really looks purplish, just like in the book. I did the same with the little arms. Then I die cut the eyes and mouth from the darkest green cardstock and found a slightly bigger pair of circles in the Stitched Dandelions die set, which I cut from yellow cardstock to layer it under the green eyes.
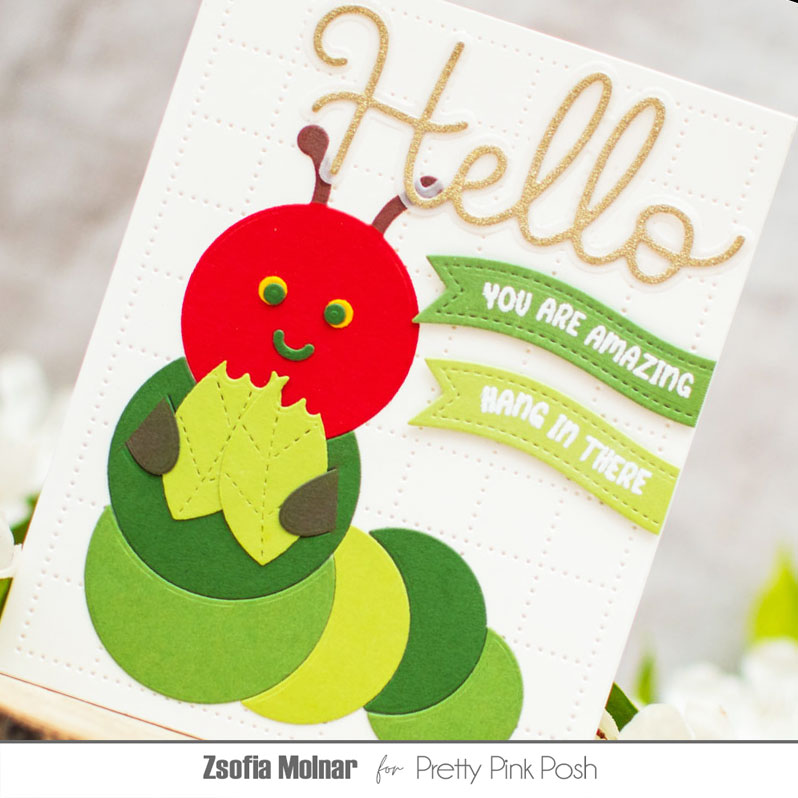
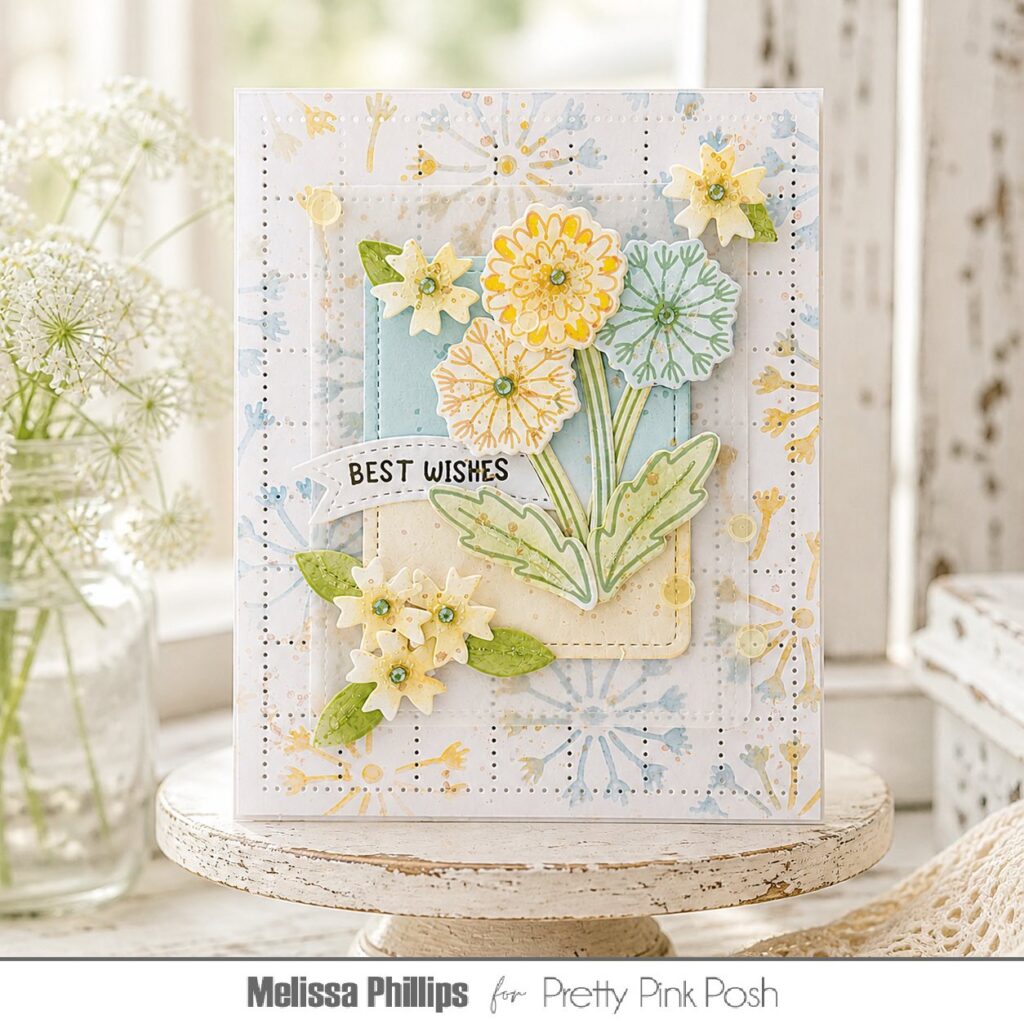
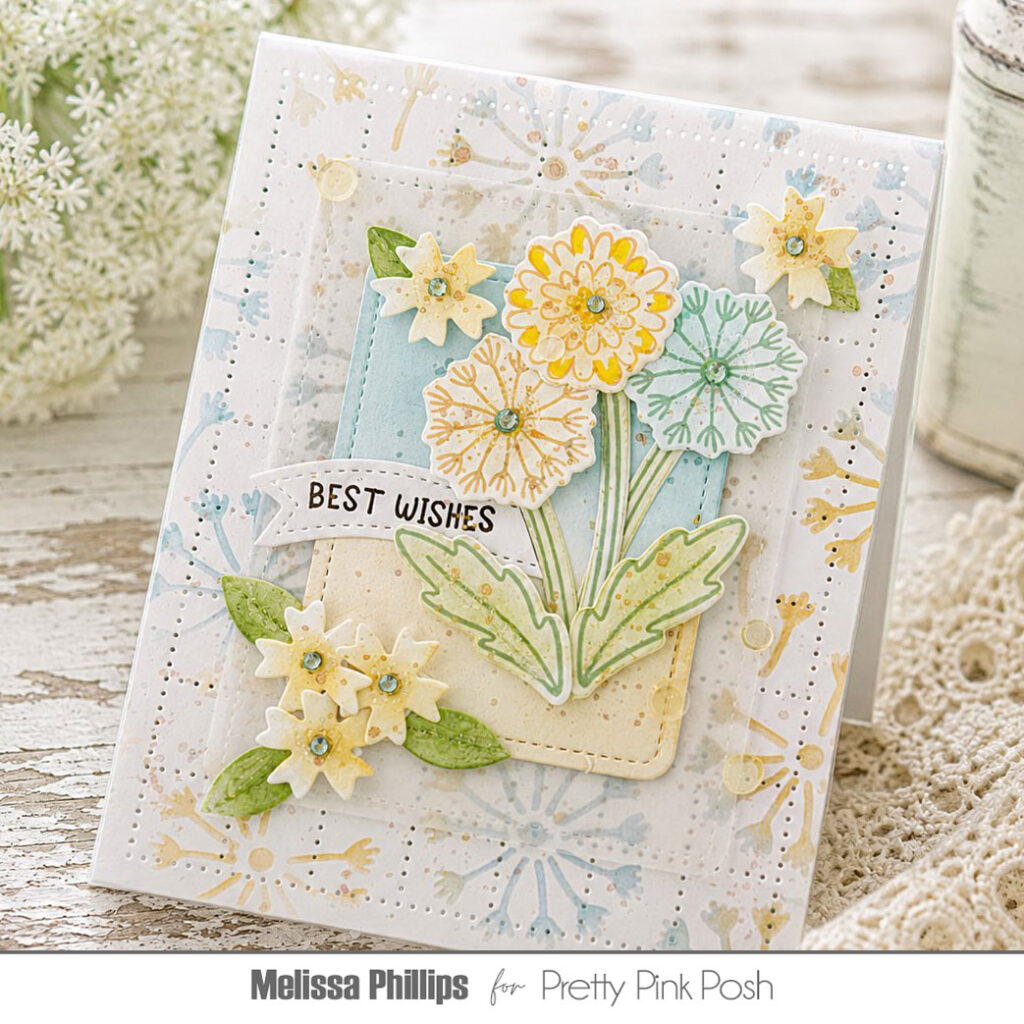
I wanted the background to have some texture while still resembling the children’s book, so the new Checkered Pierced Plate was the perfect choice. I cut it from white heavy weight cardstock, and using one of the negative pieces of the caterpillar holder die cuts as a template, I assembled the little critter and adhered all the pieces directly on the background.
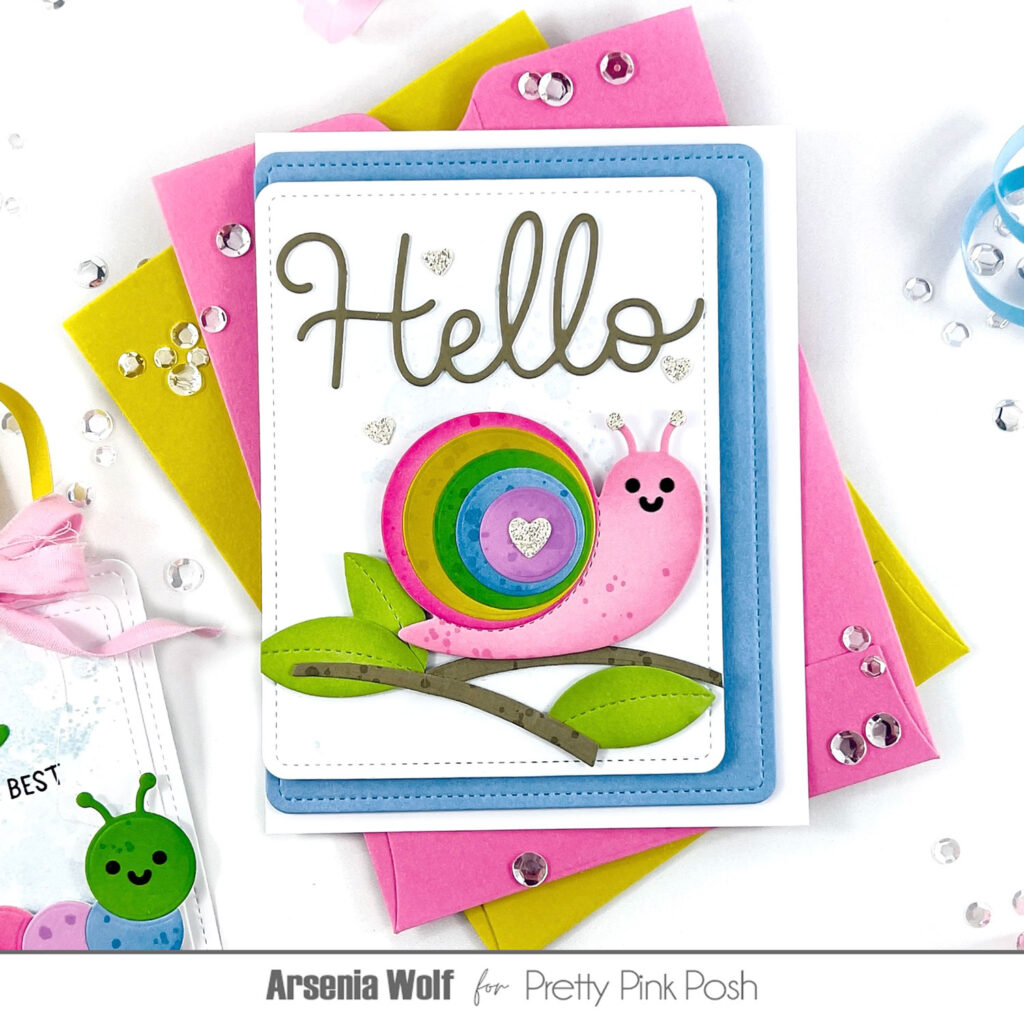
I wanted some leaves for this cutie to munch on, so I die cut two leaves from the Everyday Branches die set and used the edge of a dandelion die to create the “bite”. It looks so cool, having this very hungry caterpillar holding those half-eaten leaves!
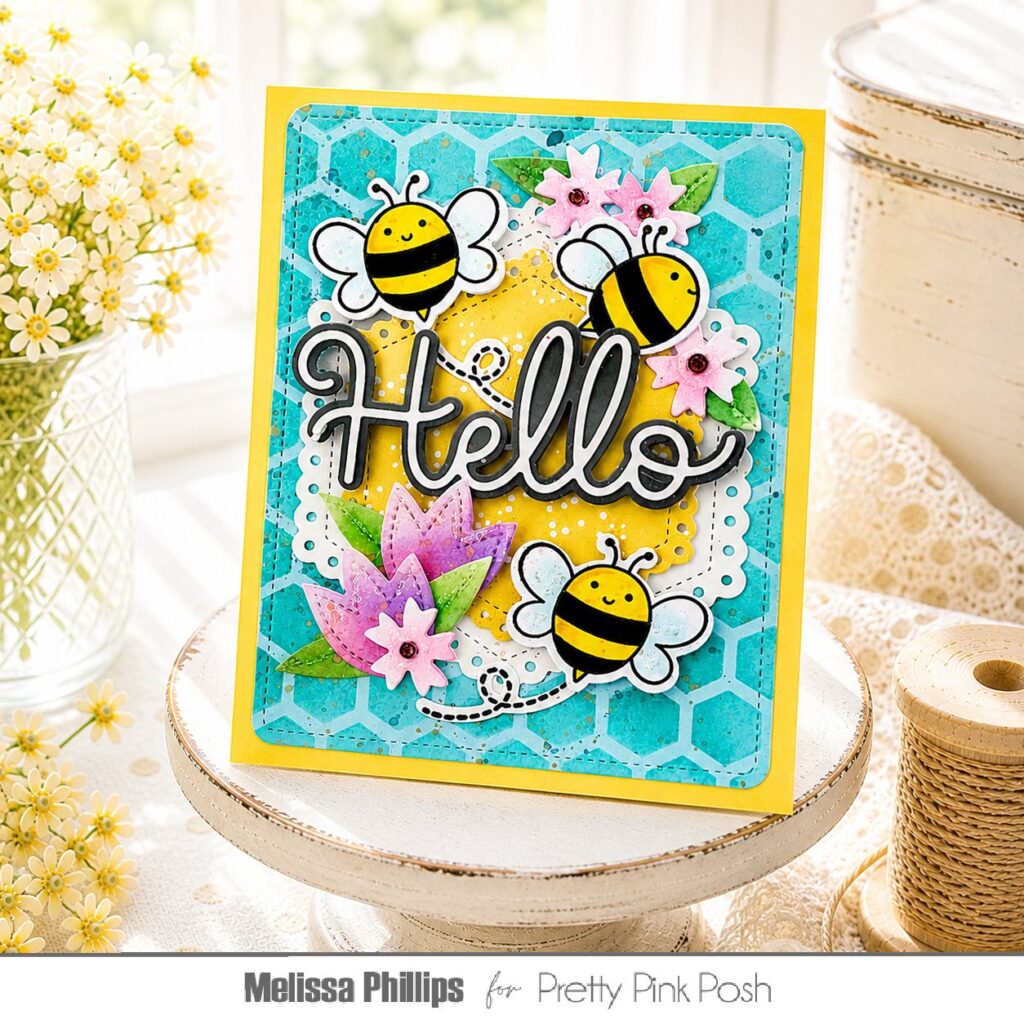
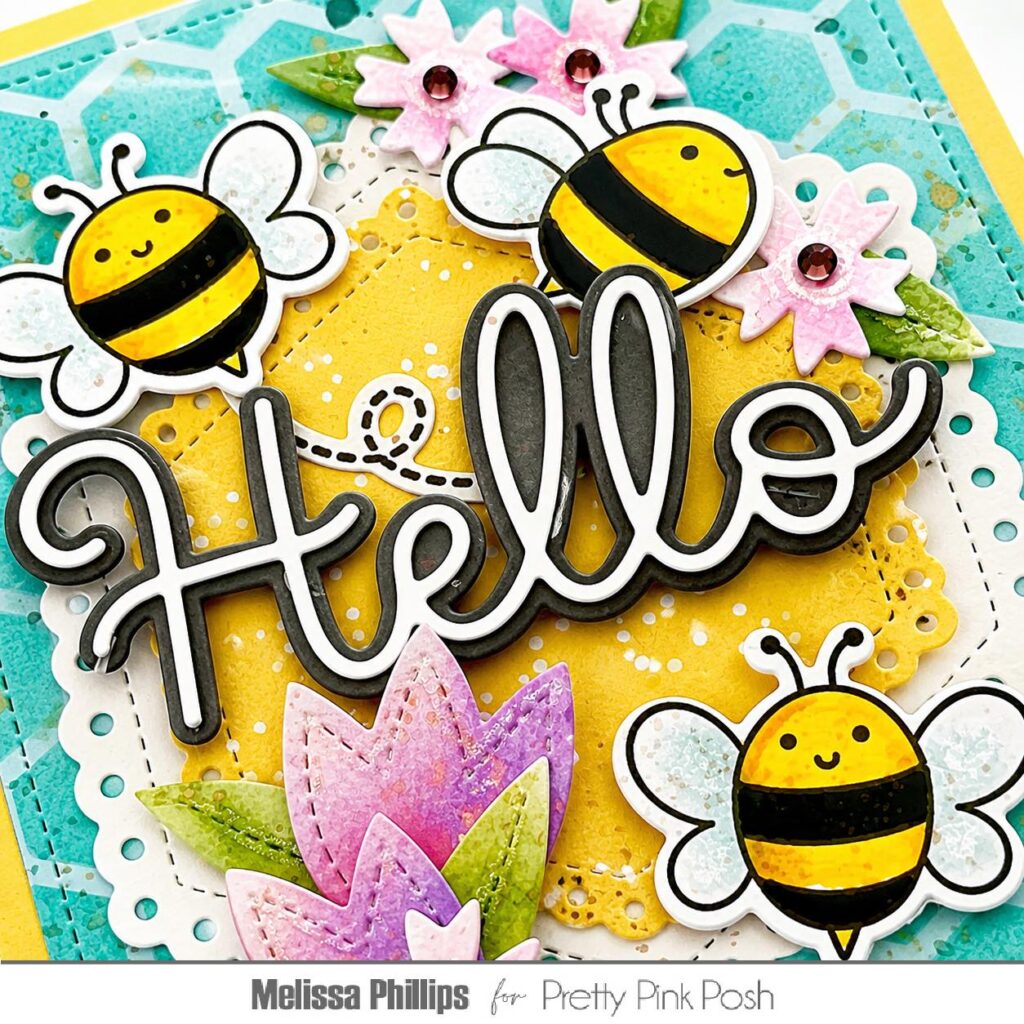
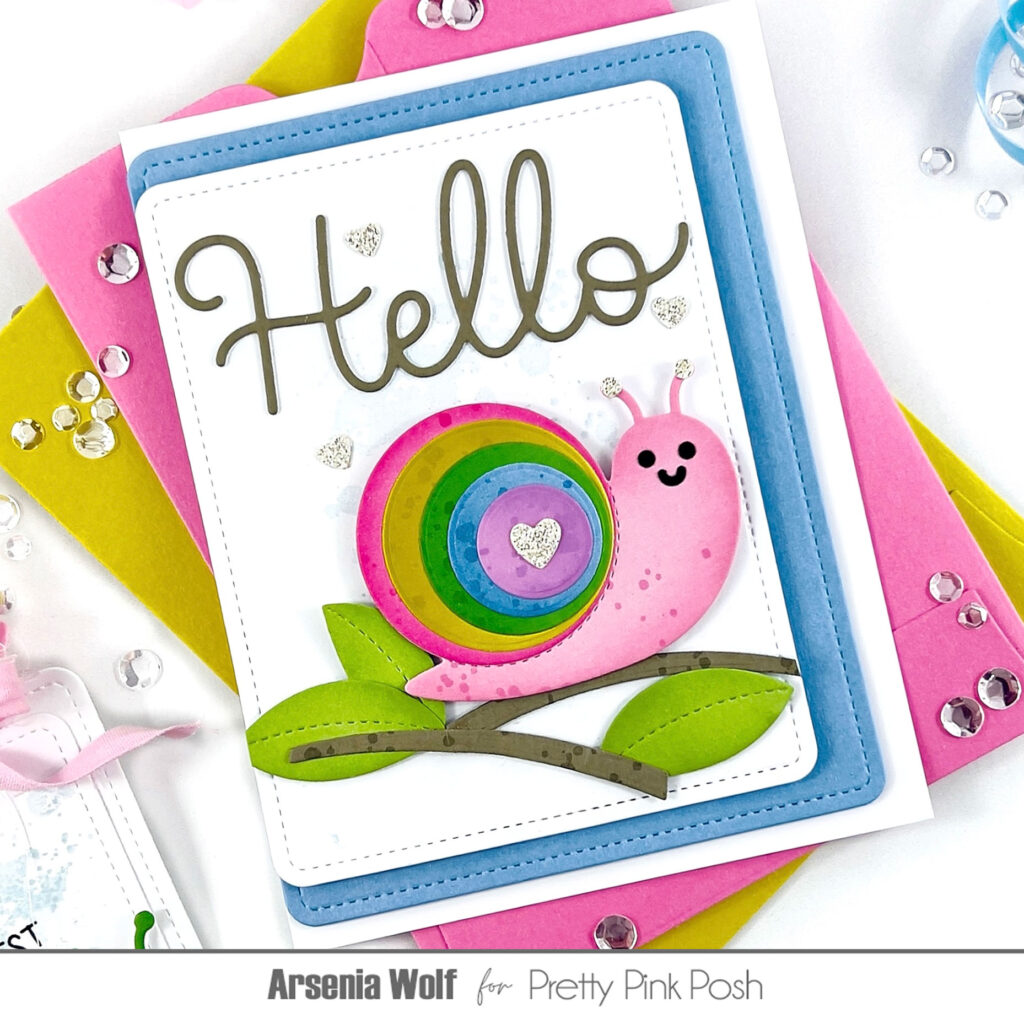
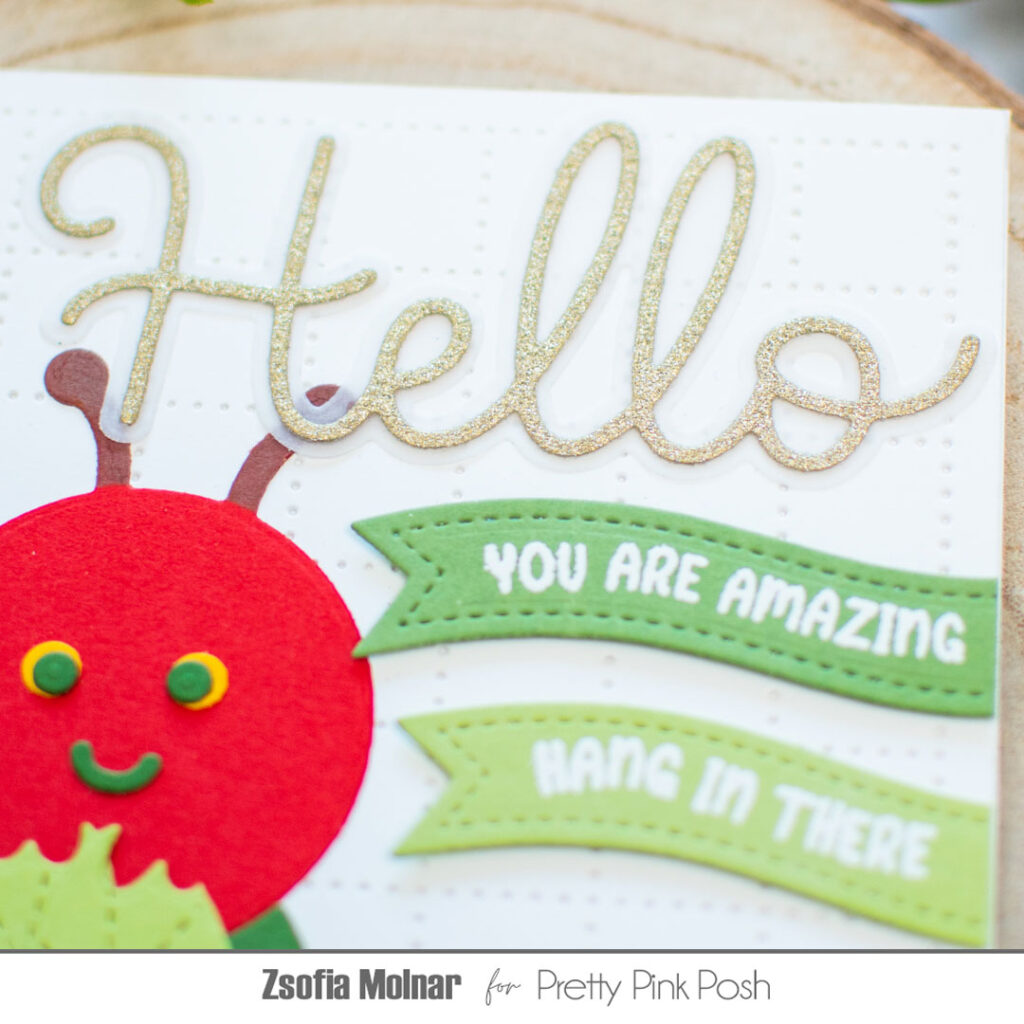
I wanted to keep the sentiment simple yet encouraging, just like the main message of the book. So I die cut the Large Hello Shadow die from gold sparkle cardstock and the shadow from vellum.
I also die cut 2 green flags with the Banner Greetings 3 die set and white heat embossed some encouraging words from the Everyday Banner greetings stamp set to complete the message. I popped them up under the big Hello using 3D foam squares for extra dimension.
Thanks for stopping by, I hopoe you were inspired by this card!