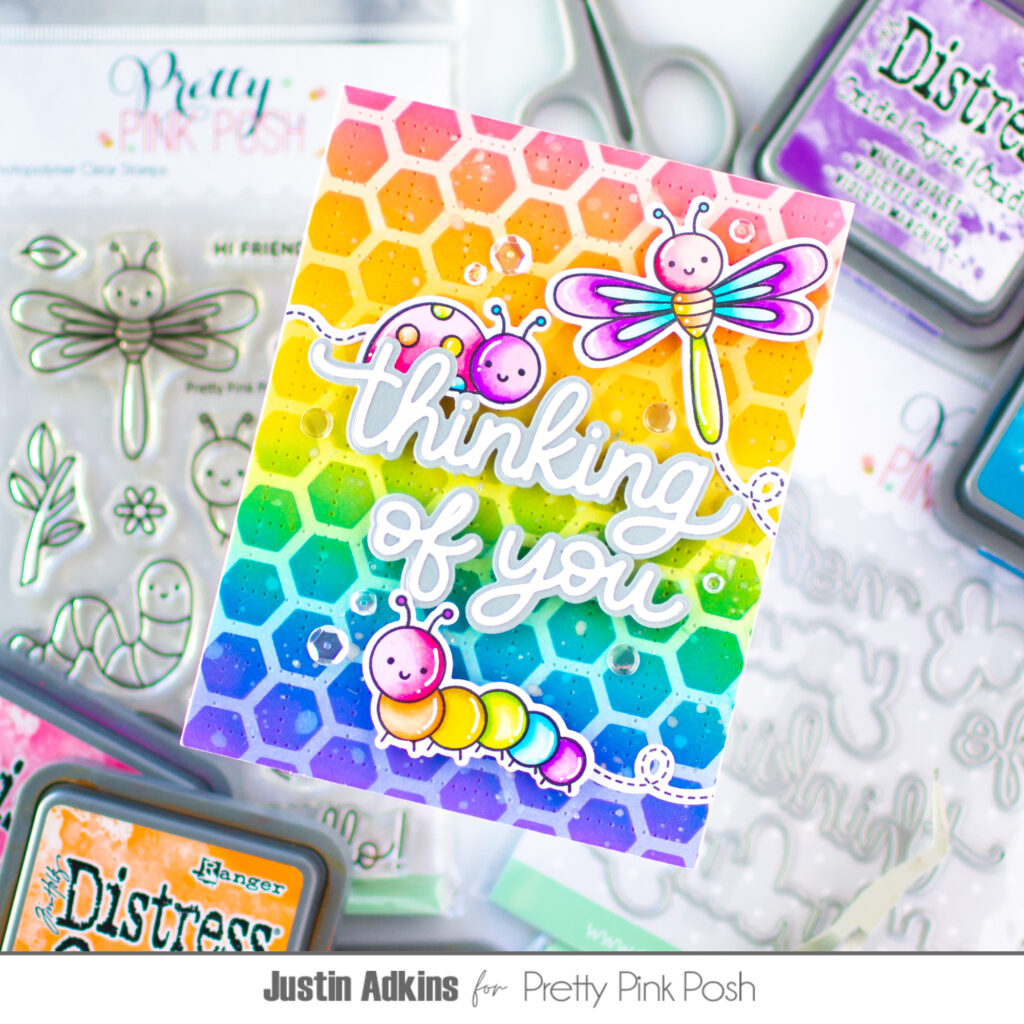
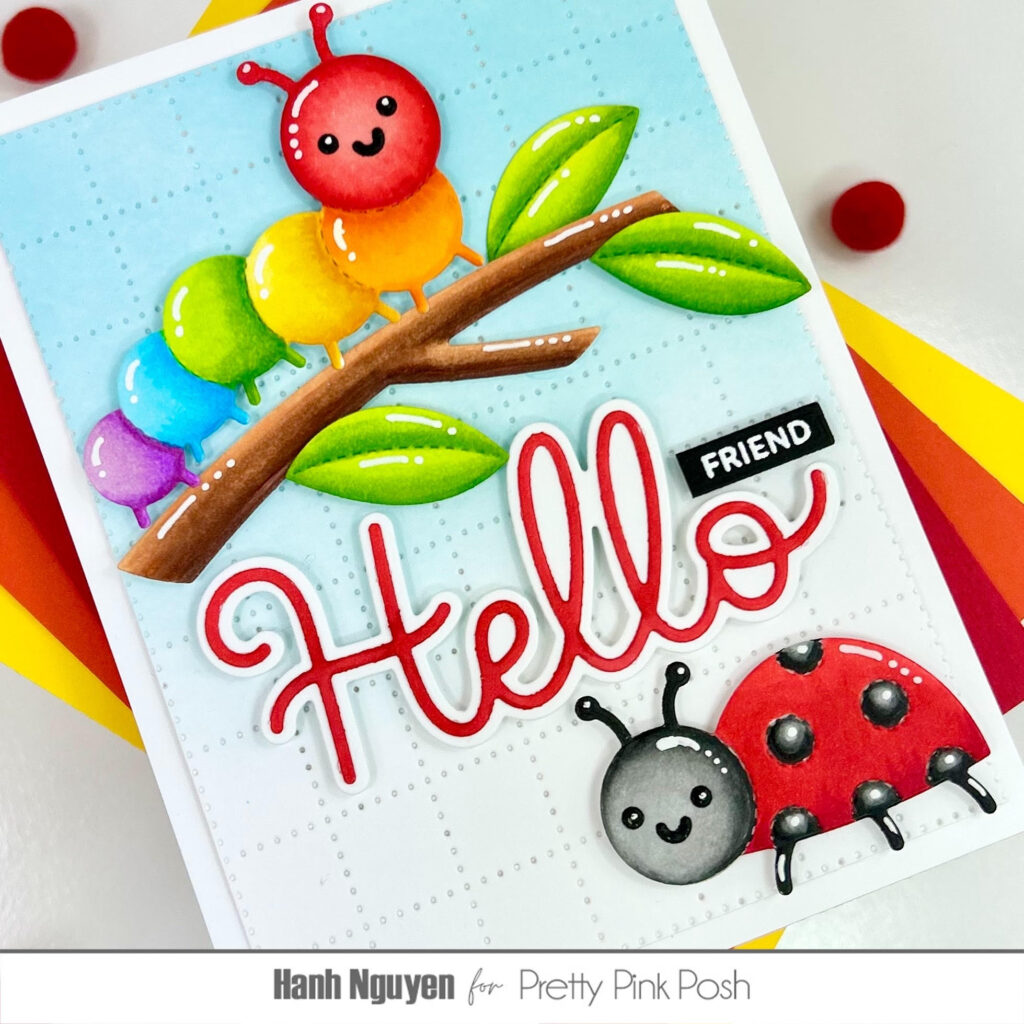
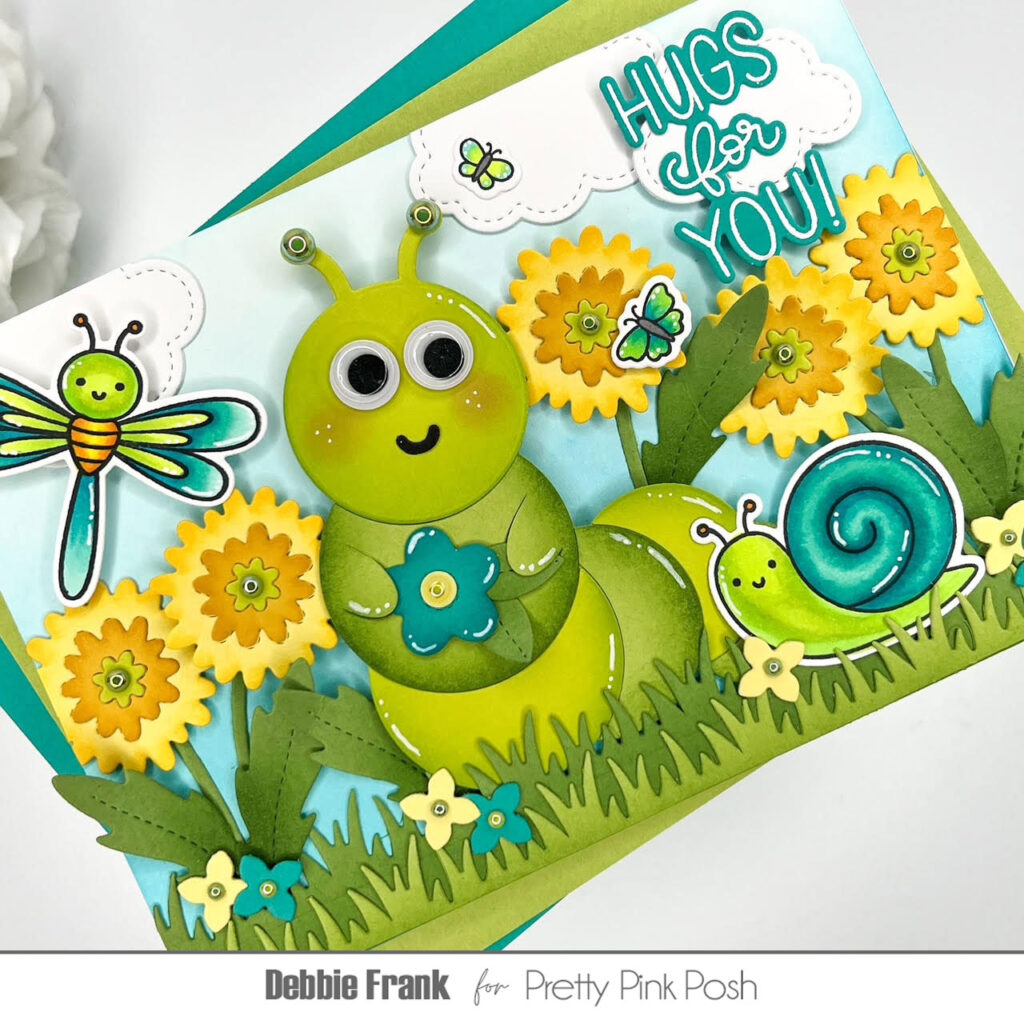
Caterpillar Scene
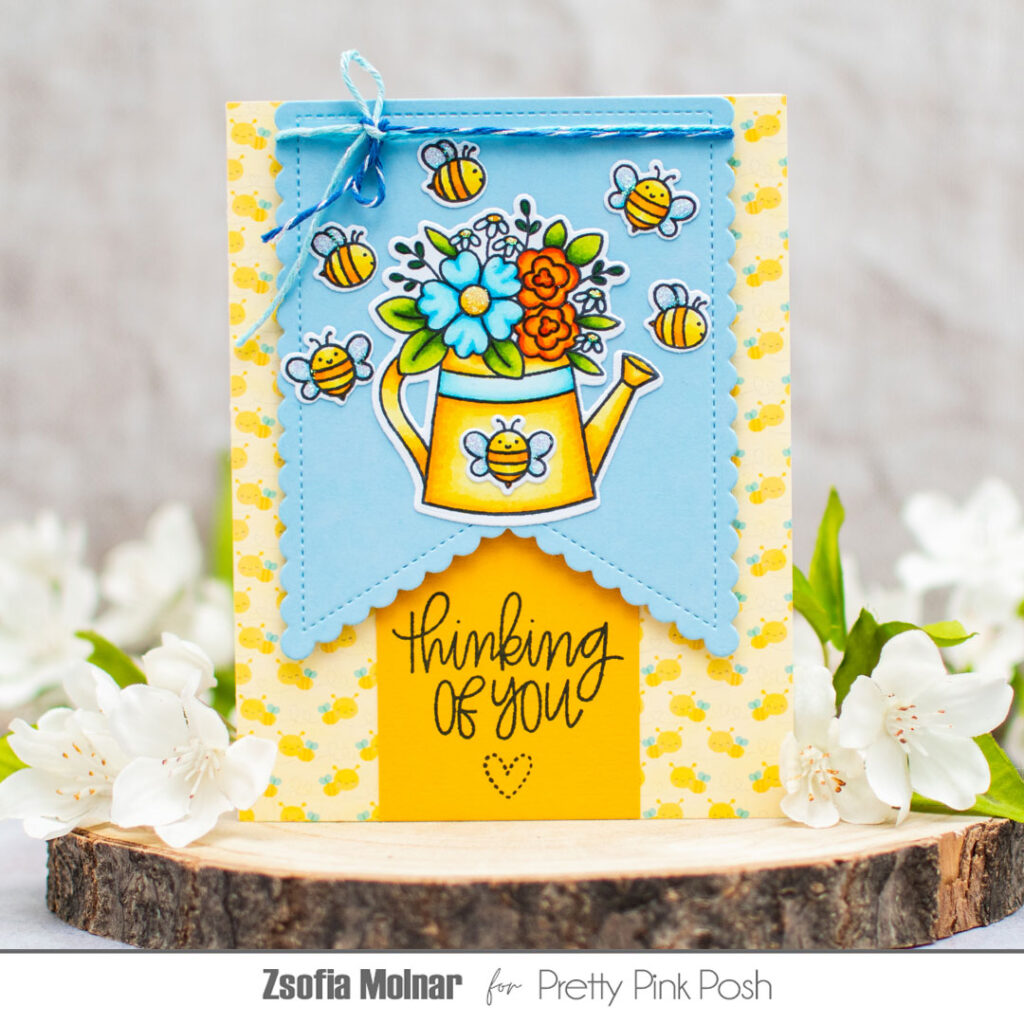
Hi friends, Debbie here with the new super adorable Caterpillar Holder Dies from the May Release here at Pretty Pink Posh. This whole release is packed with so much cuteness with all the bug dies, stamps, stencils, and embellishments. I’m sure you’ll be bugging out for this release!

Caterpillar Holder Dies
Stitched Dandelion Dies
Stitched Cloud Dies
Grass Border Dies
Stitched Spring Flower Dies
Cute Bugs Stamp & Coordinating Dies
Hello Friend Stamp & Coordinating Dies
Pistachio Pearls
Sunshine Pearls
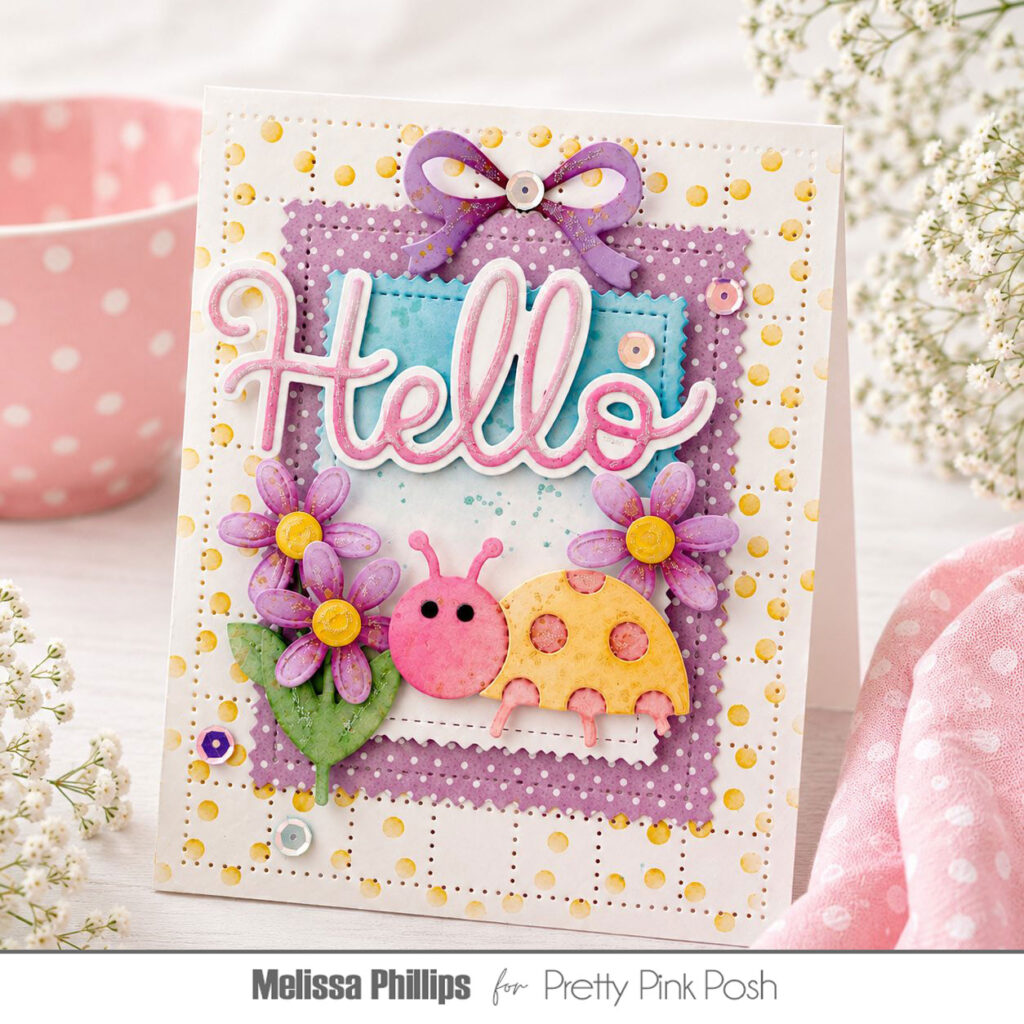
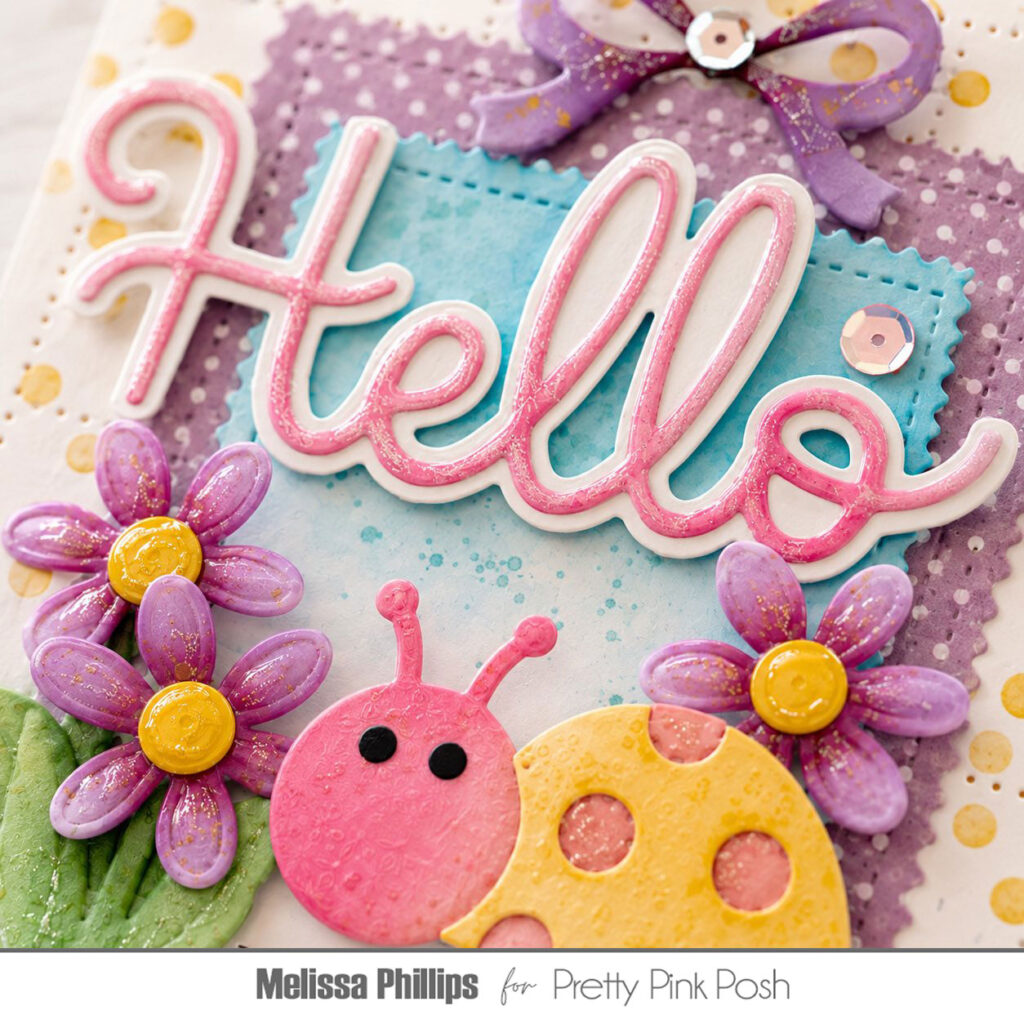
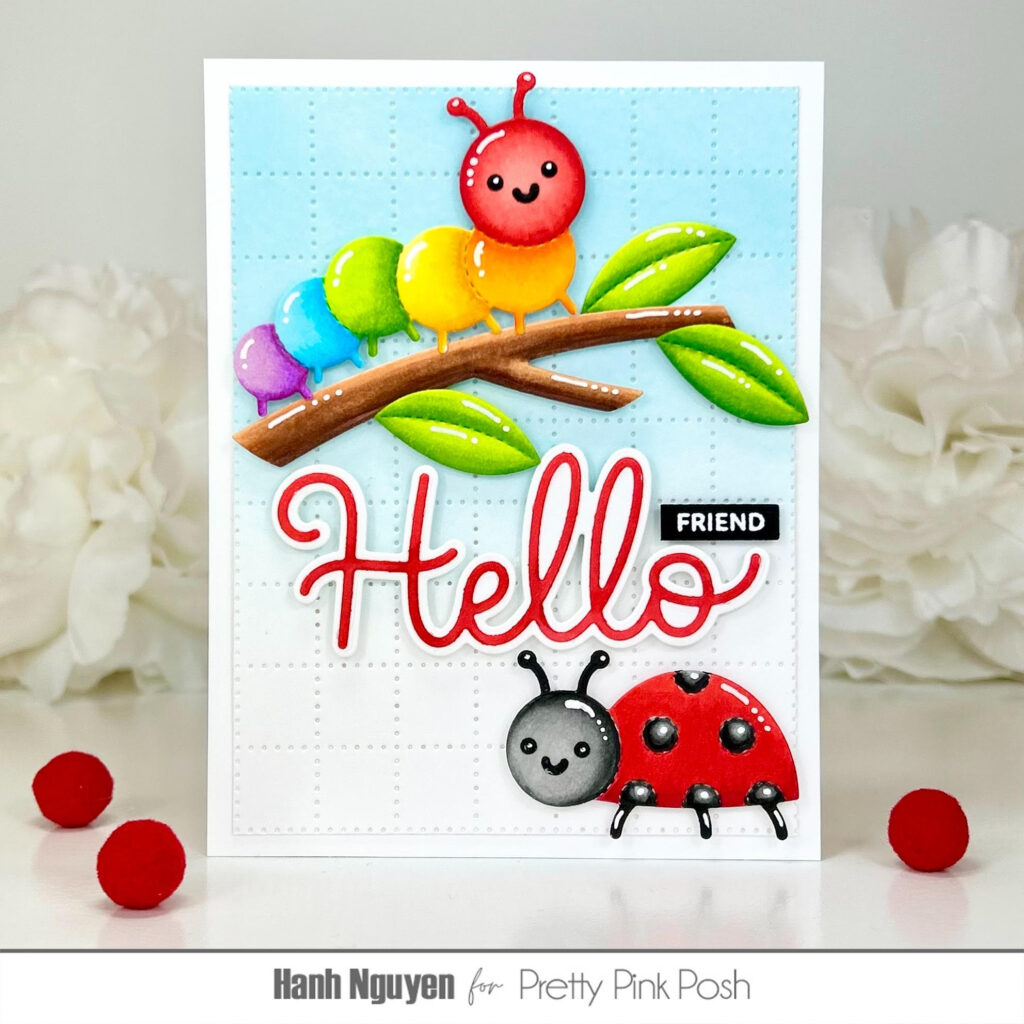
So let’s start off with die-cutting out the Caterpillar Holder Dies, using two shades of green card stock. Adding some dimension with a dye ink blending on each of the pieces. Adhering it together with liquid glue, adding googly eyes and rosy cheeks! I gave it a teal flower to hold onto, with shading done on the edges. I used the small leaves from the Stitched Spring Flower Dies and added a Sunshine Pearl to the middle of the flower and Pistachio Pearls to the top of the antennae’s.
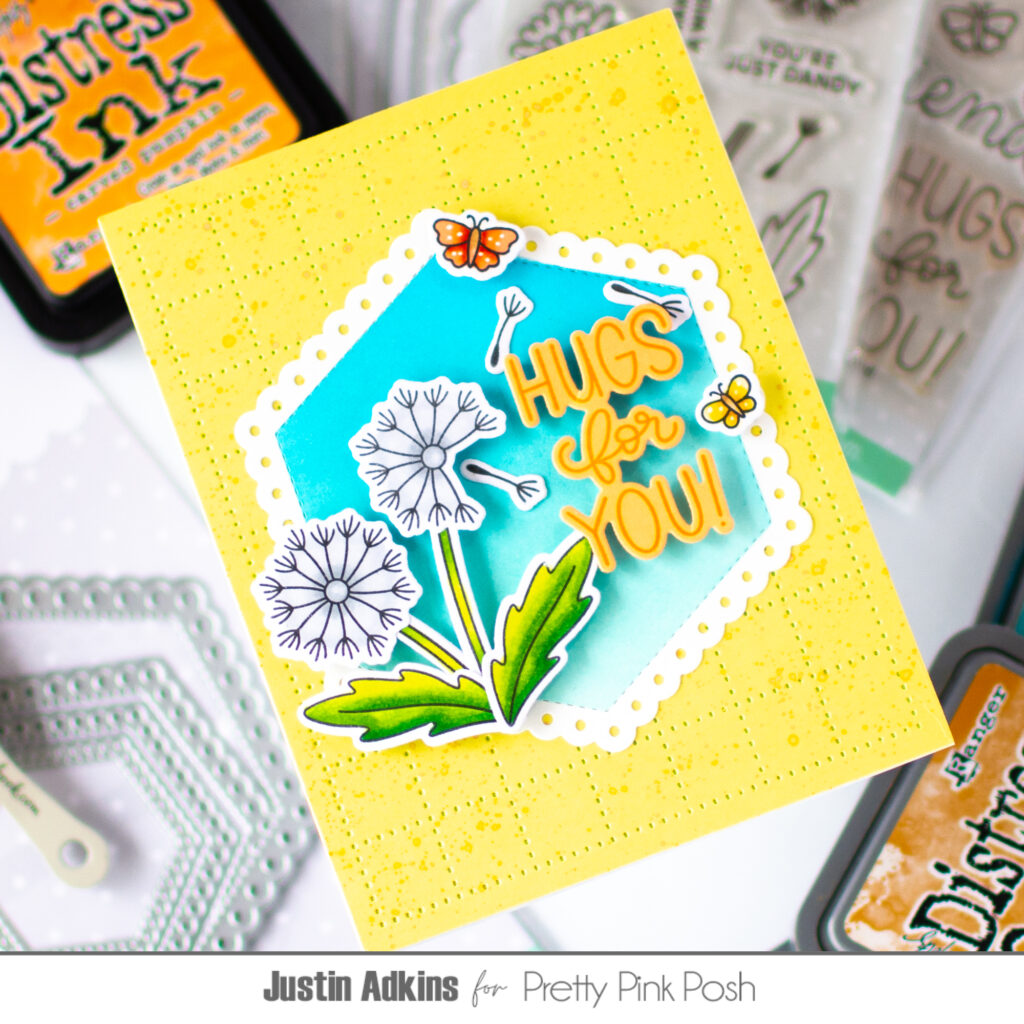
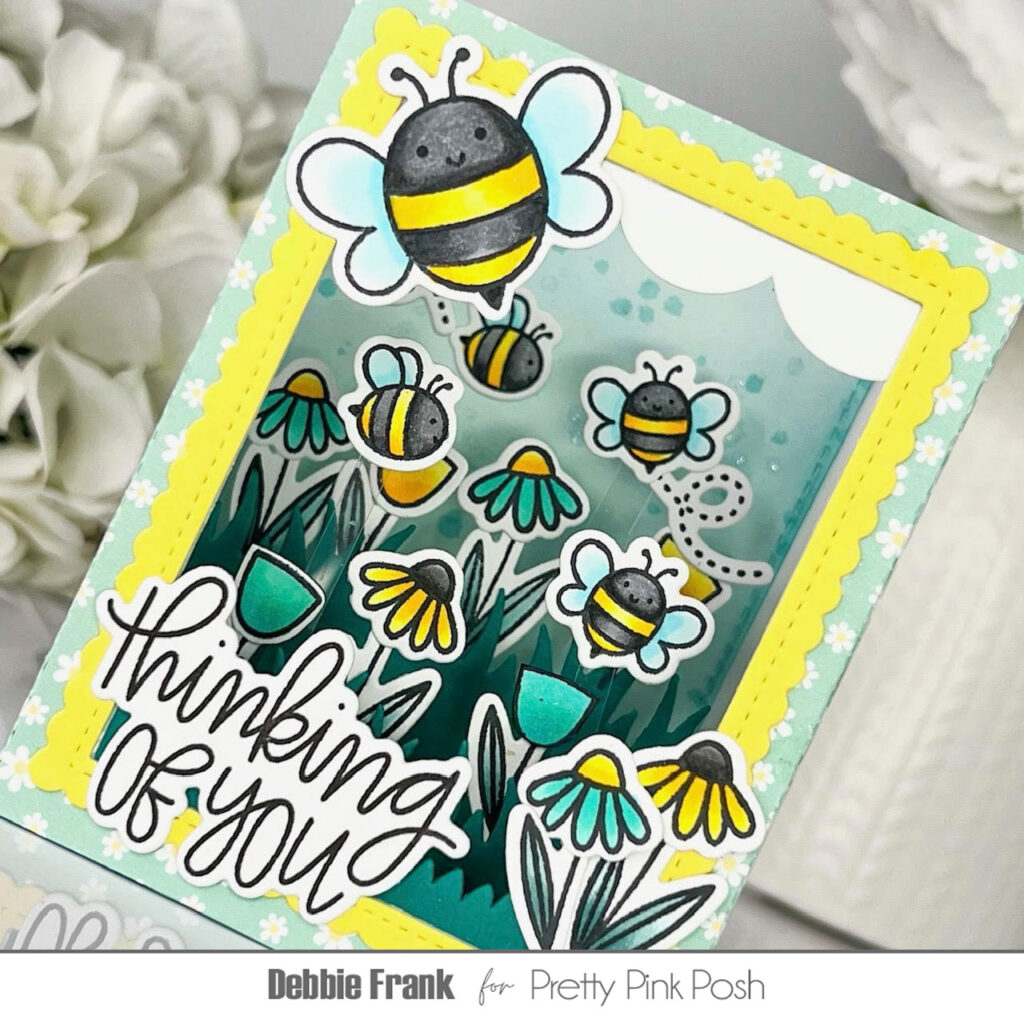
Next, I die-cut out five of the Stitched Dandelion Dies flowers. Layering them together with liquid glue and adding to the centers Pistachio Pearls. For the greenery I die-cut out the leaves and added on dimension ink blending, I like to give them a curl with either a bone folder or my fingers.
I should mention that this is a 5X7 card, so with the Grass Border die I did some creative die-cutting. With the cutting plate off set when I ran it through my cutting machine. Die-cutting it out of two shades of green card stock, and I was able to find a blade of grass in the die to match up with the previous cut.
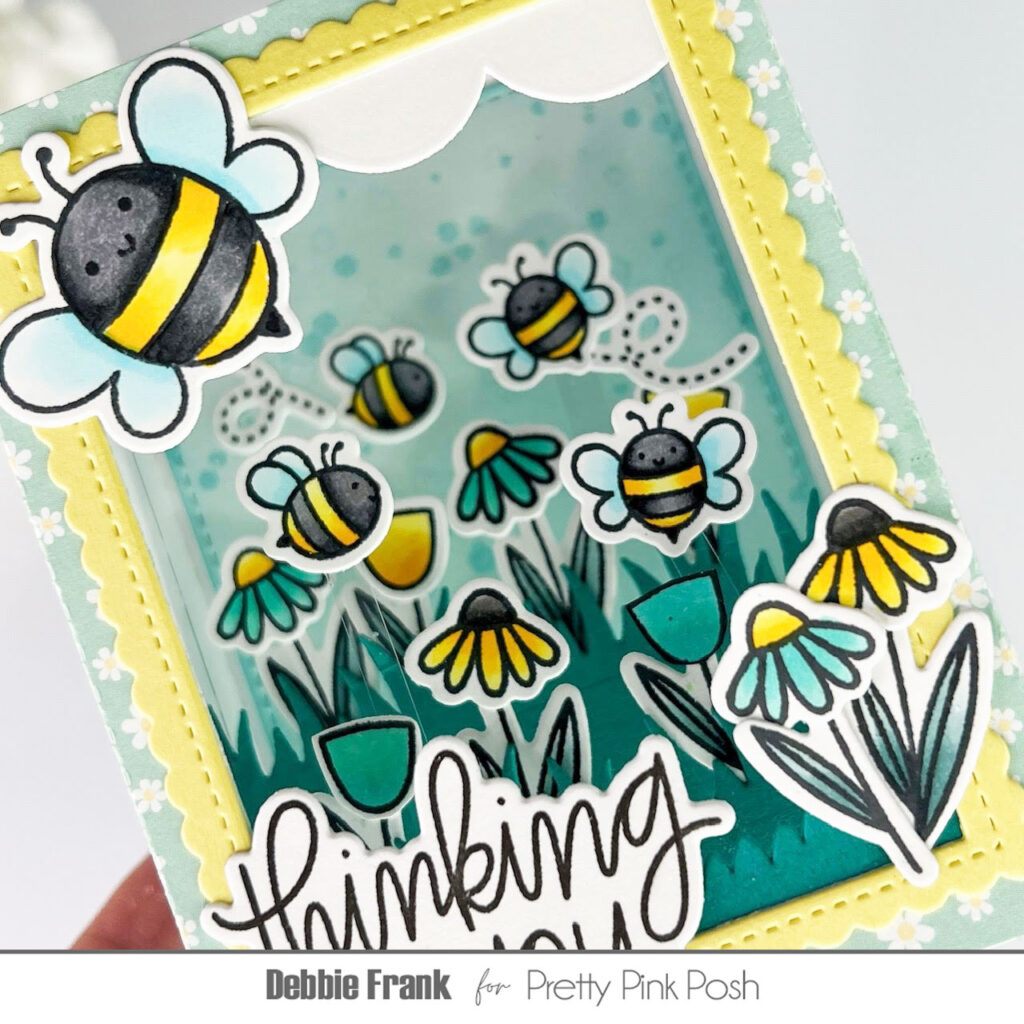
With the Cute Bugs stamp set, I stamped out the Snail and the Dragonfly on to Olo Blending card stock. Copic colored them in with a yellow green and teal colors, with the coordinating dies cut them out and added white highlights with a gel pen. Since I was coloring, I also stamped out the two butterflies from the Hello Friend stamp set and after coloring I die-cut them out with the coordinating dies.
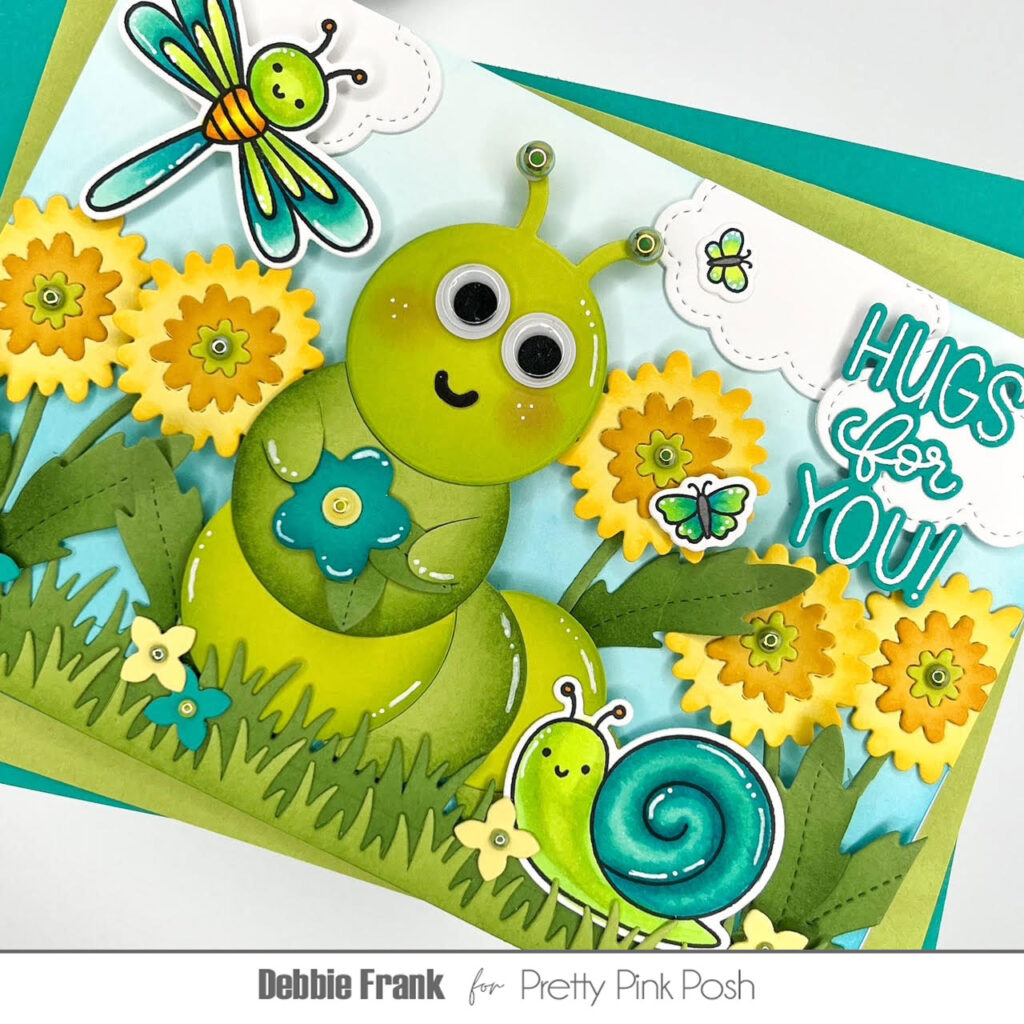
Next, with a 5X7 white panel I blended on with a teal dye ink, darkest on the bottom and lighter to the top. As I started to lay out my design I realized there needed to be some of the Stitched Clouds in the sky using just three of the smaller ones. I also went back to the Stitched Spring Flower Dies and die cut out the smallest flower with the teal and yellow card stock adding pearls to each of the centers.
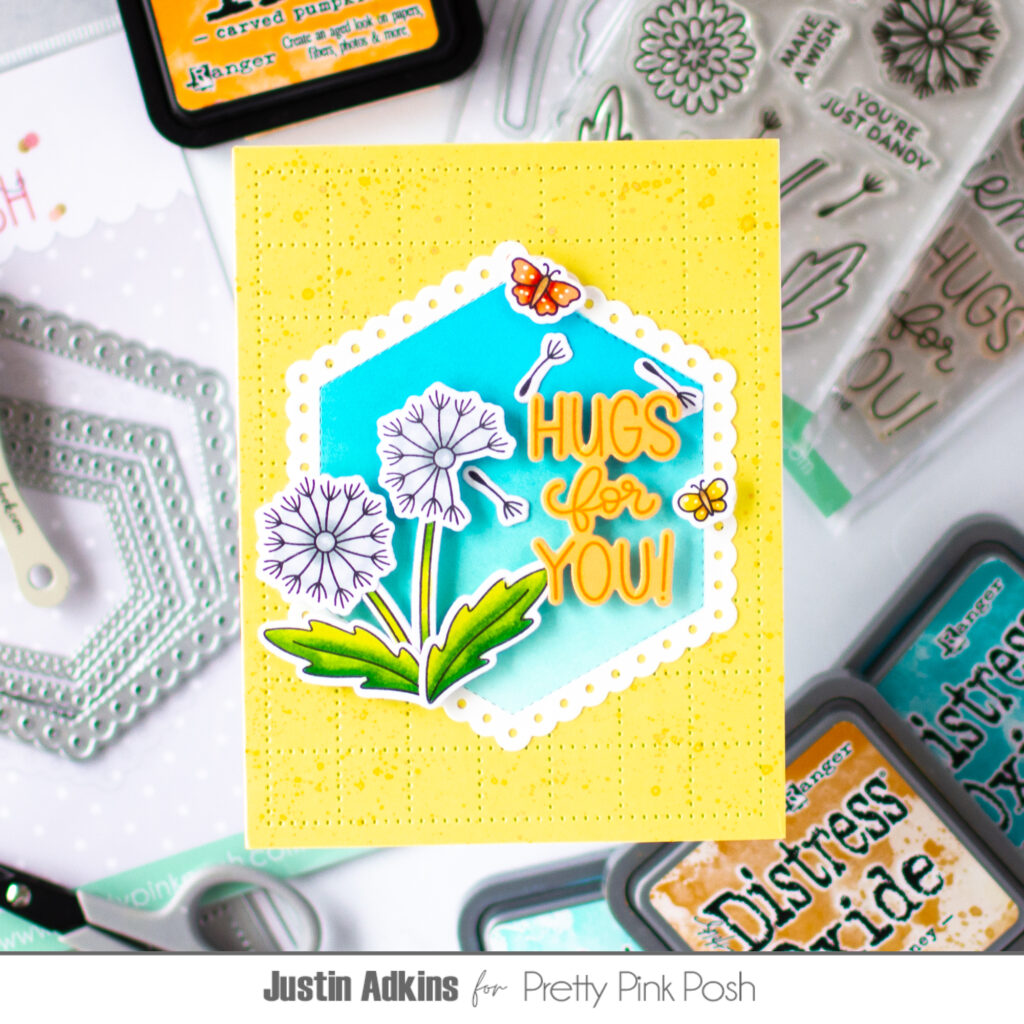
With the Hello Friend Stamp I stamped and white heat embossed the “Hugs for You” then die cut the sentiment out with the coordinating dies.
Even though this is a 5X7 I had some of the elements hanging over the panel, so I trimmed them off. Which perfectly fine to do for a continues scene.
Thanks for taking the time to read on how I made this adorable Caterpillar card. I just love it so much!