
February Intro: Sneak Peek Day 1
Welcome as we kick off the first day of sneak peeks for the February 5th release. Today we’ll be taking a look at four of the new die sets: Chick Holder, Chick Shaker, Springtime Holder Additions, and Stitched Clouds.
Watch the video above I Watch the video in HD on YouTube
Hi friends! Christina here, and I’m so excited to be kicking off sneak peeks for the super sweet spring release! Today we are showcasing some of the adorable new dies that will be available February 5th, including the Chick Shaker and the Chick Holder. These cuties coordinate perfectly with the other goodies we’re highlighting today, the Springtime Holder Additions and the Stitched Clouds. I’ve combined elements from all these new sets in the happy springtime inspiration that I’m sharing with you! Let’s get started!
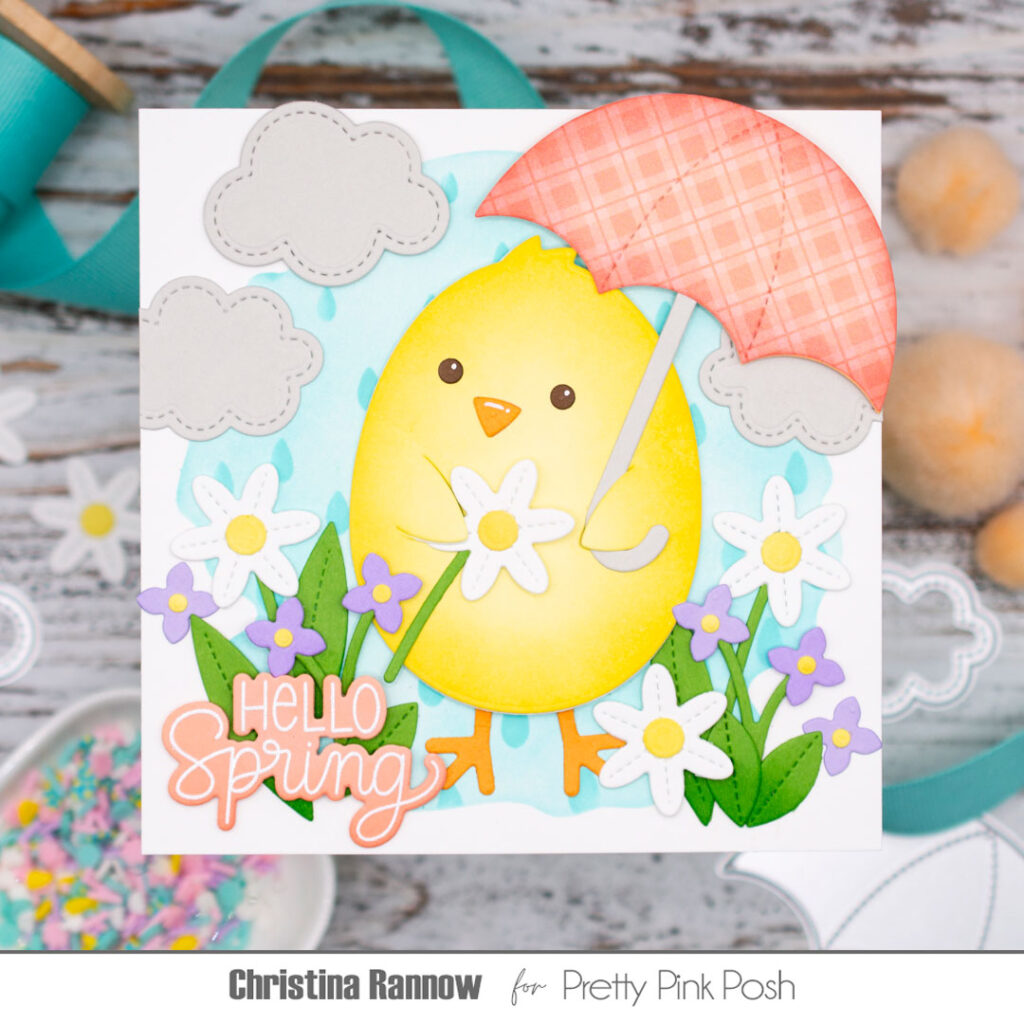
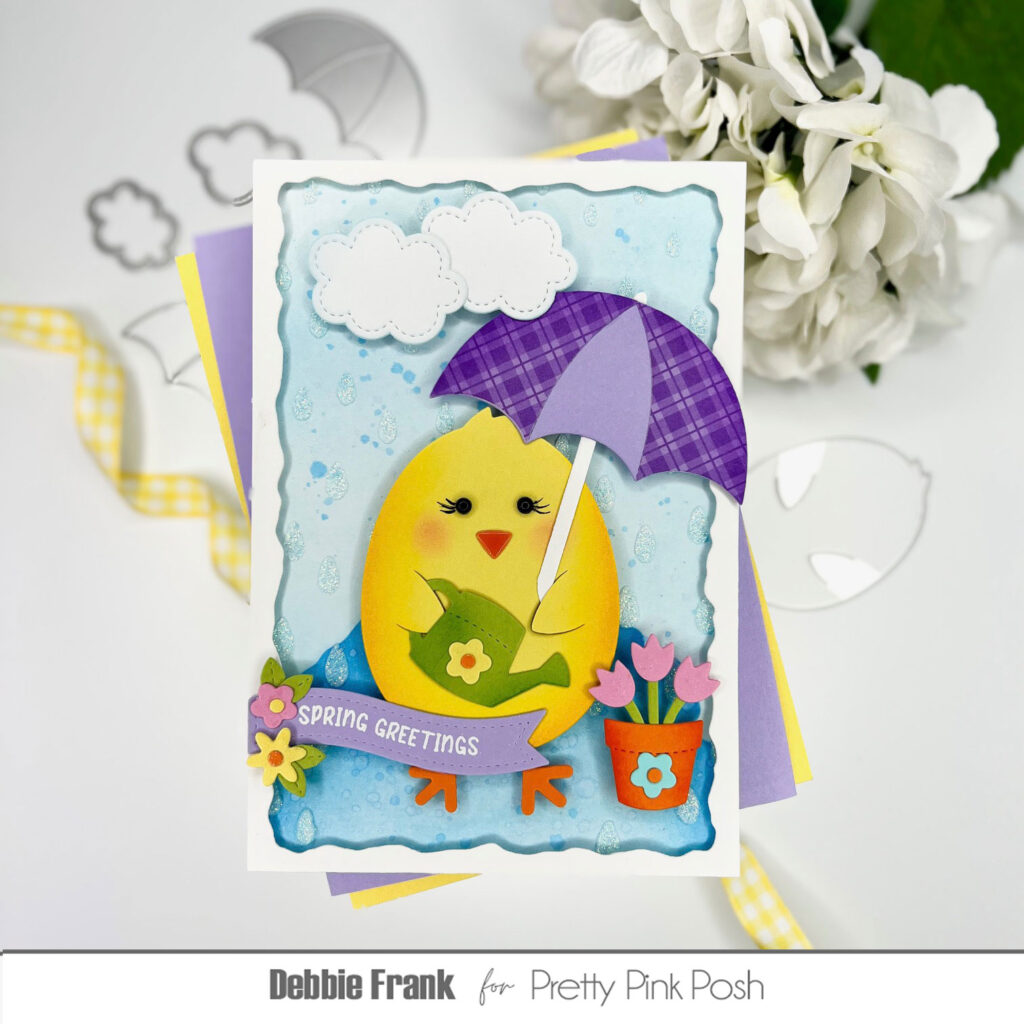
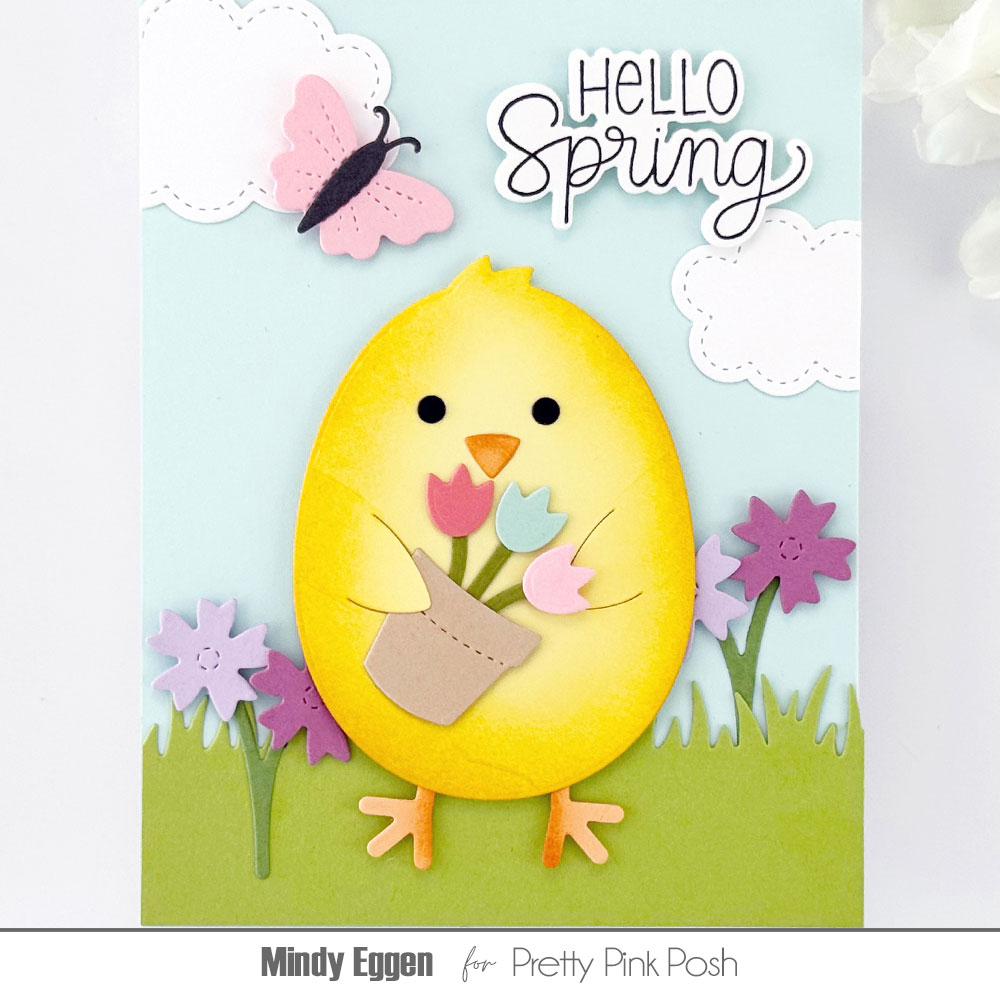
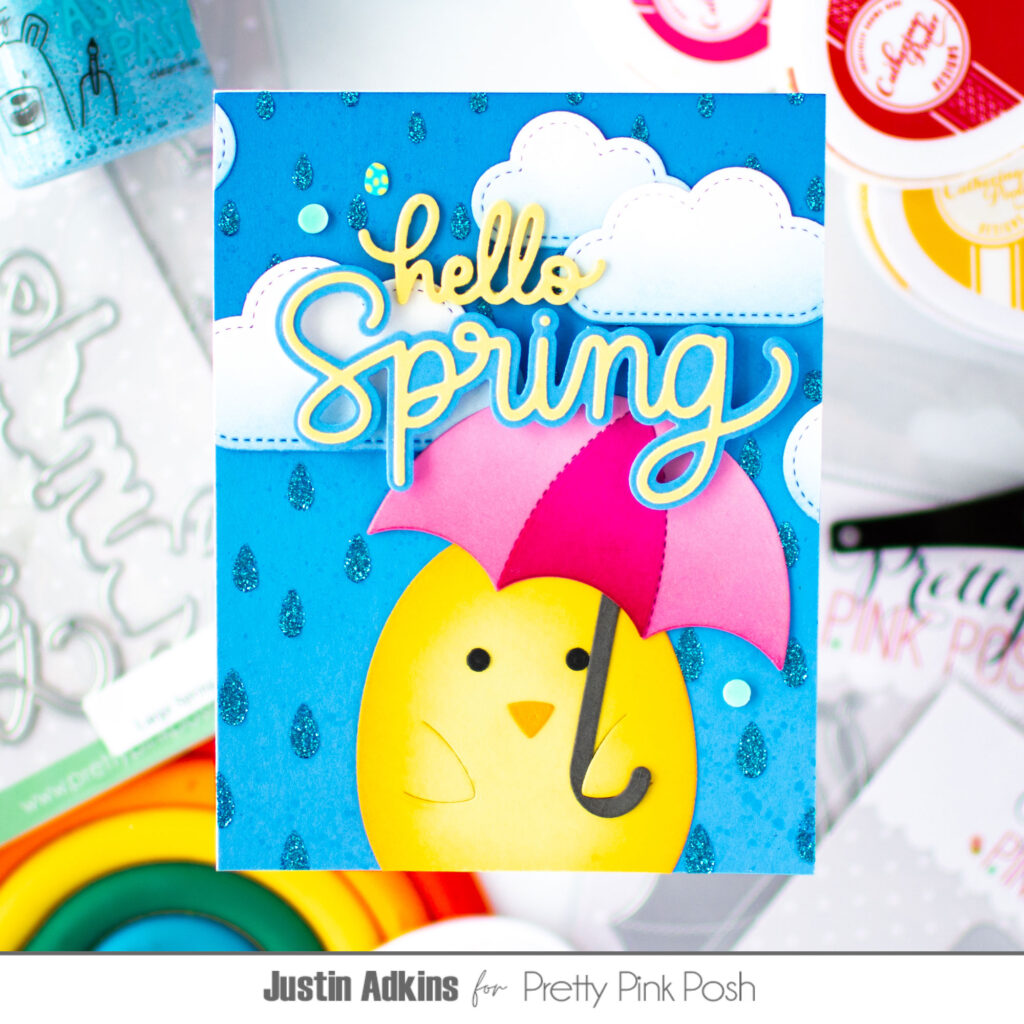
My first card features the newest addition to the “Holder” collection, the Chick Holder! This plump little chick is just the cutest, and I paired him with the umbrella from the Springtime Holder Additions and surrounded him with the lovely new Stitched Spring Flowers to create a rainy springtime scene.
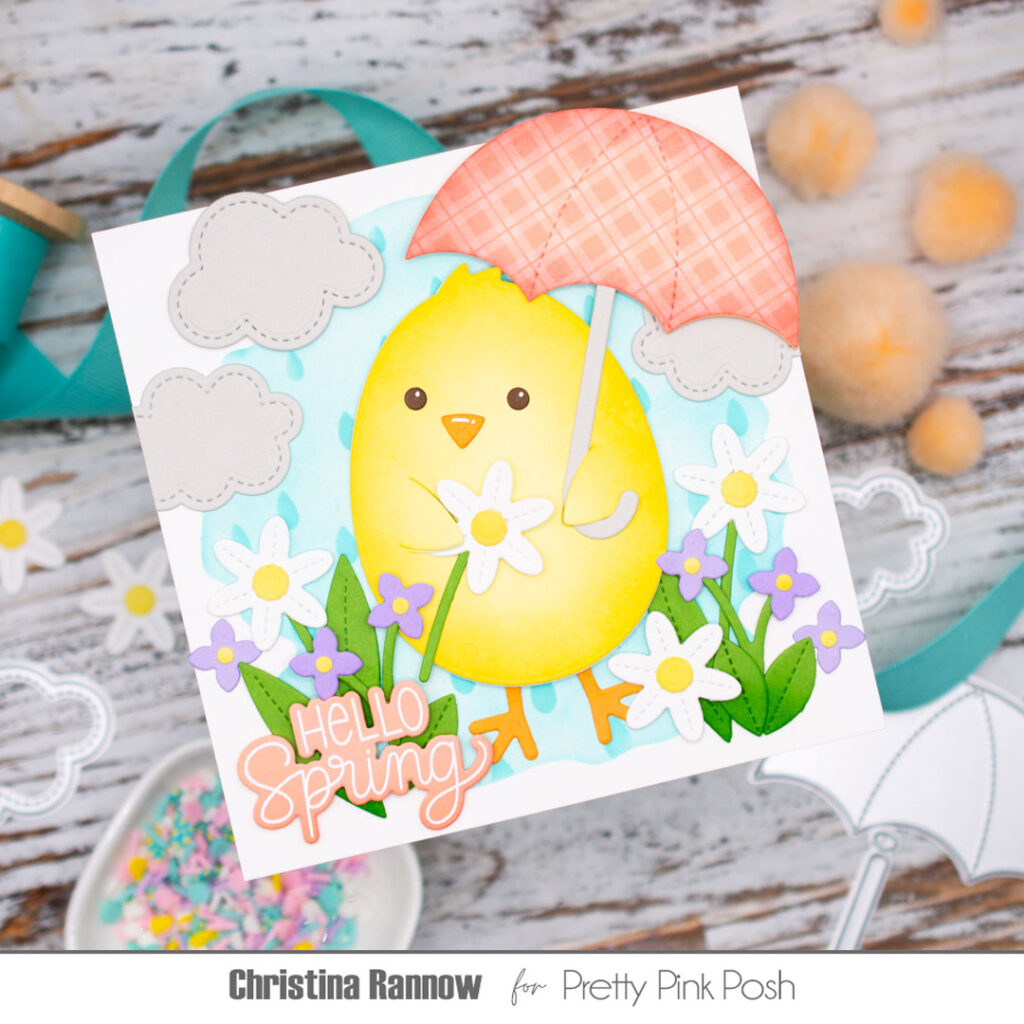
My first step was to create the rainy background panel. I started with a piece of 5×5 white cardstock and two new stencils that are part of the spring release, the Watercolor Circle and Raindrops. I stenciled the Watercolor Circle first with Salvaged Patina Distress Ink, and then, leaving the stencil in place, I stenciled the raindrops over the watercolor circle using more Salvaged Patina ink. I set the panel aside while I got to work on some die-cutting.

For most of the die-cutting I started with colored cardstock but chose plain white cardstock for the daisies and a sweet plaid patterned paper for the umbrella. I added subtle shading to the chick, the leaves, and the umbrella by lightly blending a darker coordinating ink around the edges. After assembling the diecuts, I arranged them on my background panel and attached them with either glue or thin foam squares.
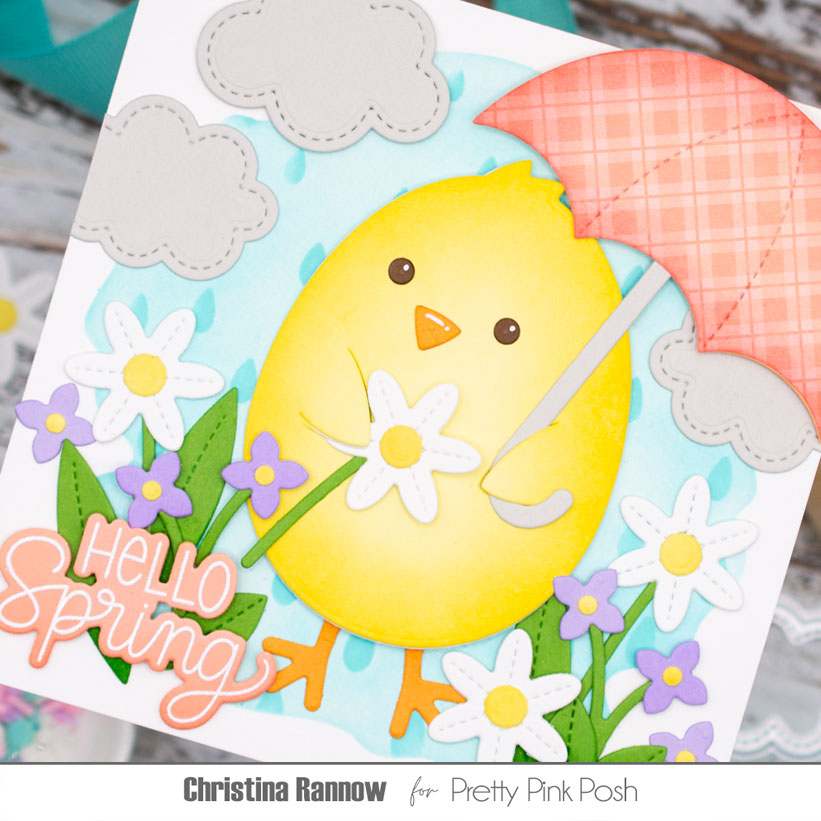
Just a couple more things to wrap up this rainy springtime card! First, I added a greeting from one of the new stamp sets, Spring Blooms. I heat embossed it with white embossing powder on peach cardstock and then die-cut it with the coordinating die. And lastly, I popped this 5×5 card front onto a card base that I made from a piece of white cardstock measuring 5 x 10 inches.
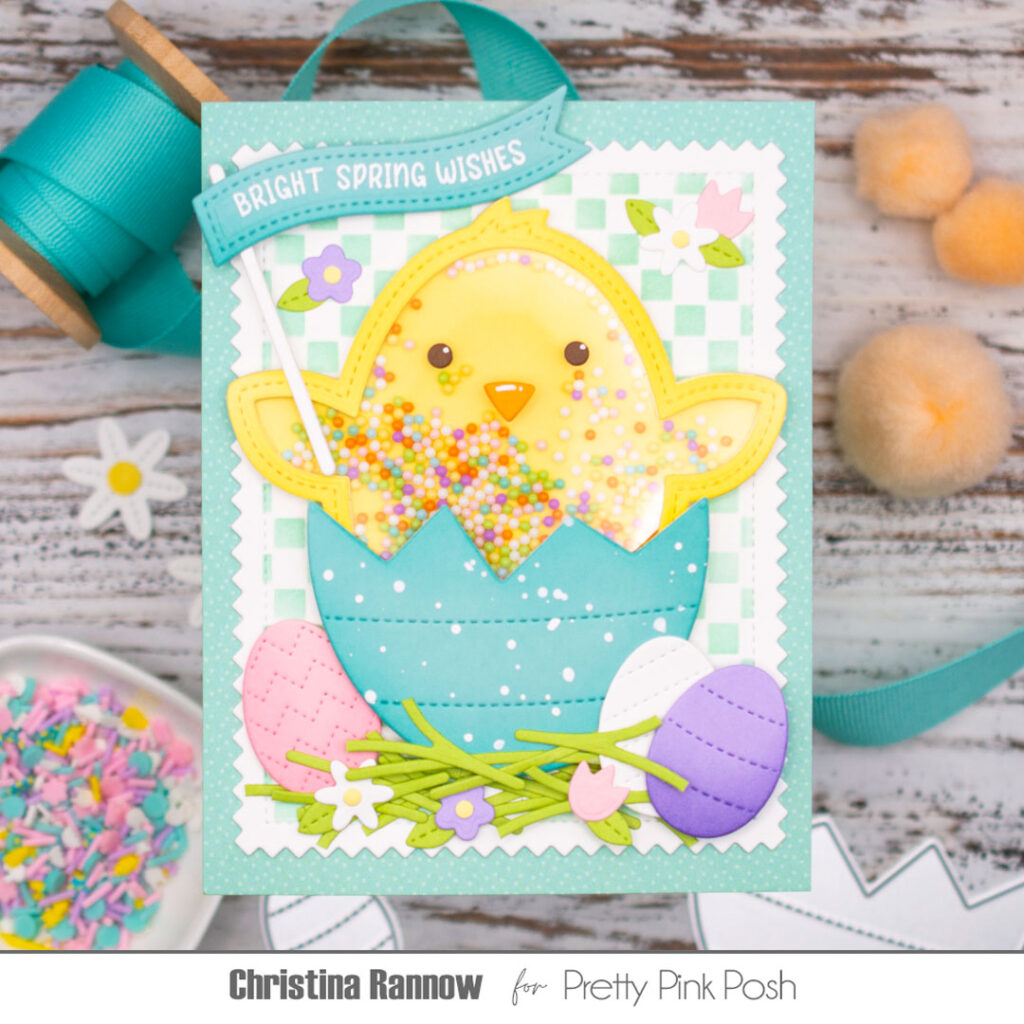
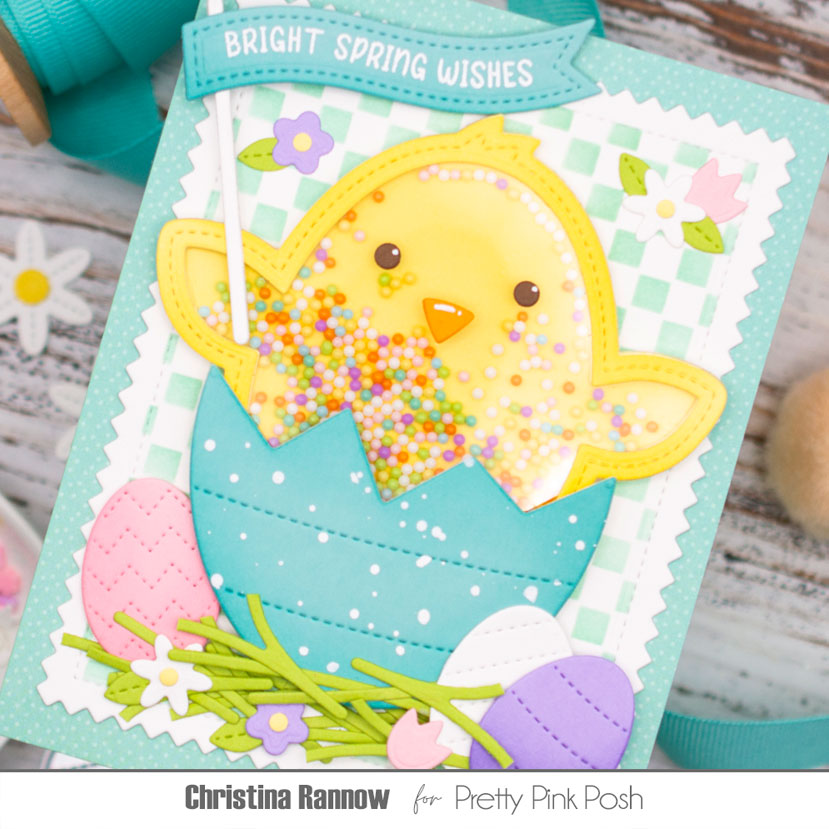
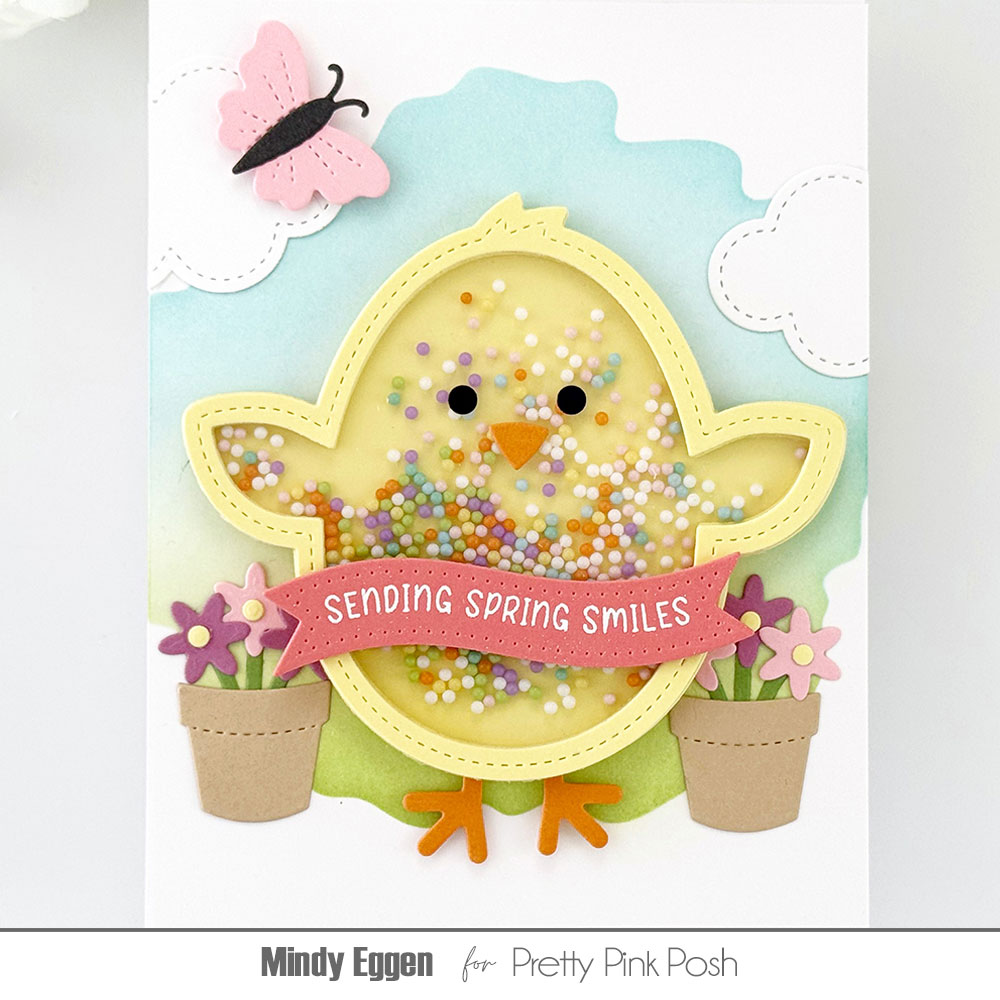
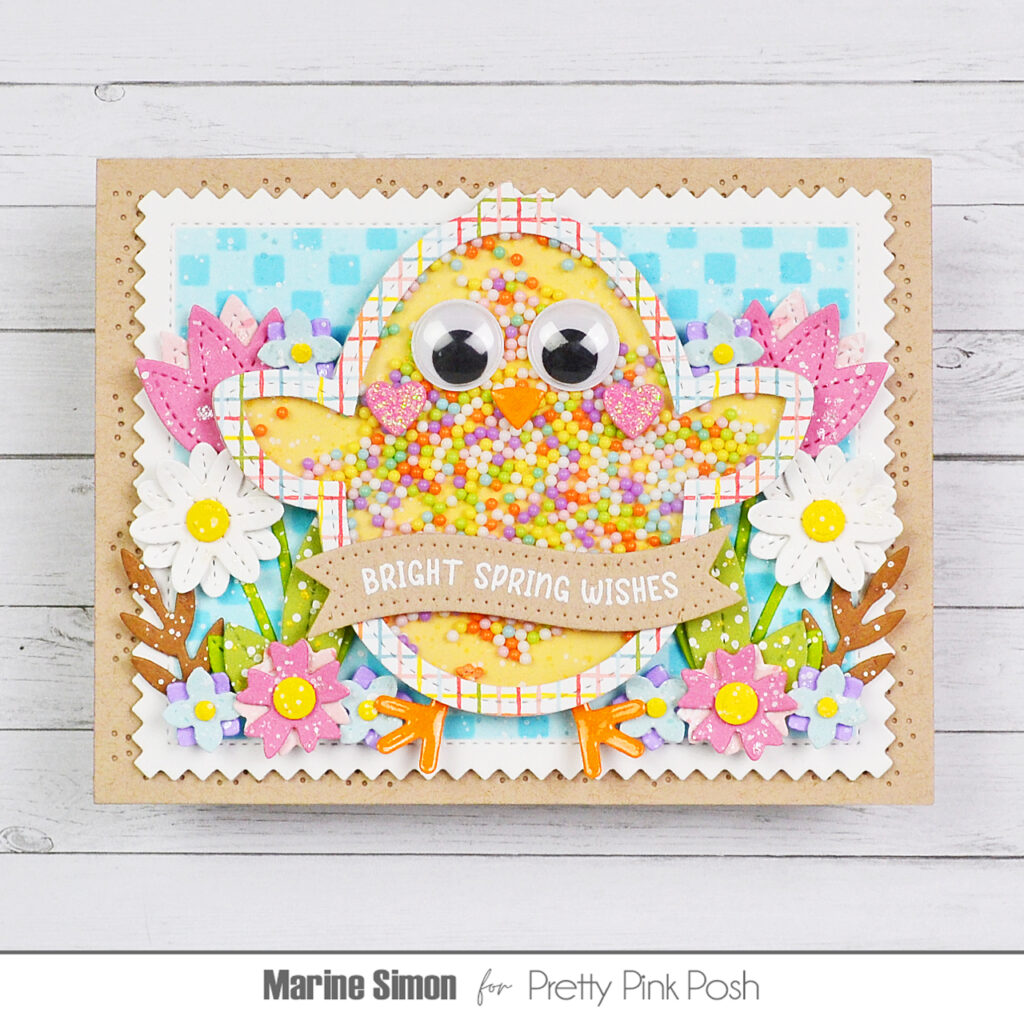
My second card is a playful shaker card featuring the Chick Shaker. This cutie is just as irresistible as the Chick Holder, especially when she’s popping out of an egg! I combined this sweet chick with new Bunny Hop Shaker Beads and the new Mini Checker Stencil that I think is a must-have for your crafty stash.
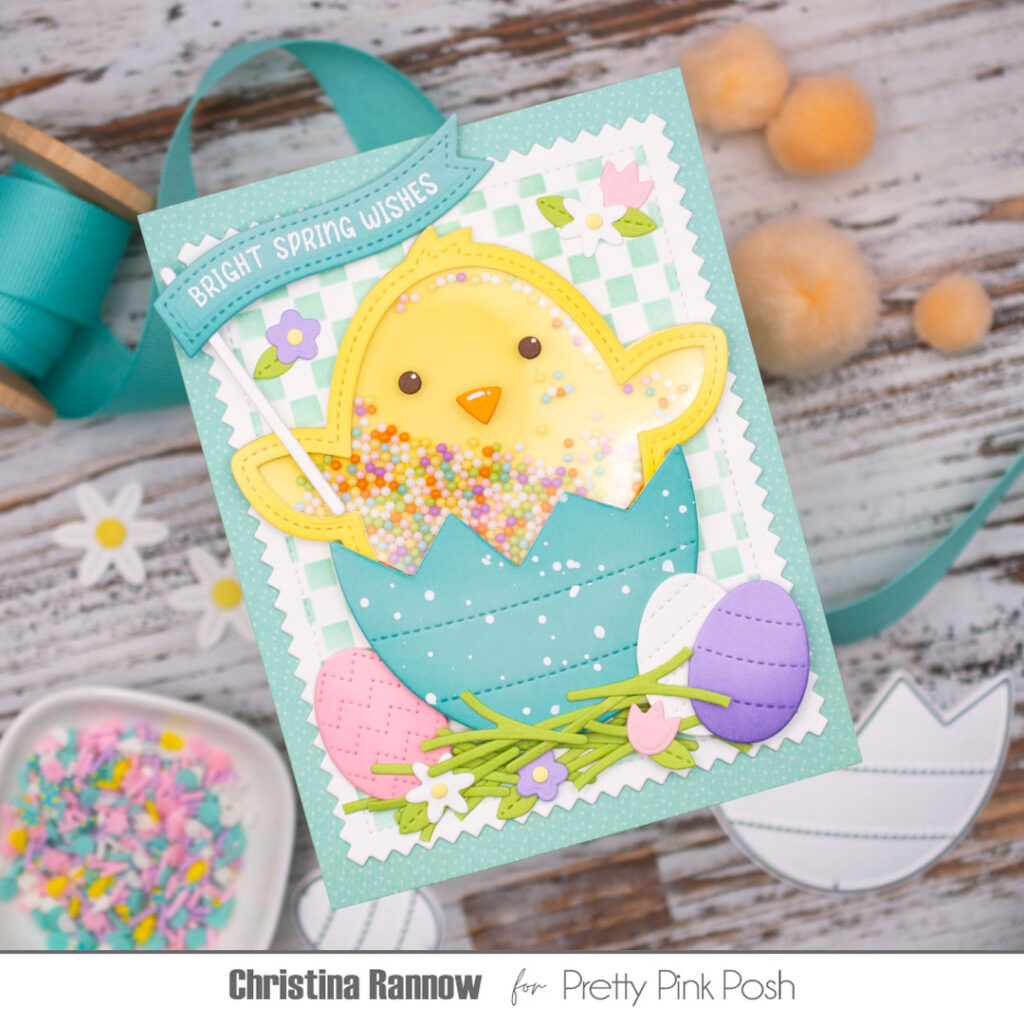
For this card, I started by creating the shaker element first. I used the Chick Shaker dies to die-cut the chick frame six times from yellow cardstock and stacked them together to be the walls of the shaker. Before securing the frames with glue, I sandwiched a piece of acetate between the top two layers to be the window of the shaker. Then I filled the shaker with the beads and finished up by attaching the backer piece to the stacked frames. Easy! The last steps were to add the chick’s face and the cracked eggshell she’s popping out of. I die-cut the eggshell from tidepool cardstock, added white spatter, and then attached it right over the chick shaker.
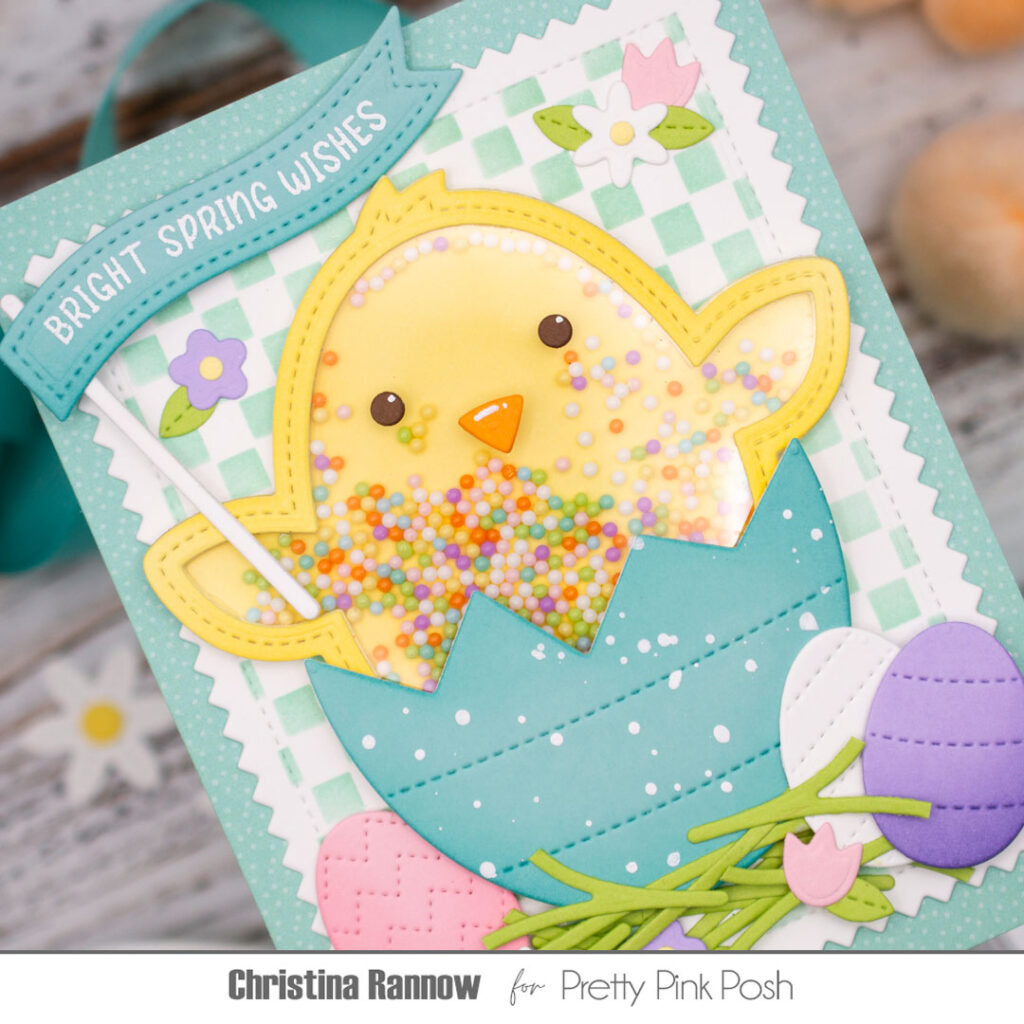
Next I created my background panel by first die-cutting the largest Pinking Rectangles from white cardstock and masking the edges before stenciling on the Mini Checker pattern with teal ink. Then I layered this onto a subtle tone-on-tone teal patterned paper panel. With the background completed, I attached the Chick Shaker to the panel with glue and moved on to the other elements of my card design.
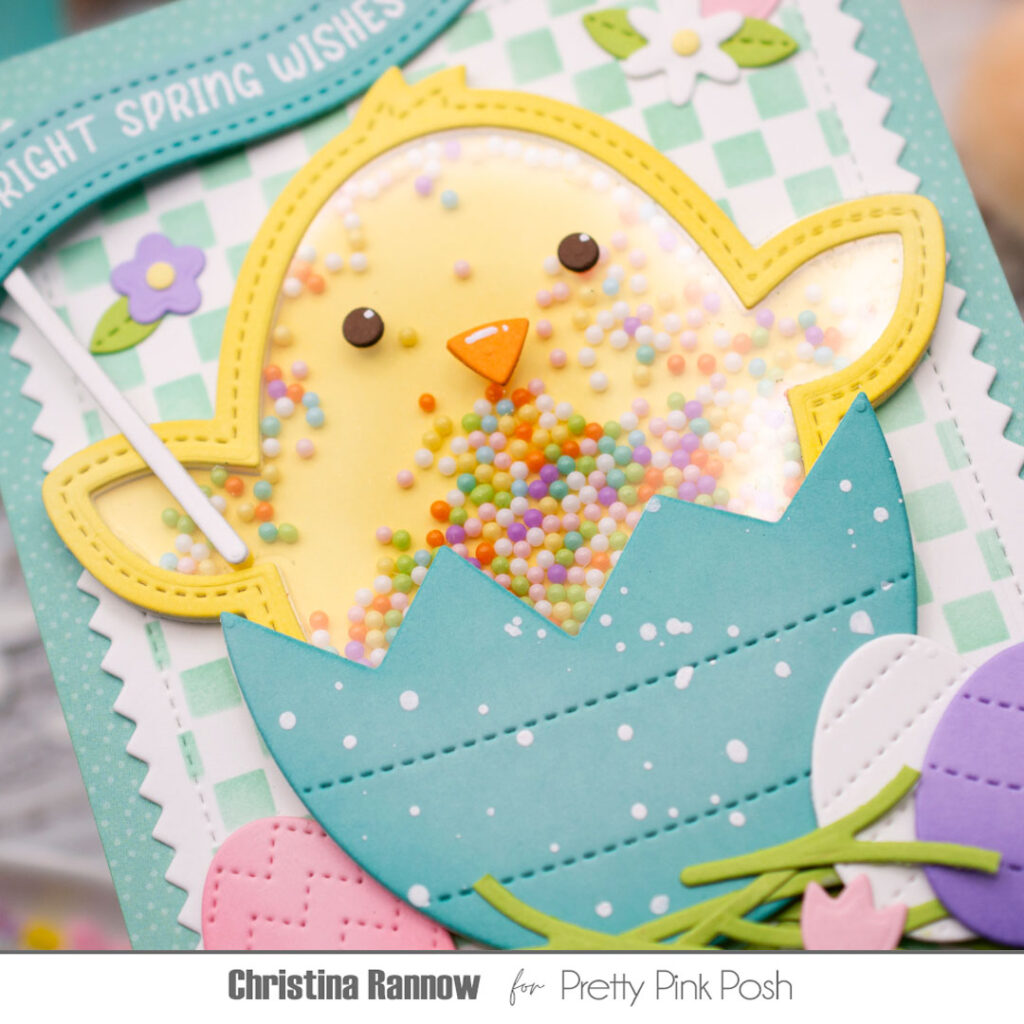
I wanted my chick to be sitting in grass, so I reimagined some flower stems from the new Stitched Spring Flowers and layered them along the bottom. I found smaller egg dies in the Chick Holder set and the Easter Holder Additions set and die-cut them from pretty pastel cardstock. I tucked them around the chick and her egg and added small flowers that are accessories in the Springtime Holder Additions. For the sentiment, I heat embossed an Easter Banner Greeting with white embossing powder on one of the new banners from the Banner Greetings 3 die set. Then I added the banner to a white “stick” and gave it to the chick to hold. So cute! Finally, I popped the card front onto an A2 card base.
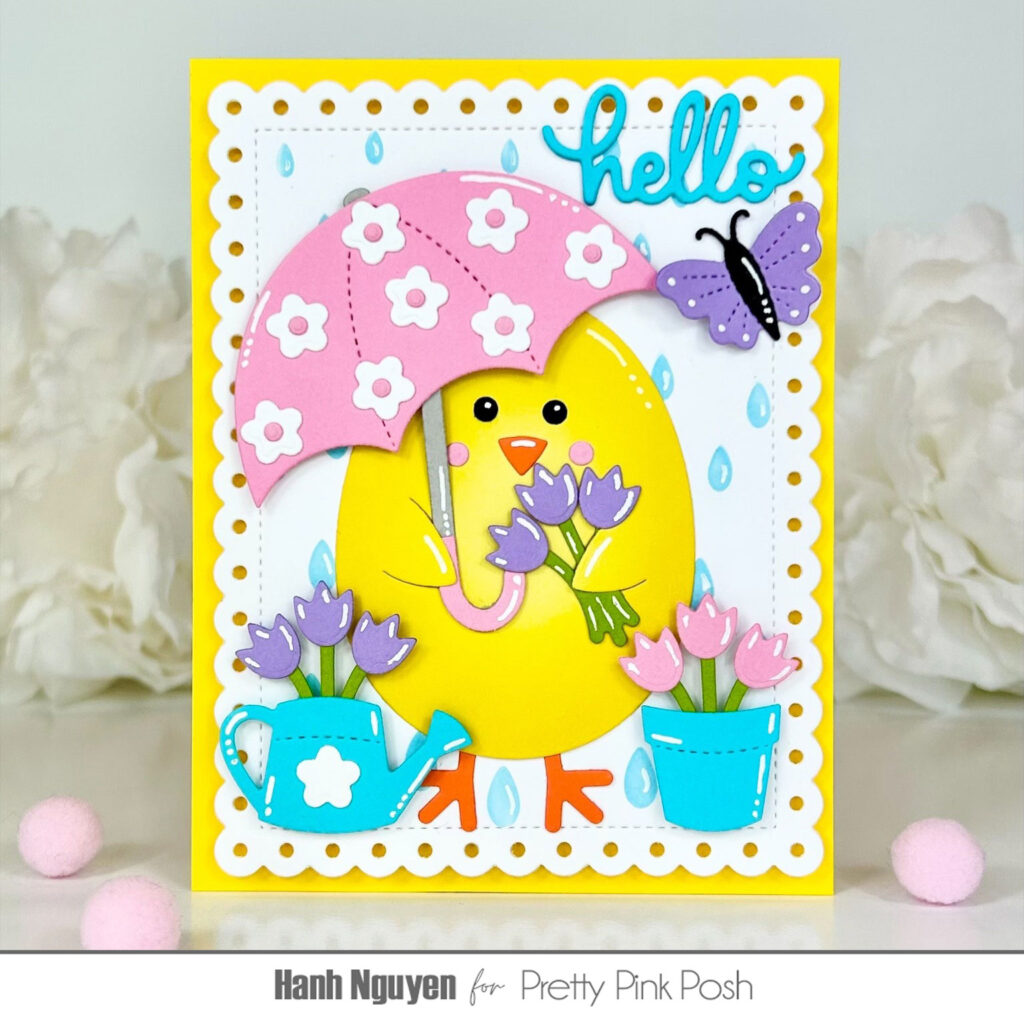
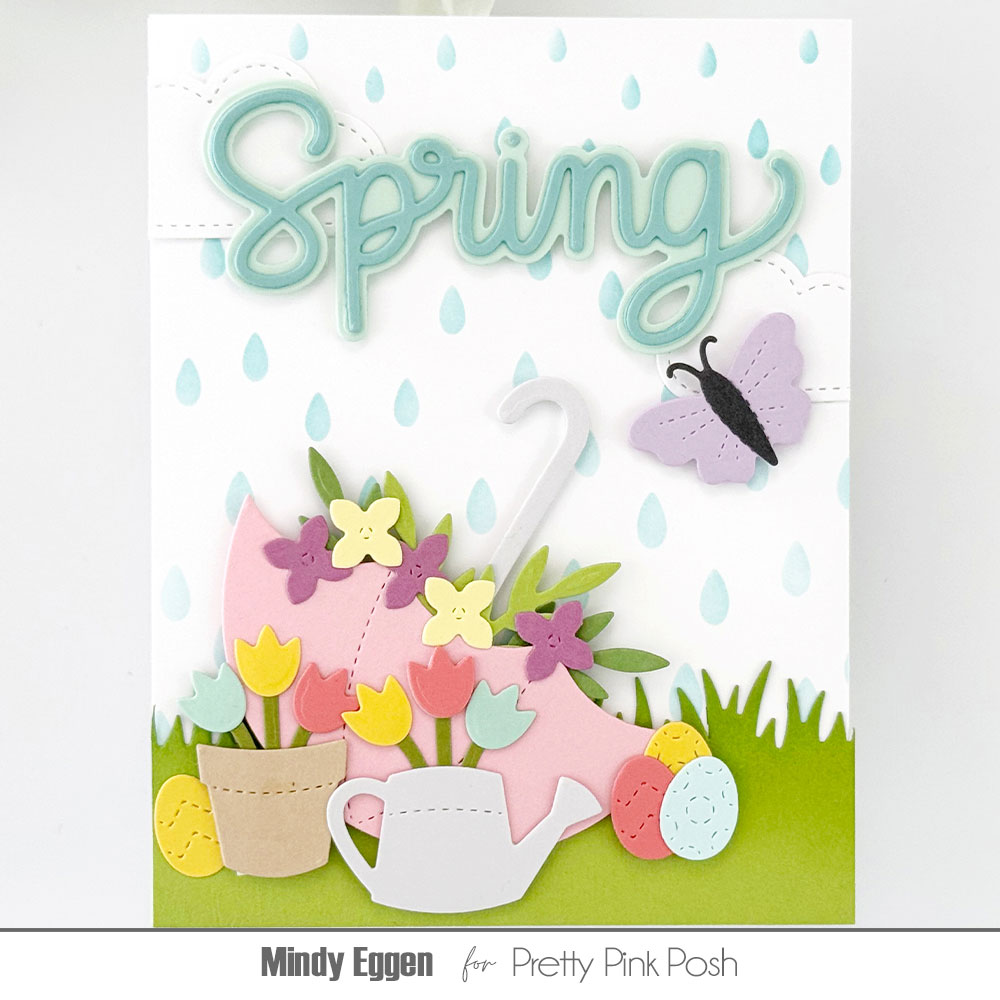
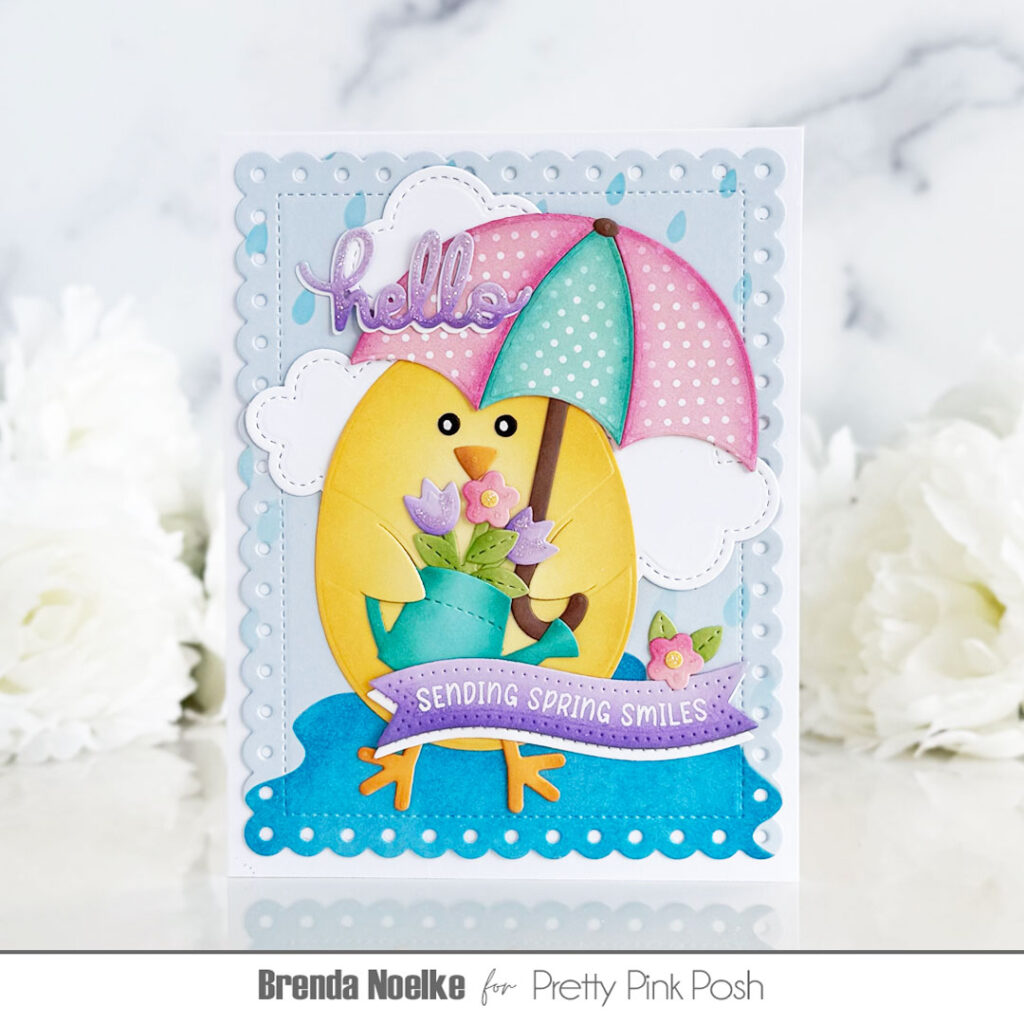
Keep scrolling to find even more springtime inspiration from the design team!
Thanks so much for checking out these sneak peeks featuring new products from the upcoming spring and Easter release on February 5th.
Chickie cuteness OVERLOAD!
i need that adorable little chick with the umbrella! Oh my word what a cutie Brenda!
So many cute cards! I’m ready for spring!
All these chicks have me ready to pop out and grab this release when it’s available! Such fun cute cards!
Love them all! Definitely on my wishlist!
Adorable little chickie cards!! Love the shaker especially!!
So cute! The chicks are adorable!
These chick are so cute. I love the one with the BIG Googley Eyes.
Adorable cards to showcase the new release!
So many cute items!
OMGosh, this Chick Shaker is JUST TOO CUTE!!! Love all these cards.
So cute with the umbrellas!!