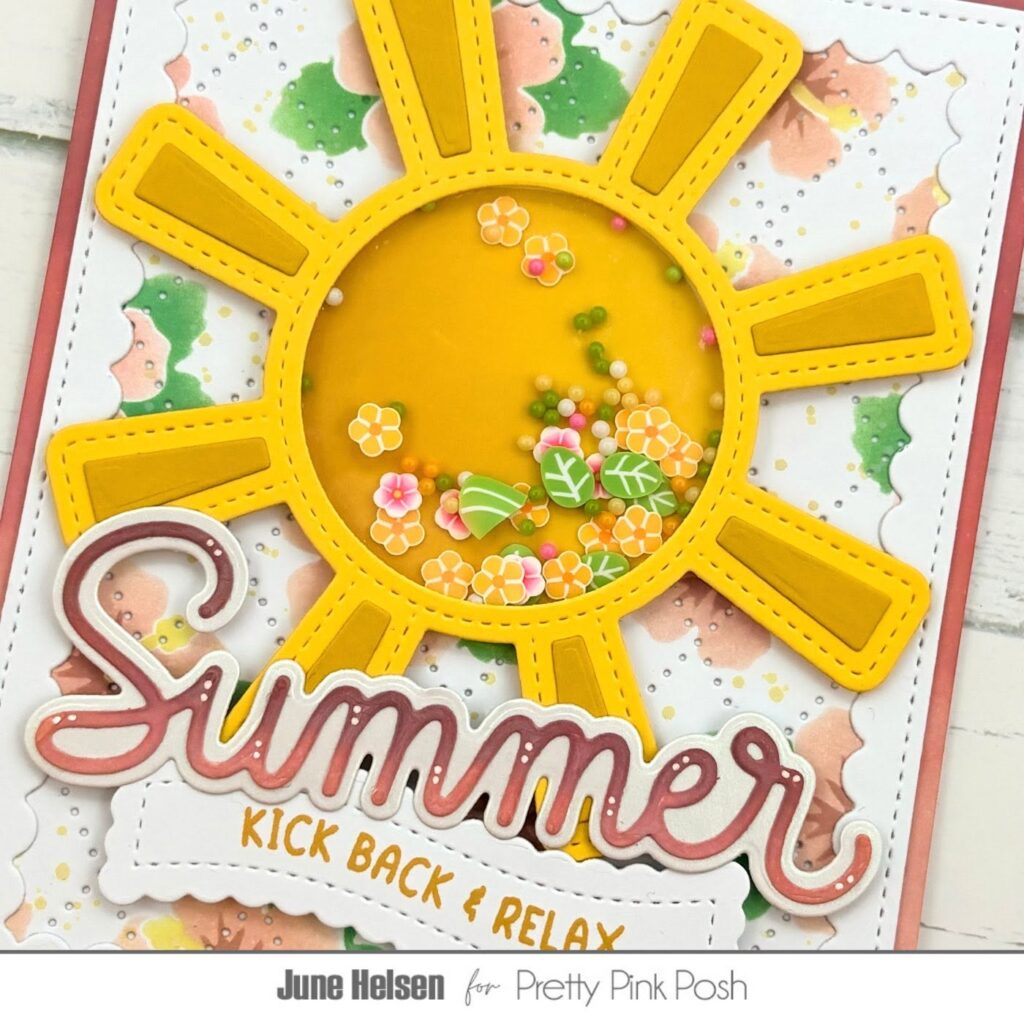
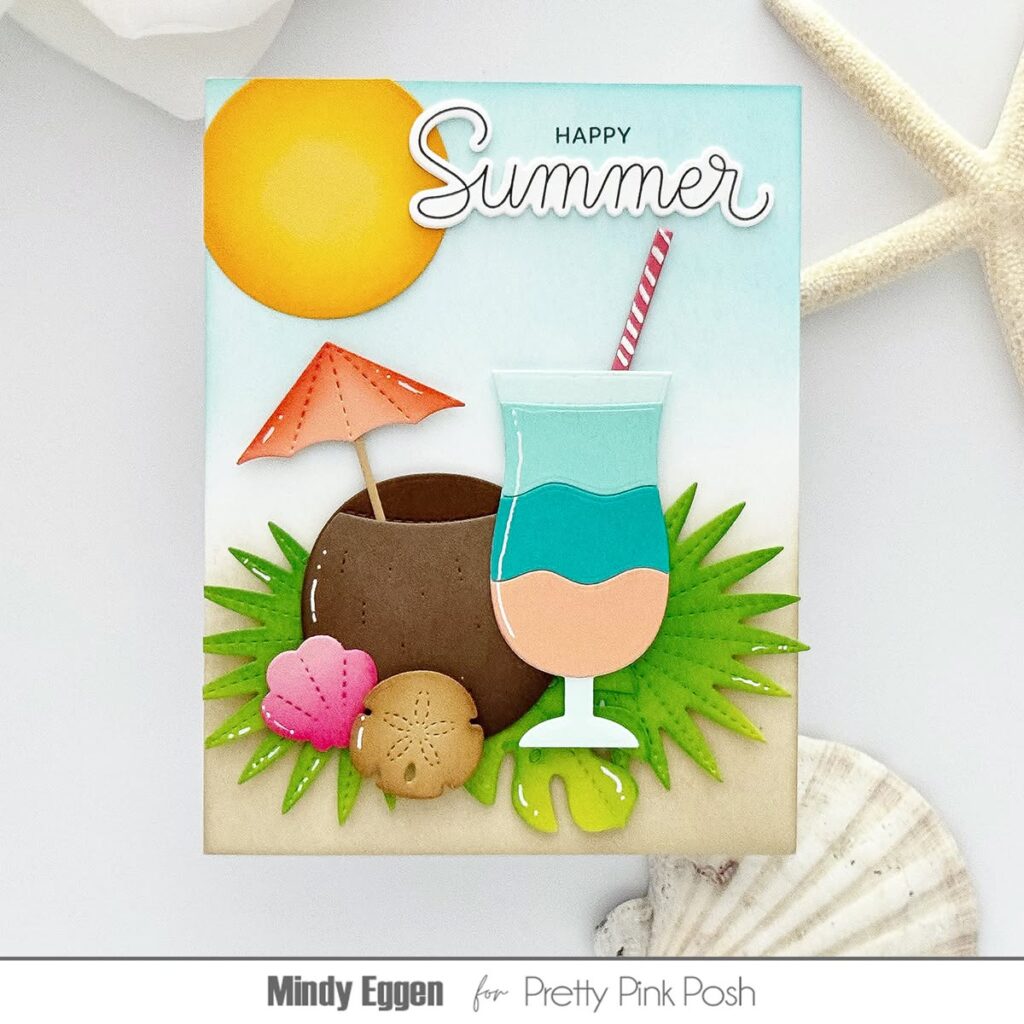
Sunset Summer Cocktails
Hi friends, Debbie here with you today! Things are getting hot over here at Pretty Pink Posh with the new Summer Release! Who’s ready for summer or a Tropical Vacation!? I am sharing the new refresh Summer Cocktail Dies that’s sure to quench your thirst!

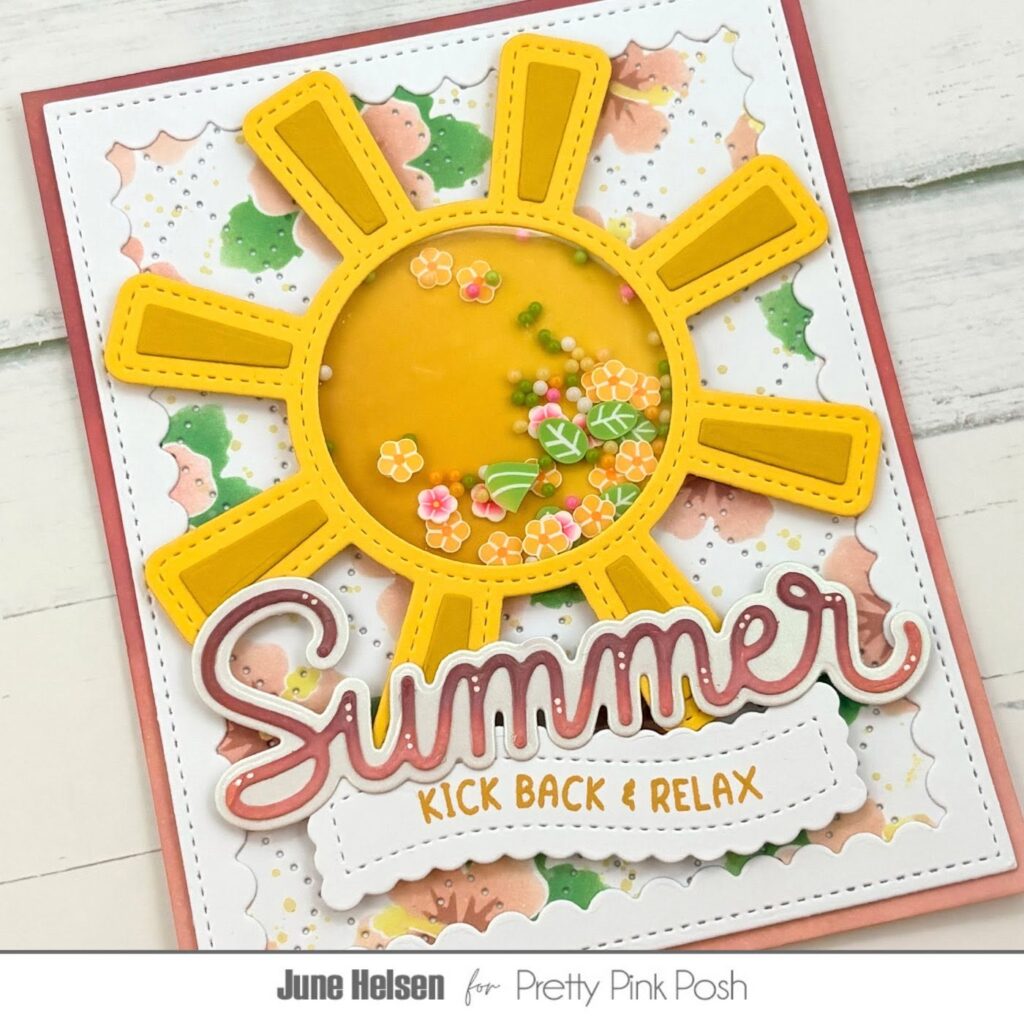
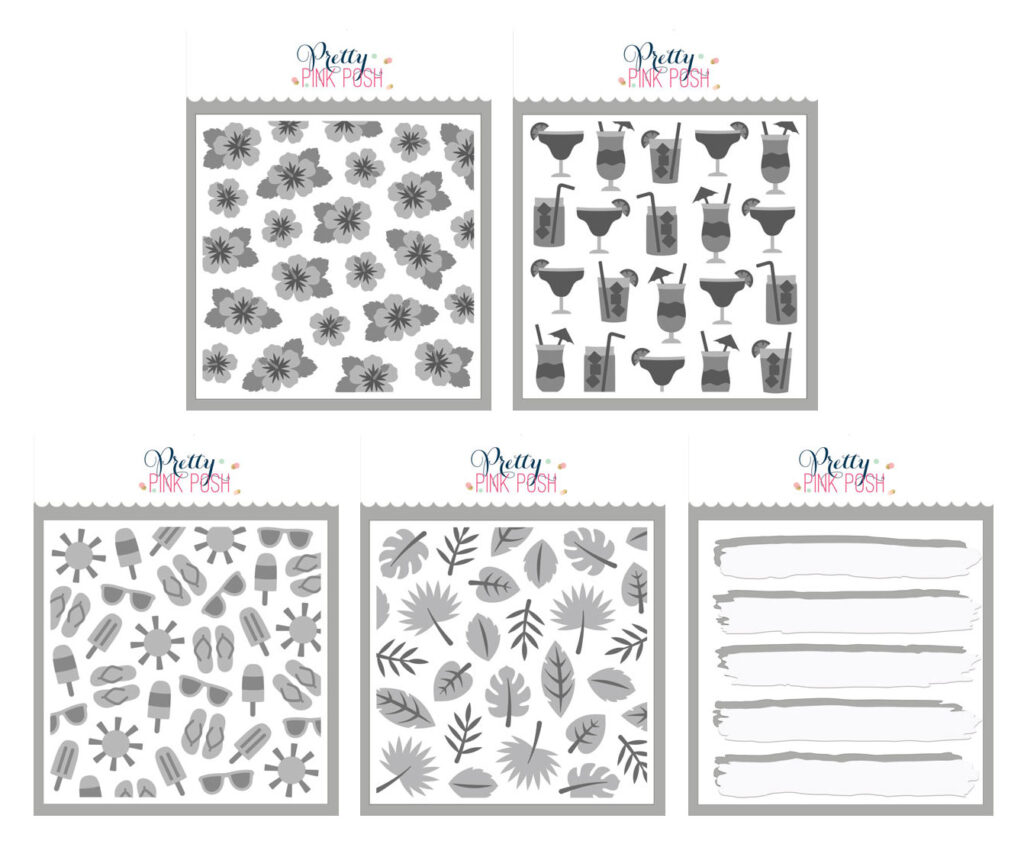
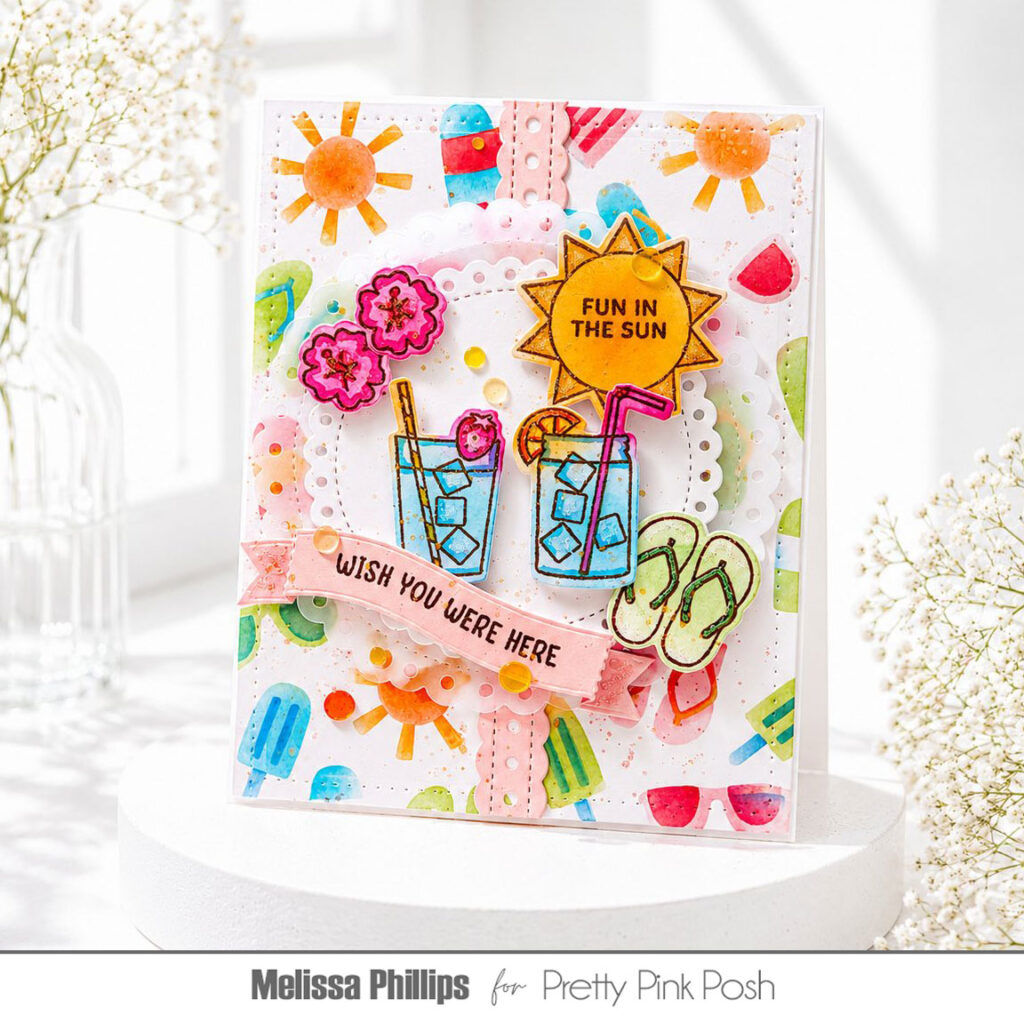
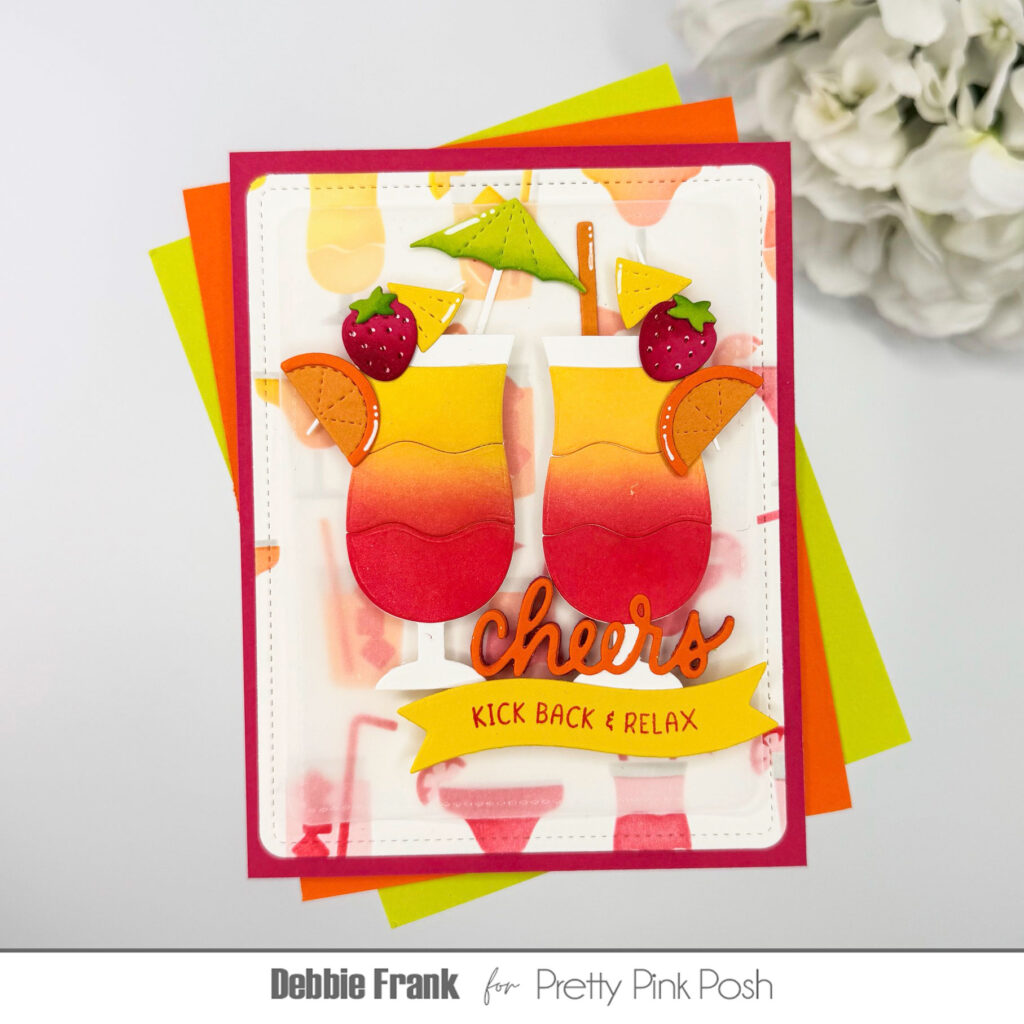
I started off with the new Layered Summer Drinks Stencil and a standard A2 panel of Neenah card stock #80. With the first layer (A)and the panel on a grip mat I ink blended on a gray dye ink. Then with the next layer (B) I used a yellow and reddish pink dye inks to make orange in the middle with a soft blend at an angle. For layer (C) I went with the same colors but one shade darker. If you don’t have a shade darker you can just go in with a heavier hand.
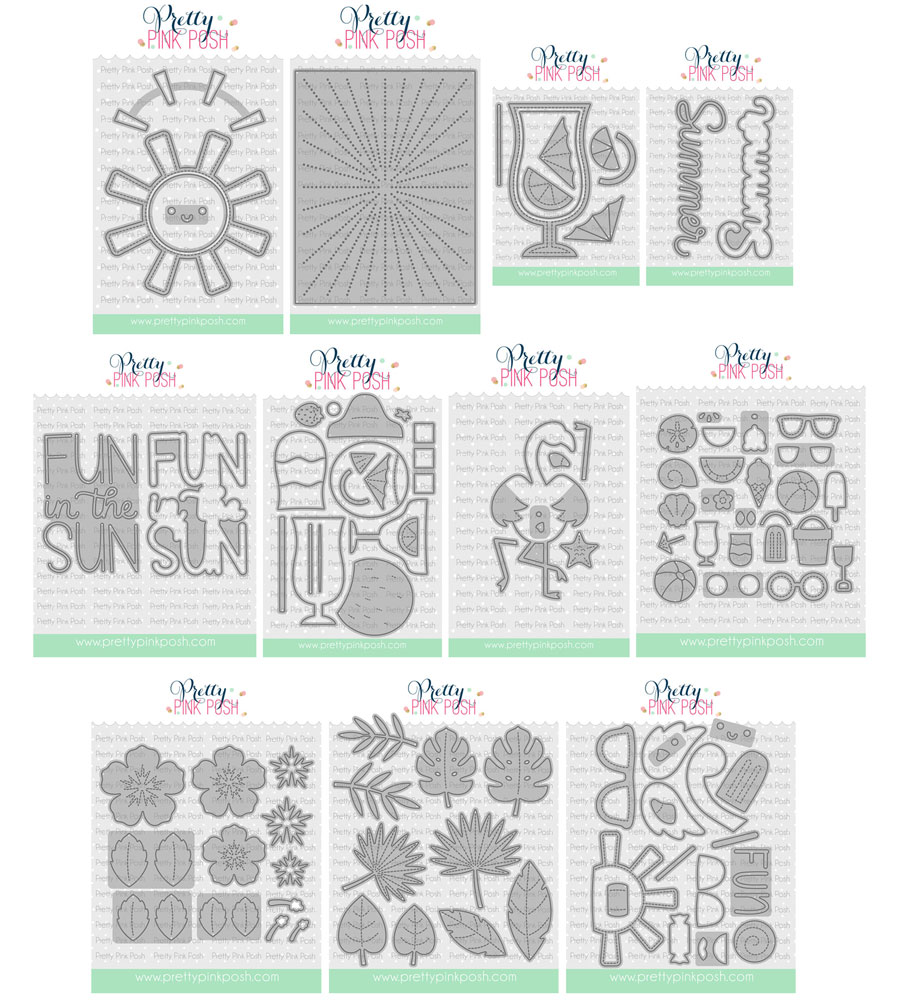
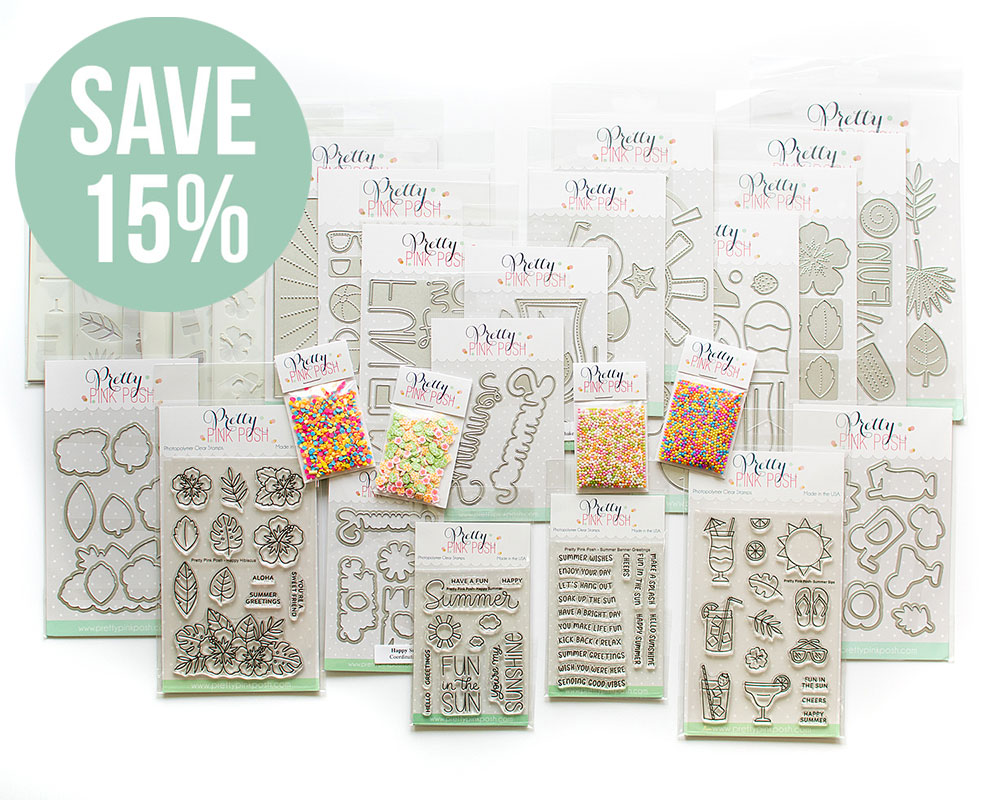
Summer Cocktail Dies
Layered Summer Drinks Stencil
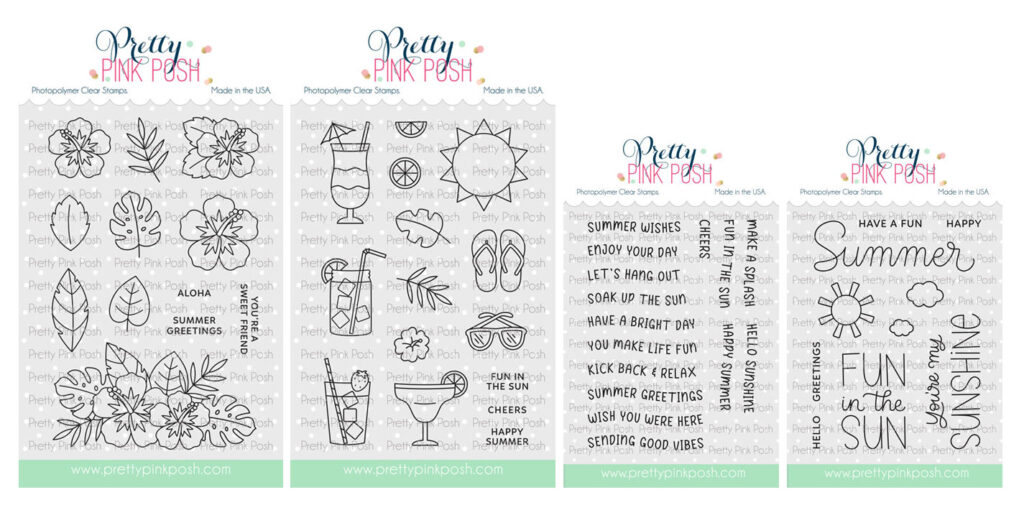
Summer Banner Greetings Stamp Set
Rounded Stitched Rectangle Dies
Banner Greetings 1 Die Set
Fruit Mug Additions
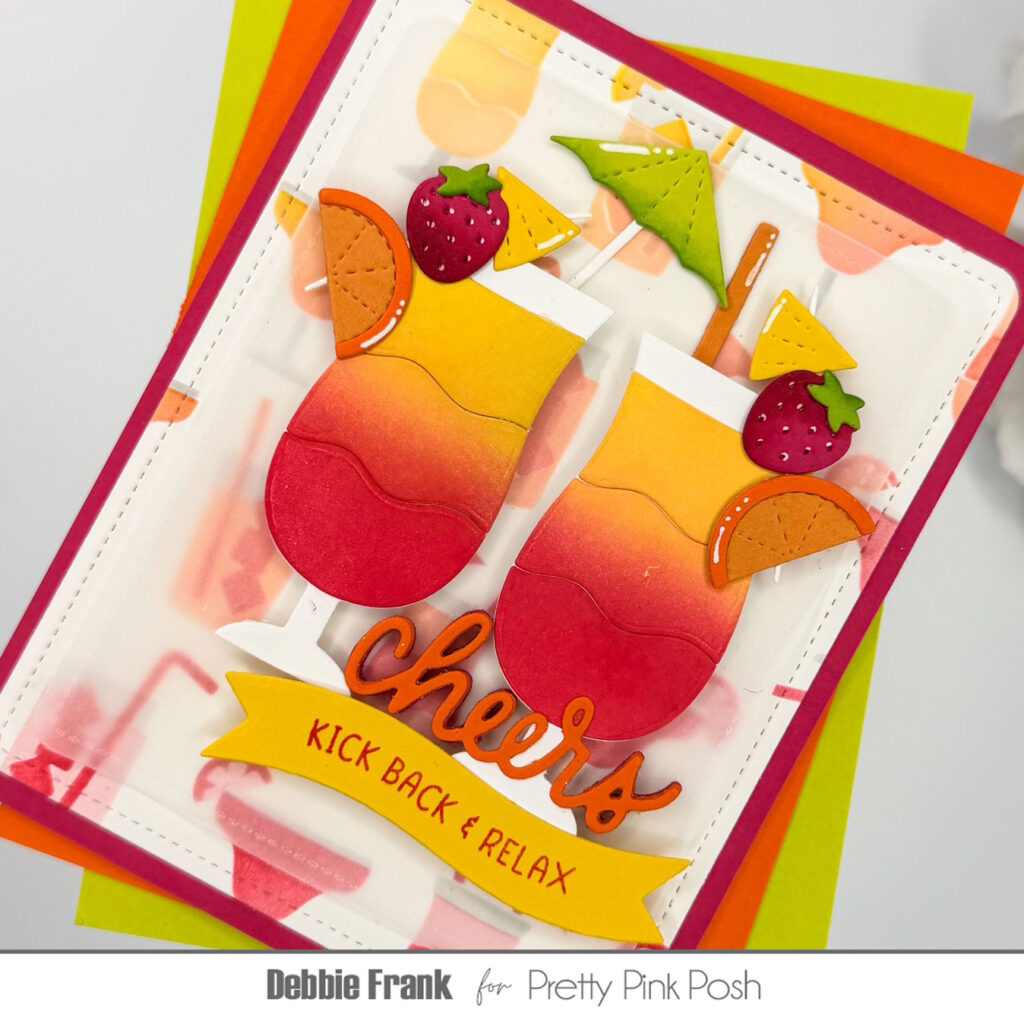
Next, with the largest Rounded Stitched Rectangle Dies I die-cut out the stenciled panel and matted it with a matching card stock. I also die-cut out a piece of vellum with the second largest Rounded Stitched Rectangles die.
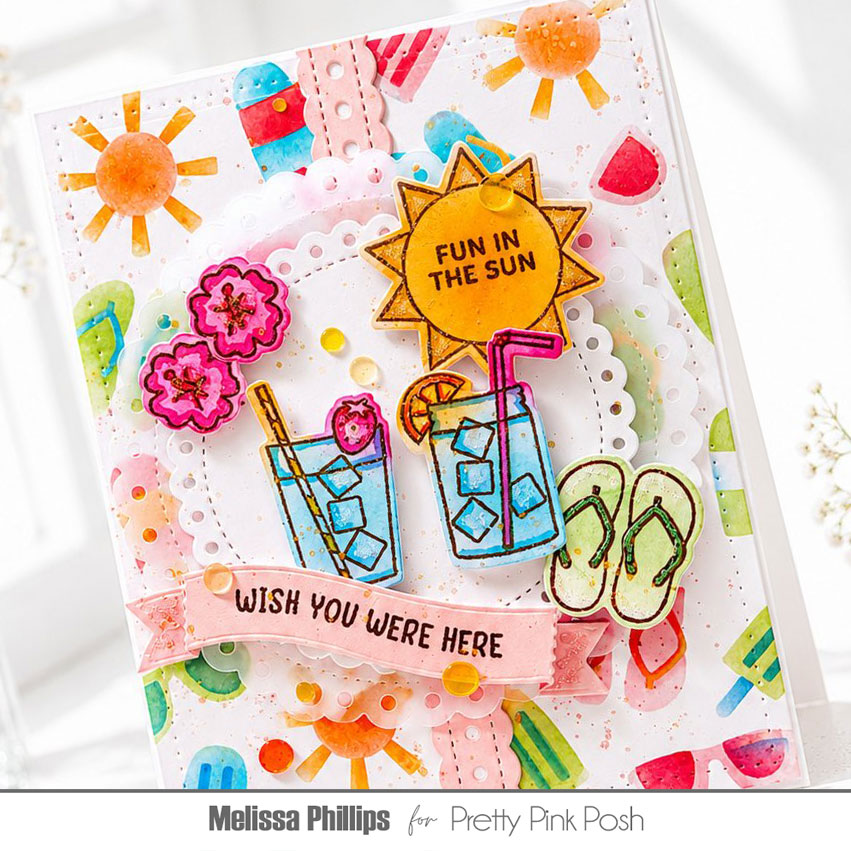
With the Summer Cocktail Dies, I die-cut out the drinks from white card stock and blended on with same dye inks that I used for the stencil panel. It definitely looks delicious or a beautiful sunrise! For the rest of the elements I used colored card stock adding on some dimension and white highlights. Adhering the elements together with liquid glue and adding foam squares to the back of the overlapping fruits.
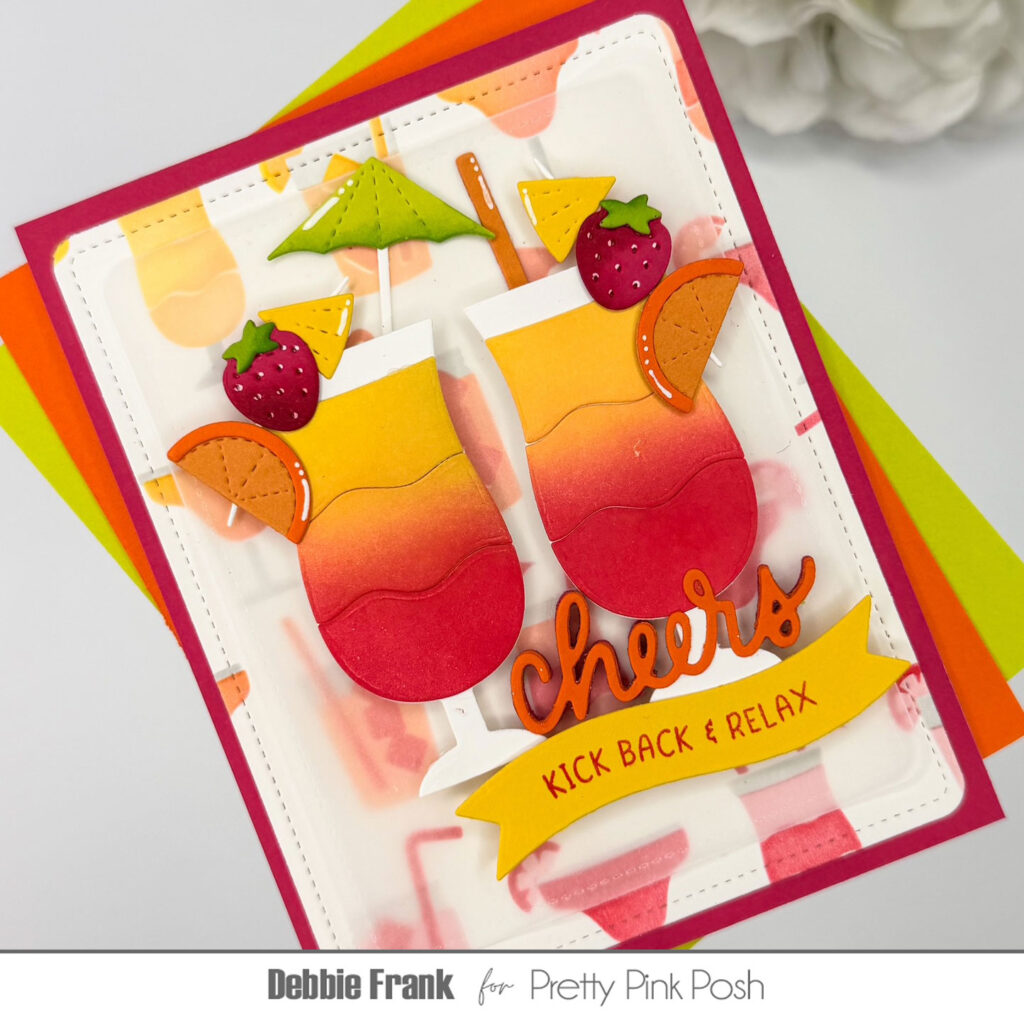
For the sentiment I used the new Summer Banner Greetings stamp set, stamping out the “Kick Back & Relax” with one of the previously dye inks used. Die-cutting the sentiment out using the previously released Banner Greetings 1 Die Set. To finish off my sentiment I went through my stash and found the “Cheers” die from an older set called Fruit Mug Additions die-cutting it out several times to add dimension.
Thanks for stopping by and have a refreshing day!