Day 1: Stencil Theme Week
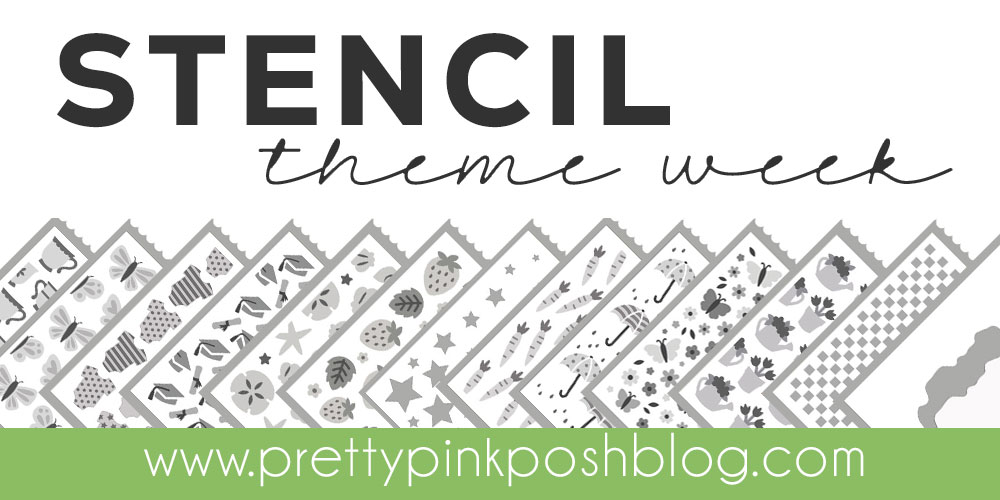
Save 20% on all products in the stencil section
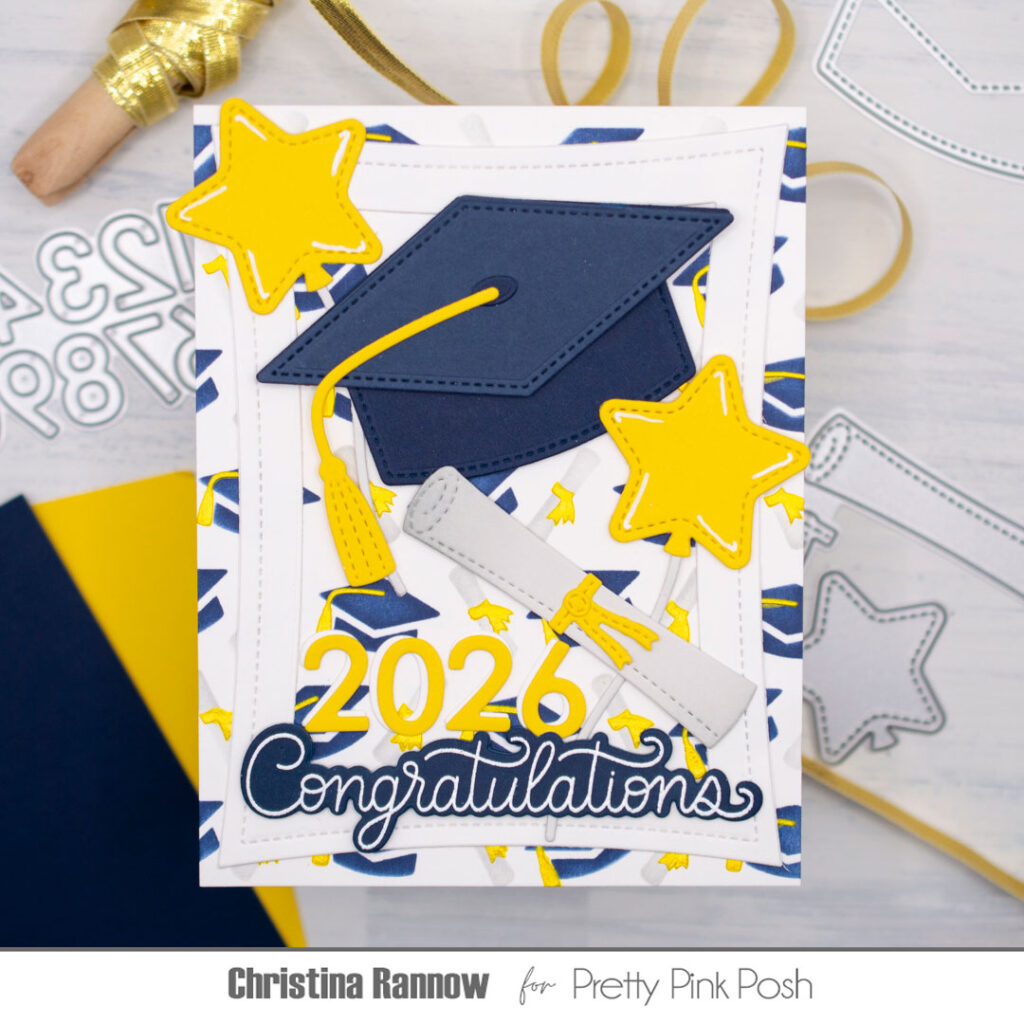
Hello, friends! Christina here to kick off Stencil Theme Week with a fun graduation card featuring the Layered Graduation Stencils. These stencils are perfect for customizing to coordinate with your graduates’ school colors. I chose blue and gold for this card and incorporated gold stencil paste for one of the stencil layers. Then, to complete the graduation theme, I added a graduation cap, elements from the Graduation Mug Addition Dies, and a couple of celebratory balloons.
Graduation Cap Shaker Dies
Graduation Mug Addition Dies
Party Balloons Dies
Wonky Stitched Rectangles
Celebration Scripts Stamp Set
Celebration Scripts Coordinating Dies
Layered Graduation Stencils
For this card I started with the stenciled background panel. On a white cardstock panel, I used blue and gray inks for the caps and diplomas and gold stencil paste for the tassels and ribbons. The gold stencil paste stands up really well against the saturated blue ink. I set the panel aside while I worked on die-cutting the other elements of my card.
First I die-cut the largest and second-largest Wonky Stitched Rectangles together from white cardstock to create a wide frame. Then, using royal blue, bright yellow, and light gray cardstock, I die-cut the cap, the balloons, the numbers, and the diploma.
After attaching the Wonky Stitched Rectangle frame to the stenciled background panel, I arranged the die-cut elements on the panel and secured them with either glue or thin foam squares. I layered and overlapped the die-cuts for interest and dimension. Before adding the numbers, I layered them with white cardstock, slightly offset, for a highlight. This ensured that the numbers stood out against the stenciled background.
Finally, I added the sentiment that I white heat-embossed on royal blue cardstock and die-cut with the coordinating die. A few white gel pen highlights were the finishing touch before attaching the card front to a top-fold card base.
I hope you’re inspired to get your favorite stencils out and create something beautiful. Be sure to check back all week for even more stencil inspiration!