
Love You Ladybugs
Hey everyone, it’s Sophie. Today I’m sharing one of my favourite cards that I made with some of the goodies in the January release.
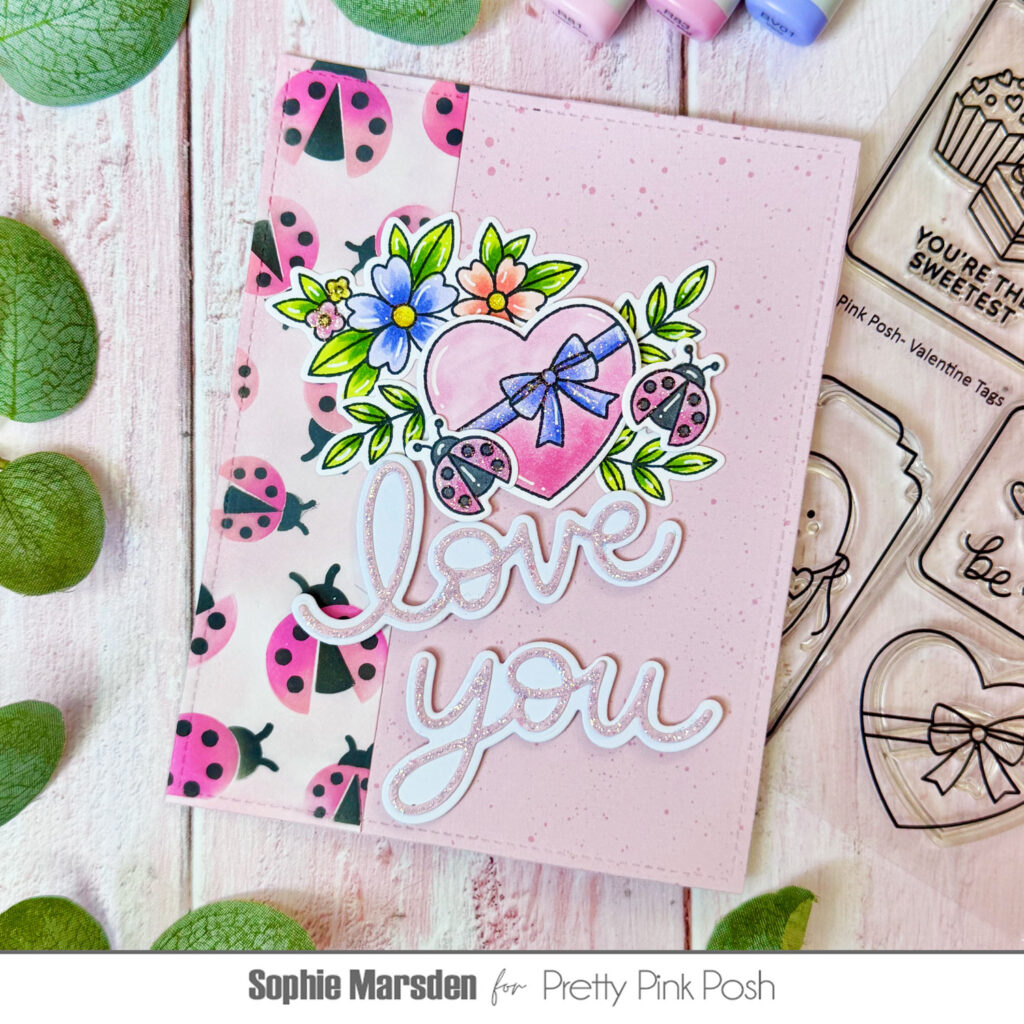
To start with I cut a panel of white cardstock and stencilled the background using the Layered Ladybugs Stencil in a variety of shades of pink. I wanted to add some subtle colour differences to the ladybugs so I used two different inks for their wings and then a very pale pink surrounding them. Ink blending the pale pink ink created a softer contrast than leaving the background white. You could also stencil directly onto coloured paper for a fun effect. I then cut a strip from the panel which was about ⅓ the width of the card base I would use. I used the leftover panel for a separate card – 2 cards made from 1 stencilled background!
For my stencilled panel to sit on, I cut out a rectangle of pink paper that was a similar shade and adhered the ladybug panel to the left. This created a decorative border effect.
Next, I cut out the Love You Shadow Dies from white and pink cardstock. Once I had adhered the sentiment to its shadow I traced over the words with glitter glue for a beautiful sparkling effect.
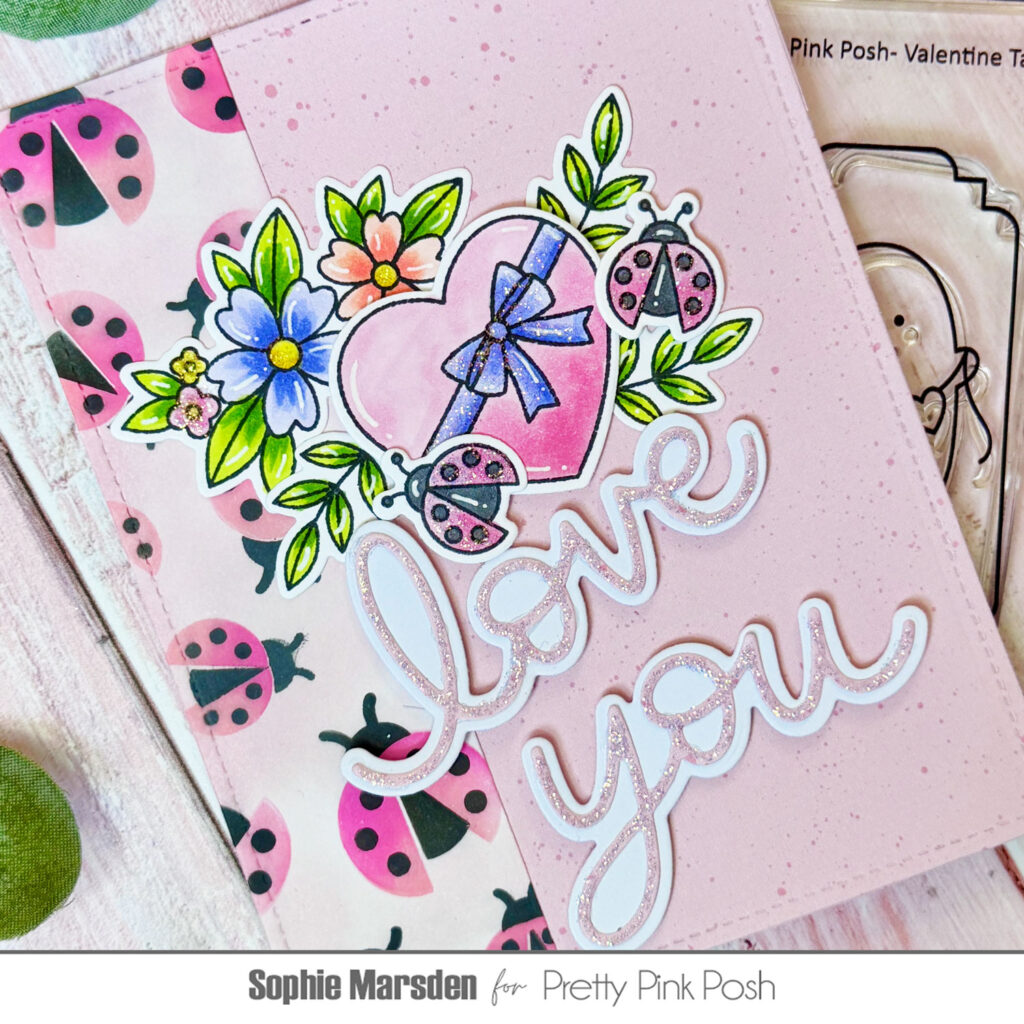
For the centrepiece of the card I stamped images from the Lovely Ladybugs stamp set, Hummingbird Floral stamp set and the Valentines Tags stamp set. In keeping with the theme of the card I used shades of pink and coordinating lilacs for the ladybugs and flowers, while the green foliage really gives a pop of contrasting colour.
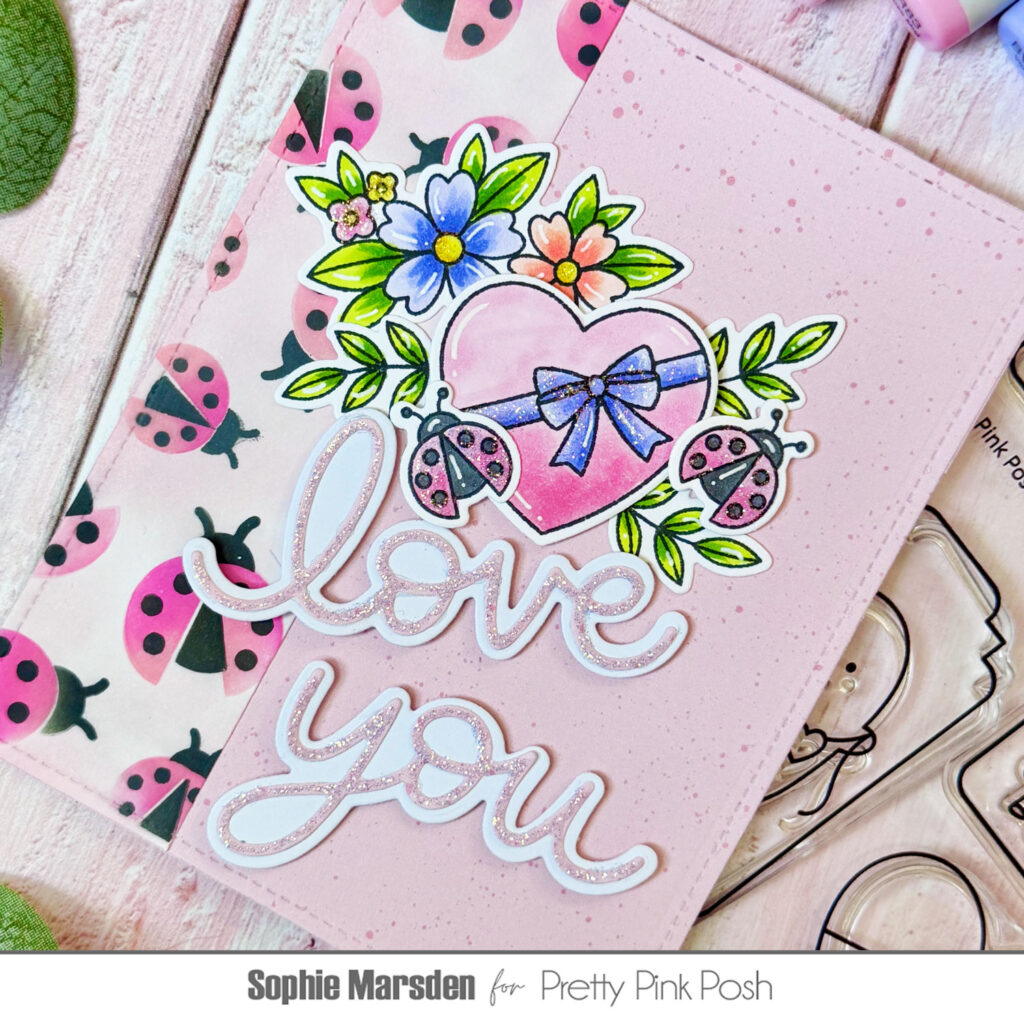
For a final touch of sparkle I added more glitter glue to the flowers, ladybugs and the heart shaped box.
I hope my card has inspired you and I can’t wait to see what everyone else makes with these stamps!
Happy crafting everyone!
I like the layout with ladybugs on left and pink paper on right. The ladybugs colored in various pinks look nice too. Pretty card!
I like this a great deal – I even love just the right half of the card.
This is so sweet Sophie!! Love the pops of blue-ish purple you added.
Absolutely darling!
The ladybugs combined with the heart and love theme are unique and so cute.