The January 2021 Release is now available in the Pretty Pink Posh Shop and select retailers that carry our products. If you missed our post yesterday, we revealed all of the products in picture form, but if you would like to see them in a video, Heather has that for you today!
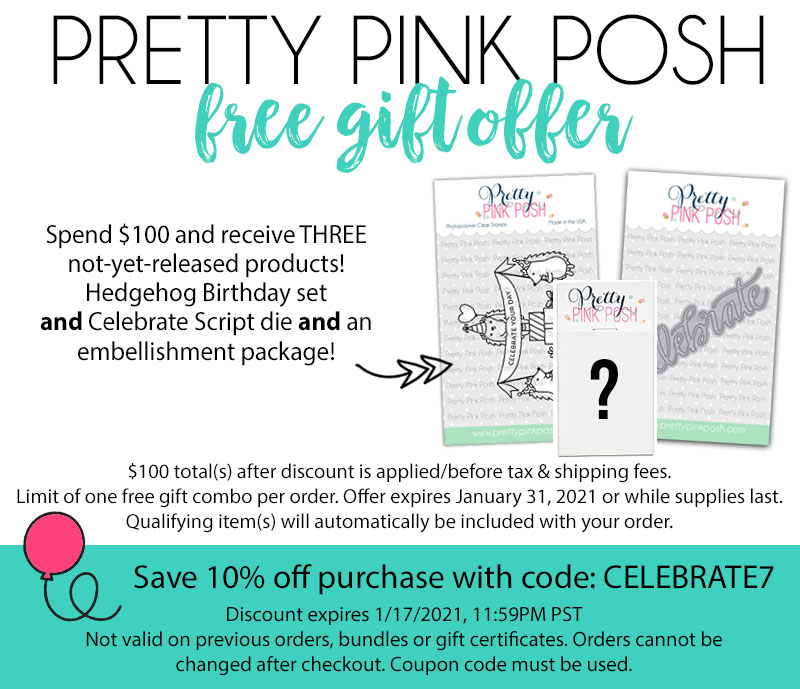
This month, as part of our birthday celebration, orders over $100 (after any discounts/ coupon, before tax and shipping) will receive this gift bundle including three not-yet-released products!
Stay tuned… we’ll have day 1 of our blog hop up soon! Thank you to everyone who continues to support my dream. I’m so grateful for each of you!
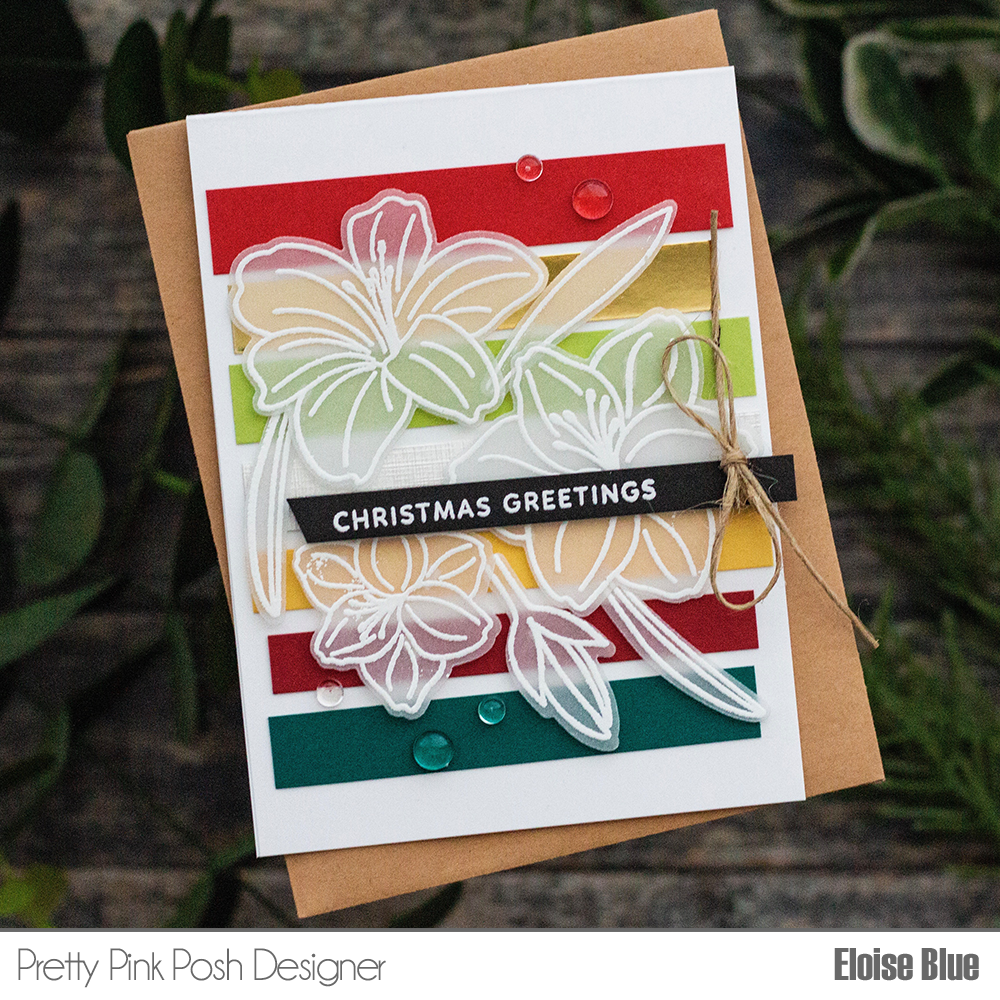
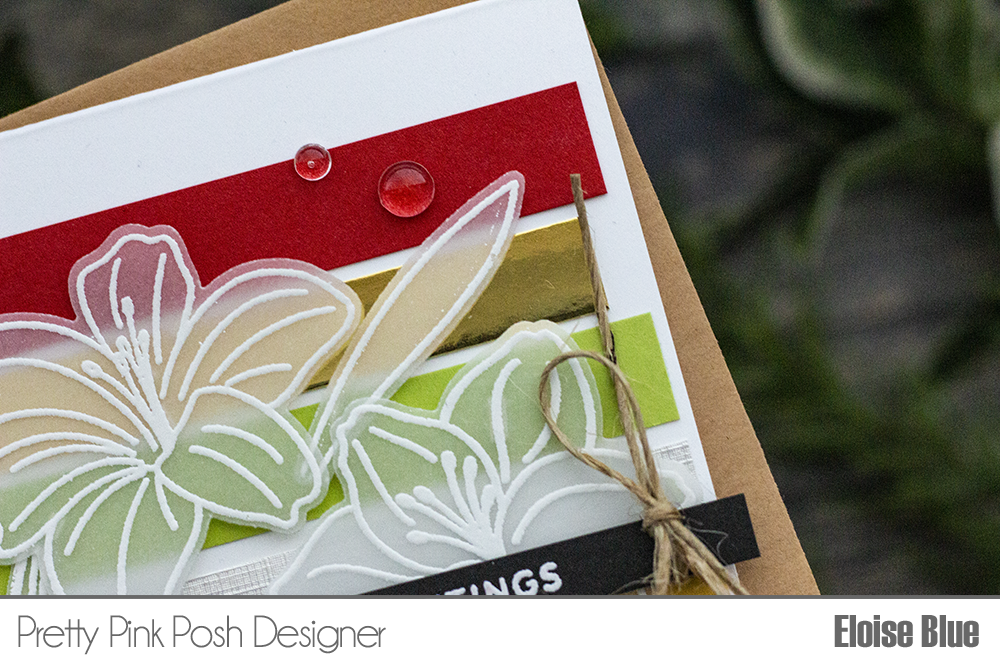
I started off with stamping out the images from Amaryllis Stamp Set onto some vellum and I white heat embossed them. I then cut them out. Next I took some coloured cardstock and cut down strips at different widths and lengths. I adhered them directly onto a white card base and then adhered the vellum pieces over the top with foam tape.
2. Can do stripes instead using different mediums.
3. Use a stamping tool to easily stamp multiples of the images.
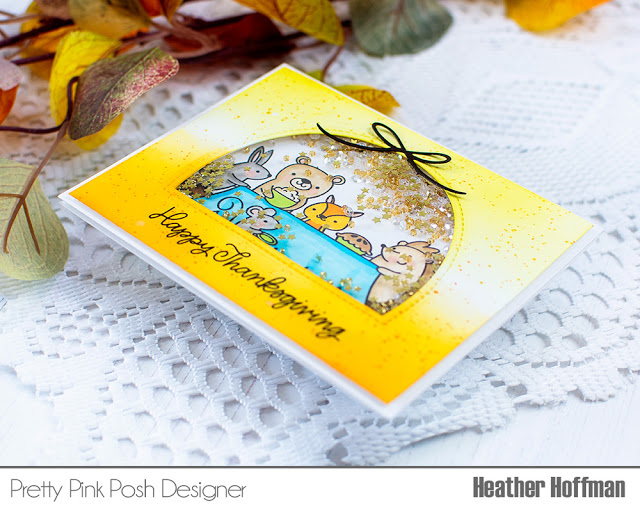
Next I white heat embossed the sentiment from Winter Wreath onto a thin strip of black cardstock, cut one side at an angle and adhered it into place. I finish off the card with a hemp cord bow and some clear droplets scattered around.
Thanks so much for stopping by today! I hope you were inspired to use some of your scraps to create fun backgrounds!
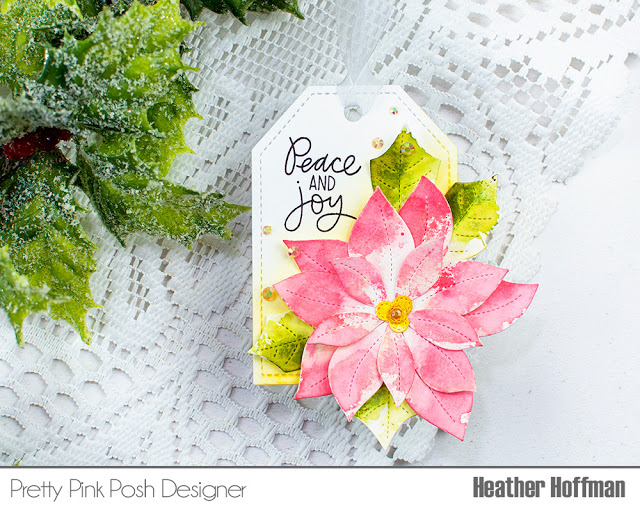
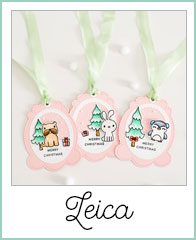
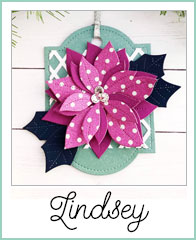
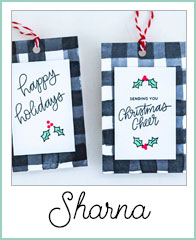
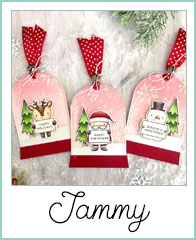
Good morning Pretty Pink Posh friends! Heather Hoffman here today with a fun and festive Christmas tag to share with you as part of the 25 Days of Christmas Tags! I absolutely love the gorgeous Stitched Poinsettia Dies – and for this project I’m sharing a fun inky technique to color them!
Here is a video for this tag, so you can see how it all came together.
I die cut all the layers of the Stitched Poinsettia dies from watercolor paper, then used an assortment of distress inks for a smooshing technique. I smooshed some ink on a non-stick mat, misted with a bit of water, then dipped each of the pieces into the colors, layer by layer to add fun variation in colors. For the petals I used Spun Sugar, Tattered Rose, and Worn Lipstick. The leaves use Shabby Shutters and Peeled Paint, and the center of the poinsettia are colored with Fossilized Amber.
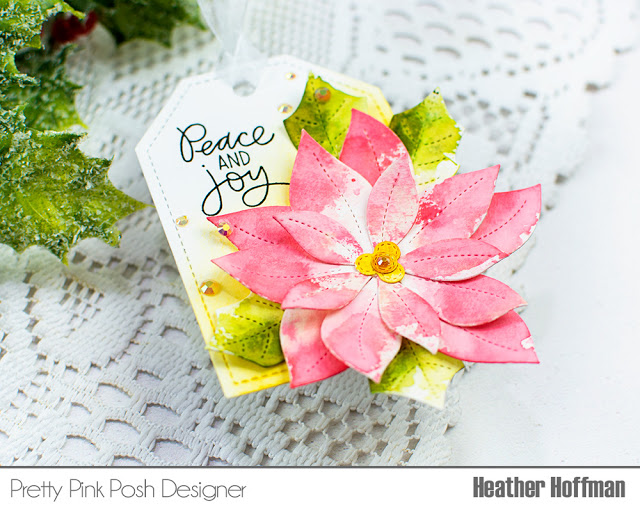
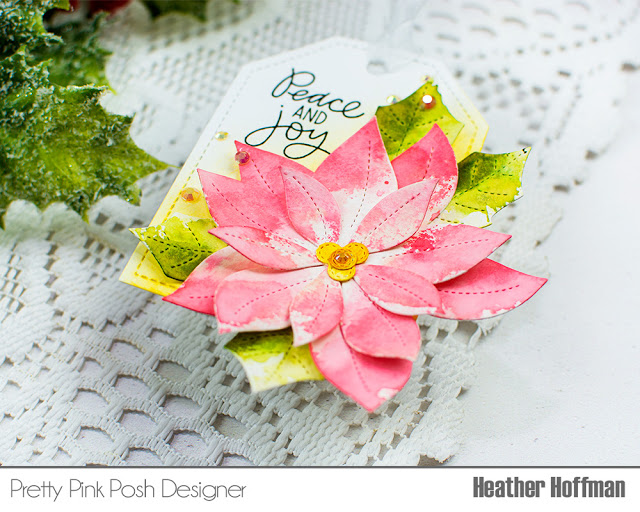
While those layers dried, I did some ink blending with the Fossilized Amber ink on the tag which was die cut from Stitched Duo 1 dies. This helps tie all the colors together from front to back, and adds a bit of interest behind the poinsettia. I also stamped my sentiment from Holiday Greetings on there before adhering the poinsettia in place.
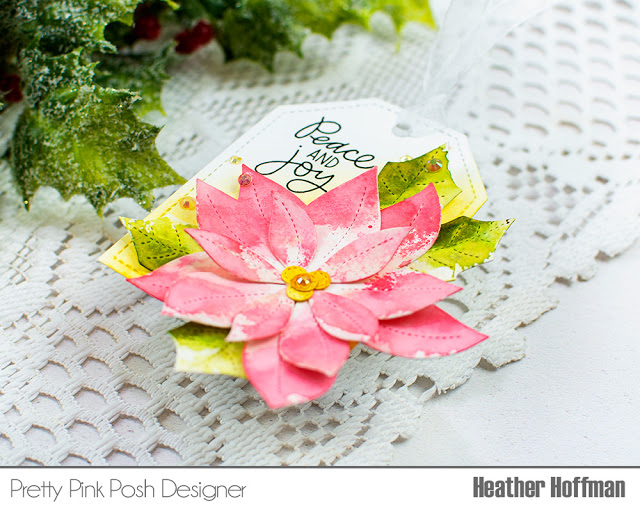
A touch of sheer ribbon on the top after punching a hole with a hole punch, and some sparkly Buttercream jewels finish this tag off. Once all the layers dried thoroughly, I also curled up the edges of the poinsettia and it’s leaves to add even more dimension to the finished tag!
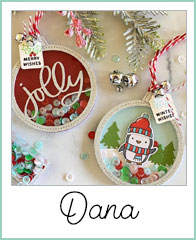
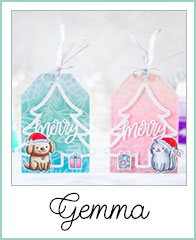
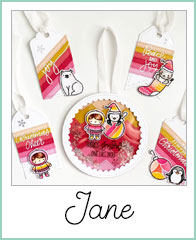
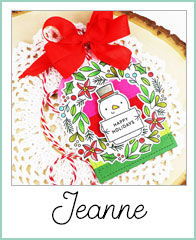
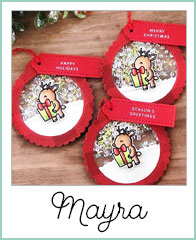
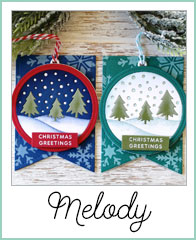
In addition to my post, the design team has been working on some tags as well. Click on the photos to see more details.
Thanks so much for stopping by today. We hope you were inspired by these tags!
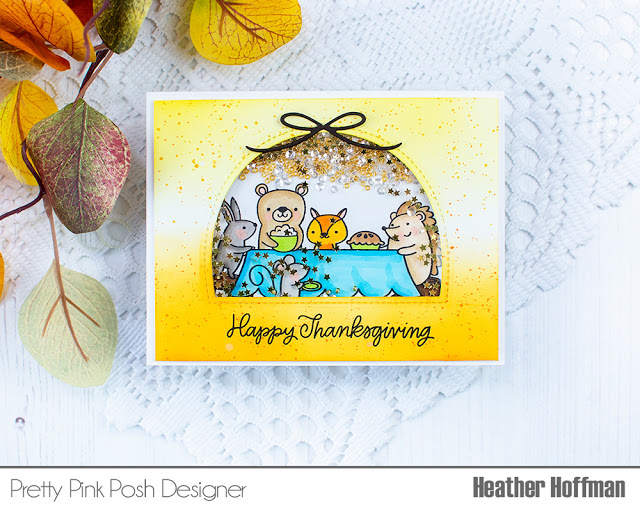
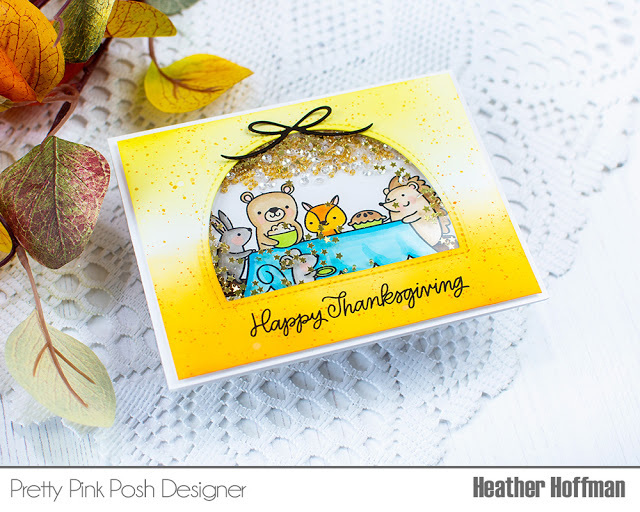
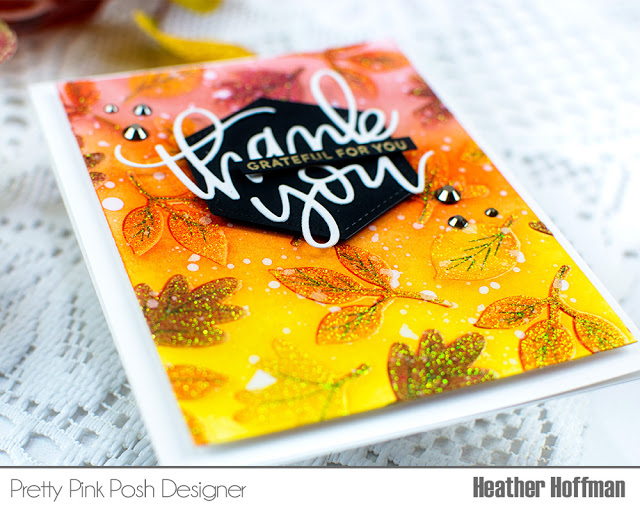
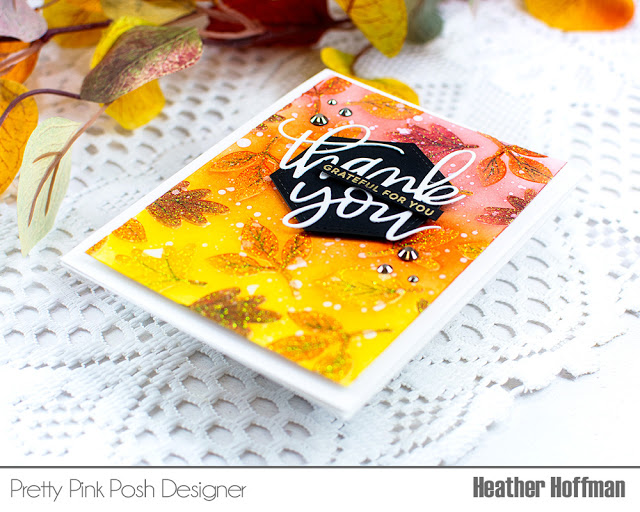
Good morning Pretty Pink Posh friends! Heather Hoffman here today to share a fun sparkly Thanksgiving Shaker card with you using a mix of fun sparkly Pretty Pink Posh embellishments for shaker fillings!
I have a video for this card as well, so you can see how it all came together.
I love how this kind of feels like a snowglobe – but a fall theme one! The adorable Thanksgiving Scene stamp set is such a fun mini stamp set – I love that the scene building is already done for you! And the largest Window Frame die set is perfect to create a look in the window.
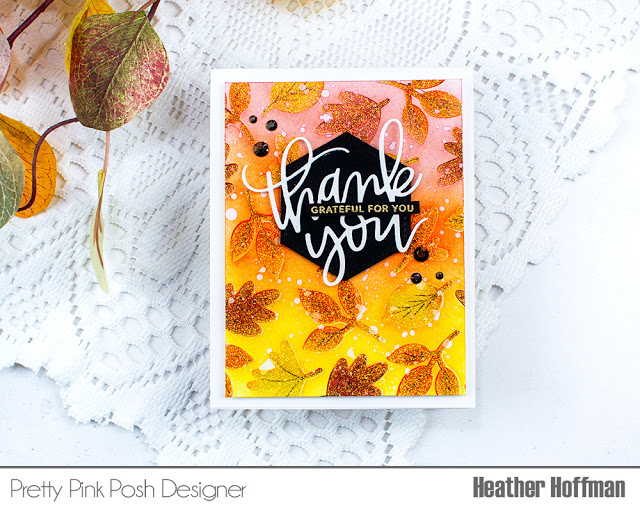
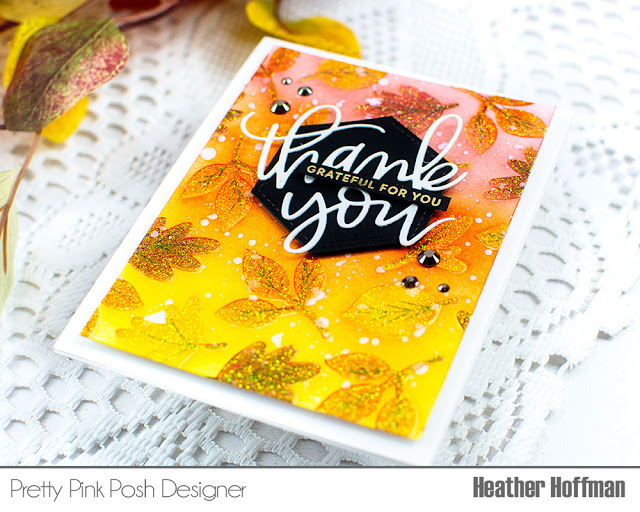
I set that aside to dry, and once it was dry to the touch, I blended some of those same 3 colors of distress ink over the top – keeping the colors softer and lighter so as not to drown out the leaves underneath. I also added some splatters with white acrylic paint thinned down with a bit of water.
Next up, it was time to add the sentiment! I used the Stitched Hexagons die cut from black cardstock, then layered Thank You Script in white over the top, and popped that up with foam adhesive on the background. The additional little sentiment was from Simple Sentiments, heat embossed in gold, trimmed to a thin strip, then mounted with foam over the top of the larger sentiment. A few Graphite Jewels adhered with my handy Crystal Katana, and then mounted the entire thing on a white cardbase to finish this card off!
Thanks so much for stopping by today – have an absolutely wonderful day!
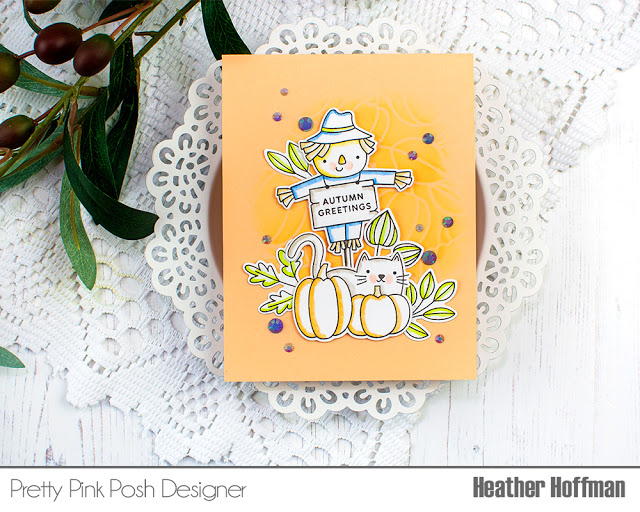
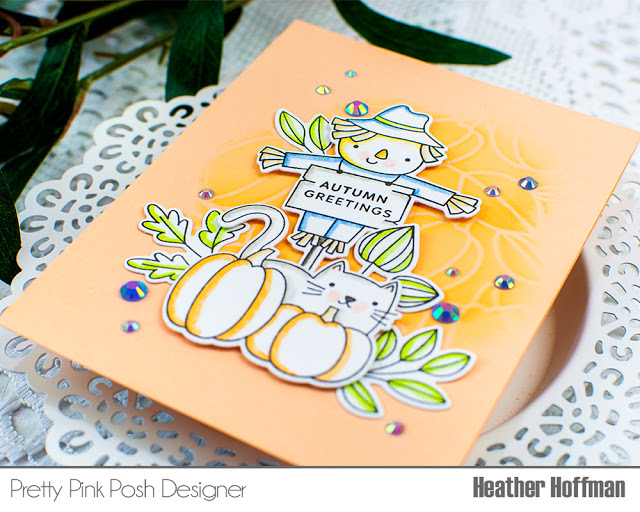
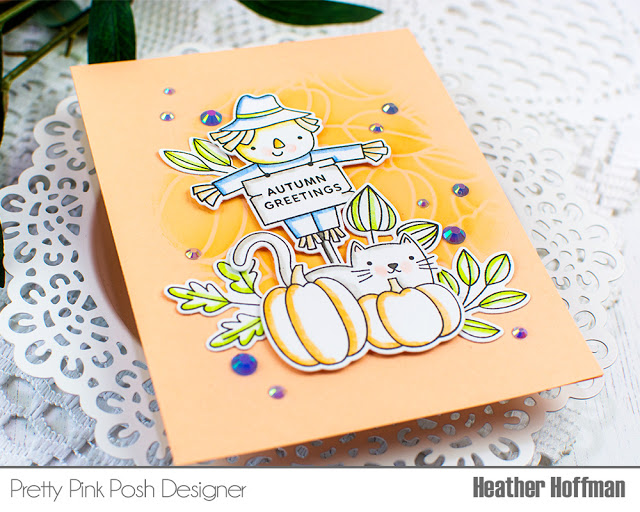
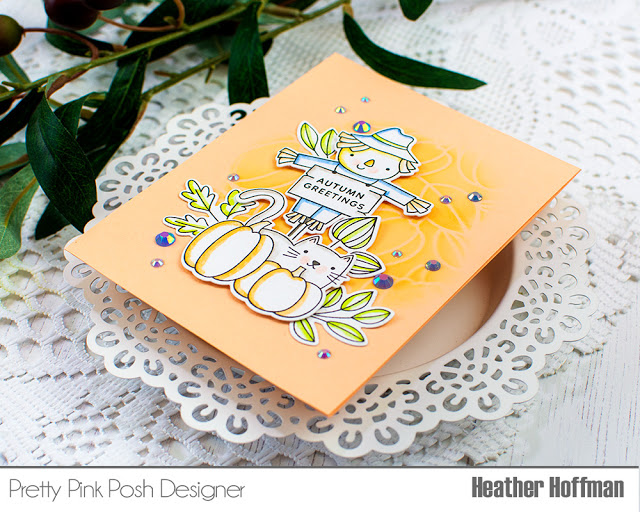
Good morning Pretty Pink Posh friends! Heather here to share a fun little scene card I created using several different Pretty Pink Posh sets, some pastel colors, and a bit of stenciling and bling to finish it off!
Here is a video showing how I created this card so you can see all the details.
The stamp sets I combined together for this card were Fall Signs, Pumpkin Patch Critters, and Autumn Wreath. I’ve been having fun lately with simple Copic coloring – so for these, I used soft colors, colored just along the shadow areas, then blended out with a Colorless Blender. Love the pastel effect it gives!
Once I had all my images colored, I cut them out with the coordinating dies, and got ready to assemble my card. I decided to use a Coral cardbase – the perfect pastel orange for fall! I added a bit of interest and texture to the background by using Pumpkin Background and some similar toned Distress Oxide ink in Dried Marigold for a tone on tone look.
I then assembled the scene, mounting the scarecrow and pumpkins and kitty with foam adhesive, and tucking the leaves behind with a bit of liquid glue to add some layering and depth. Finished off with some Cornflower Jewels to bring out the blue on the scarecrow and add a bit of sparkle!
Thanks so much for stopping by today – have an absolutely wonderful day!
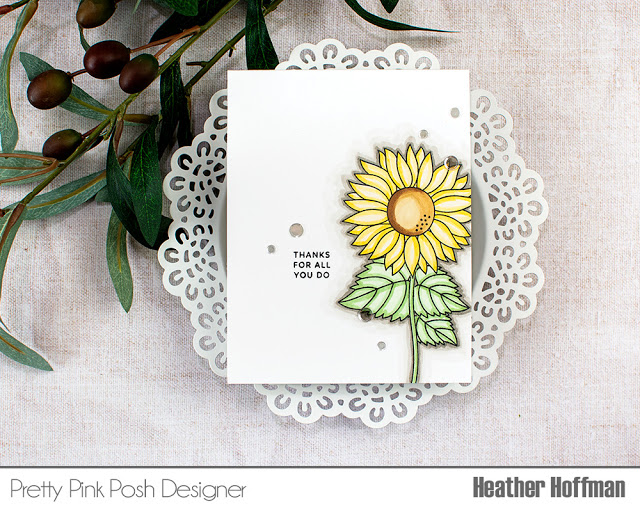
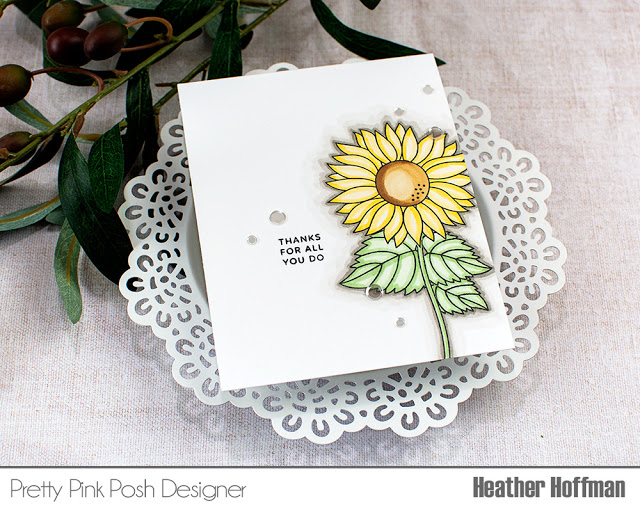
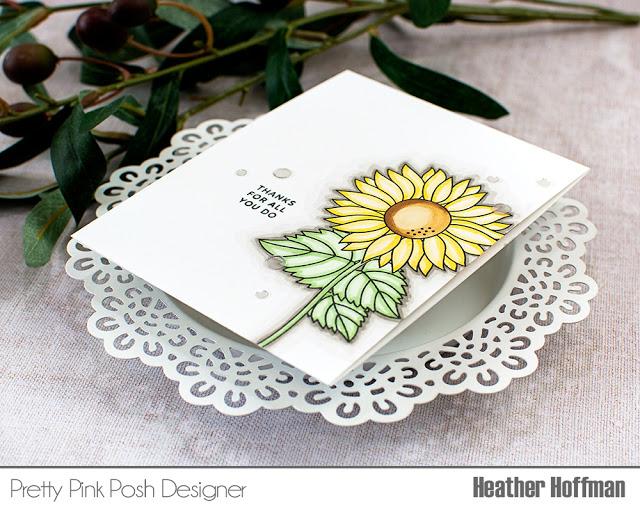
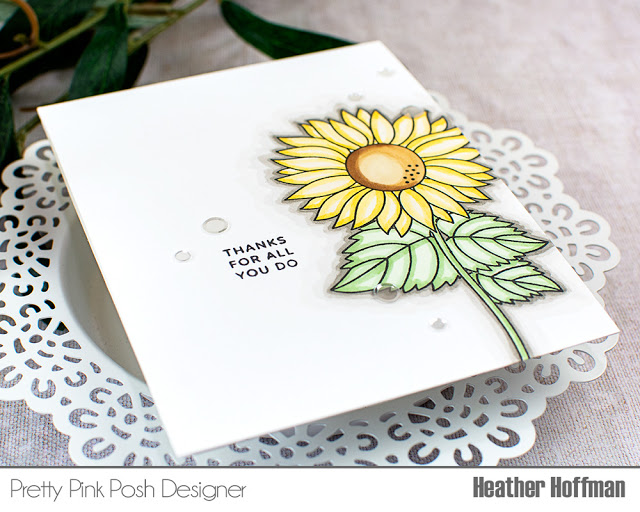
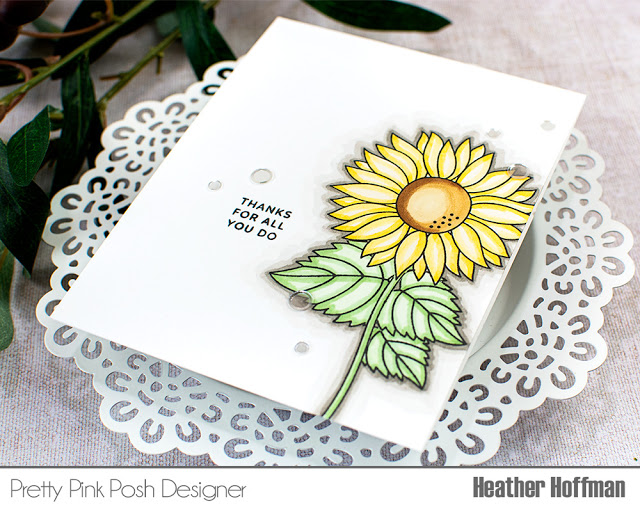
Good morning Pretty Pink Posh friends! Heather Hoffman here today to share a one layer card with some very simple masking, basic Copic coloring, and a touch of sparkle!
Here is a video showing how I created this card so you can see all the details.
I love using Post it Notes for simple masking like this card – they are readily available, and also inexpensive, so the perfect option! I used the beautiful Sunflower stamp set(which also has coordinating dies if you prefer to create a card with die cut layers instead).
Copic coloring doesn’t have to be super complicated – I shared some simple ways to mix 3 shades of color for each area on this card. I also added a shadow around the image in a simple fun way to make it pop off the background a bit – a great way to add depth and dimension to a one layer card.
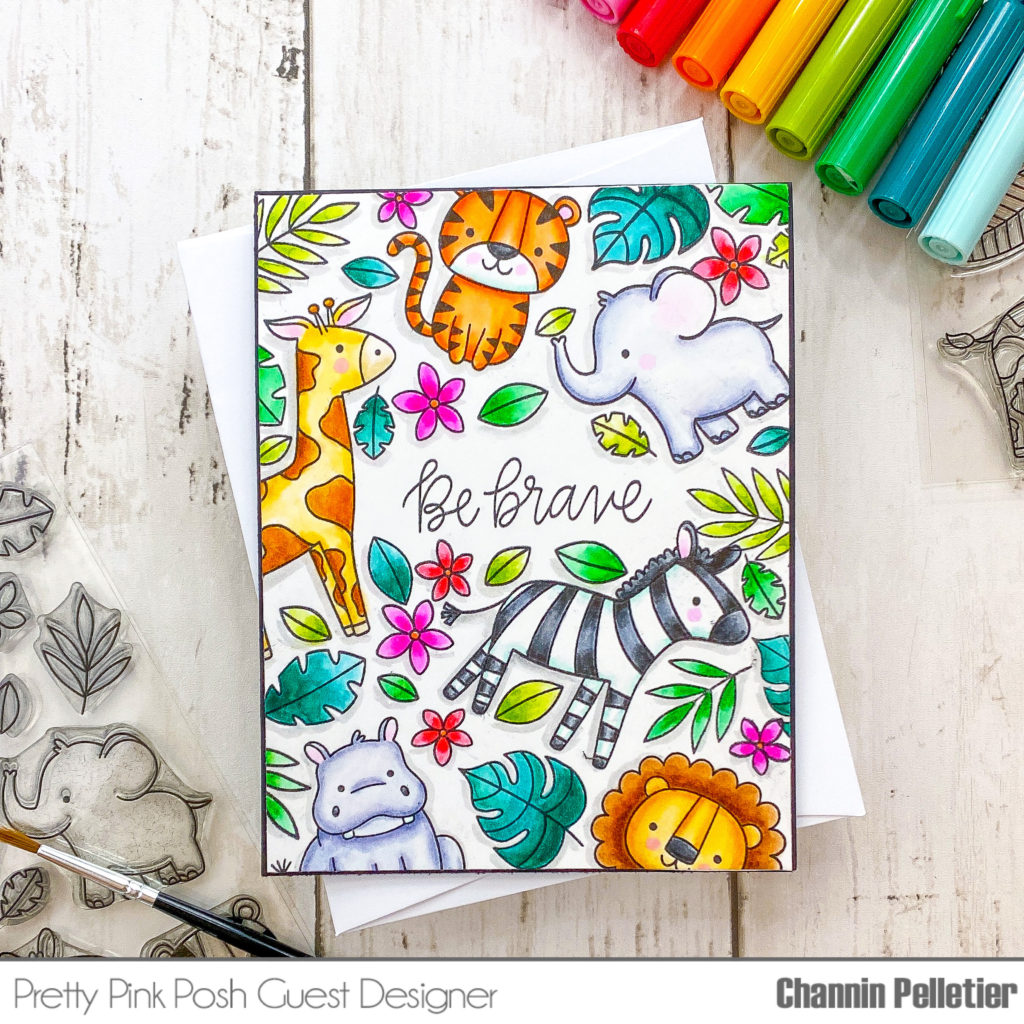
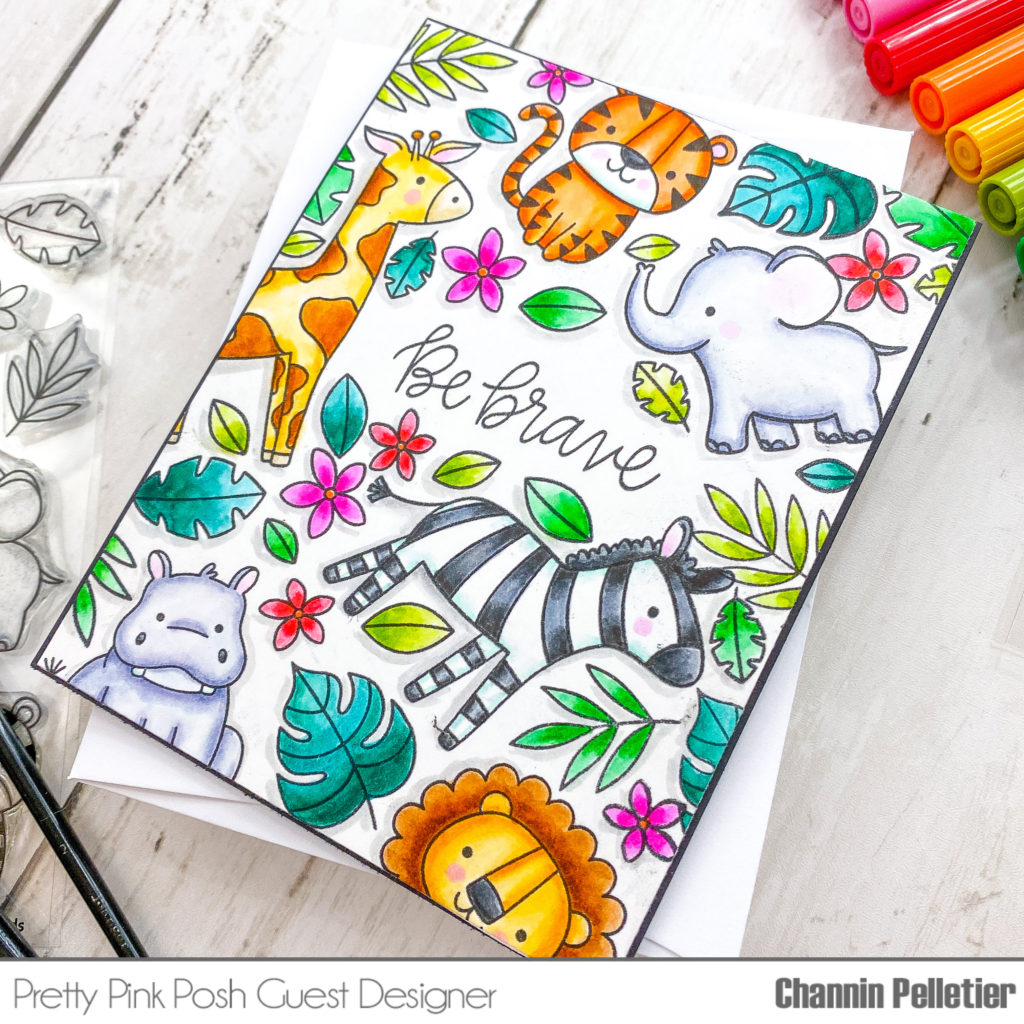
Hello friends! It’s Channin here and I’m so thrilled to be guesting here at Pretty Pink Posh! Today I have a video and a watercolored card to share! I used the adorableJungle Friends and Jungle Additions stamp sets to create a patterned panel and then colored the images in with my favorite coloring technique.
Take a look at the start to finish video tutorial below!
To create this card I first stamped several critters from theJungle Friends and Jungle Additions stamp sets as well as a sentiment from the Simple Sayings: Brave stamp set in Versafine Onyx Black Ink onto an A2 panel of Bristol paper. After I stamped the critters and sentiment I then filled in most of the negative spaces by stamping leaves and flowers from the two sets. Next, I watercolored the images in with Tombow Dual Brush Pens. When I had finished coloring the images I then added a shadow with a light gray pen. Next, I trimmed the panel down 1/16” on all sides and then adhered the panel down onto an A2 top-folding black card base.
I hope you enjoyed my card and video! Thank you so much for stopping by! ~Channin
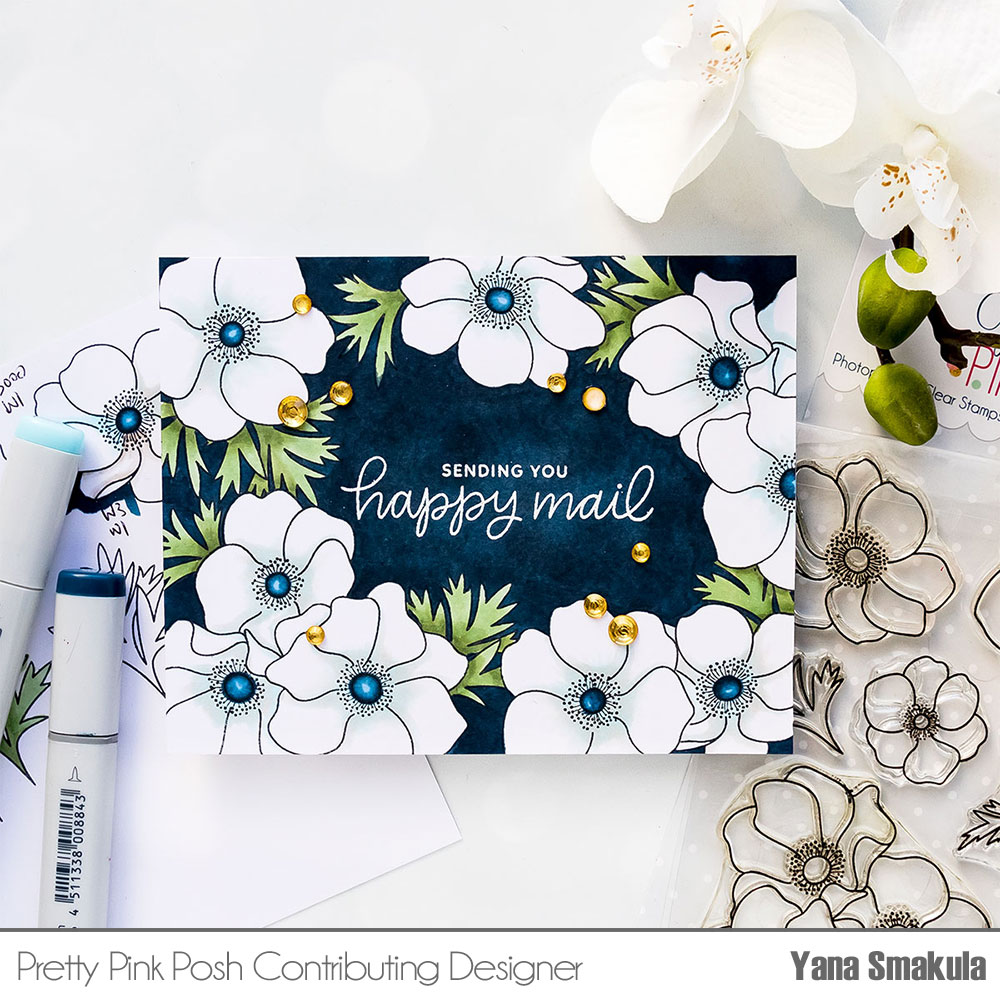
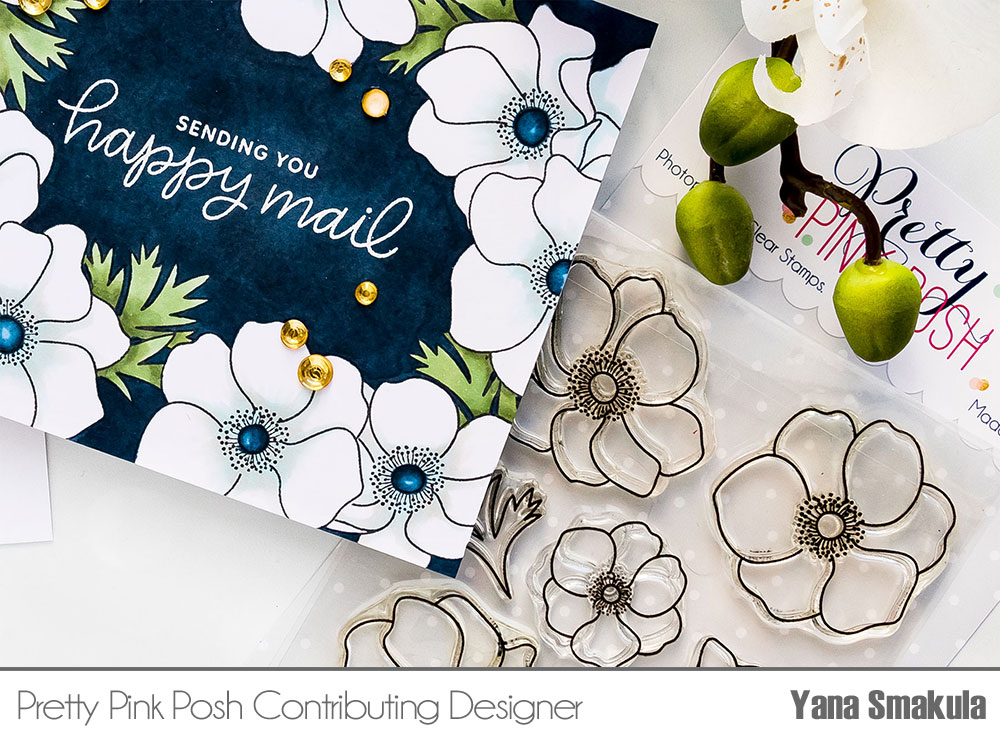
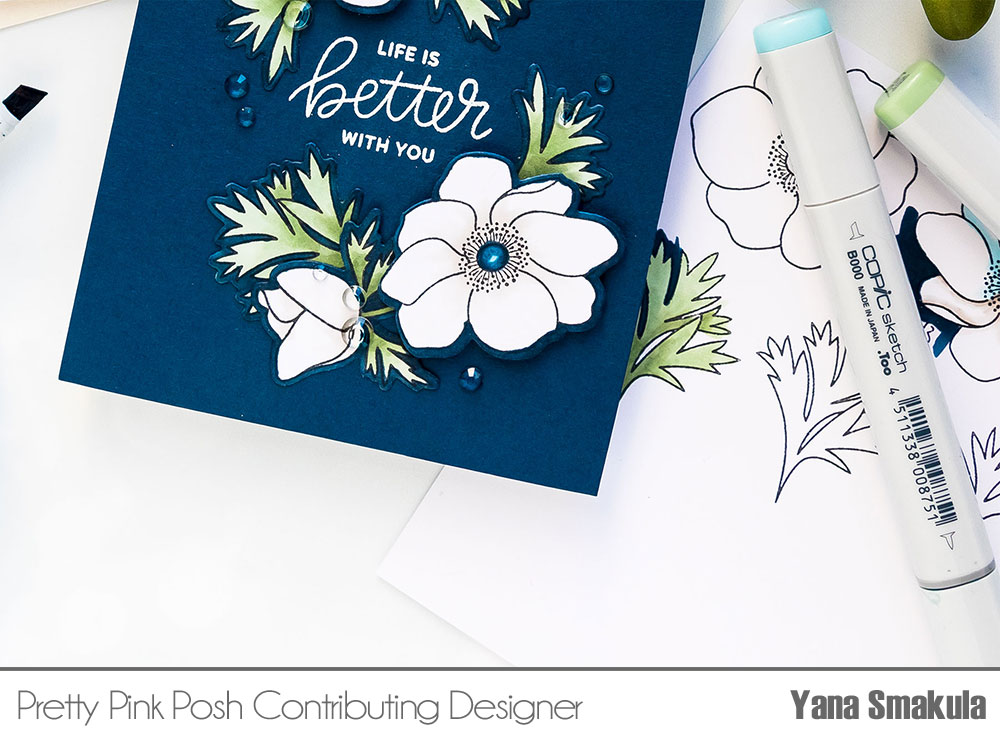
Anemones come is several colors, white anemones are probably the most beautiful of all. While white seems a very easy color to work with, it’s actually the hardest one to color on paper, especially if everything else you have happening on your project is white. In this video I’ll show you how use can use a dark background to help these white flowers come to life with minimum effort and very quick coloring.
Watch my video tutorial below to learn how I made this card.
I have 2 cards and 2 similar, yet different techniques – first one featuring a one layer layer card with masking and another one, in case you are not into masking, featuring die cutting and layering.
One Layer Card – Coloring The Background with Copics
To create my first project, Sending Happy Mail, I stamped anemones around the edges of a 4 1⁄4 x 5 1⁄2” white cardstock panel. Next, I created masks for flowers, masked them and stamped leaves in between the open spaces. I removed masks and ended up having a beautiful floral frame for my card.
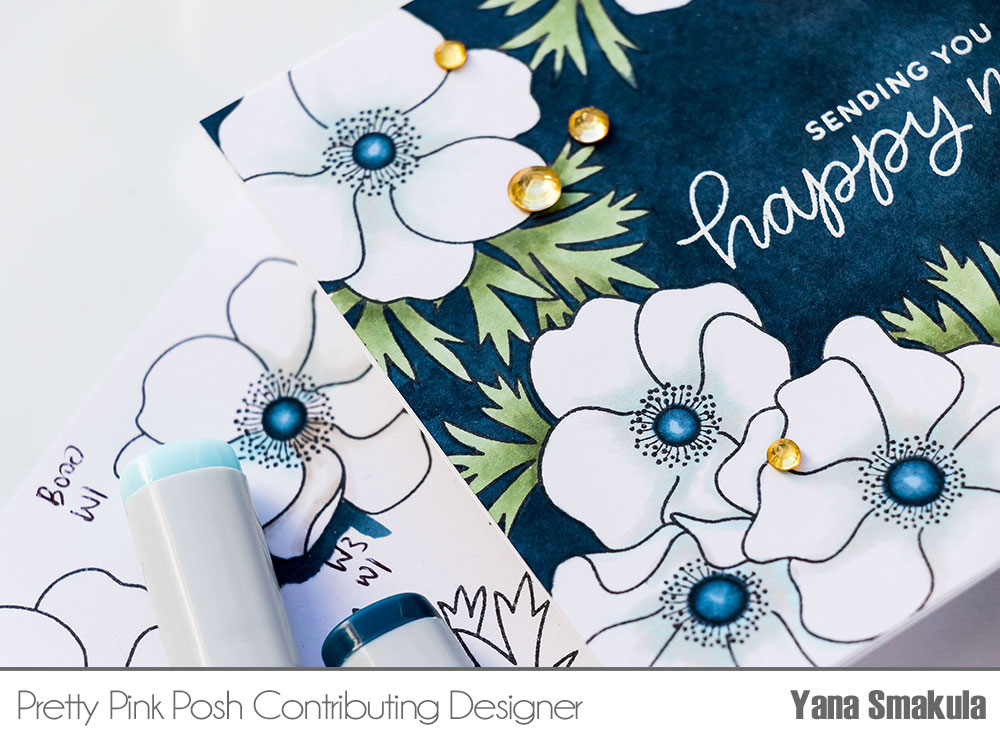
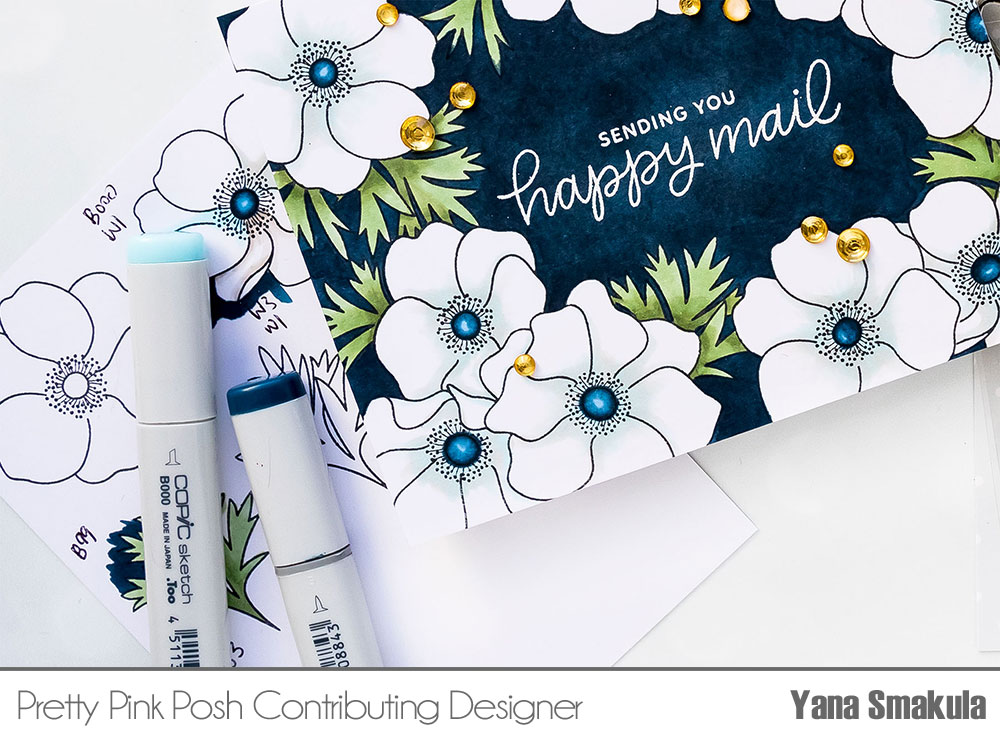
To color these, I used the following Copic Markers:
● G94, YG63 and G21 to color leaves;
● B99 and B21 to color flower centers;
● W1 and B000 to add hints of shadows where the petals overlap and meet.
Coloring white is very hard to do, this is something I am yet to master. Here you don’t have to be a pro at coloring white objects as we’ll add a blue background and our white images will come to life with very little effort and just minimal shading.
Once my coloring was done I used B99 marker and colored the entire background. Think of this as coloring the negative space. It does take time to apply all of the color, especially next to the stamped images as you need to go slow and be patient, but it really does look phenomenal in the end.
Once my background coloring was finished I left my panel to dry for about 10 minutes. Next, I white heat embossed a sentiment – Sending You Happy Mail from the Happy Mail stamp set.
I adhered my background on to an A2 white top folding card base; to dress this card up I used metallic gold confetti and sparkling clear jewels. I couldn’t decide which of those embellishments I wanted to use, so I used both by first adhering the confetti piece and topping it with a jewel of the same size.
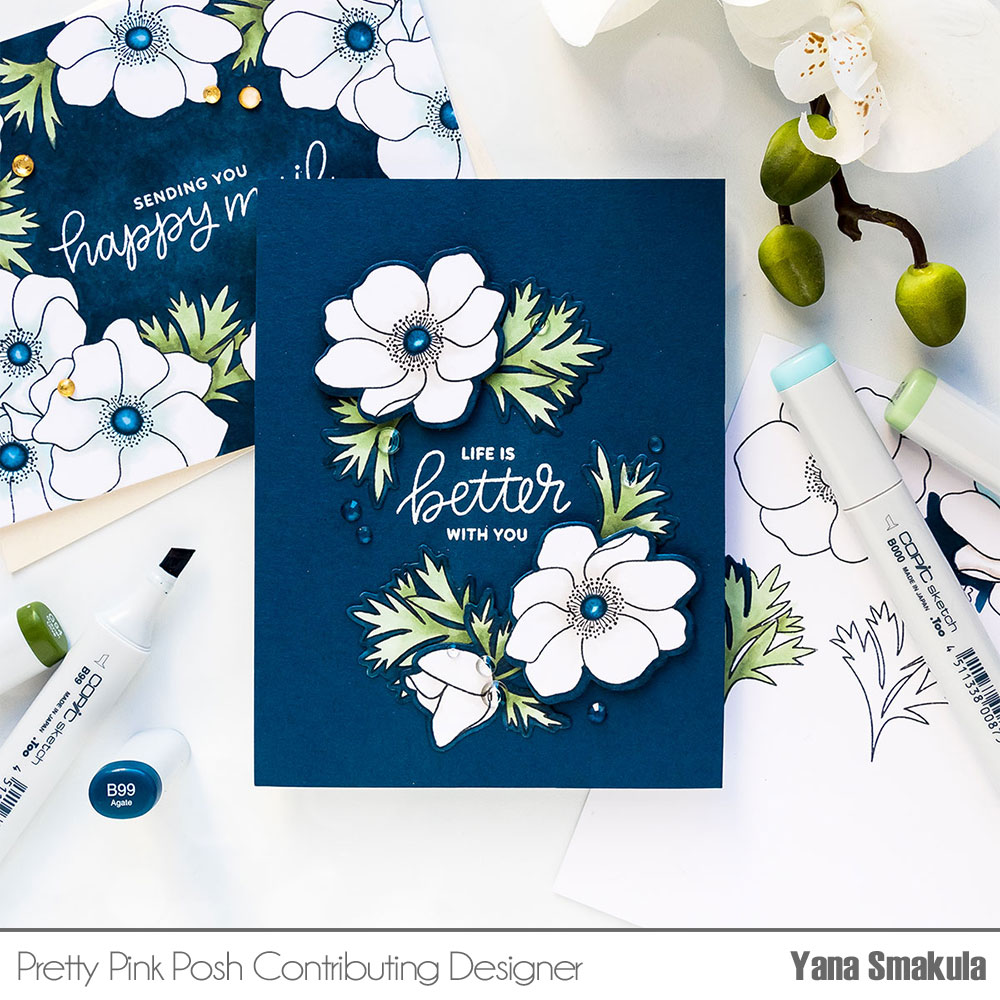
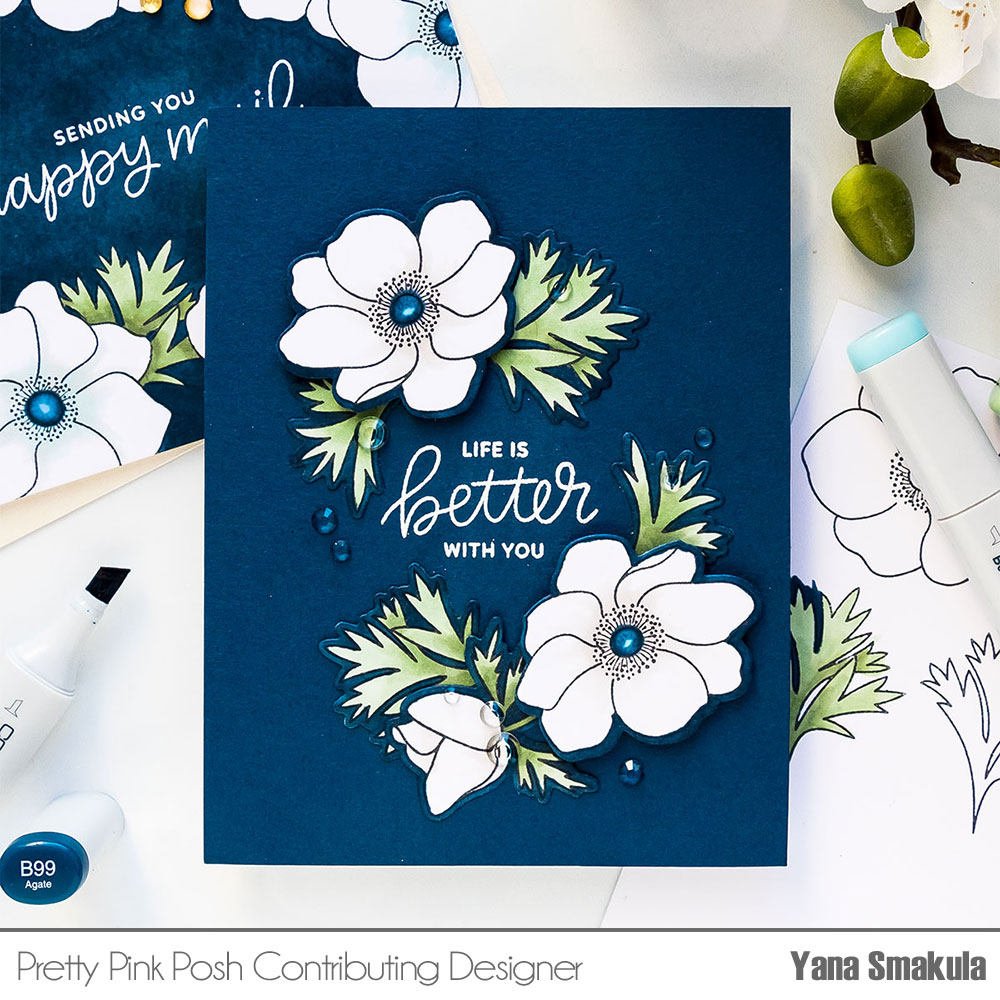
Layered Card – Using Colored Cardstock
Not everyone wants to use their Copic markers to color background around the images as that takes a ton of ink and that is also time consuming. Another way to go about this is to add your die cut images onto a background made out of colored cardstock.
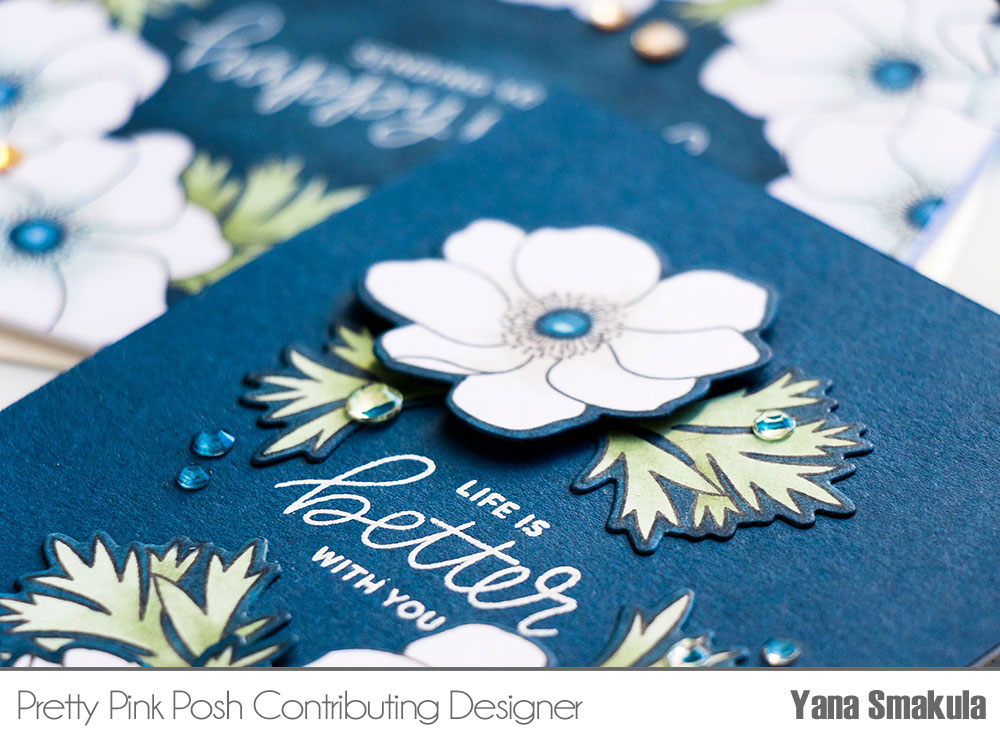
I stamped several images I wanted to use for my 2nd card and once again colored using same marker colors as before. Using the Anemones coordinating dies I cut these out in my die cutting machine. This gave me beautiful stamped, colored and die cuts pieces for my card. This also gave a white outline to each of my die cuts. Having a white outline can be very discarding for this project, so to eliminate it, I used a Copic marker once again and color matched white outline to my background color.
So here instead of coloring the entire background, I’m replacing the marker colored background with colored cardstock and only coloring the white die cut outlines on my stamped images.
This way your images and the background become one, they look as if they were done on the background directly and don’t have that white border that separates them from the base. This is not a trick that will work for every card design, or every image, but this is very fitting for these gorgeous white anemones.
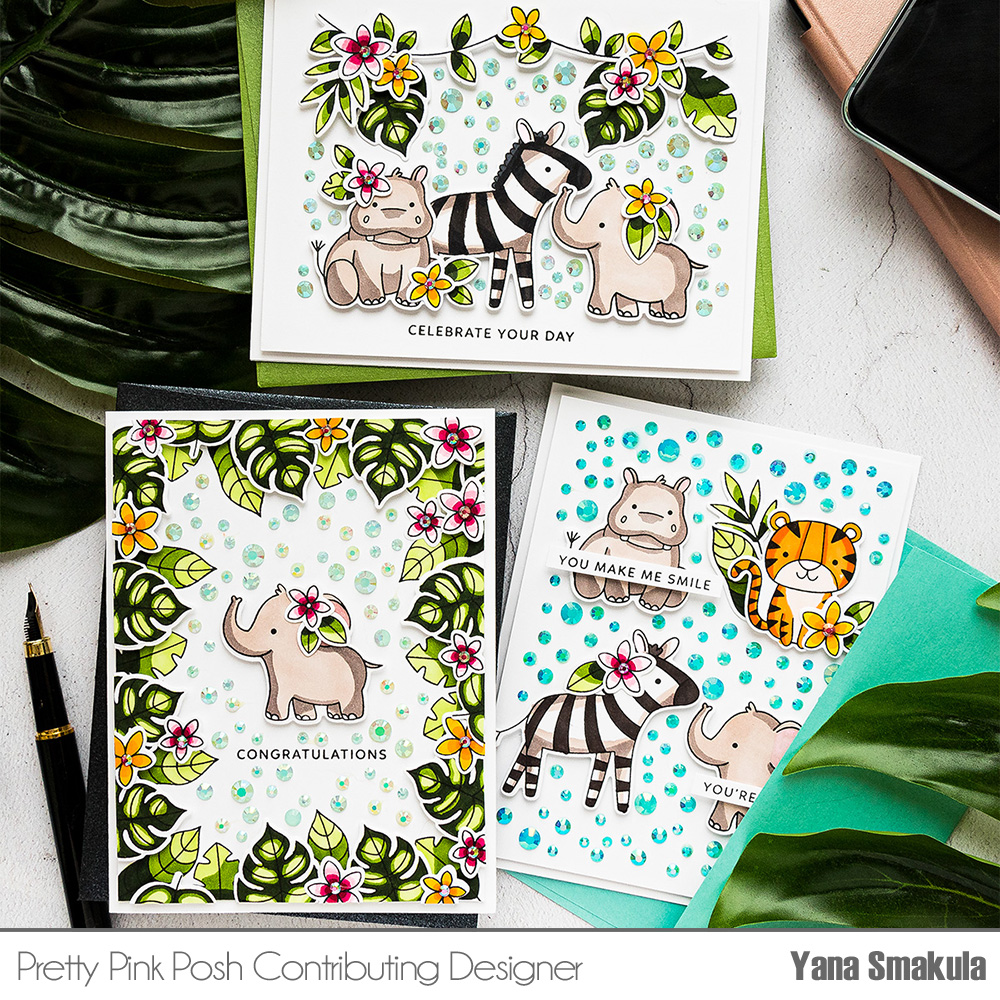
Hello, Pretty Pink Posh’ fans! This is Yana Smakula. Today’s video shares a different way to color with alcohol markers, a fun way to use a whole lot of jewels, and 3 ways to use the new Jungle Friends and Jungle Additions stamp sets! Let’s jump right in!
I started working on my cards by stamping all of the images I needed. I used darling critter images from the Jungle Friendsand Jungle Additionsstamp sets and also stamped leaves, branches, and flowers. Because I had planned to color all of these using alcohol markers I picked a suitable type of ink, Intense Black by Simon Says Stamp.
Lately, I’ve been enjoying the blending free coloring technique. This method requires absolutely no blending when coloring with alcohol markers and it works with all alcohol markers out there. The idea is to have harsh, defined lines that separate the different shades of one color. It is best to use the shades of markers that aren’t too similar and have a clear difference to the naked eye.
So if we are talking Copic markers, for example, I wouldn’t use a Y00 and Y02 makers, as there won’t be that much of a difference between these two shades of yellow.
This type of coloring looks a lot like cartoon coloring to me. The images have a simple colored look to them, sometimes even too simple.
You can apply the same coloring technique to color any other image. This is a very simple coloring method and one, I think, that is suitable especially for beginners. You don’t need to worry about blending your colors.
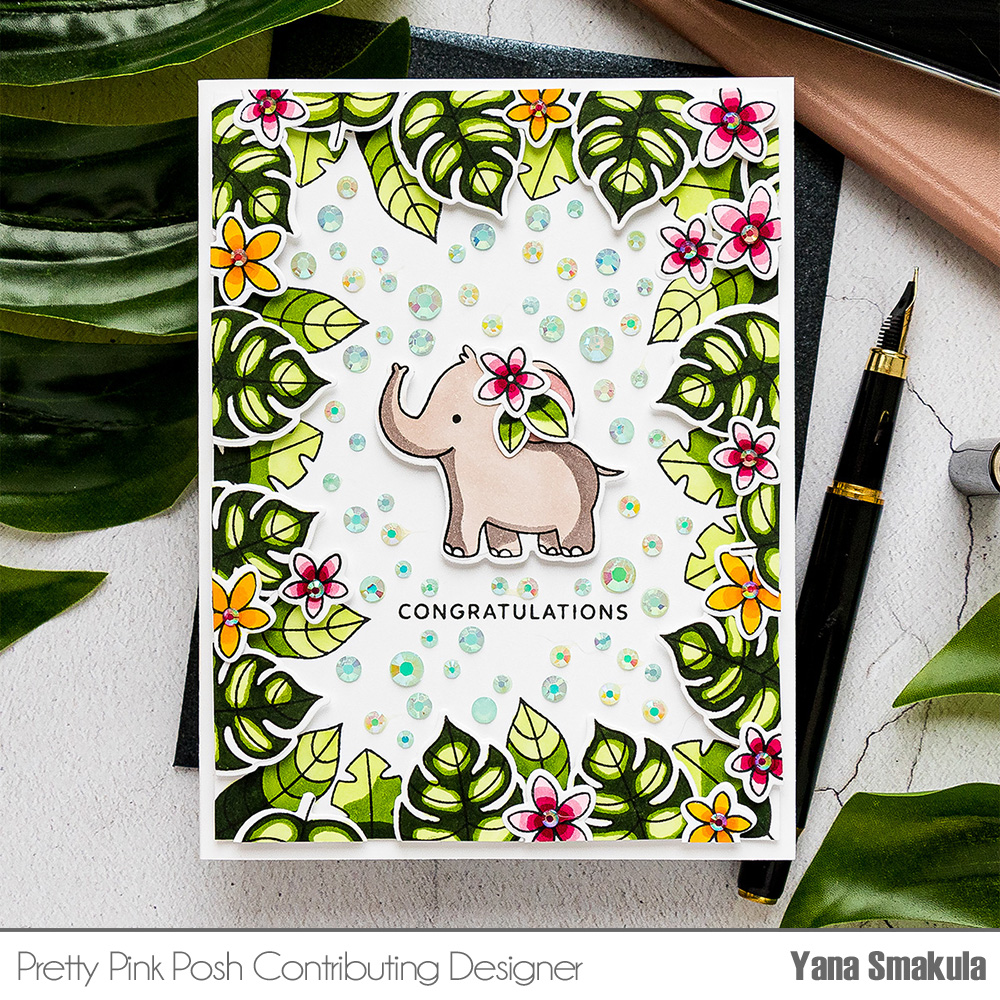
I have 3 cards to share today. I decided to stamp a leafy frame for my first card. I stamped 2 types of images around the perimeter of my panel. I used the same coloring method and the same colors of markers to color these images green. Next, I stamped, colored, and cut out the monstera leaves and adhered them to the frame using foam adhesive squares to create dimension. I cut the excess leaves off using my scissors.
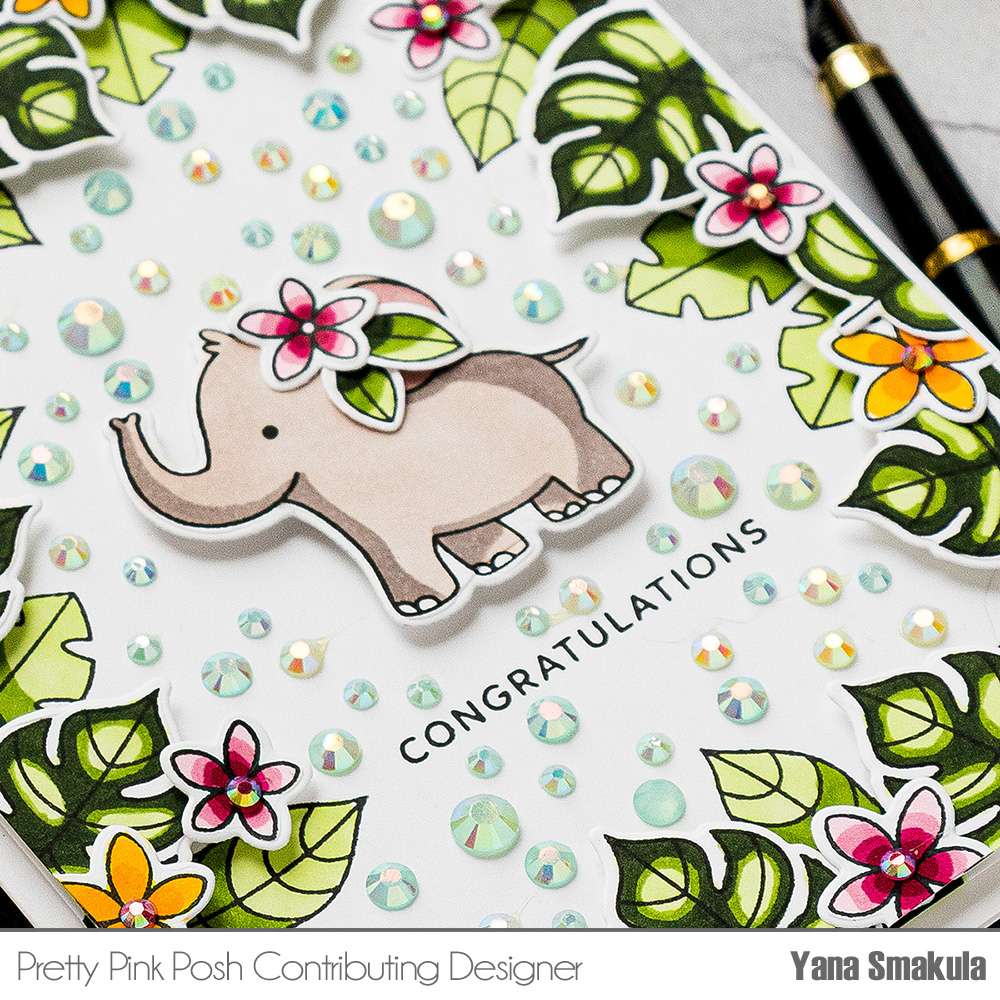
I also stamped, colored, and cut out flowers and used those to embellish my frame. I foam mounted a baby elephant in the center of the panel – I love how cute she turned out! I stamped a sentiment that reads Congratulations. All of the sentiments you see on my cards today come from the Simple Sentiments stamp set.
Now, I mentioned I’ll show you a fun way to use your jewels! I love jewels from Pretty Pink Posh and I think I have them in every color imaginable! I typically like to use them as accents on my cards, as dimensional flower centers, or to cover any mistakes I have on my projects. For today’s cards, I used them to create colorful backgrounds! Here I added lots of Sea Glass jewels all around my baby elephant adding hints of blue as if mimicking the sky! I used jewels of various sizes and adhered them using glue.
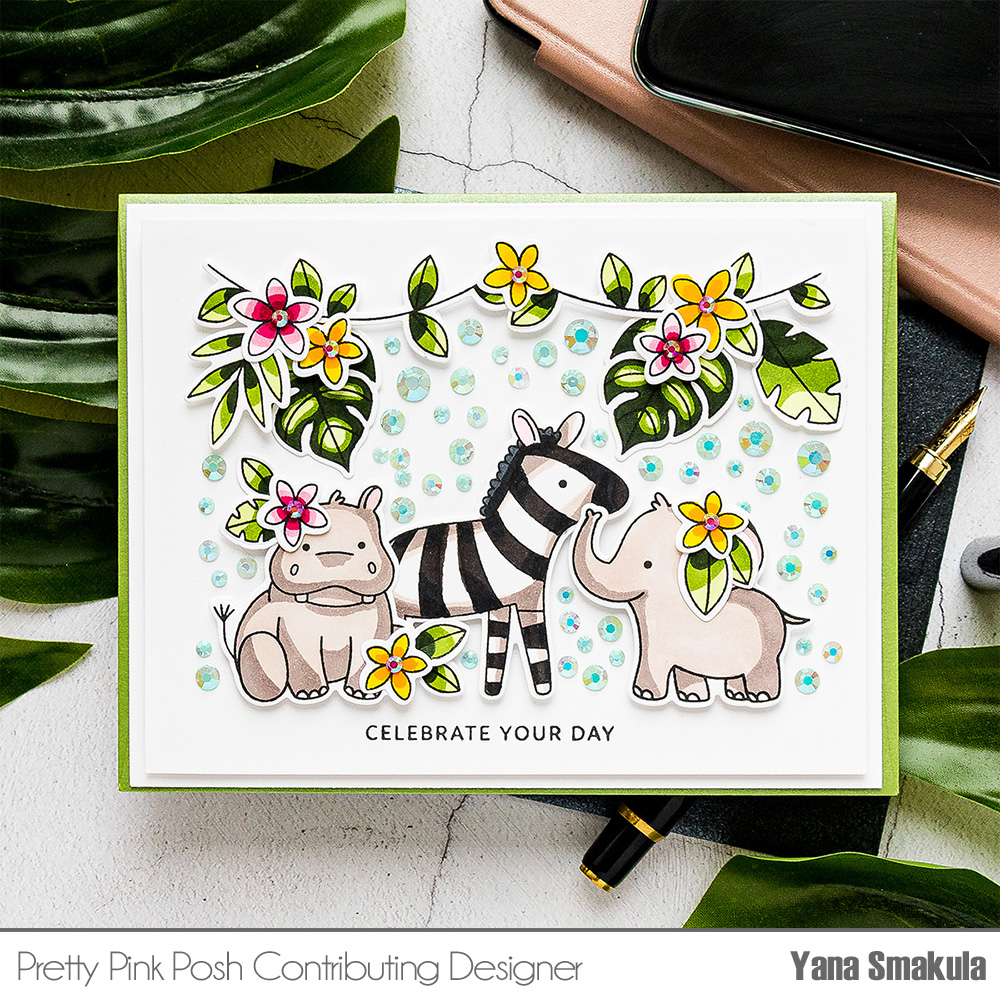
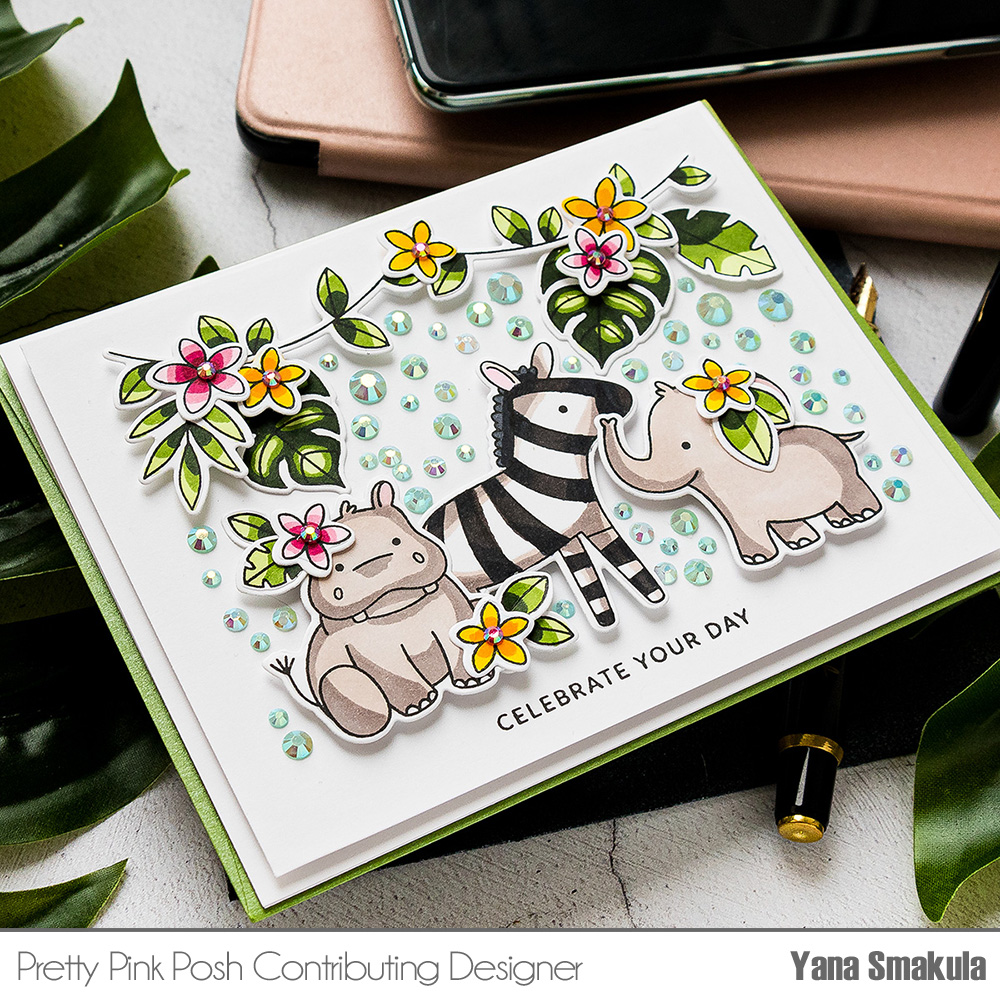
For my next card, I started by foam mounting the two vines in the top part of my background panel. I also added additional leaves and flowers. With that adhered, I added my party of critters! First, I added my zebra, another darling baby elephant, and also a baby hippo! They look so adorable together! I dressed them up using the die-cut flowers – I added flowers in pink and yellow and also added a bunch of smaller leaves.
I stamped a sentiment that reads Celebrate Your Day and to spice this card up I once again added a bunch of jewels in the background behind my critter party! Doesn’t this look fun? It adds texture, it adds sparkle and it adds a ton of wow!
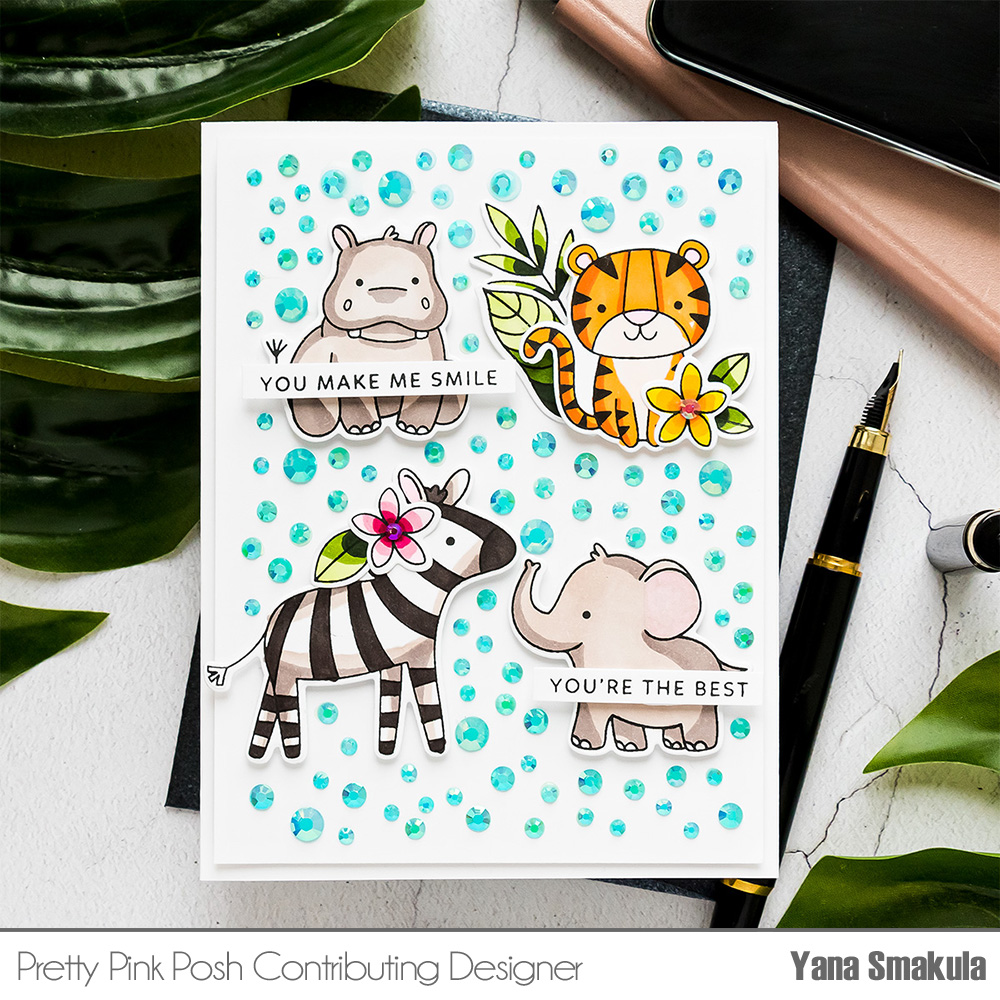
My last card features the rest of my jungle critters. I have 4 of them of the card – a hippo, a tiger, a zebra, and once again that darling baby elephant. I added some leaves and flowers to dress this card up and also to embellish my critters and of course, I had to add my jewels! This time I used Jewels in Caribbean Blue and added loads to fill my background and add some color and sparkle!