Creating Everyday Greeting Cards + Video
Hello, Pretty Pink Posh’ fans! This is Yana Smakula. In this video, I’ll show you how to use the Pond Friends stamp set to make sweet greeting cards for our friends.
Watch the video above I Watch the video in HD on YouTube
I started to work on my cards by stamping images from the Pond Friends stamp set in alcohol marker friendly ink and cutting the images out using coordinating dies. Next, I colored them using my Copic markers to bring these cute swans to life.
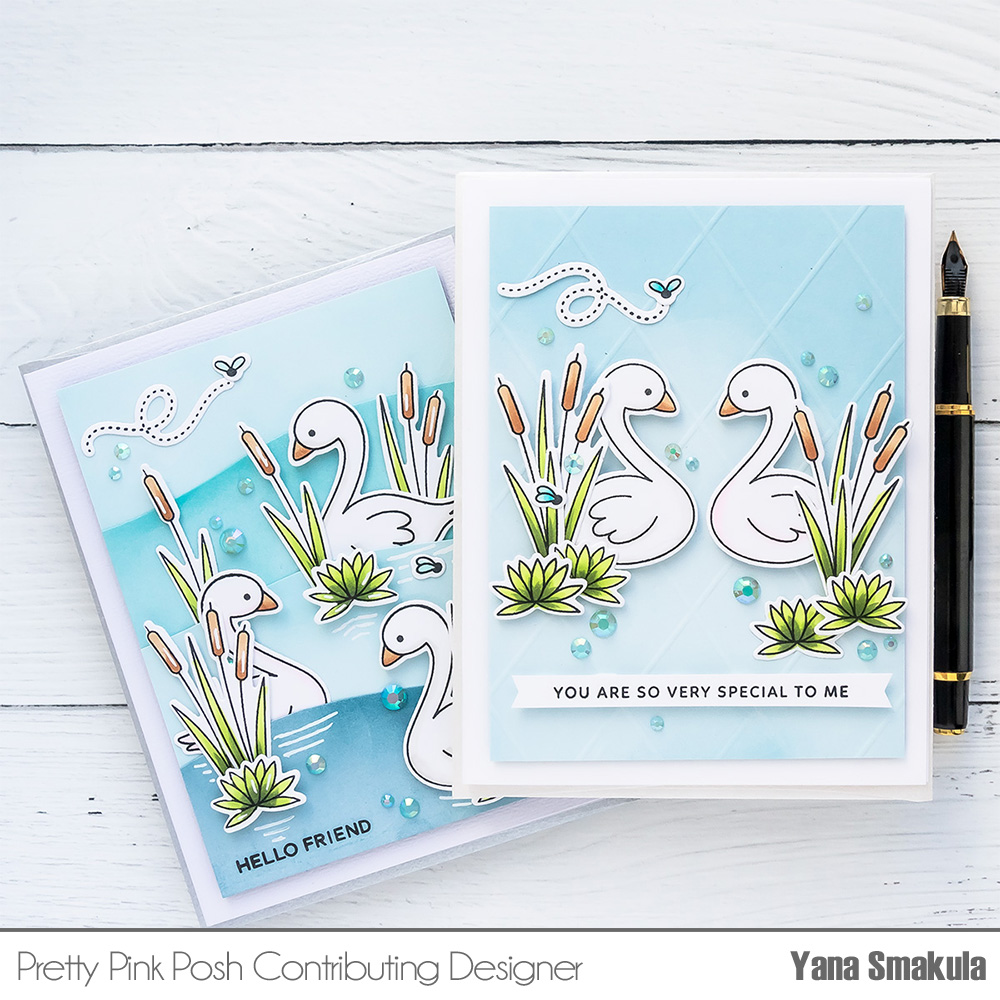
I used the following colors:
- W1 and RV00 as well as a colorless blender to color the swans gray and pink
- E31, E33
- YG01, YG03, G94
- BG45, BG11.
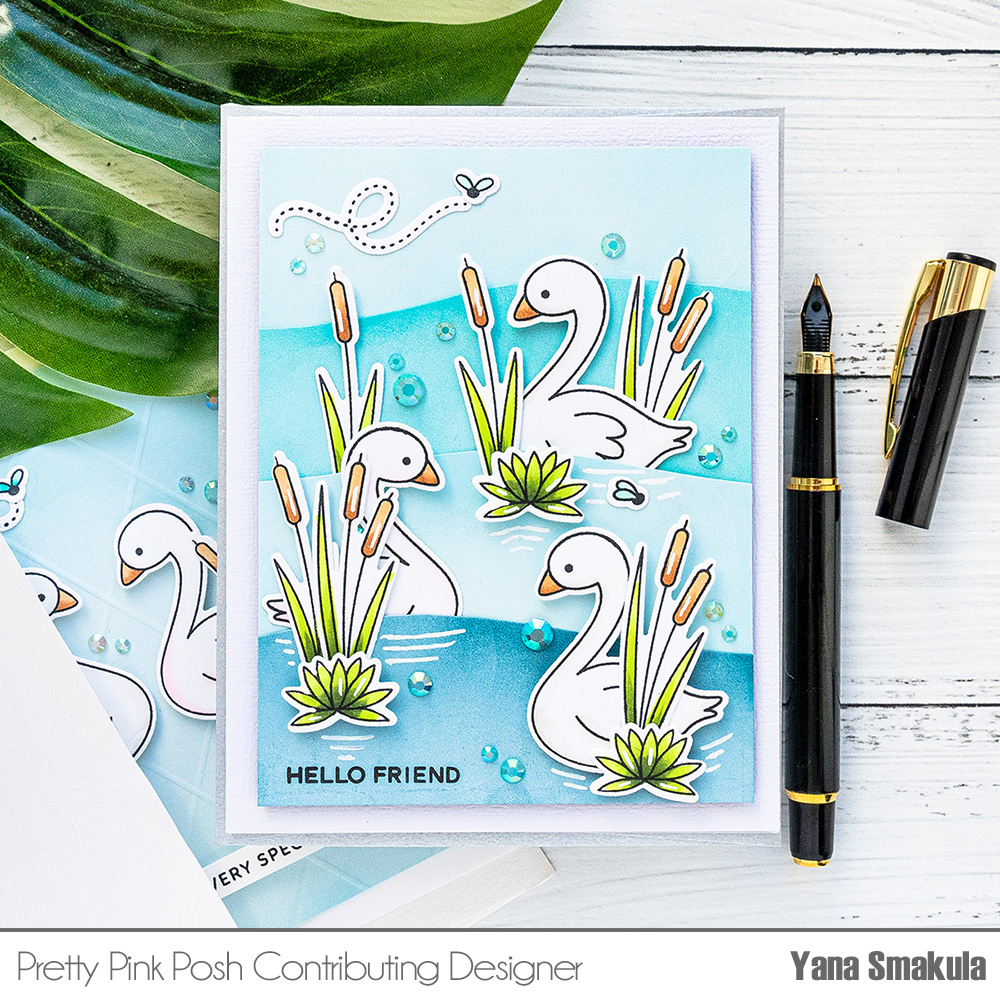
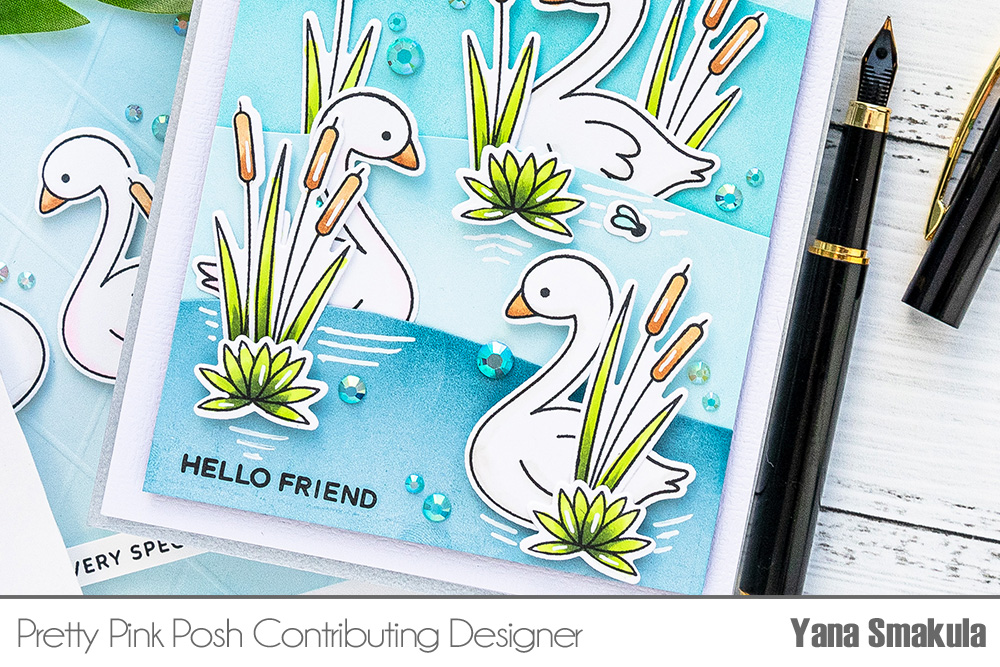
I have two card ideas to share today. For my card #1, I wanted to use scraps of colored cardstock to create layers of water, if you will, on my card. I like to have fun and unique backgrounds on my cards using I can always achieve that with the help of colored cardstock. I cut several colors of cardstock to 1 3/4” tall x 4 ¼” strips and used my scissors to freehand a wave on each of those pieces.
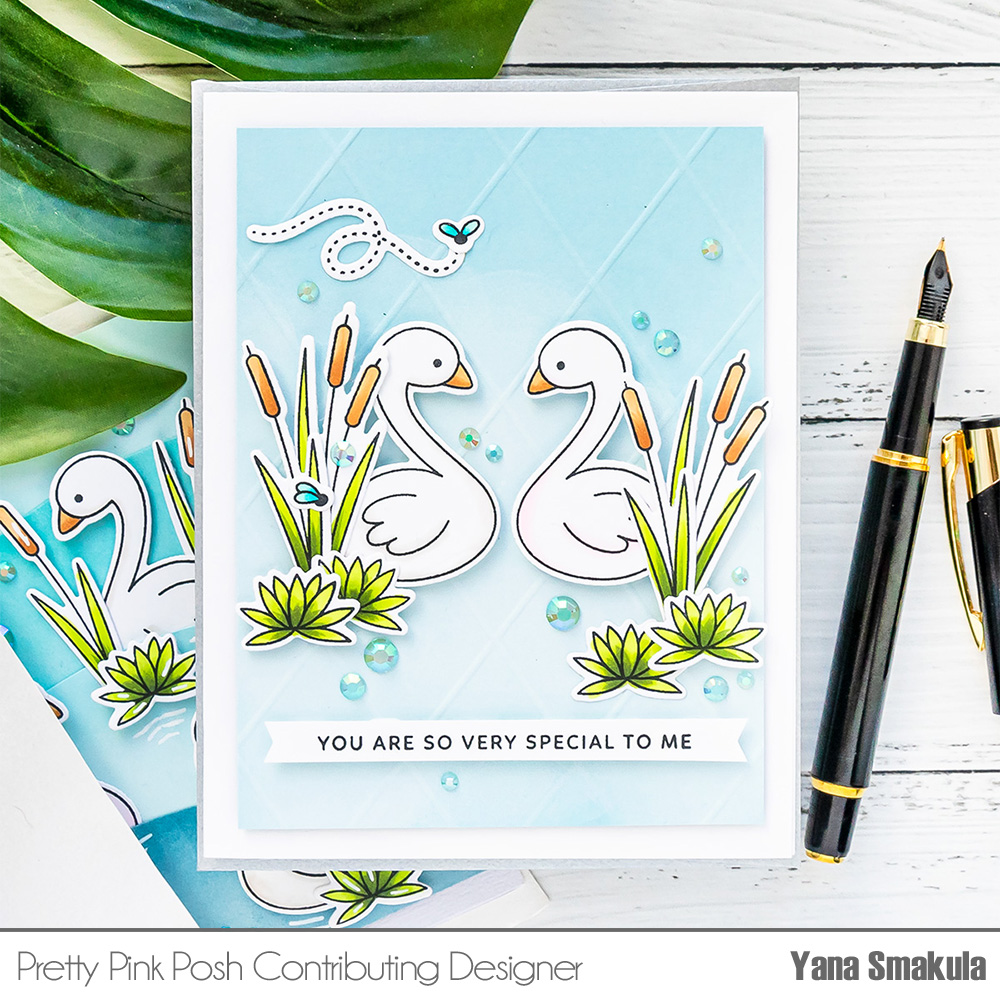
You can use a die, Pretty Pink Posh has several die sets that would work perfectly for cutting little waves or hills like these, I didn’t have any on hand, so I freehand the cuts using scissors.
Lately, I love to add ink blending to my backgrounds, not colored ink blending, but white. White pigment ink is a fantastic tool to help you soften the background and create various effects on paper. I’ve been using it a lot recently to make clouds for my cards and today I decided I might as well use it to make water. I grabbed my ink blending tool and blended white ink onto my hand-cut panels to make that background. I also did the same thing to make a background for the 2nd card I’m sharing today.
The white ink isn’t as visible on the lighter colors of cardstock, but it still adds a nice touch and softens the color of the cardstock beautifully. With the panels ink blended I used glue and adhered them to another scrap cardstock panel. Next, I brought in my paper trimmer and cut the panel to 3 3/4” by 5” giving me a beautiful 1/4” white mat when adhered to an A2 white card base.
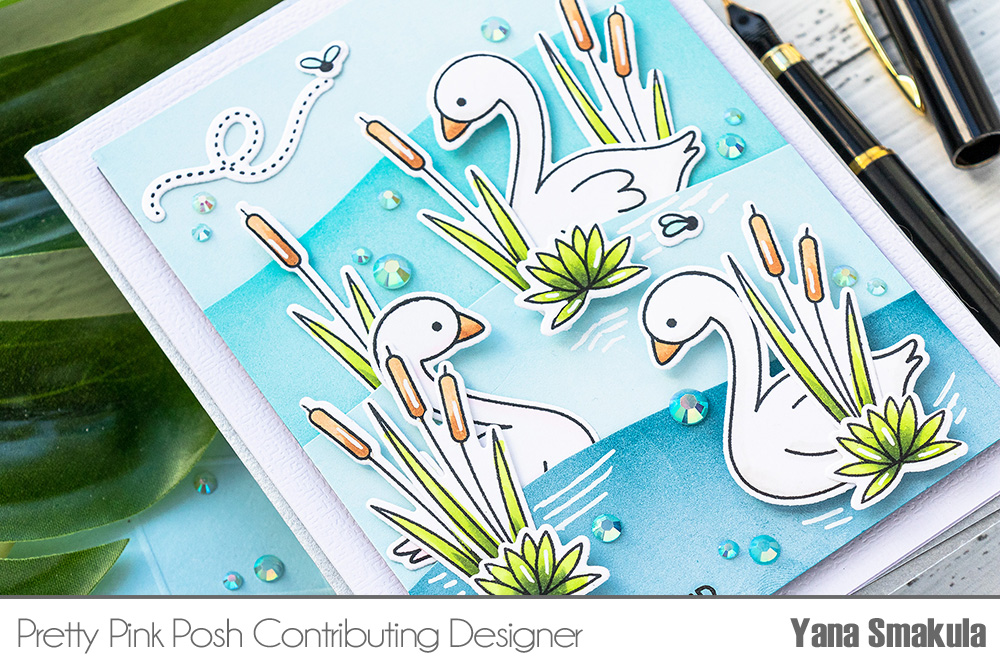
With the background panel created I arranged the images to create a scene on my card and adhered everything in place using a mix of foam adhesive for dimension and glue. I also used my white Sakura pen and added a lot of white pen details to these images to make them pop. Seeing how the scene is set on water, I added details to the background as well – little water rings here and there to make it look somewhat more realistic.
I also added a bunch of Sea Glass Jewels – I scattered them around the images filling the background in. I got so carried away building the scene, that I completely forgot about the sentiment for this card! Luckily, I had room for a skinny strip sentiment at the bottom and I stamped one that reads Hello Friend. This sentiment comes from an older stamp set, Birdie Friends.
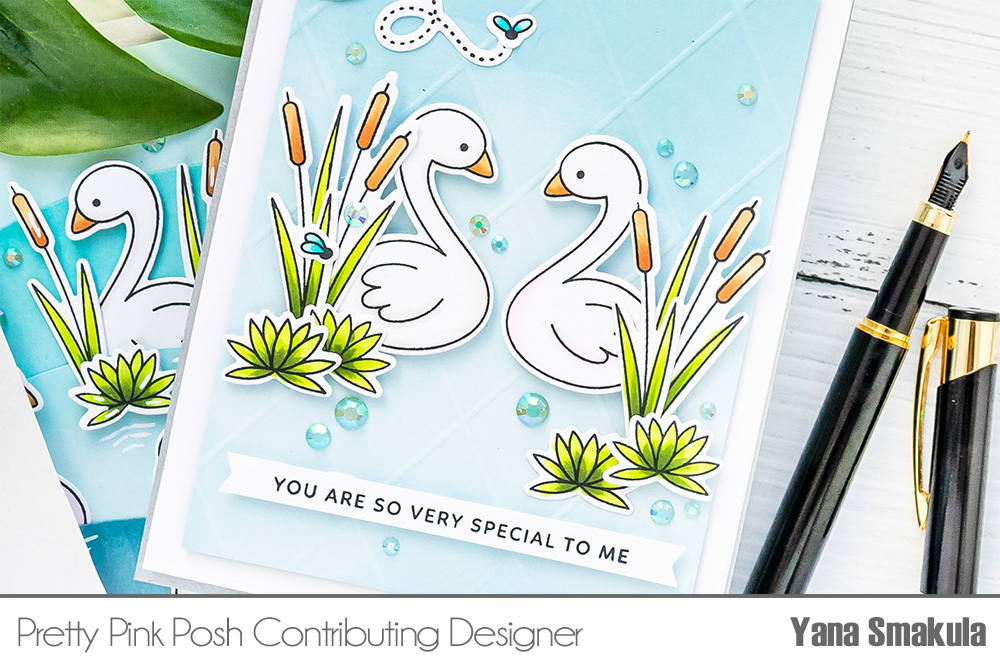
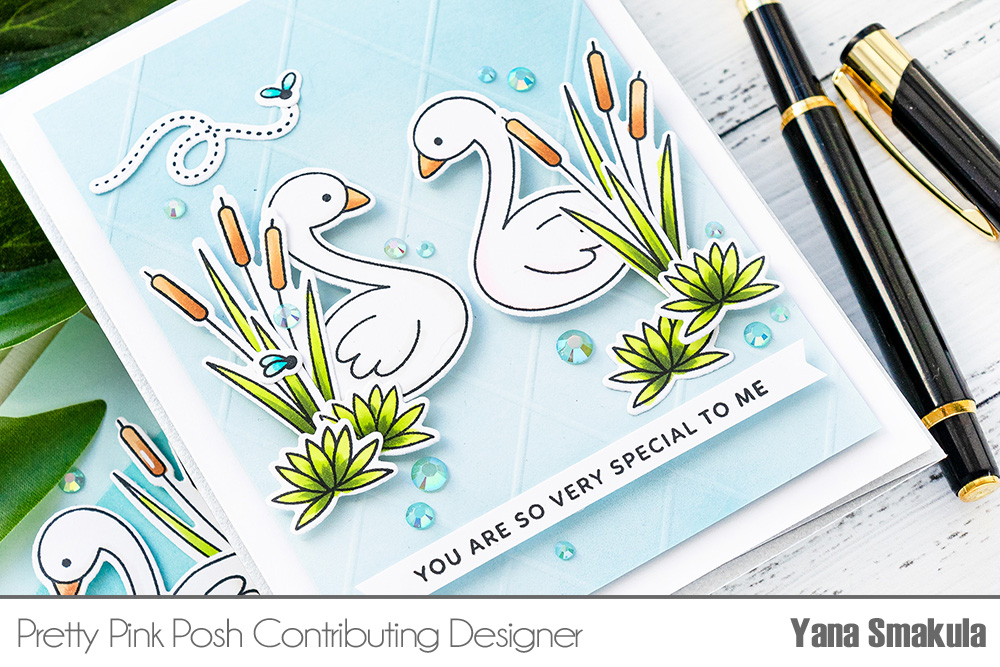
Let’s take a look at the 2nd card. I made the background for this card in the same manner as for the previous card – I ink blended white pigment ink over a light blue cardstock panel. Here, I also added some scoring to the background to make it more interesting, I shared this technique in my Valentine’s Day video last year, please do check it out if you’d like to learn how to create this scored background.
I trimmed the panel to 3 3/4 x 5” and foam mounted to the A2 white card base. For this card I placed two swans, a pink and a gray one, looking at each other in the center of my panel and added the rest of the elements around them creating a scene.
This time I did plan for a sentiment, I stamped one from the Pond Friends stamp set and it reads You Are So Very Special To Me. I stamped it in black ink on a skinny white cardstock strip and foam mounted it to the card to give it a bit of a lift. I used the same Sea Glass Jewels to embellish this project and again, I scattered them around the scene to add interest to my background.
TIP: if you have trouble holding the little embellishments, a Crystal Katana Pick- Up Tool helps when you are placing small embellishments!
Have fun stamping!

