
Happy Monkey Friends + Video
Hey, Friends! It’s Caly with you and today I am combining images from the new Monkey Friends and Jungle Friends sets to create my scene.

Watch the video for a step by step tutorial on how to make this card.
Watch the video above I Watch the video in HD on YouTube
To start, I stamped and colored my images with Copic markers. I stamped lots of vines from the Jungle Friends set. The images were quick to color and you can see my blending and shading process in the video.
Copic colors used:
Greens: G12, G14, G17
Monkeys: [E50, E53], [E30, E34, E37]
Blush: R201, R20
After die-cutting my images, I set them aside to work on my scene. I die-cut the Nature Essentials die twice to get to birch trunks. Since I had two frames from the two cuts, I adhered them together to create a more sturdy and thicker frame. The two birch trunks are then colored with the E50 and E53 only at the side cuts.
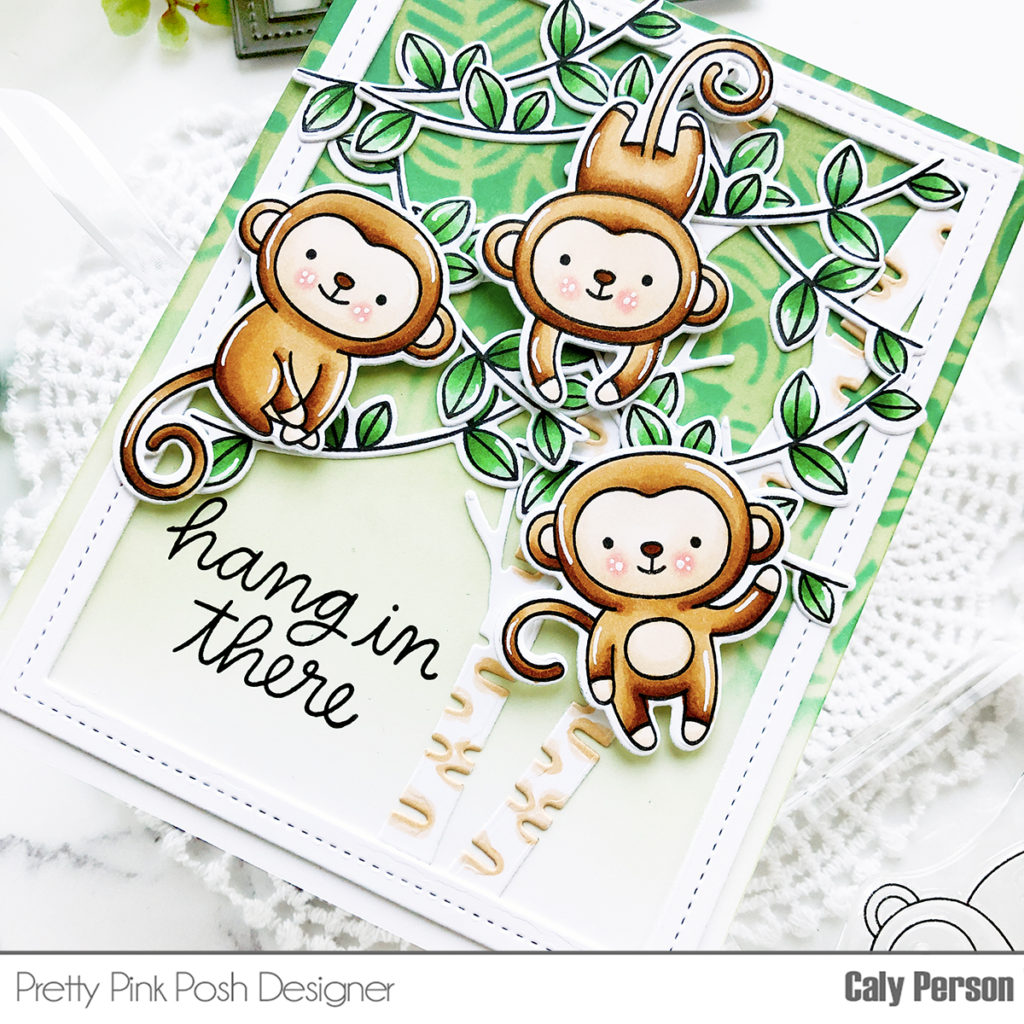
My background is first ink-blended with Bundled Sage Distress Oxide Ink. I blended the color from top down with more saturated color at the top and faded to white towards the bottom. Then I used the Jungle Background Stencil to ink-blend Lucky Clover Distress Oxide Ink only towards the top of my panel. This will create a heavy tree canopy for the monkeys to swing from.
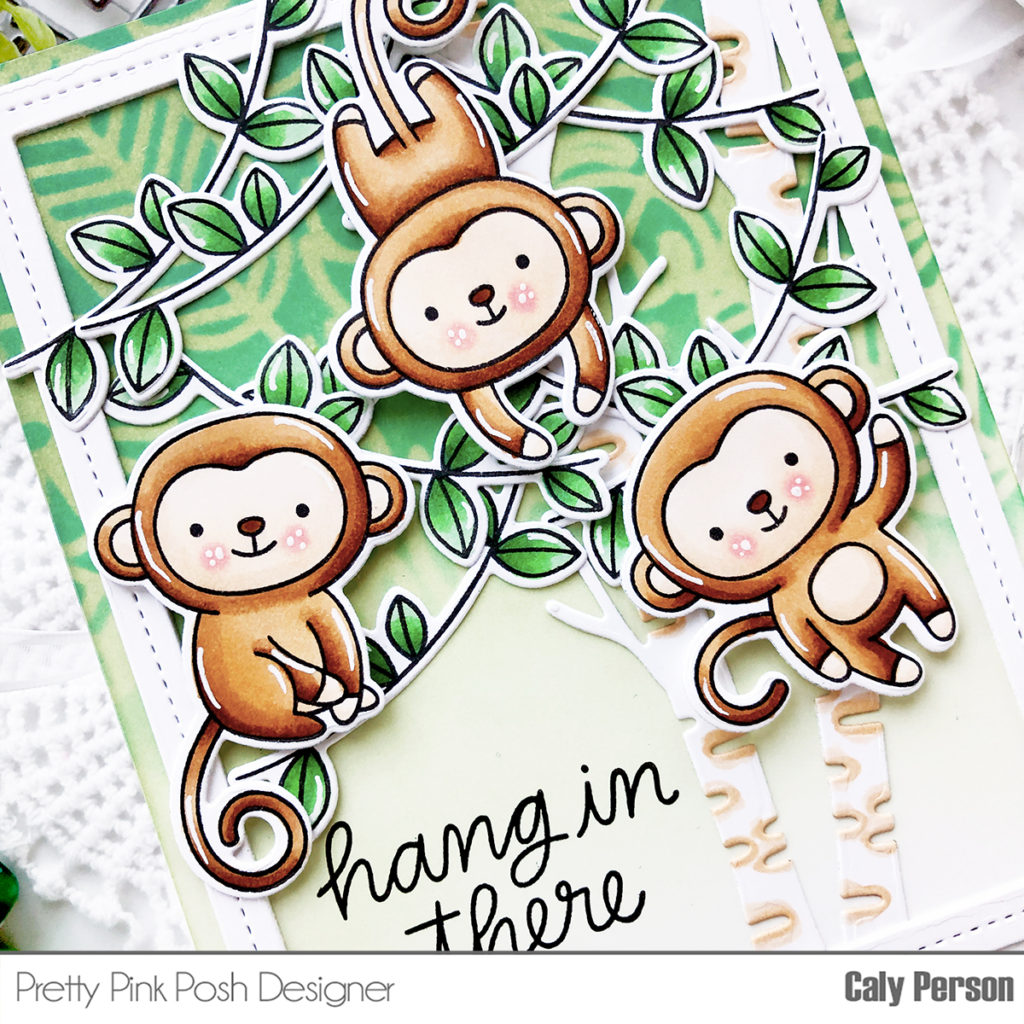
I adhered my frame and birch trunks to the ink-blended panel, then I stamped my sentiment. Then I began adhering the colored vines to my card to create the tree canopy for my monkeys. Finally, the monkeys are adhered to my card using foam adhesive to give the card some dimension.
I hope you enjoyed today’s card using the new release products from Pretty Pink Posh! Thanks so much for stopping by!
~Caly
This is adorable!
Darling card! Love the jungle scene and these cute monkeys!
Super cute card, these monkeys have the sweetest faces!