Floral Card with Zig Clean Color Markers + Video
Hello crafty friends. It’s Lisa Mears here. Today I’m sharing a card featuring background stamping with the Spring Flowers stamp set.
Watch the video above I Watch the video in HD on YouTube
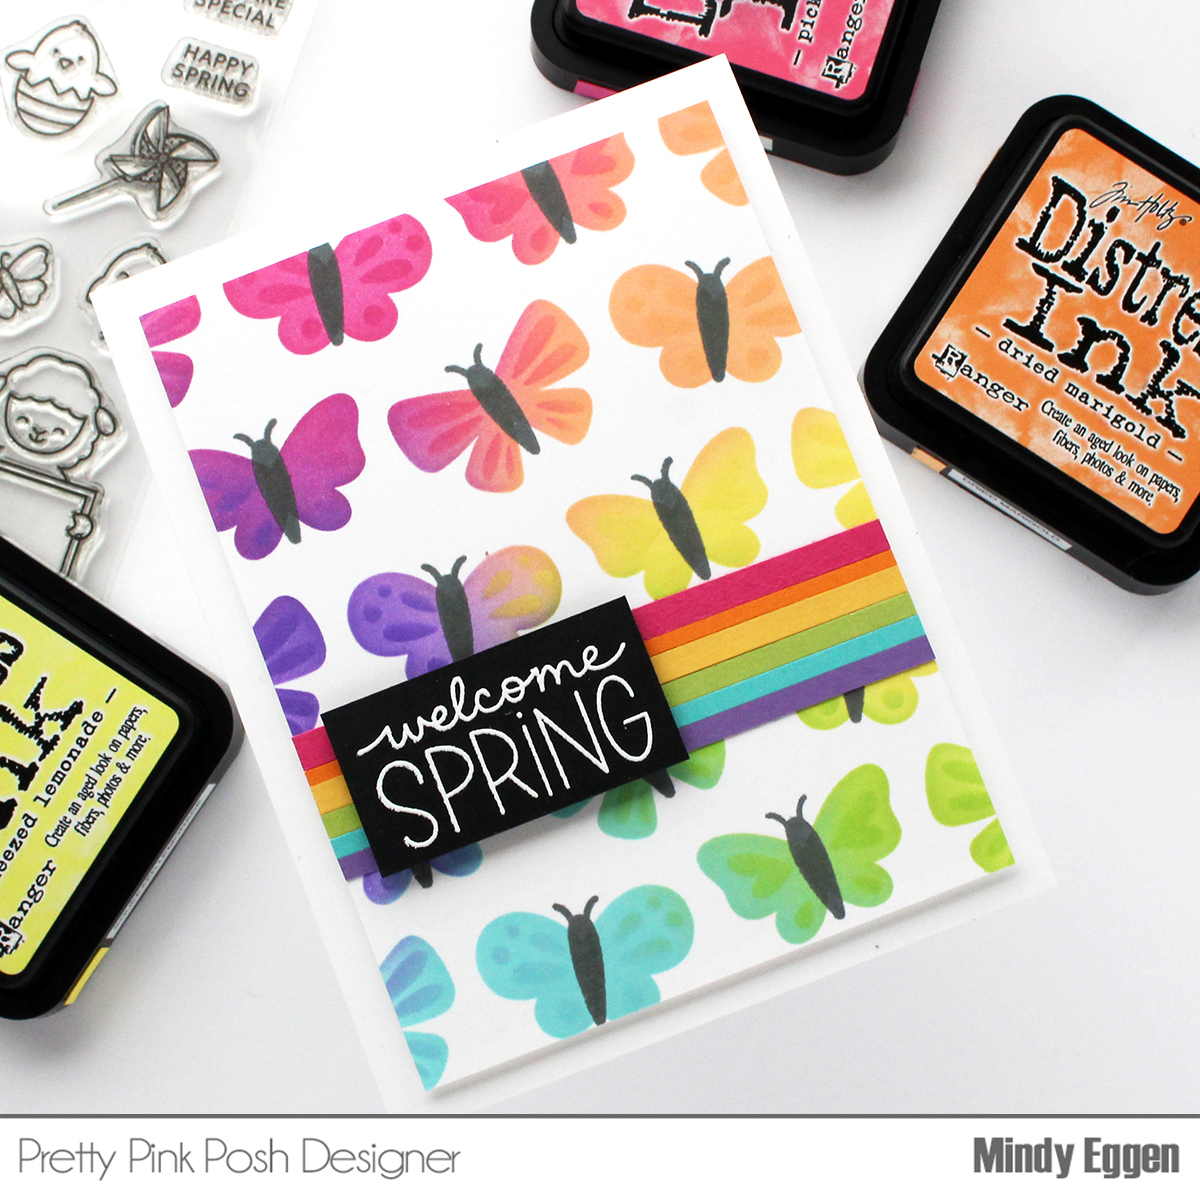
One of my favorite techniques is to do background stamping on a card front, but instead of using a background stamp, I used smaller individual stamps to create the background. I used the Spring Flowers stamp set and randomly stamped the flowers and leaves on a card panel that measures 5 3/8” x 4 1/8”. I like to think of this as creating my own pattern paper. After I stamped the images, I colored them with Zig Clean Color Real Brush pens. The colors I used are as follows: Deep Violet, Lilac, English Lavender, Bright Yellow, Yellow, Lemon Yellow, Brown, Olive Green, Light Green, Deep Red, Pale Rose, Sugar Almond Pink, and the Blender.
For the sentiment, I used the Celebration Scripts stamp set. I stamped out Happy Anniversary onto white cardstock and then used the coordinating dies to die cut the word “Anniversary.” I felt like the white cardstock from the sentiment blended into the background too much, so I decided to color the sentiment with the Yellow and Lemon Yellow Zig pens.
Next, I cut a piece of white cardstock to 5 ½” x 4 ¼” to be used for the bottom layer of the card. Because I wanted to bring out more of the yellow from the sentiment, I used my Yellow Zig pen to color the outside edges of the cardstock to match the sentiment. Finally, I added the panel to an A2 card base and added some of the Sparkling Clear Confetti Mix for some sparkle.
Thank you so much for stopping by today. Have a wonderful day!