Watercolor XOXO + Video
Hello crafty friends. It’s Lisa Mears here to share a card I made using the XOXO stamp set. For my card, I’m going to add it to a watercolor background full of reds and pinks. This card is perfect for Valentine’s Day or just to send a card of love.
Watch the video above I Watch the video in HD on YouTube
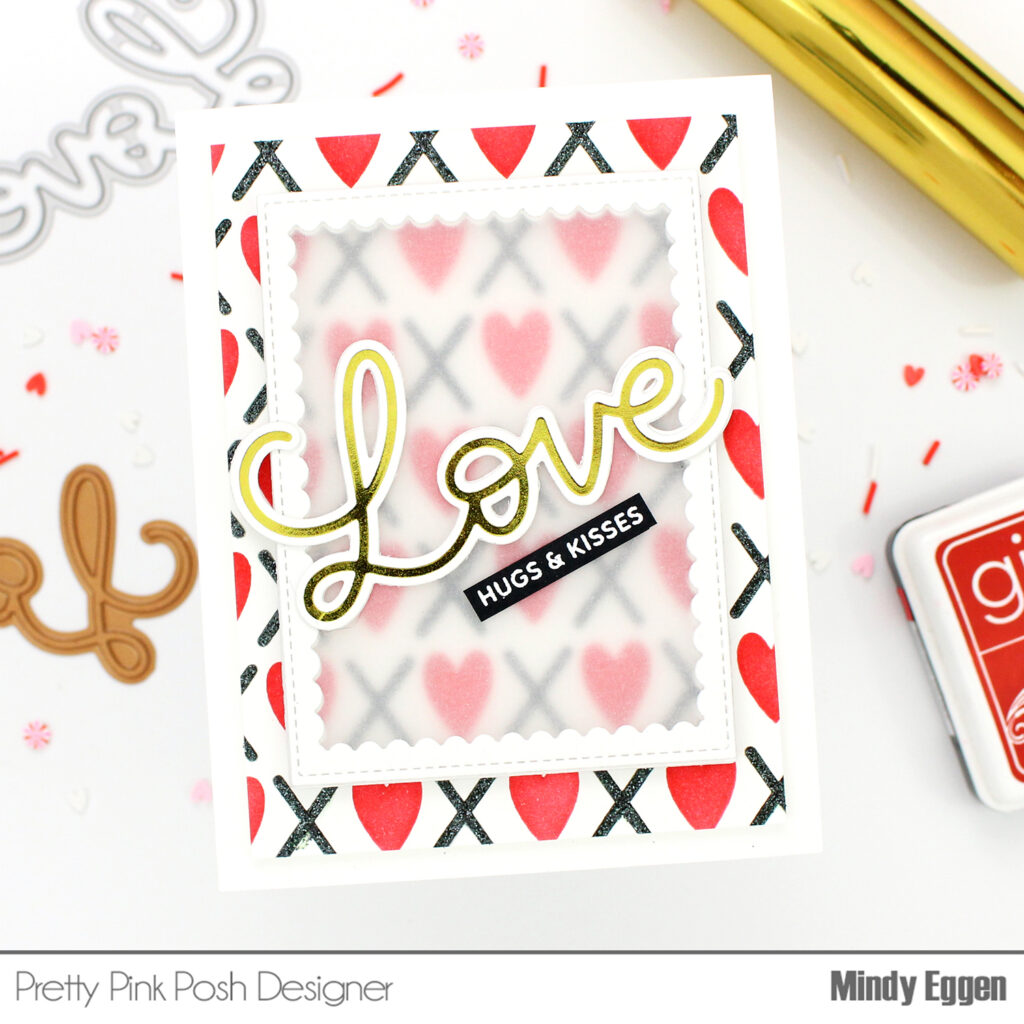
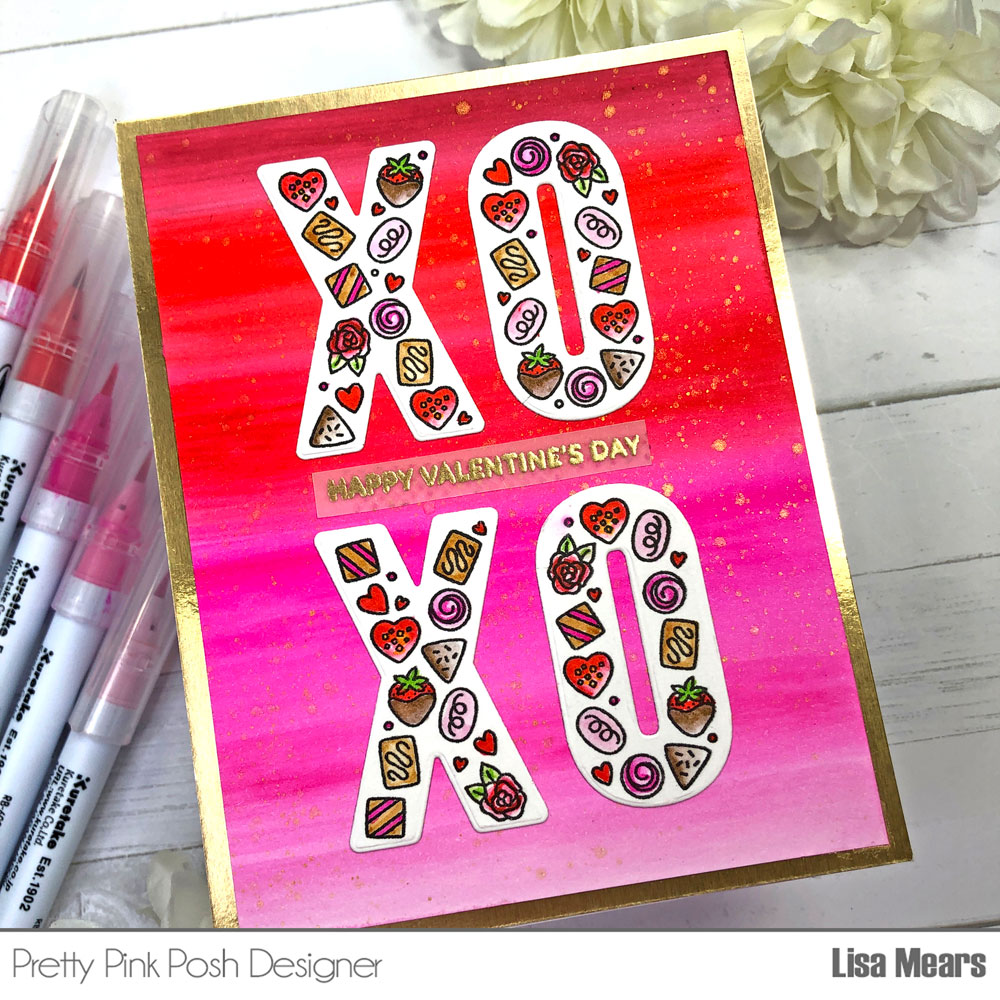
For the card background, I used a piece of Bristol Smooth cardstock that I cut to 4 1/8” x 5 3/8”. I created a blend of beautiful reds and pinks using Zig Clean Color Real Brush Pens. These pens are watercolor pens and any watercolor pens would work with this technique. I started at the top of the cardstock by adding ink from left to right with my darkest color and ended at the bottom of the cardstock with my lightest color. I added the colors in the following order: Deep Red, Carmine Red, Pink, Peach Pink, and Sugared Almond Pink. After adding the ink to the cardstock, I used a water brush to spread the ink. I love how beautifully the ink colors blended together. Next, I flicked some gold pigment ink onto the background. I set the background aside to dry.
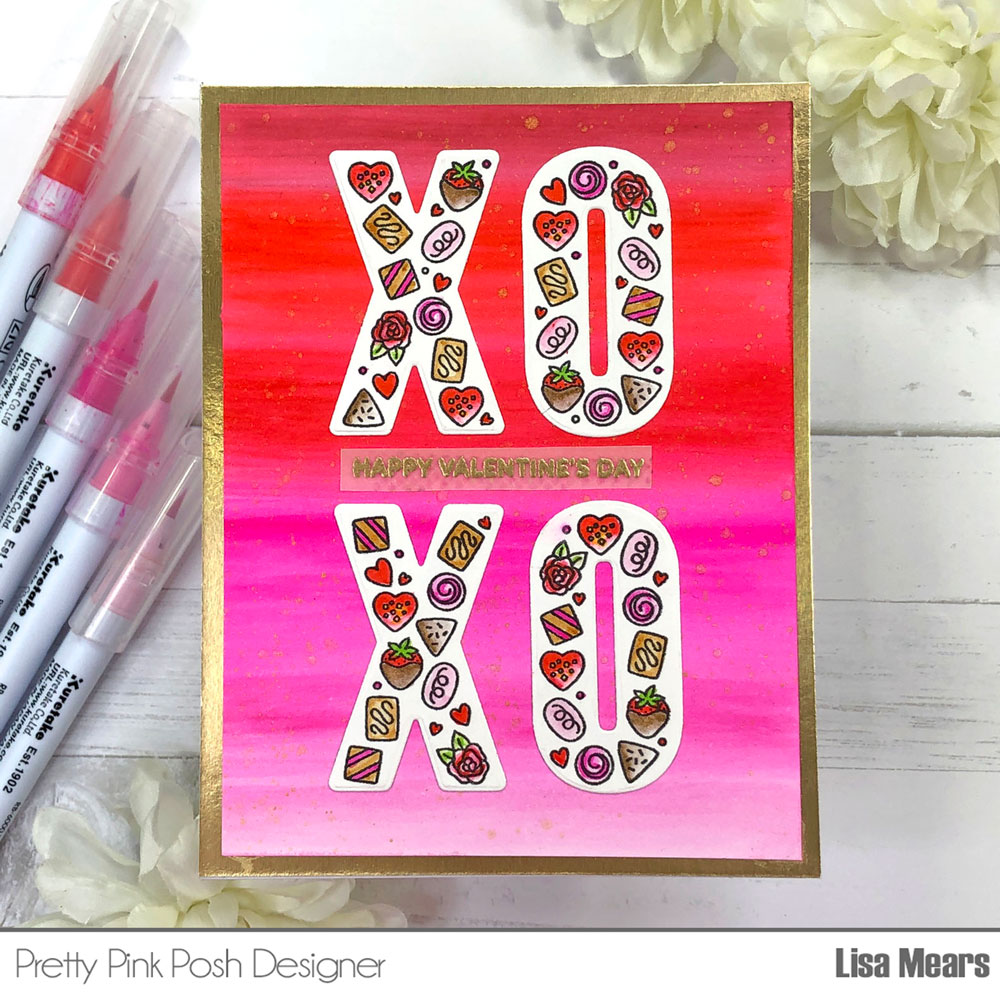
I stamped the large XOXO stamp onto Bristol Smooth Cardstock and colored the images. I die cut the XOXO stamp with the coordinating dies. I added the XOXO stamp to the watercolor background.
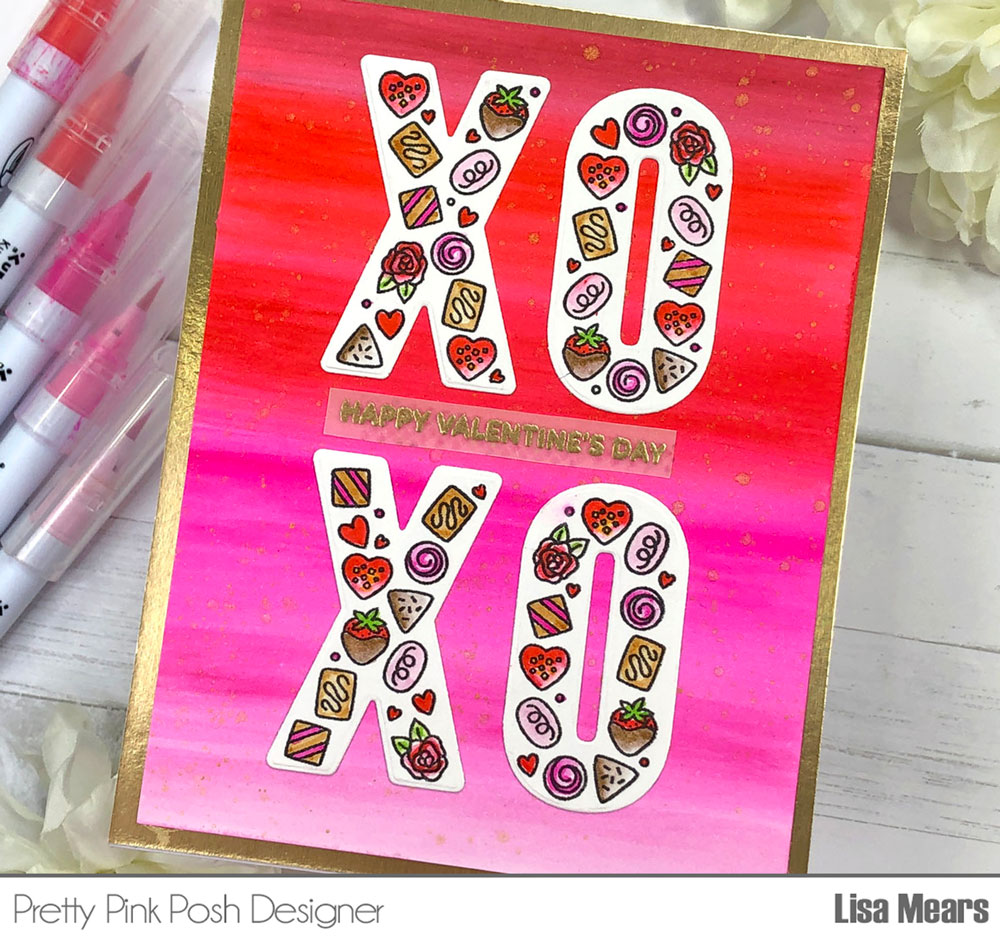
I stamped the sentiment “Happy Valentine’s Day“ onto vellum with Versamark ink and added gold embossing powder.
Finally, I added the watercolor background to a piece of gold cardstock. I used gold cardstock to bring out the splatters of gold in the watercolor background and in the sentiment. Finally, I added it to an A2 card base.
Thank you so much for stopping by today. Have a wonderful day!