Get Well Soon
Hello friends. It’s Lisa Mears on the blog today sharing a get well soon card that I made with the Get Well Soon stamp set.
Watch the video above I Watch the video in HD on YouTube
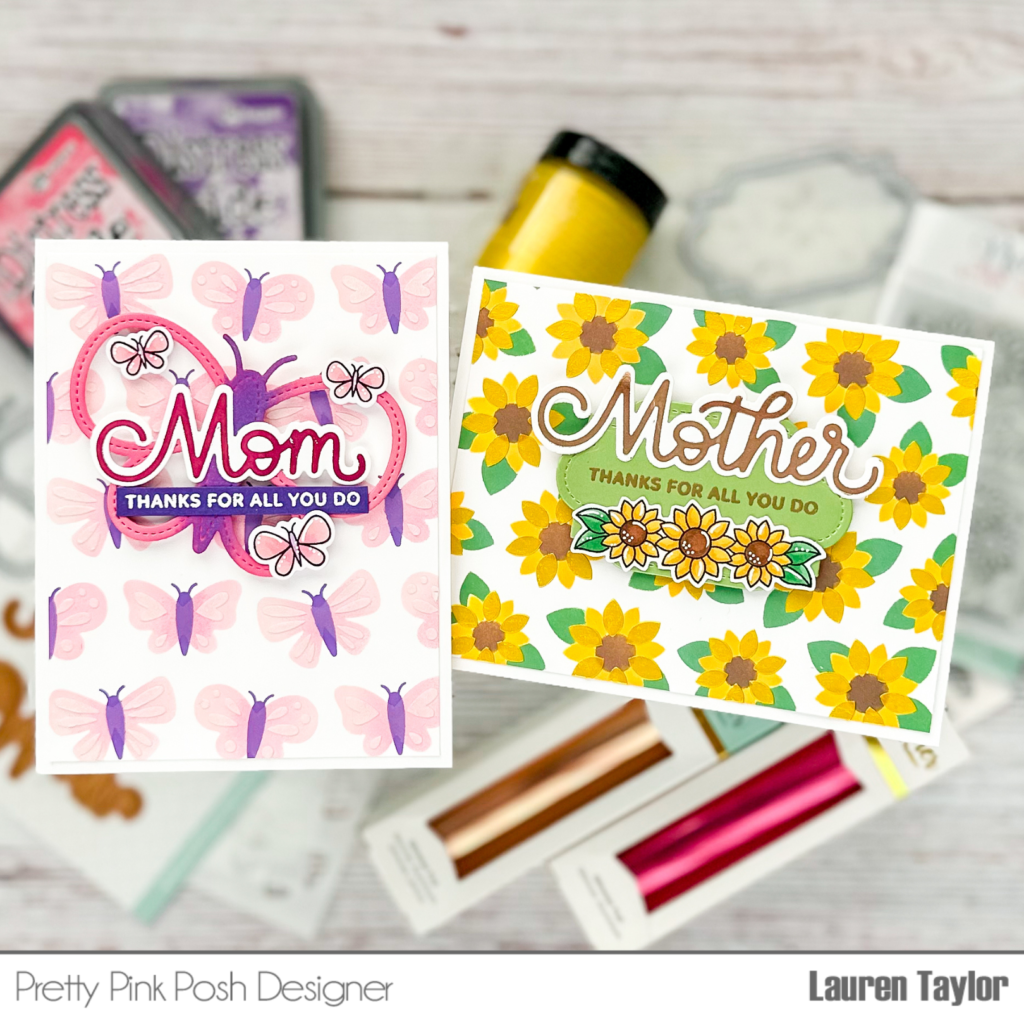
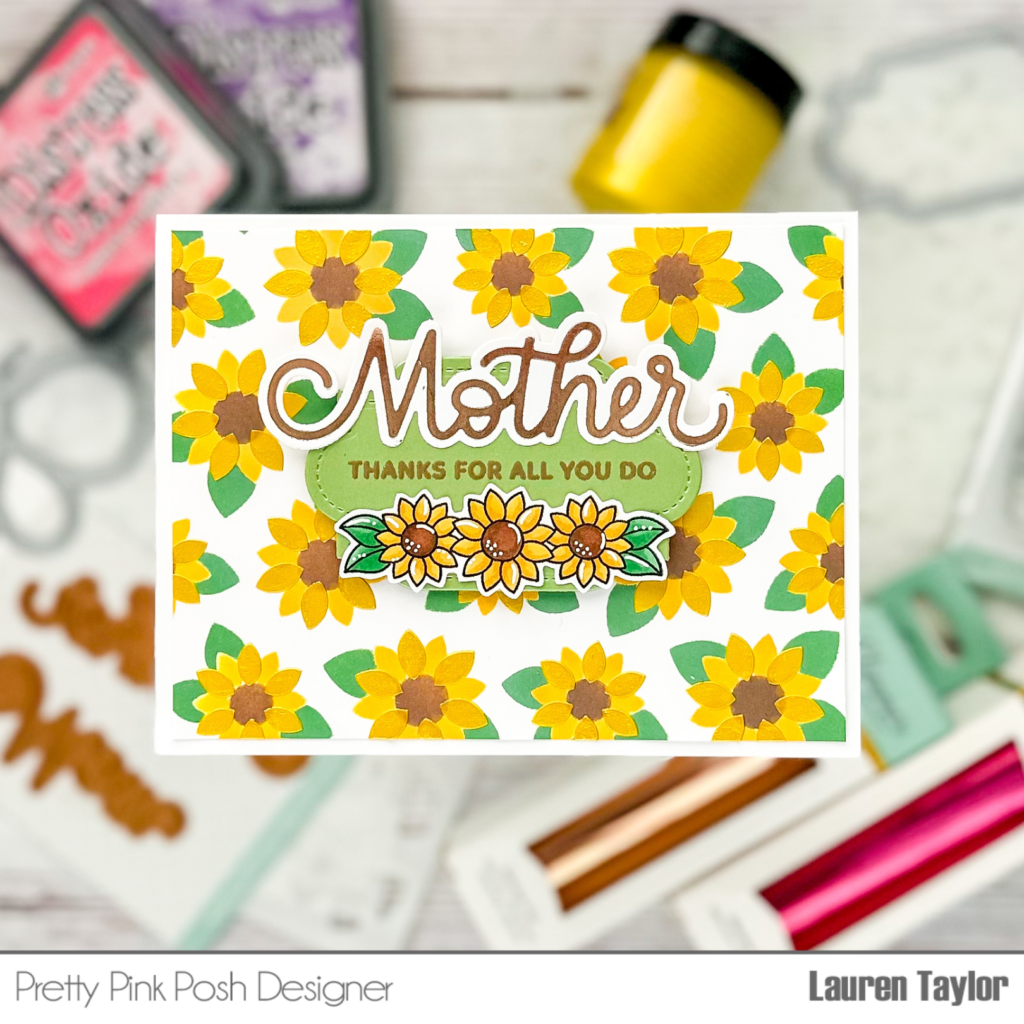
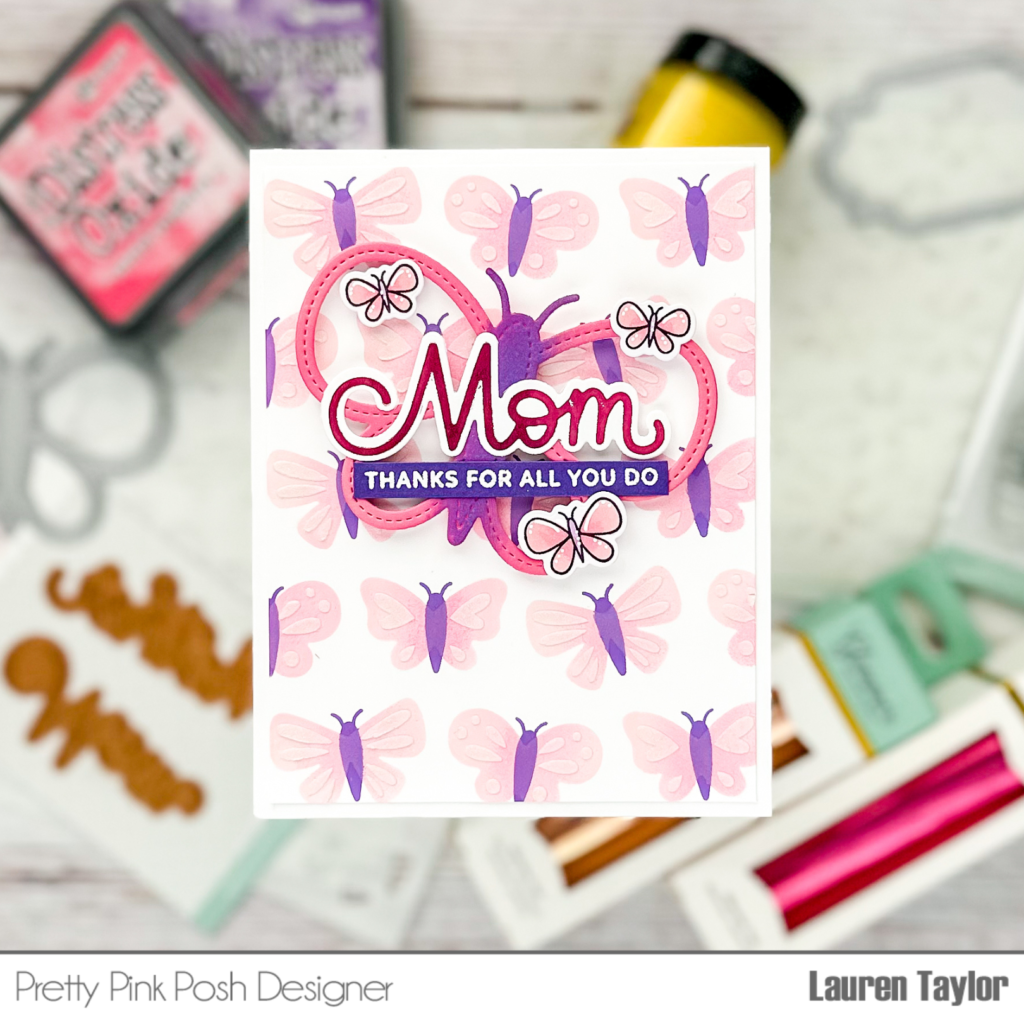
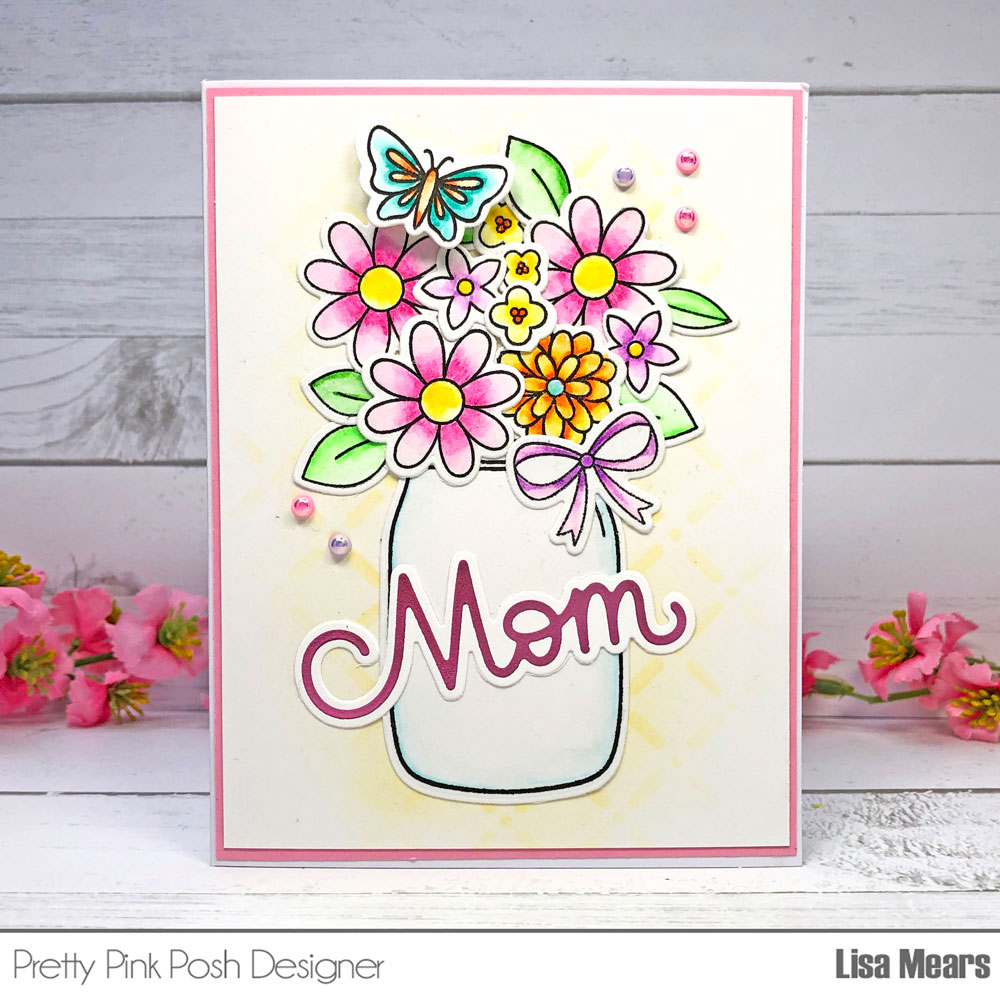
The Get Well Soon stamp set has a lot of cute images such as a tissue box, tea cup, soup bowl, thermometer, bandaid, bouquet of flowers, and several sentiments. I wanted to use several of the images on my card so I decided to stamp many of them in a random pattern on the cardstock to create my own pattern paper.
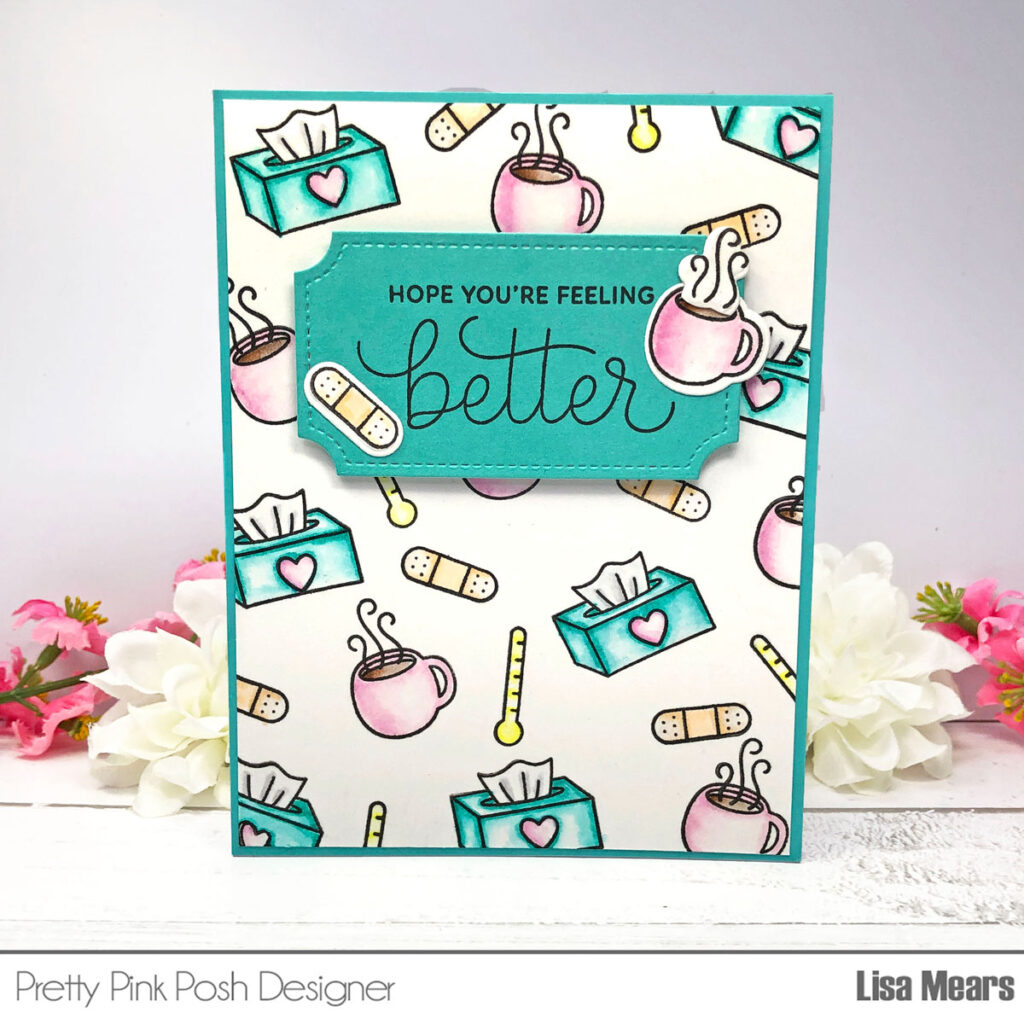
I stamped the images onto Bristol Smooth cardstock that I cut to 4 1/8” x 5 3/8” and colored them with Zig Clean Color Real Brush pens in the following colors — Turquoise Green, Sugar Almond Pink, Flesh Colour, Lemon Yellow, Pale Gray, Mid Brown, and the Blender. After I colored them, I die cut them with the coordinating dies.
I die cut the label for the sentiment using the Get Well Soon coordinating die set and stamped a sentiment on it. I added the label to the card with foam to give it some dimension and then added a few more stamps around the sentiment.
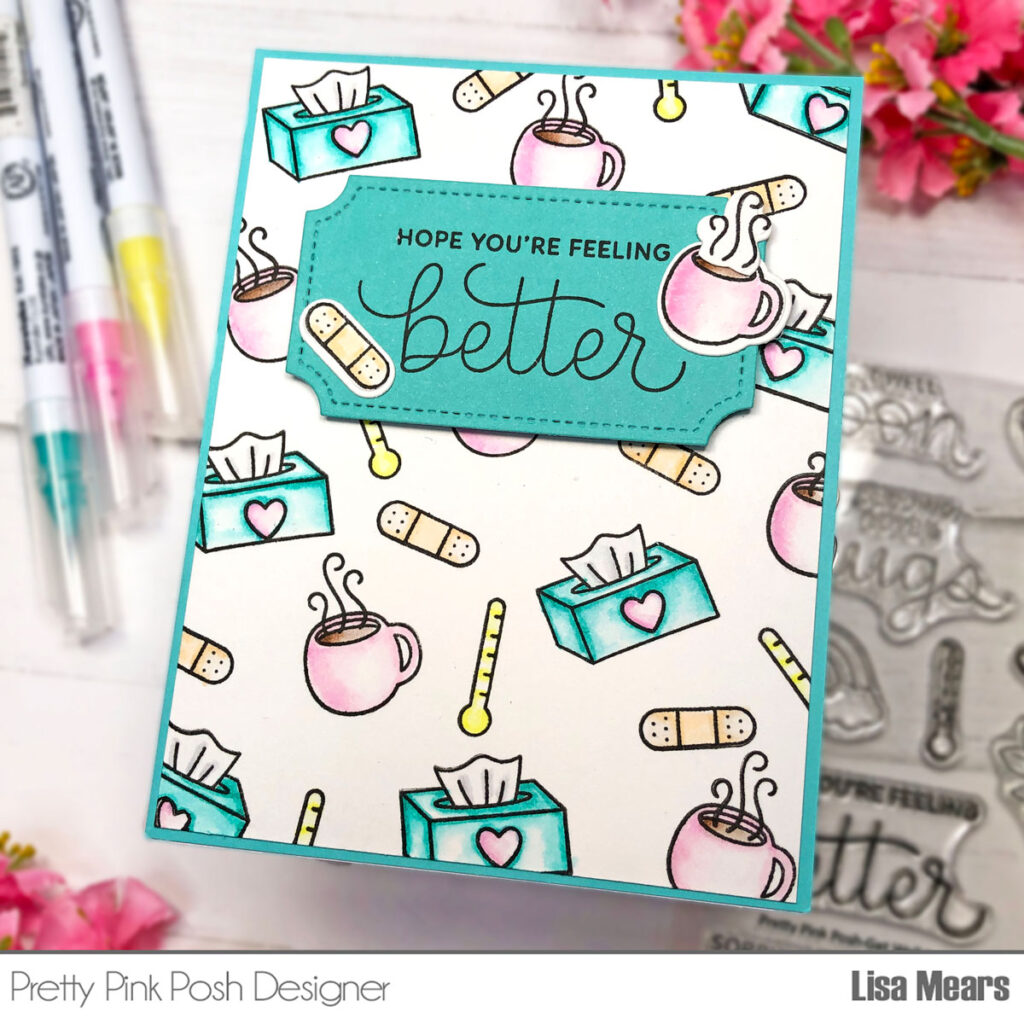
Finally, I added the stamped card layer to a piece of teal cardstock that measures 4 1/4” x 5 1/2” and then added it to an A2 card base.
Thank you for stopping by today. Have a great day!
Lisa Mears