
Creating A Halloween Scene
Hello crafty friends. It’s Lisa Mears here. Halloween cards are so much fun to make and I created a cute Halloween scene with some fun new Halloween products from the Pretty Pink Posh.
Watch the video above I Watch the video in HD on YouTube
I started off by coloring the mummy bear image from the Halloween Critters stamp set. I colored it with Zig Clean Color Real Brush pens. The colors I used are as follows: —-Bandages – Gray, Light Gray, Blender—-Body – Brown, Blender —-Nose – Black —-Inside Ear – Beige —-Pumpkin – Orange, Bright Yellow
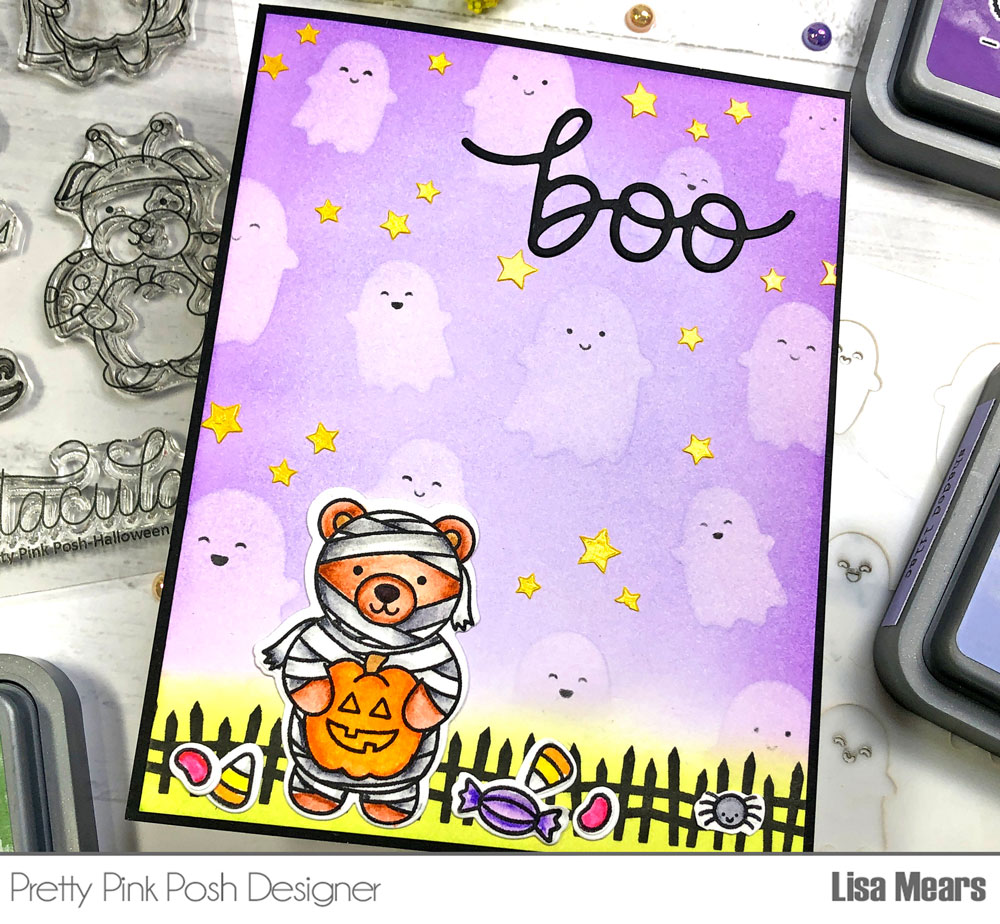
I also colored some of the images from the Halloween Envelopes stamp set, specifically the candy and a spider. The colors I used are as follows: —-Jelly Bean – Carmine Red, Blender —-Candy Corn – Bright Yellow, Orange, Light Gray —-Candy – Violet —-Spider – Black, Blender
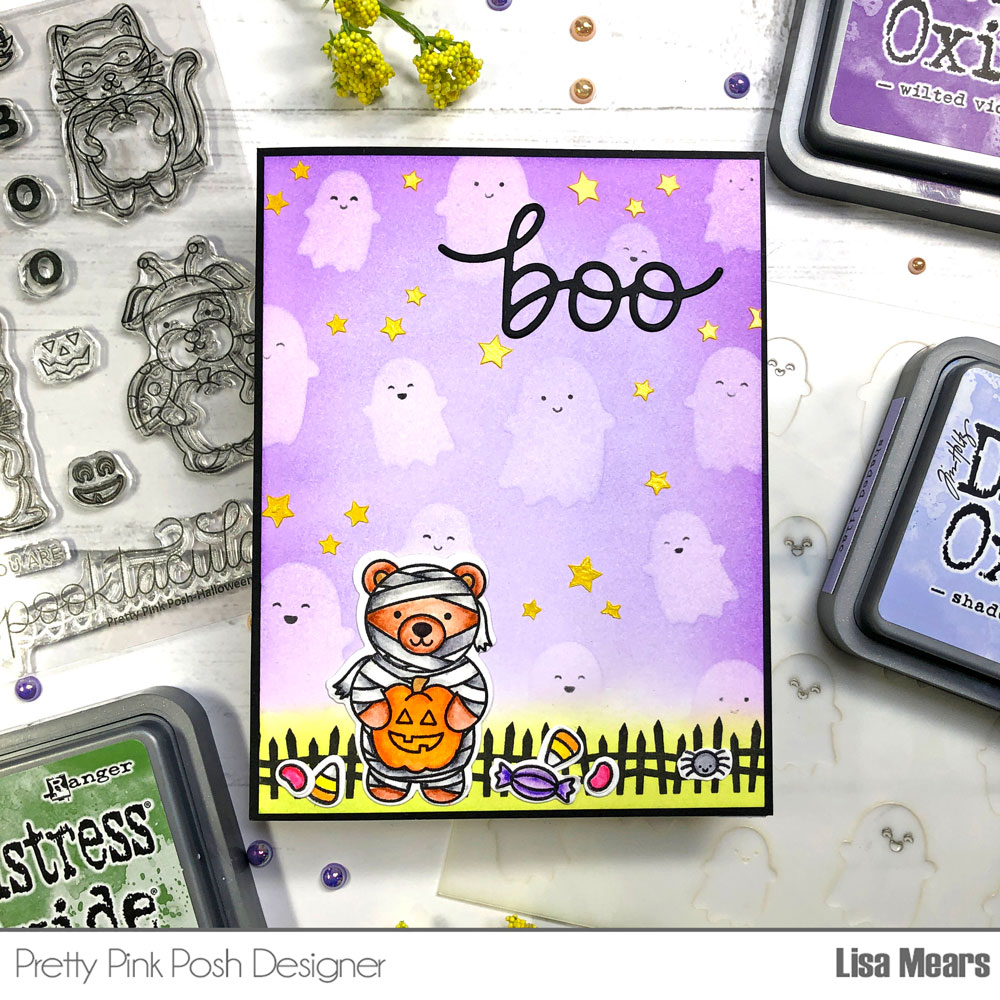
For my background, I cut a piece of cardstock to 4 1/8″ x 5 3/8″. I added Twisted Citron Distress Oxide ink to the bottom inch of the cardstock which will represent the grass for my Halloween scene. Next, I added Shaded Lilac Distress Oxide ink all over the remaining background. Finally, I added Wilted Violet Distress Oxide ink around the edges.
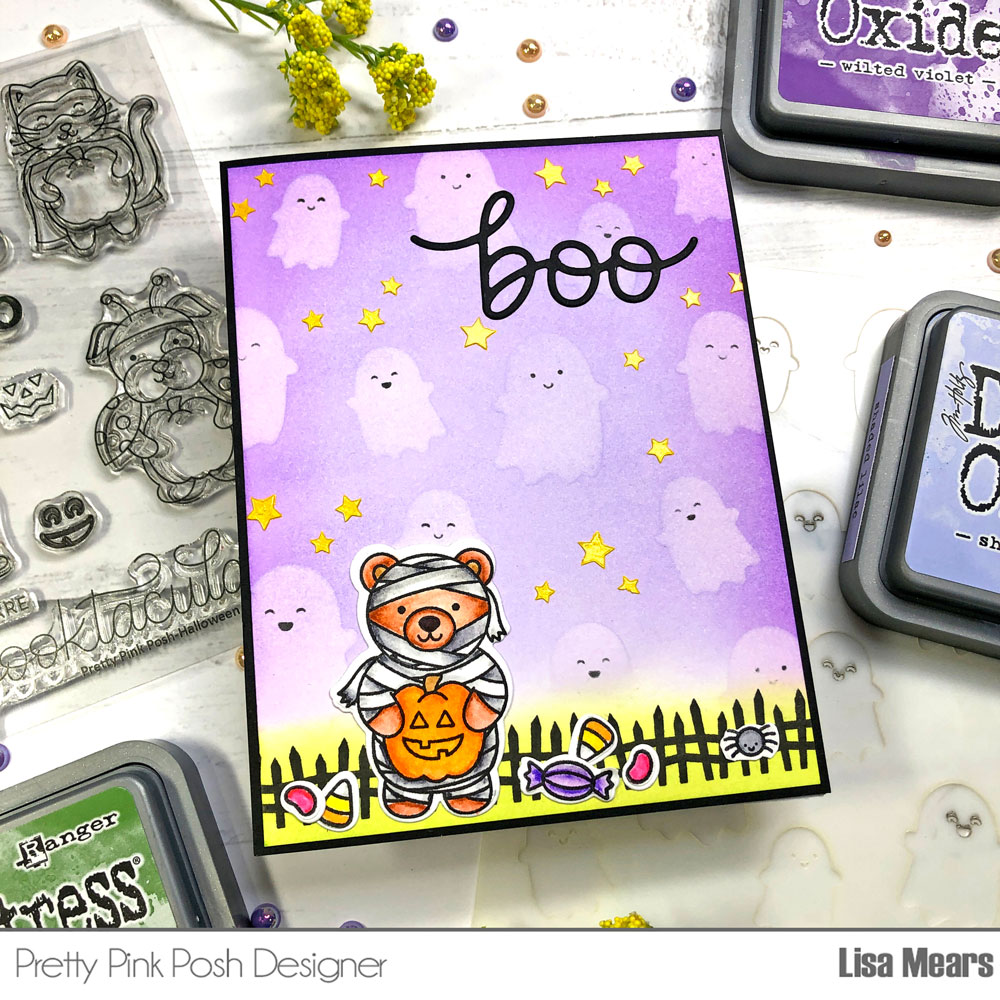
After I inked the entire background, I was ready to do some stenciling. The stencil I used is the Layered Ghosts Stencil. I placed Stencil A over the background. This stencil is the one with the shape of the ghosts. I wanted a very subtle ghost background so I added a white pigment ink to the ghosts. Next, I placed Stencil B on the background. This stencil contains ghost faces and I added them with a black ink. Finally, I added Stencil C which contains the stars. I used Picket Fence Studios Paper Glaze in Daffodil Yellow along with a palette knife to add the glaze. The glaze not only made the stars bright yellow, but it also added some dimension to my background which I love!
After my background dried, I stamped the fence from the Halloween Borders stamp set onto the green grassy portion of the card layer using a black ink. I added my critter from the Halloween Critters stamp set, some candy from the Halloween Envelopes stamp set, and the word “boo” from the Boo Script die set.
Finally, I added this layer to a piece of a black cardstock that I cut to 4 ¼ x 5 1/2” and then added it to an A2 card base which is 4 1/4″ x 5 1/2″.
Thank you so much for stopping by today. Have a spooky day!
Super card. Well done!