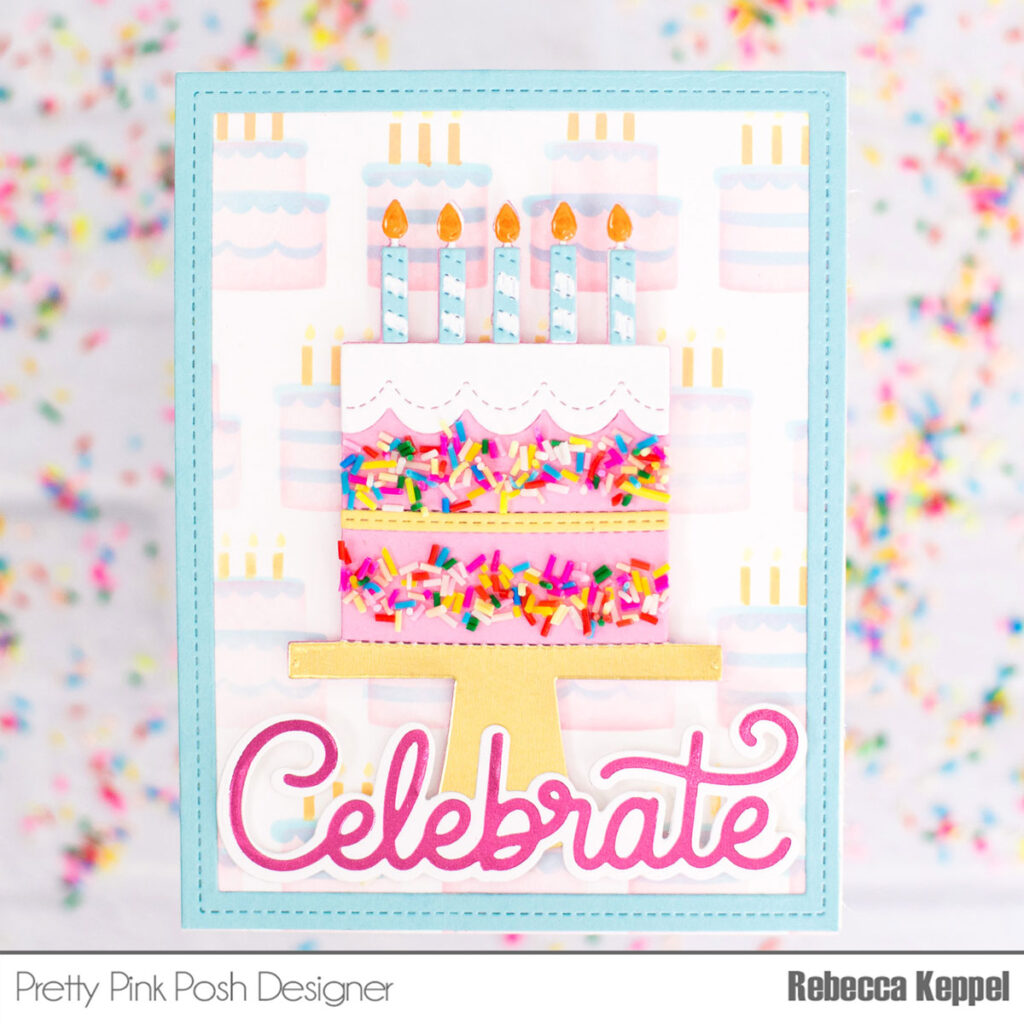
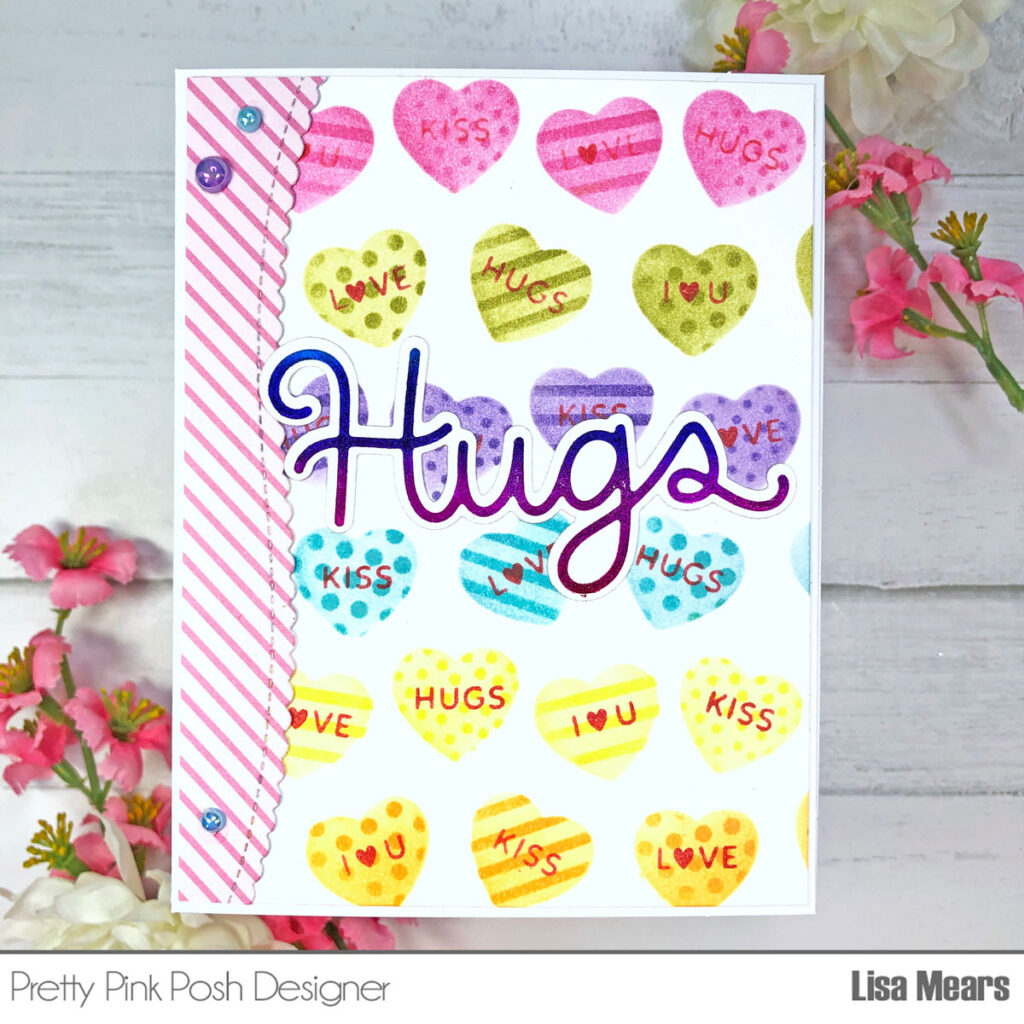
Decorated Party Cake
Hello crafty friends. It’s Lisa Mears here. Today I’ll be making a birthday shaker card using some new products from the birthday release.
Watch the video above I Watch the video in HD on YouTube
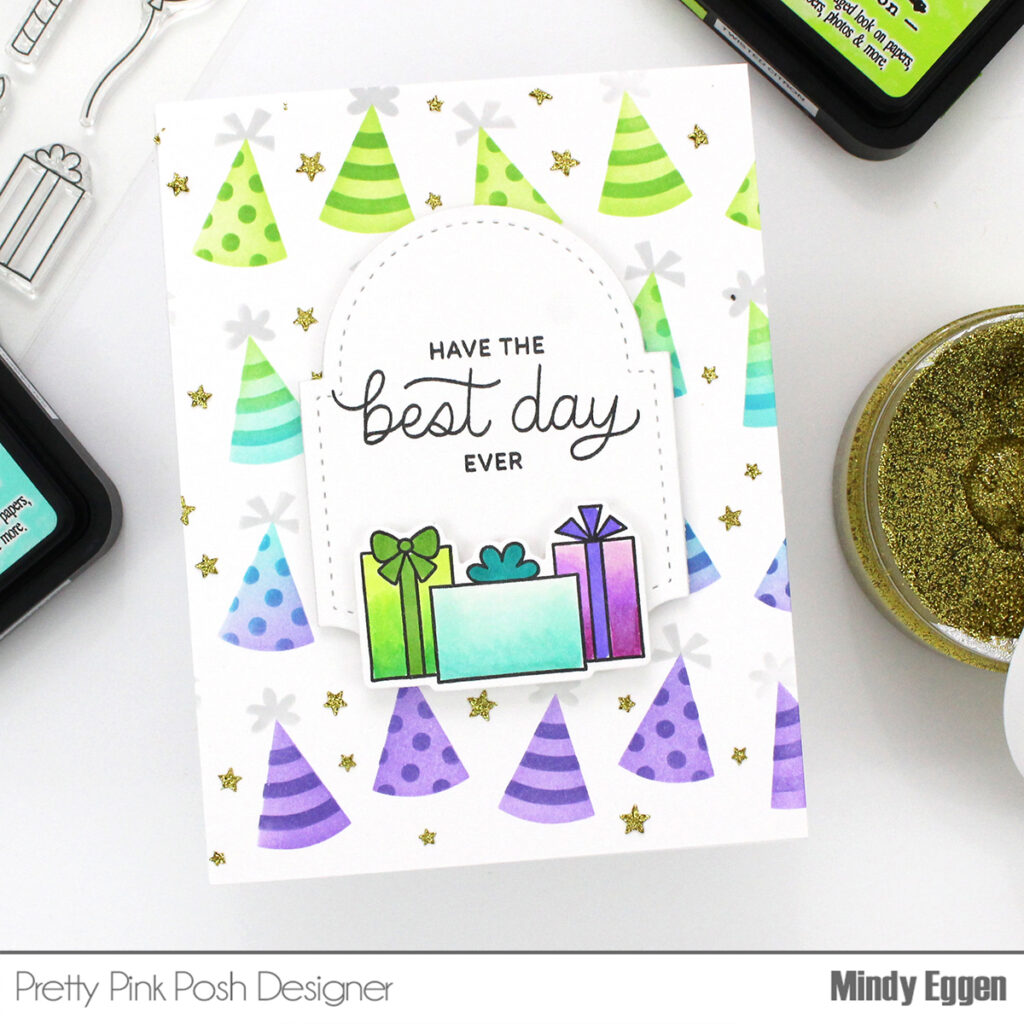
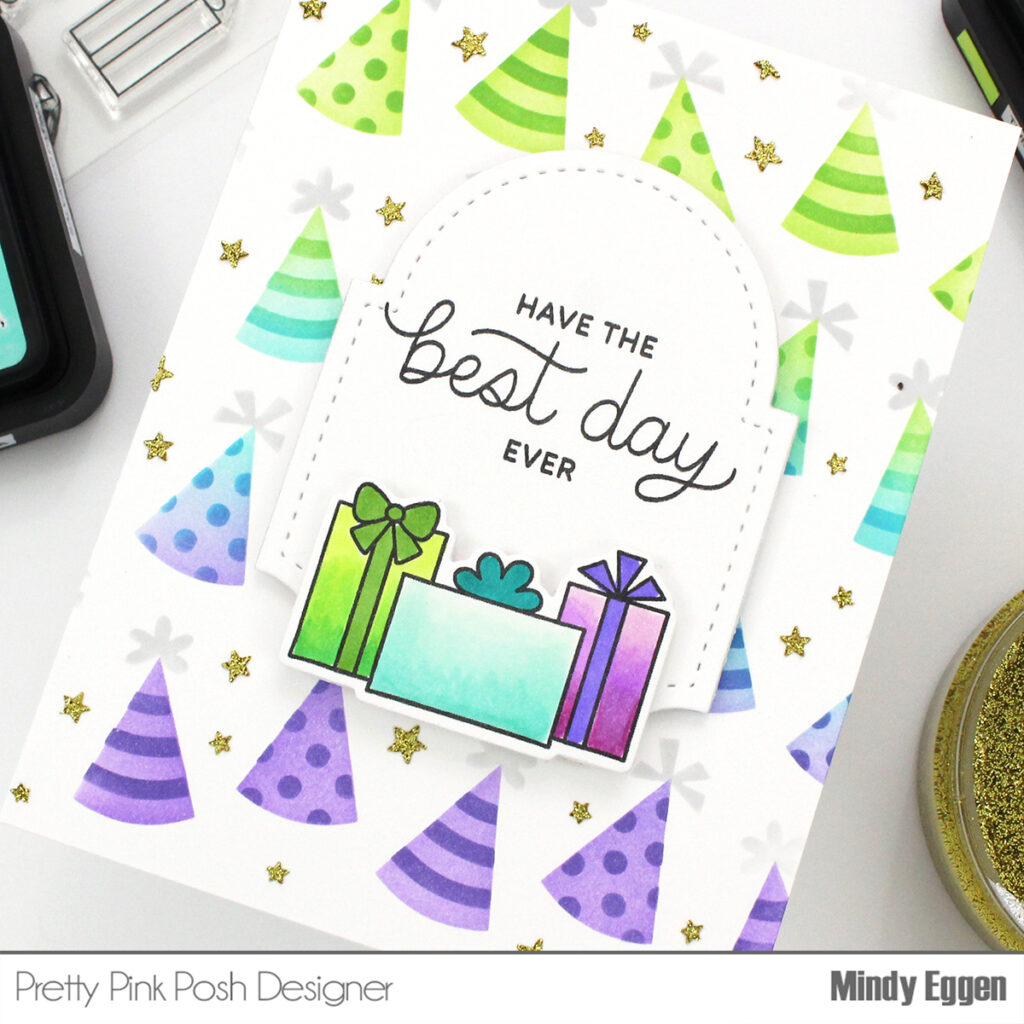
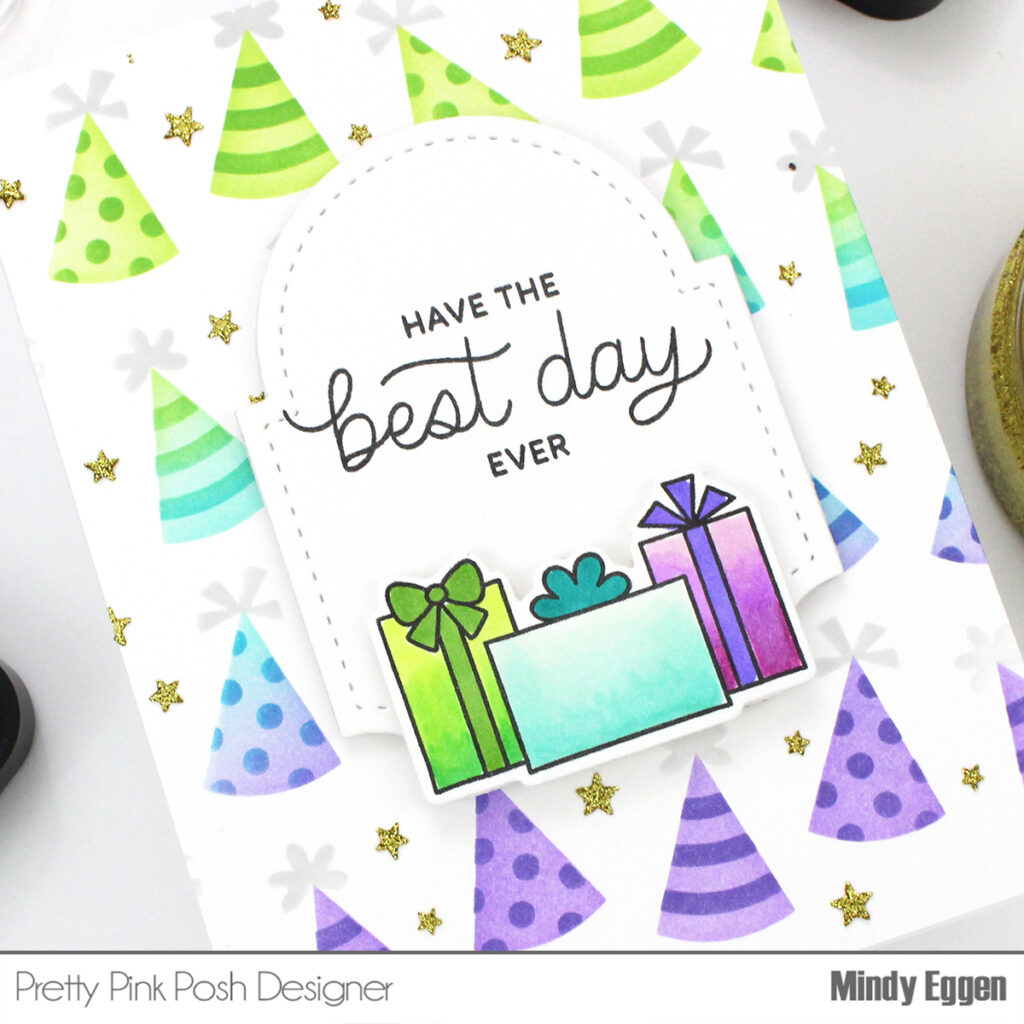
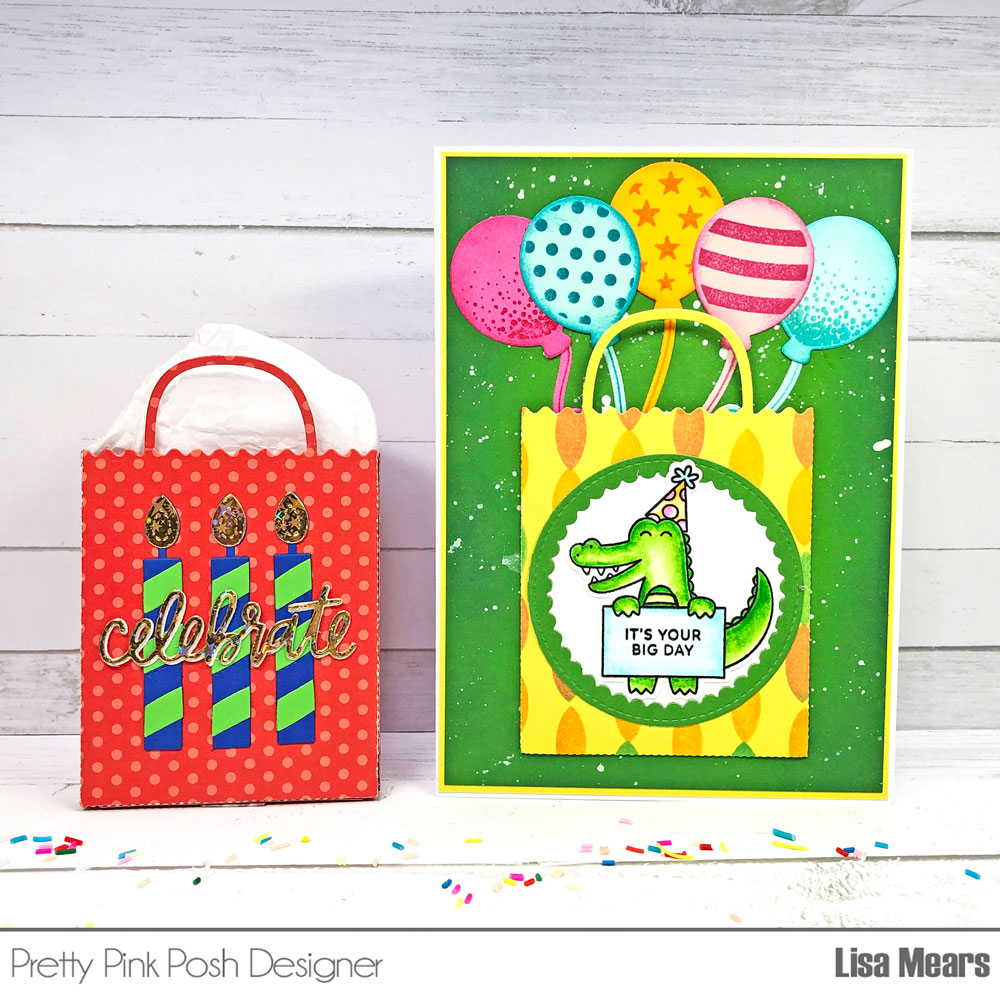
Starting with the Streamers Stencil, I cut my cardstock to 4 1/4” x 5 1/2”. I used three ink colors to ink the stencil. The inks I used are Spun Sugar, Dried Marigold, and Squeezed Lemonade. I used a different color for each row of the stencil.
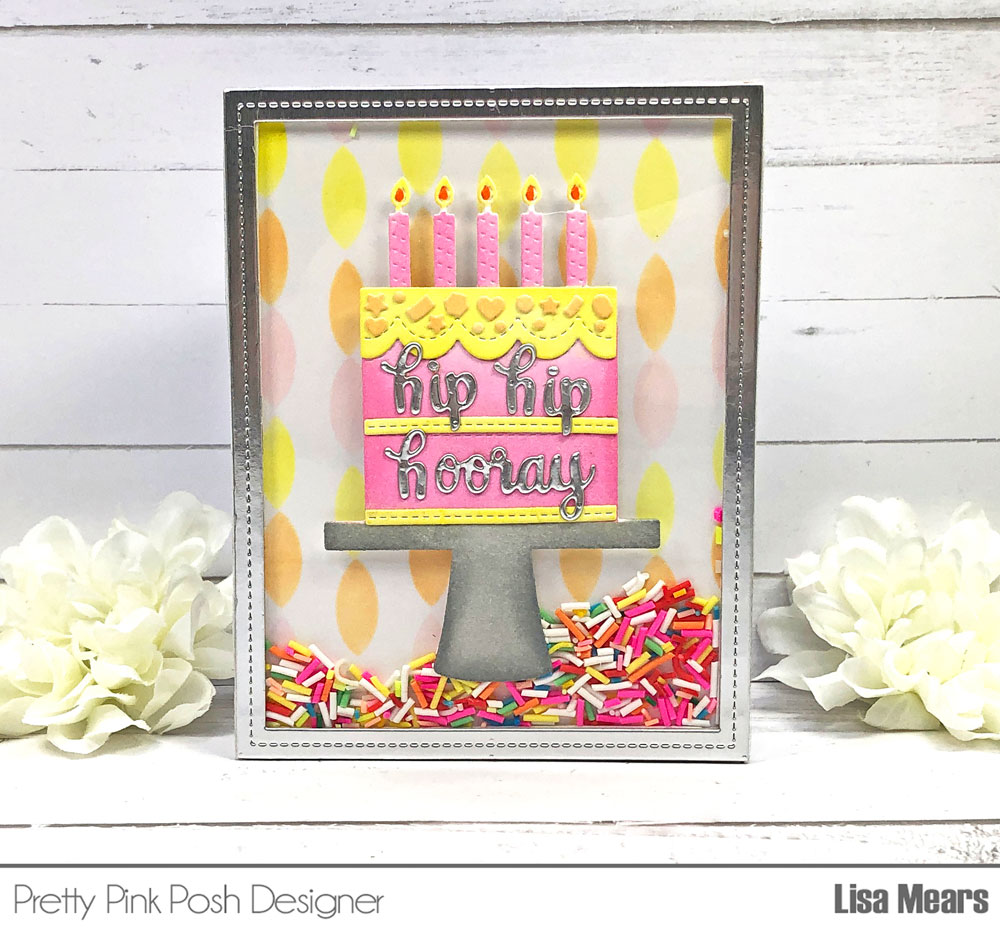
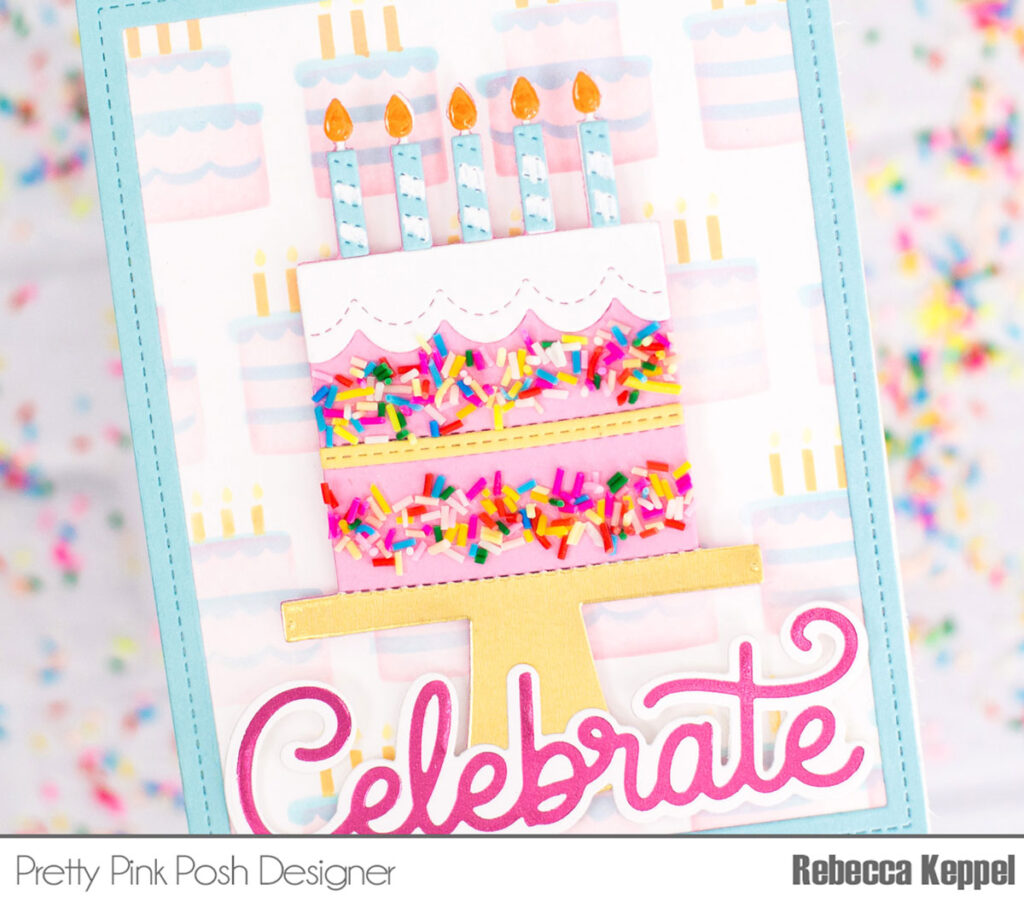
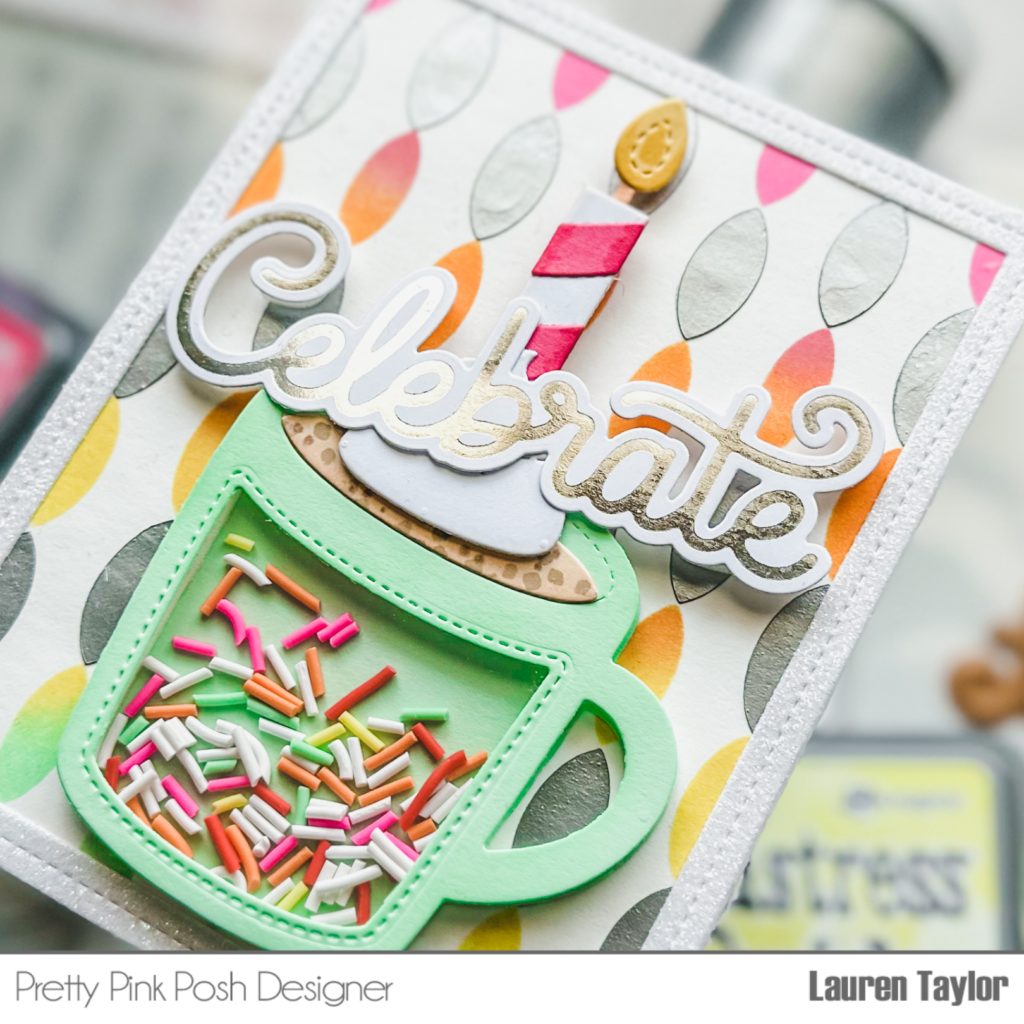
Next, I used the Fancy Cake die set and I die cut the cake and cake layering dies with white cardstock. I masked off sections of the cake die cut as I inked the sections with the following inks:
Cake and Candles – Kitsch Flamingo
Candle Flames and Frosting – Squeezed Lemonade
Sprinkles – Dried Marigold
Cake Stand – Hickory Smoke
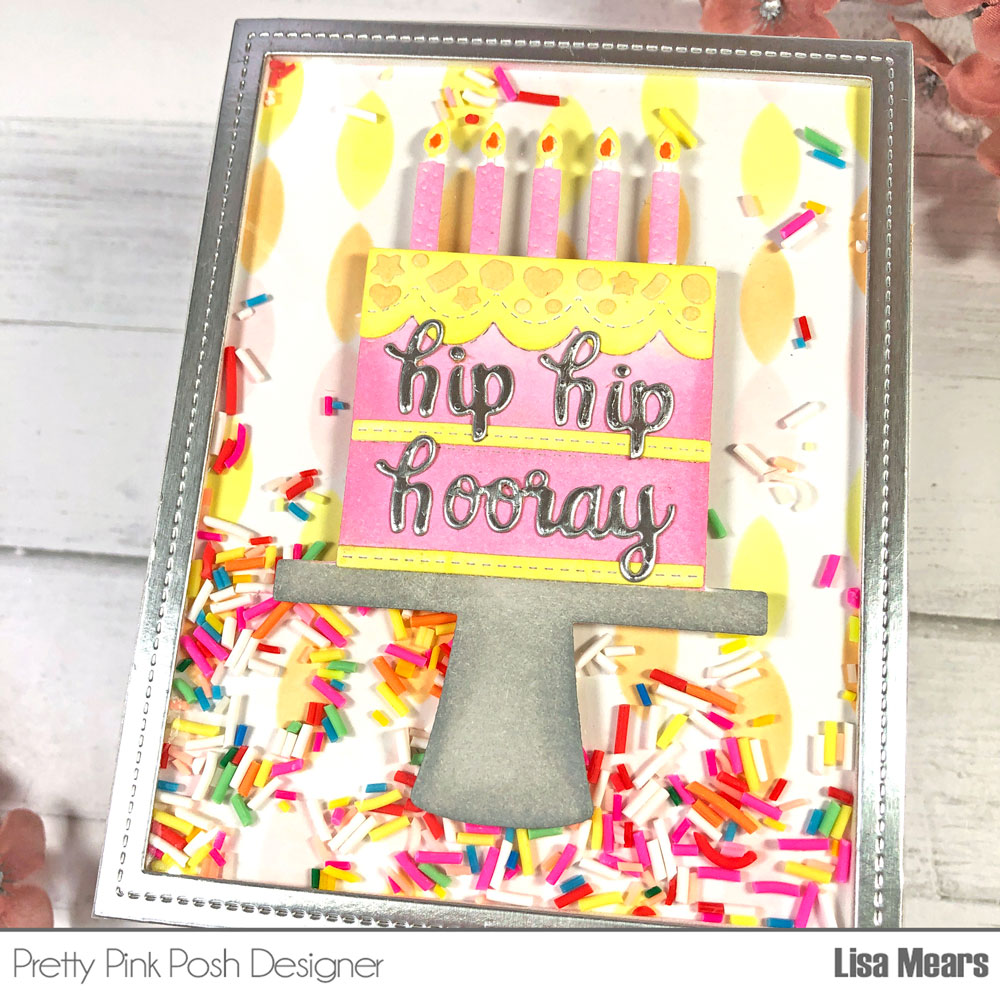
I used an orange marker and added a bit of orange color to the center of the candle flames.
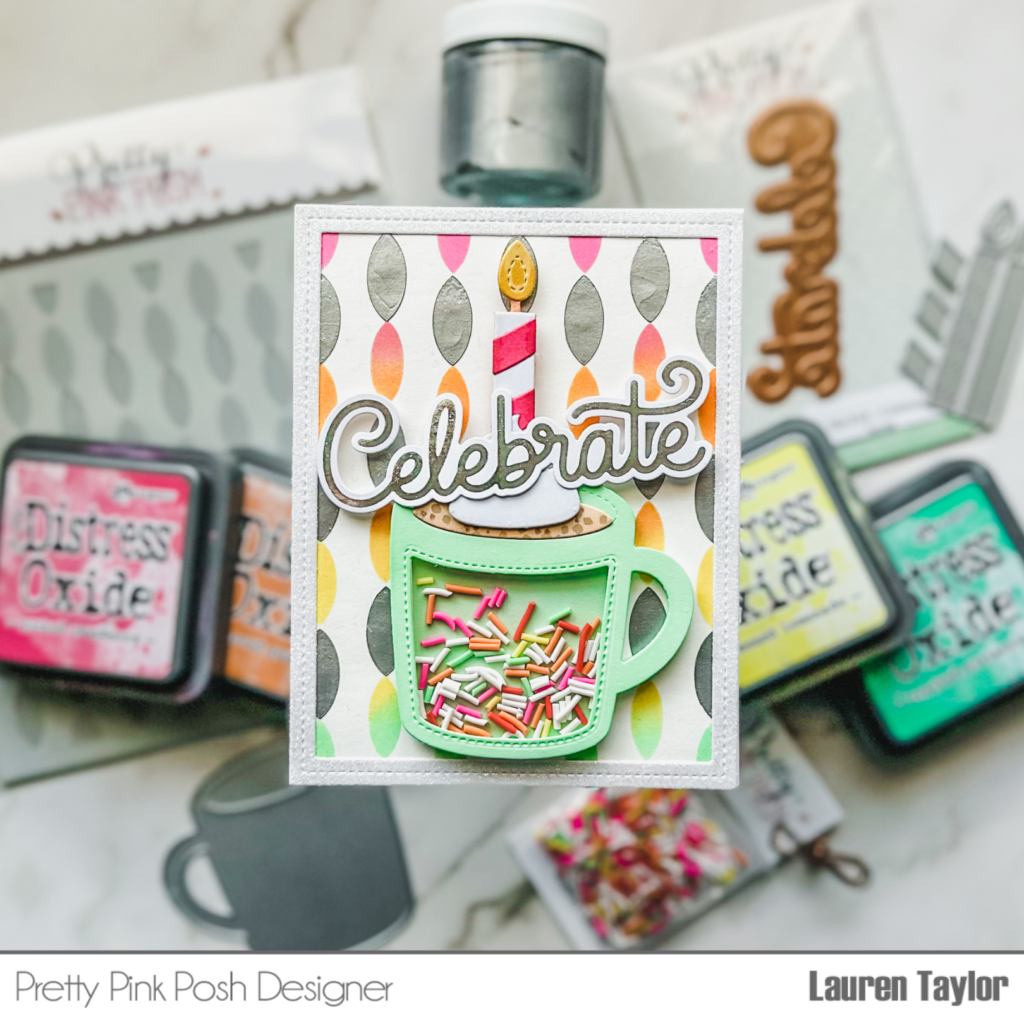
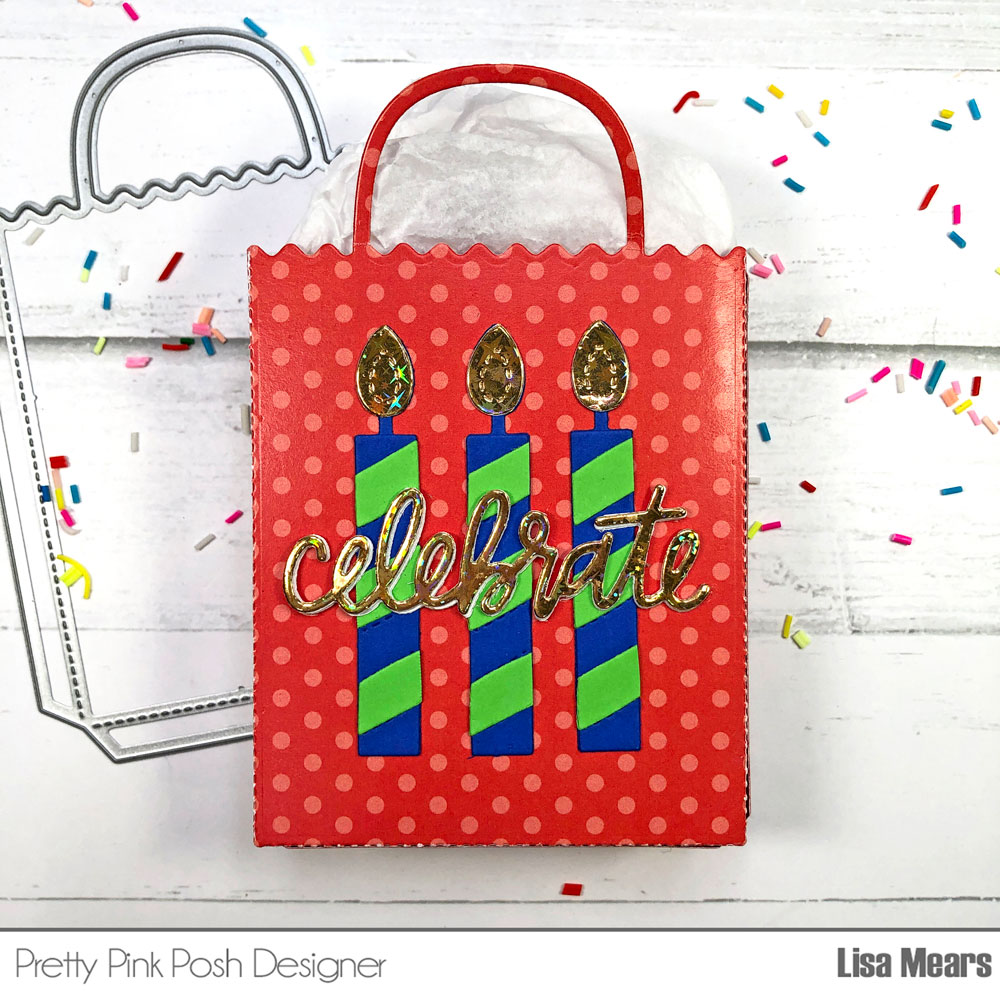
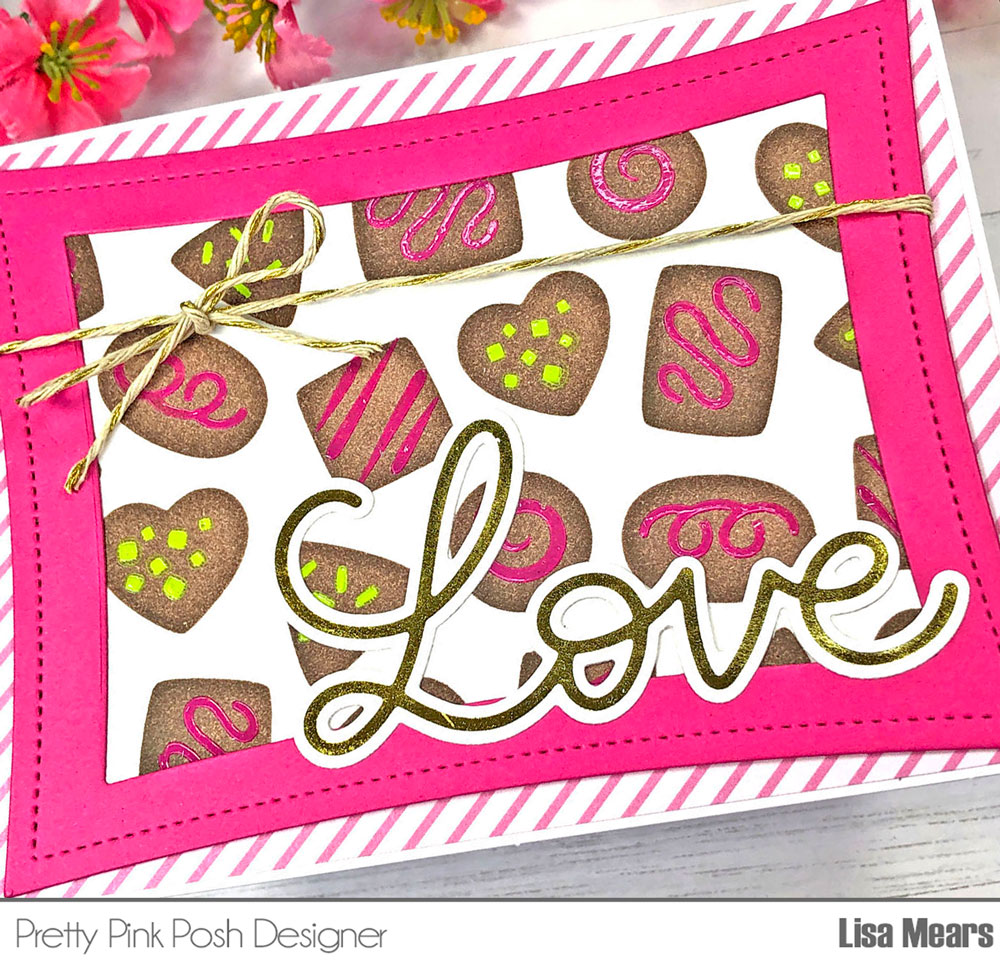
I die cut the word die, hip hooray, twice from silver cardstock. I added the sentiment “hip hip hooray” to the cake layers.
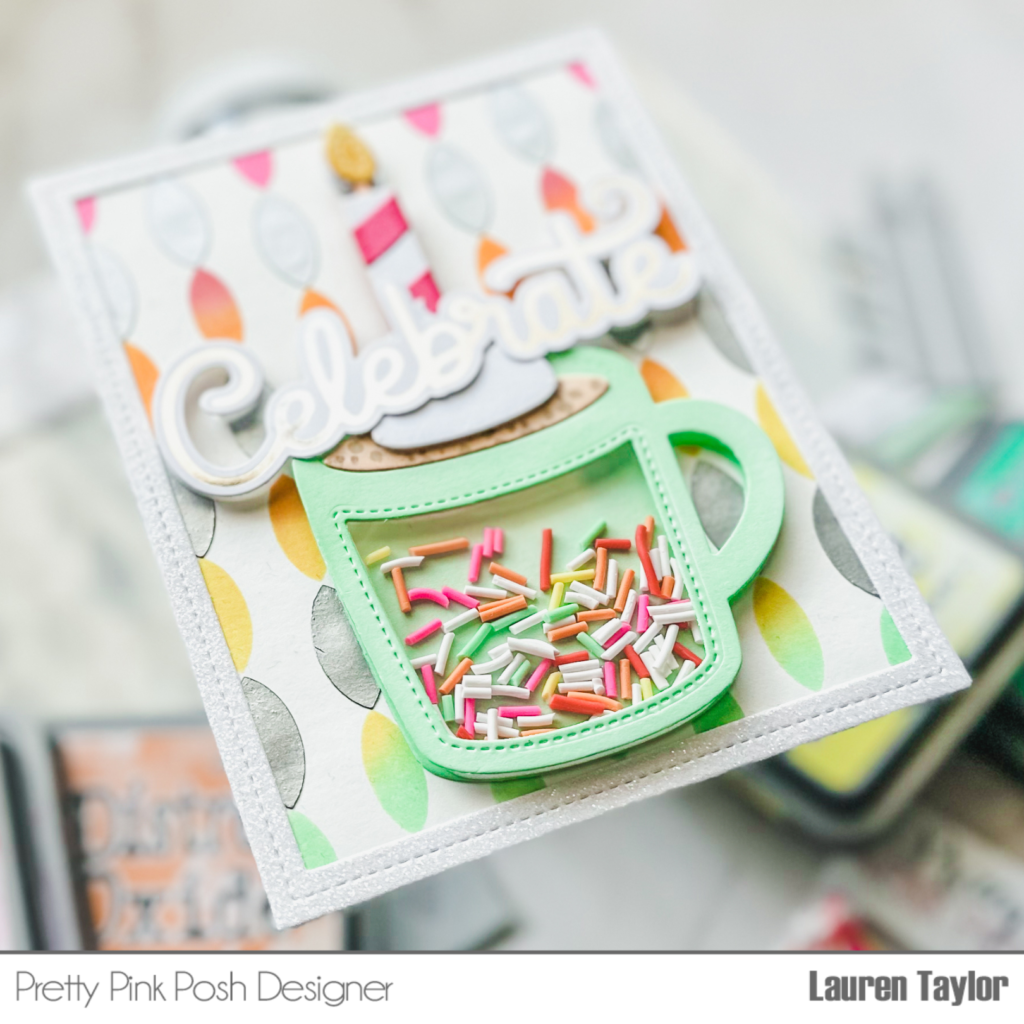
To make the shaker card, I die cut the rectangle frame from the Fancy Cake die set with silver cardstock. I added the frame to a piece of acetate and added foam strips on the back. Next, I added the Birthday Cake Clay Confetti and Funfetti Clay Confetti to the center of the stenciled background and added the frame on top.
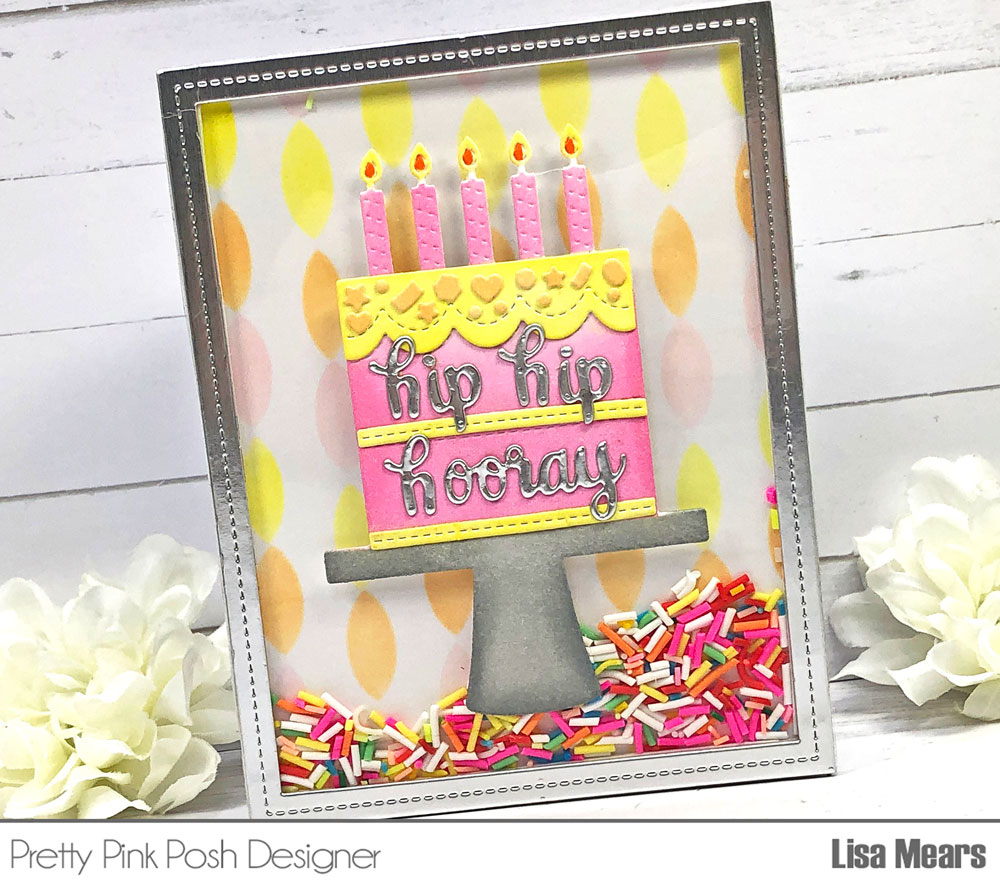
Finally, I added the cake to the center of the frame and added the shaker frame to an A2 size card base.
Thank you so much for stopping by today. Have a wonderful day!
Lisa Mears