
Birthday Layering Stencil + Video
Hey friends! It’s Mindy and I’m here to share some birthday inspiration with the Layered Party Hats stencil.
Watch the video above I Watch the video in HD on YouTube
For the first layer of the stencil, I’m going to use Twisted Citron, Salvaged Patina and Wilted Violet Distress Inks.
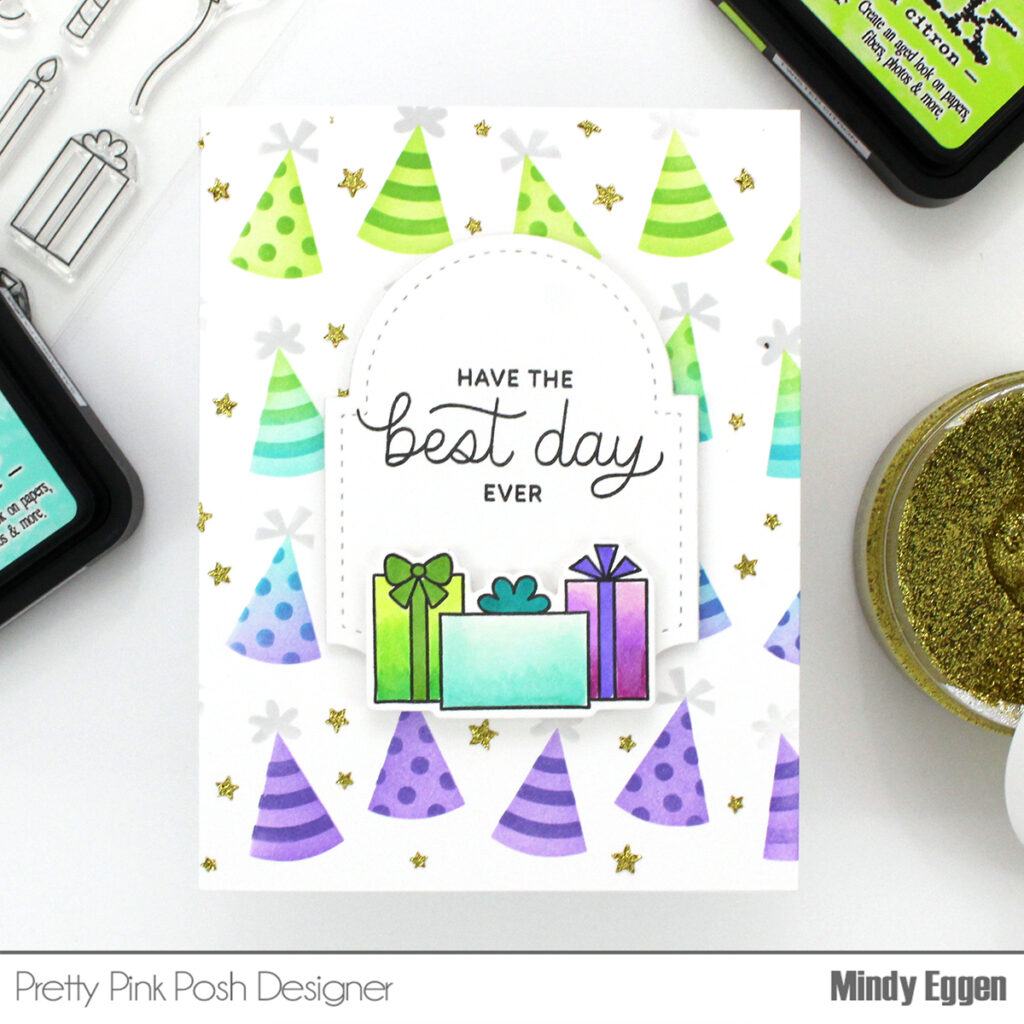
I’ll go over the second layer of the stencil with Mowed Lawn, Mermaid Lagoon and Villainous Potion Distress Ink. I love the tone-on-tone look this provides.
The third layer of the stencil is adding the pom-poms to the top. For this I’ll be using the new Lost Shadow Distress Ink.
The final layer of the stencil adds stars to the background. I’m going to apply Gold Glitz Glitter Gel over this layer.
You can’t have party hats without presents so I stamped out the presents from the Birthday Signs stamp set and colored with copic makers. I picked out colors that would match my background. Then used the coordinating die to cut the image out.
For the sentiment, I’ll be using the Birthday Sentiments stamp set. I die cut a panel using the Spring Circles die set and stamped the sentiment in black.
I added this panel to my stenciled background using foam tape and then added the presents towards the bottom using foam tape as well.
I love how this background came out! Hope you enjoyed today’s project! Thanks for stopping by!
Love the awesome party hats and the colors! Such a fun shaker card!