
Valentine Card using Stencils, Dies and Hot Foiling!
Hello crafty friends. It’s Lisa Mears here. For my card share, I used the Layered Chocolates stencil and made a card that resembled a candy box. If you would like to see how I made my card, watch my tutorial on YouTube.
Watch the video above I Watch the video in HD on YouTube
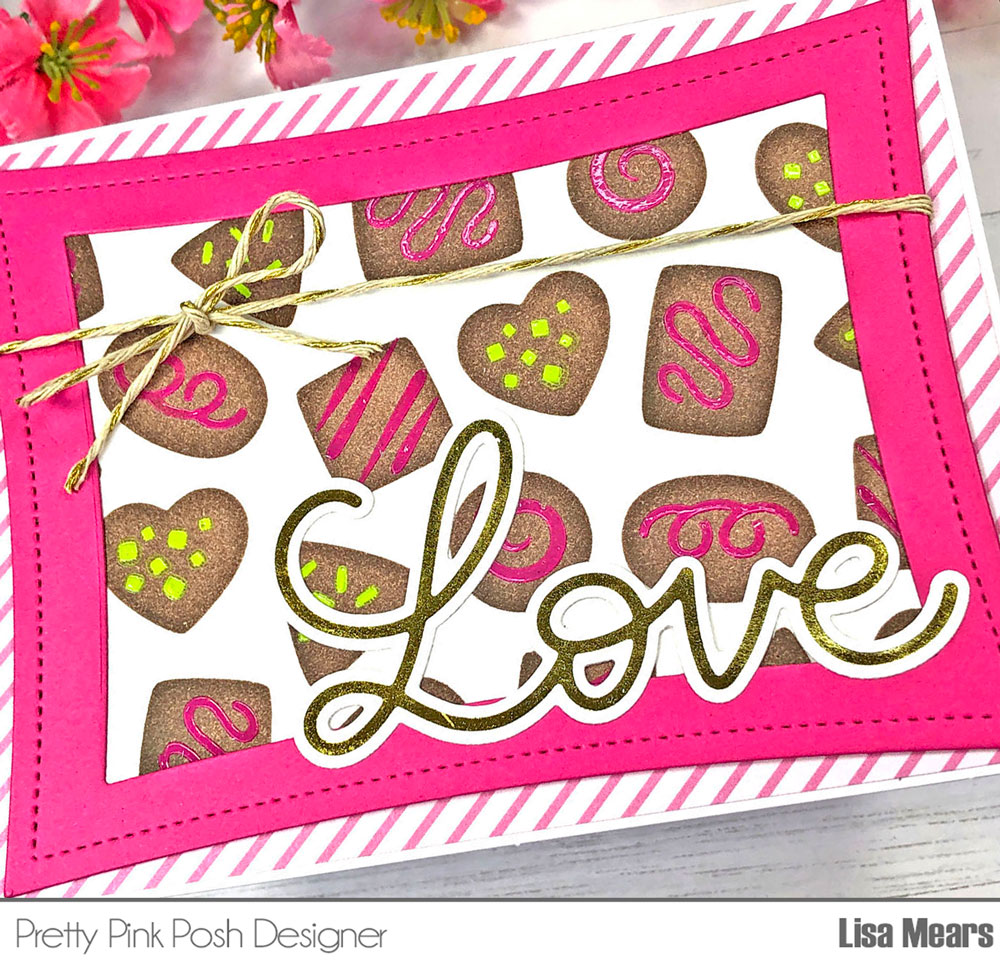
I started by creating the stenciled background. For Layer A, I used a dark brown ink to color the shape of the chocolates. For Layer B, I added Scrapbook.com Pops of Color in the Raspberry Kiss color. The Pops of Color is a liquid embellishment that dries with 3D dimension and a glossy finish to your project. I chose to use the Pops of Color because of its vibrant color and I knew it would show up well on top of the dark brown ink that I used for the shape of the chocolates. After applying the Raspberry Kiss Pops of Color to the squiggly lines for the topping on Stencil Layer B, I let the background dry completely before adding Stencil Layer C. For Stencil Layer C, I added the Scrapbook.com Pops of Color in Key Lime for the sprinkles. Again, I let the background dry completely before moving on to the next step.
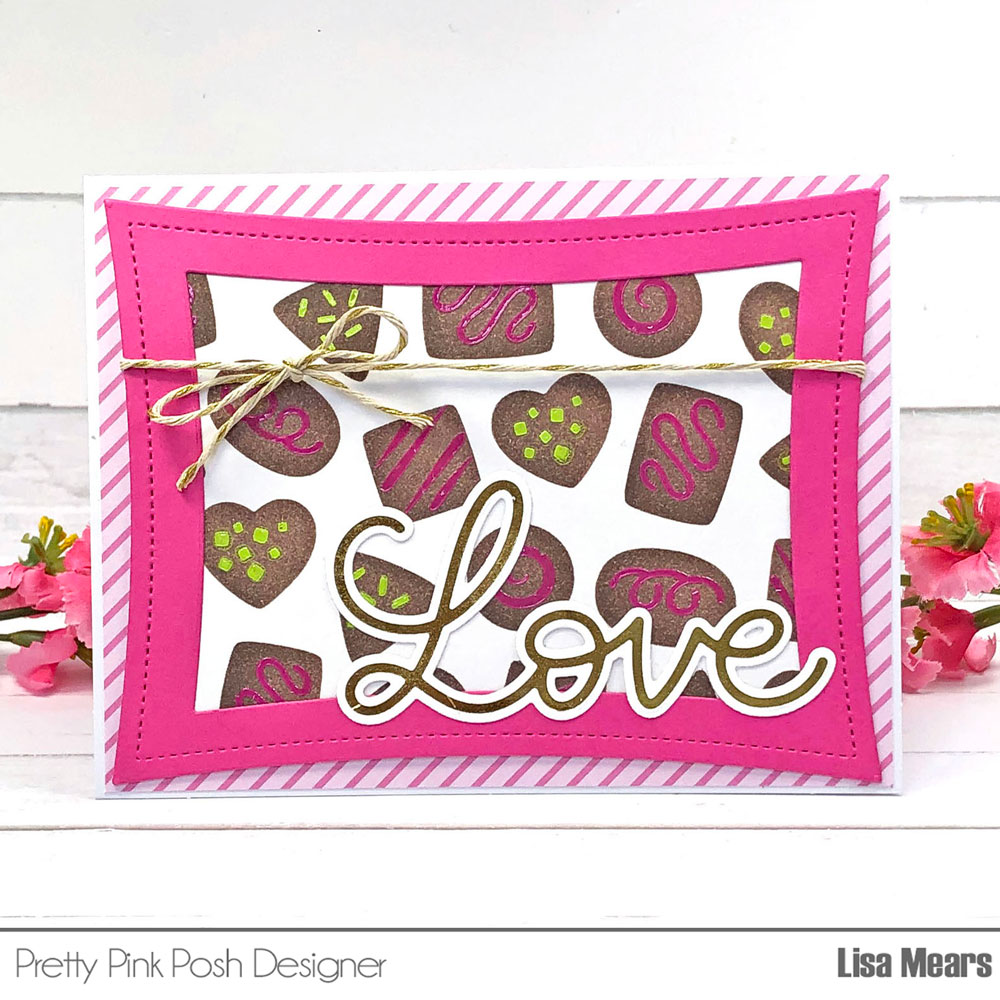
Next, I used the largest and second largest Wonky Stitched Rectangle dies to die cut the pink frame. Using the largest Wonky Stitched Rectangle, I also die cut the stenciled background. I glued the frame to the stenciled background.
For the sentiment, I hot foiled the word Love using the Hot Foil Large Love and die cut it with the coordinating Large Love Shadow.
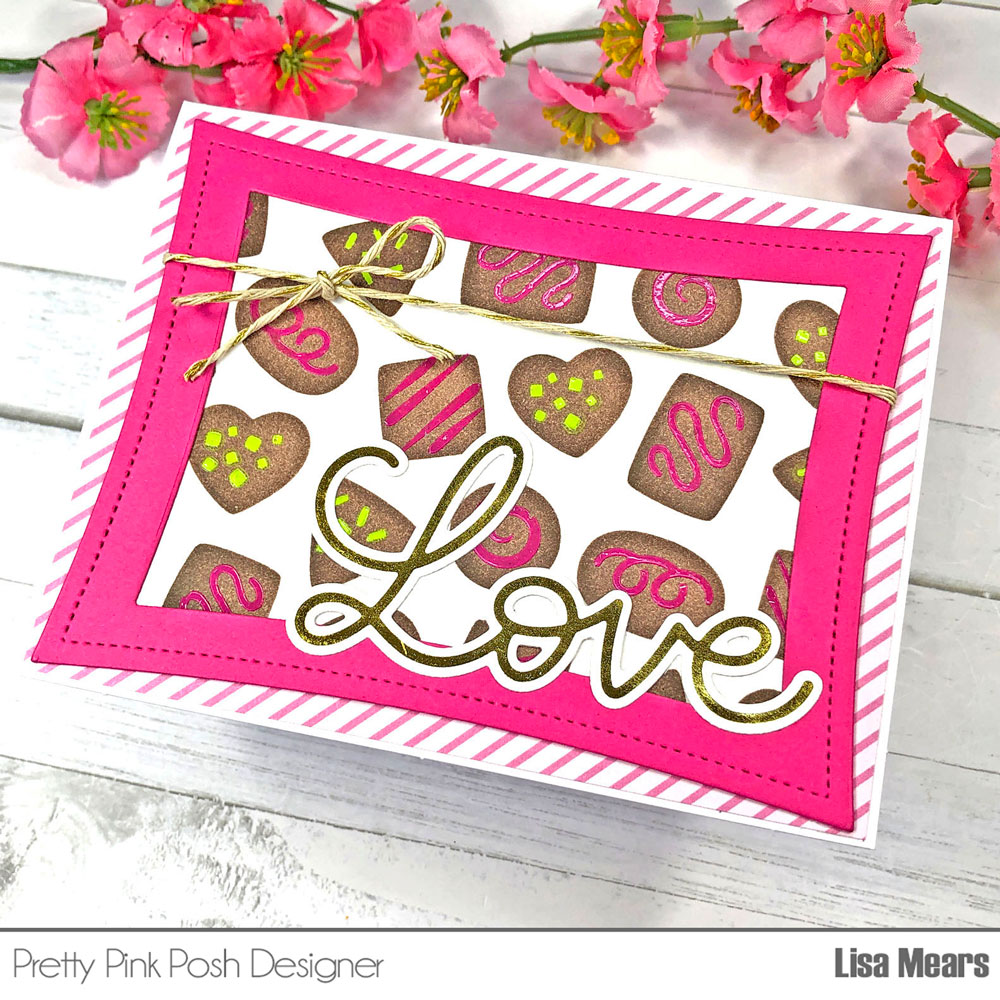
I tied a piece of twine around the Wonky Stitched Rectangle panel and then added that layer to a piece of pattern paper that I cut to 4 1/8″ x 5 3/8″. Finally, I added the card panel to an A2 size card base.
Thank you so much for stopping by today. Have a wonderful day!
Delicious and beautiful coloring!!