
Slimline Shaker Cards + Coloring Guide + Video
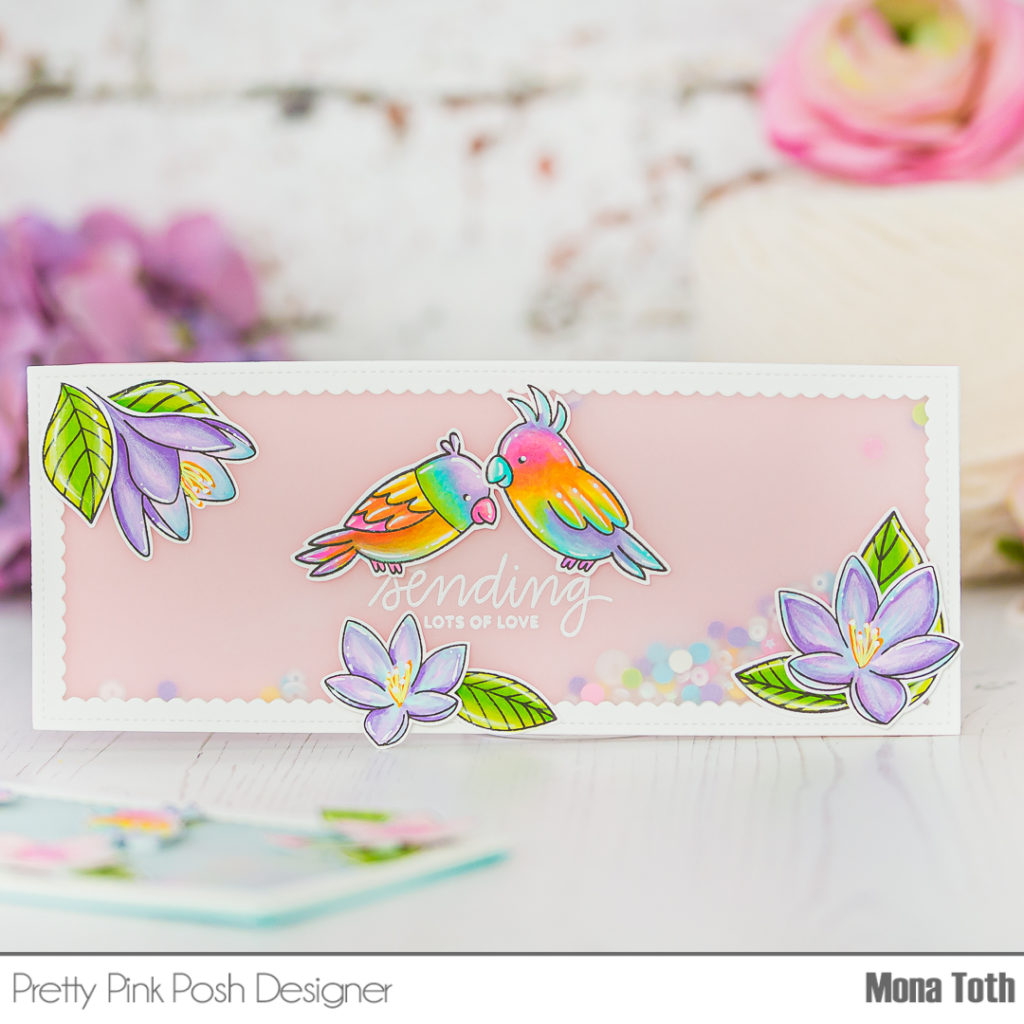
Hi crafty friends! It’s Mona here, today I am sharing with you a new video tutorial where I am showing you how I colored these birds and florals with some shaker card tips as well.
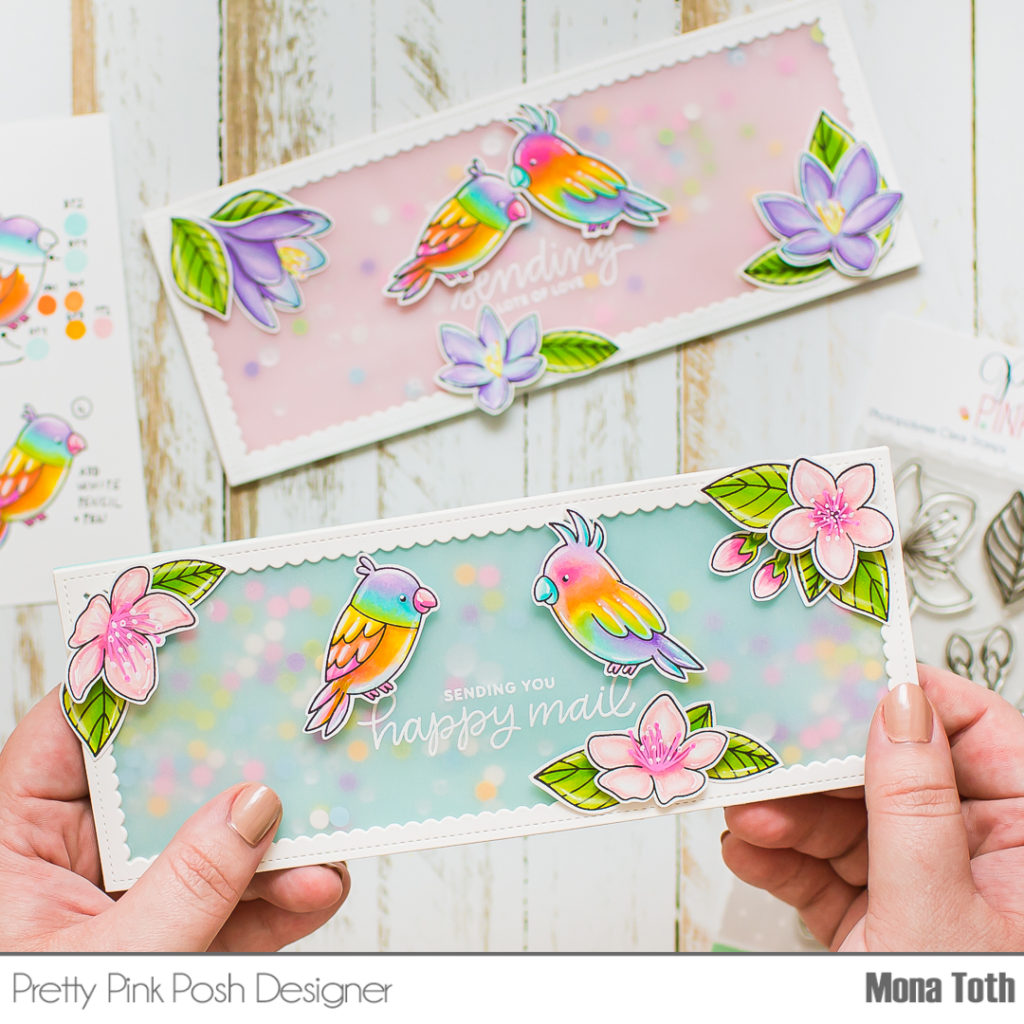
For this project I have used the Tropical Birds, Cherry Blossoms and Crocus Flowers stamp sets. I have also used the Slimline: Scallop Frames and the Slimline: Peekaboo Windows die sets and the Party Pop Clay Confetti with Sparkling Clear sequins and Iridescent Mini Star Confetti.
Watch the video above I Watch the video in HD on YouTube
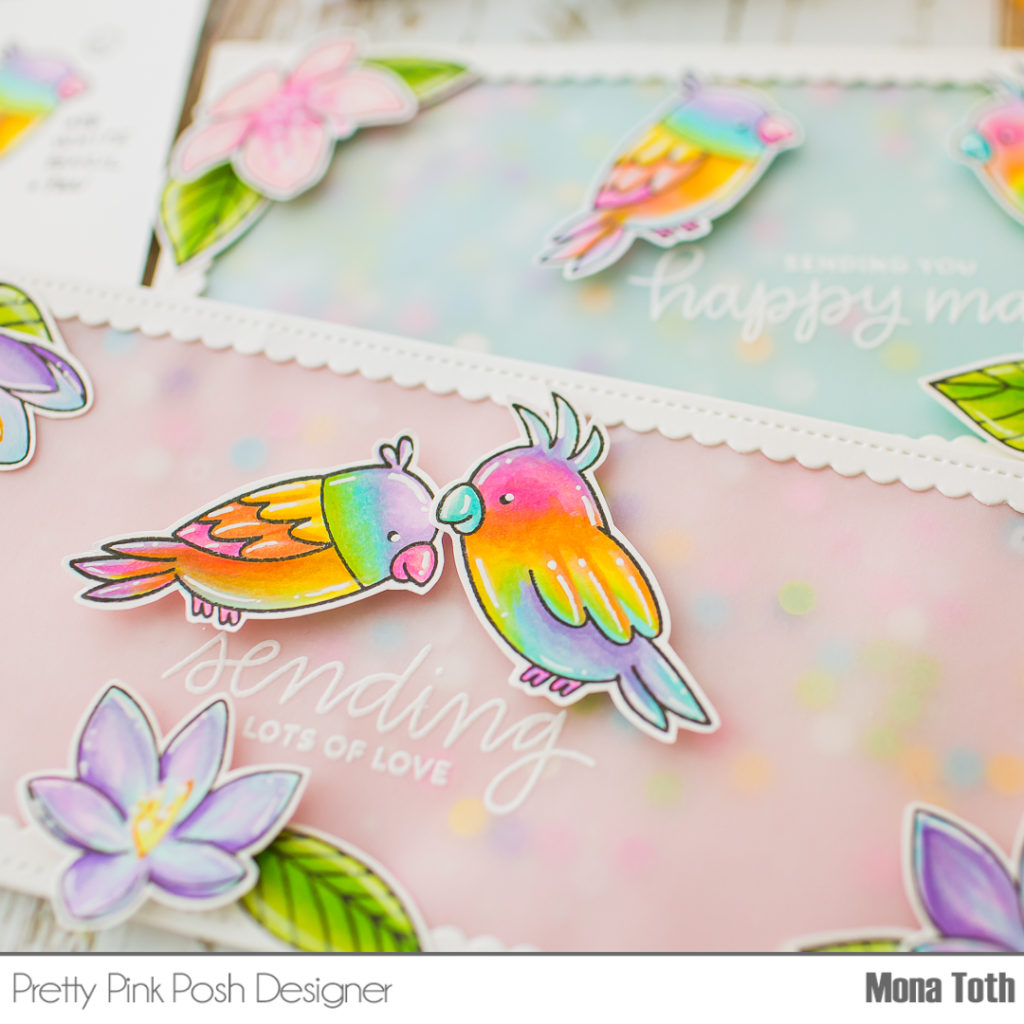
I stamped the images with alcohol friendly inkpad and colored the images with Spectrum Noir Illustrator Markers. If you got inspired, check back here to see this coloring guide.
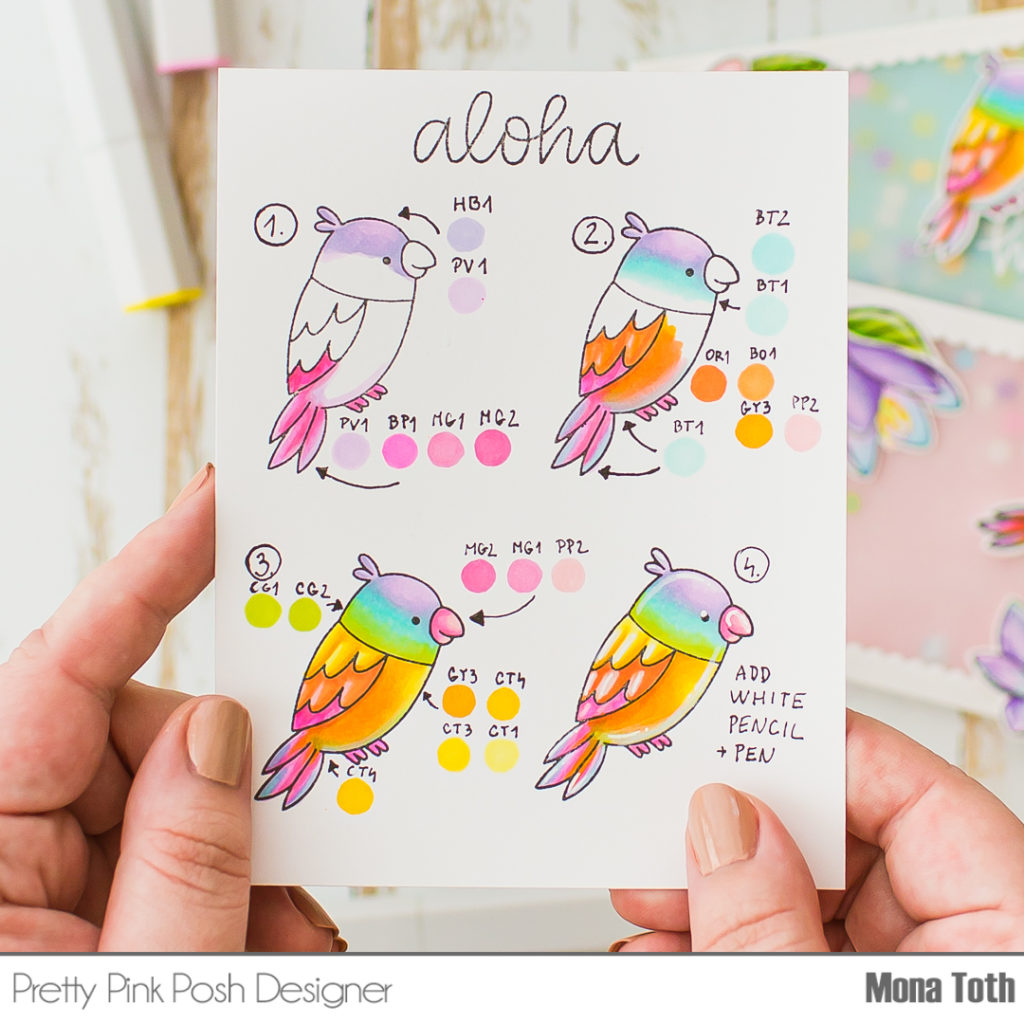
I have used other colors too: BT4, BT3, BT2, BT1, AG2, AG1, CG2, CG1, OR1, BO1, CT4, CT3, CT1, GY3, PL2, HB3, HB2, HB1, PV1, MG2, MG1, BP1, PP2, PP1 and the colorless Blender. You can watch the coloring processes with useful tips in the video. After the coloring I added white highlights with white pen and pencil.
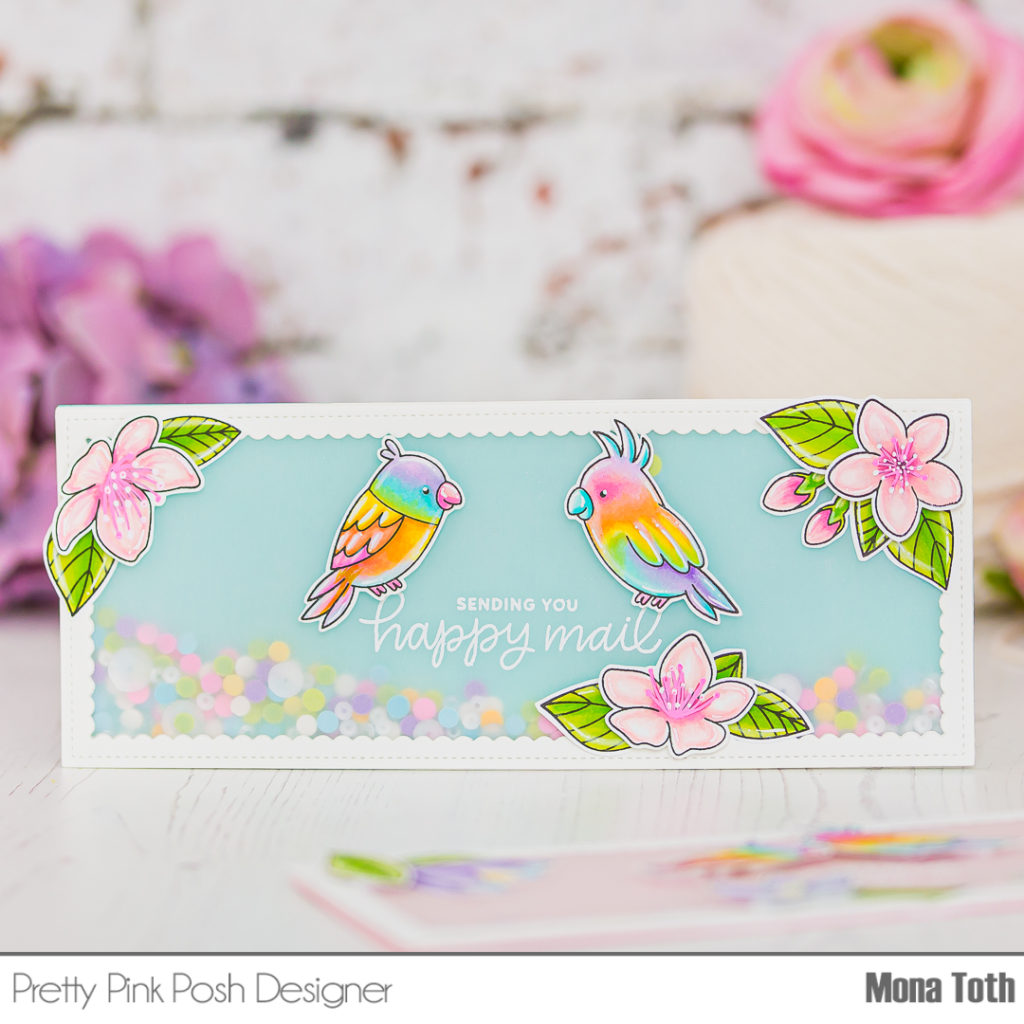
The next step was the sentiment. I stamped the sentiments from the Happy Mail and the Everyday Greetings stamp sets with watermark ink to the vellum and heat embossed it with white detailed embossing powder.
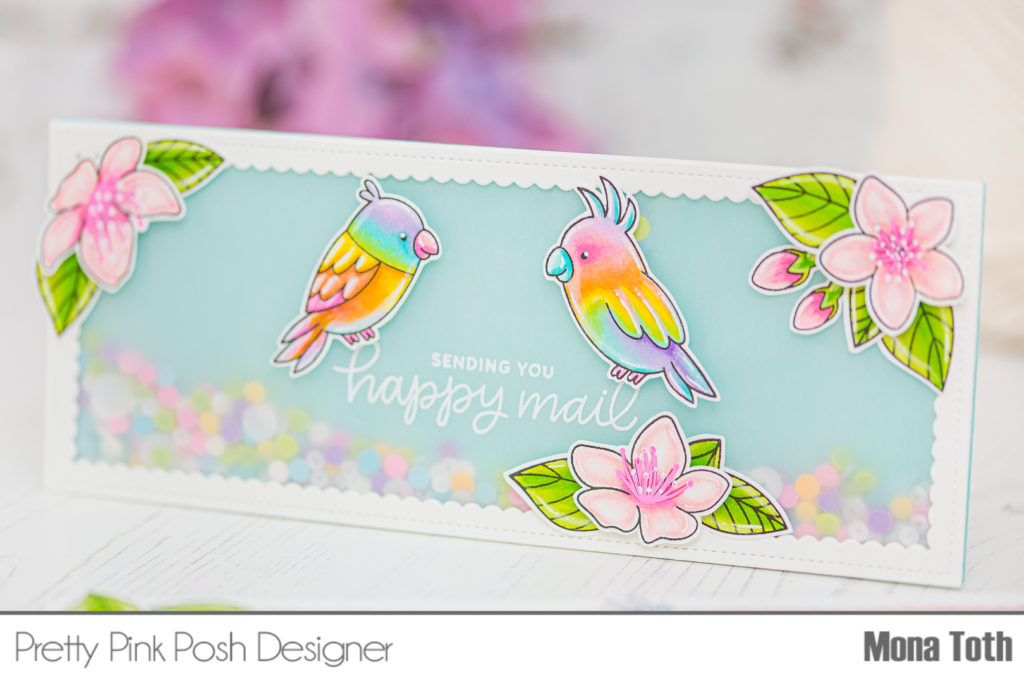
The following step was to create the shaker parts. First, I have created teal and pink die-cuts with the largest die from the Slimline Peekaboo Windows die set, as well as two white scalloped frames for each card with the Slimline Scallop Frames. I have also cut two pieces of vellum in the same size.
Then I put the card together with a trick using the Original MISTI. If you are interested in this trick, just click on the video.
When my shaker was done, I adhered the colored images to their right place, and adhered it to the card base. Thank you so much for stopping by, see you next time.
Hugs, Mona