Creating Backgrounds with Jewels + Video
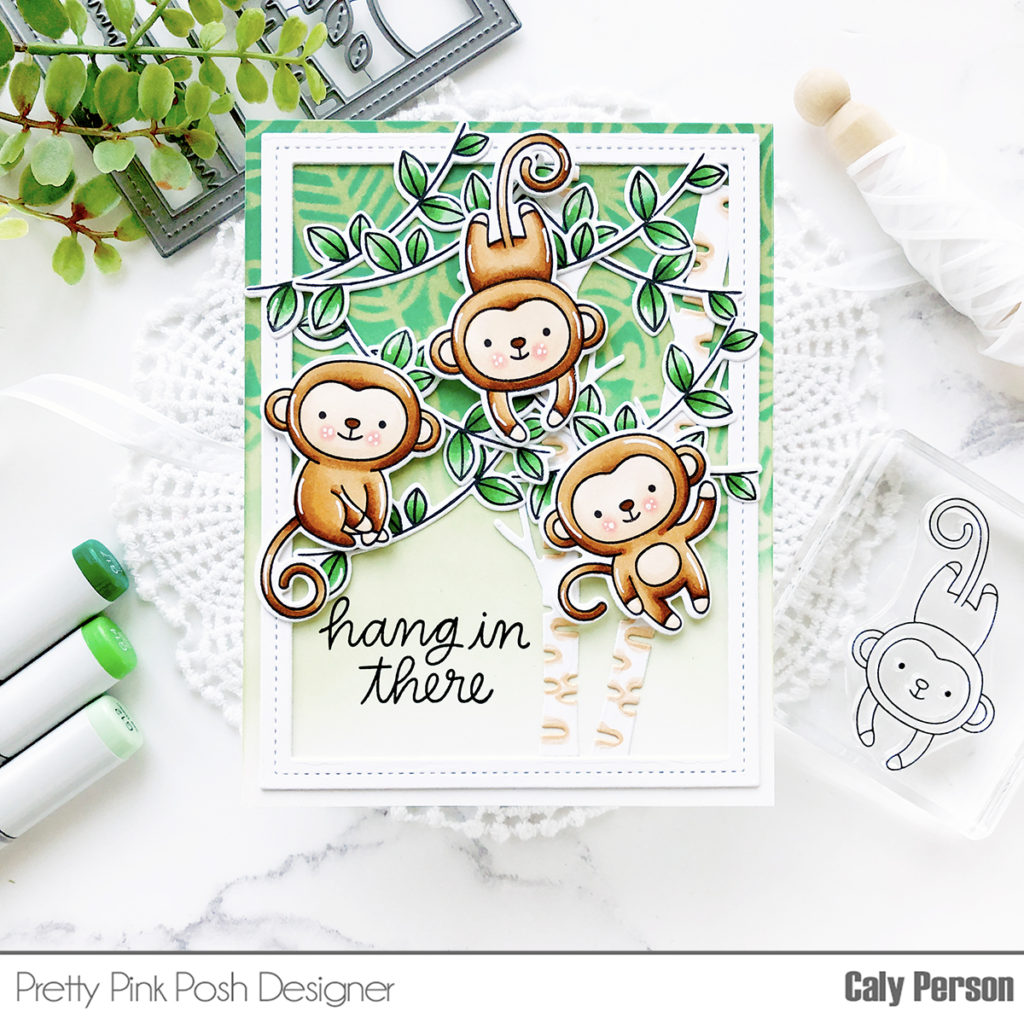
Hello, Pretty Pink Posh’ fans! This is Yana Smakula. Today’s video shares a different way to color with alcohol markers, a fun way to use a whole lot of jewels, and 3 ways to use the new Jungle Friends and Jungle Additions stamp sets! Let’s jump right in!
Watch the video above I Watch the video in HD on YouTube
I started working on my cards by stamping all of the images I needed. I used darling critter images from the Jungle Friends and Jungle Additions stamp sets and also stamped leaves, branches, and flowers. Because I had planned to color all of these using alcohol markers I picked a suitable type of ink, Intense Black by Simon Says Stamp.
Lately, I’ve been enjoying the blending free coloring technique. This method requires absolutely no blending when coloring with alcohol markers and it works with all alcohol markers out there. The idea is to have harsh, defined lines that separate the different shades of one color. It is best to use the shades of markers that aren’t too similar and have a clear difference to the naked eye.
So if we are talking Copic markers, for example, I wouldn’t use a Y00 and Y02 makers, as there won’t be that much of a difference between these two shades of yellow.
This type of coloring looks a lot like cartoon coloring to me. The images have a simple colored look to them, sometimes even too simple.
You can apply the same coloring technique to color any other image. This is a very simple coloring method and one, I think, that is suitable especially for beginners. You don’t need to worry about blending your colors.
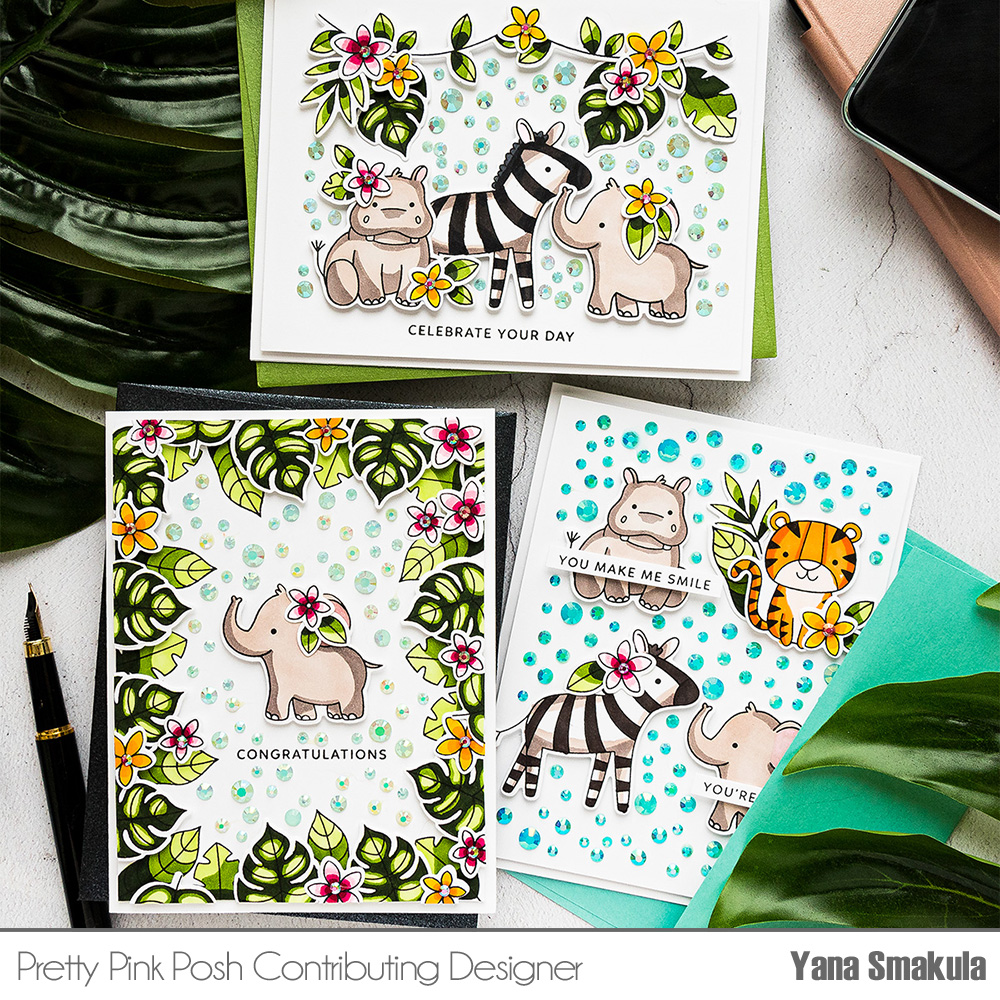
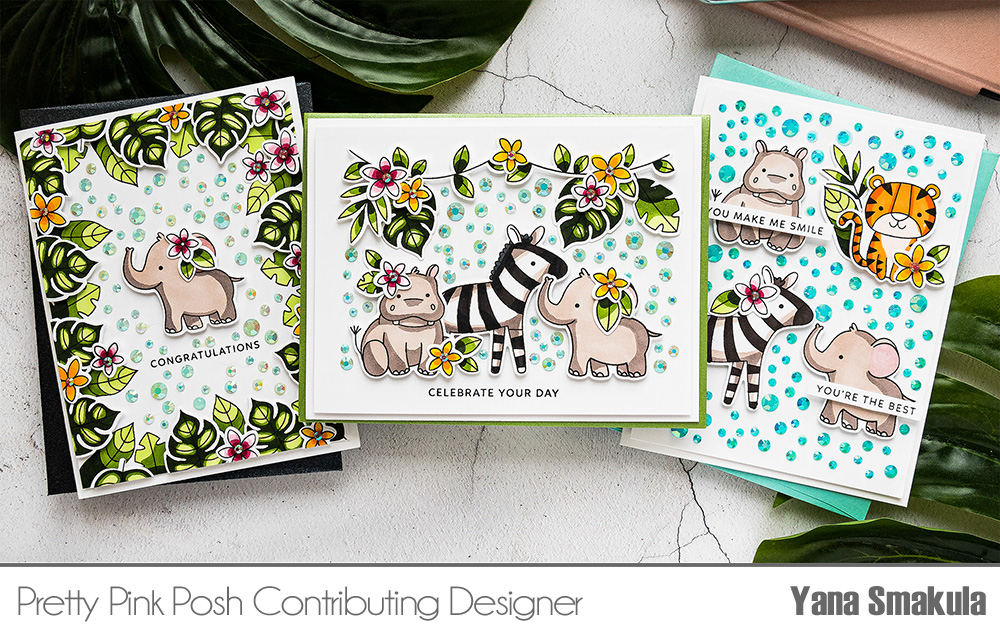
I have 3 cards to share today. I decided to stamp a leafy frame for my first card. I stamped 2 types of images around the perimeter of my panel. I used the same coloring method and the same colors of markers to color these images green. Next, I stamped, colored, and cut out the monstera leaves and adhered them to the frame using foam adhesive squares to create dimension. I cut the excess leaves off using my scissors.
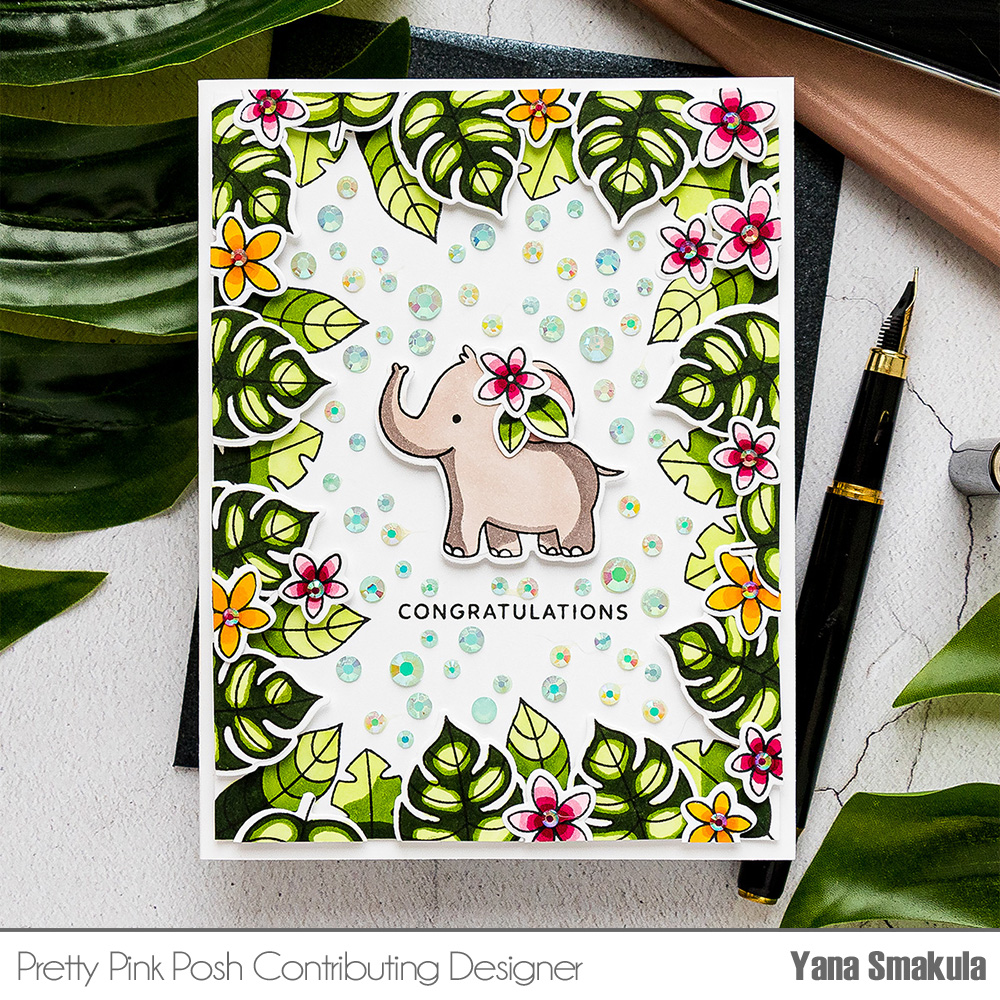
I also stamped, colored, and cut out flowers and used those to embellish my frame. I foam mounted a baby elephant in the center of the panel – I love how cute she turned out! I stamped a sentiment that reads Congratulations. All of the sentiments you see on my cards today come from the Simple Sentiments stamp set.
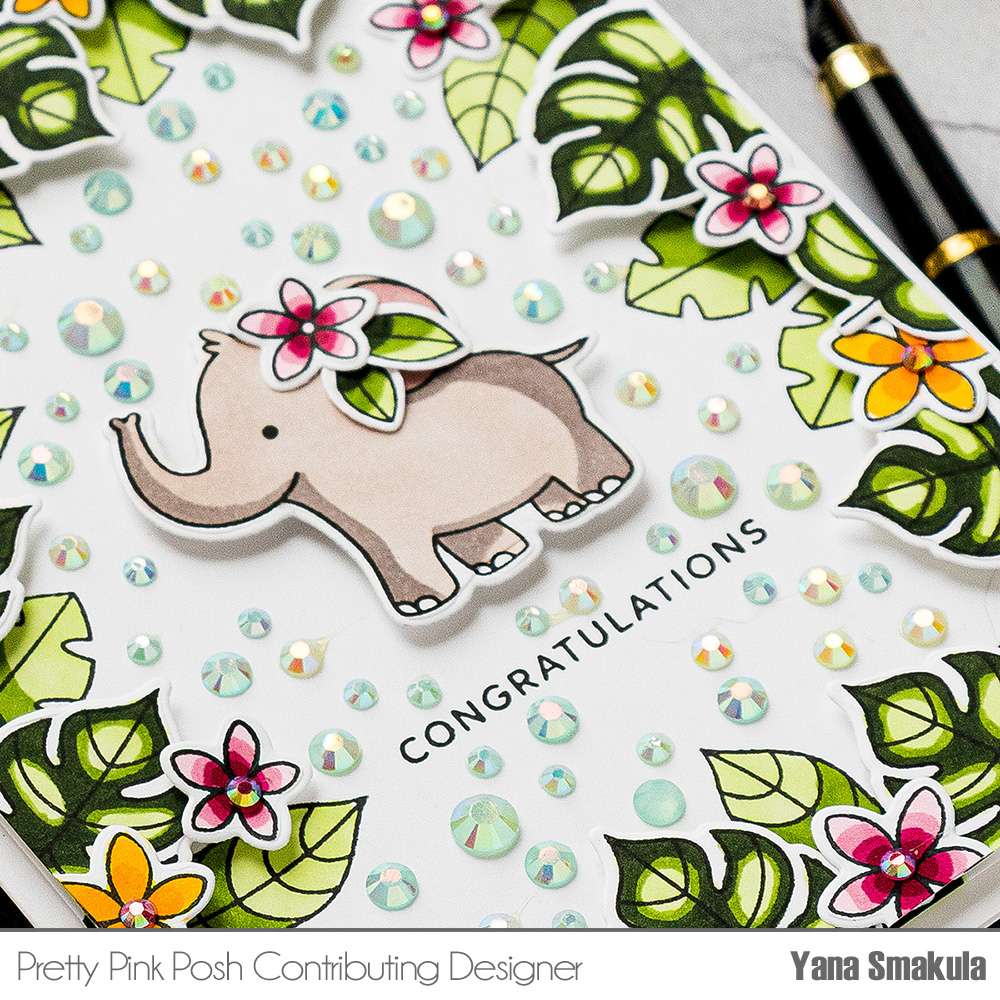
Now, I mentioned I’ll show you a fun way to use your jewels! I love jewels from Pretty Pink Posh and I think I have them in every color imaginable! I typically like to use them as accents on my cards, as dimensional flower centers, or to cover any mistakes I have on my projects. For today’s cards, I used them to create colorful backgrounds! Here I added lots of Sea Glass jewels all around my baby elephant adding hints of blue as if mimicking the sky! I used jewels of various sizes and adhered them using glue.
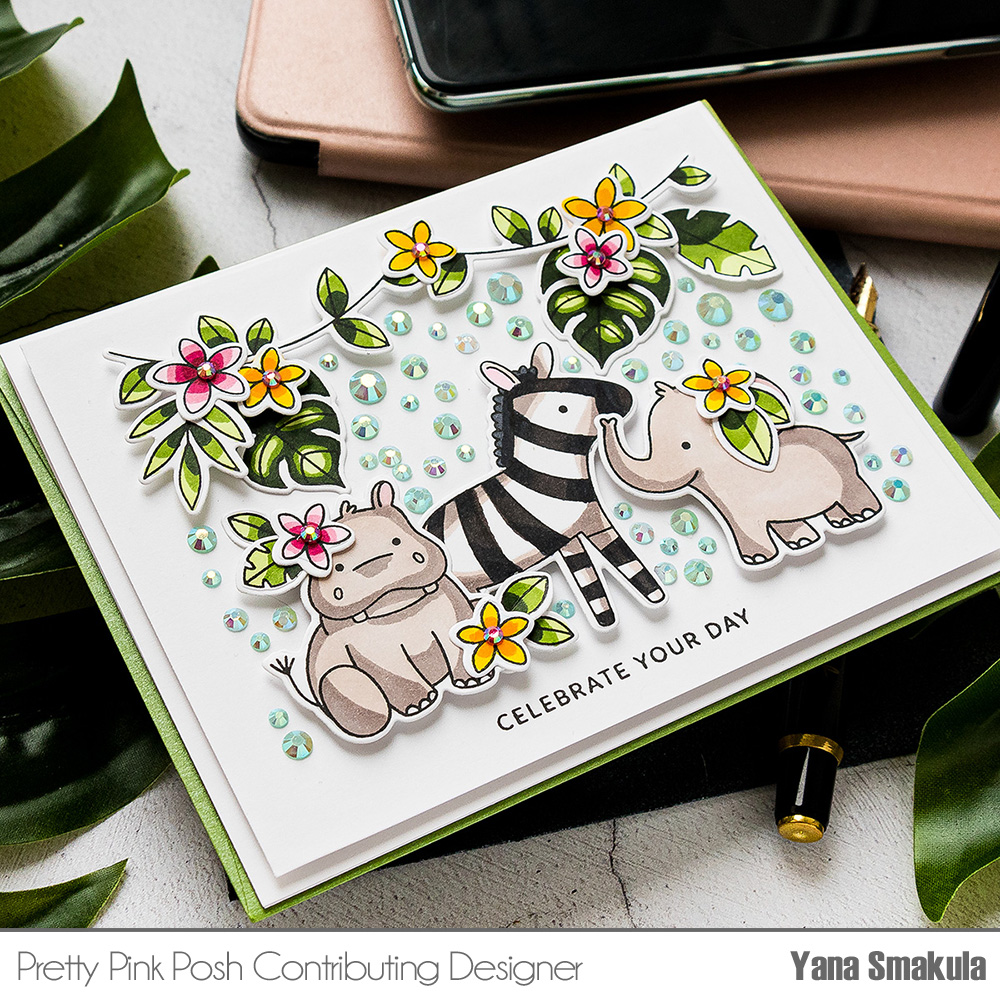
For my next card, I started by foam mounting the two vines in the top part of my background panel. I also added additional leaves and flowers. With that adhered, I added my party of critters! First, I added my zebra, another darling baby elephant, and also a baby hippo! They look so adorable together! I dressed them up using the die-cut flowers – I added flowers in pink and yellow and also added a bunch of smaller leaves.
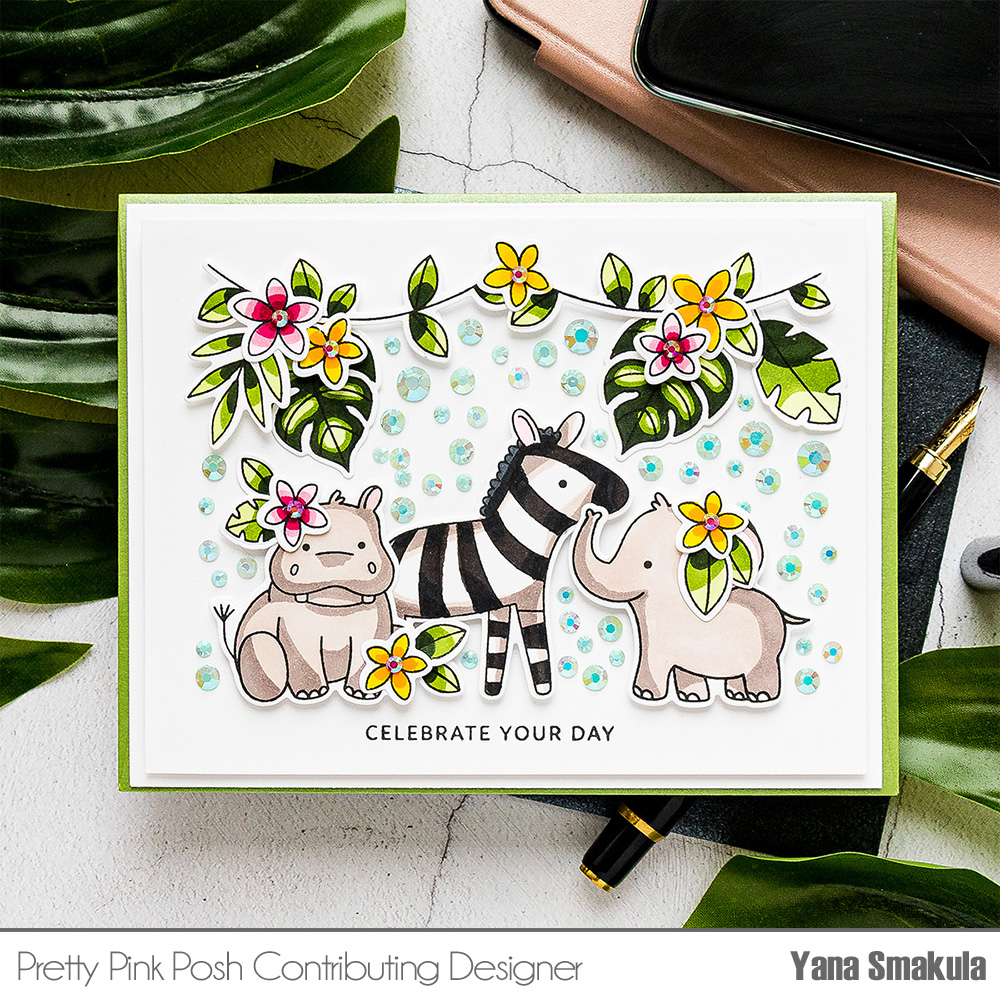
I stamped a sentiment that reads Celebrate Your Day and to spice this card up I once again added a bunch of jewels in the background behind my critter party! Doesn’t this look fun? It adds texture, it adds sparkle and it adds a ton of wow!
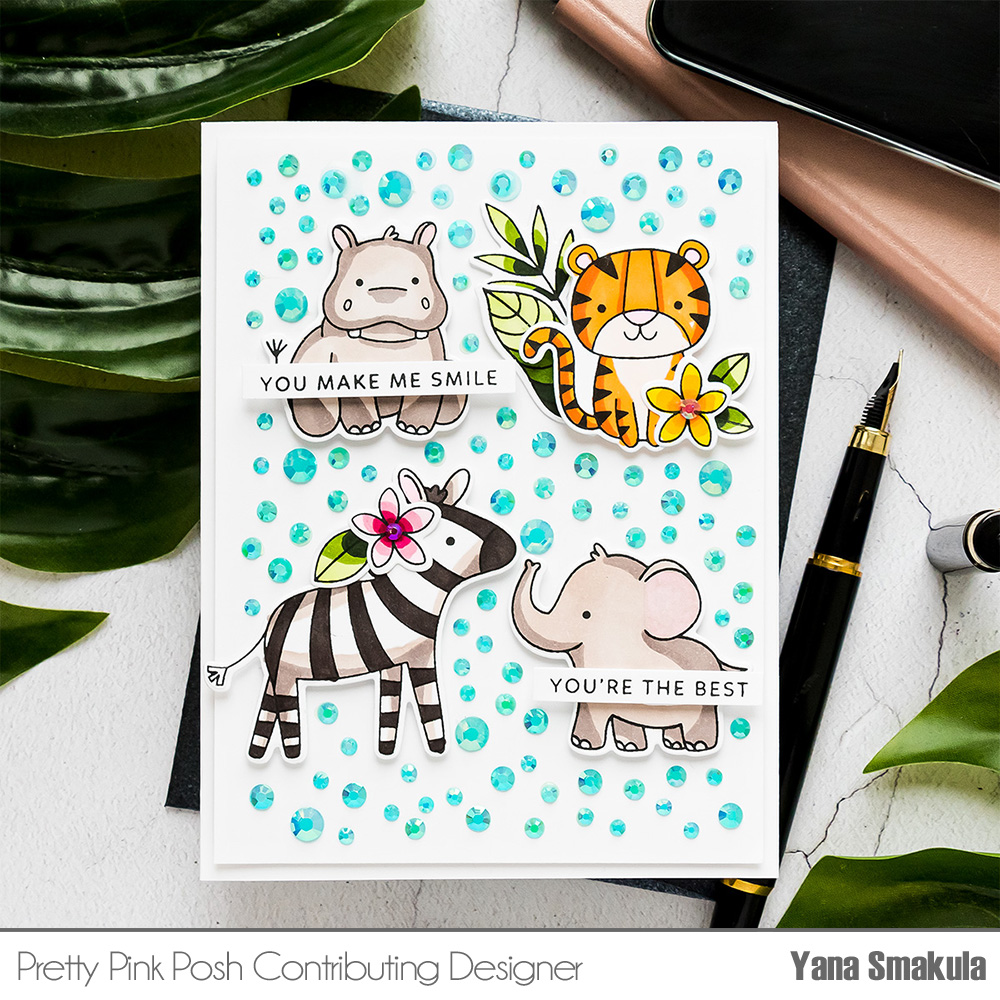
My last card features the rest of my jungle critters. I have 4 of them of the card – a hippo, a tiger, a zebra, and once again that darling baby elephant. I added some leaves and flowers to dress this card up and also to embellish my critters and of course, I had to add my jewels! This time I used Jewels in Caribbean Blue and added loads to fill my background and add some color and sparkle!
Have fun stamping and creating using this fun technique with the Pretty Pink Posh jewels!

