Creative Ways to Use Border Dies + Video
Good morning! It’s Ardyth here and I’m sharing lots of cards using ways to stretch your border dies to get more out of them!
Scroll down to the very bottom of this post to see all the stamp sets and dies used.
Watch the video above I Watch the video in HD on YouTube
You can create sentiment strips by using a border die on each side of a strip, customizing the width to fit your sentiment or stamped images!
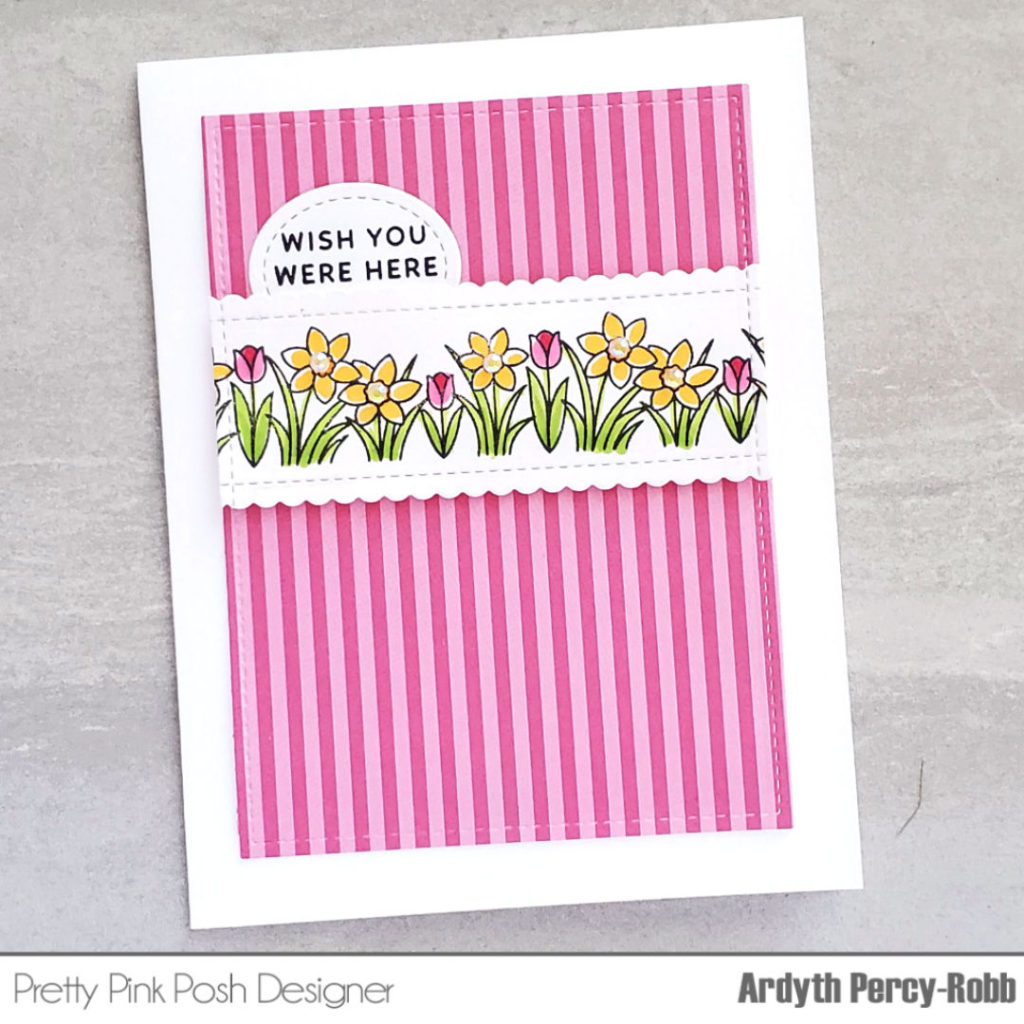
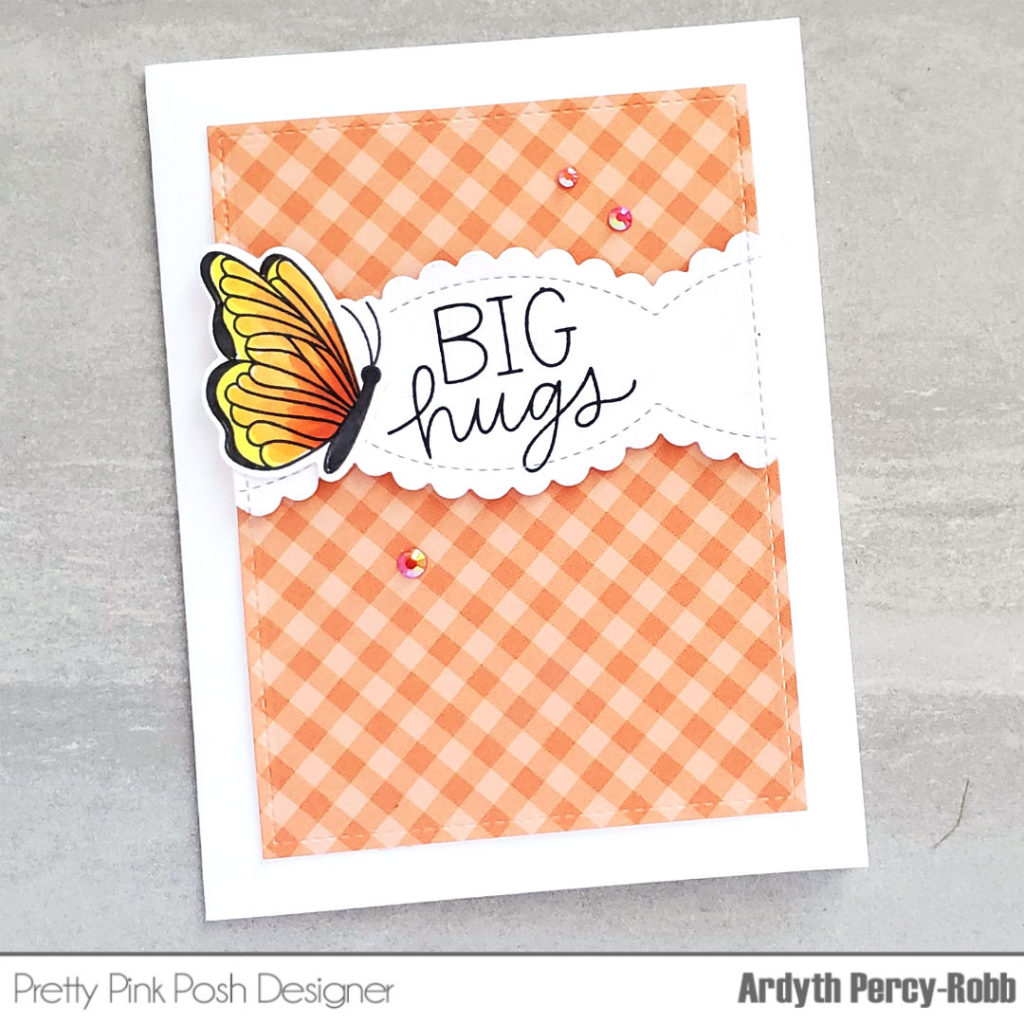
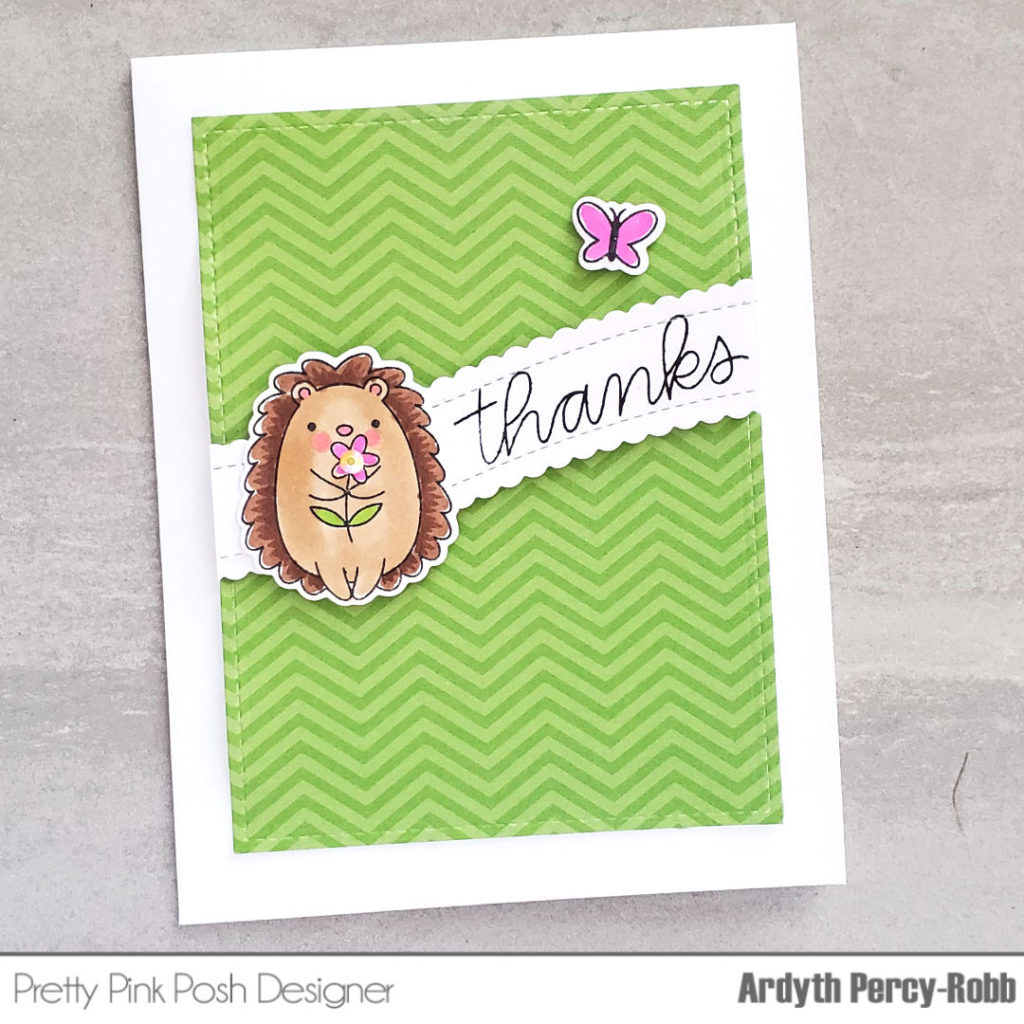
By making the strips narrow, you can create paper ‘ribbons’ or ‘lace’ to embellish your card fronts.
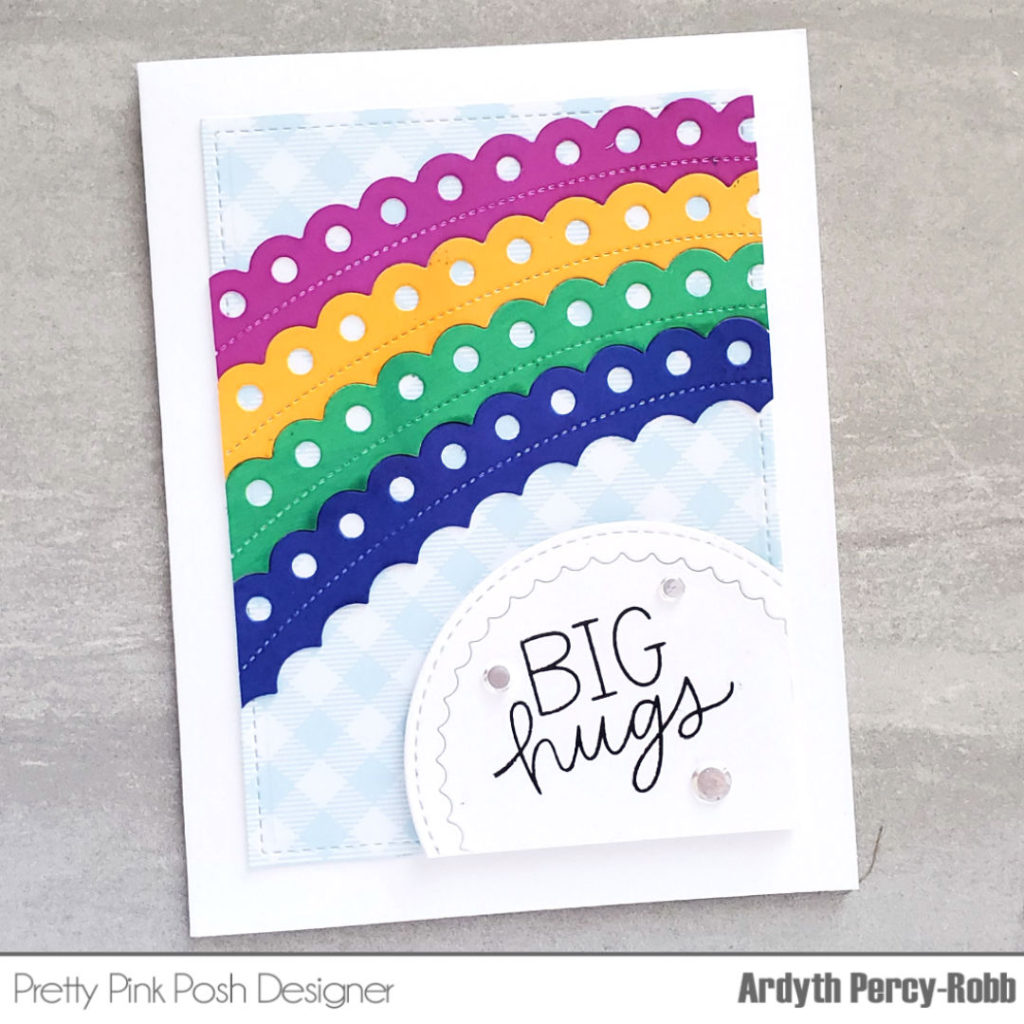
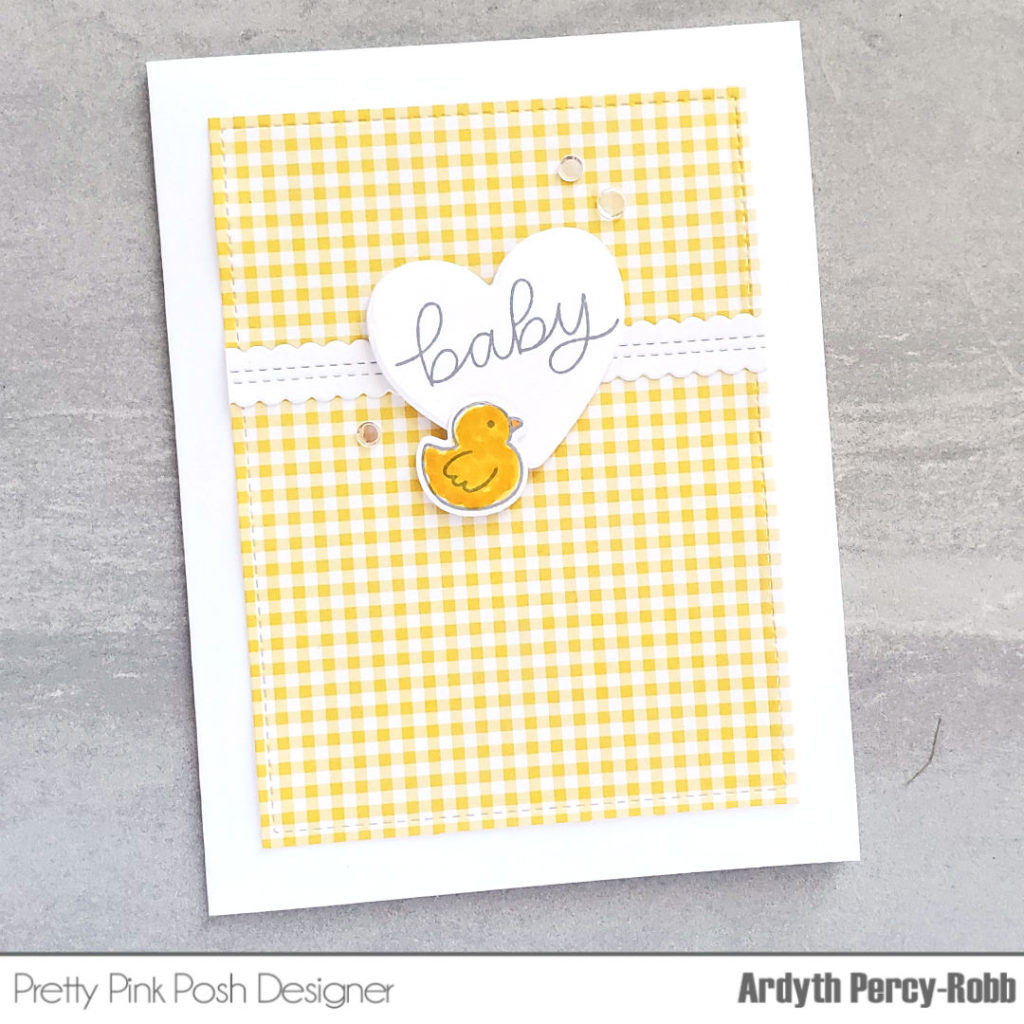
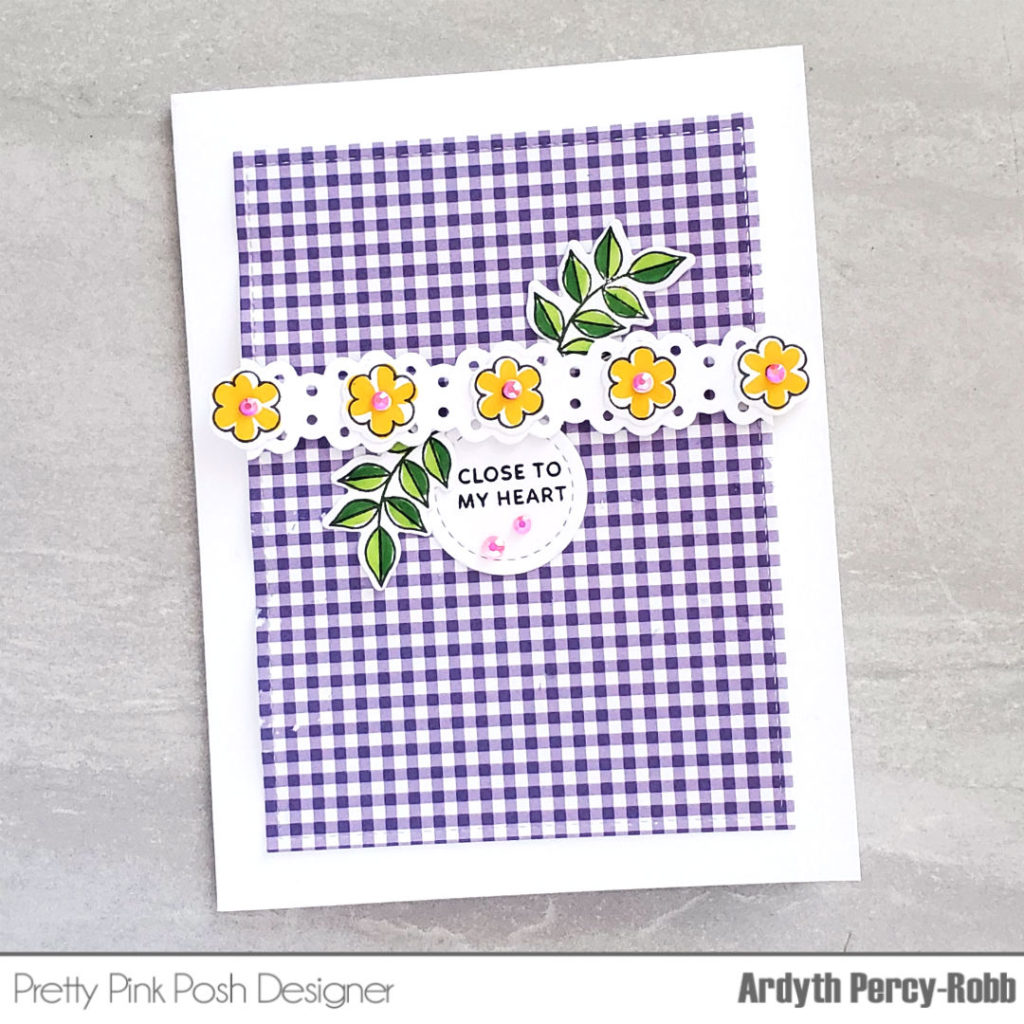
You can also customize the width of your Stacked Edges dies, which are not exactly border dies, but have some similar features.
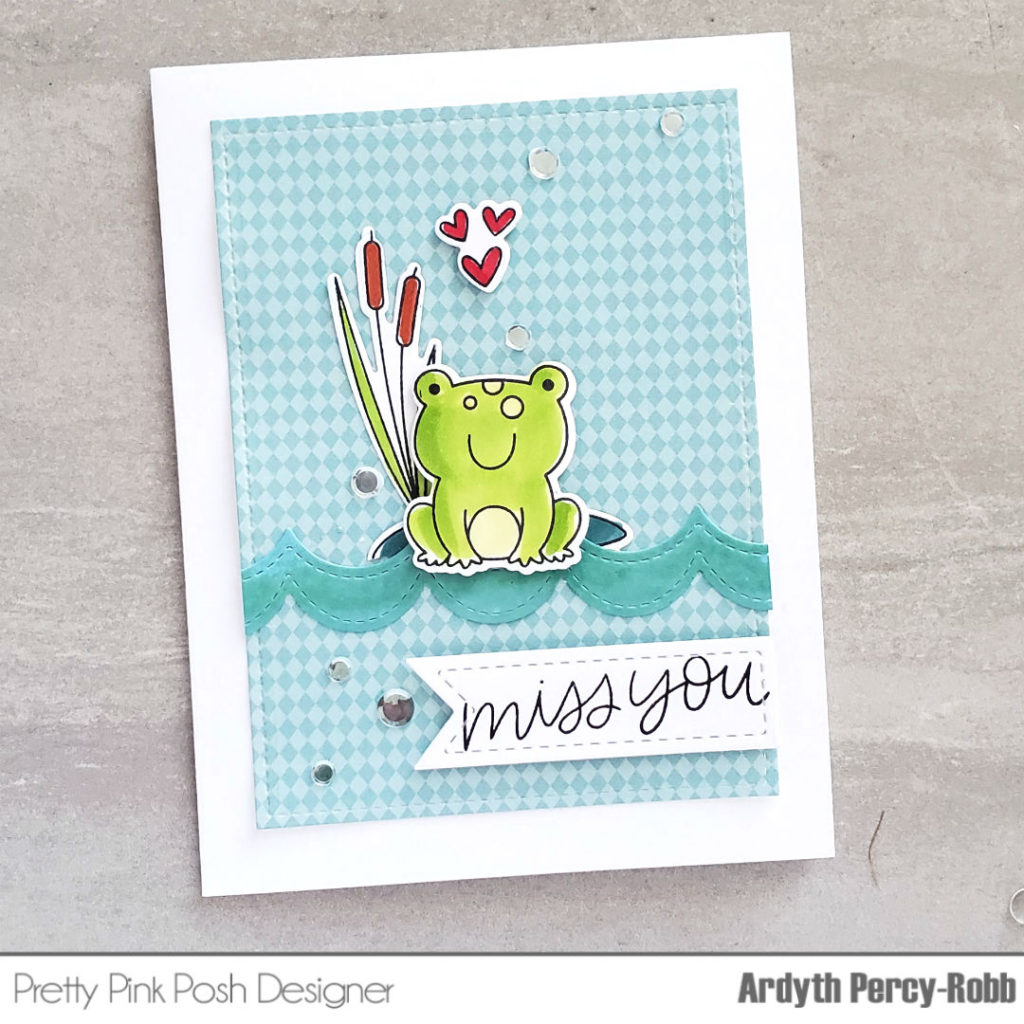
You can even use the off cuts to get a different look!
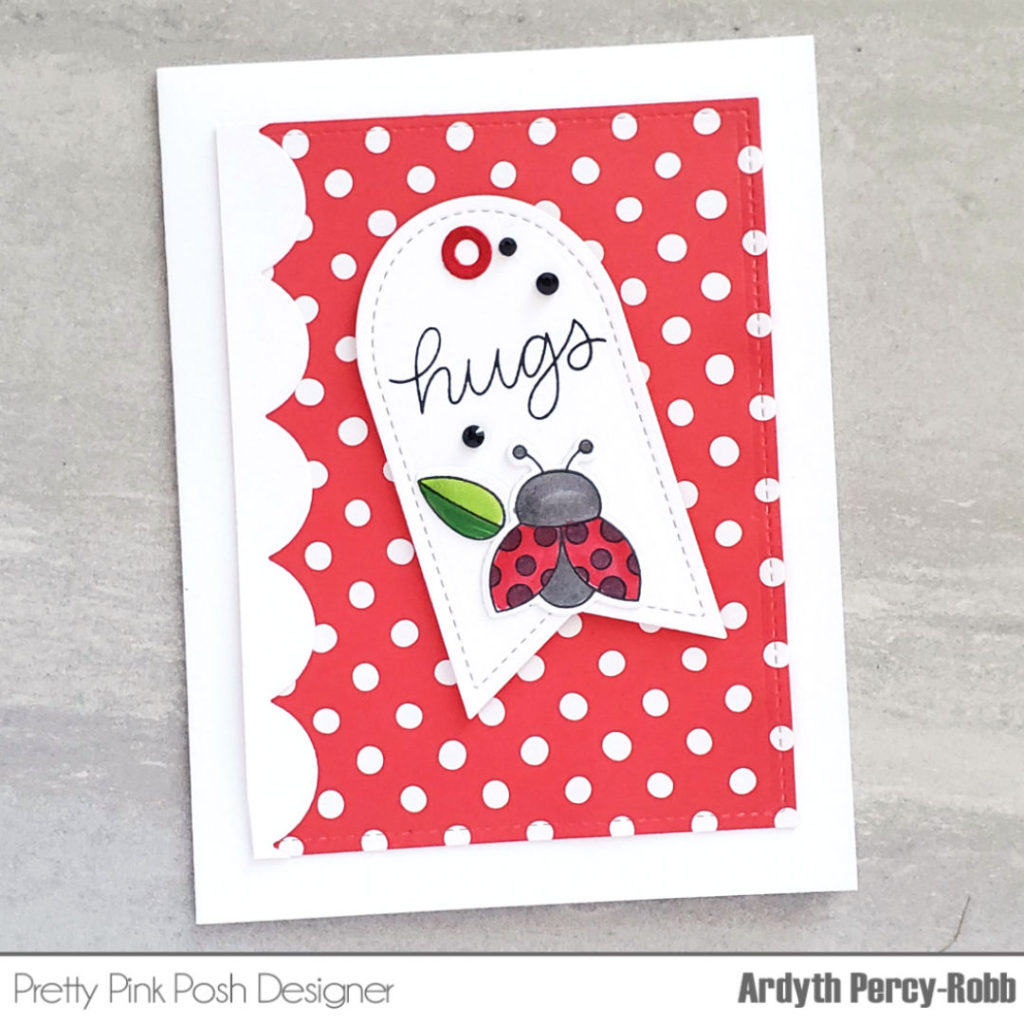
You can cut them so that they an even width, by using a grid or ruler, or you could deliberately make them wider on one end for a completely different look!
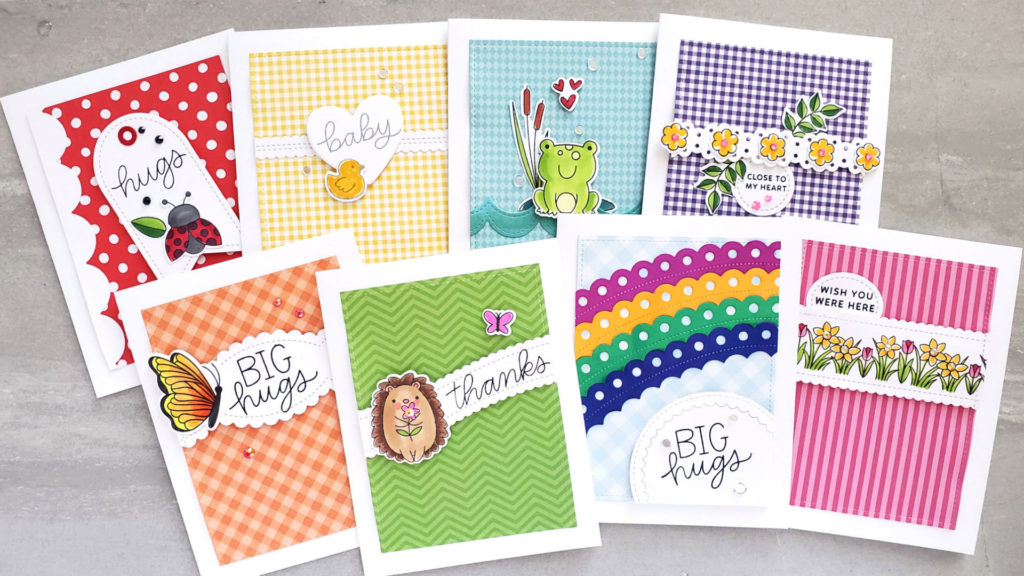
I hope you’re inspired to get your border dies out and give this technique a try!

Eyelet Borders / Scallop Borders 1 / Stacked Edges 1 / Stitched Essentials / Stitched Labels Scallop Circles / Easter Eggs coordinating dies

Spring Days / Tropical Birds / Elephant Friends / Beautiful Butterflies / Little One / Baby / Ladybug Friends / Hedgehog Friends / Large Floral Hearts / Pond Friends
Simple Sayings: Miss You / Bold Blooms / Thoughtful Sentiments

Flamingo Pink Jewels / Marigold Jewels / Raspberry Jewels / Glossy Black Jewels
Sparkling Clear Confetti

These cards are adorable and thank you so much for the wonderful tutorial!!! So pretty!