
Modern Christmas Cards + Video
Hello, Pretty Pink Posh’ fans! This is Yana Smakula. In this video, I’ll show you 2 modern and easy to make Christmas cards ideas using the same stamp, the Winter Wreath stamp set. As a bonus, I’ll also show you how you can use your coordinating dies to add foiled outlines to your stamped images.
Watch the video above I Watch the video in HD on YouTube
I like modern designs in my cards so I decided to go for a slightly more modern color palette and a modern design. The design, however, can be done in more traditional colors, red, green and white. I use a lot of dark blues, some gold and just hints of red to make my cards look festive.
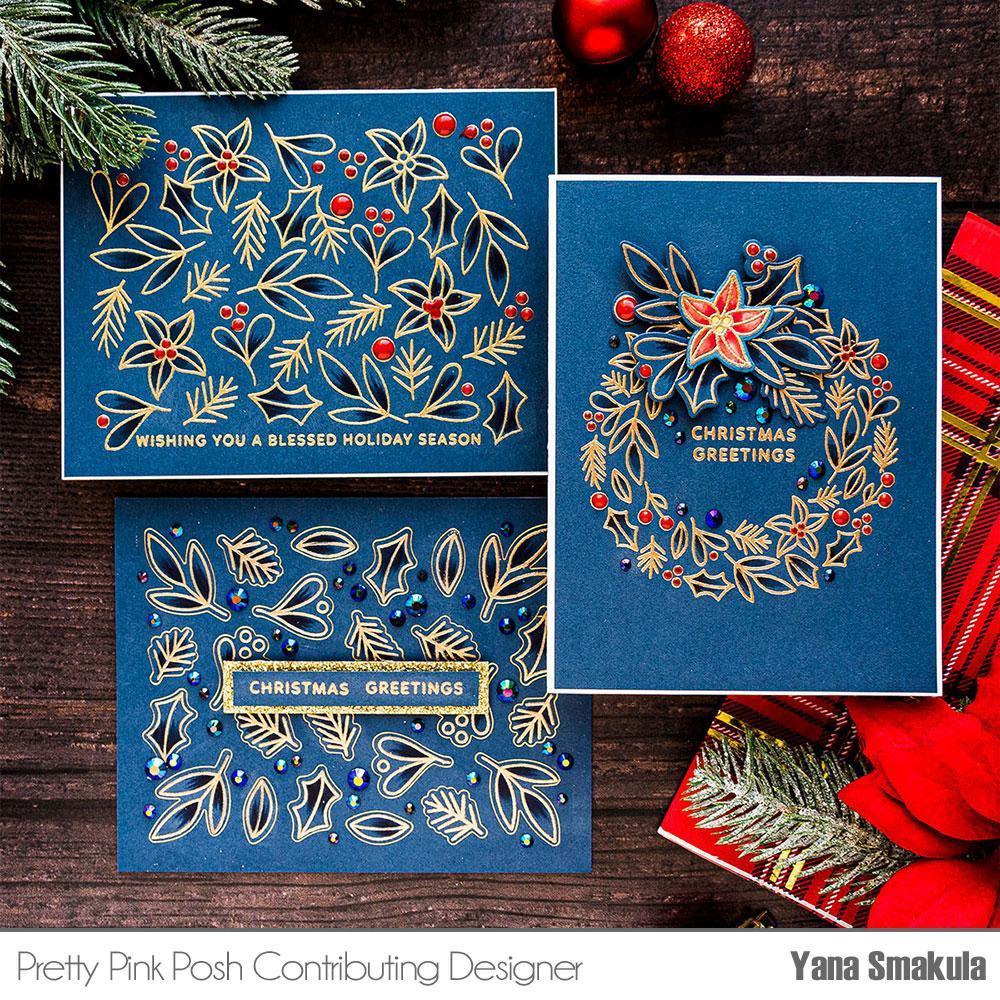
For my first card, I started with a panel of dark blue cardstock cut to 4 1/4 x 5 1/2”. I didn’t want the design to cover the entire front, I wanted there to be a small border, so I masked a ¼” border using low tack tape.
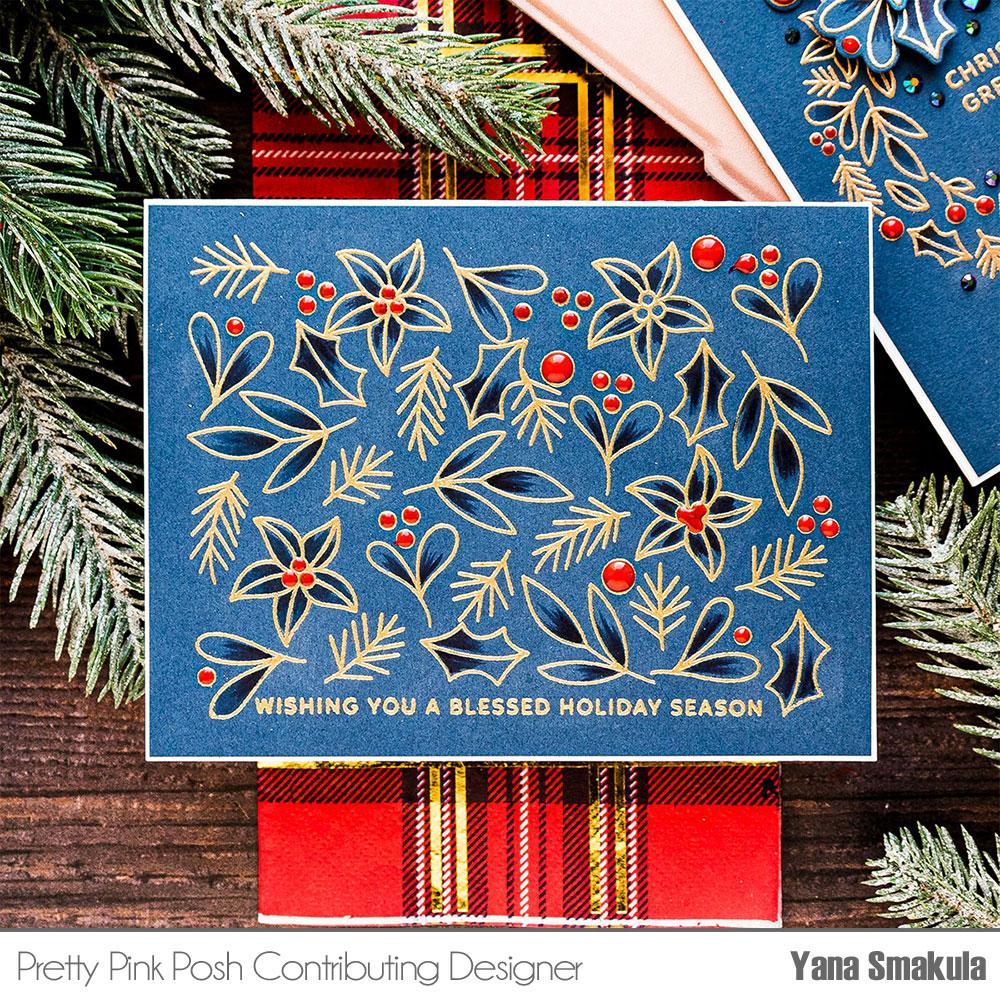
Next, I used a sentiment from the Joy stamp set, it reads “Wishing You a Blessed Holiday Season” and positioned it along the bottom edge of the card. I added single stamp images from the Winter Wreath stamp set and stamped them repeatedly to fill the entire background in. Don’t stamp your images all around the panel, stamp them one next to the other to make sure you build a nice solid background.
If you feel your embossing ink pad isn’t juicy enough you might want to pause and cover the already stamped images with embossing powder and then continue stamping additional images. You don’t have to stamp them all and then cover all. You can work in small sections.
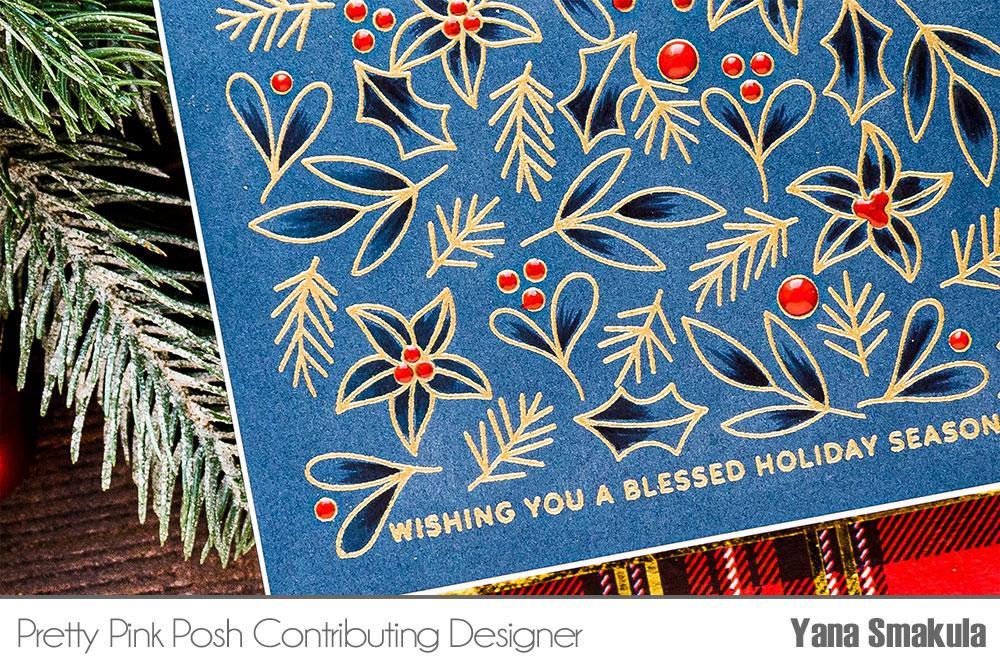
Also, save the smallest images for last. There’s an image of berries and it’s rather small so you can use it to carefully fill any odd gaps you might have on your background.
To add some definition to the heat embossed images I used a darkest blue Copic marker I have in my stash, the B99 marker, and added subtle shading. This made a world of a difference and helped the images stand out from the background. I also added a bit of color to the berries. For this, I used Nuvo Drops in Red Berry.
My second card is very similar. I heat embossed the image of a wreath and a sentiment placed inside of it on the same dark blue cardstock. Next, I heat embossed and cut out additional, single images to adorn the wreath. I colored all, or rather added shading to all, using a dark blue marker.
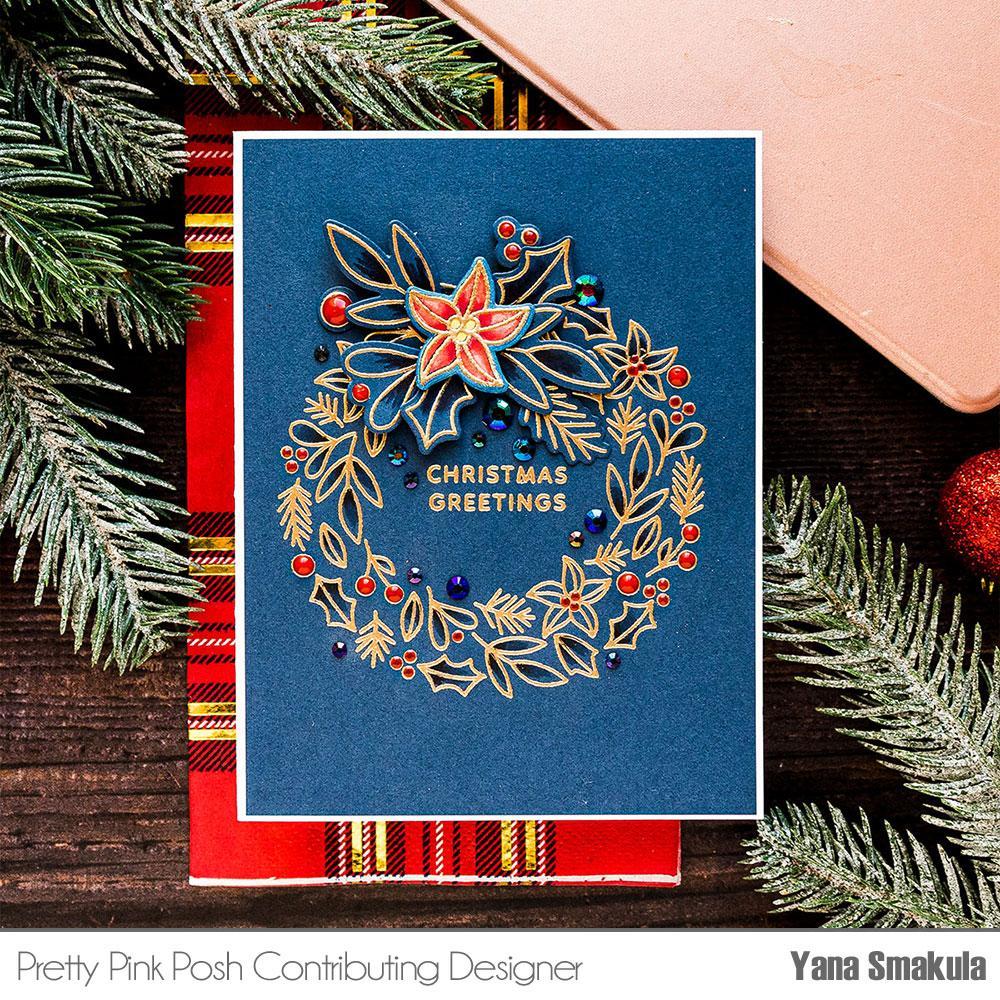
I also heat embossed and colored a poinsettia. This time, however, I used white cardstock and colored not only the image of the flower, but also the white space around it to make it look like it was heat embossed on dark blue. I used R39, R27, R24 and R22 markers along with the B99.
Images were adhered using glue and foam adhesive at the top of the wreath. I also used the same Nuvo Drops. Finally, I love to use jewels by PPP so I added a good amount of Midnight Black Jewels all around the wreath to spice the design up. It’s a simple card, but small finishing touches such as these jewels make it that much more special.

Finally, here’s the bonus idea I mentioned showing how you can use your coordinating dies to add foiled outlines to your stamped images. If you own a hot foil machine such as Glimmer by Spellbinders or another machine of the same kind you can use your coordinating dies to add foiled halo-like outlines to your stamped images.
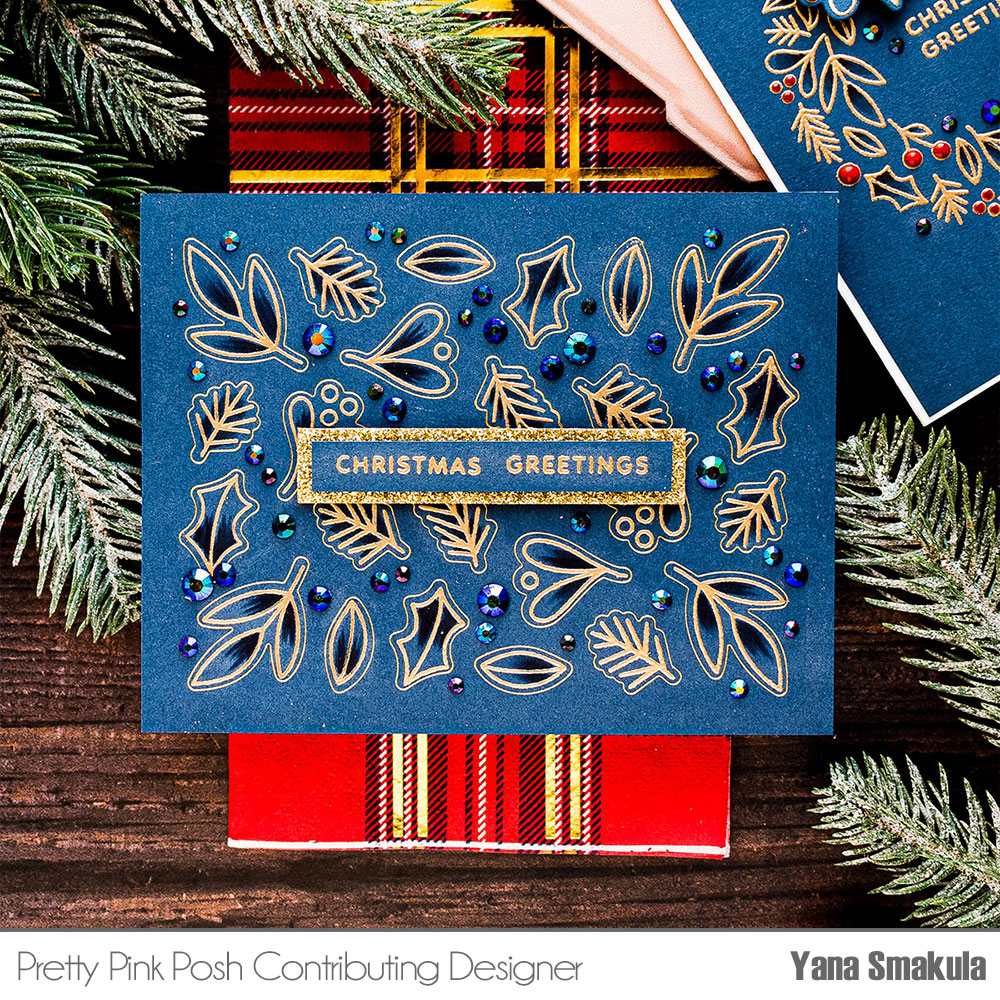
To create this card I first foiled the image outlines (using coordinating dies) on the background. It took me 4 times to foil a full A2 card background. I used Winter Wreath coordinating dies (just the single image dies) and gold foil.
Having done that I placed the panel into my MISTI tool and positioned the coordinating stamps one by one placing them each into their own coordinating foiled spot. From there I heat embossed the images using Antique Gold embossing powder. This is very similar to what I did for the first project, but instead of just heat embossing the images, I also added foiled image outlines making this card design extra special. It wasn’t hard to do, but it surely added a nice foiled touch to the card.
Have fun stamping!
These are GORGEOUS!
WOW, Yana, these are simply GORGEOUS!
These are stunning !I LOVE the color combo!
Stunning cards!!!