
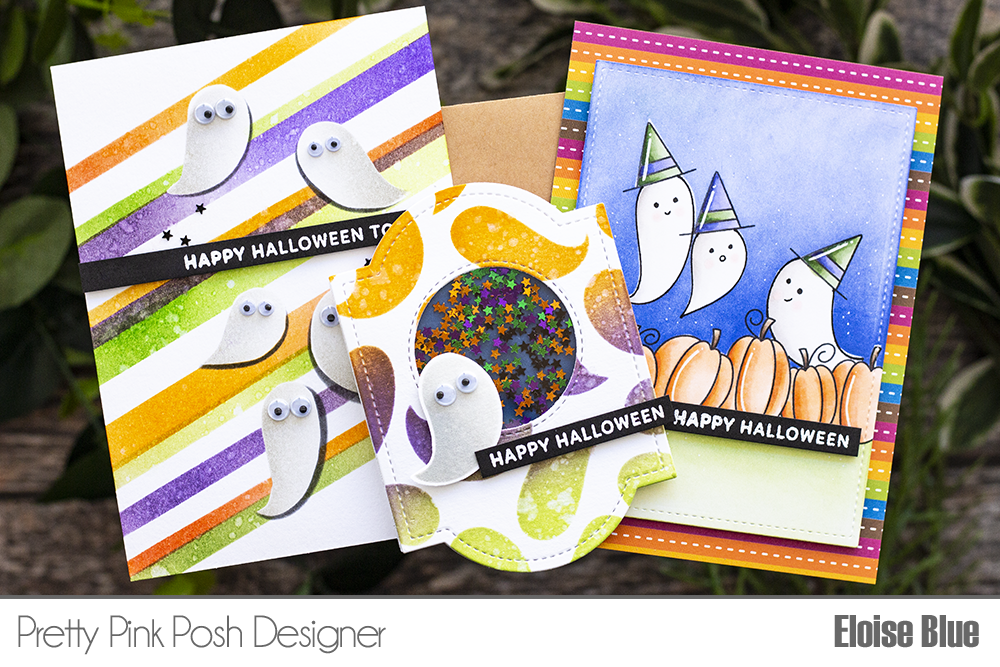
3 Halloween Projects with Stencils + Video
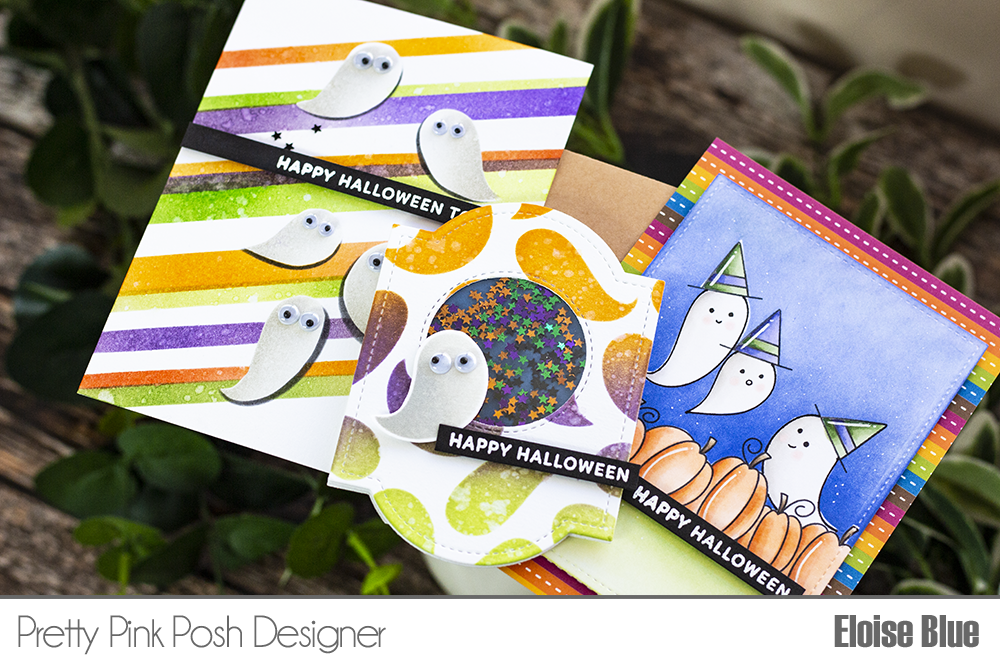
Hello friends, Eloise here and today I have three Halloween cards to share with you all using the Brush Strokes Stencil. I paired it with a few of the Halloween themed stamps in the most current release.
Watch the video above I Watch the video in HD on YouTube
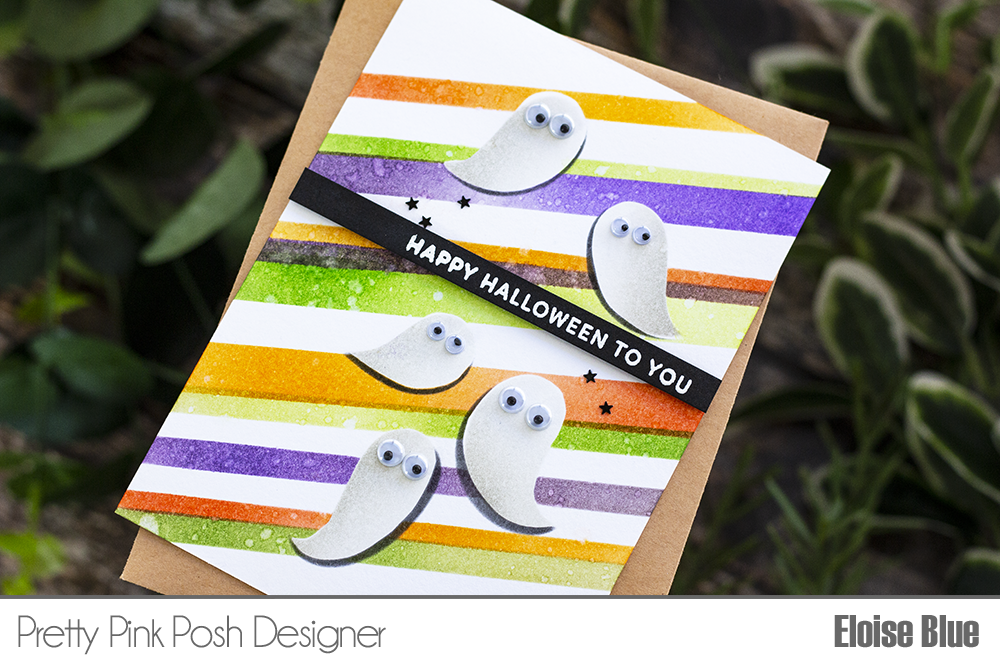
To start off my first card, I took a piece of watercolour cardstock and masked off individual “ghosts” from the Brush Strokes Stencil to ink blend onto the background. I used Pumice Stone Distress Ink and a little white pigment ink to blend them. Once they were all done, I made masks for them all using masking paper and adhered them over the top. I then used Washi Tape and the Wide Stripes Stencil to ink blend stripes over the background diagonally. I flicked on some water and dried it off with a heat tool.
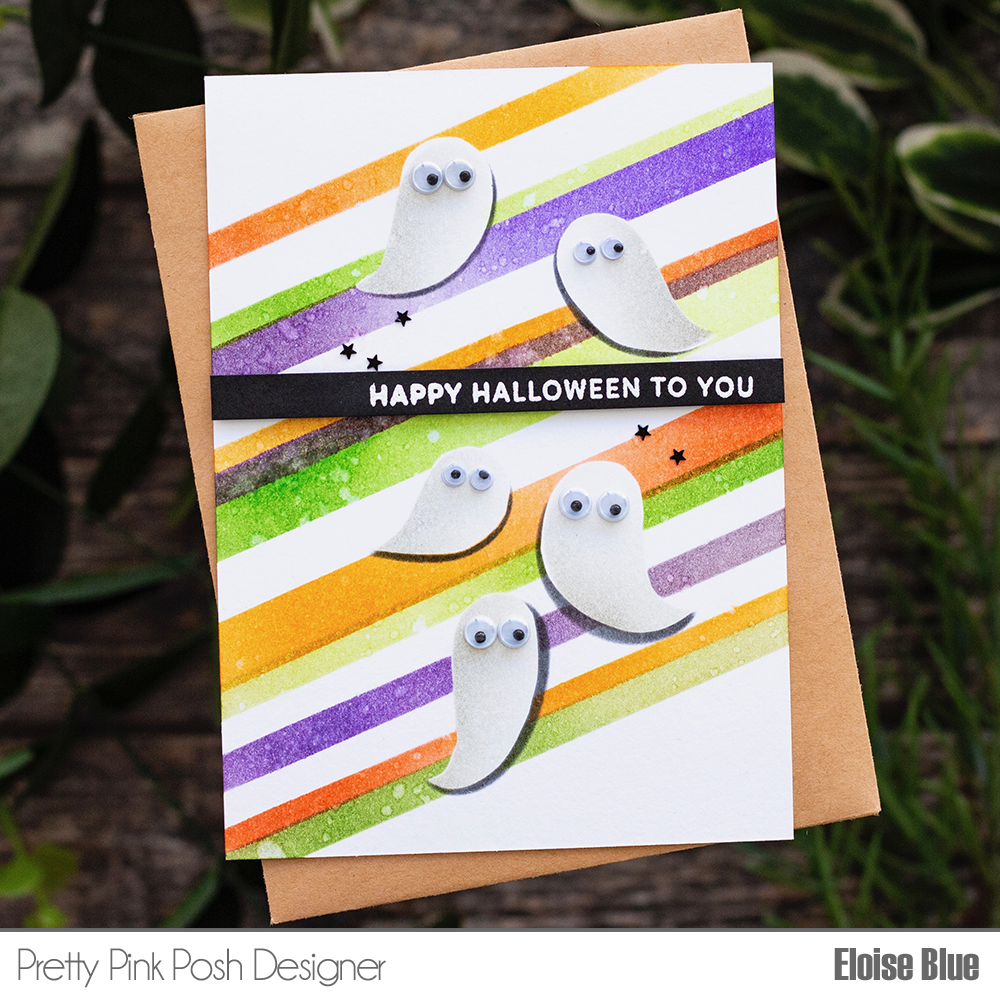
Distress Inks Used: Spiced Marmalade/ Carved Pumpkin / Dusty Concord/ Wilted Violet / Twisted Citron/ Mowed Lawn
I decided that the ghosts blended into the background too much, so I re-applied the masks and laid over the stencil and used some Black Soot Distress Ink to create a drop shadow on the each of them. Lastly, I adhered Silly Eyes to each of them using some glossy accents and white heat embossed the sentiment ‘Happy Halloween To You’ from the Boo Stamp Set onto a thin strip of black cardstock and adhered it straight across the card.
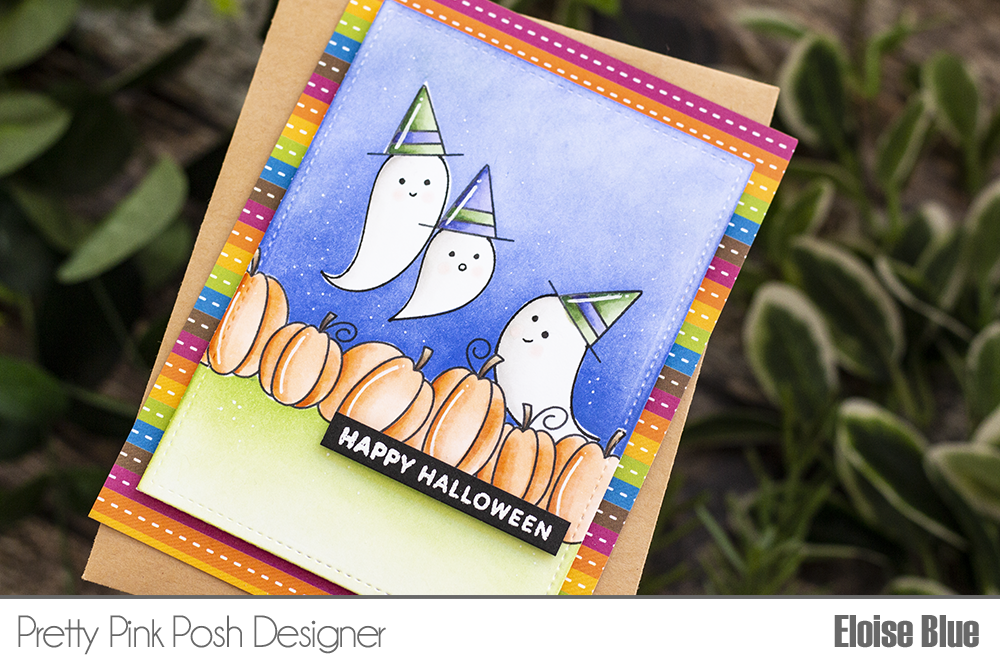
For the second card, I decided to turn the Brush Strokes Stencil into stamped images. I first took a piece of white cardstock and cut it down with the rectangle in Stitched Notes Dies. I then used a stamping tool to stamp the pumpkin border from Fall Borders Stamp Set. I traced around the heads of the “ghosts” and then used the hat stamp from the Boo Stamp Set to stamp on the top of each of them. I erased the pencil lines, took the stencil and traced around each of the ghosts with a black marker. I then coloured everything in with Copic Markers.
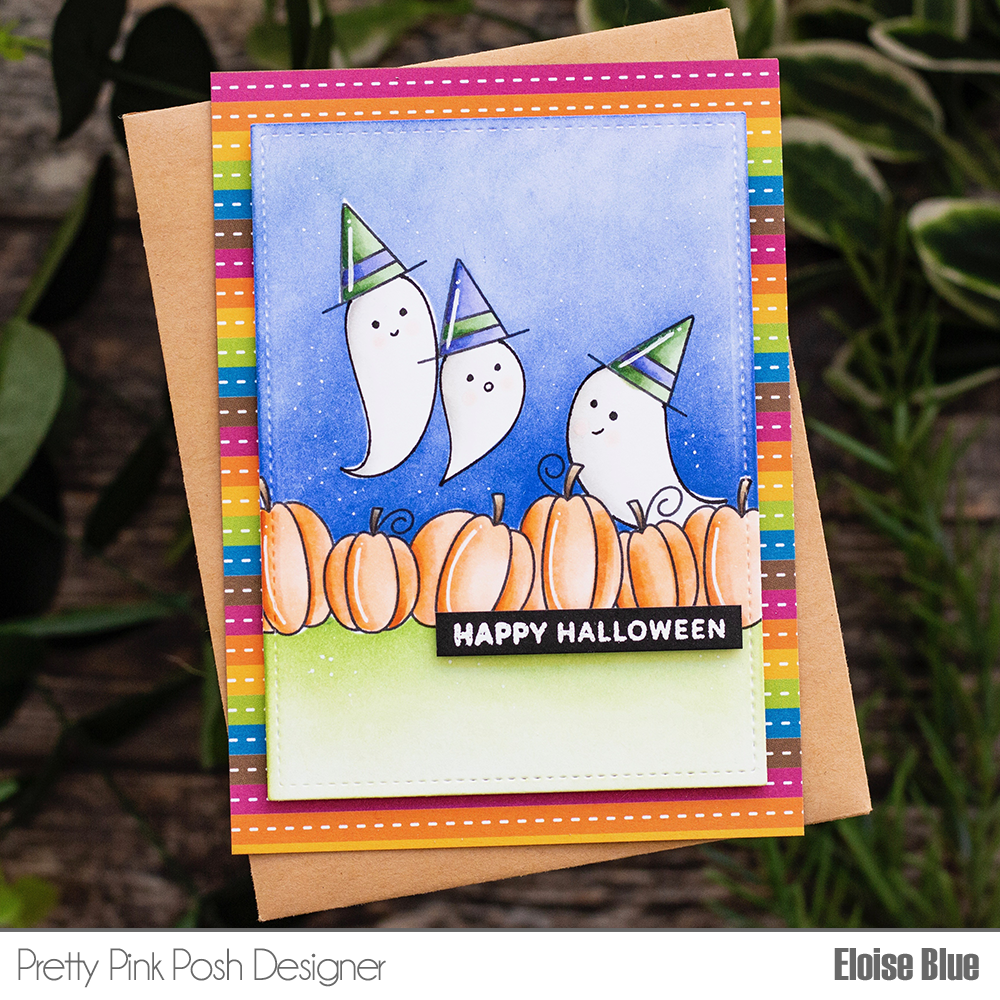
Copic Markers Used: R000, R00 / YR00, YR02, YR12, YR18 / BV01, BV02, BV04, BV08 / W00, W0, W1, W2 / YG61, YG63, YG67, G28 / E42, E43, E44, E47 / 0
After they were coloured, I drew faces on each of the ghosts using the same black marker. I then created masks for everything, adhered them on top and ink blended some Twisted Citron and Mowed Lawn onto the bottom and Blueprint Sketch for the top. I removed the masks and then white heat embossed the same ‘Happy Halloween’ sentiment from the Boo Stamp Set onto a thin strip of black cardstock. I adhered it to the card and then adhered the entire panel onto a piece of patterned paper.
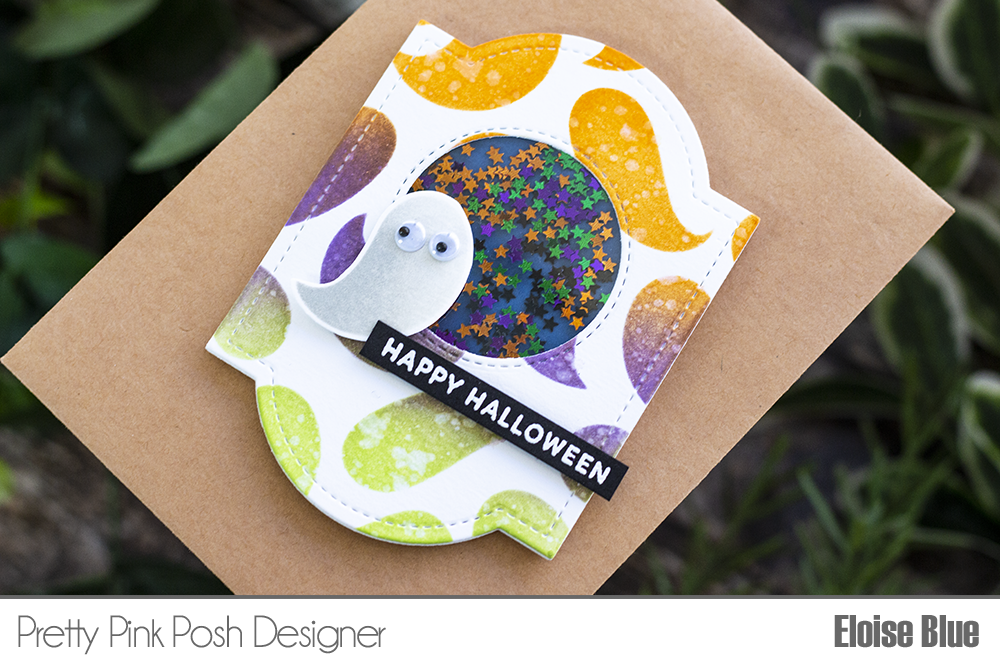
For my final card I wanted to create a mini shaker card. I started off with die cutting the Decorative Tag 2 three times, once from watercolour paper and twice from normal white cardstock. I used the Brush Strokes Stencil to ink blend some Wilted Violet, Carved Pumpkin and Twisted Citron Distress Inks over the top onto the watercolour cardstock tag. I flicked on some water and dried it off with a heat tool. I took a circle die and cut it from the centre and added acetate onto the back. I then took the one of the other white tags and adhered a piece of blue cardstock onto it. I added foam tape around the entire perimeter of the piece and added the star confetti’s inside. I then adhered my ink blended tag on top.
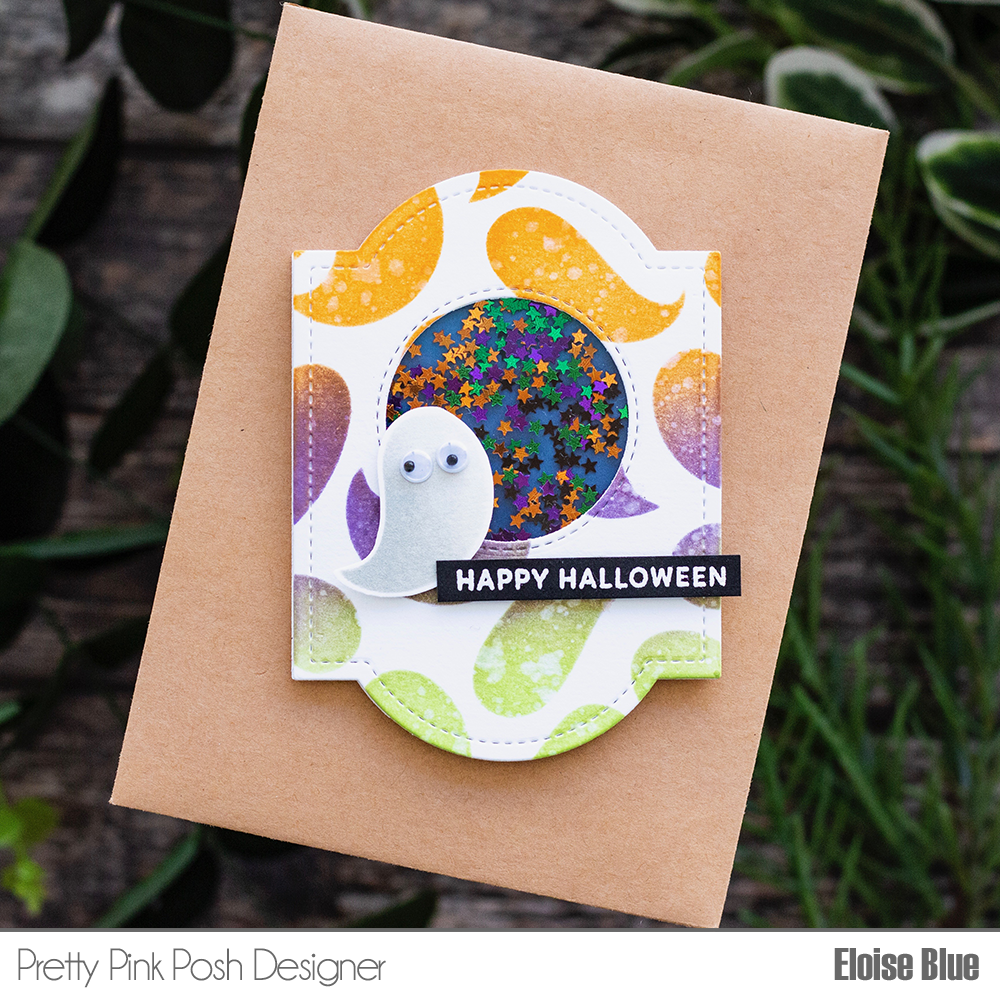
I then ink blended one of the “ghosts” from the Brush Strokes Stencil onto some more cardstock using Pumice Stone and white pigment ink, cut around it with scissors and adhered Silly Eyes on top. I then adhered it onto the front of my tag. I white heat embossed the same sentiment from the Boo Stamp Set onto a strip of black cardstock and adhered it into place. I then adhered the last tag I cut onto the back using a little bit of tape at the top and that finished off my third card.
First Card – Brush Strokes Stencil / Wide Stripes Stencil / Boo Stamp Set/ Fall Confetti Bundle / Silly Eyes
Second Card – Brush Strokes Stencil / Stitched Notes Dies /
Fall Borders Stamp set / Boo Stamp Set
Third Card – Brush Strokes Stencil / Decorative Tag 2 Dies / Boo Stamp Set / Fall Confetti Bundle
I hope you enjoyed my cards today using the Brush Strokes Stencil and you got inspired. Thanks for stopping by today and I’ll see you next time.
The expressions on their faces are SO CUTE!!!!
What a super fun set of creations! Love them all :)
ABSOLUTELY DARLING!
So very cute! I won the MEga Sponsor blog hop and sent you two messages. I have not heard anything back. Just wanted to make sure you received my information. Thank you!!
Sooo cute!