
How To: Stencil with Embossing Paste
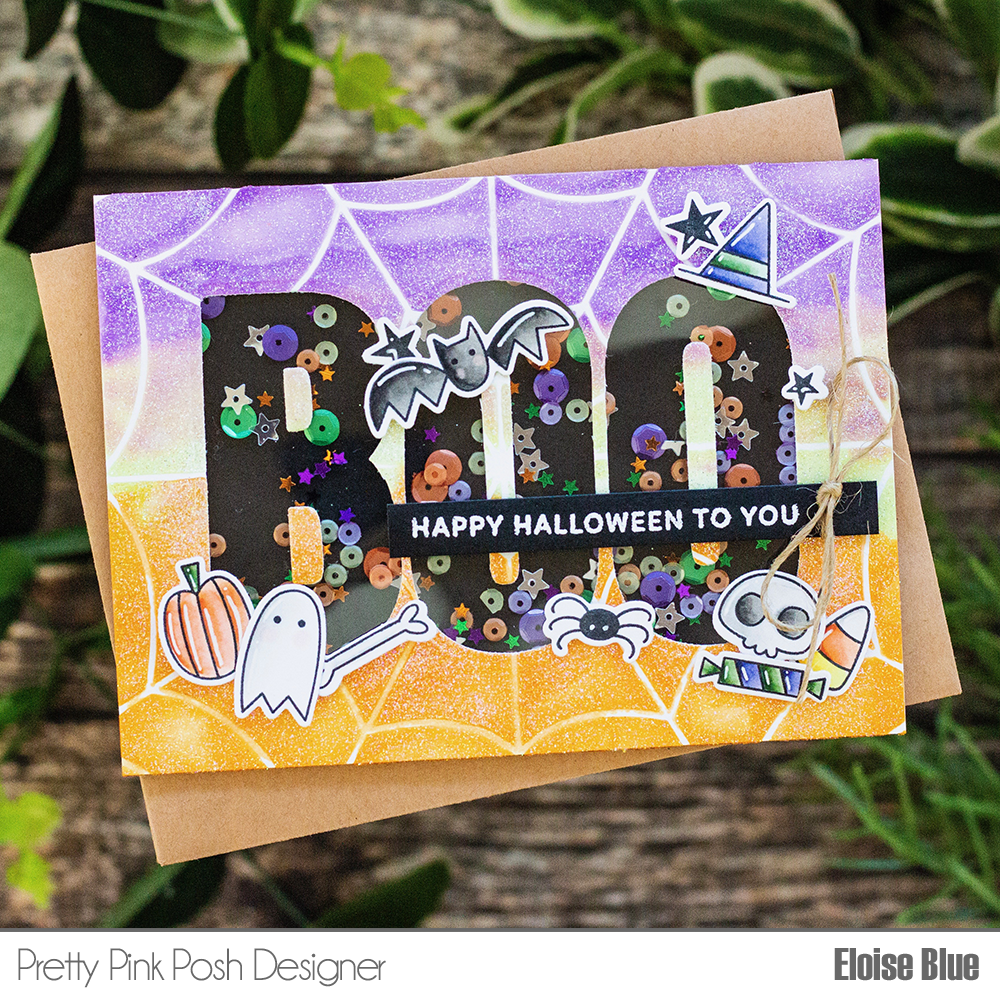
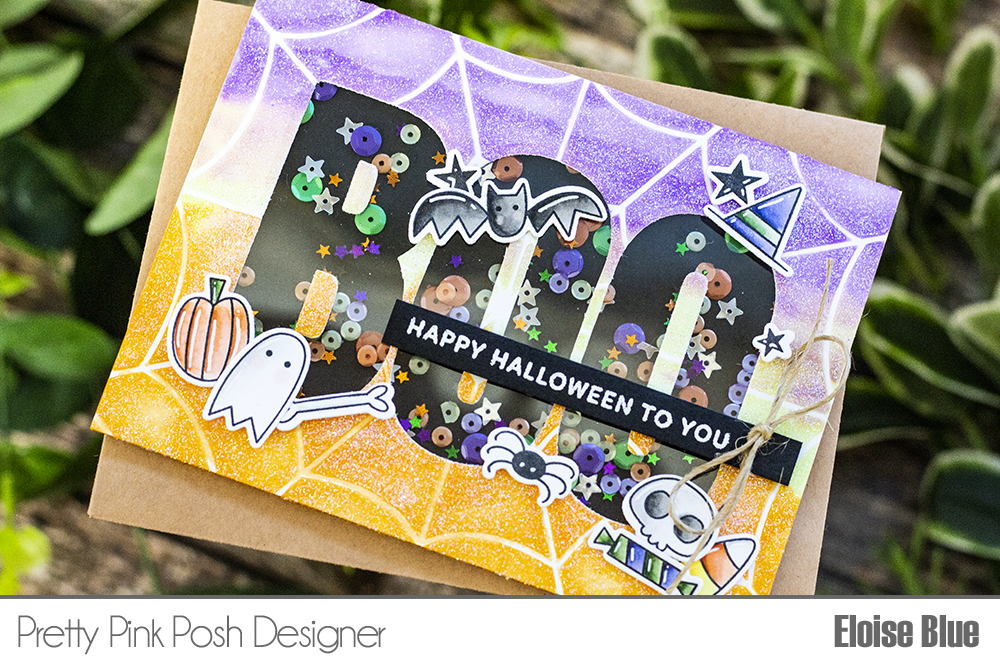
Hi everyone, Eloise here and today I have a shaker card to share with you all using the Boo stamp set. I’m pairing it with the Spider Web Stencil for my background.
Note: the Boo stamp set and coordinating dies are BACK IN STOCK!
Watch the video above I Watch the video in HD on YouTube
I started off with stamping out my images and colouring them in with Copic Markers. Once they were coloured, I cut them out with the Boo coordinating dies. I also added white detail lines to each of the images as well.
Copic Markers Used: YG61, YG63, YG67, G28 / W00, W0, W1, W2 / W3, W5, W7, W9 / BV01, BV02, BV04, BV08 / YR00, YR02, YR12, YR18 / Y11, Y13, Y15, Y19
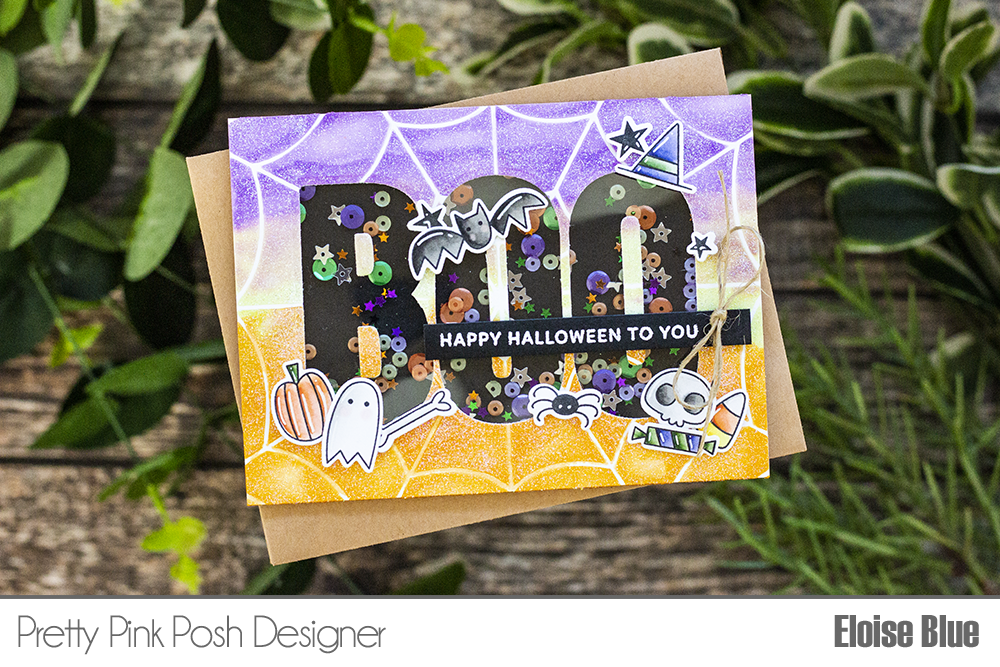
I set the images to the side and worked on the background. I adhered down a piece of watercolour paper with washi tape and laid the stencil over the top. I then mixed up my own texture paste using Distress Inks, Glitter and Translucent Embossing Paste. I mixed up three colours and spread it over the stencil. I then sprinkled more glitter, dried it a little with a heat tool, peeled off the stencil and then let the piece dry.
Distress Inks Used: Carved Pumpkin, Twisted Citron, Wilted Violet
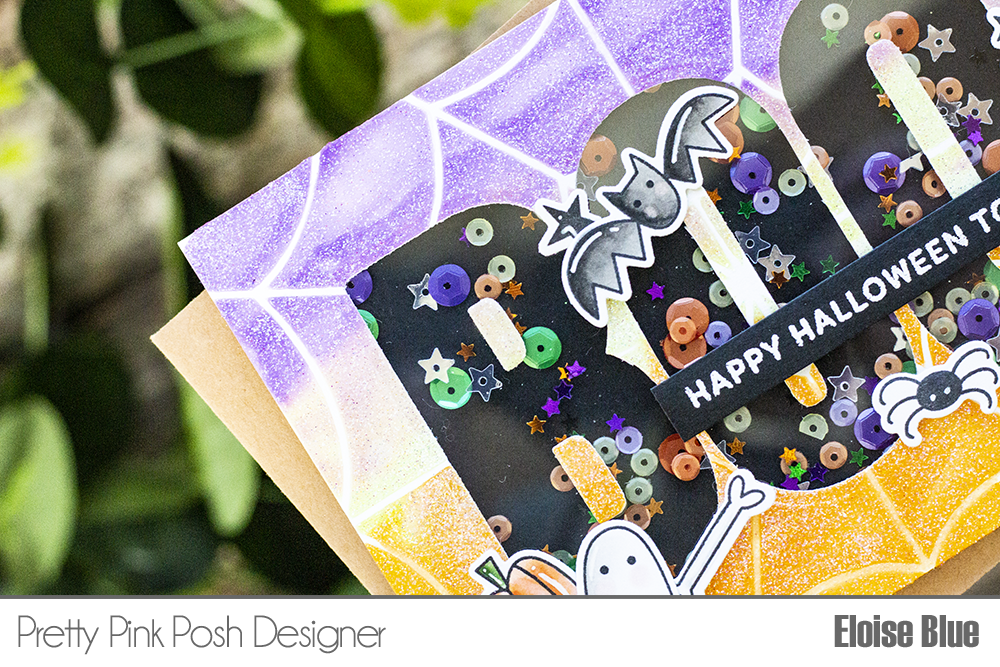
Once the piece was dry, I cut the ‘Boo’ Word from the centre. I adhered acetate on the back and added foam tape around the letters. I added in my sequins and star confetti and then added a black piece of cardstock on the back. I flipped it over and adhered the middle of the letters back in, too.
Shaker Materials Used: Pansy Purple, Amethyst, Lime Sorbet, Shamrock, Pumpkin, Sparkling Clear Stars, Fall Confetti Bundle
I adhered the images around the shaker using foam tape. I also white heat embossed the ‘Happy Halloween To You’ sentiment onto a think black strip and adhered it down over the shaker. To finish up I added a hemp cord bow to the right-hand side of my project.
That finished up my card for today, I hope you all enjoyed, and I’ll see you next time.
Super awesome shaker card!! :)
Darling card. Soooooo creative and inspiring.