April 2019 Release Now Available!
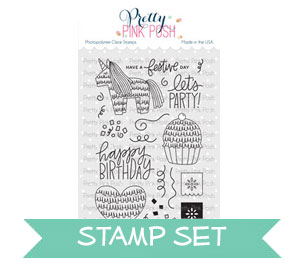
The April 2019 Release is now available in the Pretty Pink Posh Shop and select retailers that carry our products. If you missed our post earlier, we revealed all of the products in picture form, but if you would like to see them in a video, Ardyth has that for you today!
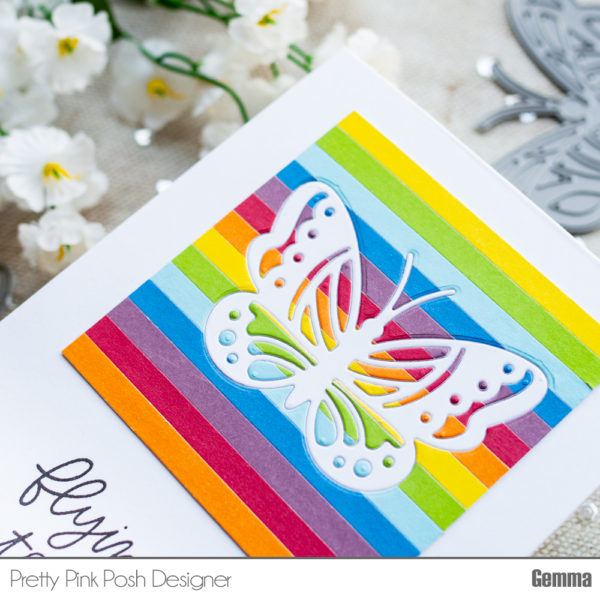
Hello, Gemma here today with a card to share using some fabulous products from the Pretty Pink Posh April release.
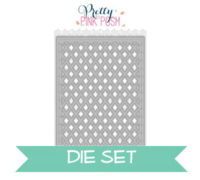
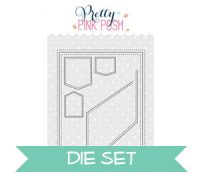
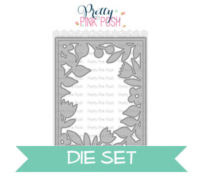
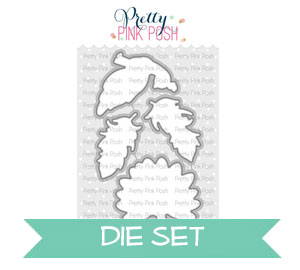
I was so excited to use the new Lattice Background die. I am a huge fan of cover dies. I think they are fantastic for adding interest to clean and simple cards. The Lattice Background die is so gorgeous, it’s definitely a must have.

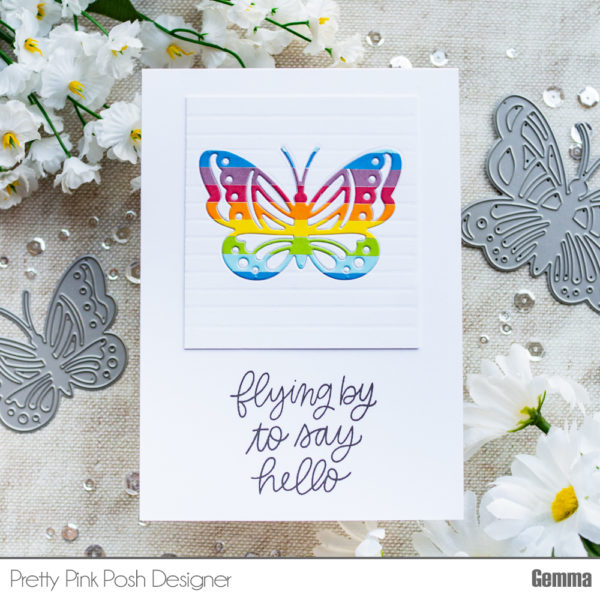
I began by cutting a piece of blue pattered paper to fit my A2 card base, adhering it with liquid glue. I then die cut the Lattice Background die from white card and layered it over the top.
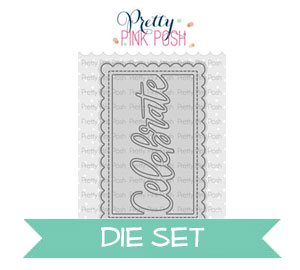
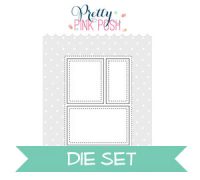
To create an area in the centre of the card, I die cut the Storybook 1 die from white card, trimming it down to give a small border and adhering to my card.

Before adding the panels within the Storybook 1 frame, I blended on a light ombré of Tumbled Glass Distress Oxide Ink.

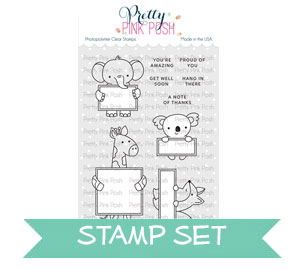
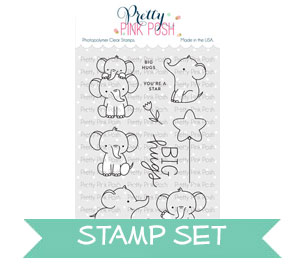
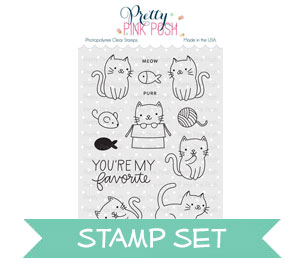
I chose two elephants to feature on my card. The elephant holding the sign is from the new Animal Signs stamp set. The elephant and the star balloon are from the new Elephant Friends stamp set. I love that the greeting from the Elephant Friends set fits perfectly on the sign.
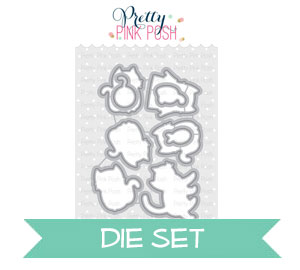
I coloured the images with copic markers, then die cut them with the coordinating dies.

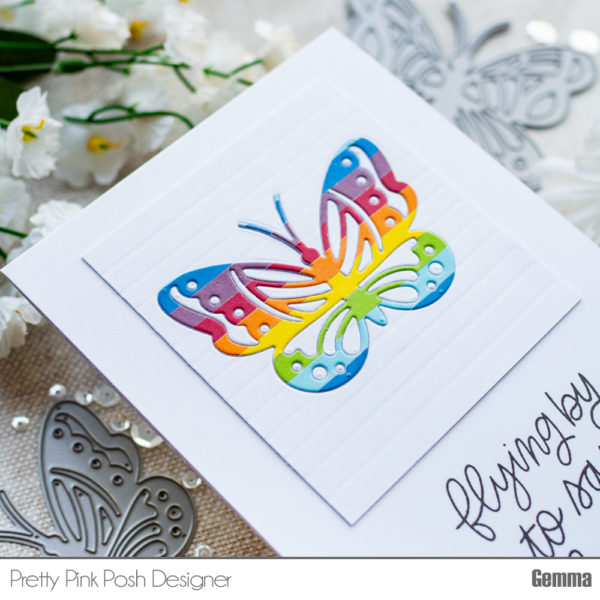
I used foam tape to adhere them to my card, then added some glossy accents to the balloon and a few Sea Glass jewels around the images as a finishing touch.


 From this panel, I die cut the smaller of the